Is your Moen two handle bathroom sink faucet constantly dripping? Don't worry, you're not alone. While Moen is known for its high-quality and durable products, even the best faucets can develop leaks over time. The good news is that with a little know-how and some basic tools, you can easily repair your Moen two handle bathroom faucet and save yourself the cost of calling a plumber. So let's dive in and learn how to fix a leaky Moen two handle bathroom faucet. Moen Bathroom Faucet Repair: How to Fix a Leaky Two Handle Faucet


Moen Bathroom Faucet Repair: How to Fix a Leaky Two Handle Faucet


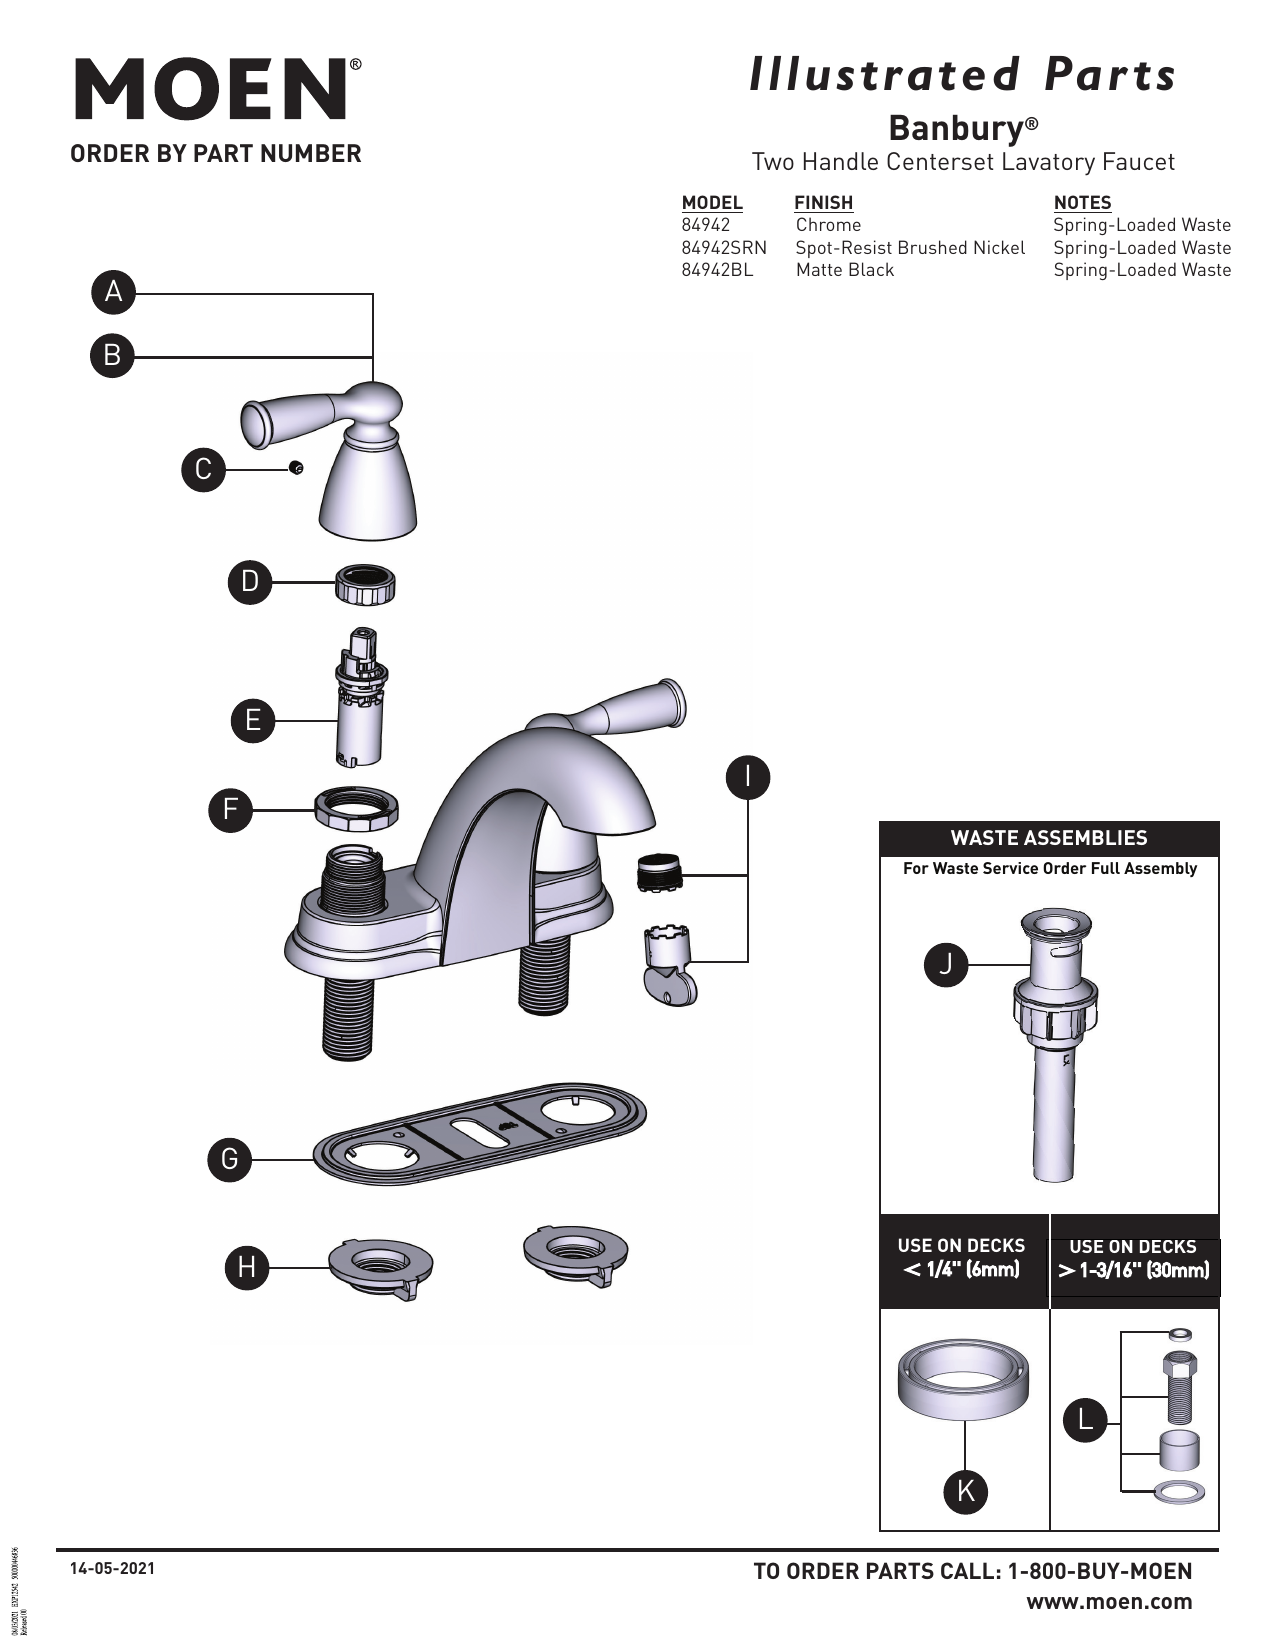
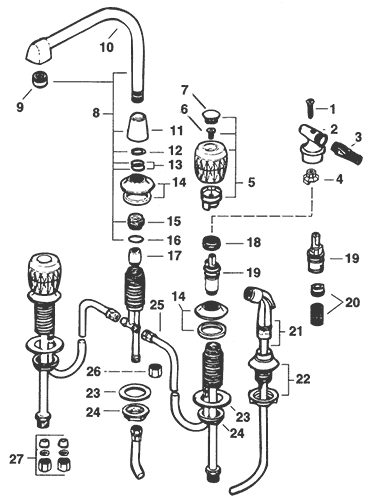
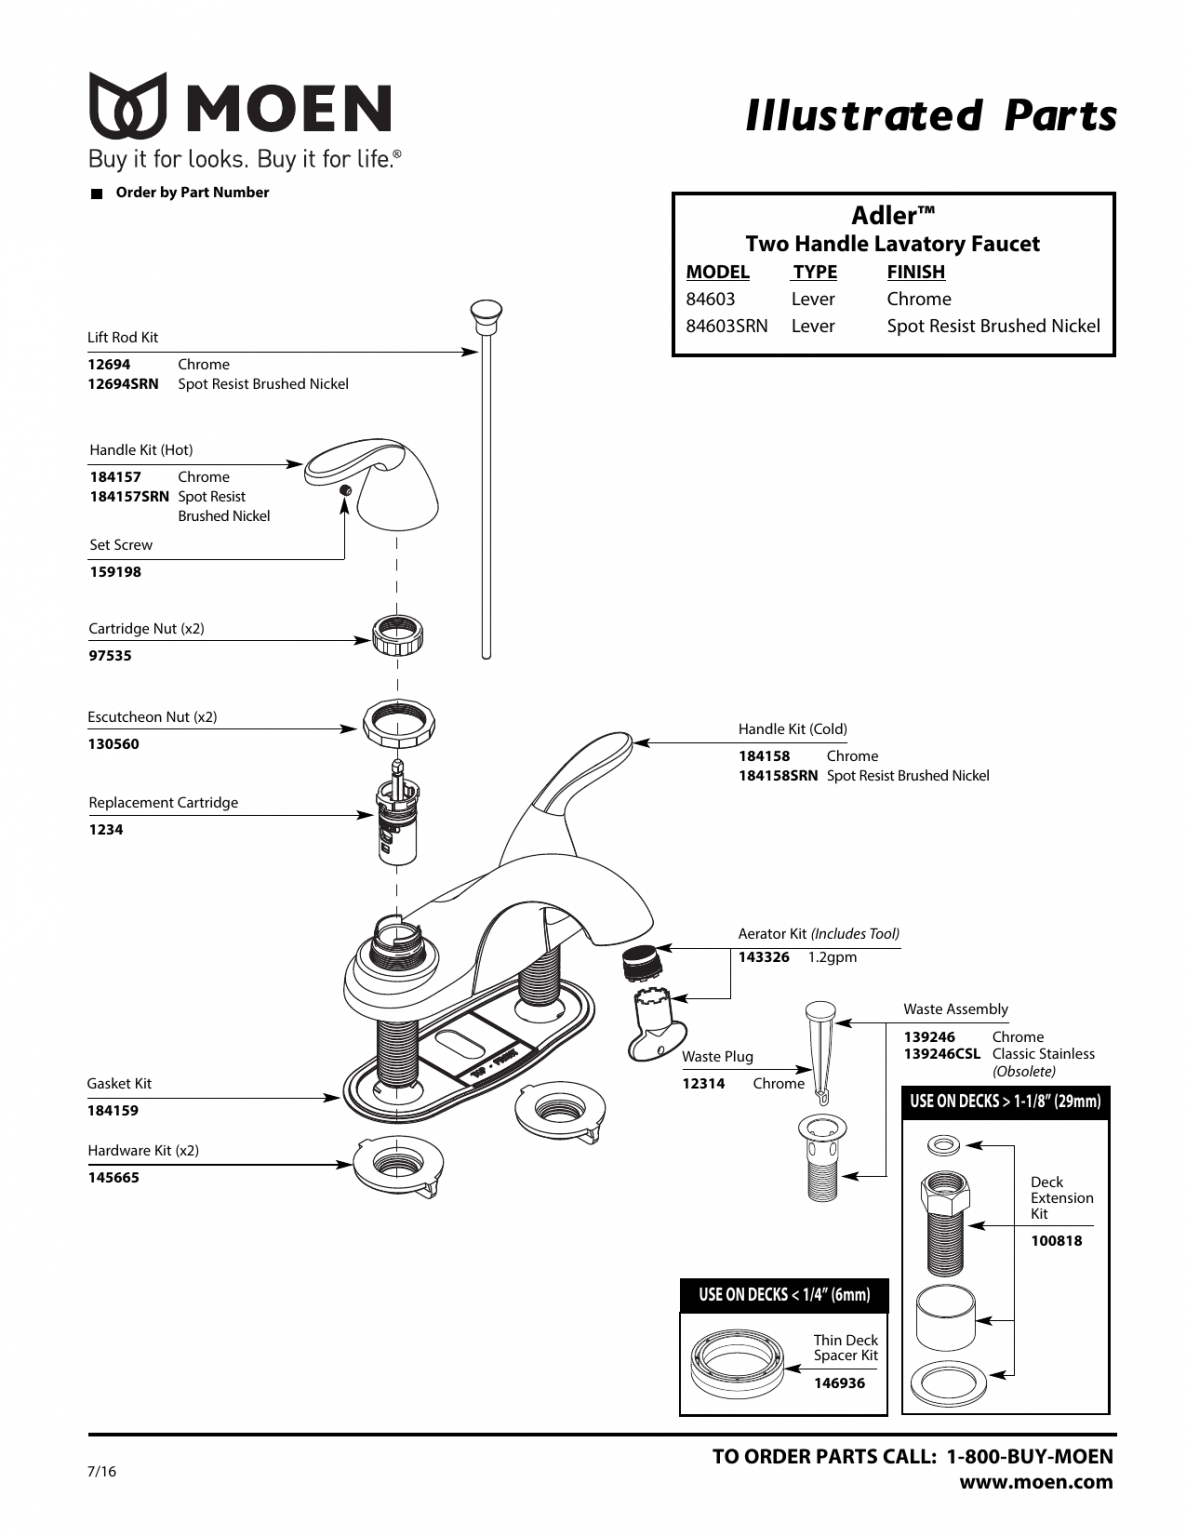
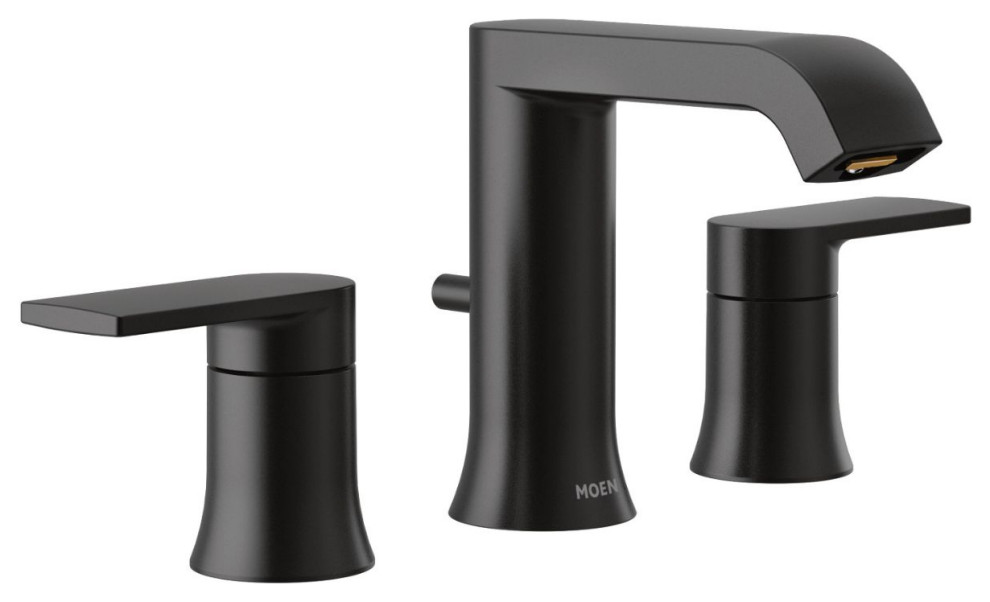
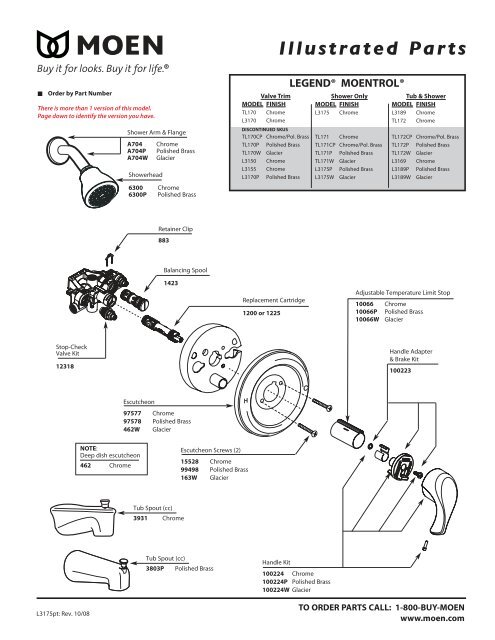
The first step to fixing your Moen two handle bathroom faucet is identifying the type of faucet you have. Moen offers several different types of two handle faucets, including the widespread, centerset, and mini-widespread models. The repair process for each type may vary slightly, so it's important to know which type you have before starting your repair. Once you've identified your faucet type, the next step is to gather the necessary tools and materials. For most Moen two handle bathroom faucet repairs, you will need a pair of pliers, an adjustable wrench, a screwdriver, and replacement parts such as O-rings, cartridges, or washers. Make sure to turn off the water supply to your faucet before beginning any repairs. How to Repair a Moen Two-Handle Bathroom Faucet

How to Repair a Moen Two-Handle Bathroom Faucet


Now that you have your tools and materials ready, it's time to start the repair process. Here is a step-by-step guide to fixing your Moen two handle bathroom faucet: Moen Two Handle Bathroom Faucet Repair: Step-by-Step Guide

Moen Two Handle Bathroom Faucet Repair: Step-by-Step Guide


While fixing a leaky faucet is the most common issue with Moen two handle bathroom faucets, there are a few other problems you may encounter. These include low water pressure, a loose handle, or a faucet that won't turn off. Here are some troubleshooting tips for these common issues: Troubleshooting Common Issues with Moen Two Handle Bathroom Faucets


Troubleshooting Common Issues with Moen Two Handle Bathroom Faucets


Fixing a leaky Moen two handle bathroom faucet doesn't have to be a daunting task. Here are a few tips and tricks to make your DIY repair process a little easier: DIY Moen Two Handle Bathroom Faucet Repair: Tips and Tricks


DIY Moen Two Handle Bathroom Faucet Repair: Tips and Tricks

If you're planning to repair your Moen two handle bathroom faucet yourself, you will need the following tools and materials: Moen Two Handle Bathroom Faucet Repair: Tools and Materials Needed


Moen Two Handle Bathroom Faucet Repair: Tools and Materials Needed


If your Moen two handle bathroom faucet is still leaking after replacing the O-rings and washers, you may need to replace the cartridge. Here's how to do it: How to Replace Cartridges in a Moen Two Handle Bathroom Faucet
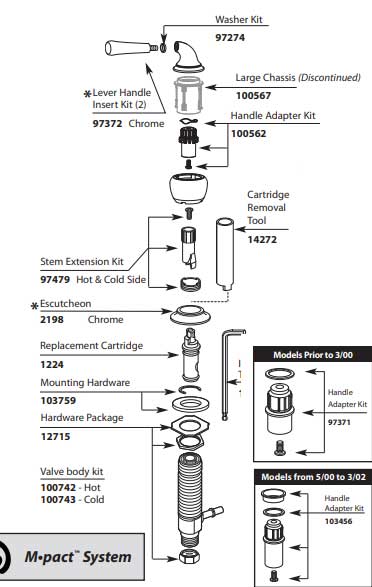
How to Replace Cartridges in a Moen Two Handle Bathroom Faucet


Here are some of the most common problems you may encounter with your Moen two handle bathroom faucet and their solutions: Moen Two Handle Bathroom Faucet Repair: Common Problems and Solutions

Moen Two Handle Bathroom Faucet Repair: Common Problems and Solutions
Is your Moen two handle bathroom faucet dripping? Here's a quick step-by-step guide to fixing it: Step-by-Step Guide to Fixing a Dripping Moen Two Handle Bathroom Faucet

Step-by-Step Guide to Fixing a Dripping Moen Two Handle Bathroom Faucet


If your Moen two handle bathroom faucet is experiencing low water pressure, here are some troubleshooting steps you can take: Moen Two Handle Bathroom Faucet Repair: Troubleshooting Low Water Pressure


Moen Two Handle Bathroom Faucet Repair: Troubleshooting Low Water Pressure

Additional Tips for Repairing Your Moen Two Handle Bathroom Sink Faucet

1. Gather Your Tools and Supplies
 Before you begin repairing your Moen two handle bathroom sink faucet, make sure you have all the necessary tools and supplies. This will save you time and frustration later on. You will need a pair of pliers, a wrench, a screwdriver, and a replacement cartridge specifically for your Moen faucet model. It's important to use a
high-quality
replacement cartridge to ensure the longevity of your faucet.
Before you begin repairing your Moen two handle bathroom sink faucet, make sure you have all the necessary tools and supplies. This will save you time and frustration later on. You will need a pair of pliers, a wrench, a screwdriver, and a replacement cartridge specifically for your Moen faucet model. It's important to use a
high-quality
replacement cartridge to ensure the longevity of your faucet.
2. Turn Off the Water Supply
 Before starting any repair work, always turn off the water supply to your faucet. This will prevent any accidental spills or leaks while you are working on the faucet. You can typically find the water shut-off valves under the sink, but if you can't find them, you can also turn off the main water supply to your house.
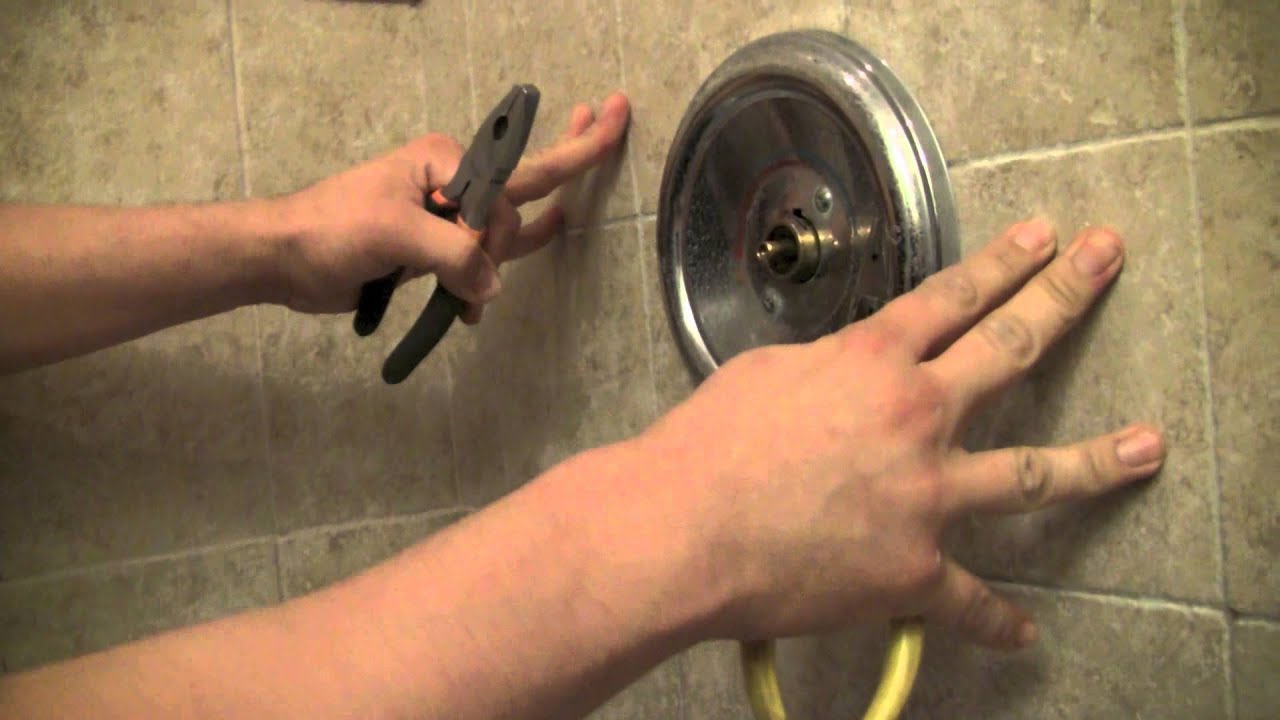
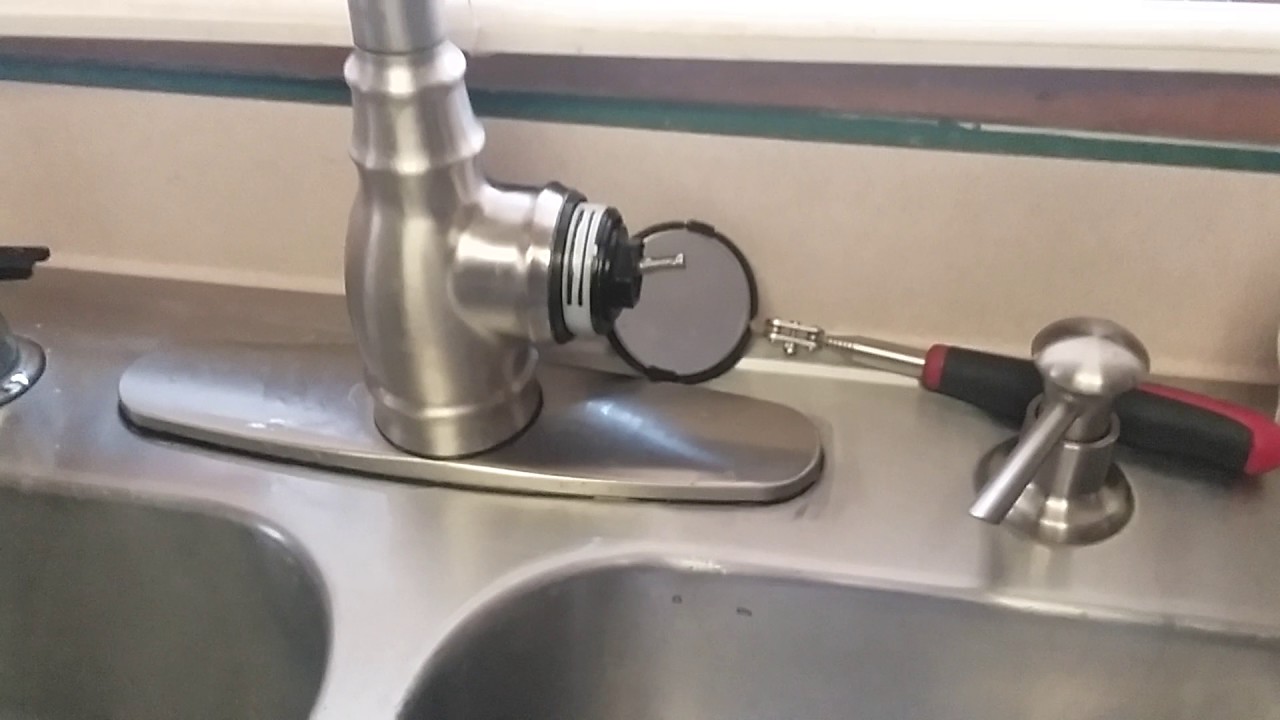
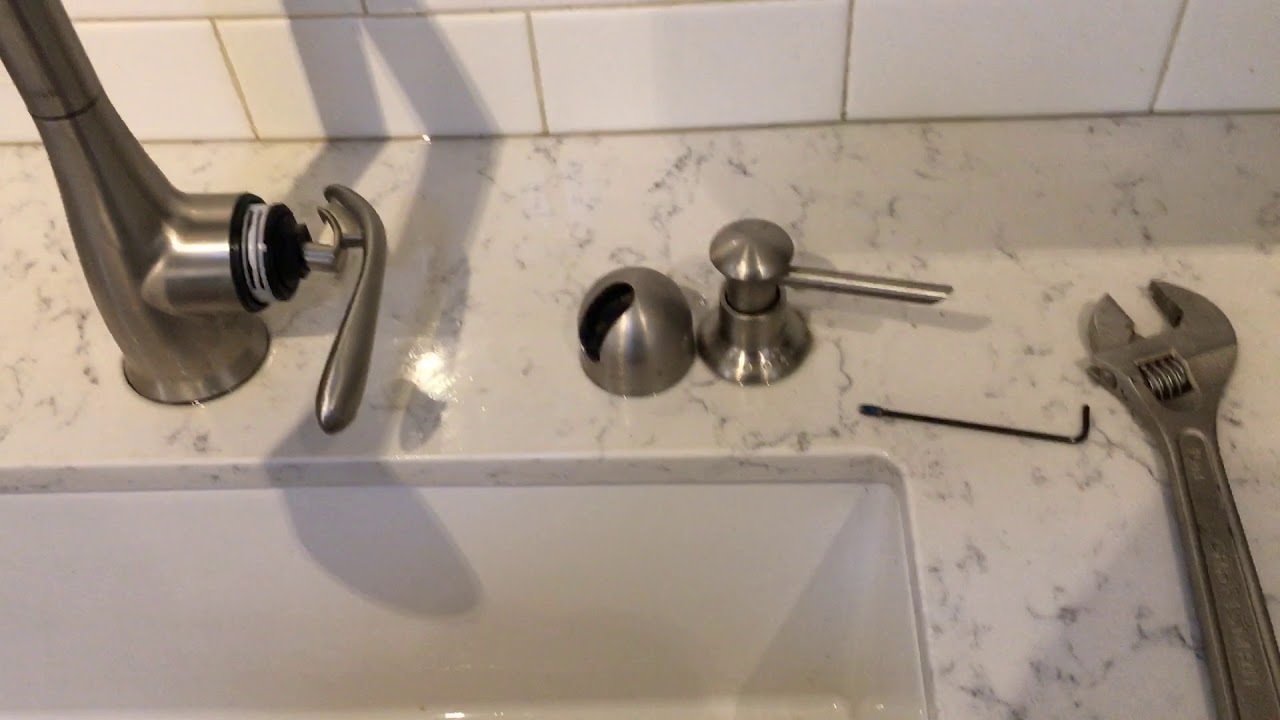
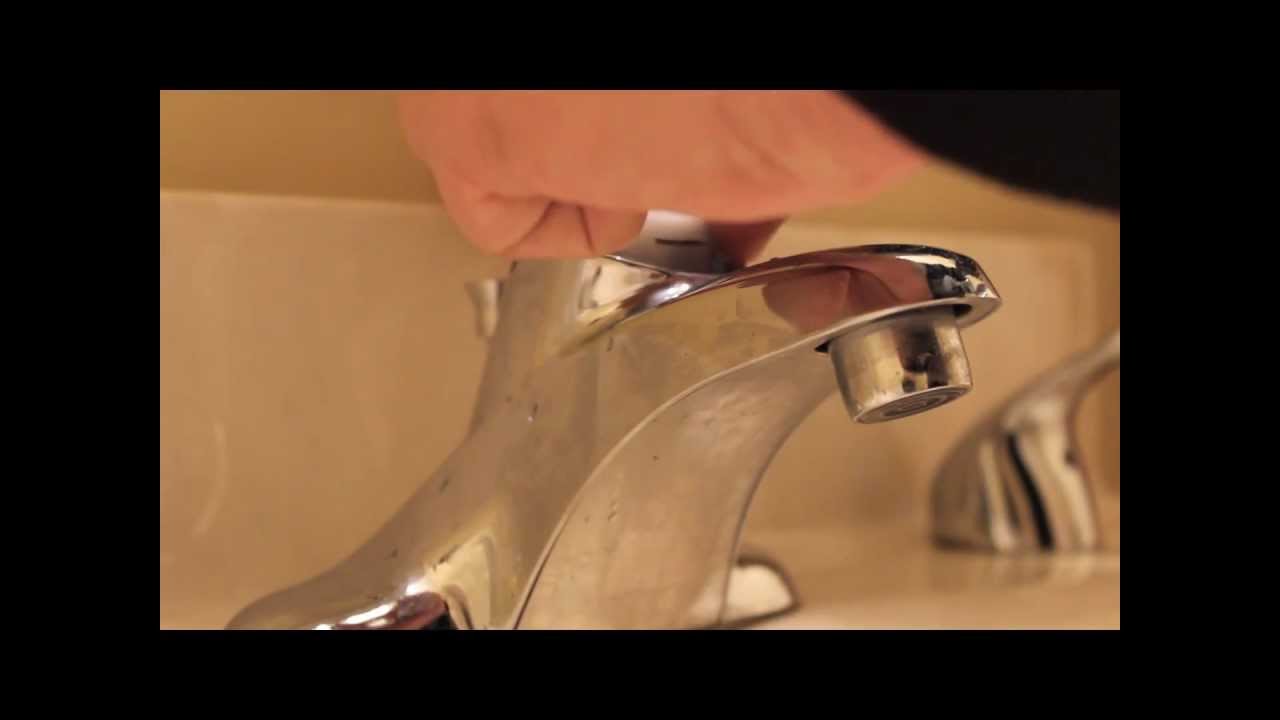
3. Disassemble the Faucet
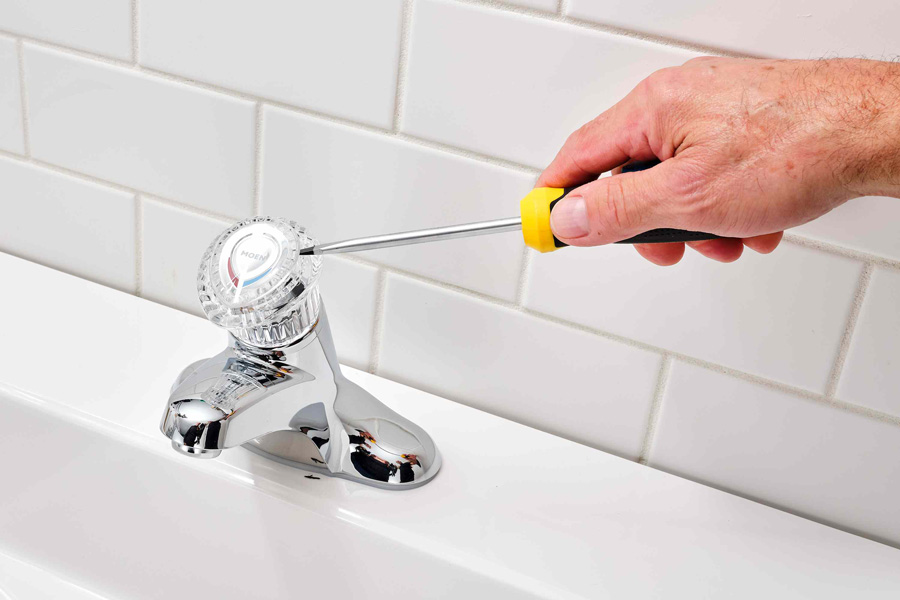
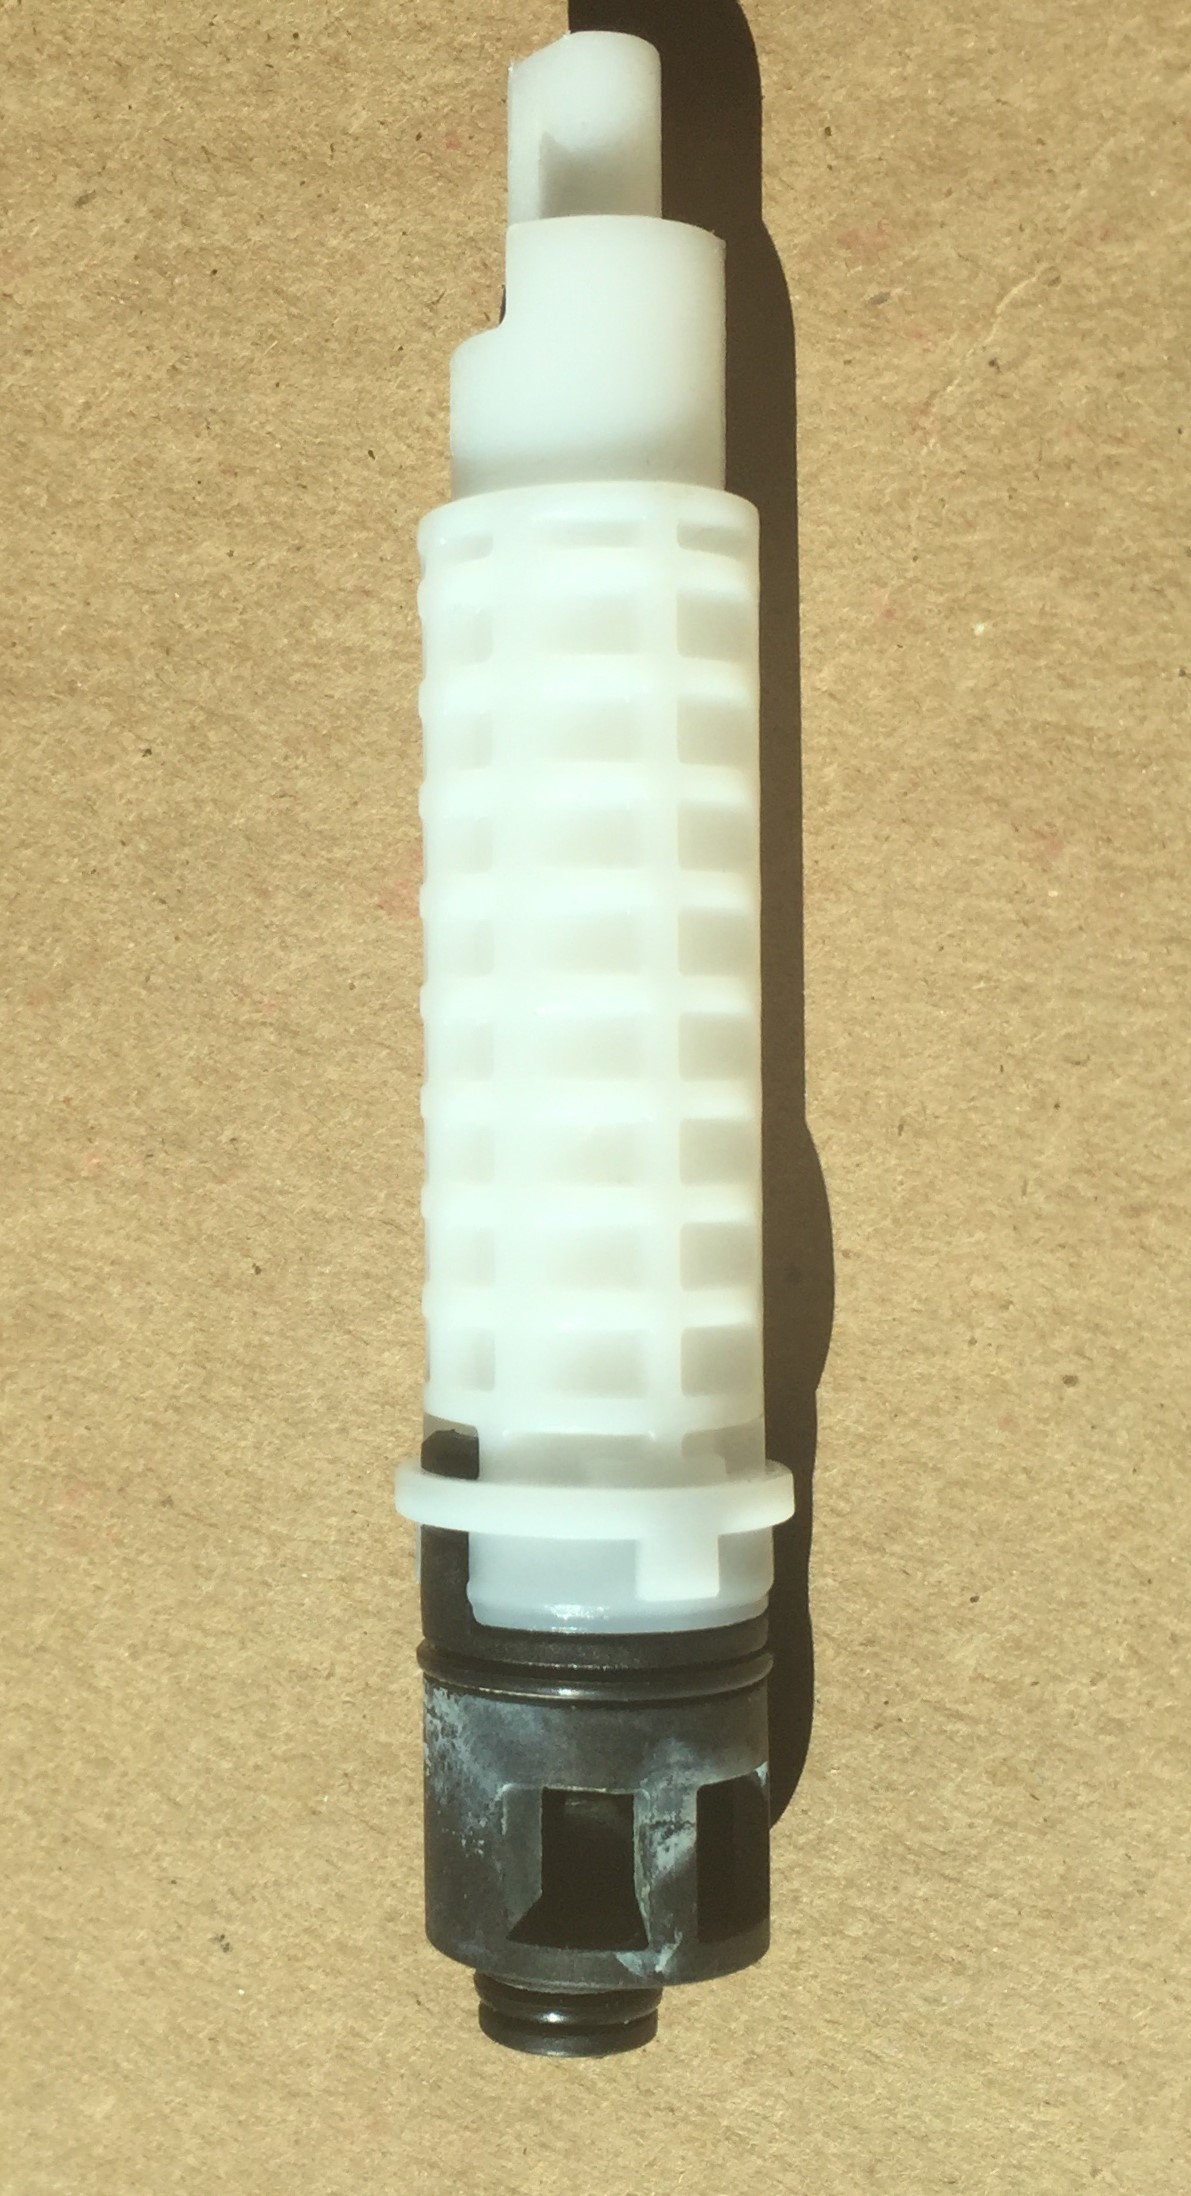
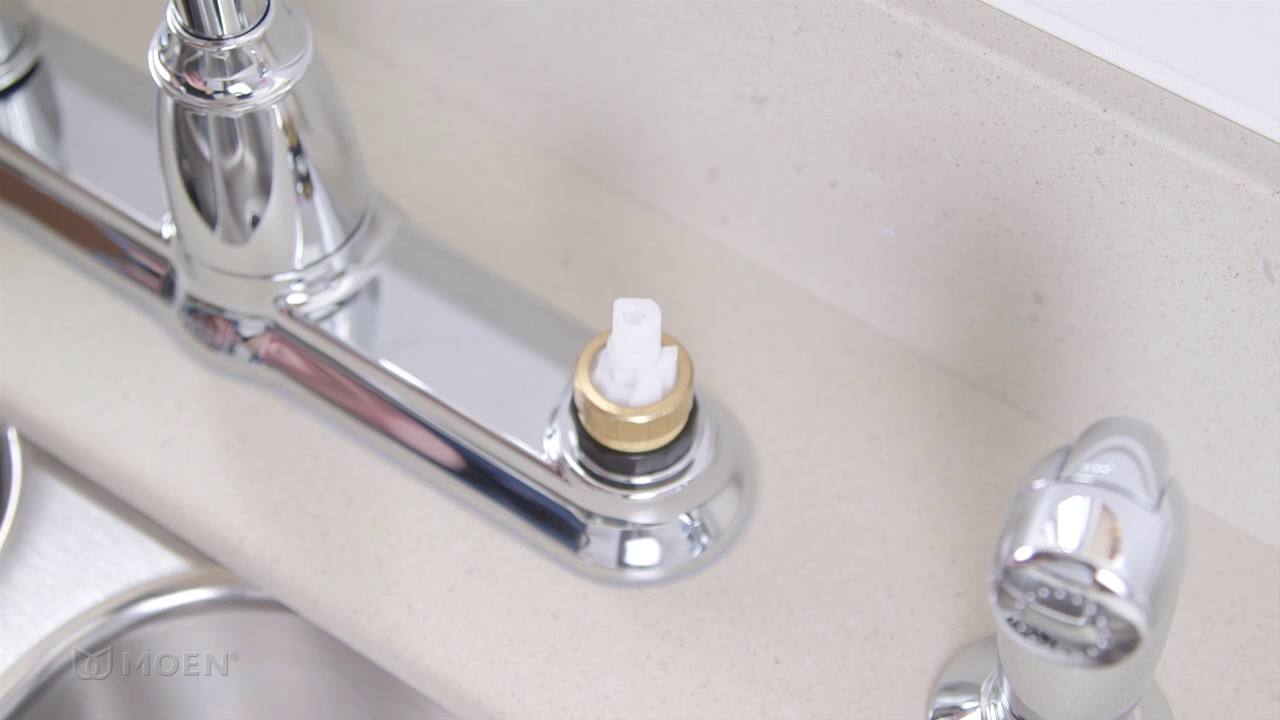
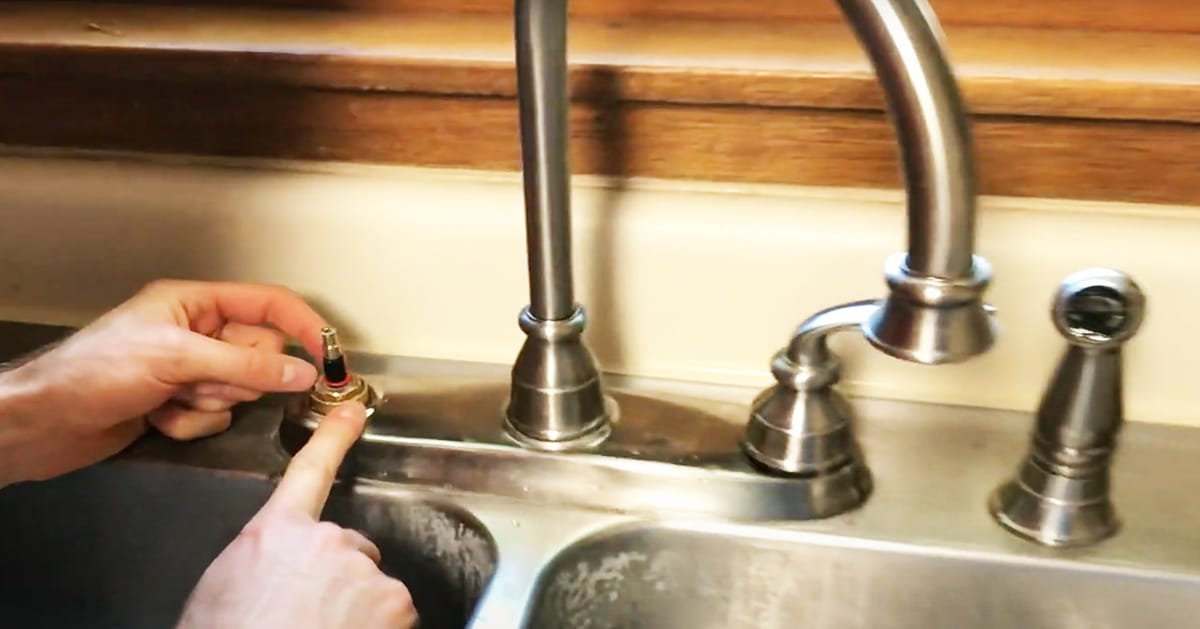
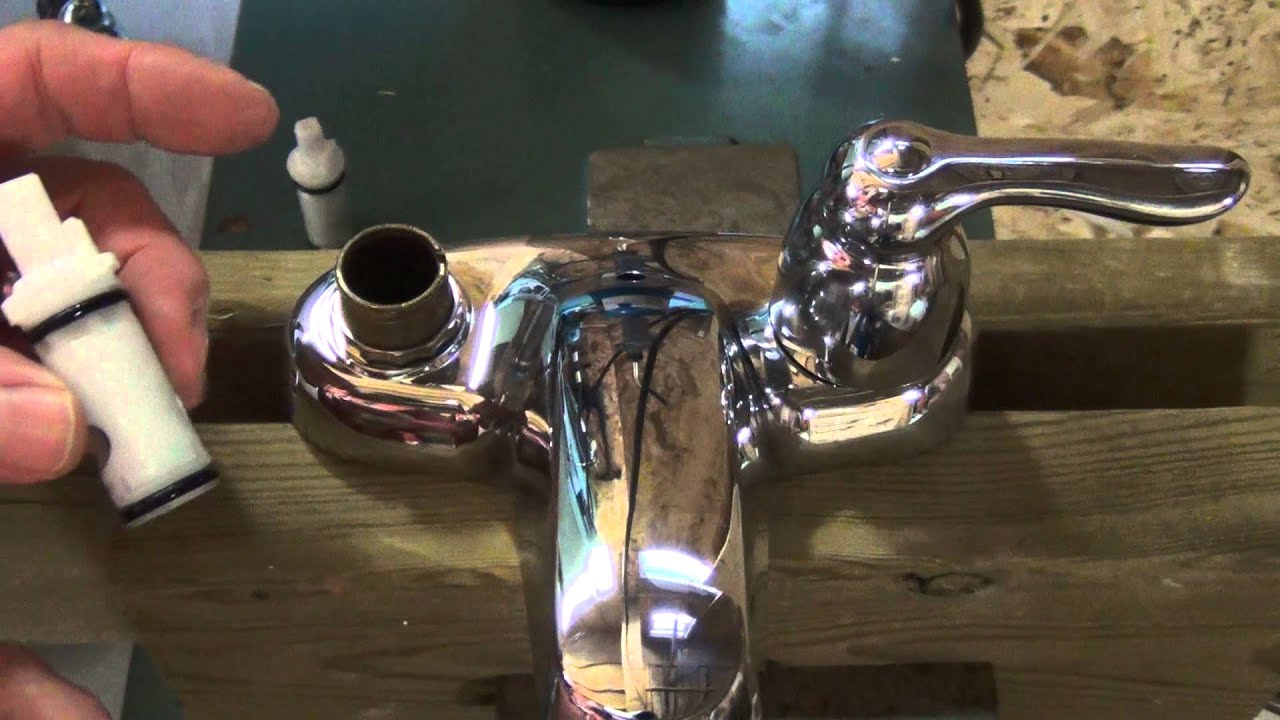
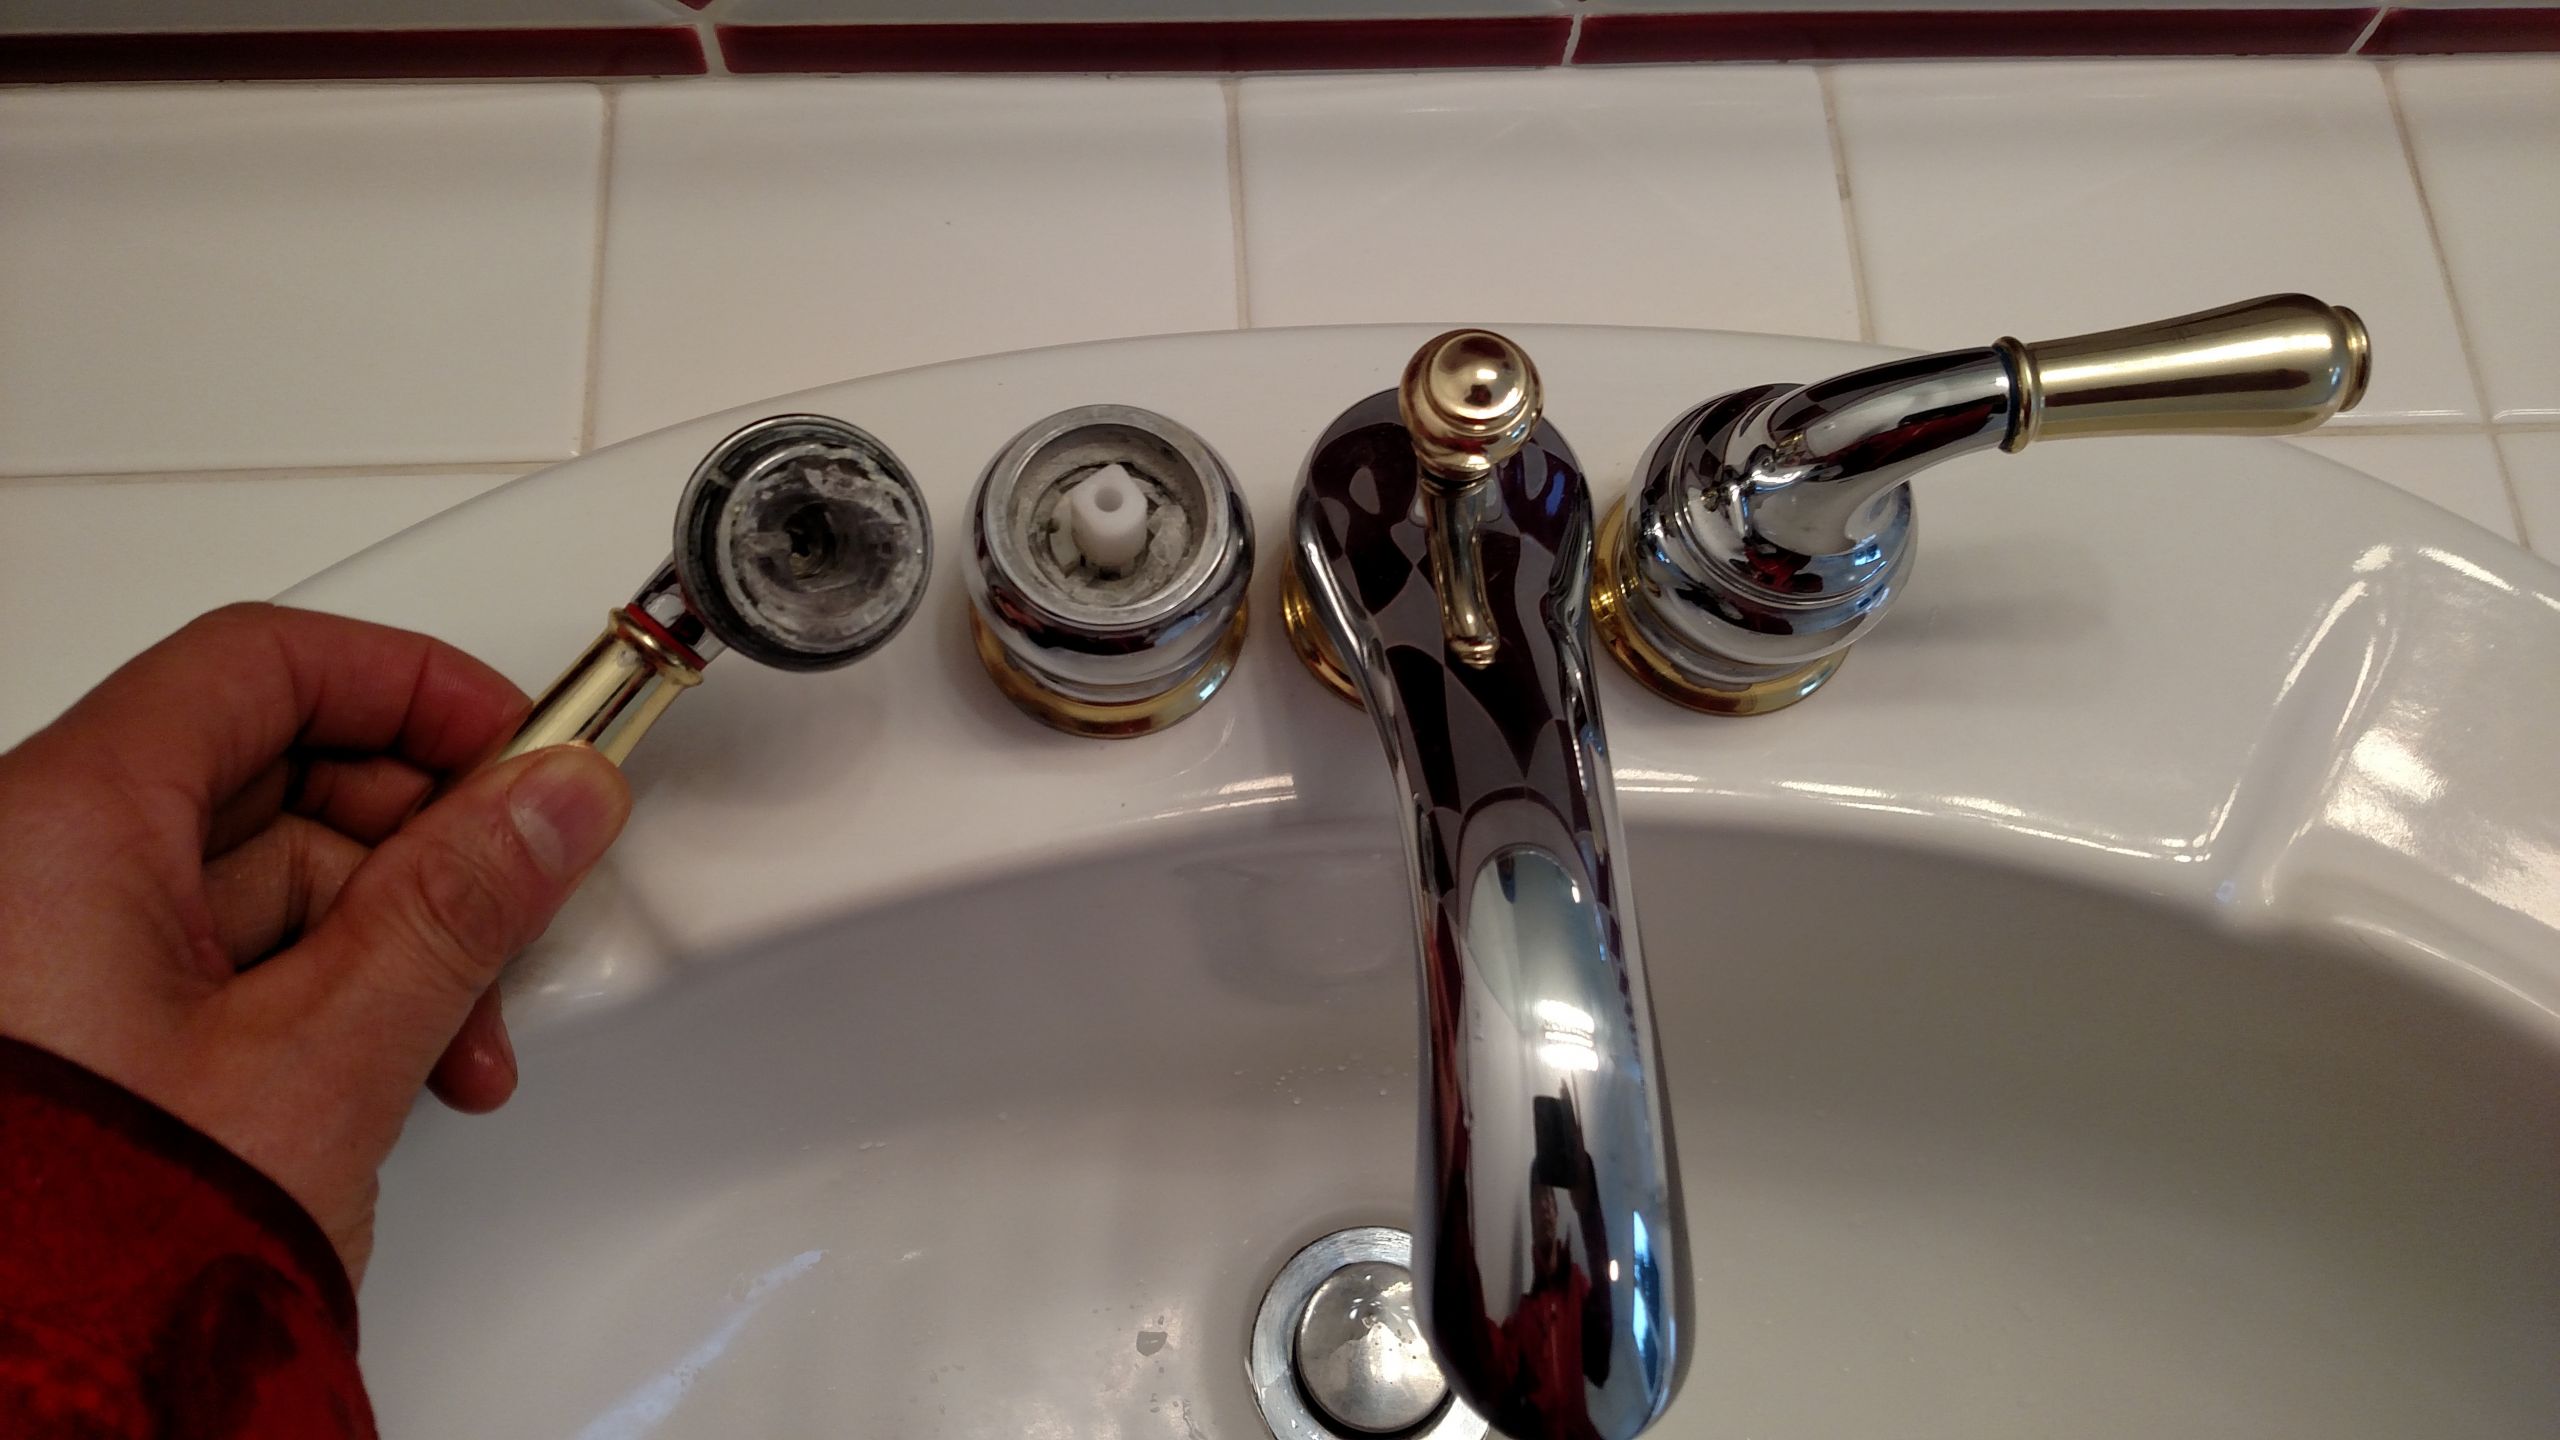 To access the cartridge, you will need to disassemble the faucet. Start by removing the decorative cap on top of the handle with a screwdriver. Then, use a wrench to loosen and remove the handle. Next, unscrew the retaining nut and remove the cartridge. This may require some force, so be careful not to damage the surrounding parts.
4. Replace the Cartridge
 Once you have removed the old cartridge, replace it with the new one. Make sure to align the notches on the cartridge with the notches in the faucet body. Then, reattach the retaining nut and tighten it with a wrench. Finally, reattach the handle and decorative cap.
5. Turn the Water Supply Back On
 After completing the repair, turn the water supply back on and test your faucet. If the water flows smoothly and there are no leaks, then your repair was successful. If you encounter any issues, double check that the cartridge is properly installed and tightened.
By following these additional tips, you can successfully repair your Moen two handle bathroom sink faucet and save yourself the cost of hiring a professional plumber. Remember to use
high-quality
replacement parts and always turn off the water supply before starting any repairs. With a little DIY know-how, you can keep your house's design looking beautiful and functioning properly.
After completing the repair, turn the water supply back on and test your faucet. If the water flows smoothly and there are no leaks, then your repair was successful. If you encounter any issues, double check that the cartridge is properly installed and tightened.
By following these additional tips, you can successfully repair your Moen two handle bathroom sink faucet and save yourself the cost of hiring a professional plumber. Remember to use
high-quality
replacement parts and always turn off the water supply before starting any repairs. With a little DIY know-how, you can keep your house's design looking beautiful and functioning properly.