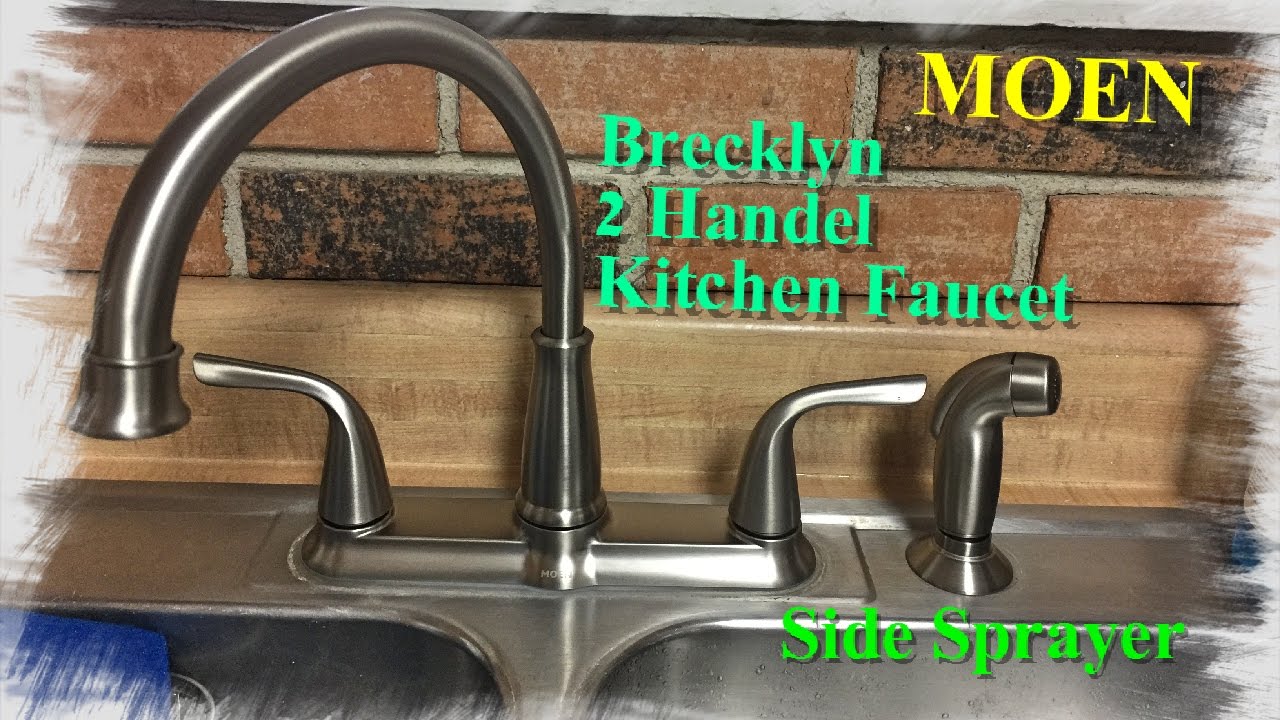
Is your Moen kitchen sink sprayer leaking? This can be a frustrating problem, but luckily it is often an easy fix. In this guide, we’ll walk you through the steps to identify and repair the source of the leak. By the end, your sprayer will be back to working like new and you can continue to enjoy the convenience it provides in your kitchen.
How to Fix a Leaking Moen Kitchen Sink Sprayer


How to Fix a Leaking Moen Kitchen Sink Sprayer


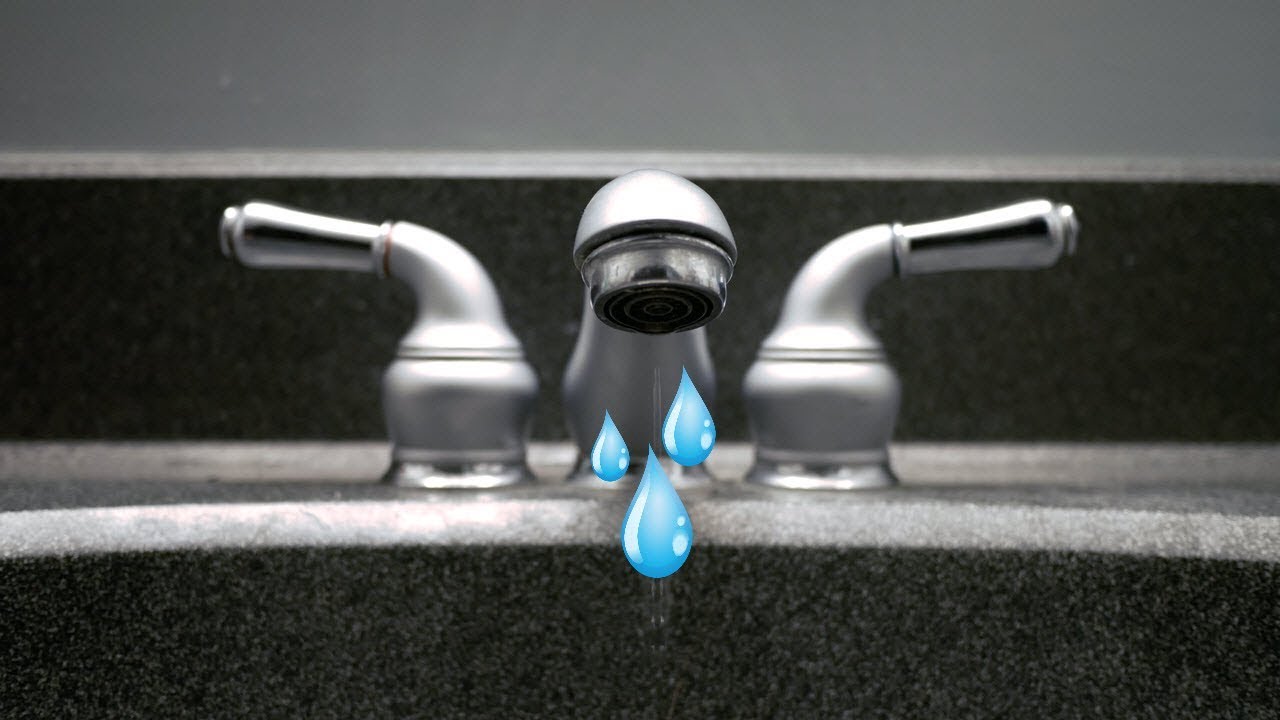
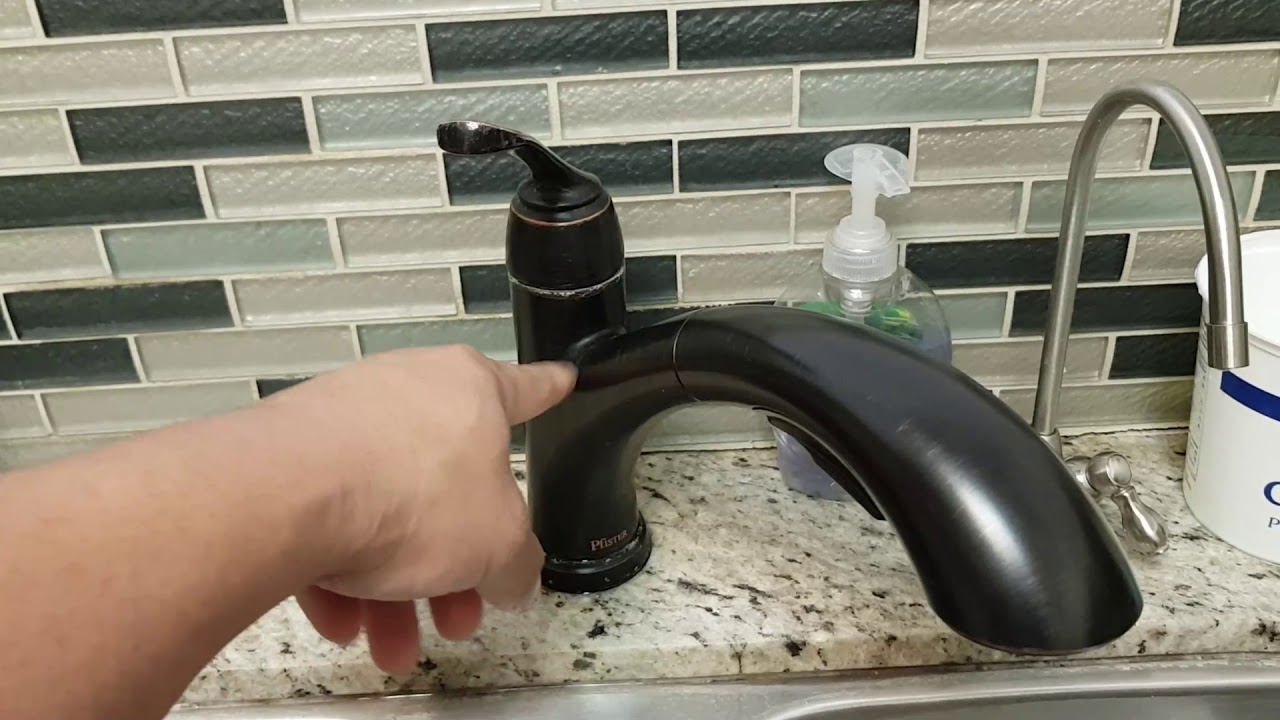
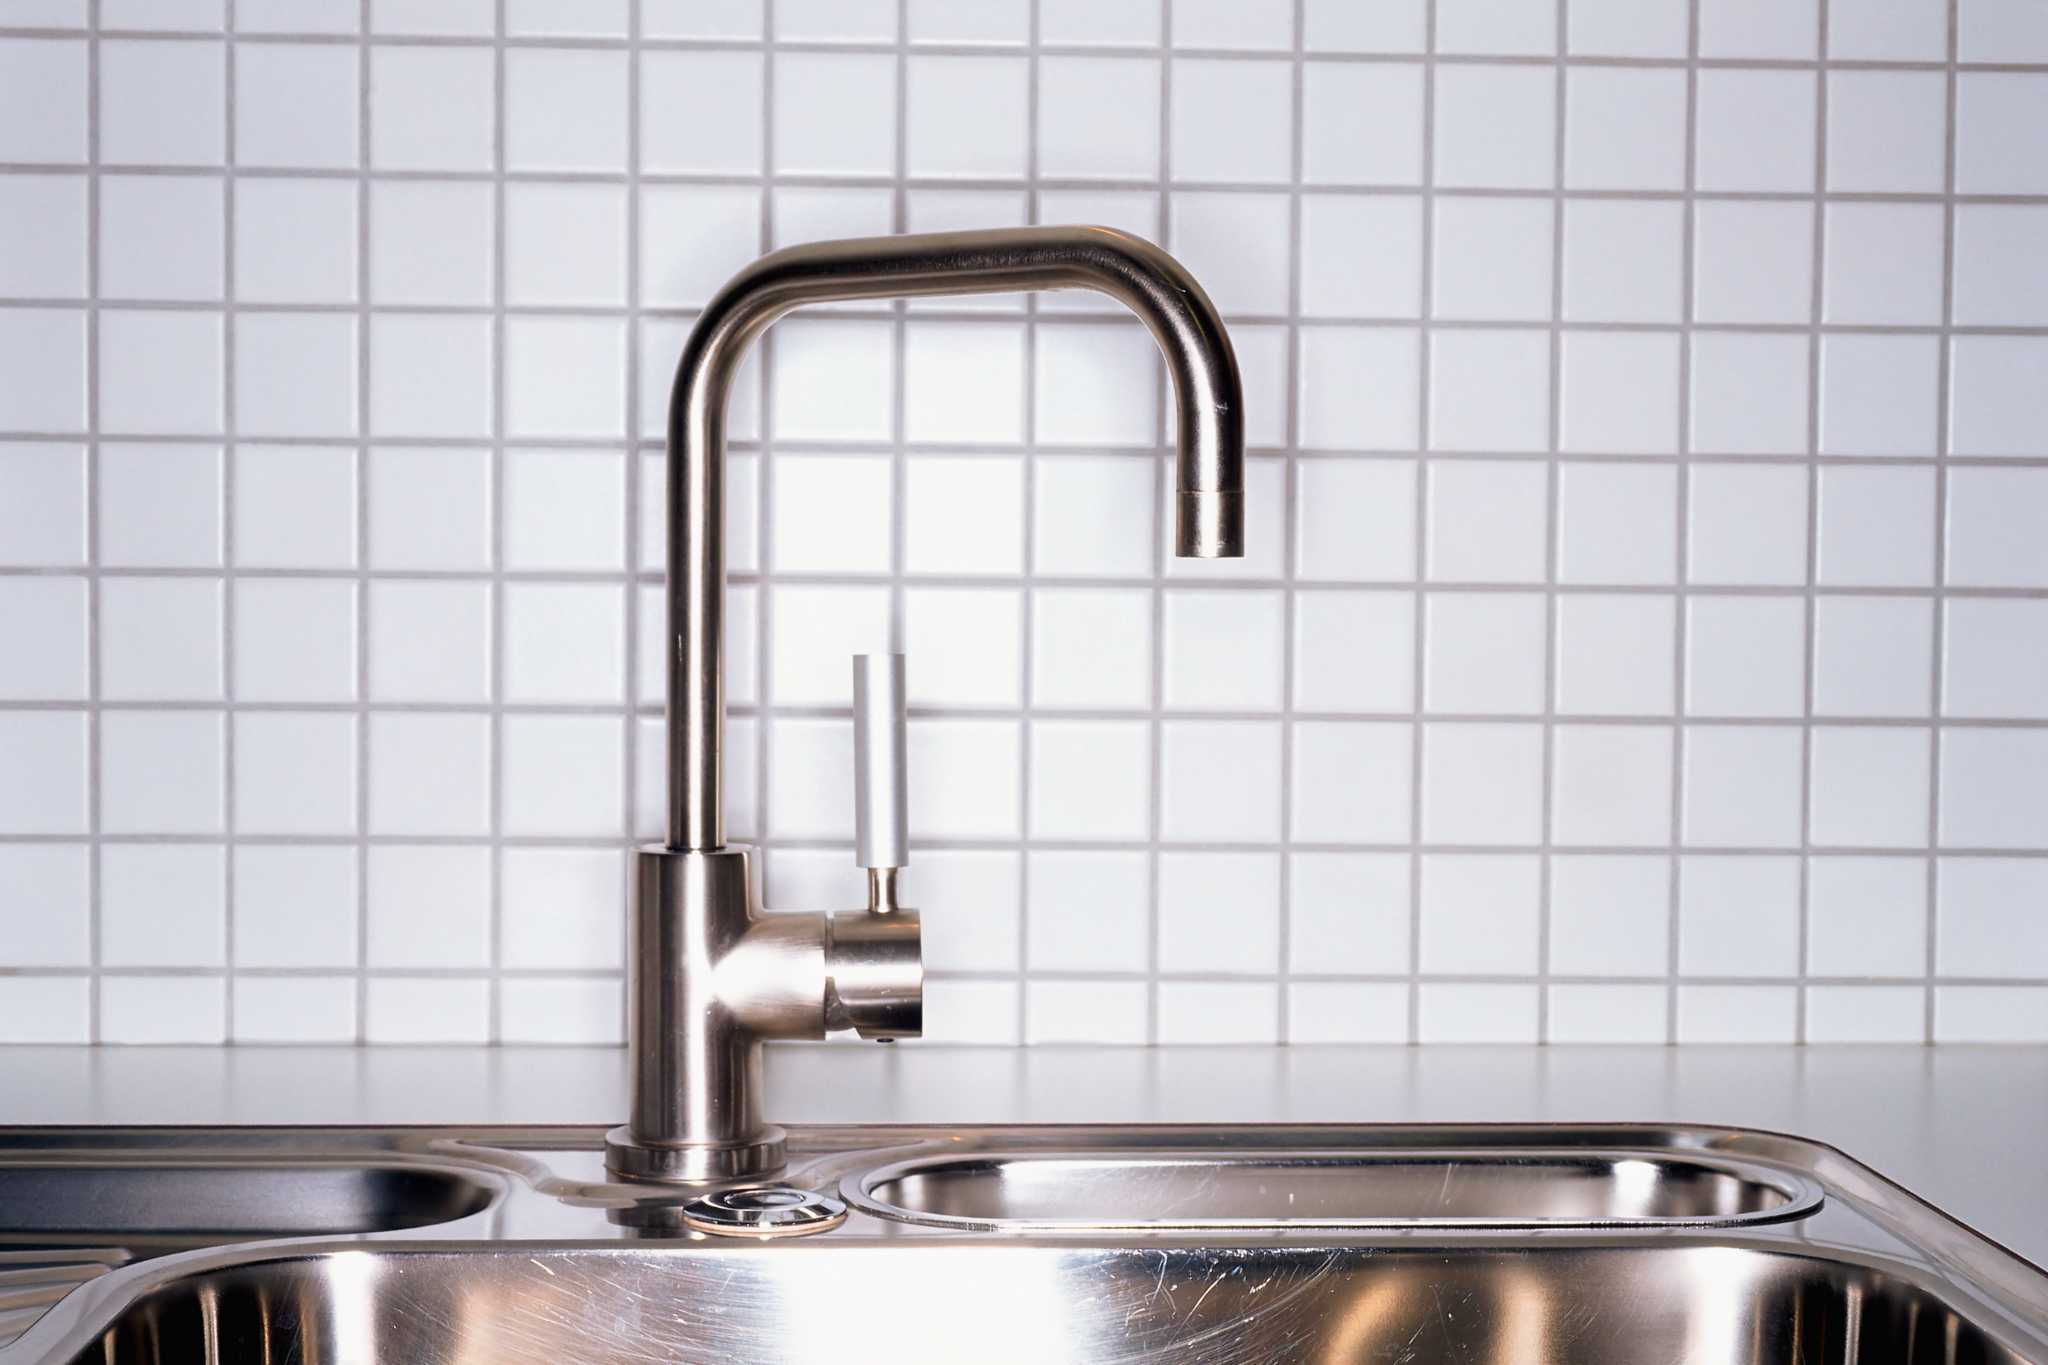
If you have a Moen kitchen faucet, there’s a good chance you have a sprayer as well. Over time, these sprayers can develop leaks, causing water to drip out when the faucet is not in use. This not only wastes water, but it can also be annoying to constantly deal with. Fortunately, repairing a leaky Moen kitchen faucet is a simple process that can save you from having to replace the entire unit.
How to Repair a Leaky Moen Kitchen Faucet


How to Repair a Leaky Moen Kitchen Faucet


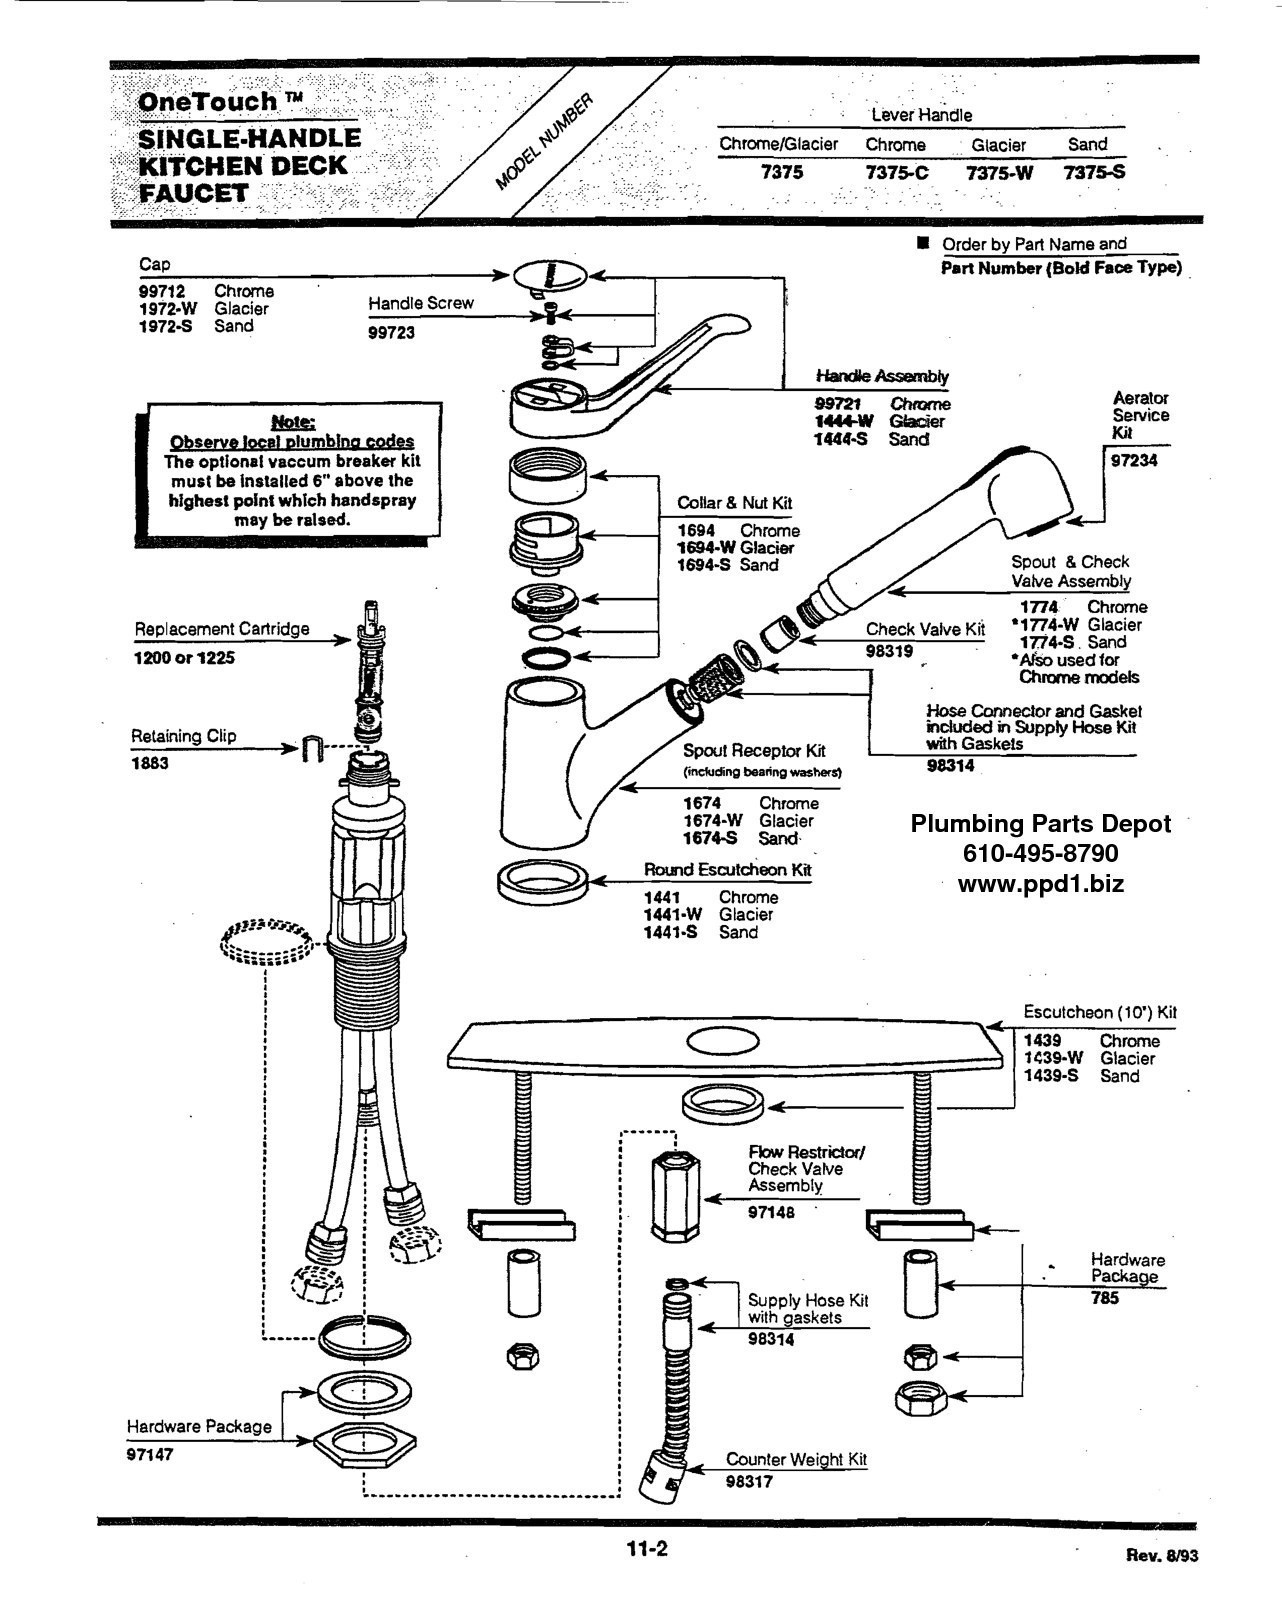
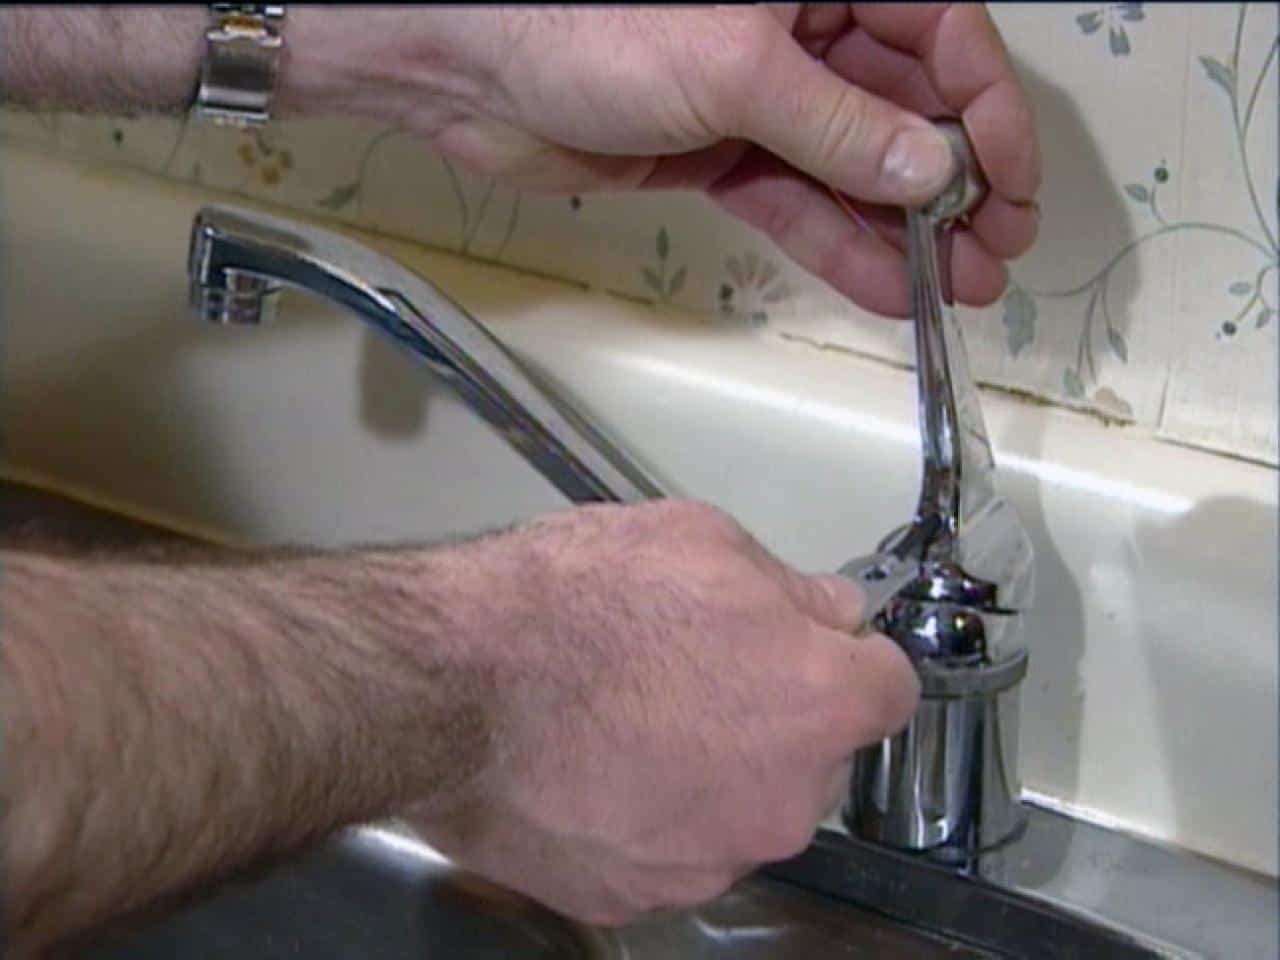
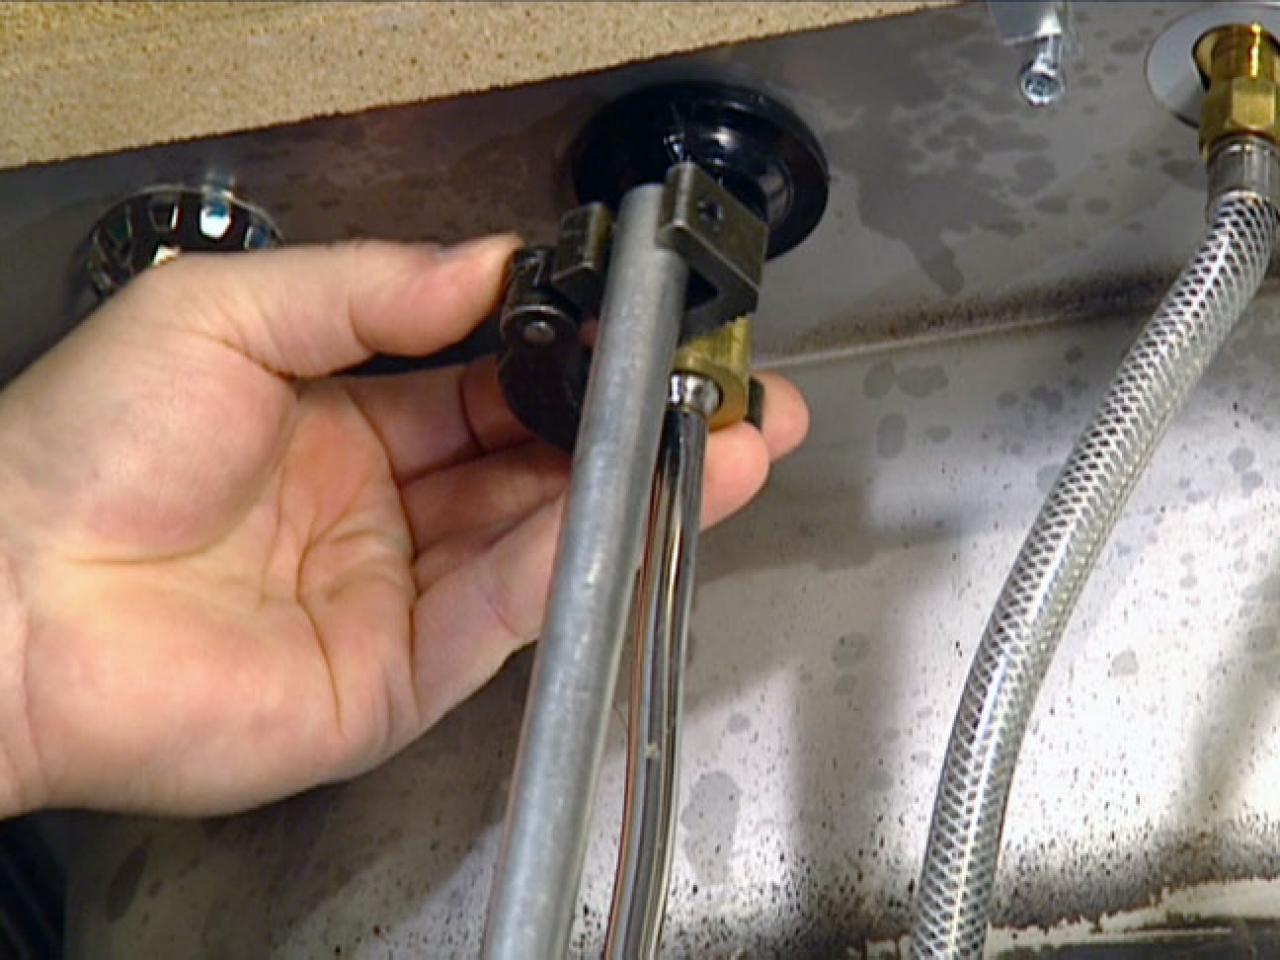
Before you start the repair process, it’s important to understand the common causes of a leaking Moen kitchen sink sprayer. These include worn out O-rings, a faulty sprayer head, or a damaged hose. Once you have identified the cause, you can then proceed with the appropriate repair method.
Moen Kitchen Faucet Sprayer Repair


Moen Kitchen Faucet Sprayer Repair


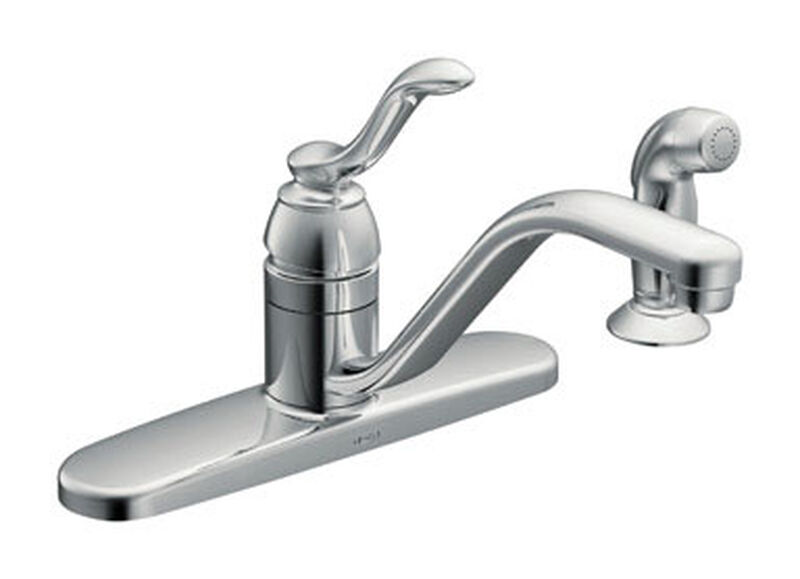


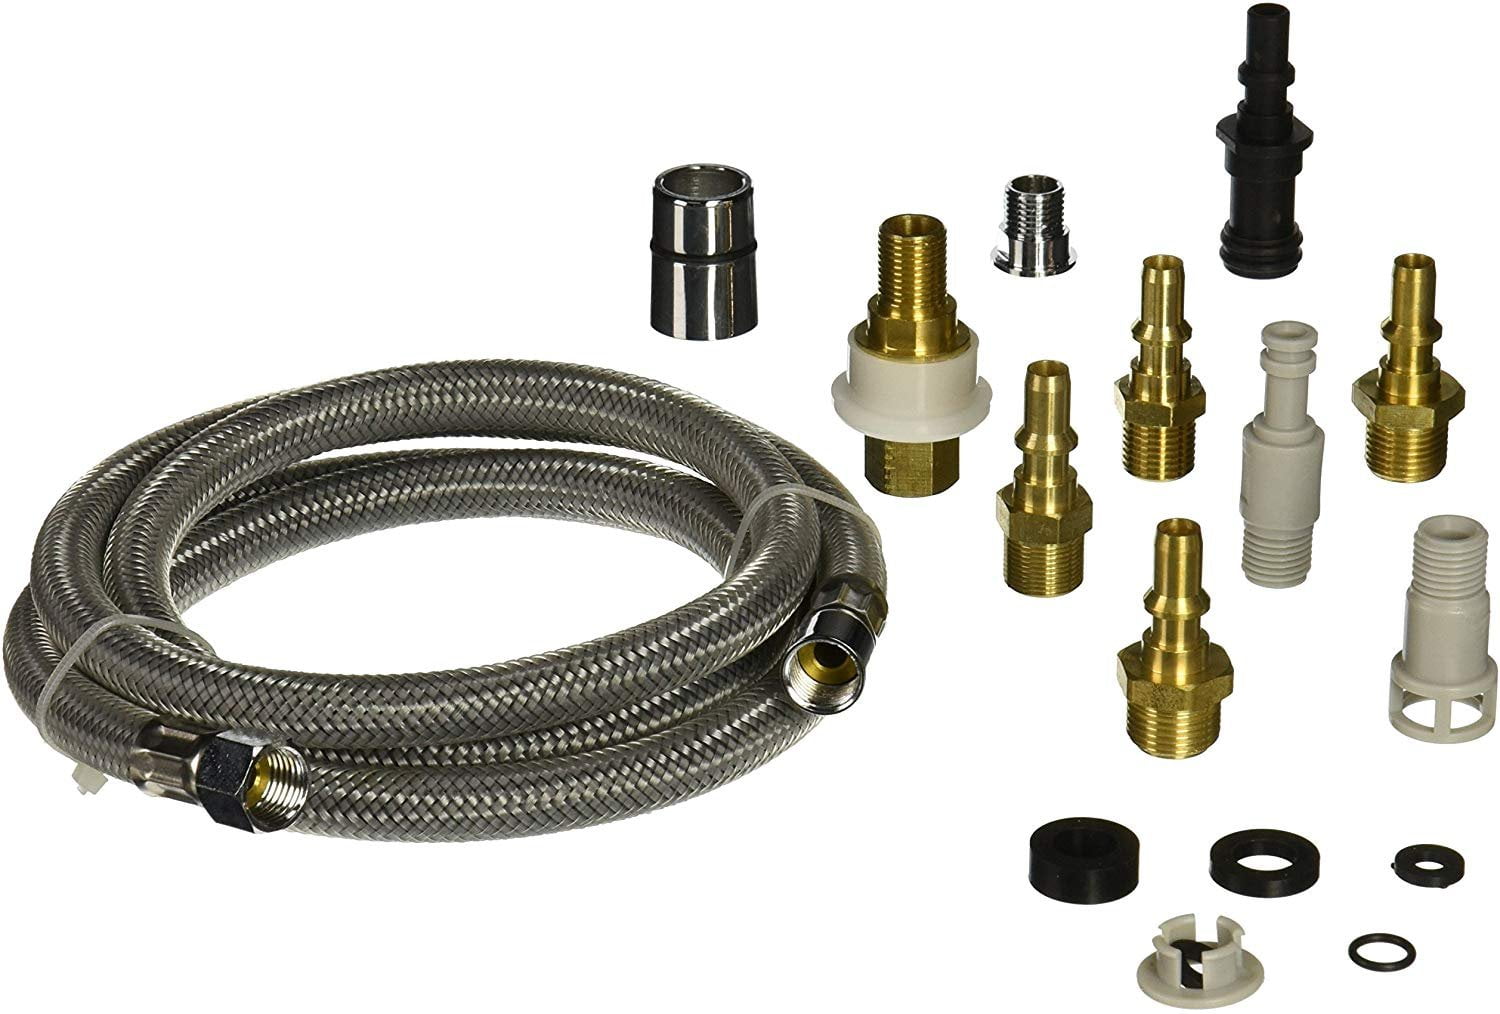
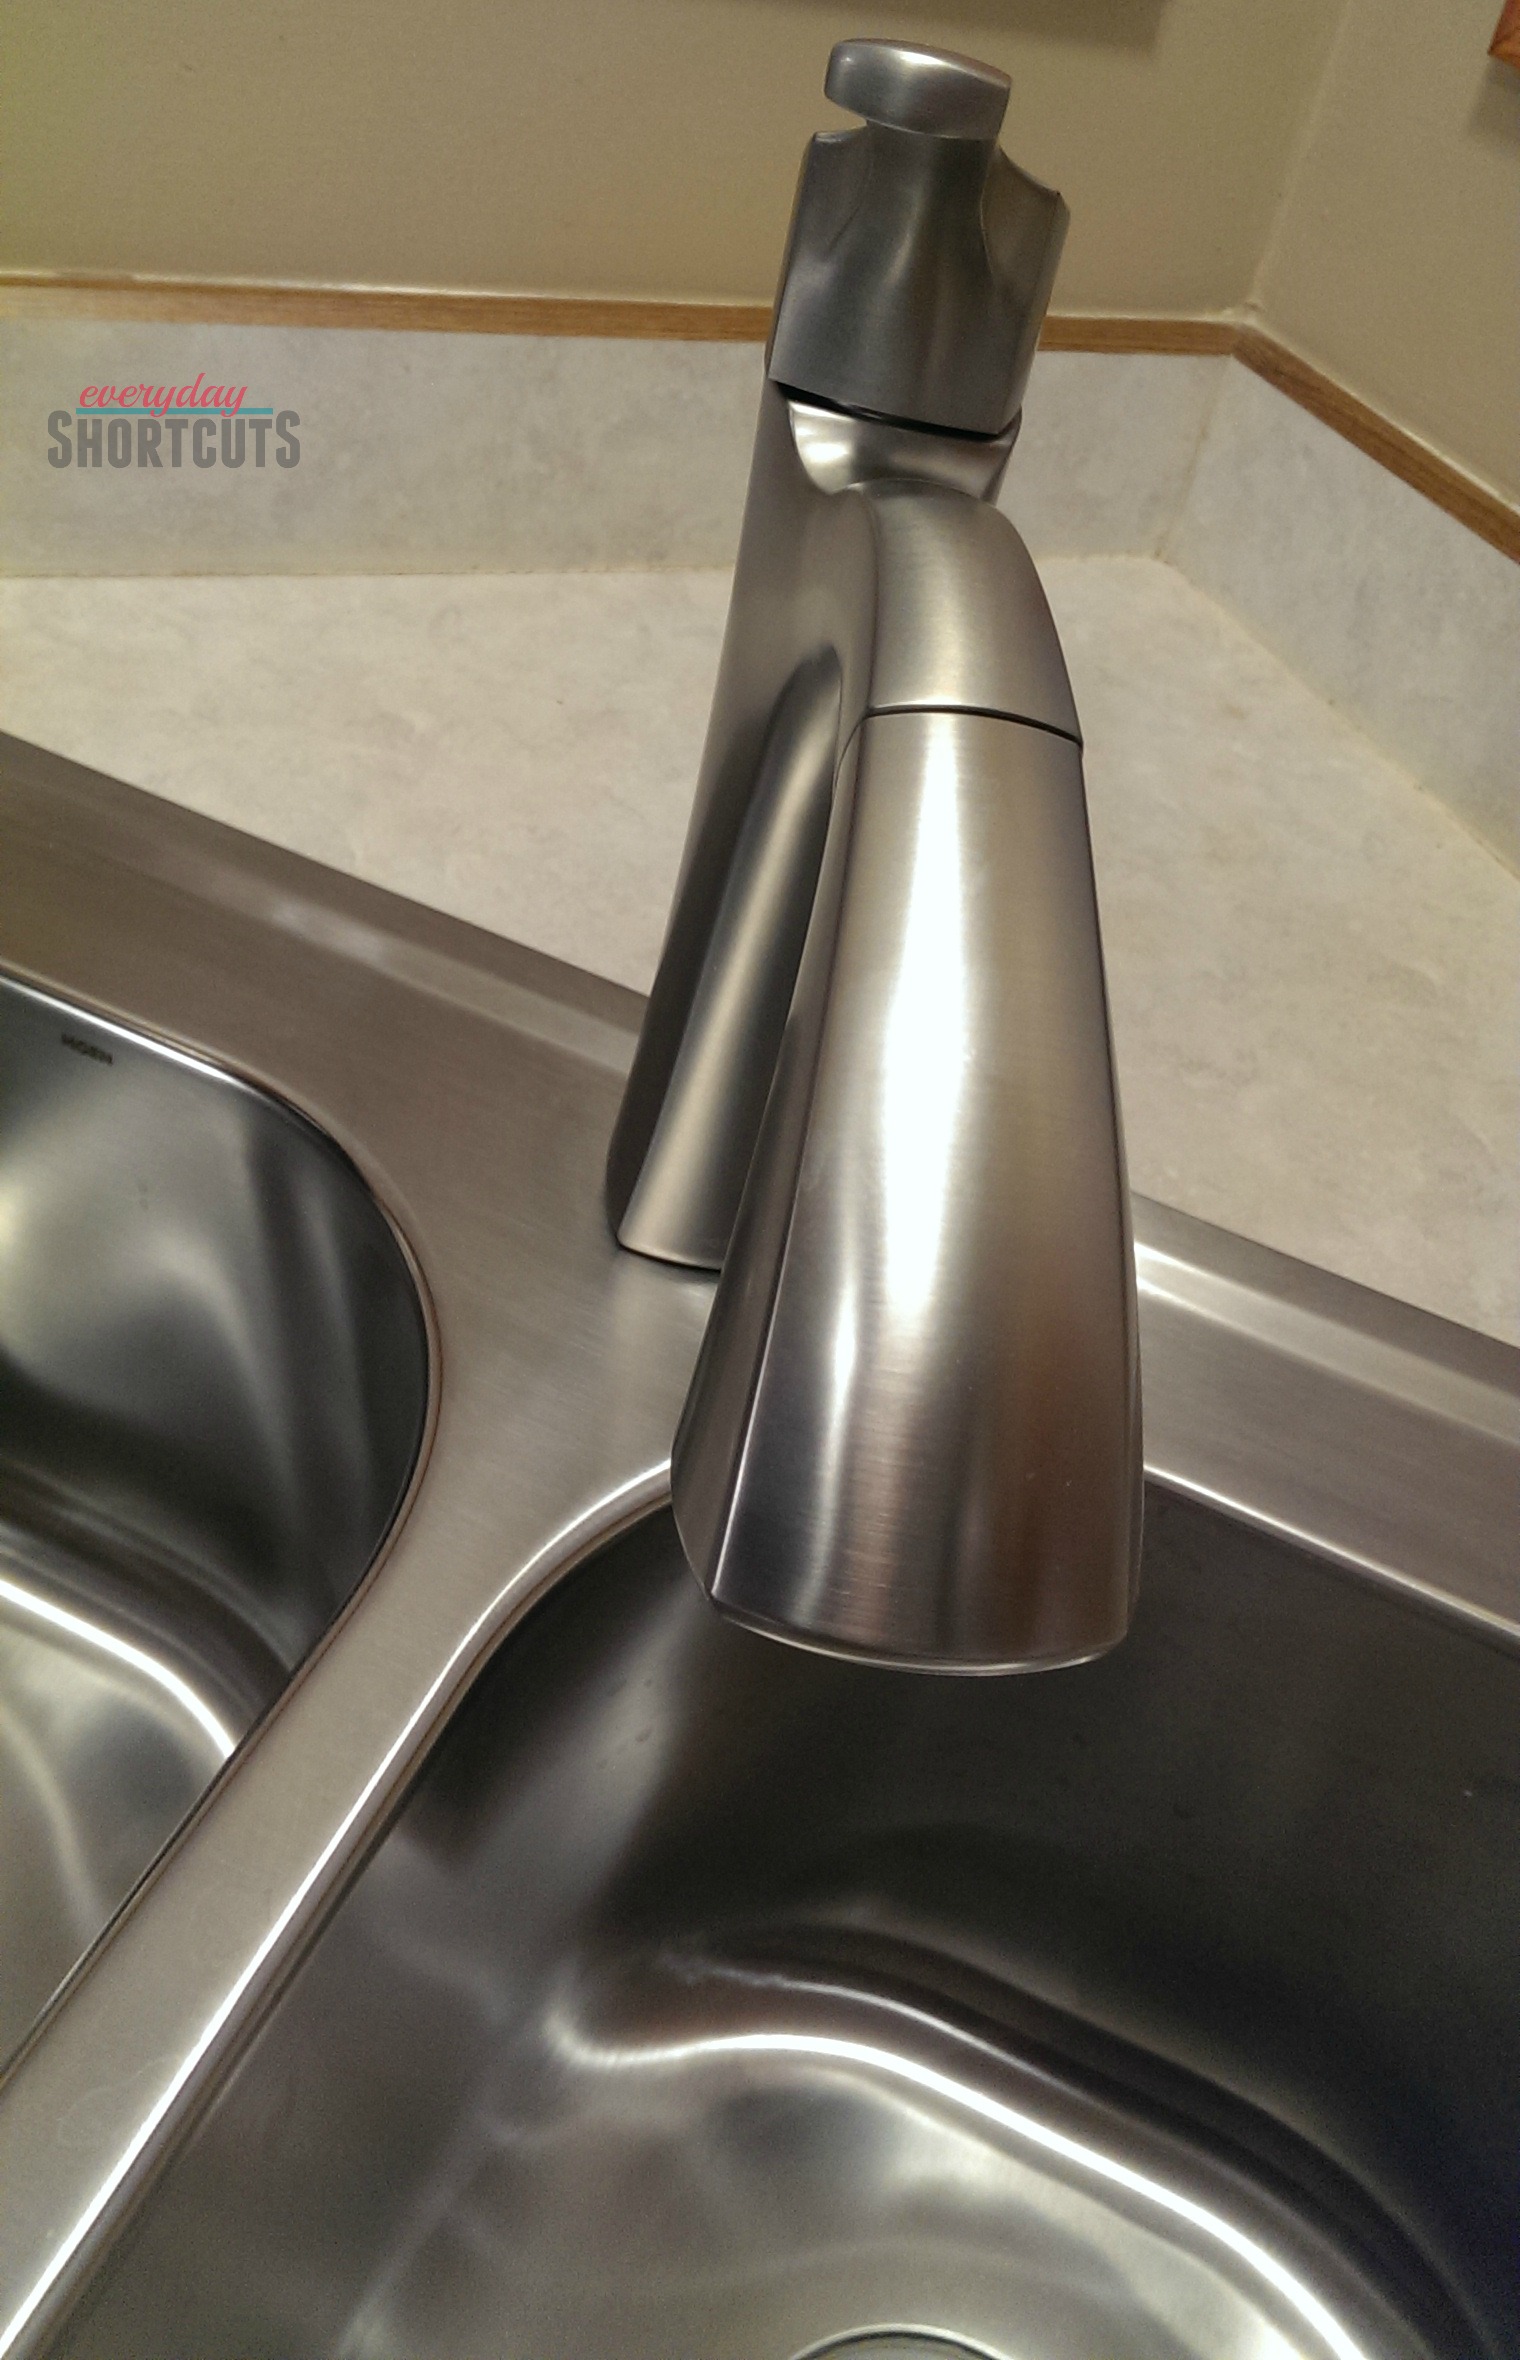
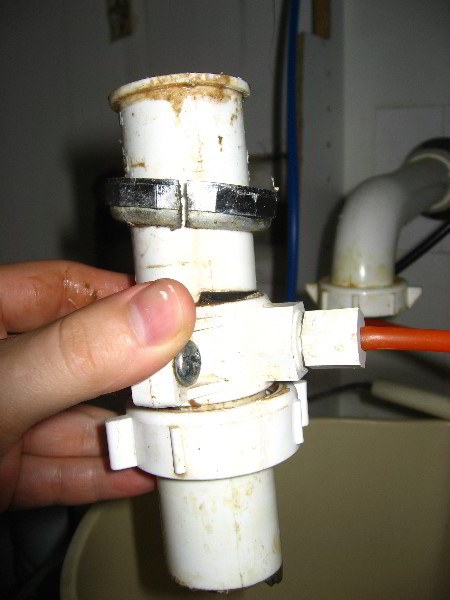
If your Moen kitchen faucet sprayer is beyond repair, you may need to replace it altogether. This can seem like a daunting task, but with the right tools and knowledge, it can be a fairly simple process. In this section, we’ll guide you through the steps to replacing your Moen kitchen faucet sprayer.
How to Replace a Moen Kitchen Faucet Sprayer


How to Replace a Moen Kitchen Faucet Sprayer


Replacing a Moen kitchen faucet sprayer involves removing the old sprayer and installing a new one in its place. You will need to purchase a replacement sprayer that is compatible with your Moen faucet. It’s important to also have a few basic tools on hand, such as pliers and an adjustable wrench, to make the replacement process smoother.
Moen Kitchen Faucet Sprayer Replacement


Moen Kitchen Faucet Sprayer Replacement


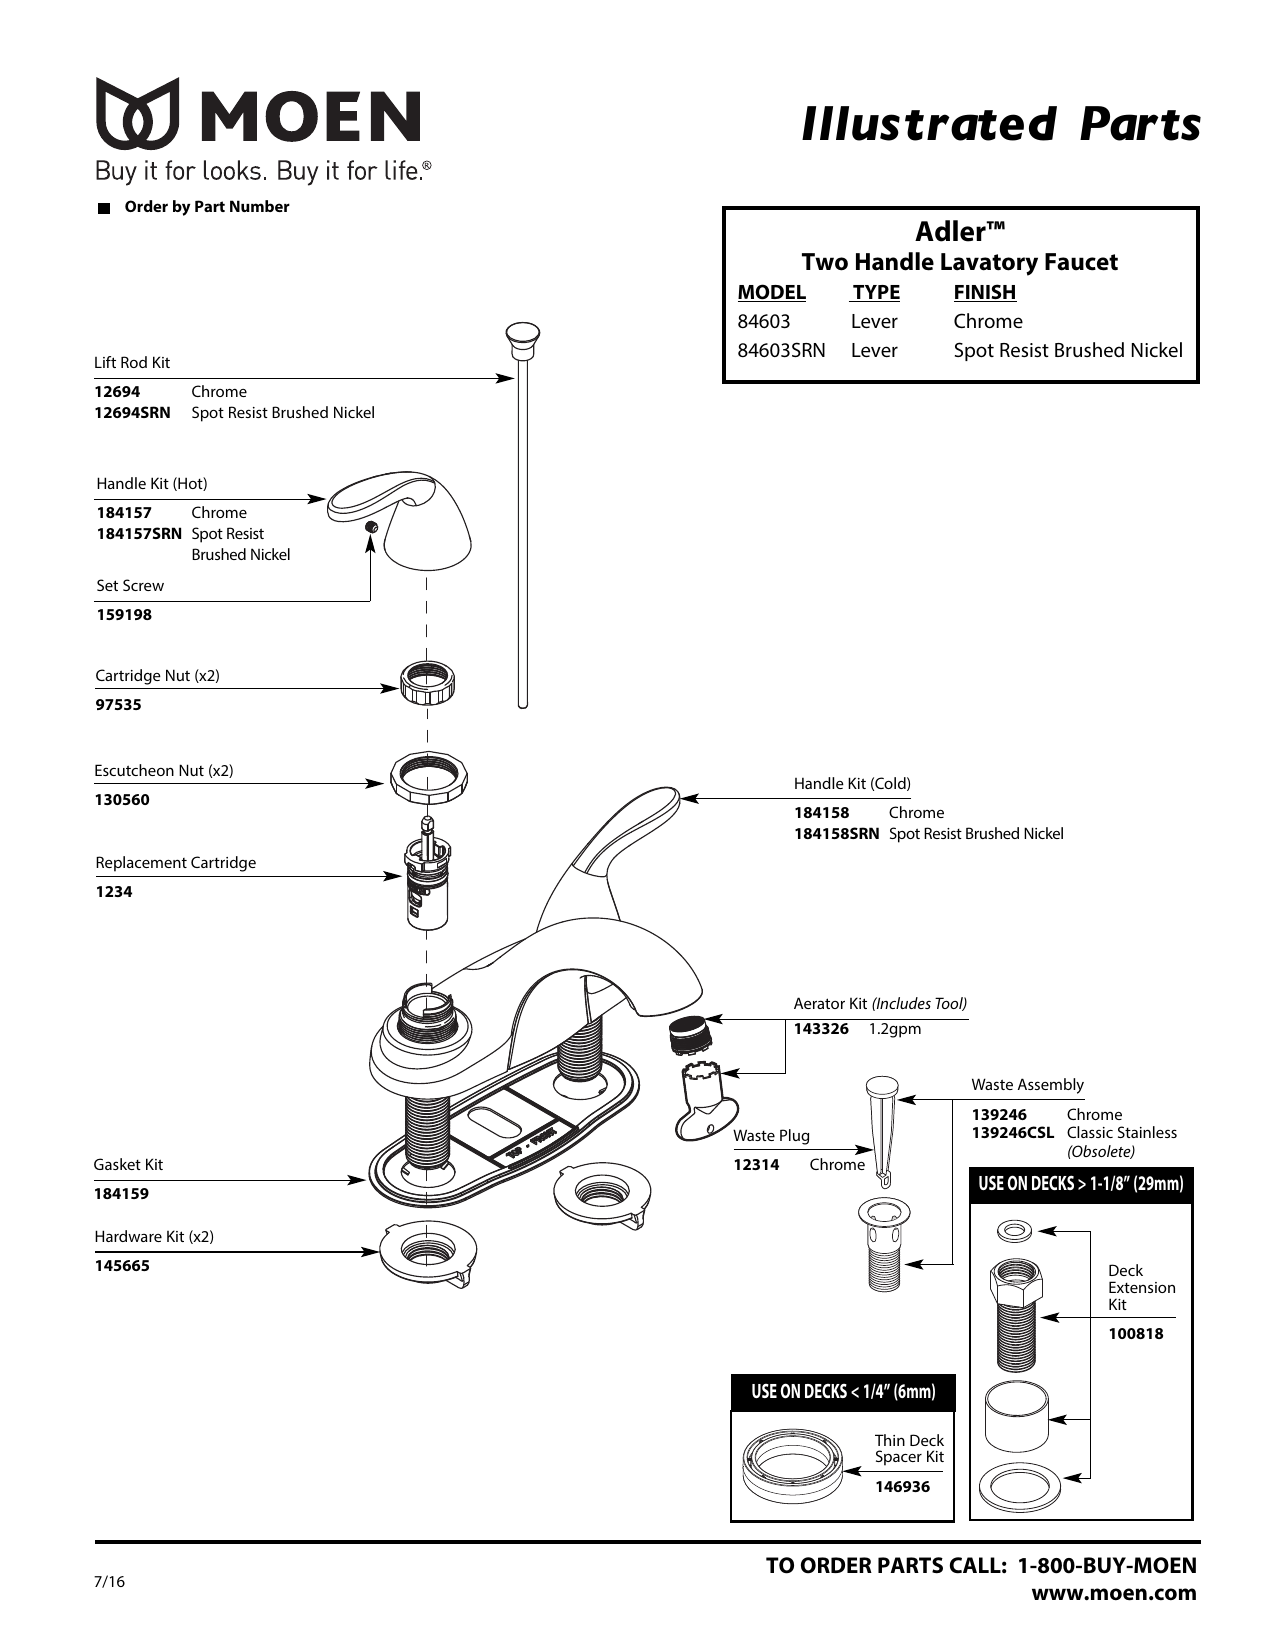
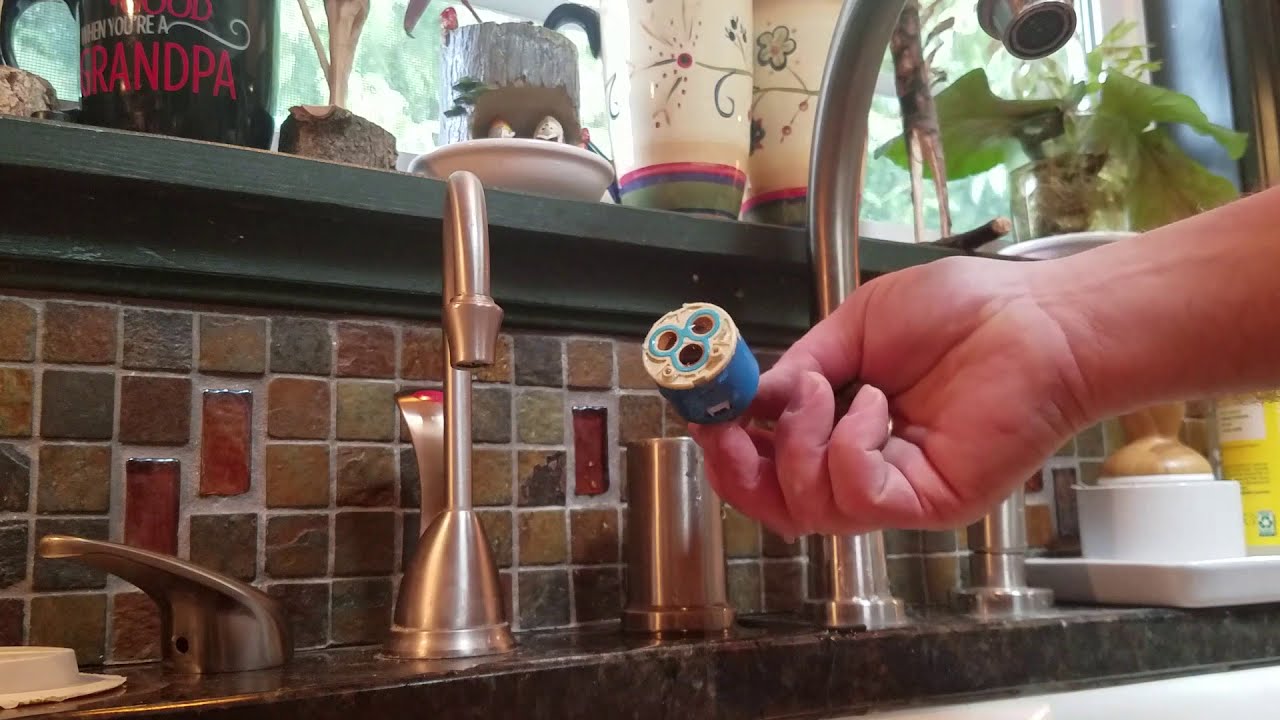
As mentioned earlier, the most common causes of a leaking Moen kitchen sink sprayer are worn out O-rings, a faulty sprayer head, or a damaged hose. O-rings are small rubber rings that create a seal between different parts of the sprayer. Over time, these can become worn out or cracked, causing leaks. The sprayer head and hose can also deteriorate and develop leaks over time.
Common Causes of a Leaking Moen Kitchen Sink Sprayer


Common Causes of a Leaking Moen Kitchen Sink Sprayer


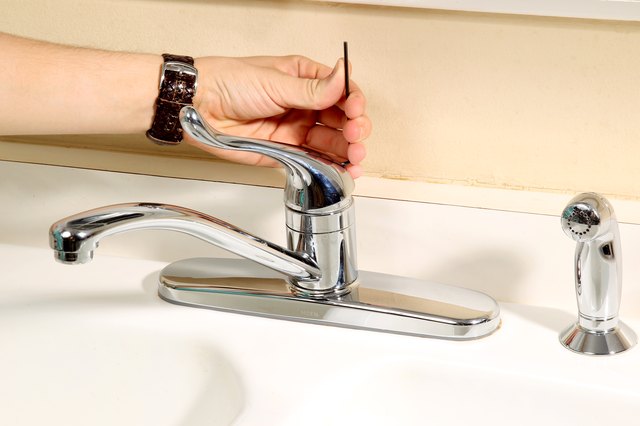
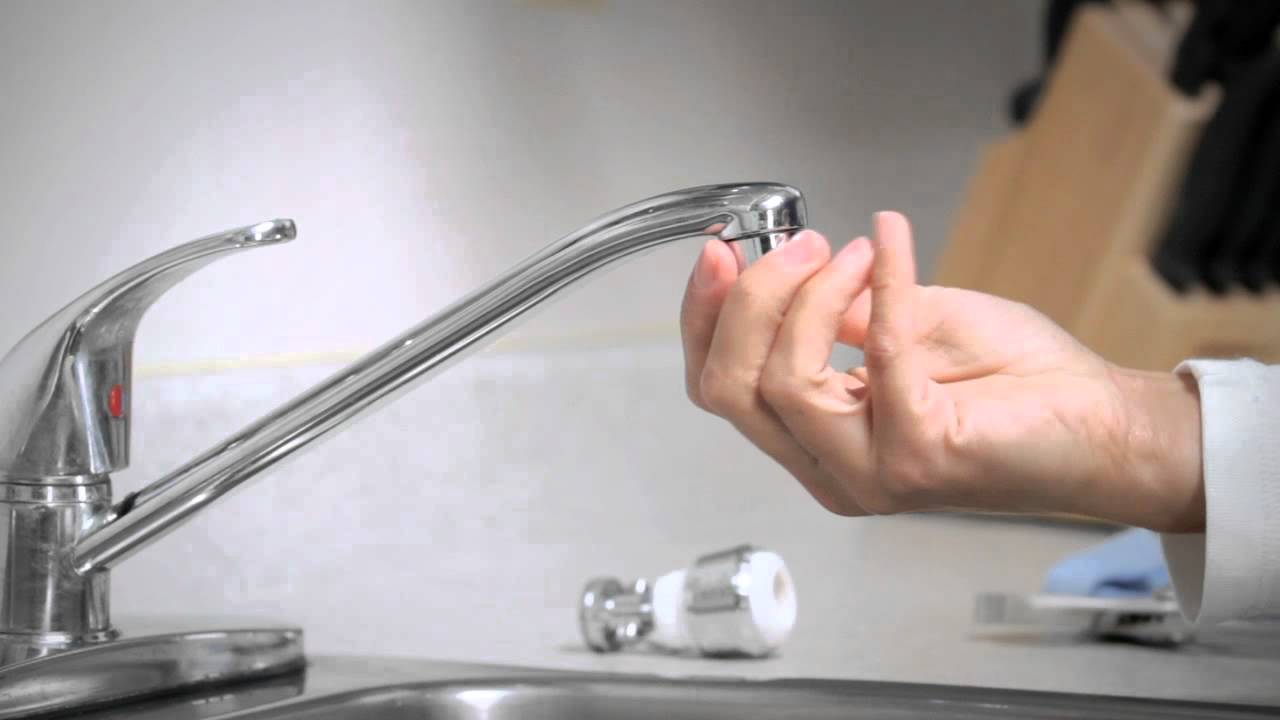
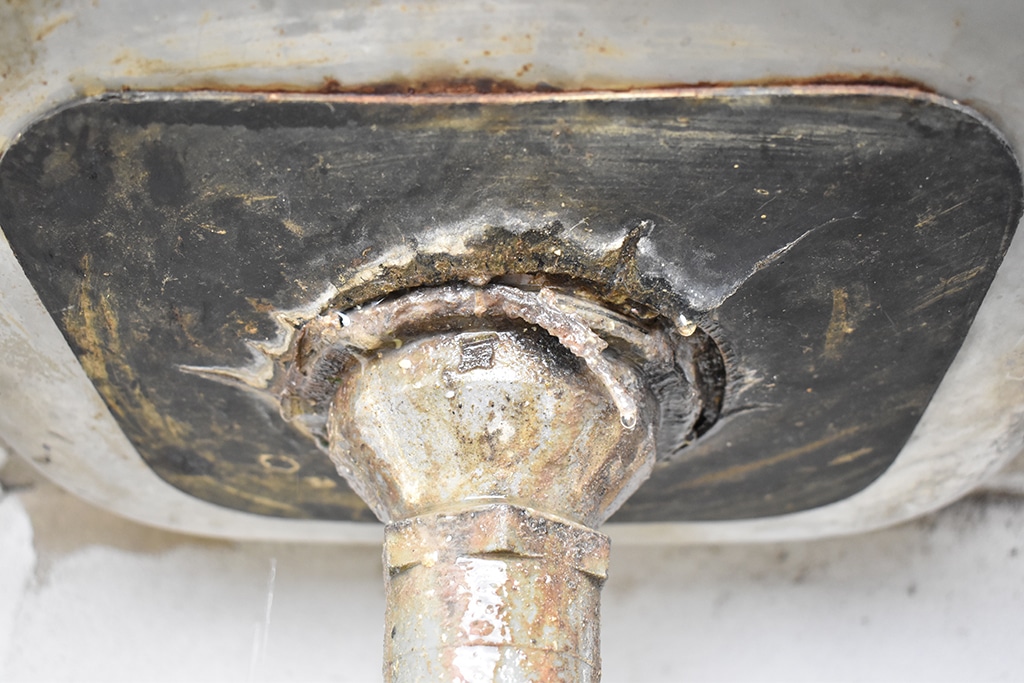
Before attempting any repairs, it’s important to troubleshoot the issue to determine the source of the leak. Start by turning off the water supply to your faucet and then examining the sprayer for any visible cracks or damage. If the sprayer head and hose appear to be in good condition, then the O-rings are likely the cause of the leak.
How to Troubleshoot a Leaking Moen Kitchen Sink Sprayer
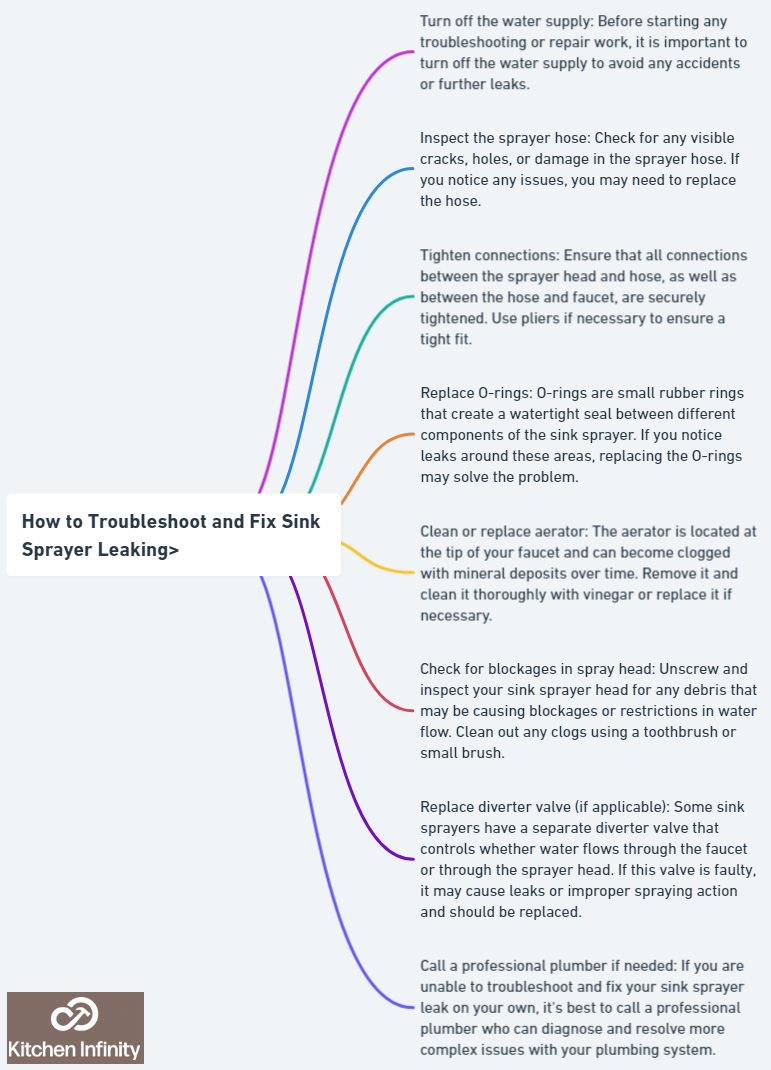

How to Troubleshoot a Leaking Moen Kitchen Sink Sprayer

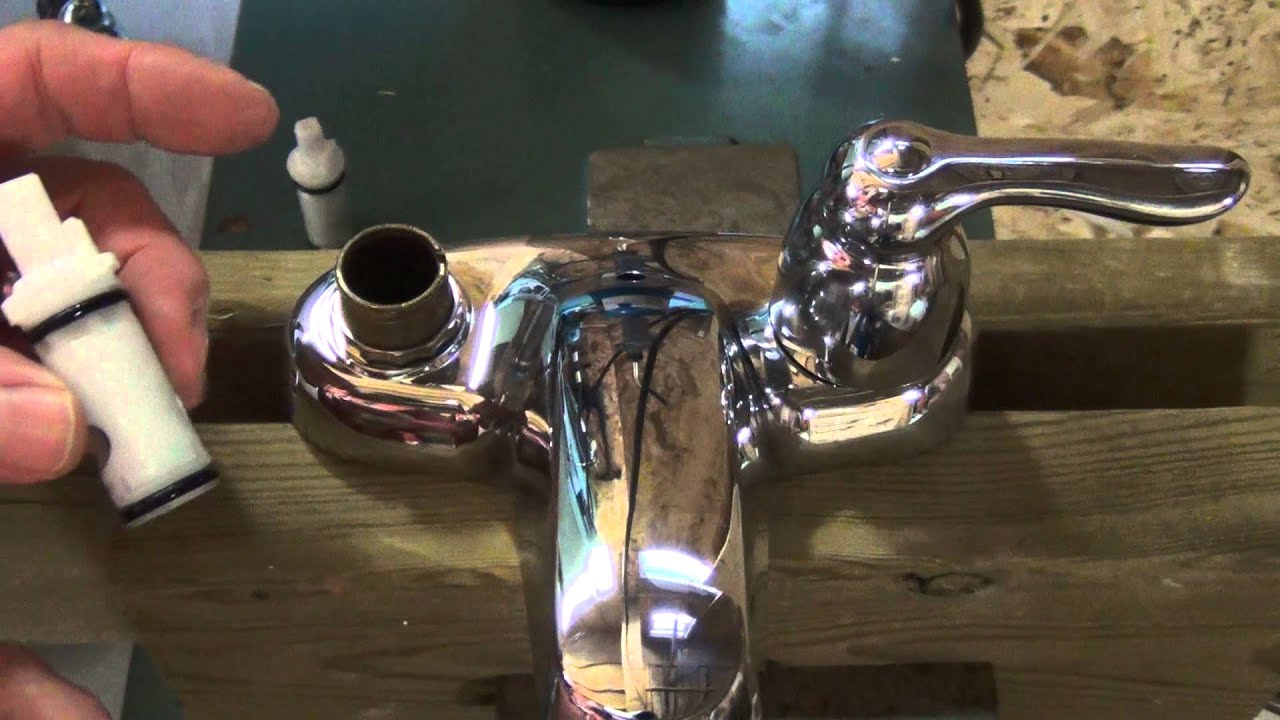
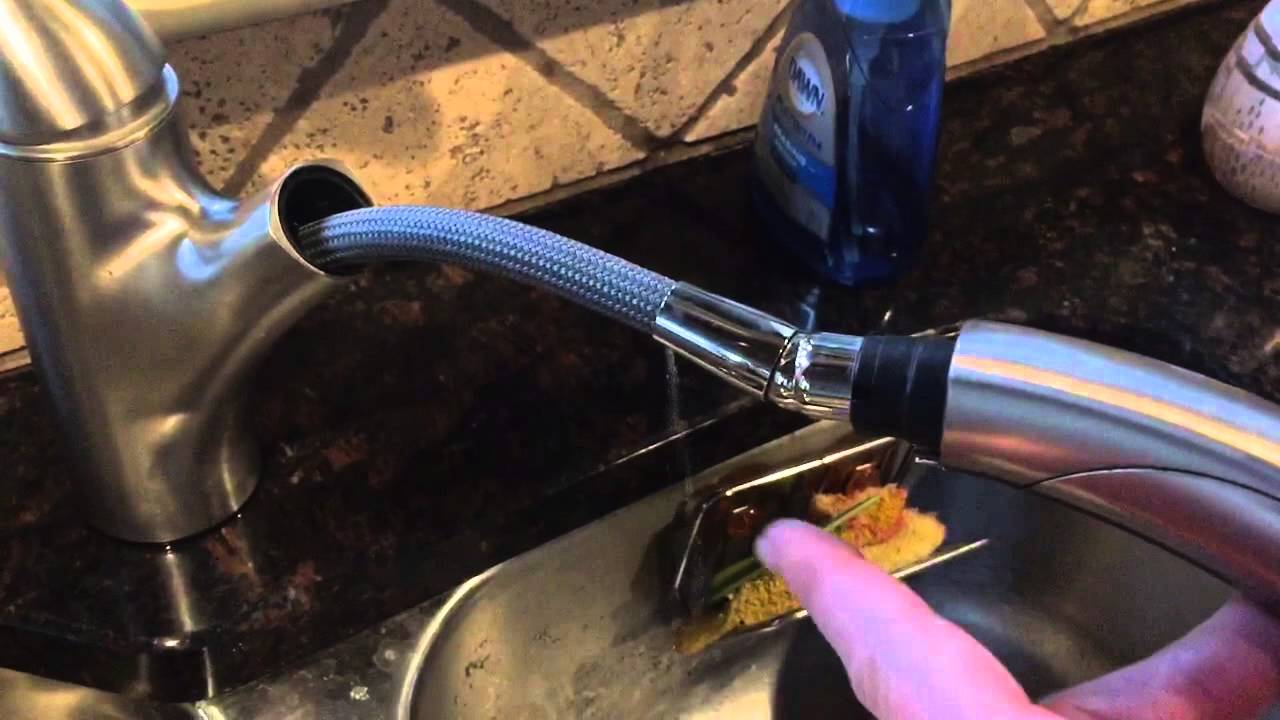
If the O-rings are the culprit, you can easily replace them yourself. Start by turning off the water supply to your faucet and then removing the sprayer head. You can then access the O-rings and replace them with new ones. Make sure to clean the area thoroughly before installing the new O-rings to ensure a proper seal.
DIY Fix for a Leaking Moen Kitchen Sink Sprayer

DIY Fix for a Leaking Moen Kitchen Sink Sprayer


If you are unsure of how to replace the O-rings or need to fix a different issue, a step-by-step guide can be helpful. Start by identifying the source of the leak and then follow the appropriate steps to fix it. This may involve replacing the sprayer head, hose, or O-rings. Make sure to turn off the water supply and have the necessary tools on hand before starting the repair process.
Step-by-Step Guide to Fixing a Leaking Moen Kitchen Sink Sprayer
Step-by-Step Guide to Fixing a Leaking Moen Kitchen Sink Sprayer


In summary, a leaking Moen kitchen sink sprayer can be caused by worn out O-rings, a faulty sprayer head, or a damaged hose. With the right tools and knowledge, you can easily fix these issues and get your sprayer back to working like new. Make sure to regularly check your sprayer for any signs of wear and tear to prevent leaks from occurring in the future.
Moen Kitchen Sink Sprayer Leaking: Causes and Solutions

Moen Kitchen Sink Sprayer Leaking: Causes and Solutions
:max_bytes(150000):strip_icc()/installing-a-kitchen-sink-sprayer-2718817-03-514088ddb922466eb3d4cd73f3aa85f4.jpg)

The Importance of Fixing a Leaking Moen Kitchen Sink Sprayer

Don't Ignore Leaks
 A leaking
Moen kitchen sink sprayer
may seem like a minor inconvenience, but it's important to address the issue as soon as possible. Ignoring a leak can lead to bigger problems down the road, which can be costly and time-consuming to fix. Plus, a leaking sink can also cause water damage to your kitchen and potentially lead to mold growth.
A leaking
Moen kitchen sink sprayer
may seem like a minor inconvenience, but it's important to address the issue as soon as possible. Ignoring a leak can lead to bigger problems down the road, which can be costly and time-consuming to fix. Plus, a leaking sink can also cause water damage to your kitchen and potentially lead to mold growth.
Identifying the Problem
 Before attempting to fix the leak, it's important to determine the cause. There are a few common reasons why a
Moem kitchen sink sprayer
may be leaking. It could be due to a worn out or damaged sprayer hose, a faulty spray head, or a loose connection. It's important to inspect all components of the sprayer to pinpoint the source of the leak.
Before attempting to fix the leak, it's important to determine the cause. There are a few common reasons why a
Moem kitchen sink sprayer
may be leaking. It could be due to a worn out or damaged sprayer hose, a faulty spray head, or a loose connection. It's important to inspect all components of the sprayer to pinpoint the source of the leak.
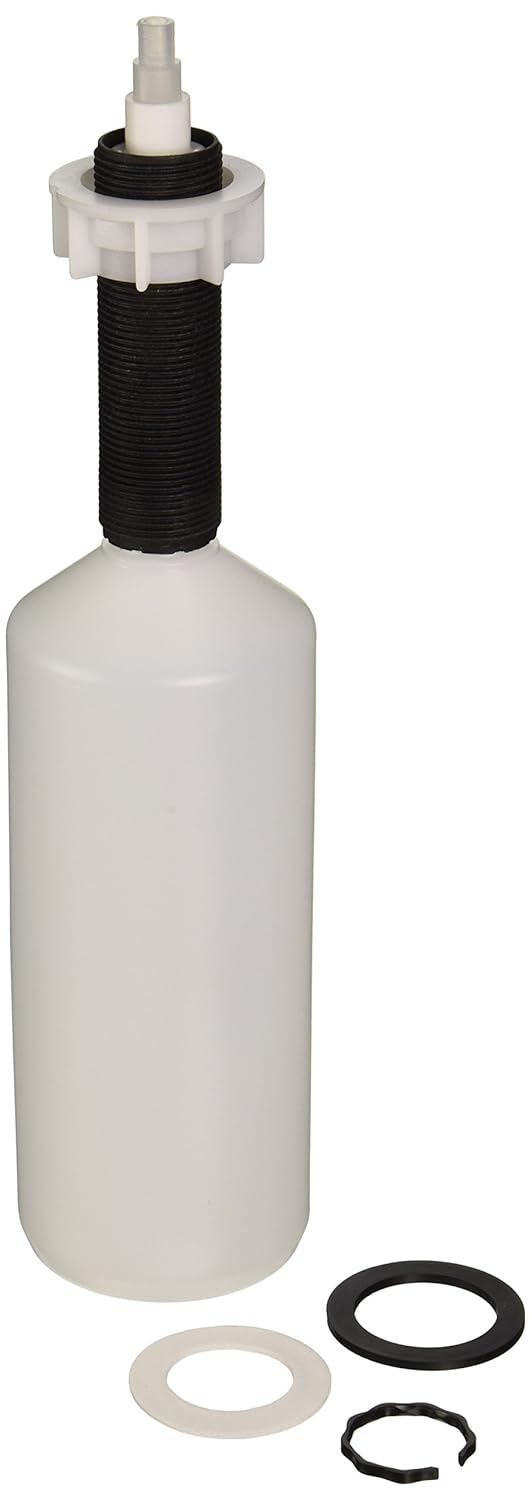
Tools You Will Need
 To fix a leaking
Moem kitchen sink sprayer
, you will need a few tools. These may include an adjustable wrench, pliers, a flathead screwdriver, a replacement sprayer hose or head, and plumber's tape. Make sure to have all necessary tools on hand before starting the repair process.
To fix a leaking
Moem kitchen sink sprayer
, you will need a few tools. These may include an adjustable wrench, pliers, a flathead screwdriver, a replacement sprayer hose or head, and plumber's tape. Make sure to have all necessary tools on hand before starting the repair process.
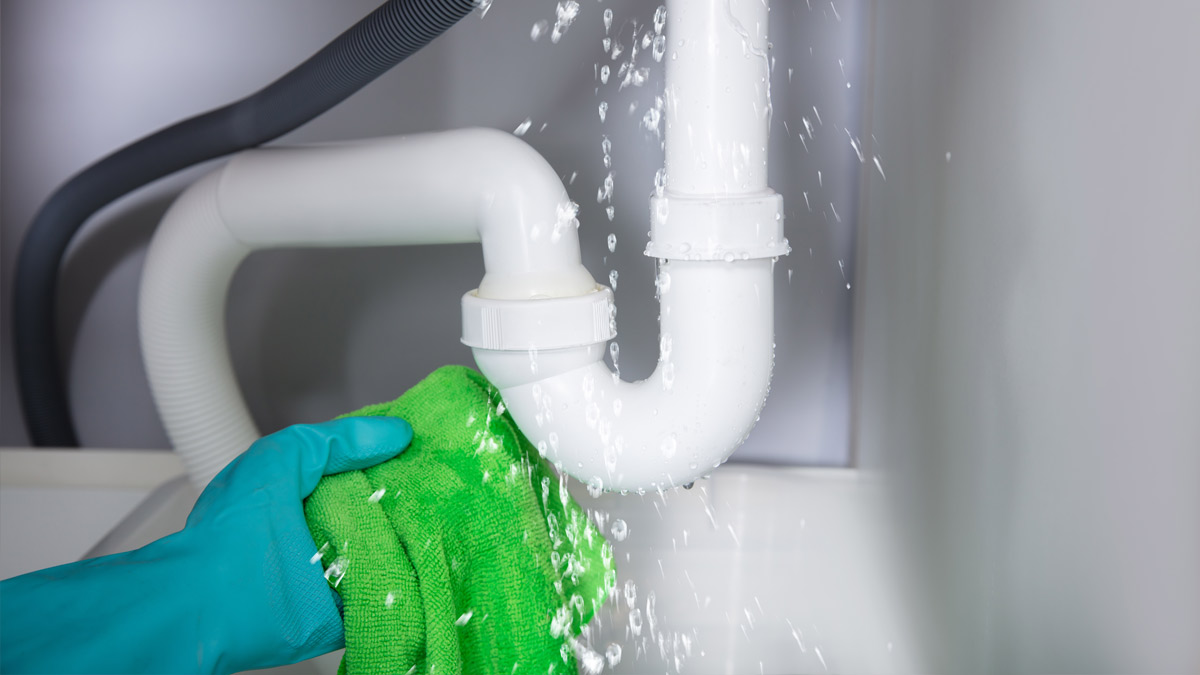
Fixing the Leak
 Once you have identified the source of the leak and gathered your tools, it's time to fix the problem. If the sprayer hose is the issue, you can try tightening the connections with an adjustable wrench. If that doesn't work, you may need to replace the hose entirely. If the spray head is the culprit, you can try cleaning it or replacing it with a new one. Make sure to use plumber's tape on all connections to prevent future leaks.
Calling a Professional
 If you are not comfortable fixing the leak yourself, it's best to call a professional plumber. They have the experience and expertise to quickly and effectively fix the issue without causing further damage. Plus, hiring a professional can save you time and energy, allowing you to focus on other tasks or projects.
Regular Maintenance
 To prevent future leaks, it's important to regularly maintain your
Moem kitchen sink sprayer
. This includes checking for any loose connections, cleaning the spray head, and replacing any worn out components. By taking a few minutes to inspect and maintain your sprayer, you can avoid potential leaks and increase its lifespan.
To prevent future leaks, it's important to regularly maintain your
Moem kitchen sink sprayer
. This includes checking for any loose connections, cleaning the spray head, and replacing any worn out components. By taking a few minutes to inspect and maintain your sprayer, you can avoid potential leaks and increase its lifespan.
Final Thoughts
 A leaking
Moem kitchen sink sprayer
may seem like a small issue, but it's important to address it promptly to avoid bigger problems in the future. By identifying the source of the leak and using the right tools and techniques, you can easily fix the issue yourself. However, if you are unsure or uncomfortable with the repair process, don't hesitate to call a professional plumber for assistance. Remember to regularly maintain your sprayer to prevent future leaks and keep your kitchen functioning properly.
A leaking
Moem kitchen sink sprayer
may seem like a small issue, but it's important to address it promptly to avoid bigger problems in the future. By identifying the source of the leak and using the right tools and techniques, you can easily fix the issue yourself. However, if you are unsure or uncomfortable with the repair process, don't hesitate to call a professional plumber for assistance. Remember to regularly maintain your sprayer to prevent future leaks and keep your kitchen functioning properly.