Are you an interior designer or aspiring to be one? Do you want to showcase your design ideas in a realistic and professional manner? Then learning how to create a realistic living room rendering in Photoshop is a must for you. With the help of this powerful software, you can bring your design concepts to life and impress your clients with stunning visualizations. Here's a step-by-step guide on how to do it:1. How to Create a Realistic Living Room Rendering in Photoshop


1. How to Create a Realistic Living Room Rendering in Photoshop
Before we dive into the tutorial, let's first understand the basics of rendering in Photoshop. Rendering is the process of adding textures, colors, and lighting to a 3D model. It is used to create a realistic representation of a design concept. With Photoshop, you can apply different rendering techniques and enhance the overall look and feel of your design. Now, let's move on to the tutorial.2. Living Room Rendering Tutorial in Photoshop


2. Living Room Rendering Tutorial in Photoshop

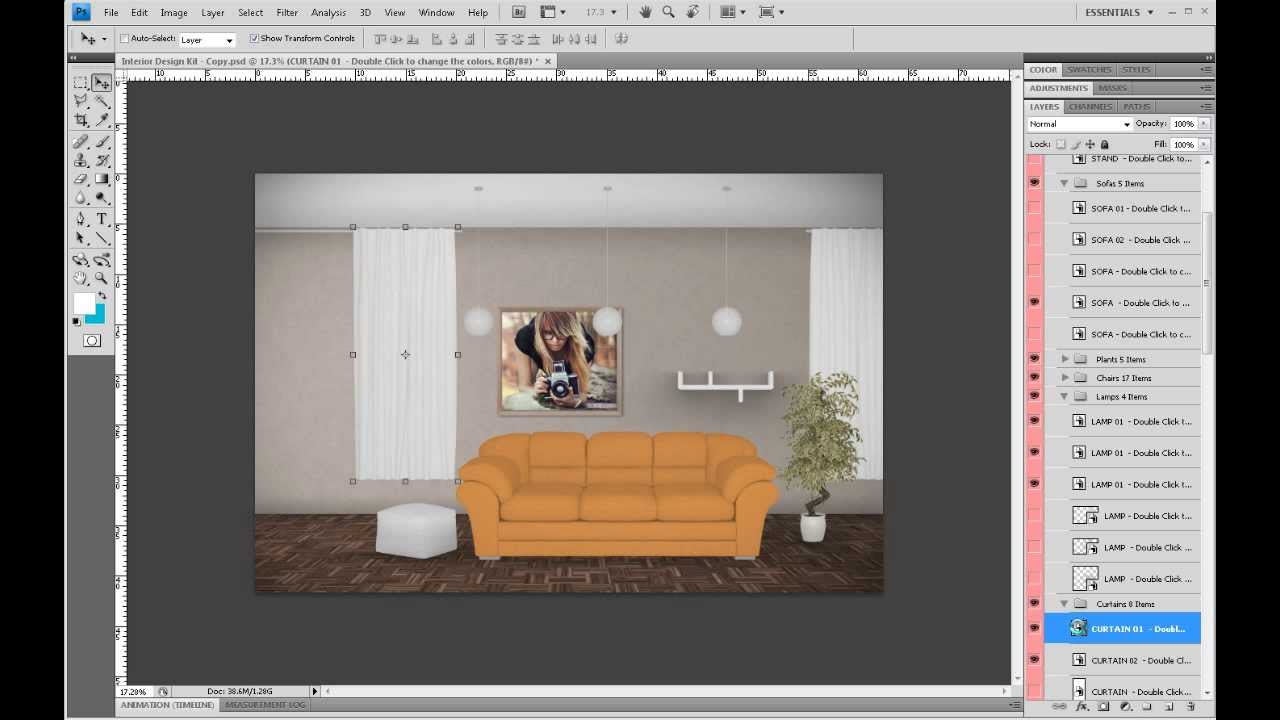
Step 1: Start with a 3D model of your living room design. You can either create one using a 3D modeling software or download a pre-made model from the internet. Step 2: Open the 3D model in Photoshop by going to File > Open. Step 3: Once the model is opened, go to the 3D menu and select "Render." This will bring up the Render Settings dialog box. Step 4: In the Render Settings dialog box, you can adjust the quality, lighting, shadows, and other settings to your liking. You can also choose the size and resolution of your final rendering. Step 5: Click on the "Render" button to start the rendering process. This may take a few minutes, depending on the complexity of your model and the settings you have chosen. Step 6: Once the rendering is complete, save the image in a high-quality format, such as JPEG or PNG.3. Step-by-Step Guide to Rendering a Living Room in Photoshop

3. Step-by-Step Guide to Rendering a Living Room in Photoshop


Now that you know the basic steps of rendering a living room in Photoshop, let's discuss some techniques that you can use to make your renderings more realistic and professional: Texture Mapping: This technique involves adding textures to your 3D model to give it a more realistic look. You can use textures for walls, floors, furniture, and other elements in your design. Lighting: Proper lighting is crucial for creating a realistic rendering. You can experiment with different types of lighting, such as natural light, artificial light, and ambient light, to achieve the desired effect. Shadows: Shadows add depth and dimension to your rendering. Experiment with different shadow settings to see which one works best for your design.4. Living Room Rendering Techniques in Photoshop


4. Living Room Rendering Techniques in Photoshop


If you want your living room rendering to look like a photograph, then you need to pay attention to details. Here are some tips to help you achieve a photorealistic look: Add Props: Adding small details, such as plants, books, and decorative items, can make your rendering look more realistic and lived-in. Use Filters: Photoshop has a variety of filters that you can use to add different effects to your rendering. Experiment with them to achieve the desired look. Adjust Colors and Contrast: Play around with the color and contrast levels to achieve a more natural and realistic look.5. Creating a Photorealistic Living Room in Photoshop


5. Creating a Photorealistic Living Room in Photoshop


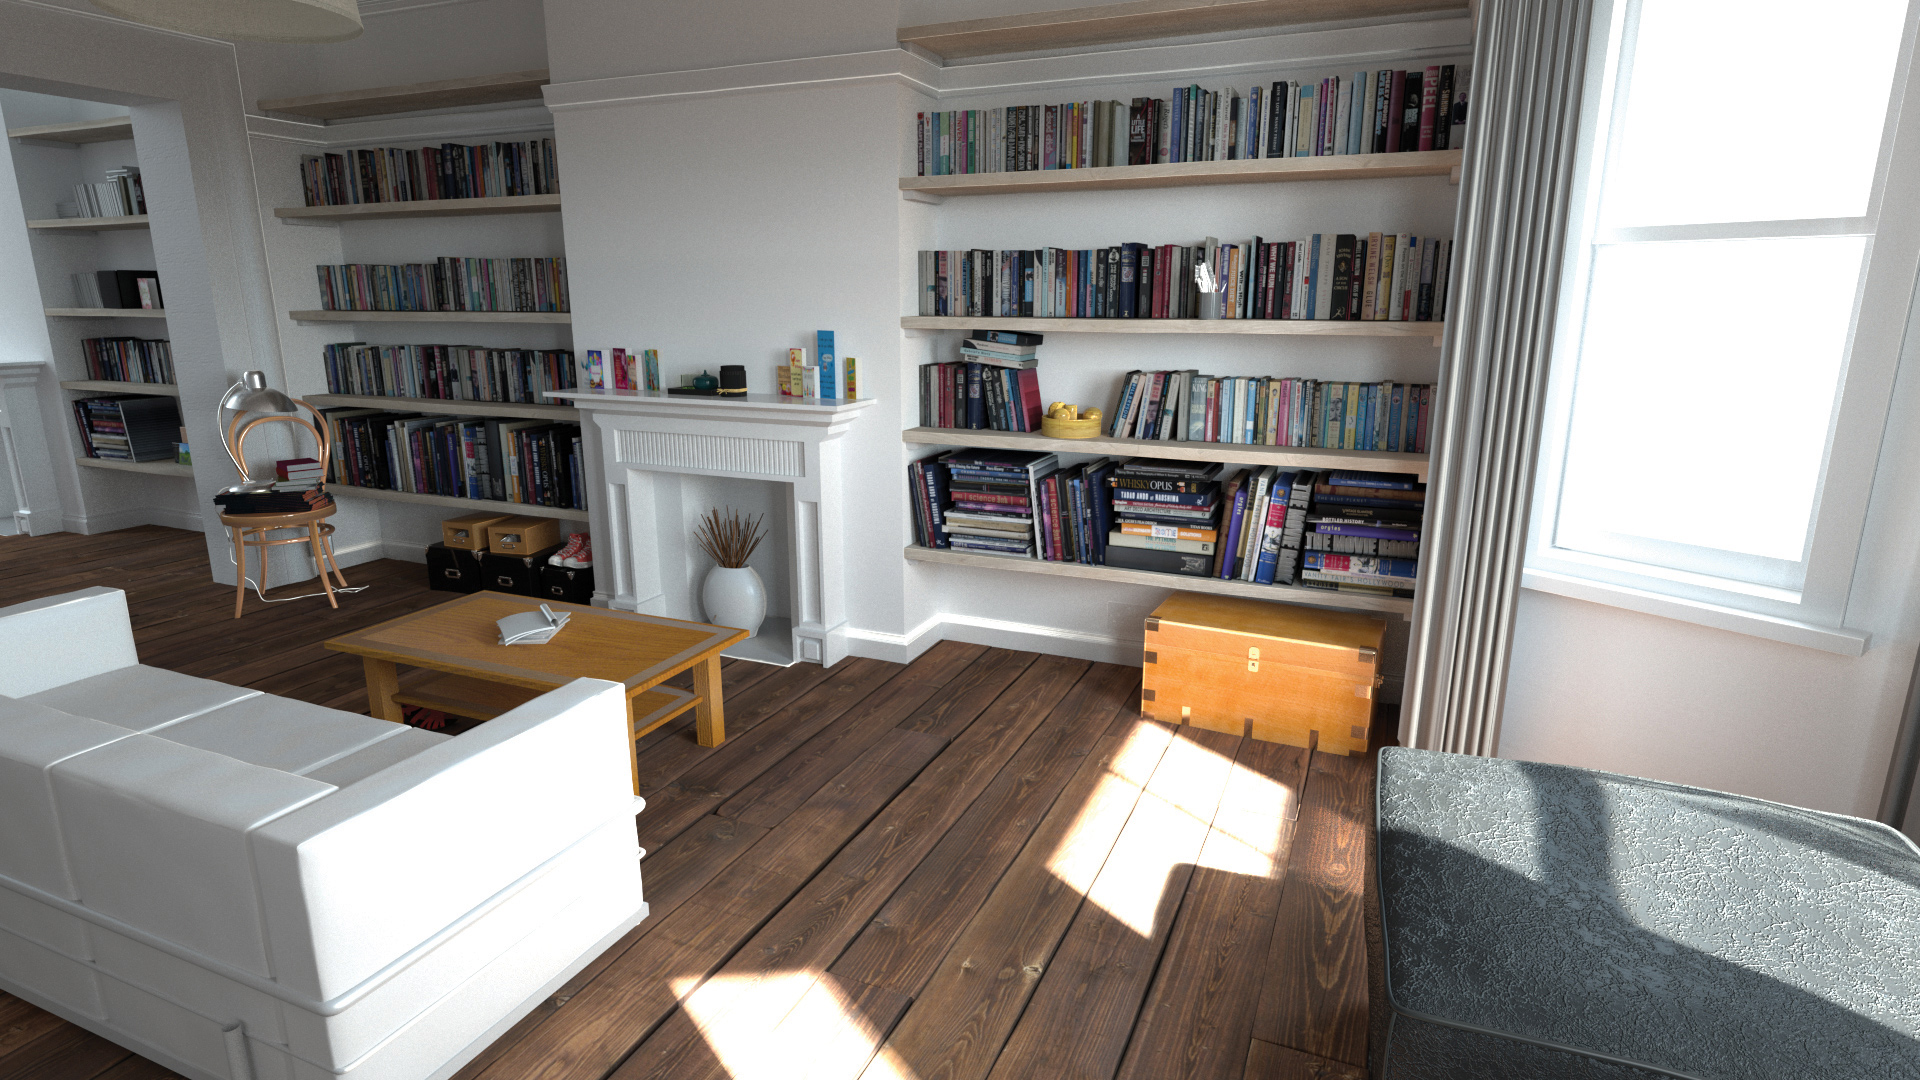
Here are some additional tips that can help you create stunning living room renderings in Photoshop: Use High-Quality Textures: Make sure to use high-quality textures for your 3D model to make your rendering look more realistic. Pay Attention to Lighting: As mentioned earlier, lighting is crucial for creating a realistic rendering. Experiment with different lighting techniques and see which one works best for your design. Don't Overdo It: While it's tempting to add as many details as possible, sometimes less is more. Don't overcrowd your rendering with too many props or textures.6. Tips for Rendering a Living Room in Photoshop


6. Tips for Rendering a Living Room in Photoshop
Creating realistic living room renderings in Photoshop takes time and practice. Don't get discouraged if your first few attempts don't turn out as expected. Keep experimenting with different techniques and settings and soon you will master the art of living room renderings in Photoshop.7. Mastering Living Room Renderings in Photoshop


7. Mastering Living Room Renderings in Photoshop


Apart from living room renderings, you can also use Photoshop for creating interior design renderings for other areas of a house, such as bedrooms, kitchens, and bathrooms. The process is similar, and with enough practice, you can create stunning visualizations for all your design projects.8. How to Use Photoshop for Interior Design Renderings


8. How to Use Photoshop for Interior Design Renderings
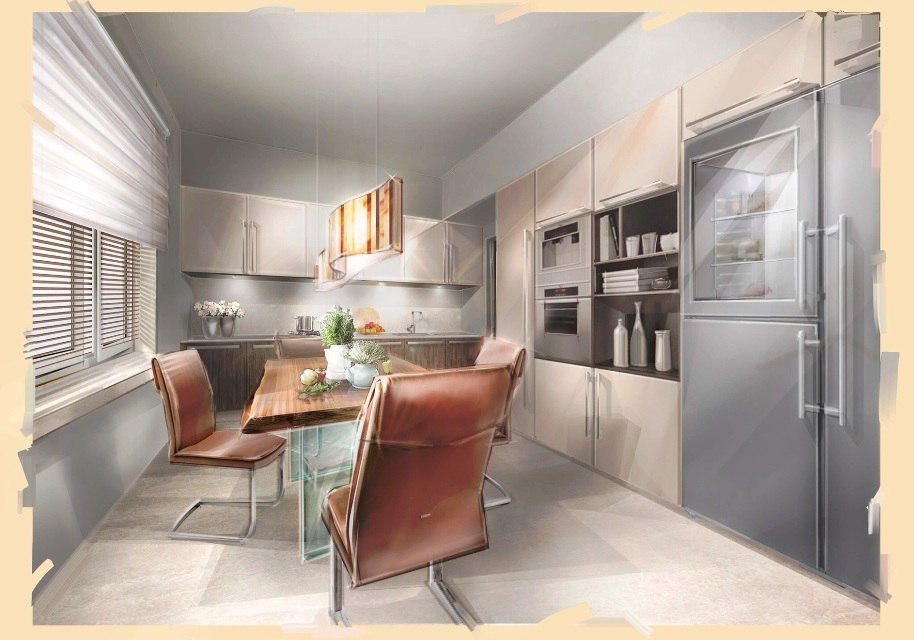


Adobe Photoshop CC has powerful 3D rendering capabilities that can help you create realistic living room renderings. With its advanced features and tools, you can achieve professional-looking results in no time.9. Realistic Living Room Rendering with Photoshop CC


9. Realistic Living Room Rendering with Photoshop CC
In conclusion, Photoshop is an essential tool for interior designers, and learning how to create realistic living room renderings can take your design projects to the next level. With the right techniques, tools, and practice, you can create stunning visualizations that will impress your clients and bring your design ideas to life.10. Photoshop Rendering for Interior Design: Living Room Edition


10. Photoshop Rendering for Interior Design: Living Room Edition

Creating a Stunning Living Room with Photoshop Renderings

The Power of Photoshop in House Design
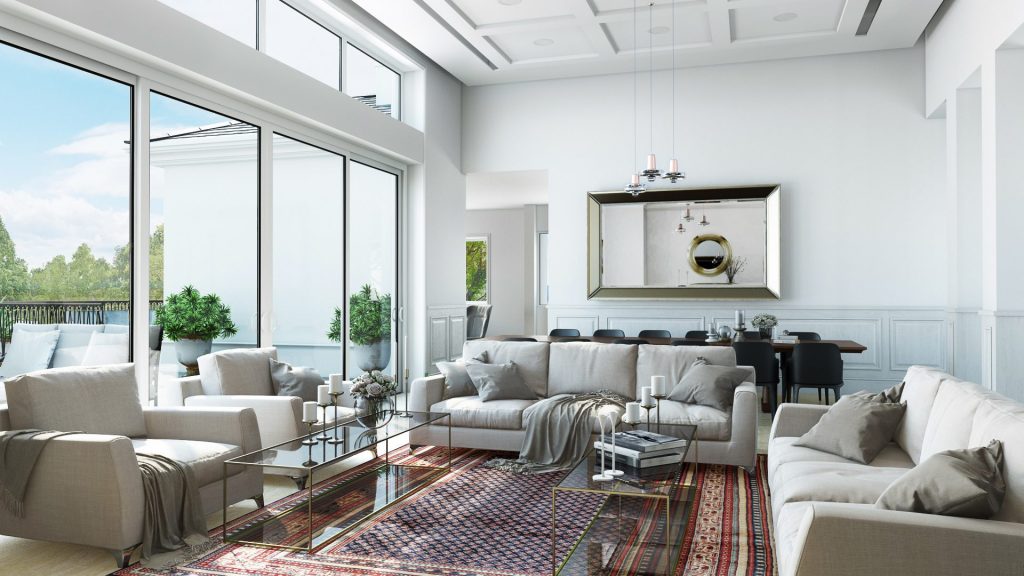
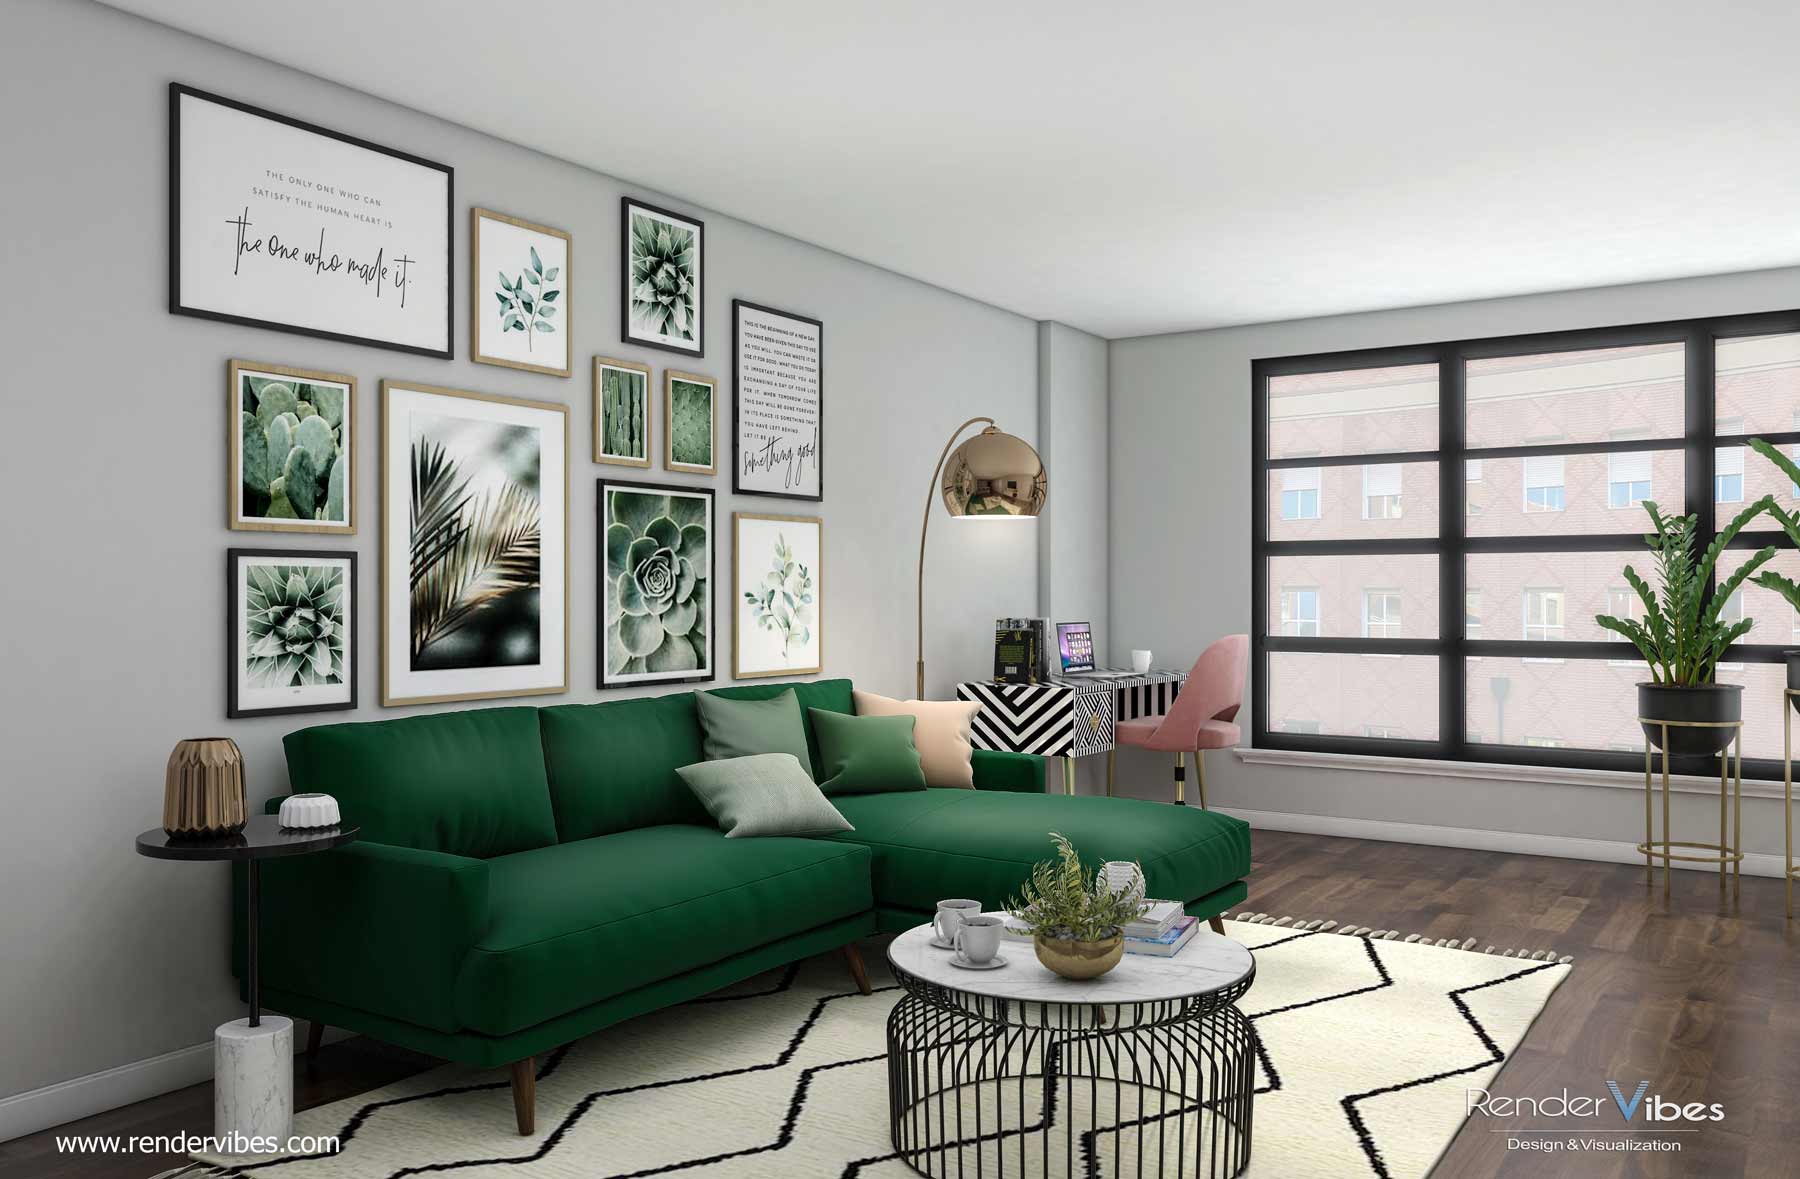
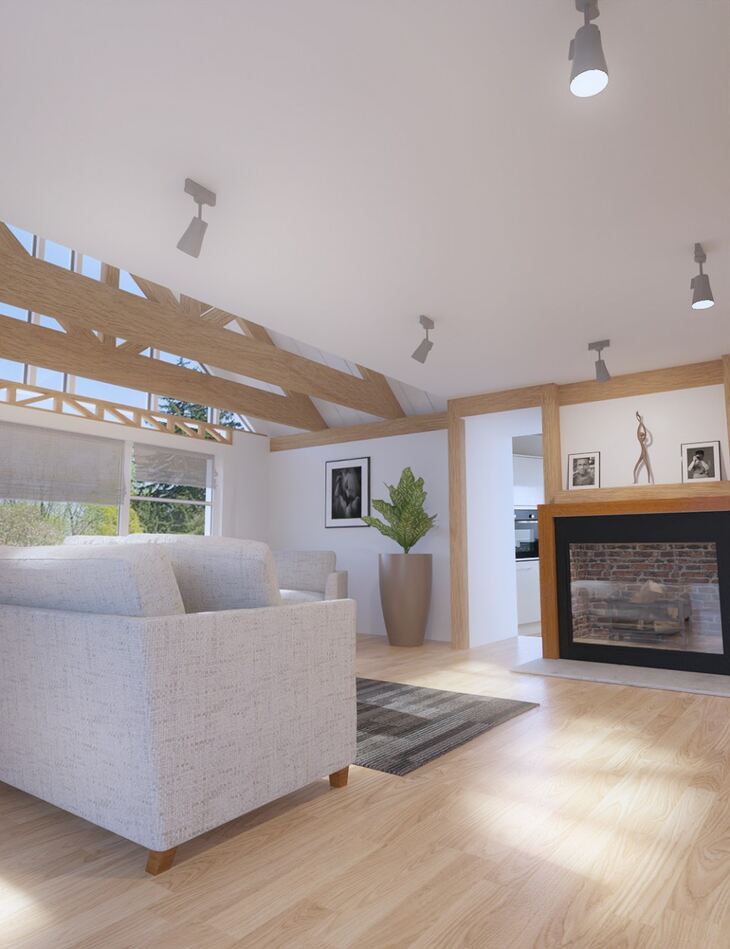
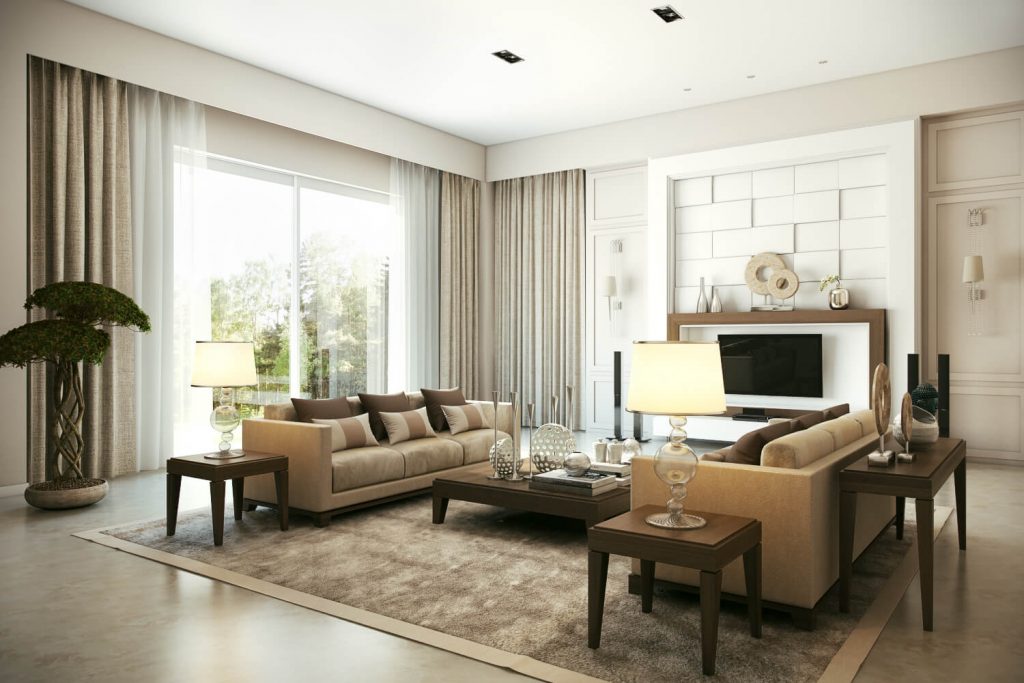
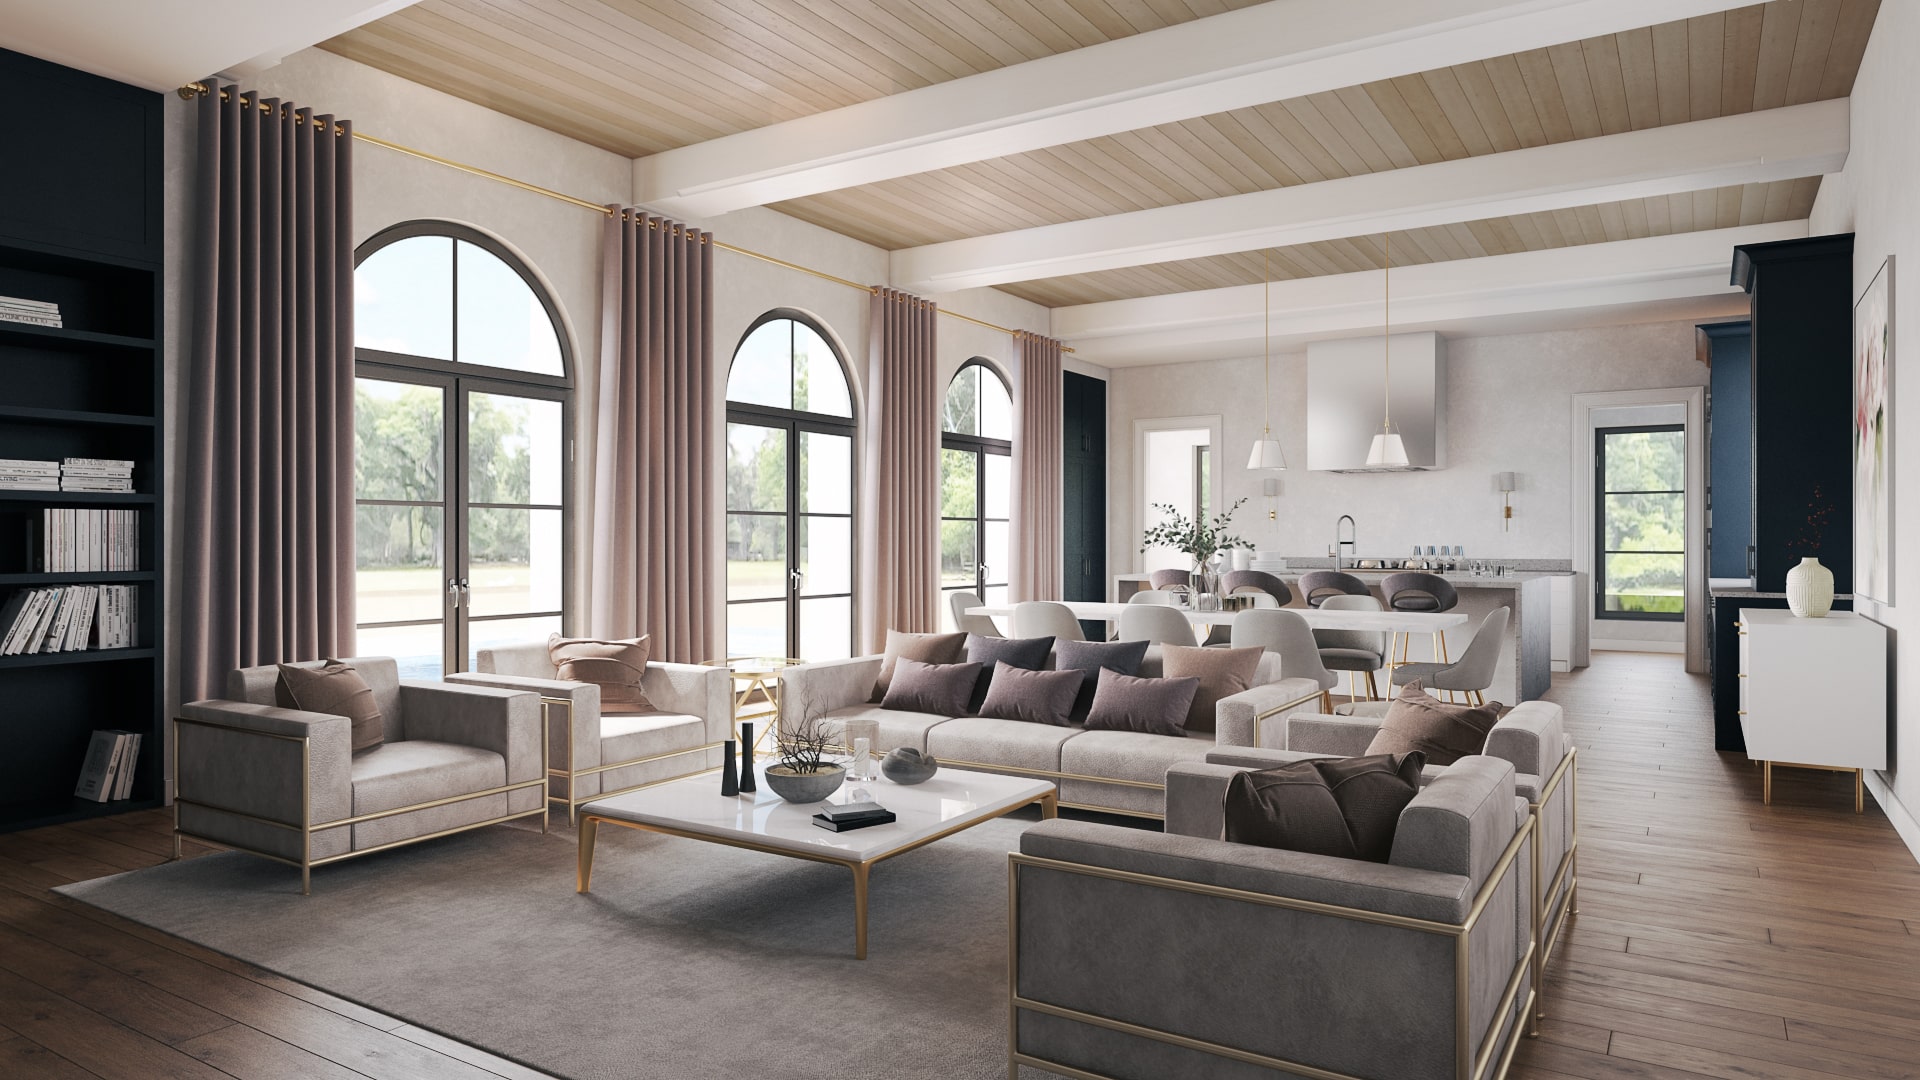
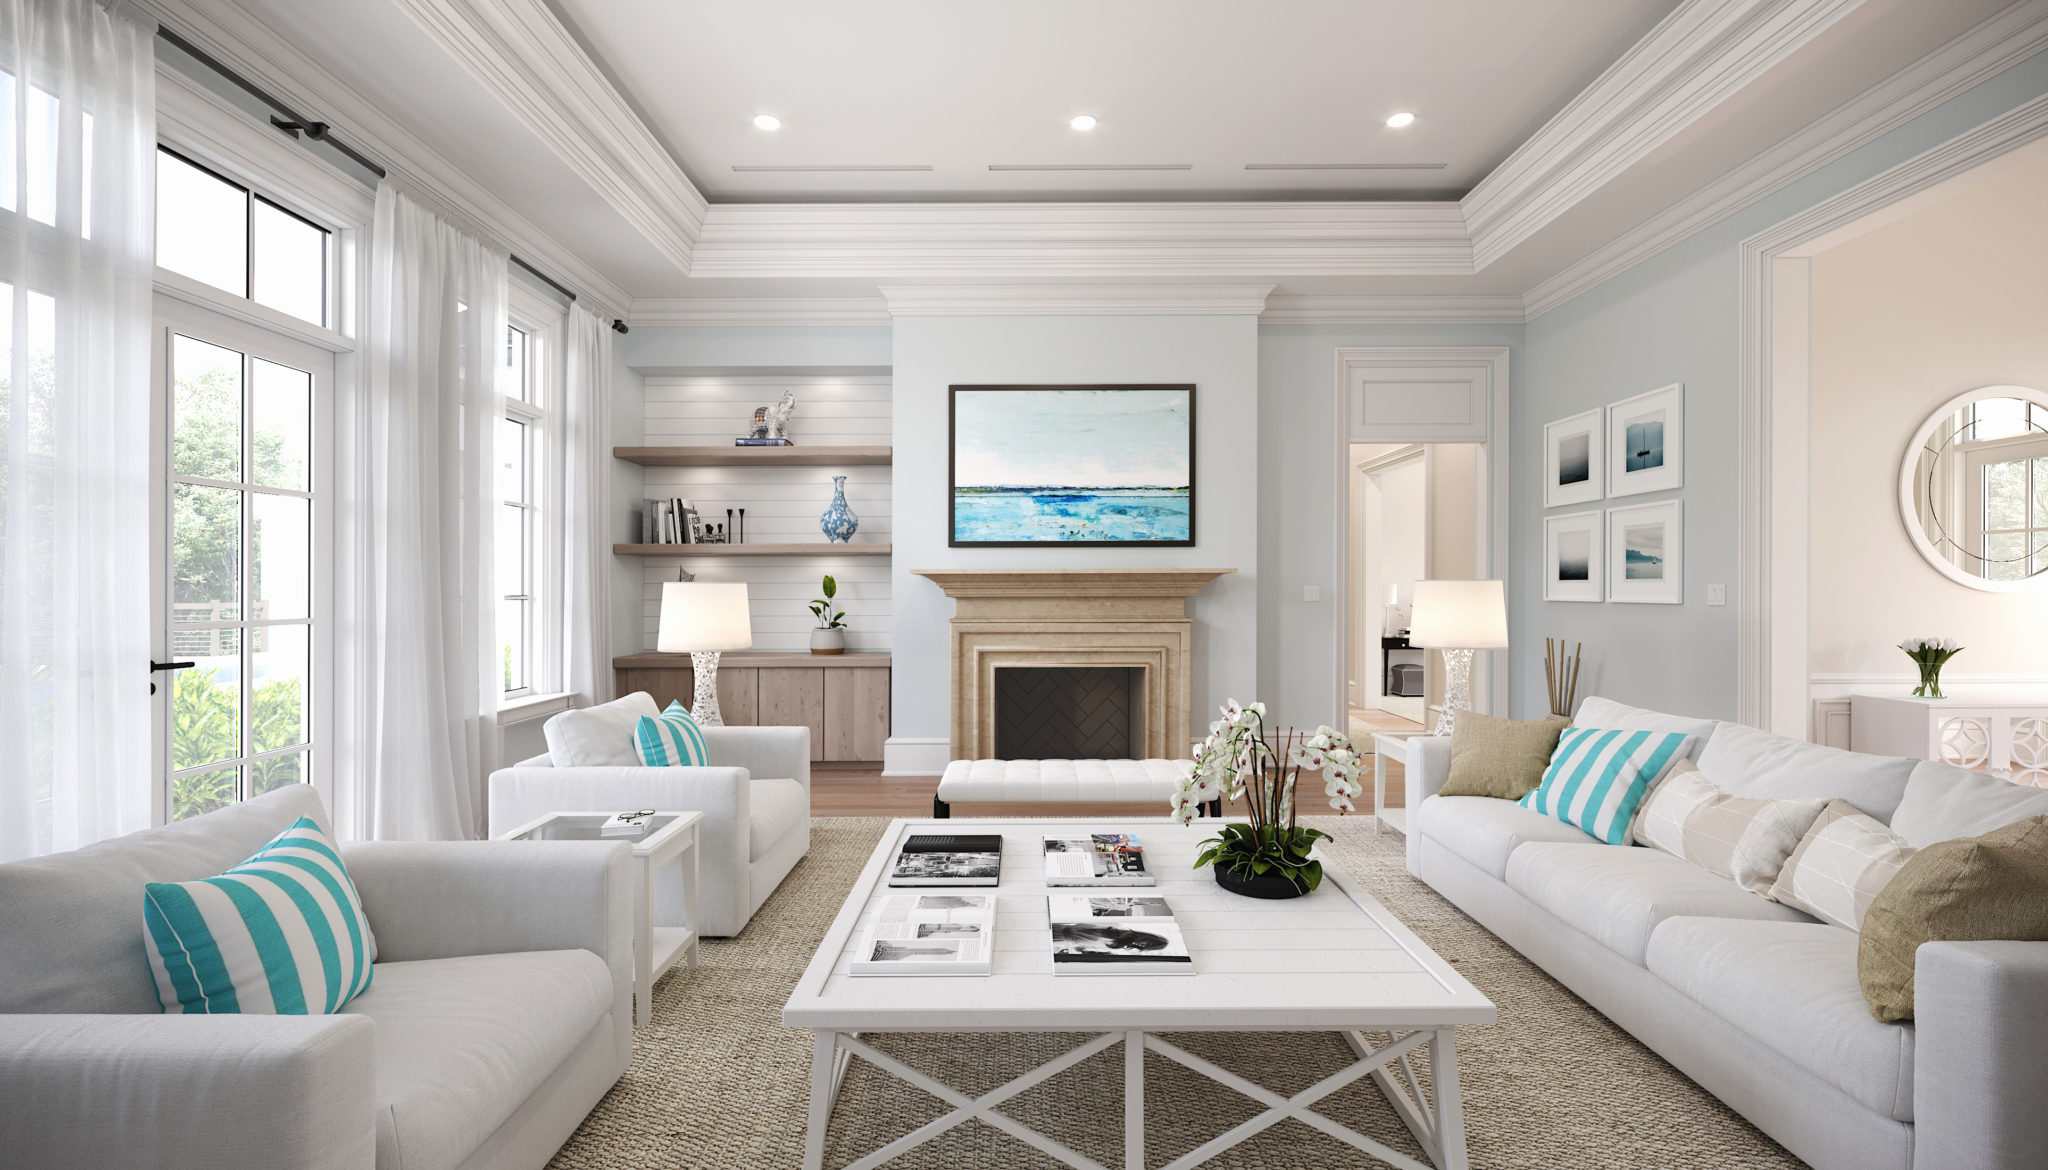
 When it comes to designing a house, the living room is often considered the heart of the home. It's where we gather with family and friends, relax after a long day, and create lasting memories. As such, it's essential to have a living room that not only reflects your personal style but also creates a welcoming and comfortable atmosphere. With the advancements in technology, we now have the ability to bring our design ideas to life with the help of
Photoshop renderings
. This powerful software allows us to create realistic and detailed images of our dream living room, making the design process smoother and more efficient.
When it comes to designing a house, the living room is often considered the heart of the home. It's where we gather with family and friends, relax after a long day, and create lasting memories. As such, it's essential to have a living room that not only reflects your personal style but also creates a welcoming and comfortable atmosphere. With the advancements in technology, we now have the ability to bring our design ideas to life with the help of
Photoshop renderings
. This powerful software allows us to create realistic and detailed images of our dream living room, making the design process smoother and more efficient.
Why Use Photoshop Renderings?
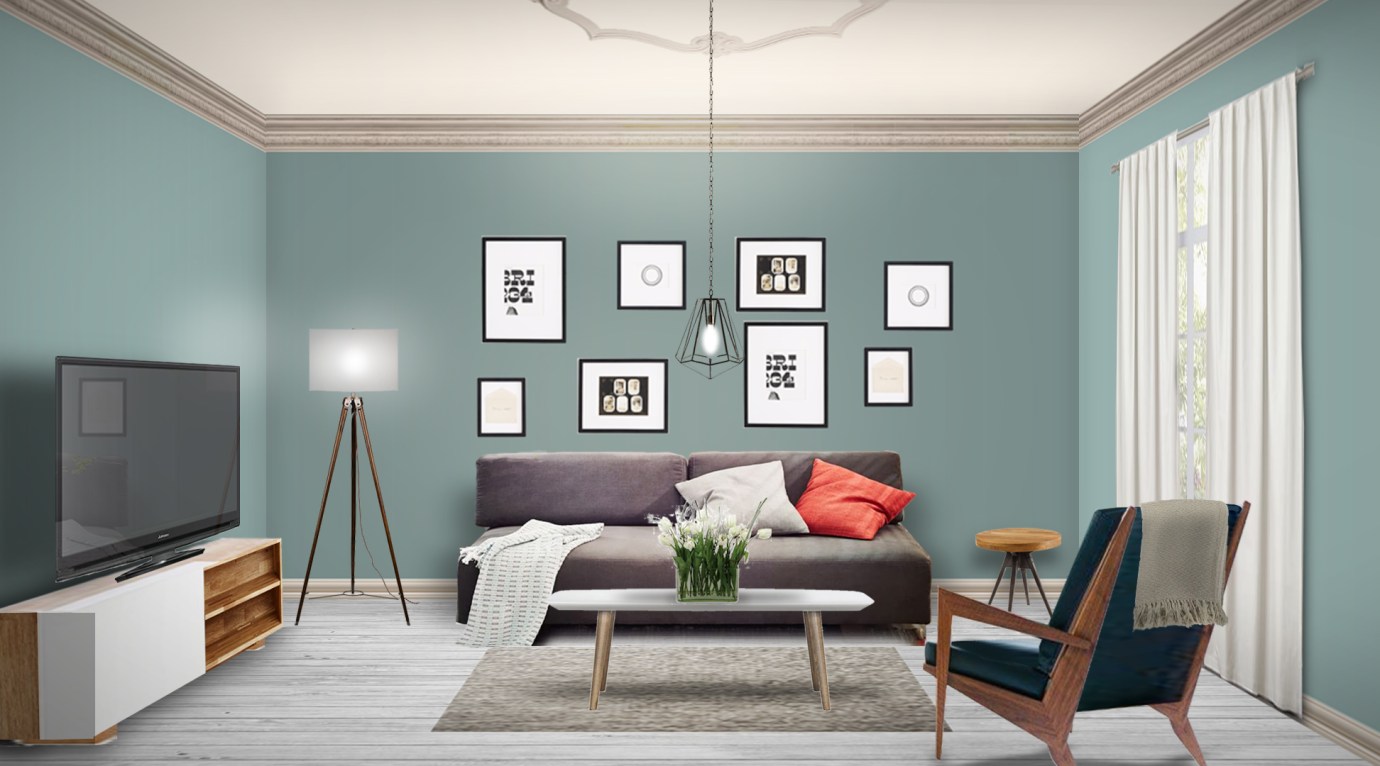
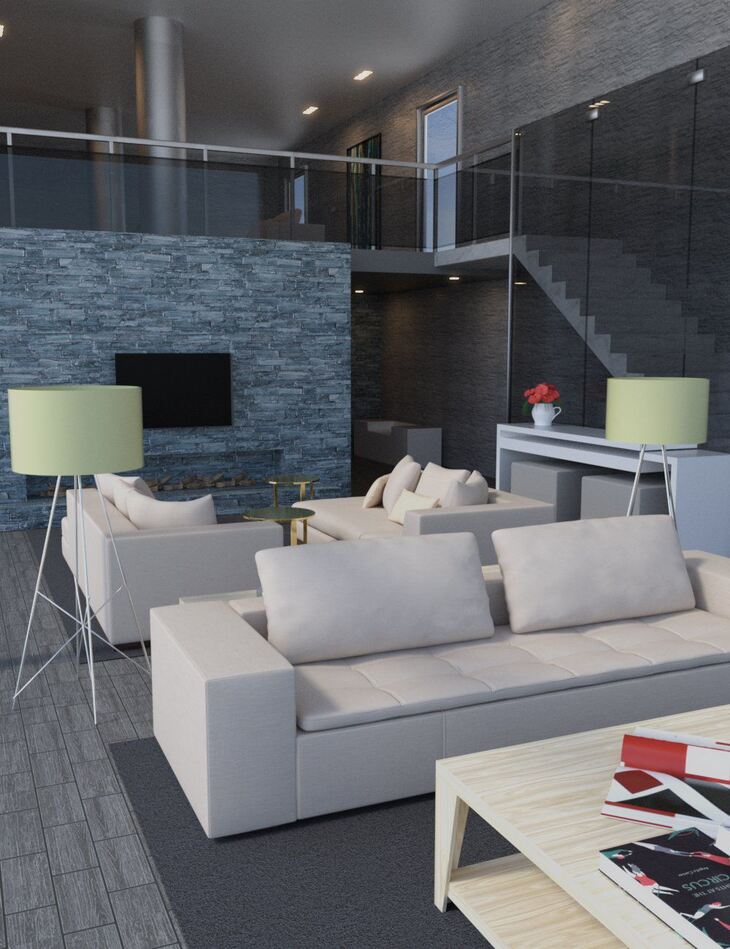
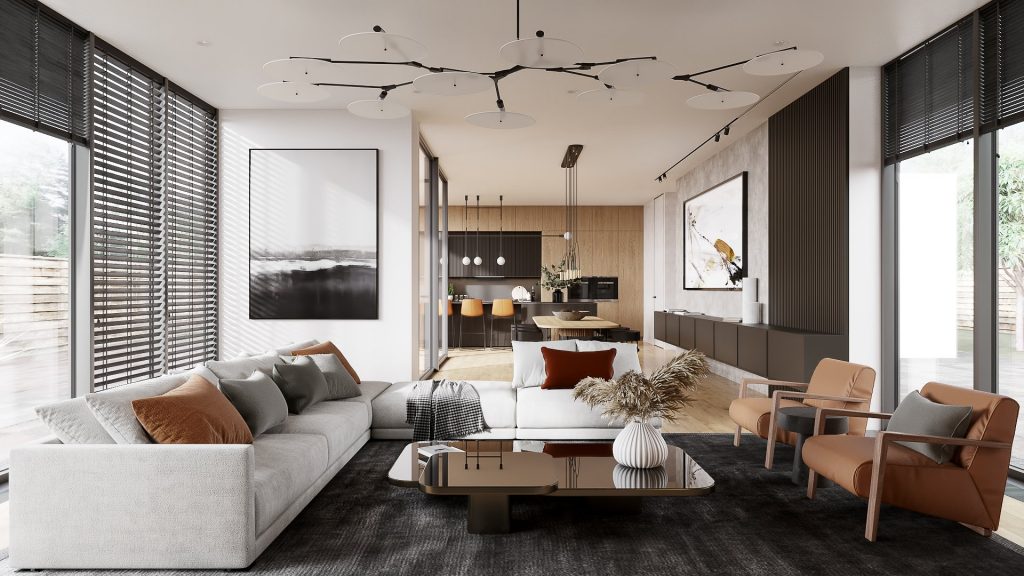
 One of the main benefits of using
Photoshop renderings
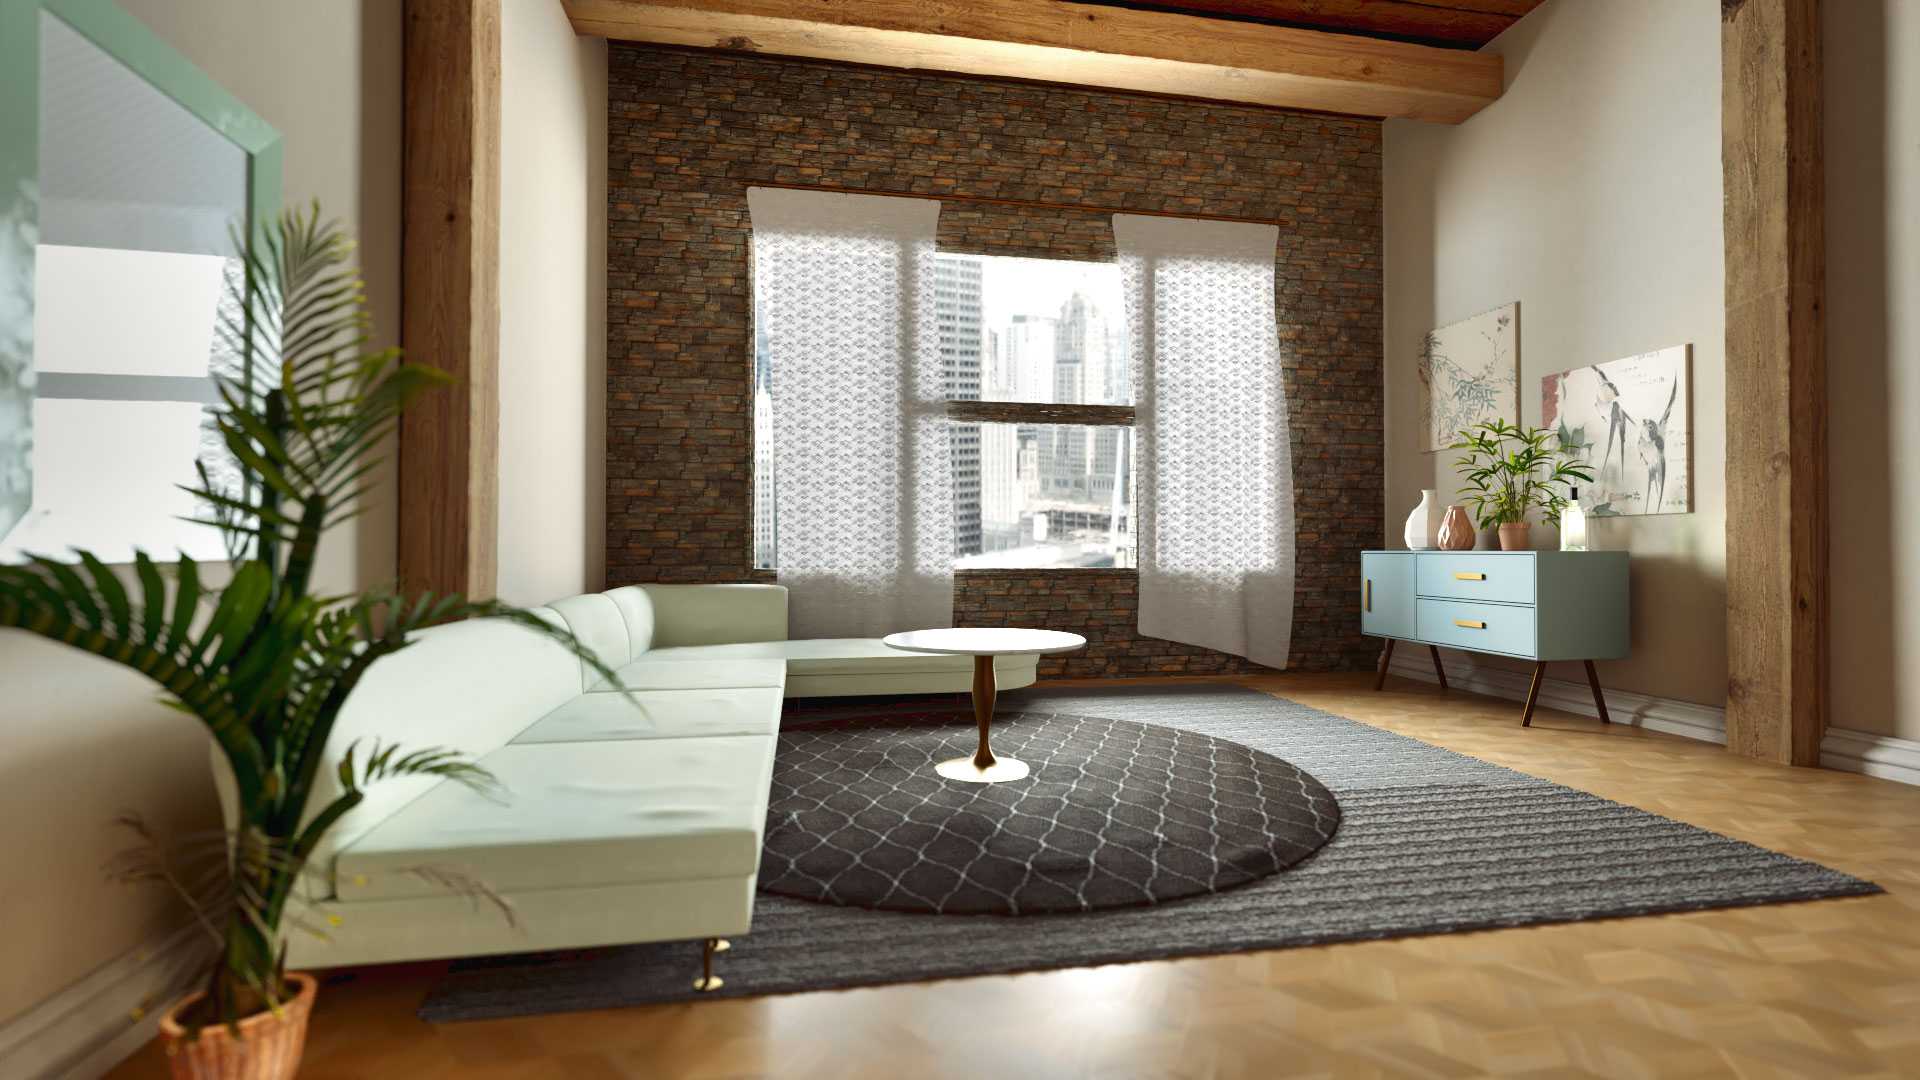
is the ability to experiment and visualize different design options. With traditional methods, such as hand-drawn sketches or physical mock-ups, it can be challenging to envision how a particular design will look in a real-life setting. With Photoshop, we can easily make changes and see the impact in real-time, saving time and resources in the long run. Additionally, Photoshop allows us to play with colors, textures, and lighting, giving us a better understanding of how these elements work together to create a cohesive design.
One of the main benefits of using
Photoshop renderings
is the ability to experiment and visualize different design options. With traditional methods, such as hand-drawn sketches or physical mock-ups, it can be challenging to envision how a particular design will look in a real-life setting. With Photoshop, we can easily make changes and see the impact in real-time, saving time and resources in the long run. Additionally, Photoshop allows us to play with colors, textures, and lighting, giving us a better understanding of how these elements work together to create a cohesive design.
The Process of Creating a Living Room Rendering in Photoshop
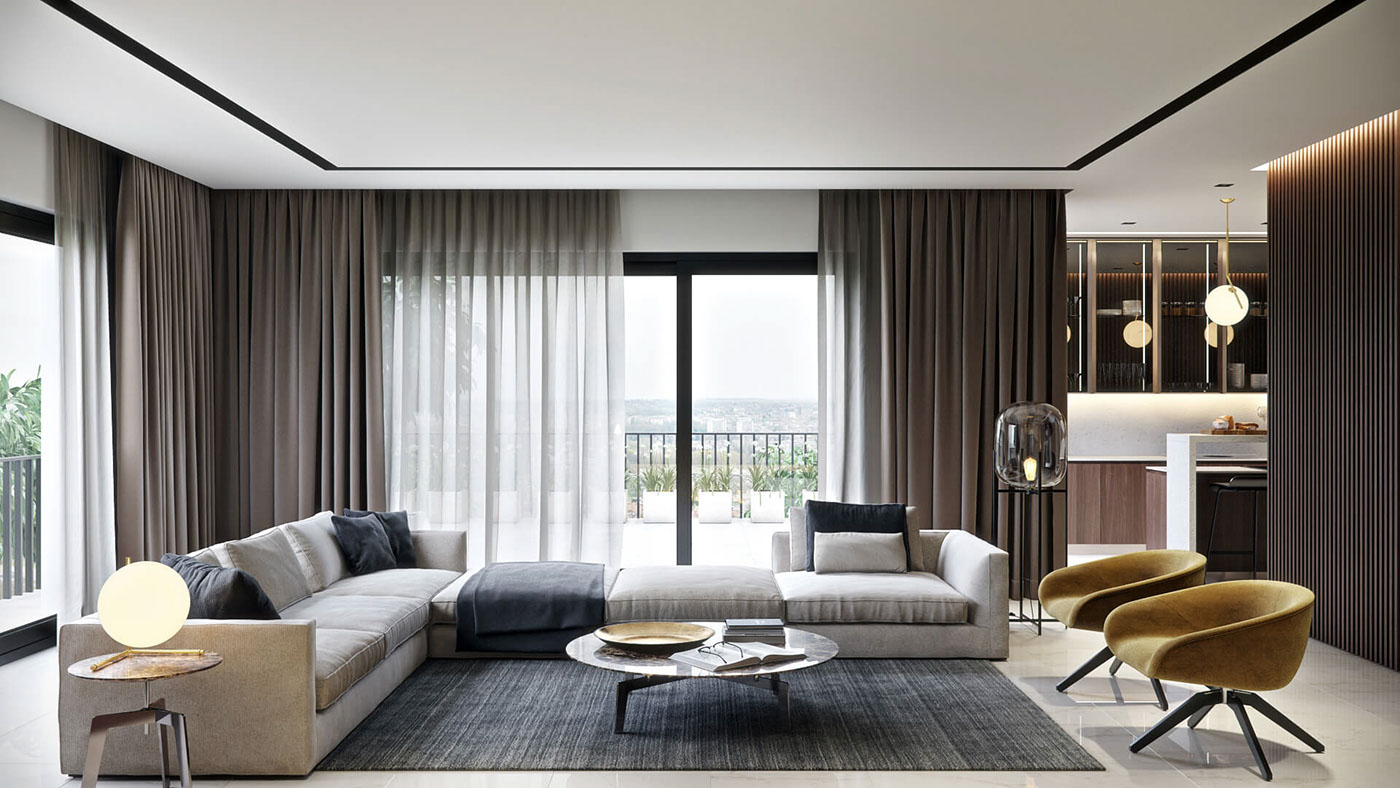
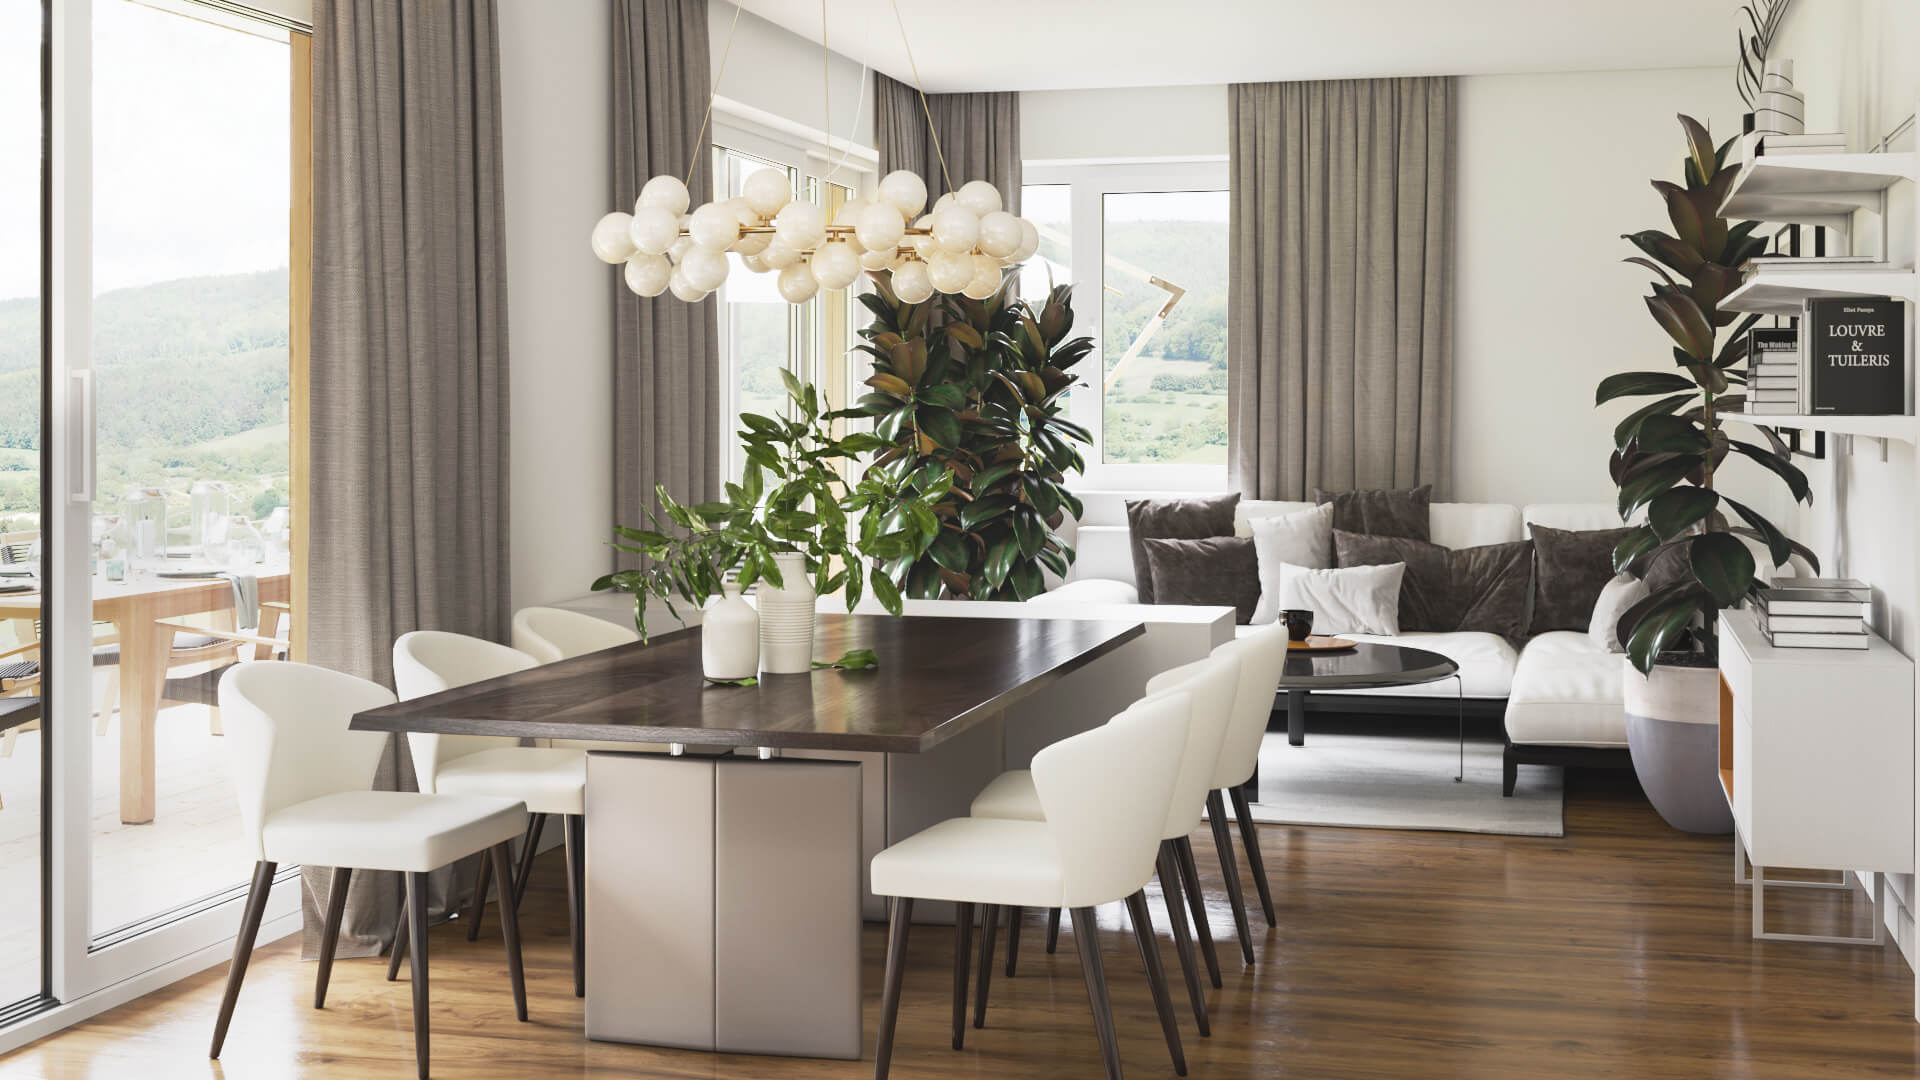
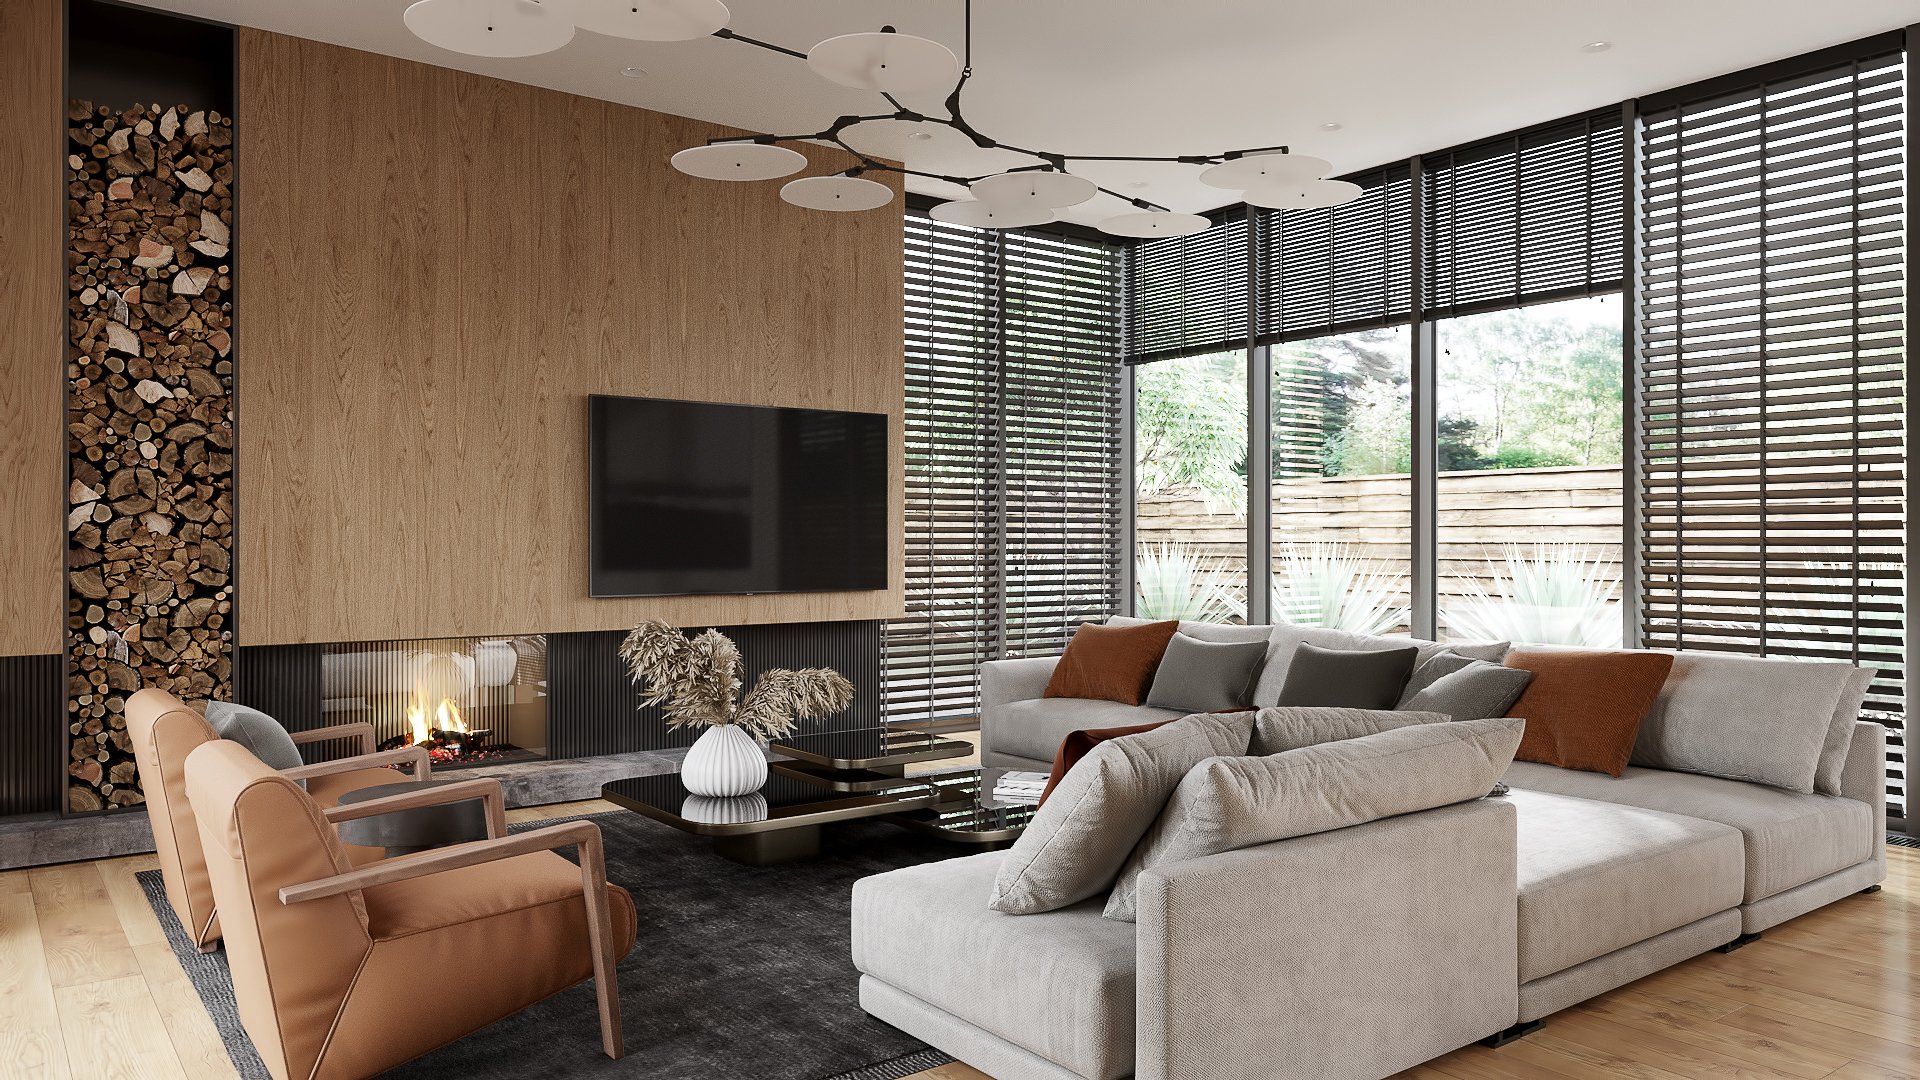
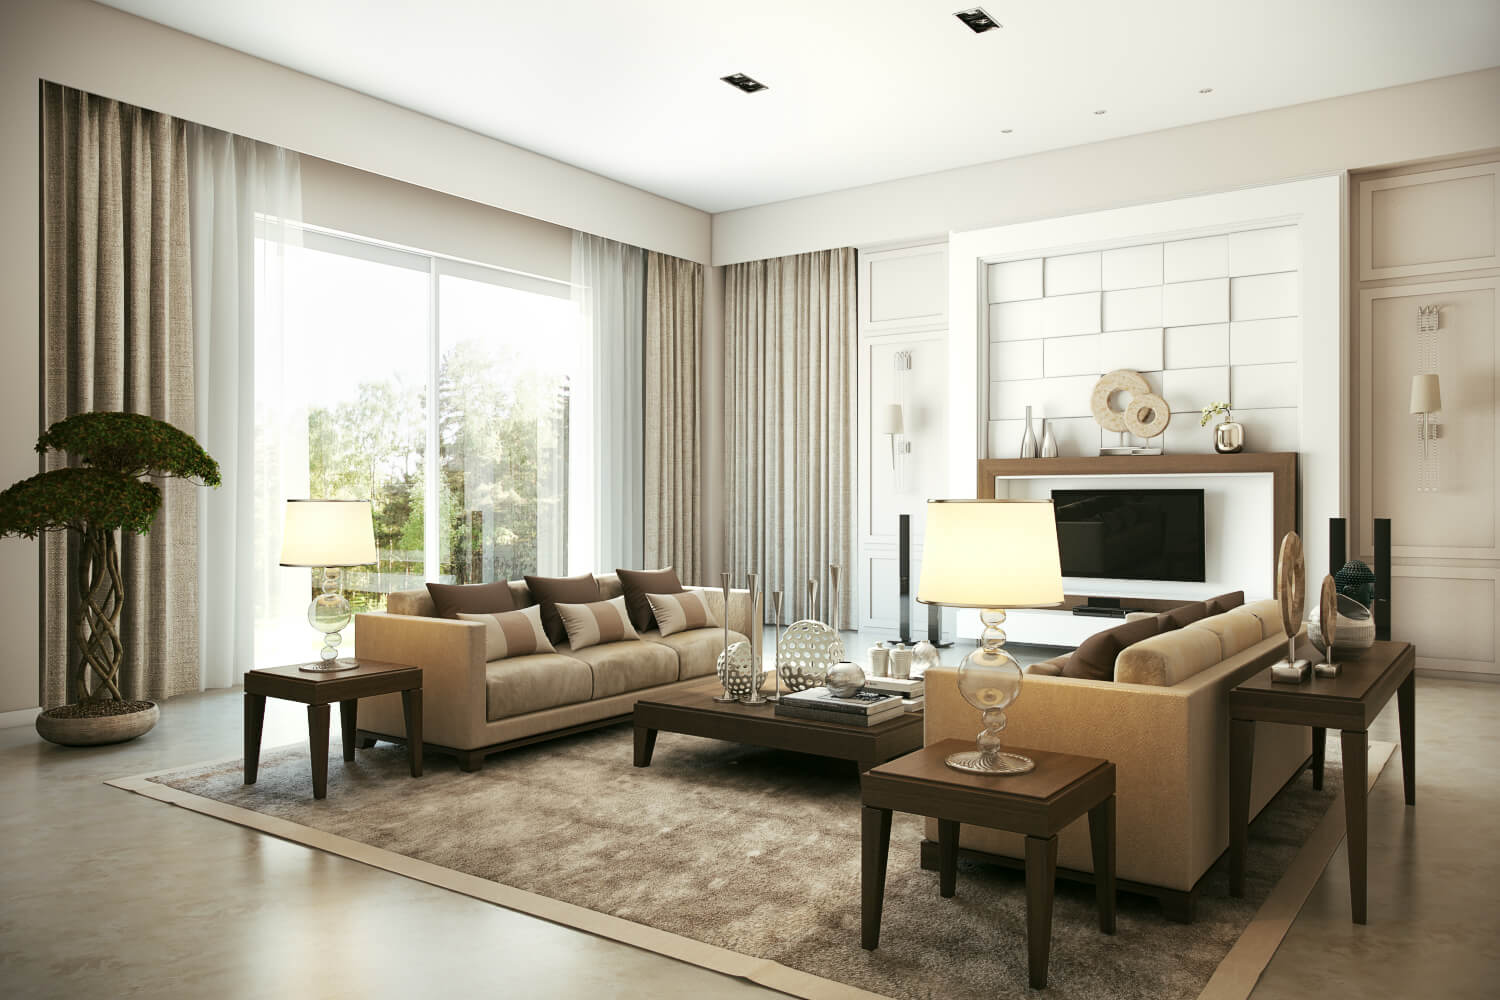
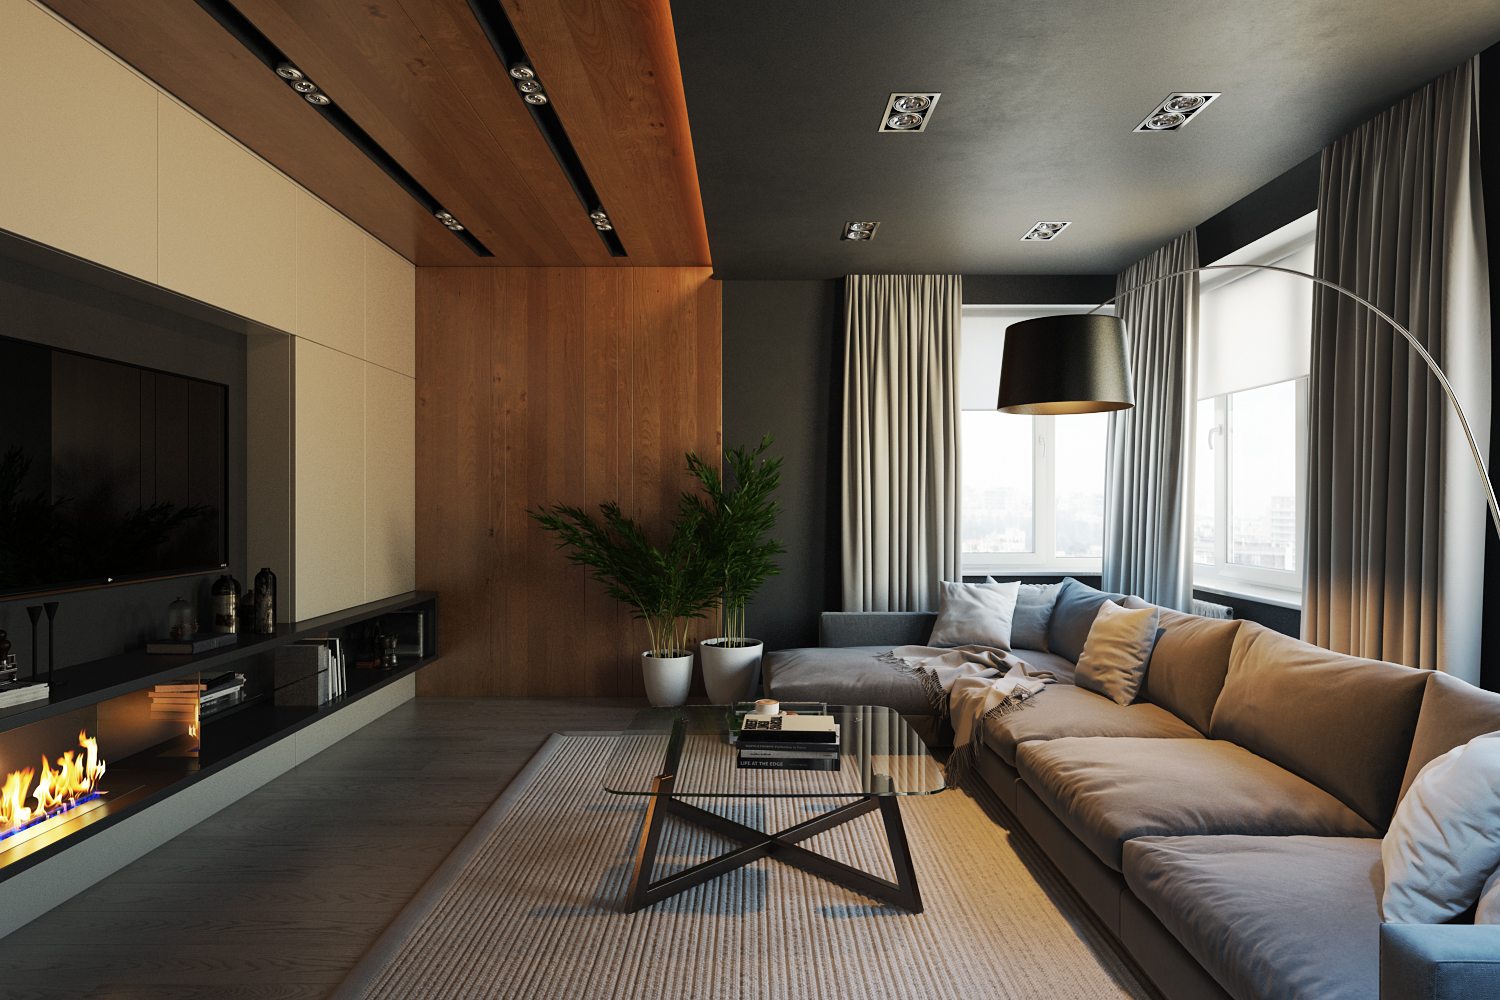
 The process of creating a
living room rendering in Photoshop
starts with a rough sketch or floor plan of the space. This will serve as the foundation for your design and help you determine the layout and placement of furniture, decor, and other elements. Next, you can use Photoshop's tools and features to add in details such as textures, patterns, and colors. This is where your creativity can truly shine, as you can experiment with different looks and styles until you find the perfect one for your living room.
The process of creating a
living room rendering in Photoshop
starts with a rough sketch or floor plan of the space. This will serve as the foundation for your design and help you determine the layout and placement of furniture, decor, and other elements. Next, you can use Photoshop's tools and features to add in details such as textures, patterns, and colors. This is where your creativity can truly shine, as you can experiment with different looks and styles until you find the perfect one for your living room.
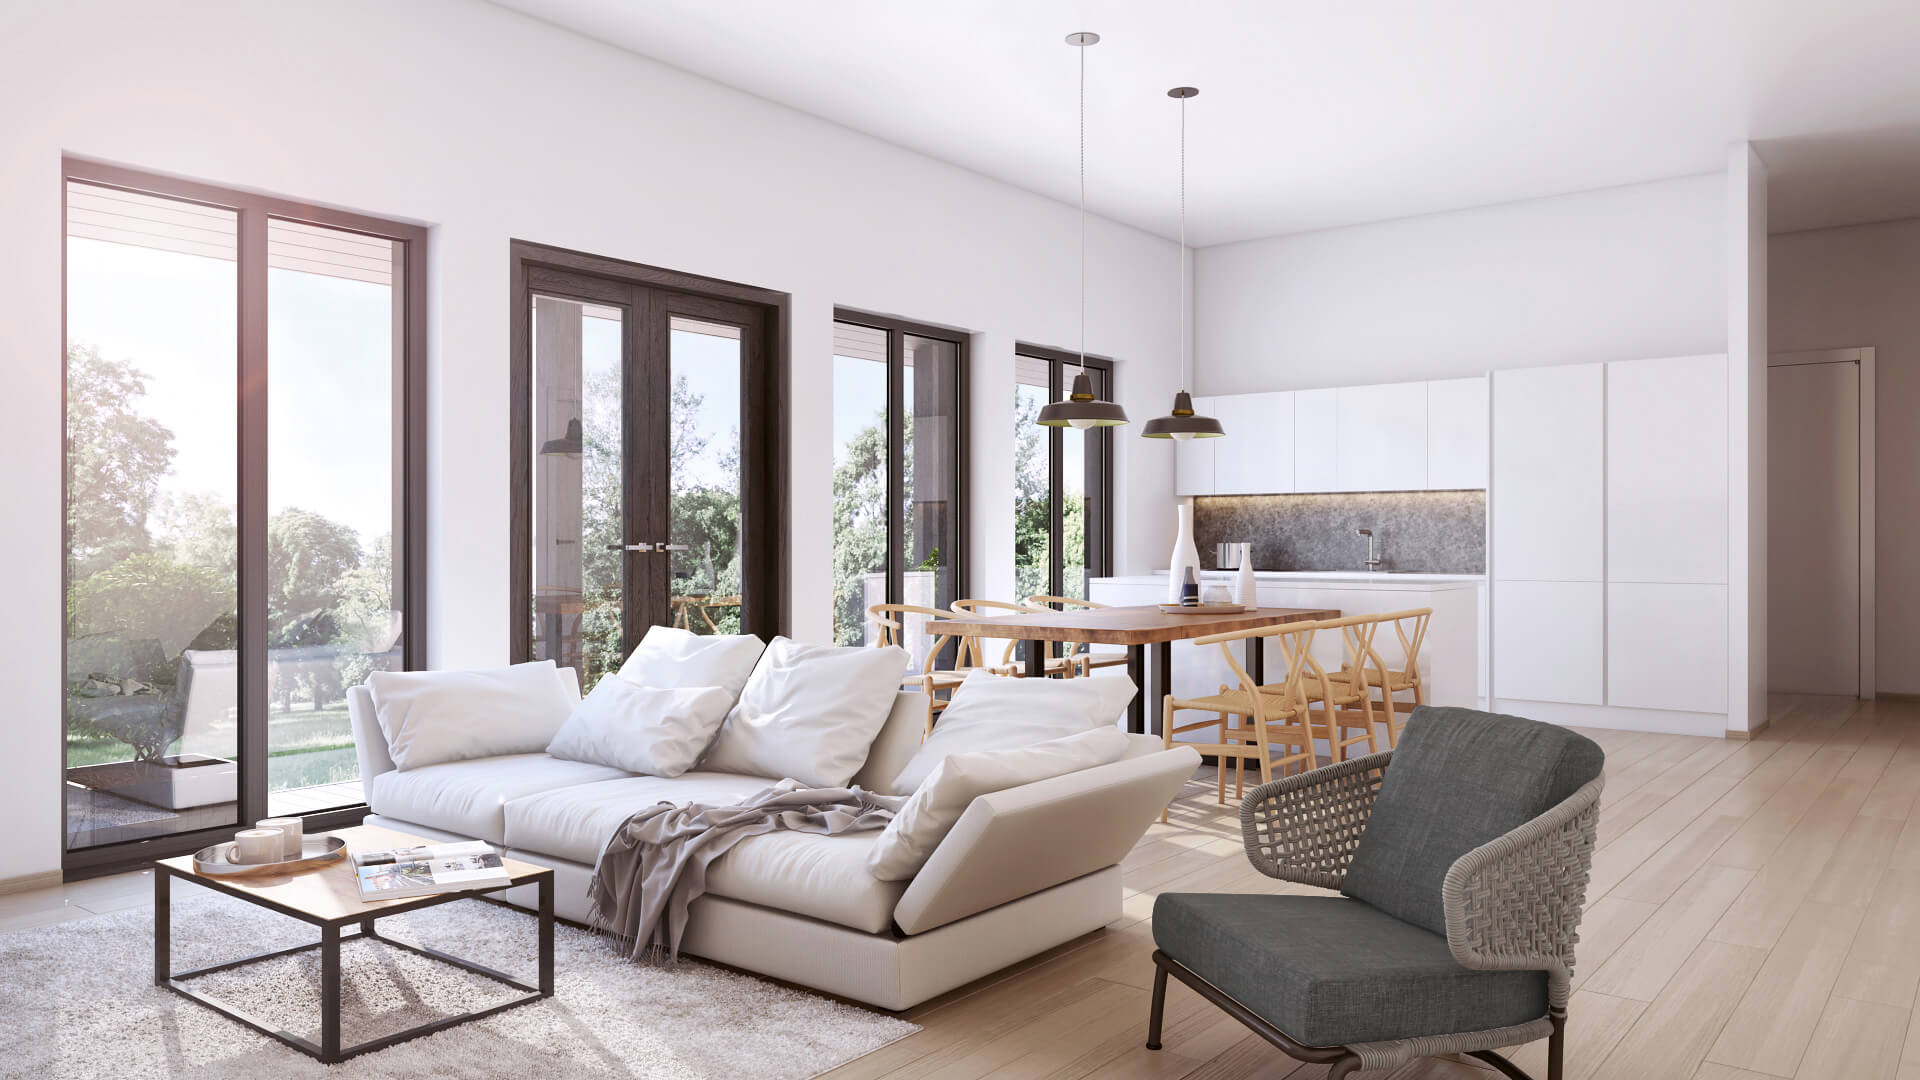
Bringing Your Living Room to Life
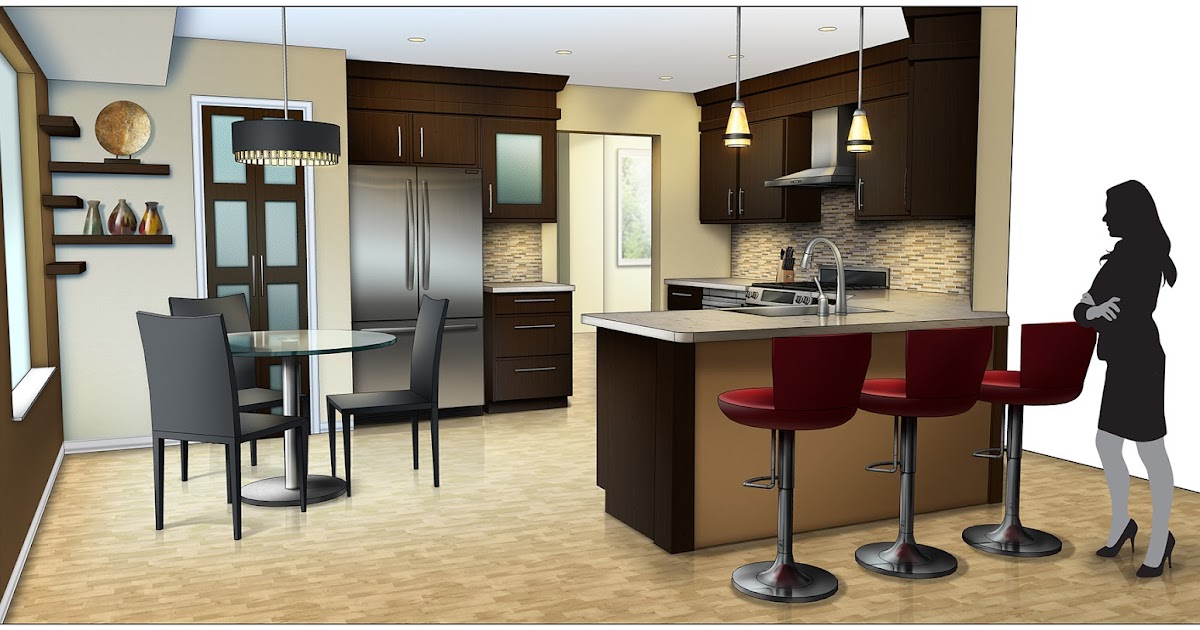
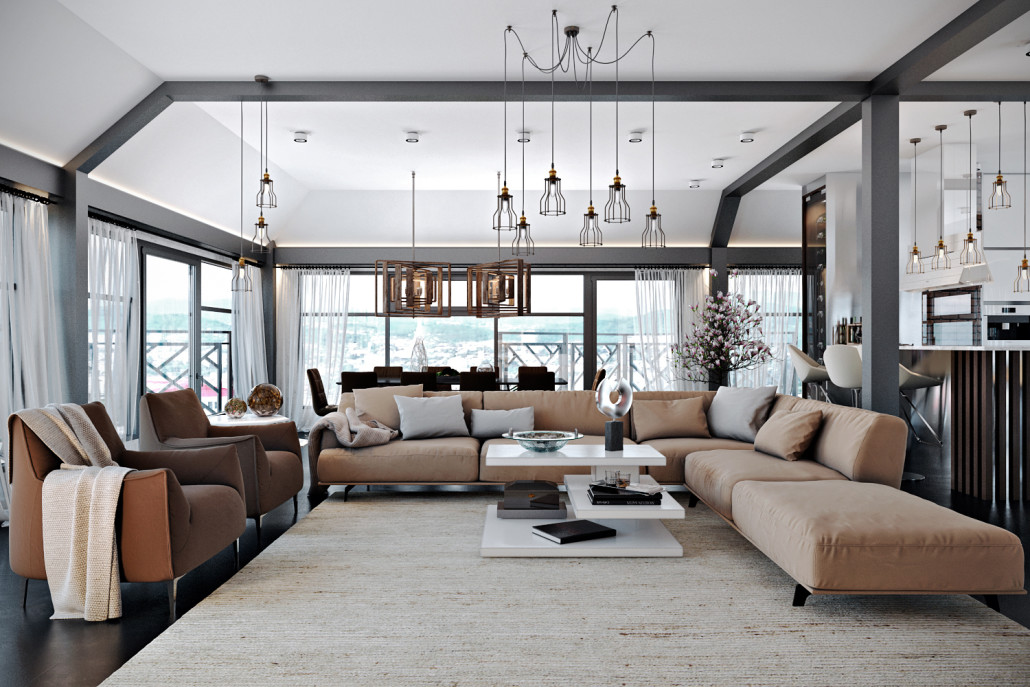
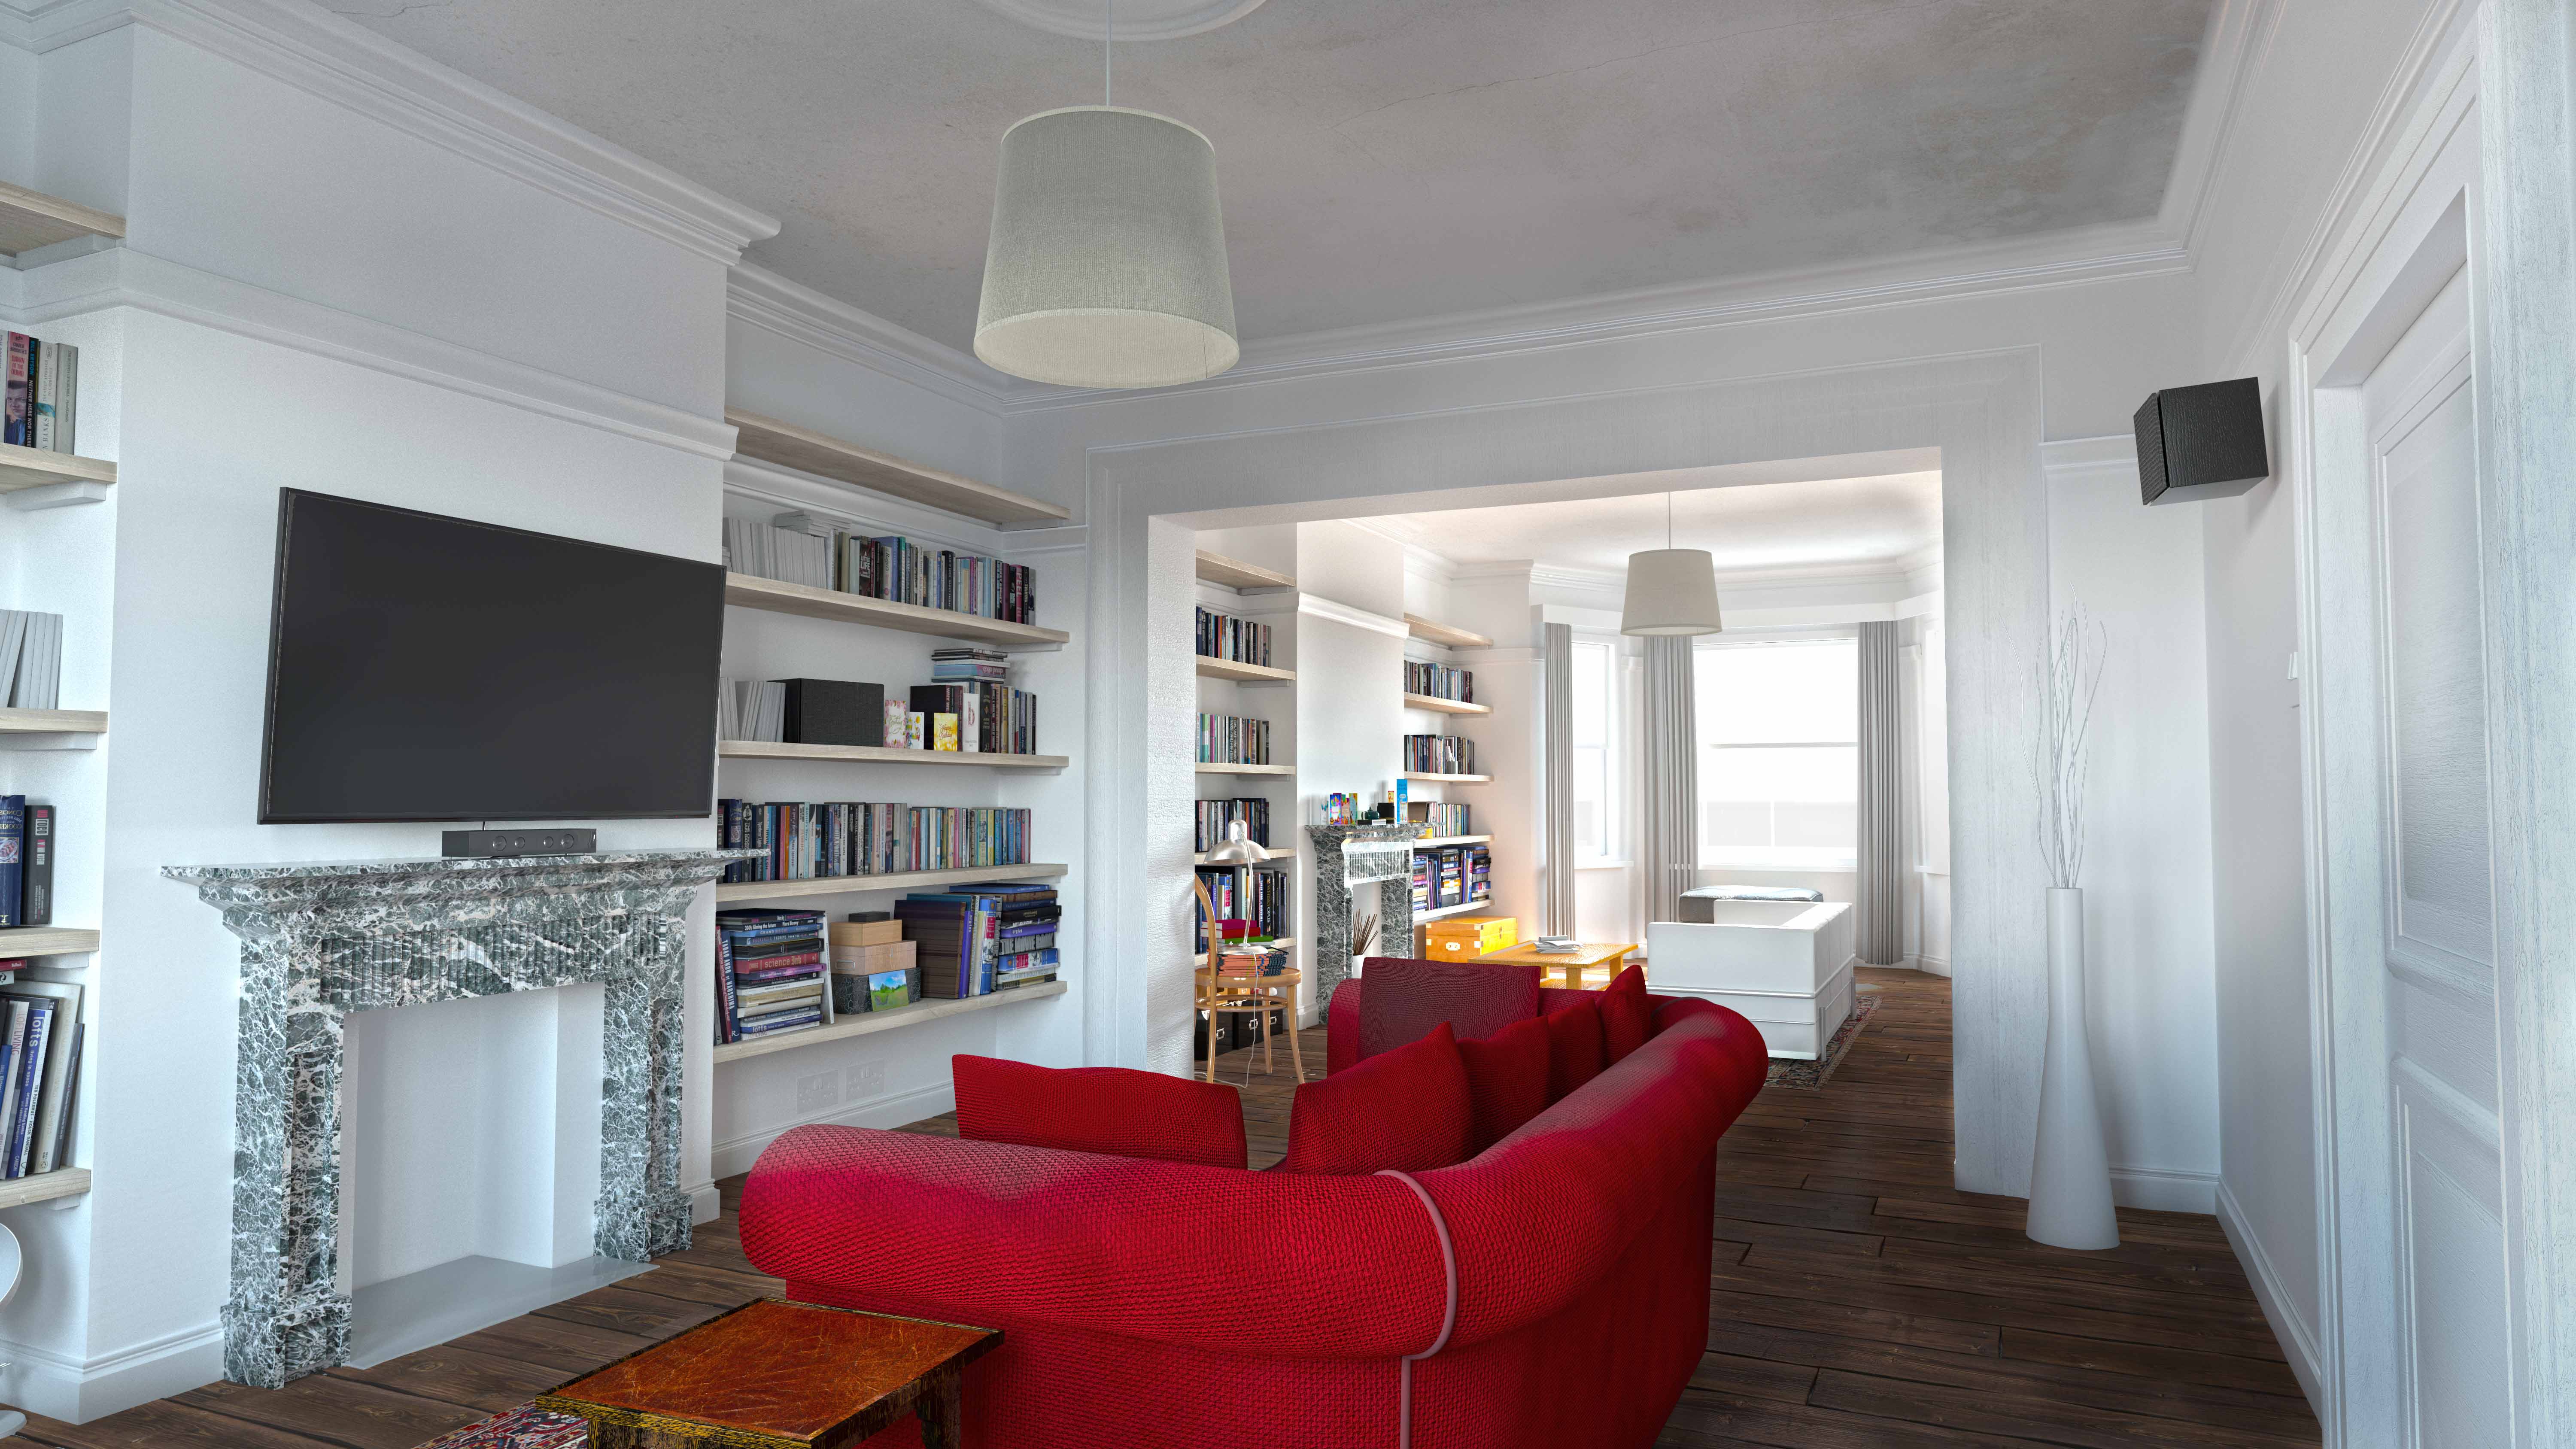
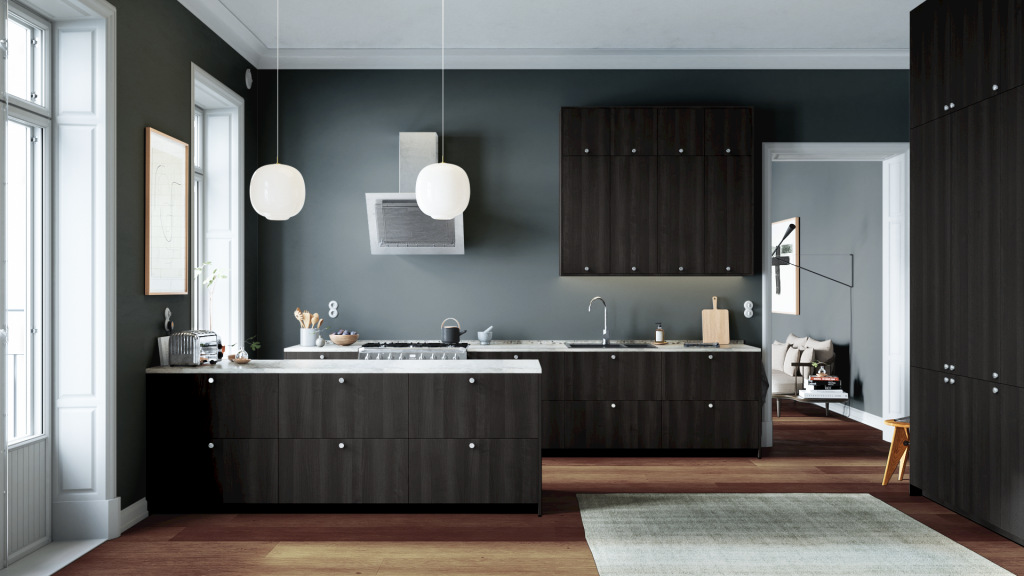
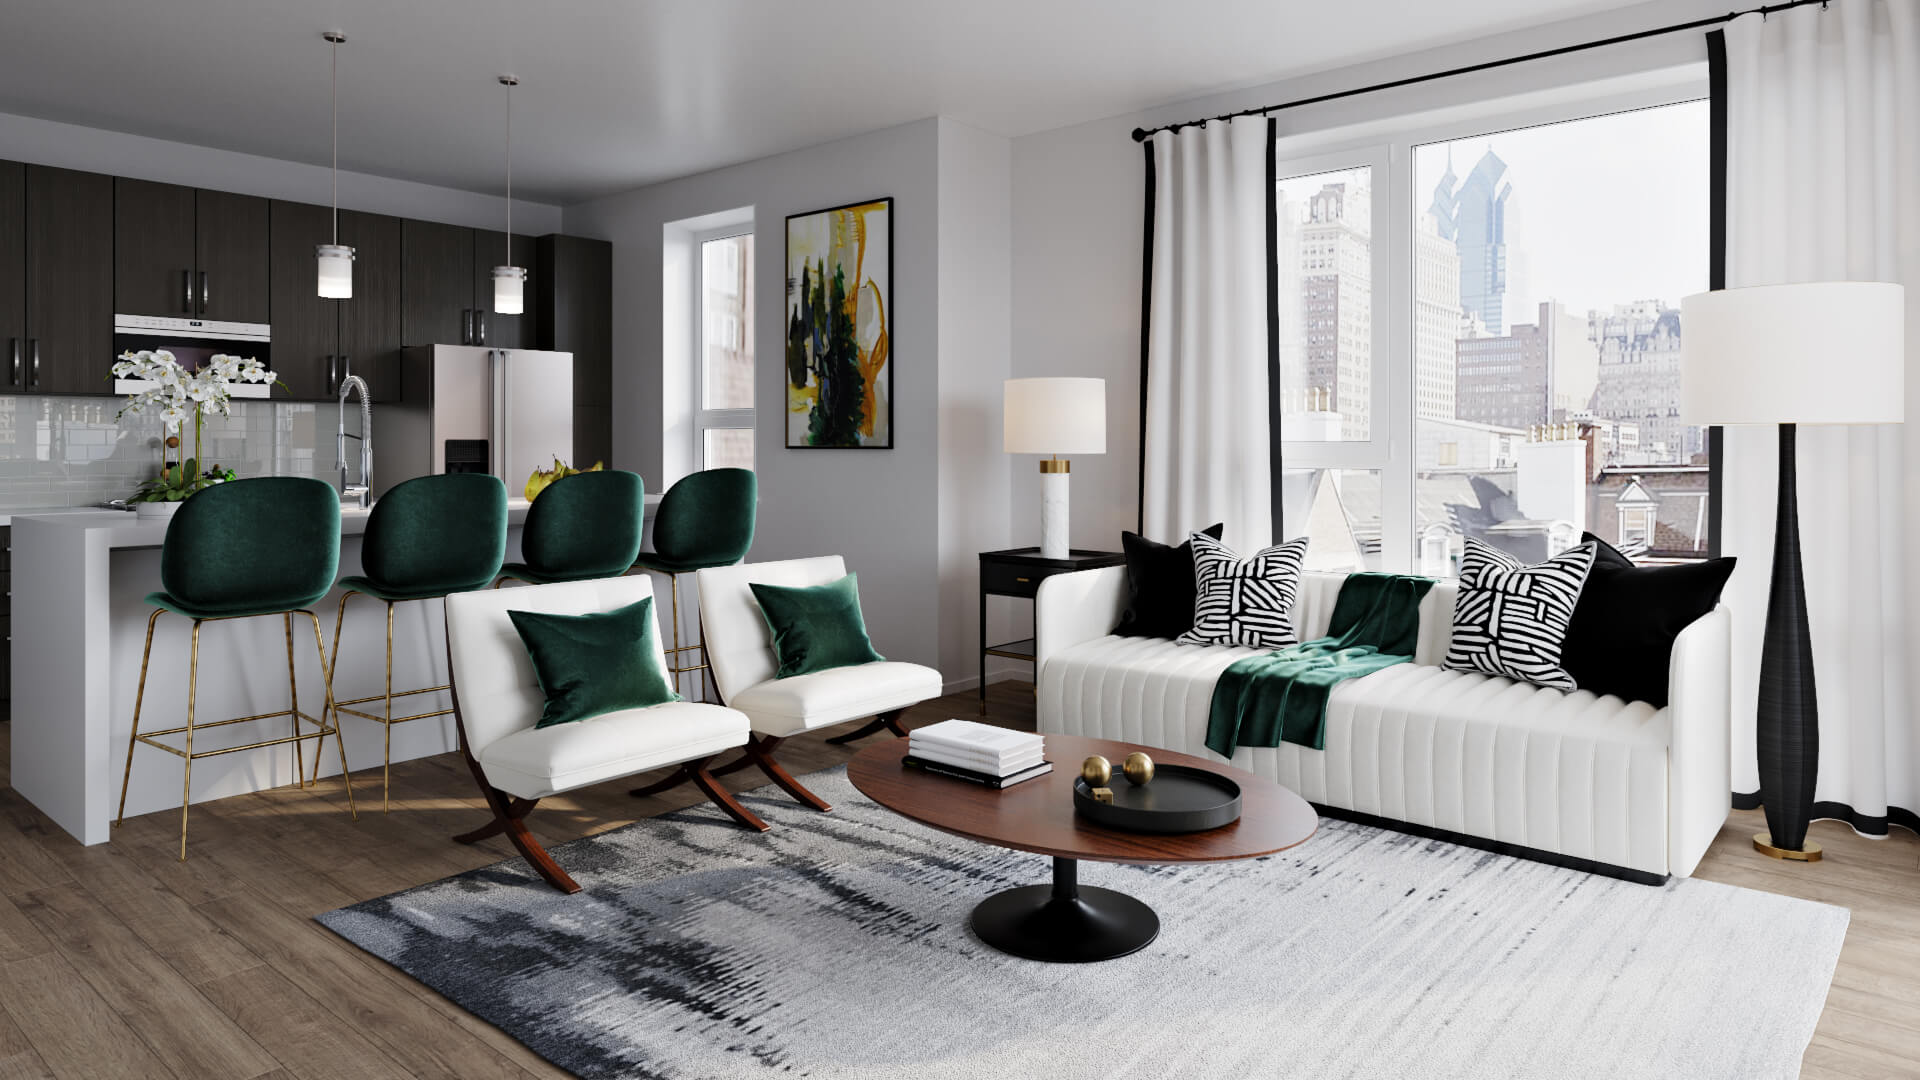
 Once you have completed your
Photoshop rendering
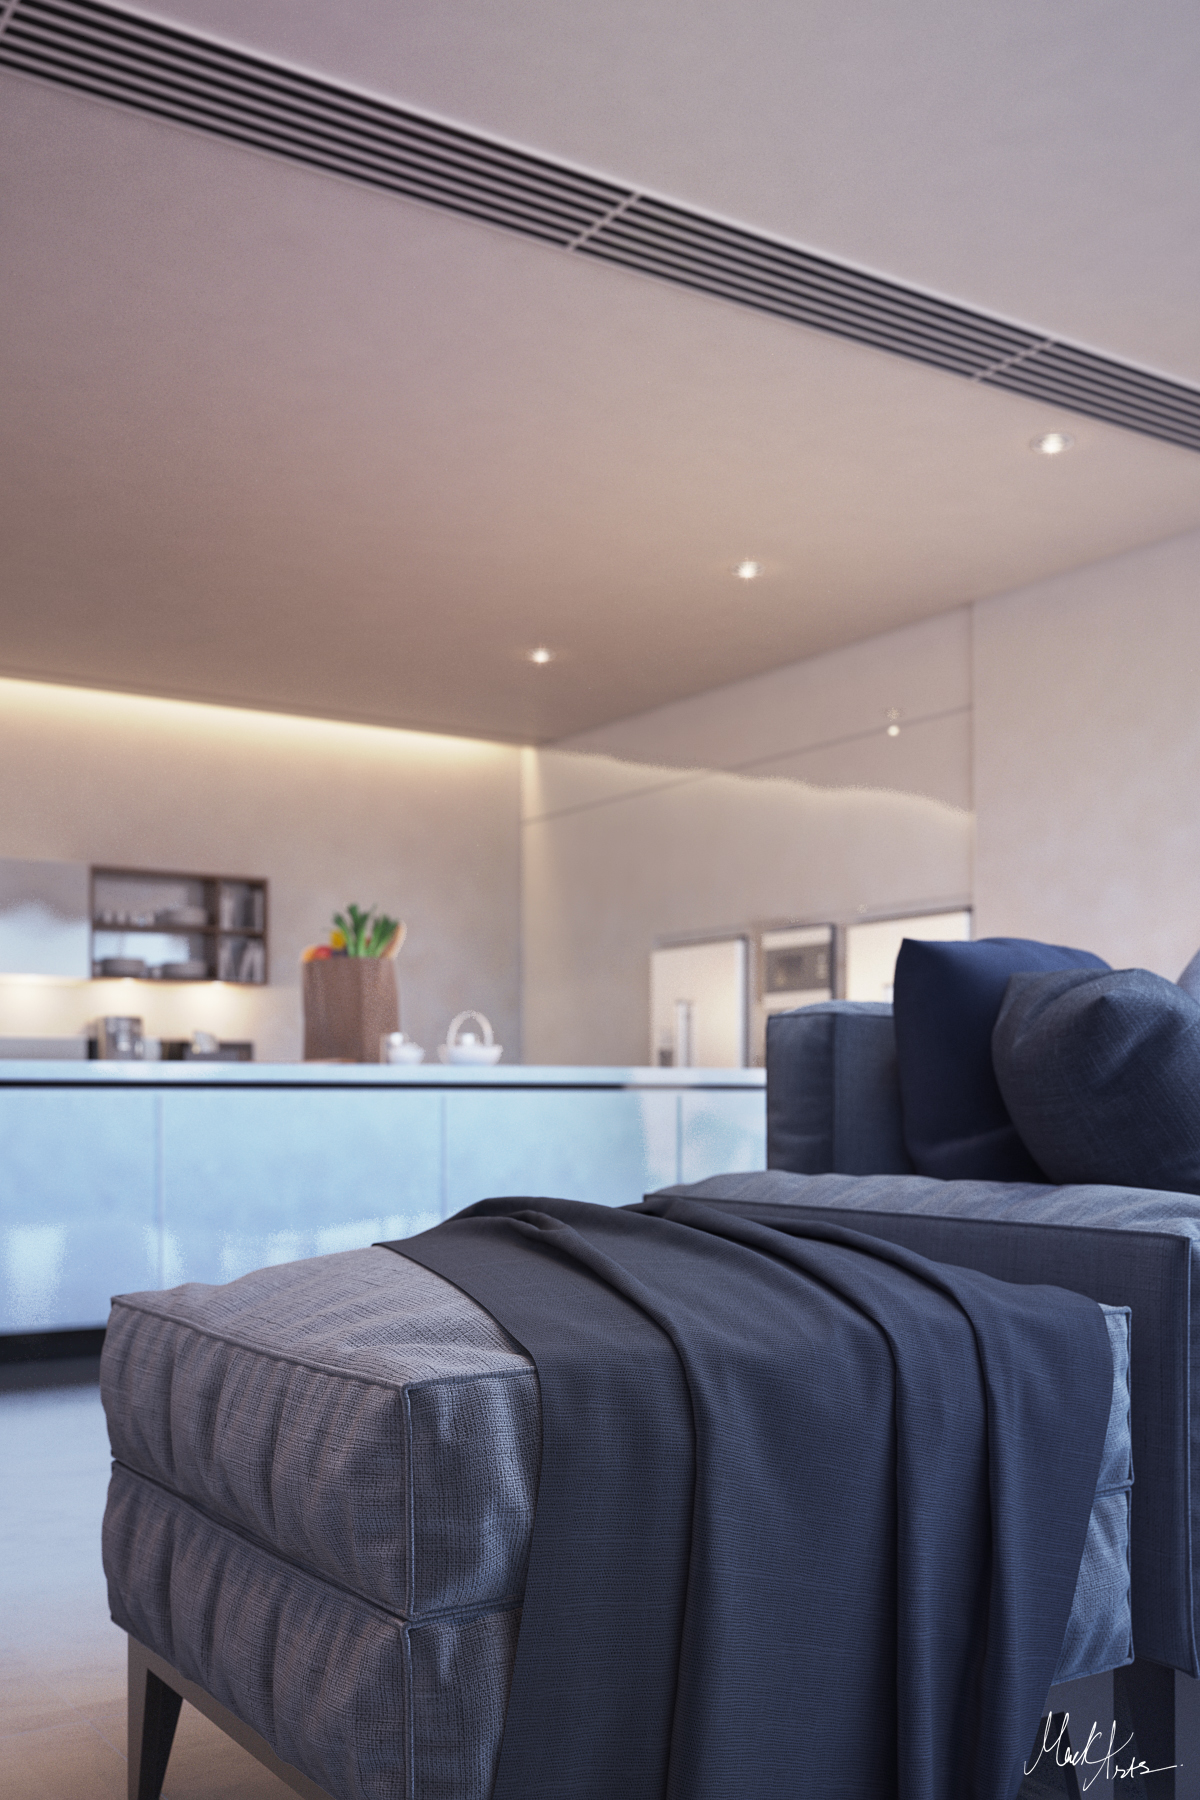
, you will be left with a high-quality, realistic image of your living room design. This image can be used to make final adjustments or changes before moving on to the actual design and construction process. It can also be shared with contractors, interior designers, and other professionals involved in the project, giving them a clear understanding of your vision for the space. With a
living room rendering in Photoshop
, you can confidently bring your dream living room to life.
Once you have completed your
Photoshop rendering
, you will be left with a high-quality, realistic image of your living room design. This image can be used to make final adjustments or changes before moving on to the actual design and construction process. It can also be shared with contractors, interior designers, and other professionals involved in the project, giving them a clear understanding of your vision for the space. With a
living room rendering in Photoshop
, you can confidently bring your dream living room to life.
In Conclusion
 In today's digital age, using
Photoshop renderings
has become an essential tool in the world of house design. Its ability to create detailed and realistic images of our design ideas has revolutionized the way we approach and execute projects. Whether you are an interior designer, homeowner, or simply looking to renovate your living room, utilizing
Photoshop renderings
can help you achieve the perfect design that reflects your style and personality. With its endless possibilities, the only limit is your imagination.
In today's digital age, using
Photoshop renderings
has become an essential tool in the world of house design. Its ability to create detailed and realistic images of our design ideas has revolutionized the way we approach and execute projects. Whether you are an interior designer, homeowner, or simply looking to renovate your living room, utilizing
Photoshop renderings
can help you achieve the perfect design that reflects your style and personality. With its endless possibilities, the only limit is your imagination.