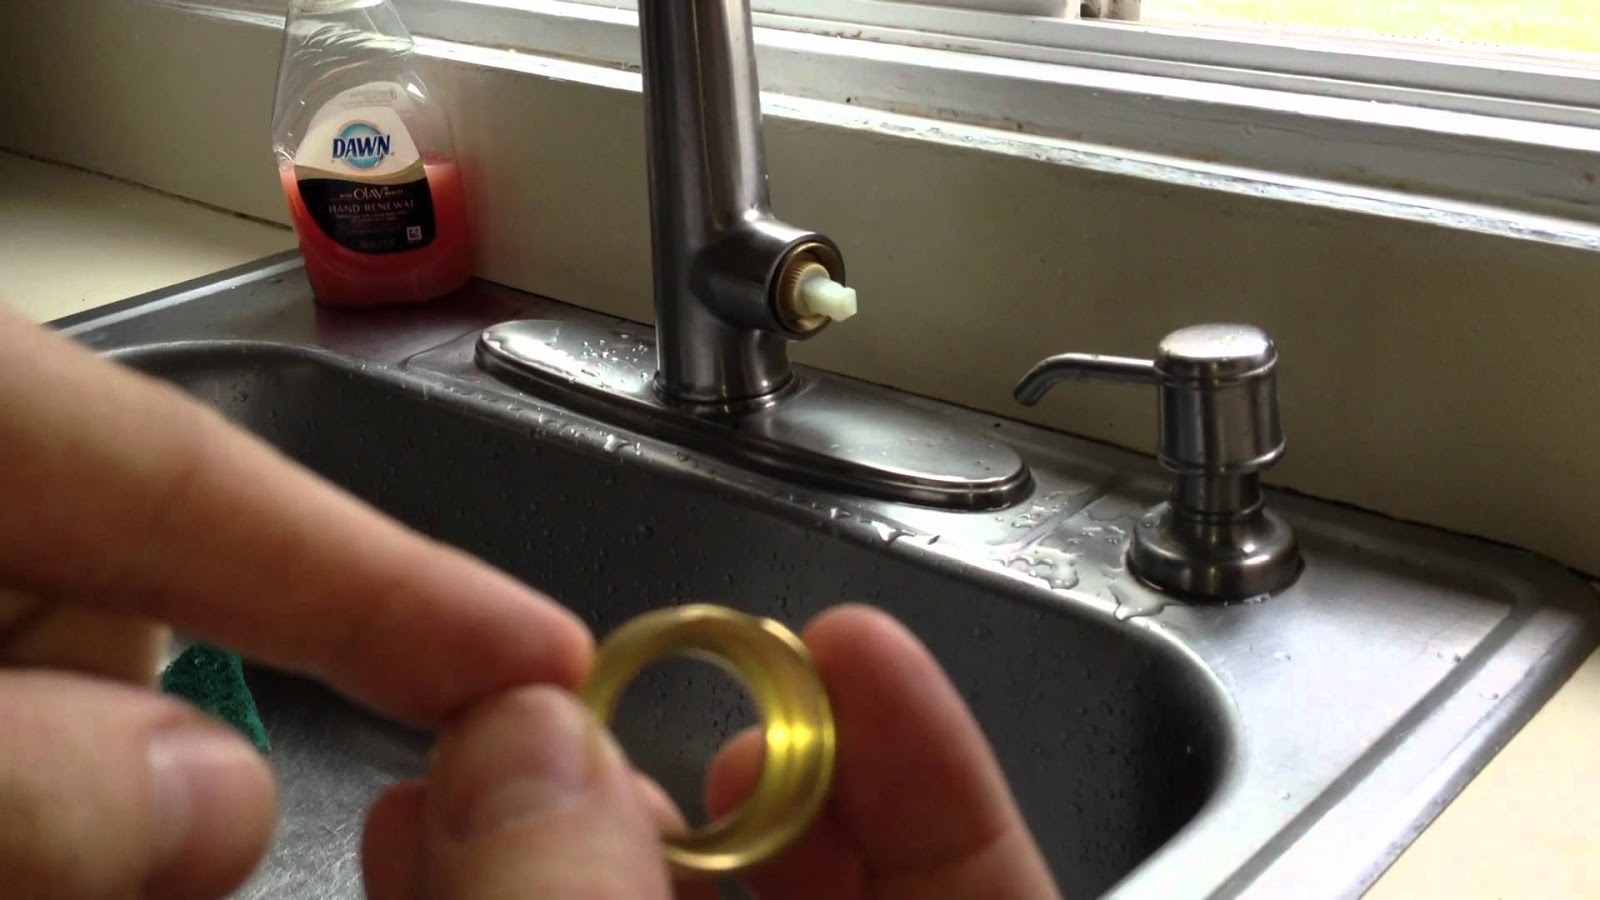
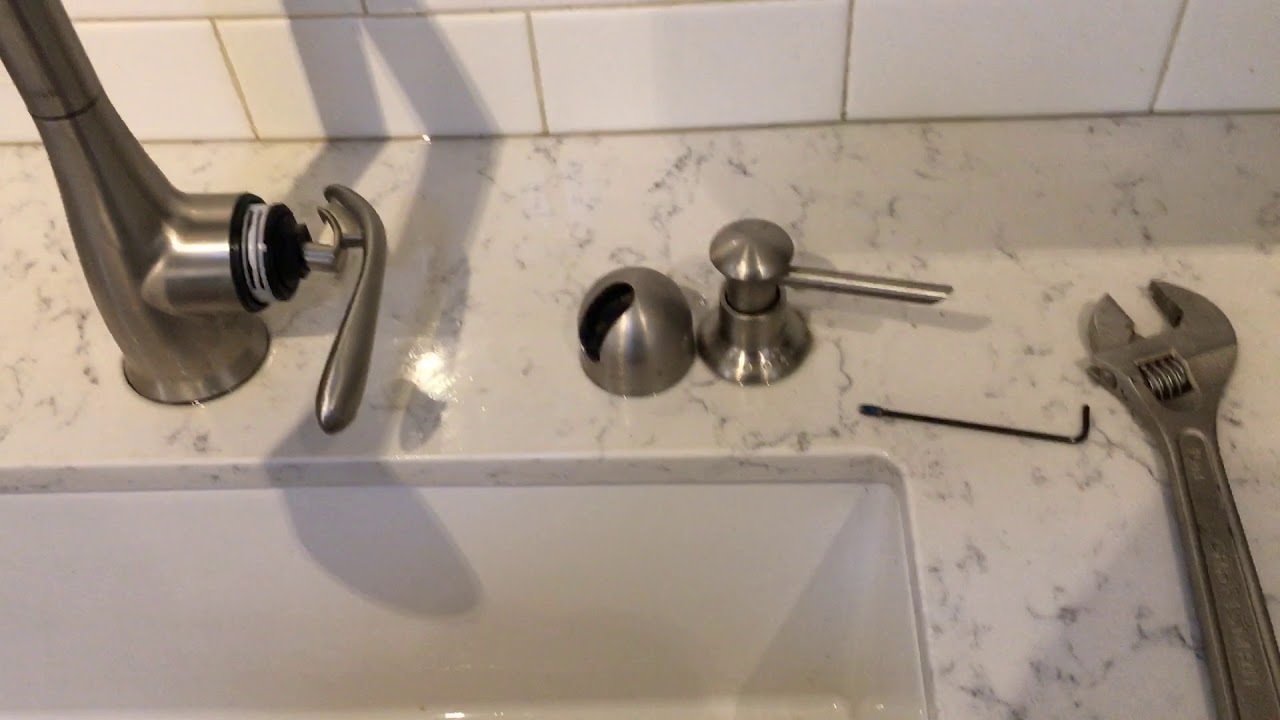
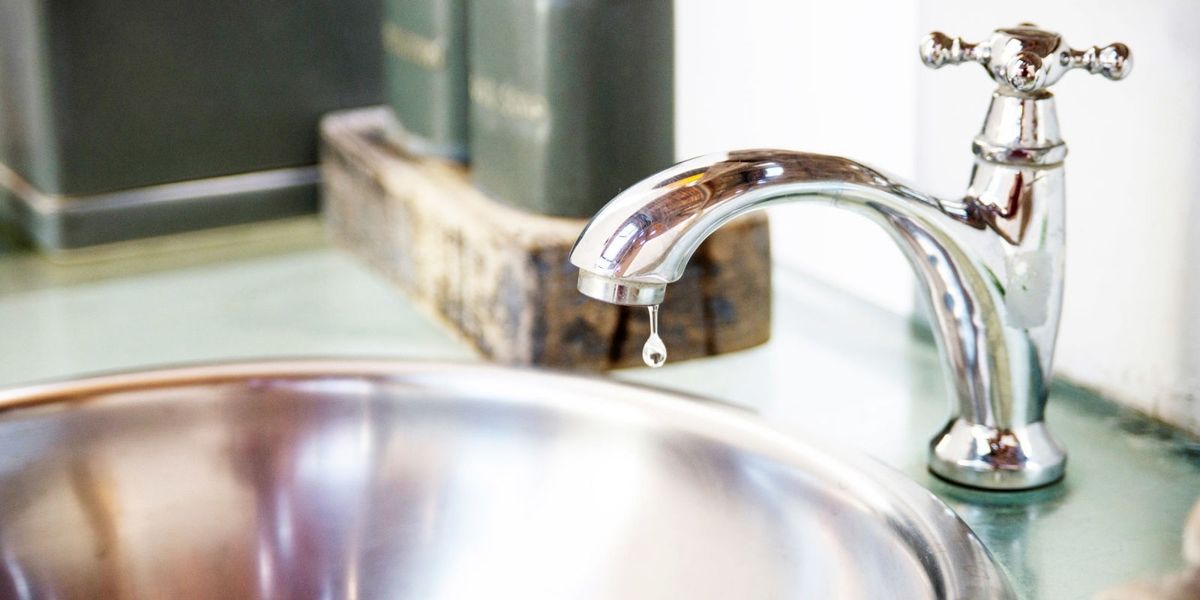
If you notice that your kitchen sink is leaking from the single handle, don't panic. This is a common issue that can be easily fixed with a few simple steps. In this guide, we will walk you through the process of fixing a leaky kitchen sink faucet single handle. The first thing you need to do is turn off the water supply to your sink. This can usually be done by turning off the valves under the sink or by turning off the main water supply to your house. Once the water is turned off, you can begin to assess the problem. One possible cause of a leaky kitchen sink faucet single handle is a worn out O-ring. The O-ring is a small rubber ring that helps to create a watertight seal in your faucet. Over time, the O-ring can become worn or damaged, causing water to leak out of the faucet. To fix this, you will need to replace the O-ring. To replace the O-ring, you will need to disassemble the faucet. Start by removing the handle of the faucet. This can usually be done by unscrewing a small screw or by pulling it off. Once the handle is removed, you will see the cartridge or ball mechanism. Remove this and locate the O-ring. Take the old O-ring to your local hardware store to ensure you get the correct size and replace it with a new one. Once the new O-ring is in place, reassemble the faucet and turn the water supply back on. Test the faucet to make sure the leak has been fixed. If the O-ring is not the issue, it is possible that the valve seat is worn or corroded. The valve seat is the part of the faucet that helps to create a seal when the faucet is turned off. If this is the case, you will need to replace the valve seat. This can be a more complicated process, so it may be best to call a professional plumber. In some cases, the issue may be with the cartridge or ball mechanism itself. If this is the case, you will need to replace the entire mechanism. Again, this can be a more complicated process, so it may be best to call a professional.How to Fix a Leaky Kitchen Sink Faucet Single Handle


How to Fix a Leaky Kitchen Sink Faucet Single Handle


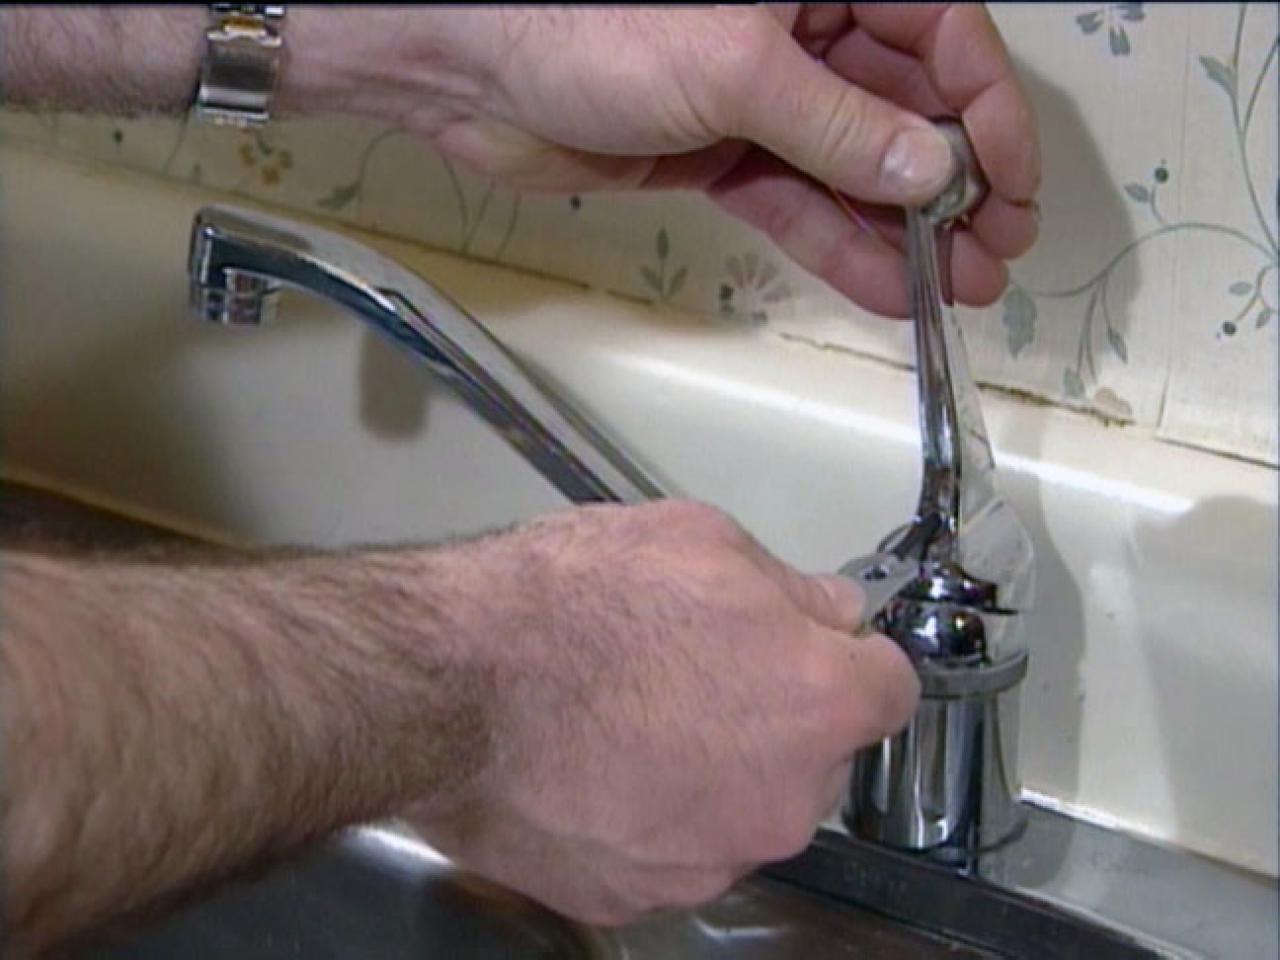


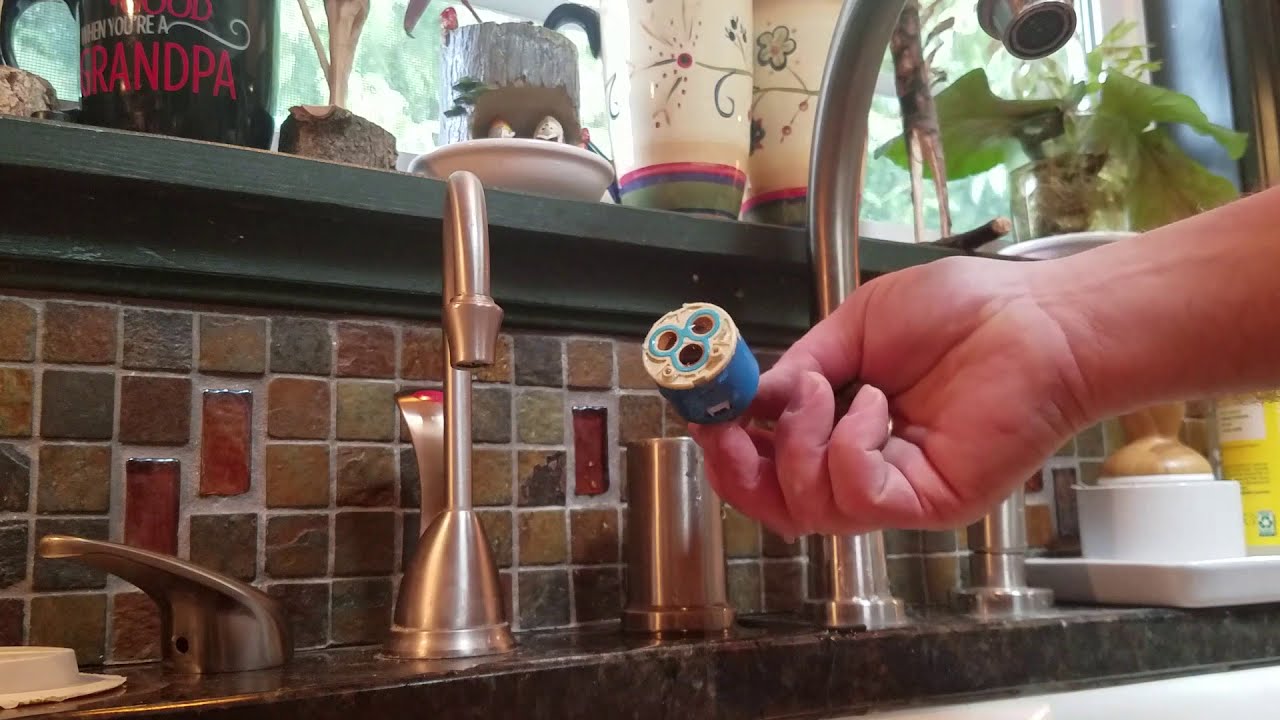
A single-handle ball kitchen faucet is a popular choice for many homeowners. However, like any faucet, it can develop leaks over time. If you have a leaky single-handle ball kitchen faucet, here's how to repair it. The first step is to turn off the water supply to your sink. This can usually be done by turning off the valves under the sink or by turning off the main water supply to your house. Once the water is turned off, you can begin to disassemble the faucet. Start by removing the handle of the faucet. This can usually be done by unscrewing a small screw or by pulling it off. Once the handle is removed, you will see the cartridge or ball mechanism. Remove this and inspect it for any damage or wear. If the mechanism is damaged, you will need to replace it. If the mechanism is in good condition, the issue may be with the O-ring or the valve seat. Inspect these parts and replace them if necessary. Once all of the necessary repairs have been made, reassemble the faucet and turn the water supply back on. Test the faucet to make sure the leak has been fixed.How to Repair a Leaky Single-Handle Ball Kitchen Faucet


How to Repair a Leaky Single-Handle Ball Kitchen Faucet
/repair-a-leaking-ball-faucet-1824868-12-f016144064ee4b5188bf6c500aada90f.jpg)

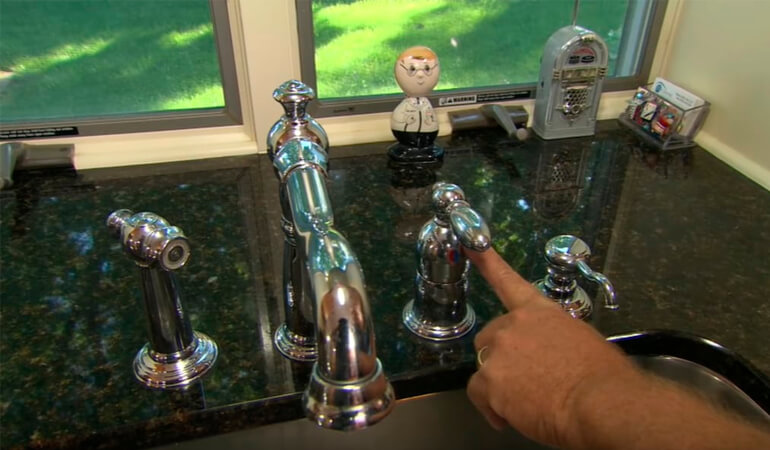
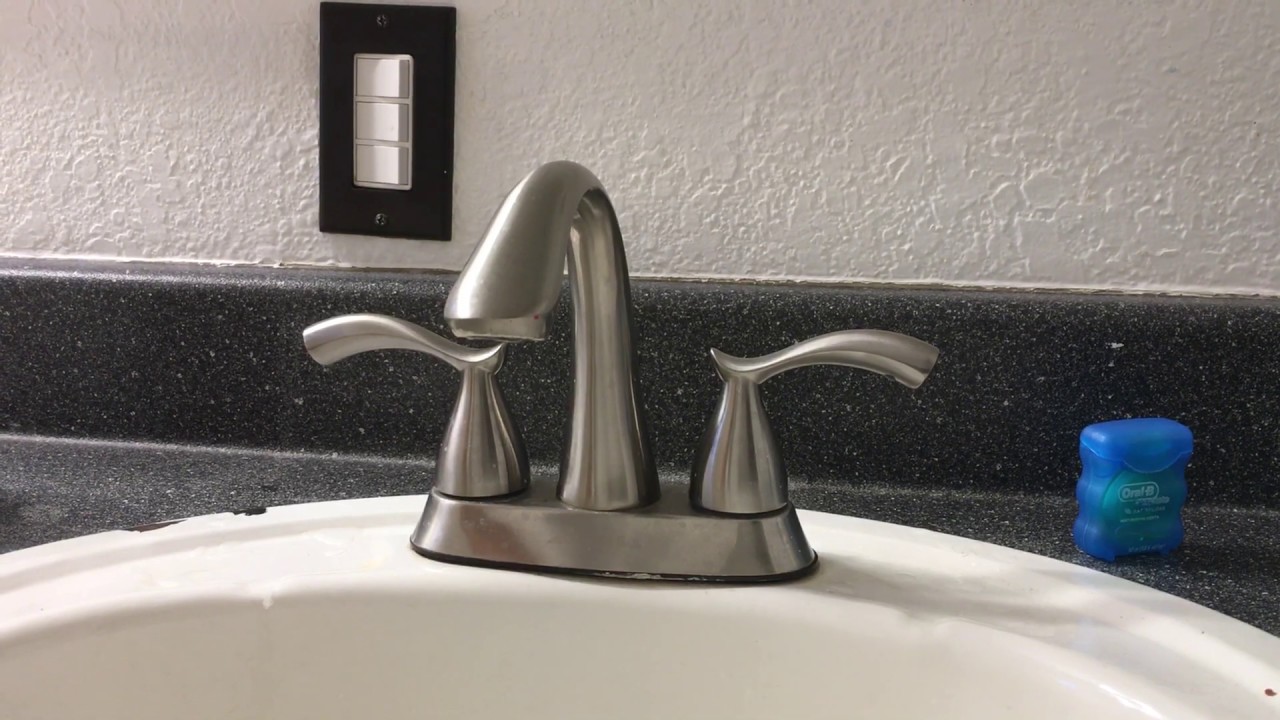
If you have a kitchen faucet with two handles, a leak can occur in either handle. Here's how to fix a leaky kitchen faucet with two handles. The first step is to turn off the water supply to your sink. This can usually be done by turning off the valves under the sink or by turning off the main water supply to your house. Once the water is turned off, you can begin to disassemble the faucet. Start by removing the handles of the faucet. This can usually be done by unscrewing a small screw or by pulling them off. Once the handles are removed, you will see the cartridge or ball mechanism. Inspect these parts for any damage or wear. If they are damaged, you will need to replace them. If the cartridges or ball mechanisms are in good condition, the issue may be with the O-rings or valve seats. Inspect these parts and replace them if necessary. Once all repairs have been made, reassemble the faucet and turn the water supply back on. Test the faucet to make sure the leak has been fixed.How to Fix a Leaky Kitchen Faucet with Two Handles


How to Fix a Leaky Kitchen Faucet with Two Handles


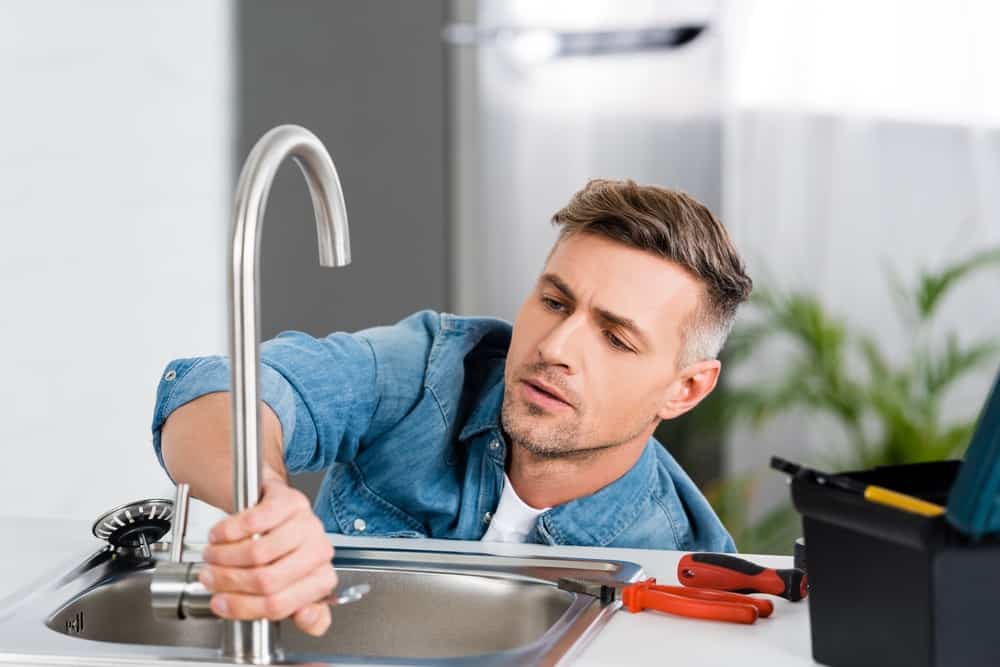


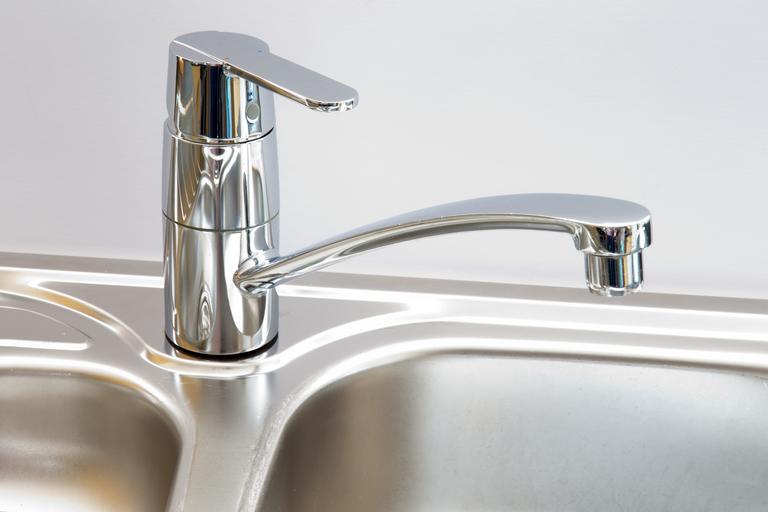
If your kitchen faucet is beyond repair, it may be time to replace it. Here's how to replace a single handle kitchen faucet. The first step is to turn off the water supply to your sink. This can usually be done by turning off the valves under the sink or by turning off the main water supply to your house. Once the water is turned off, you can begin to remove the old faucet. Start by disconnecting the water supply lines from the faucet. Next, remove the mounting nuts or bolts that hold the faucet in place. Once the faucet is loose, you can pull it out and remove it from the sink. Next, install the new faucet according to the manufacturer's instructions. Make sure to use a new set of supply lines and to properly secure the faucet to the sink. Once the new faucet is installed, turn the water supply back on and test the faucet to make sure it is working properly.How to Replace a Single Handle Kitchen Faucet


How to Replace a Single Handle Kitchen Faucet


A leaky kitchen faucet with a single handle is a common issue that can be easily fixed. Here's how to fix a leaky kitchen faucet with a single handle. The first step is to turn off the water supply to your sink. This can usually be done by turning off the valves under the sink or by turning off the main water supply to your house. Once the water is turned off, you can begin to disassemble the faucet. Start by removing the handle of the faucet. This can usually be done by unscrewing a small screw or by pulling it off. Once the handle is removed, you will see the cartridge or ball mechanism. Inspect these parts for any damage or wear. If they are damaged, you will need to replace them. If the cartridges or ball mechanisms are in good condition, the issue may be with the O-ring or the valve seat. Inspect these parts and replace them if necessary. Once all repairs have been made, reassemble the faucet and turn the water supply back on. Test the faucet to make sure the leak has been fixed.How to Fix a Leaky Kitchen Faucet with a Single Handle


How to Fix a Leaky Kitchen Faucet with a Single Handle
:max_bytes(150000):strip_icc()/repairing-a-single-handle-disk-faucet-1824878-hero-b3daee9af5174d8f9b9cb4a2582e7140.jpg)


If you have a leaky kitchen faucet, it's important to address the issue as soon as possible. A small leak can quickly turn into a big problem, causing water damage and wasting a significant amount of water. Here's how to repair a leaky kitchen faucet. The first step is to turn off the water supply to your sink. This can usually be done by turning off the valves under the sink or by turning off the main water supply to your house. Once the water is turned off, you can begin to assess the problem. If the issue is with the O-ring, valve seat, or cartridge/ball mechanism, you can follow the steps outlined in the previous sections to fix the problem. However, if the issue is more complicated or if you are unsure of how to fix it, it may be best to call a professional plumber.How to Repair a Leaky Kitchen Faucet


How to Repair a Leaky Kitchen Faucet


A leaky kitchen faucet is not only annoying, but it can also be costly. The constant dripping can waste a significant amount of water and can also lead to water damage in your kitchen. Here's how to fix a leaky kitchen faucet. The first step is to turn off the water supply to your sink. This can usually be done by turning off the valves under the sink or by turning off the main water supply to your house. Once the water is turned off, you can begin to assess the problem. If the issue is with the O-ring, valve seat, or cartridge/ball mechanism, you can follow the steps outlined in the previous sections to fix the problem. However, if the issue is more complicated or if you are unsure of how to fix it, it may be best to call a professional plumber.How to Fix a Leaky Kitchen Faucet


How to Fix a Leaky Kitchen Faucet

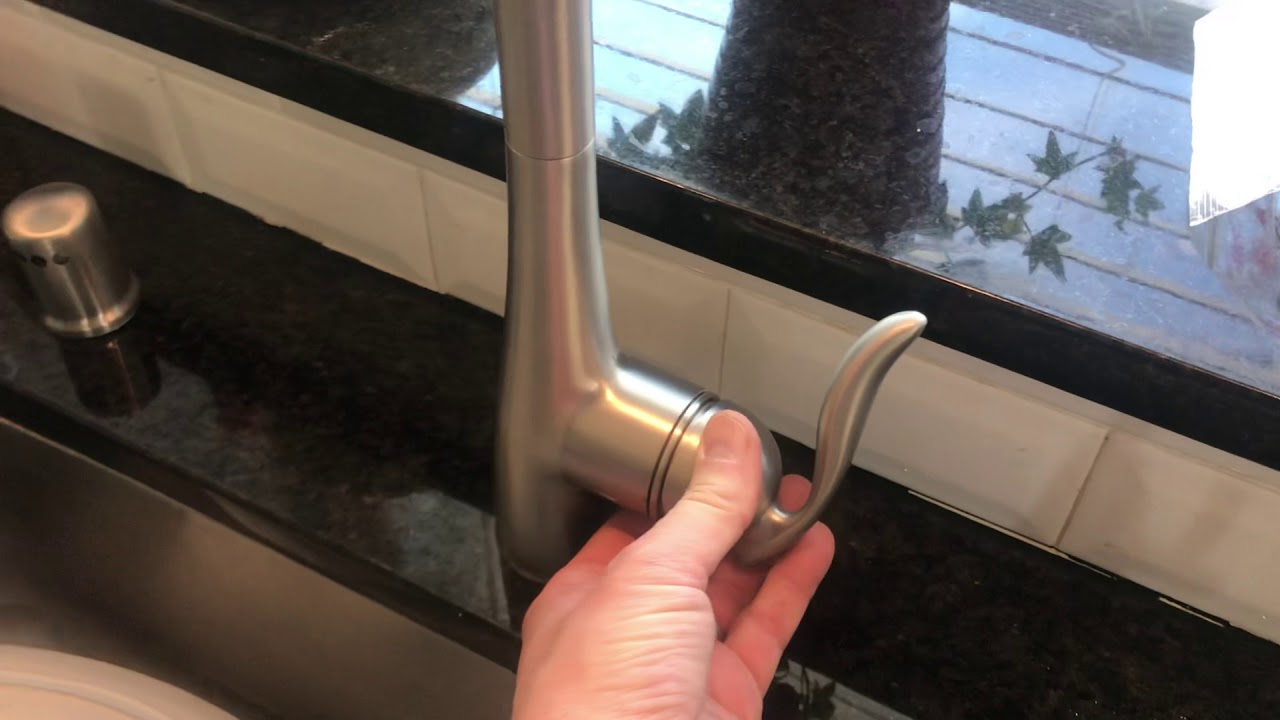
A leaky kitchen faucet handle is a common issue that can be easily fixed. Here's how to fix a leaky kitchen faucet handle. The first step is to turn off the water supply to your sink. This can usually be done by turning off the valves under the sink or by turning off the main water supply to your house. Once the water is turned off, you can begin to disassemble the faucet. Start by removing the handle of the faucet. This can usually be done by unscrewing a small screw or by pulling it off. Once the handle is removed, you will see the cartridge or ball mechanism. Inspect these parts for any damage or wear. If they are damaged, you will need to replace them. If the cartridges or ball mechanisms are in good condition, the issue may be with the O-ring or the valve seat. Inspect these parts and replace them if necessary. Once all repairs have been made, reassemble the faucet and turn the water supply back on. Test the faucet to make sure the leak has been fixed.How to Fix a Leaky Kitchen Faucet Handle


How to Fix a Leaky Kitchen Faucet Handle
:max_bytes(150000):strip_icc()/repair-a-two-handle-cartridge-faucet-1824887-04-9236640018c941eb970815539aa094e2.jpg)
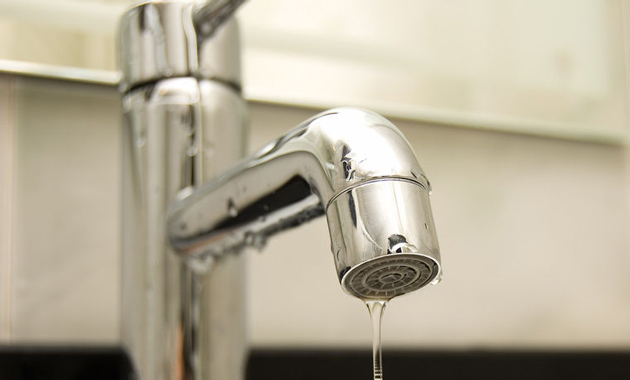
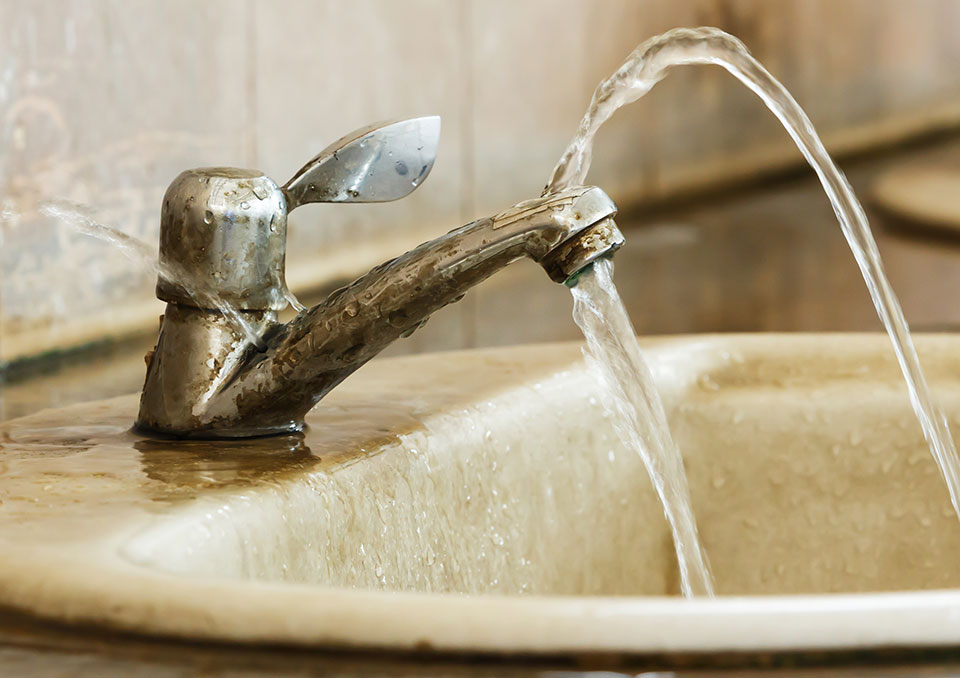
If your kitchen faucet is leaking from the spout, it's important to address the issue as soon as possible. Here's how to fix a leaky kitchen faucet spout. The first step is to turn off the water supply to your sink. This can usually be done by turning off the valves under the sink or by turning off the main water supply to your house. Once the water is turned off, you can begin to assess the problem. If the issue is with the O-ring, valve seat, or cartridge/ball mechanism, you can follow the steps outlined in the previous sections to fix the problem. However, if the issue is more complicated or if you are unsure of how to fix it, it may be best to call a professional plumber.How to Fix a Leaky Kitchen Faucet Spout

How to Fix a Leaky Kitchen Faucet Spout

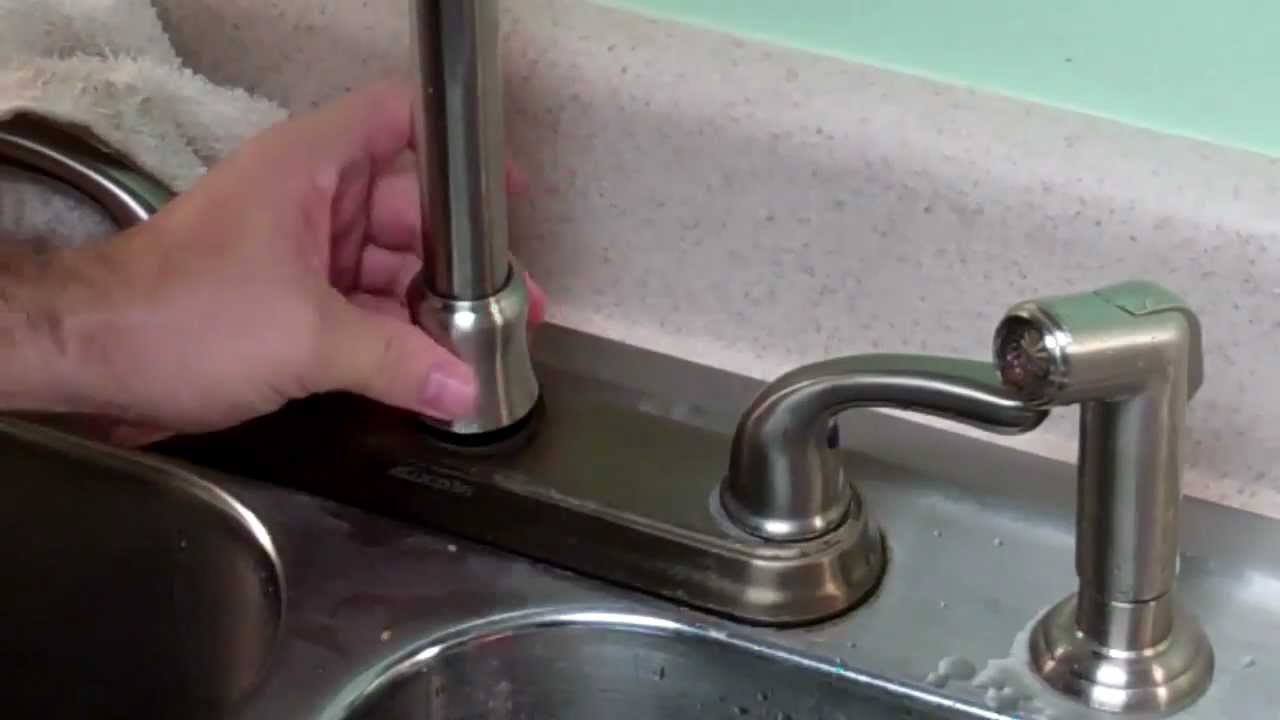
A leaky kitchen faucet base can be caused by a variety of issues, such as loose connections or worn out O-rings. Here's how to fix a leaky kitchen faucet base. The first step is to turn off the water supply to your sink. This can usually be done by turning off the valves under the sink or by turning off the main water supply to your house. Once the water is turned off, you can begin to assess the problem. If the issue is with loose connections, you can try tightening them with a wrench. If this does not solve the problem, the issue may be with the O-rings. Inspect them and replace them if necessary. Once all repairs have been made, turn the water supply back on and test the faucet to make sure the leak has been fixed.How to Fix a Leaky Kitchen Faucet Base
How to Fix a Leaky Kitchen Faucet Base
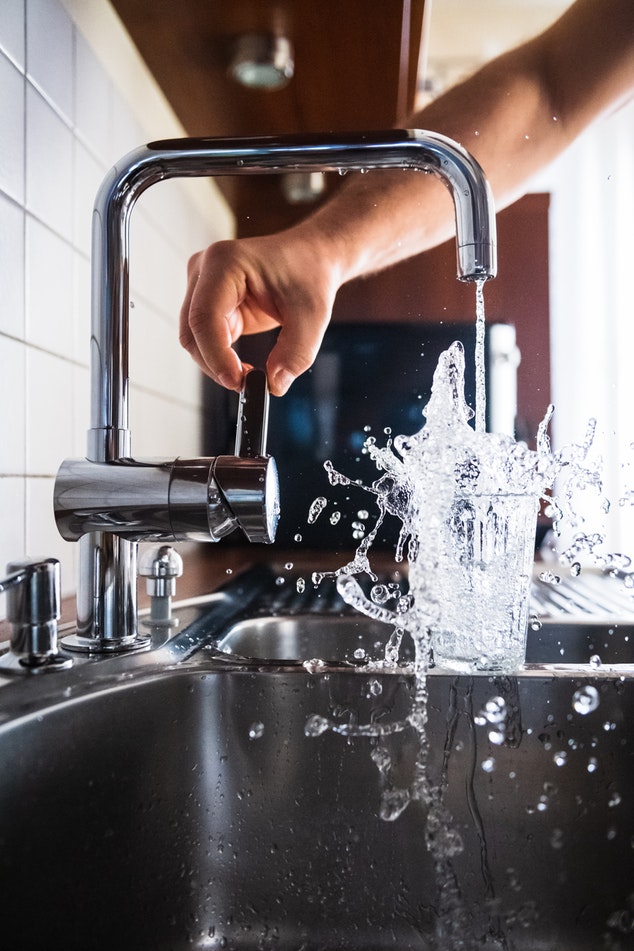
Why It's Important to Fix a Leaking Kitchen Sink

The Effects of a Leaking Kitchen Sink
 A leaking kitchen sink may seem like a small issue, but it can actually have a big impact on your home. Not only can it cause damage to your kitchen cabinets, flooring, and walls, but it can also lead to mold growth and water damage. This can result in costly repairs and even potential health hazards for you and your family. Additionally, a leaking kitchen sink can also lead to wasted water, causing your water bill to increase. Ignoring a leaking kitchen sink can also indicate a larger plumbing issue that needs to be addressed. Therefore, it is important to address a leaking kitchen sink as soon as possible to prevent further damage and potential health hazards.
The Causes of a Leaking Kitchen Sink
 There are a few common reasons why a kitchen sink may start leaking. One of the most common causes is a worn out or faulty single handle. This can happen over time due to regular use or from mineral buildup in the handle. Another cause could be a loose or damaged faucet cartridge, which controls the flow of water. Additionally, a damaged or worn out O-ring or seal can also cause a leaky kitchen sink. These components can wear out over time and may need to be replaced. It's important to address these issues promptly to prevent further damage and potential health hazards.
The Importance of Professional Repair
 While there are DIY solutions for fixing a leaking kitchen sink, it is always best to hire a professional plumber to take care of the issue. They have the expertise and specialized tools to properly diagnose the problem and provide a long-term solution. Attempting to fix a leaking kitchen sink on your own may result in further damage or not fully addressing the root cause of the issue. A professional plumber can also provide preventative maintenance tips to help avoid future leaks and ensure your kitchen sink is functioning properly.
Conclusion
 A leaking kitchen sink may seem like a minor inconvenience, but it can have significant consequences if left untreated. Not only can it cause damage to your home and lead to potential health hazards, but it can also result in wasted water and higher bills. It's important to address a leaking kitchen sink as soon as possible and hire a professional plumber for proper repairs. Don't let a small leak turn into a big problem. Take care of your kitchen sink to maintain the functionality and overall value of your home.