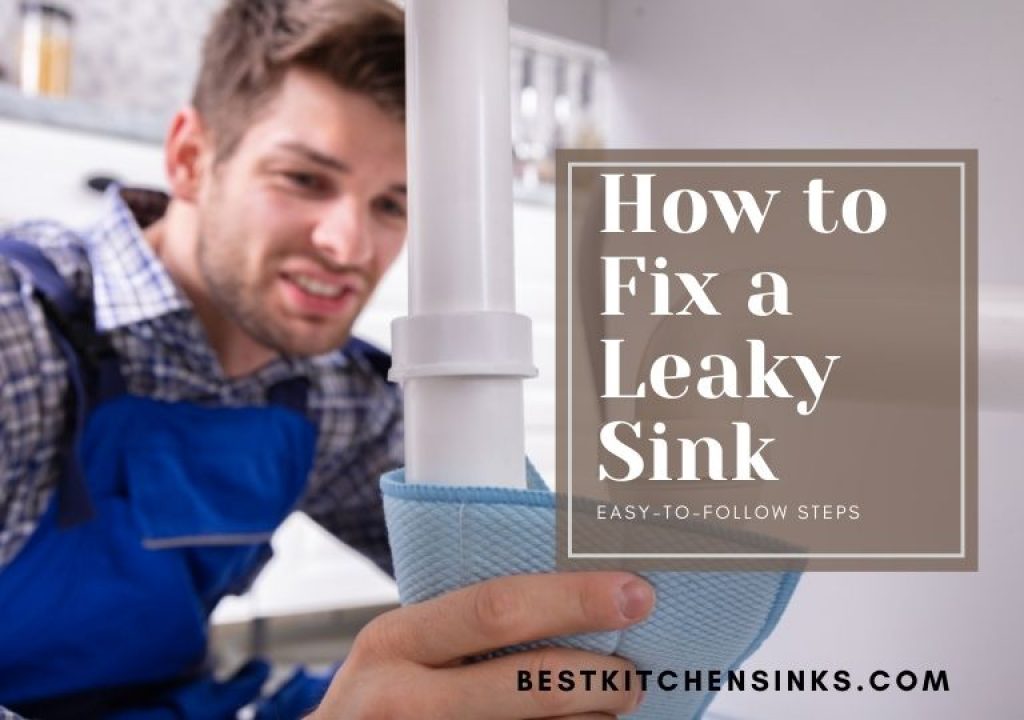
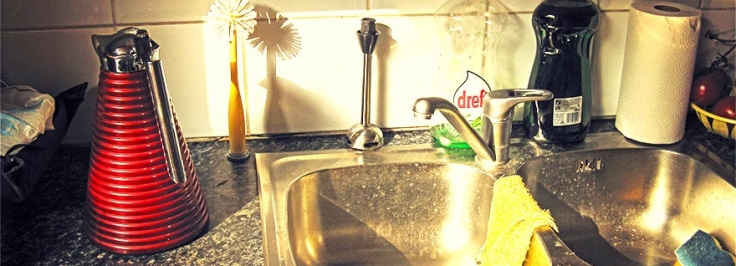
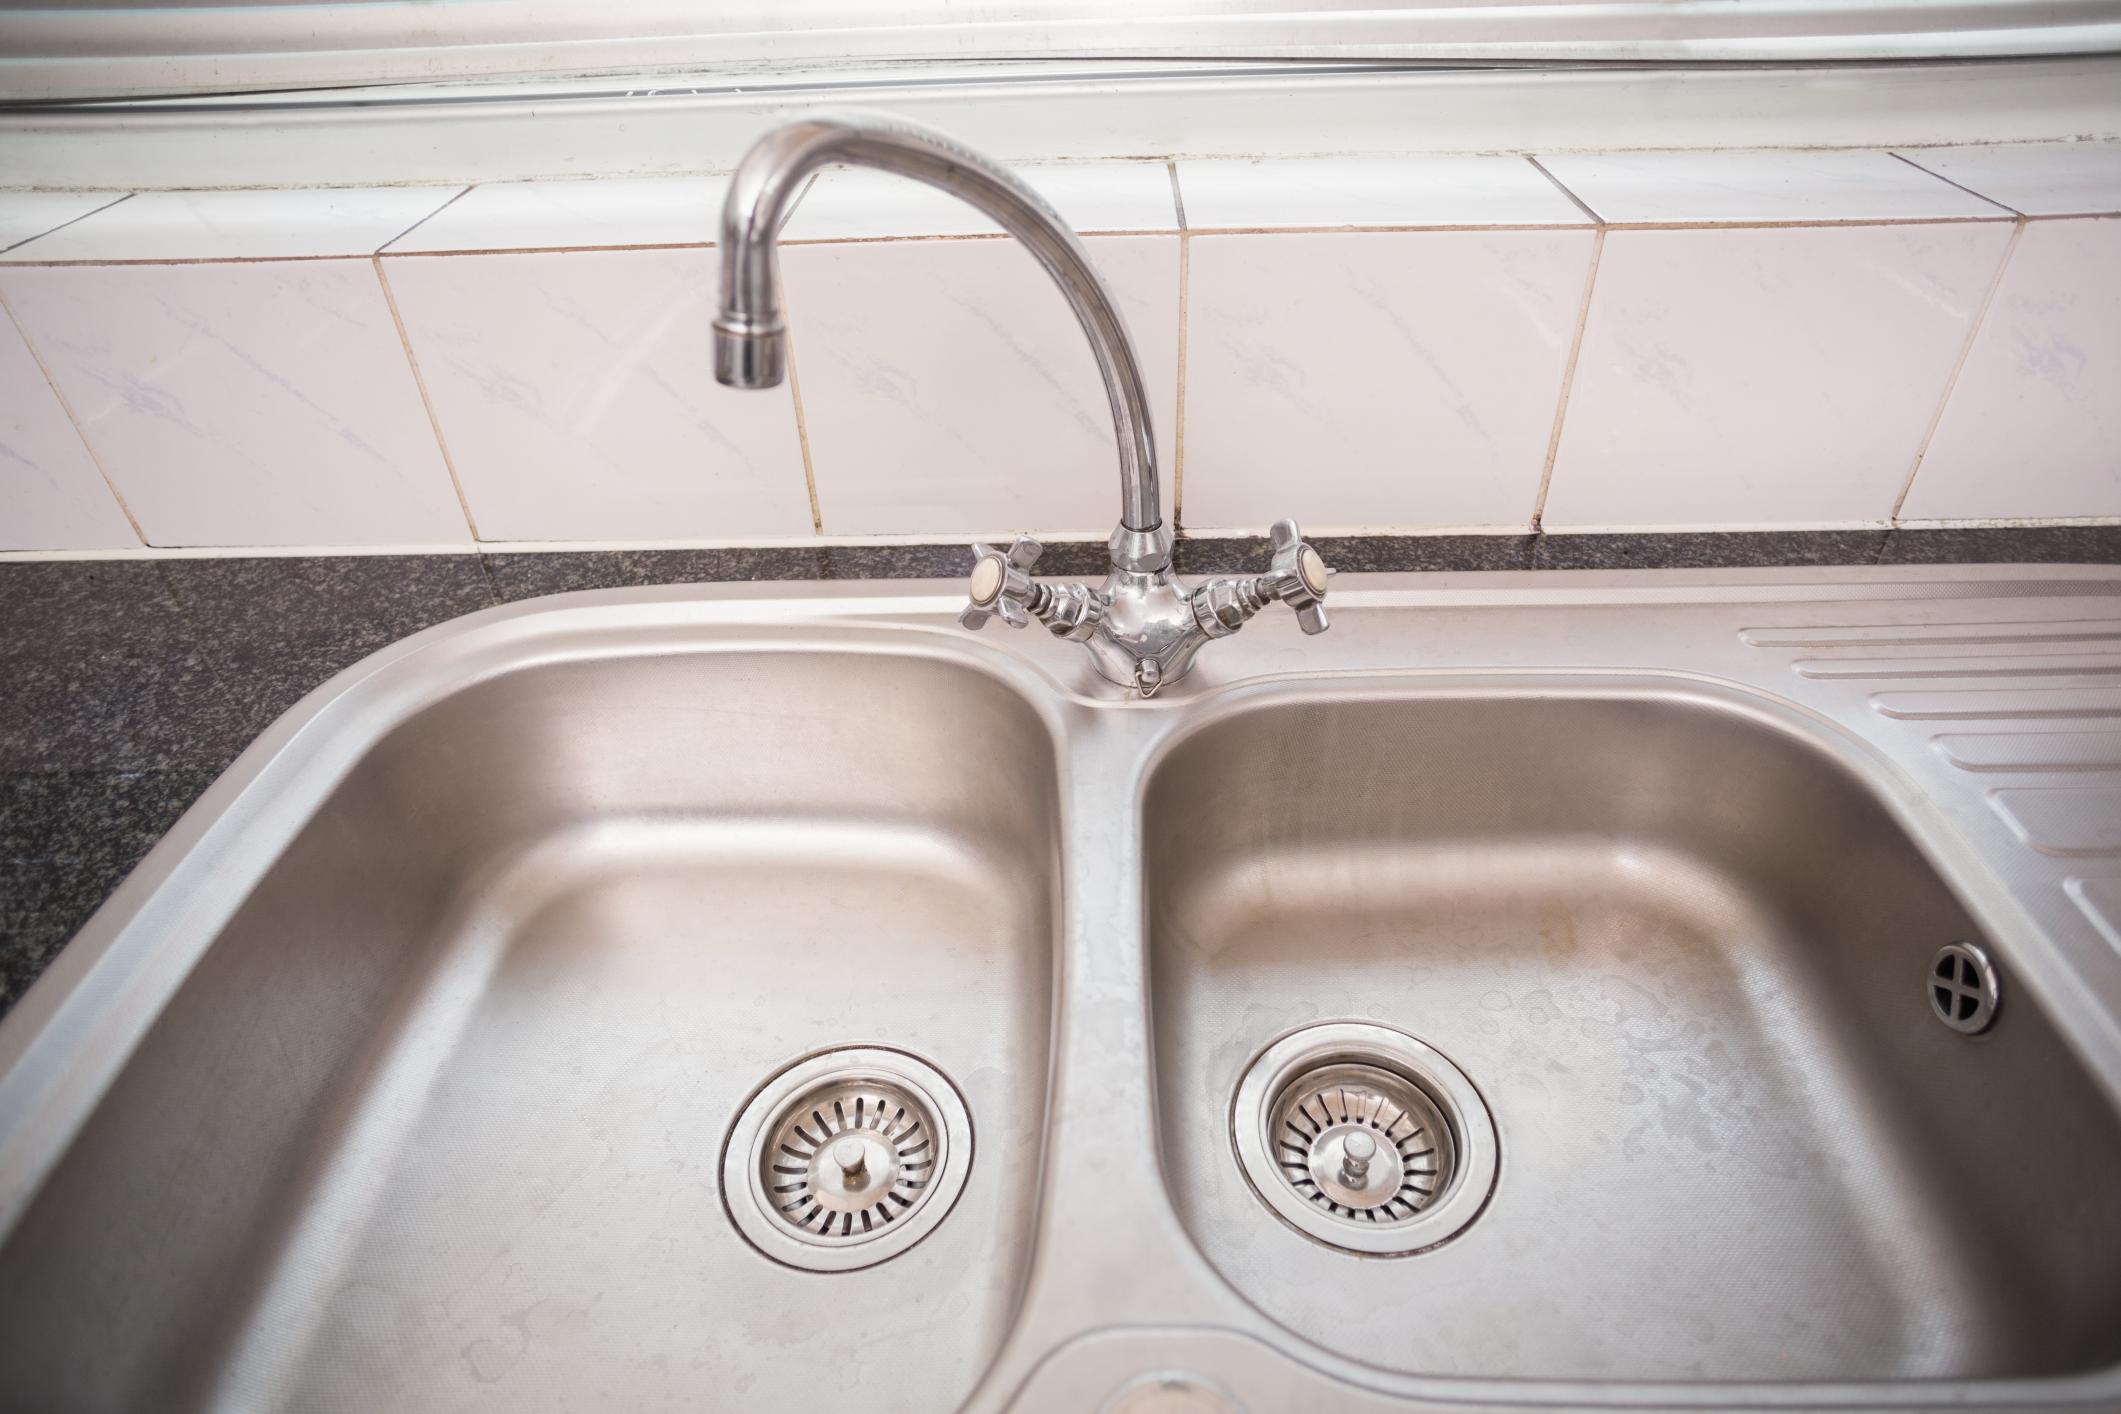
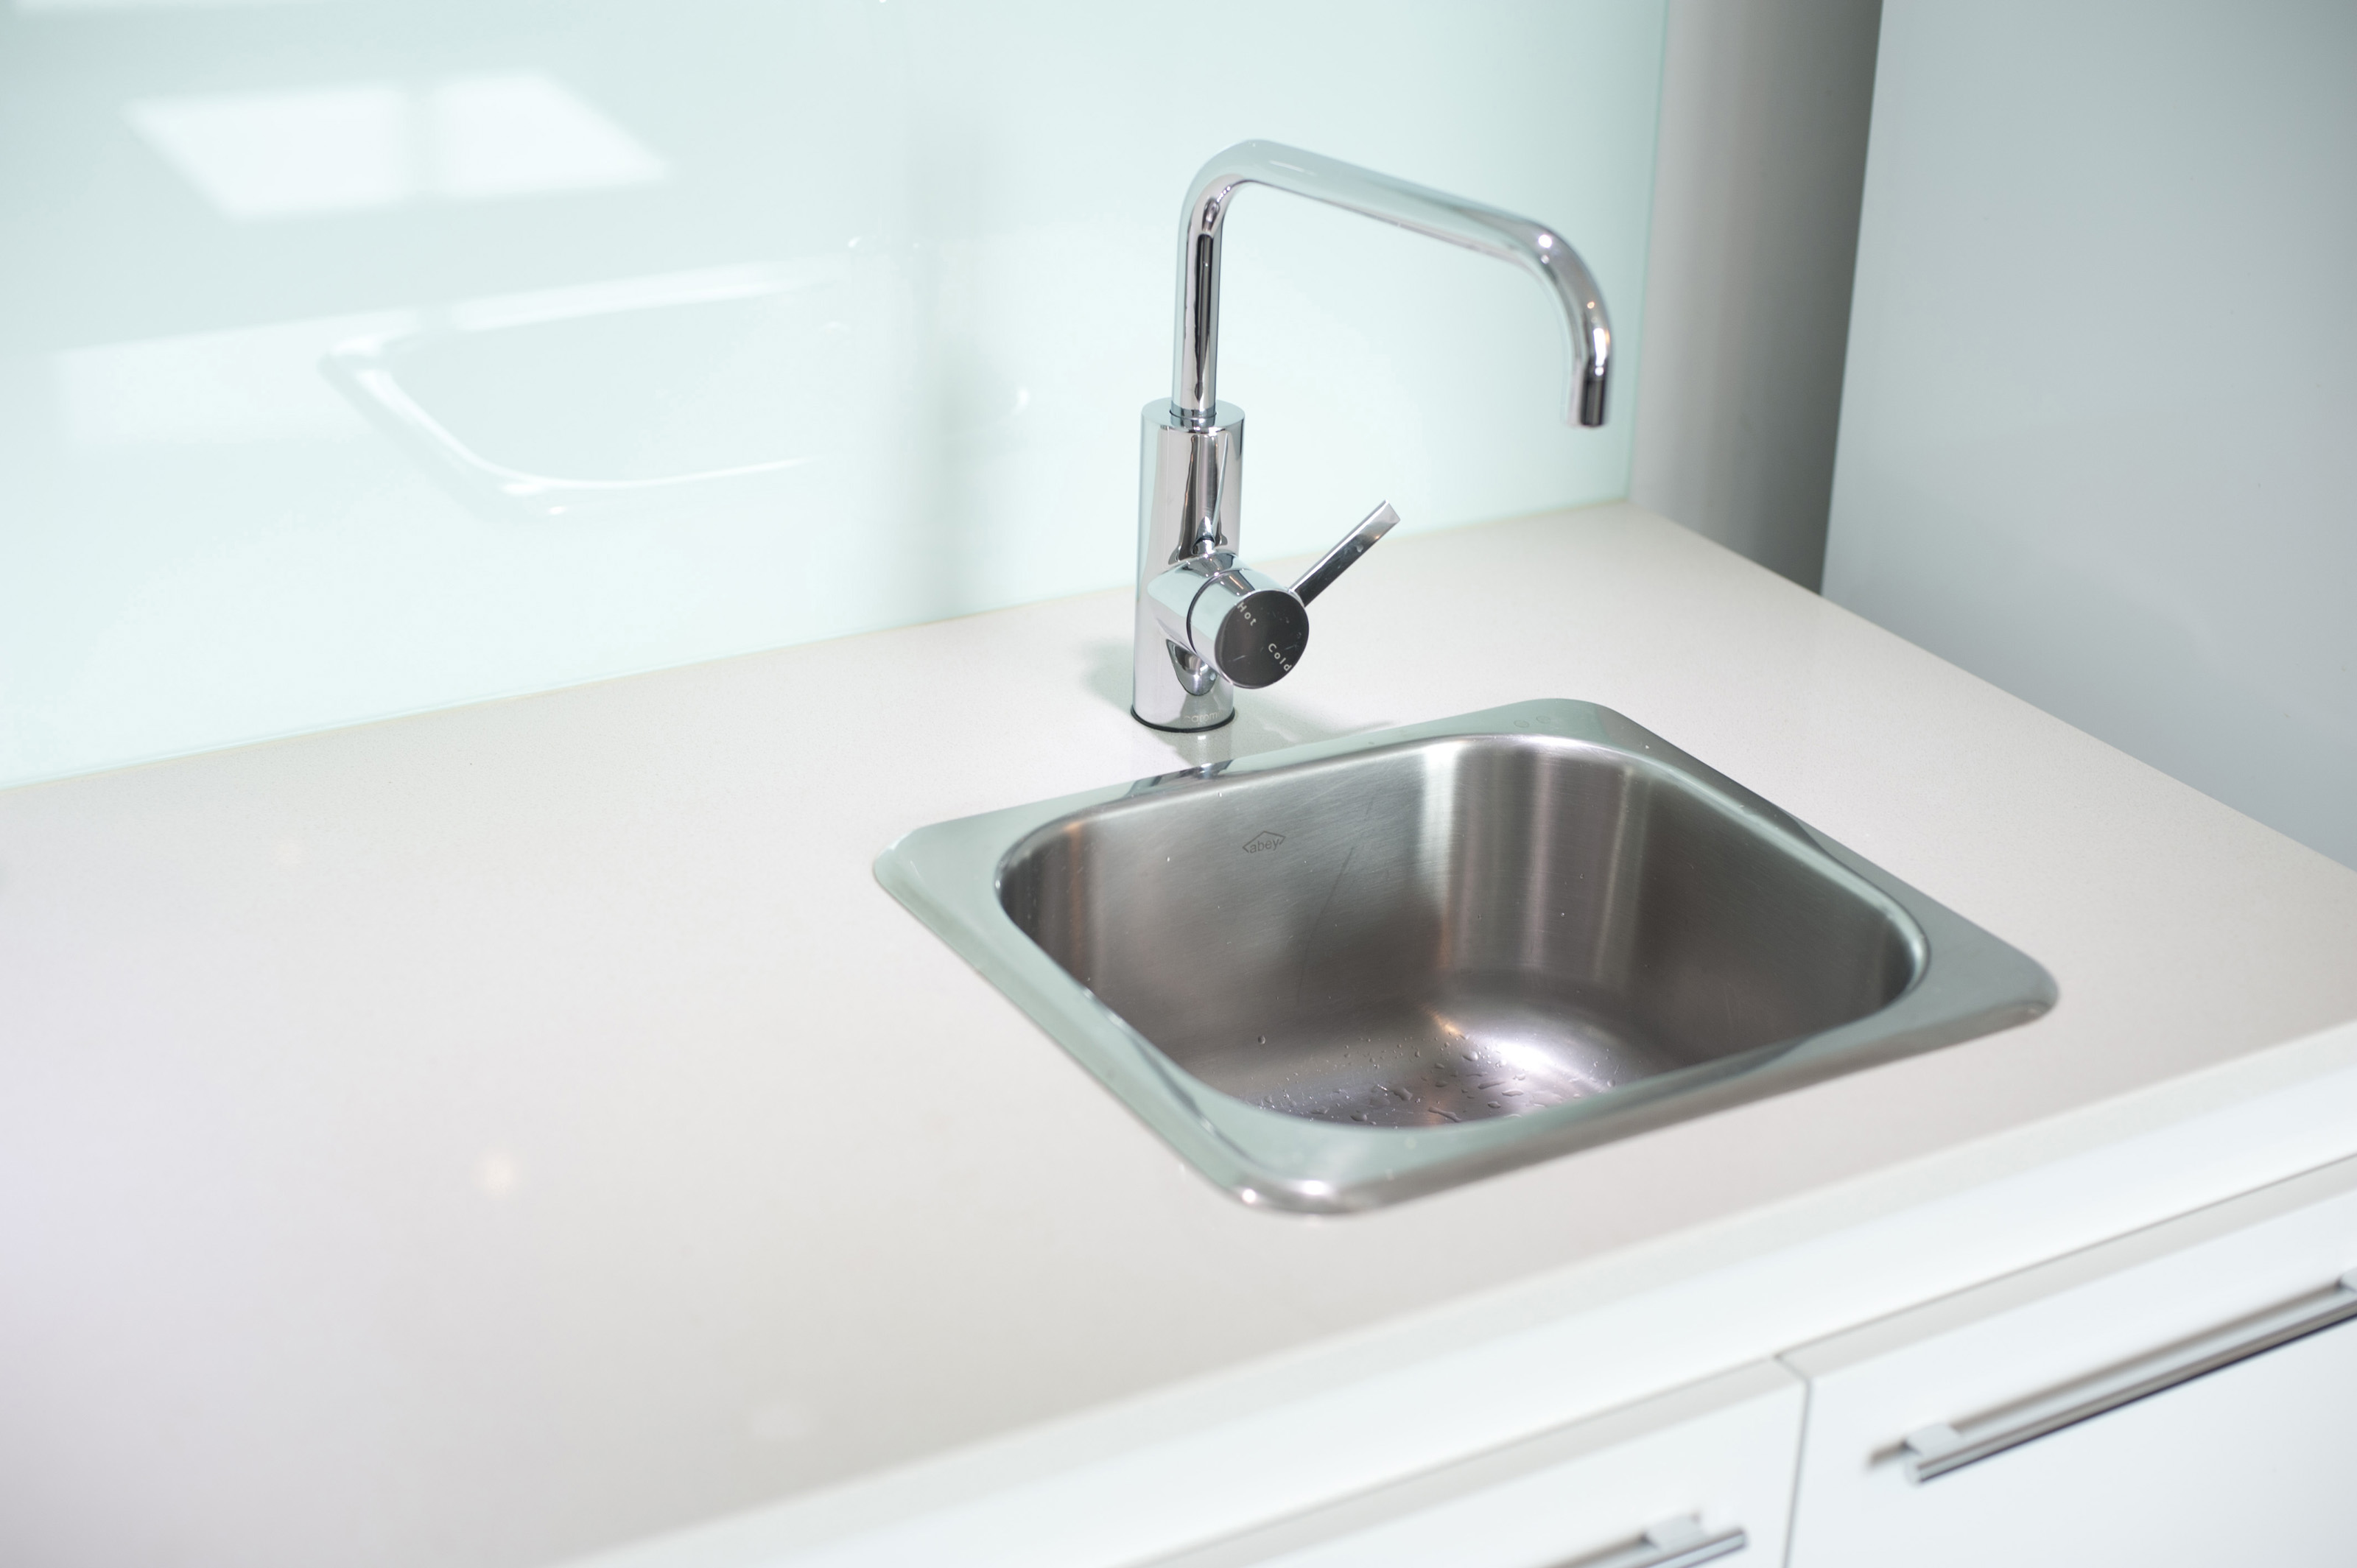
Dealing with a leaky kitchen sink hose can be a frustrating and messy problem to have. However, with the right tools and knowledge, you can easily fix it yourself without having to call a plumber. In this guide, we will walk you through the steps to fix a leaky kitchen sink hose and get your sink back to working properly.How to Fix a Leaky Kitchen Sink Hose


How to Fix a Leaky Kitchen Sink Hose


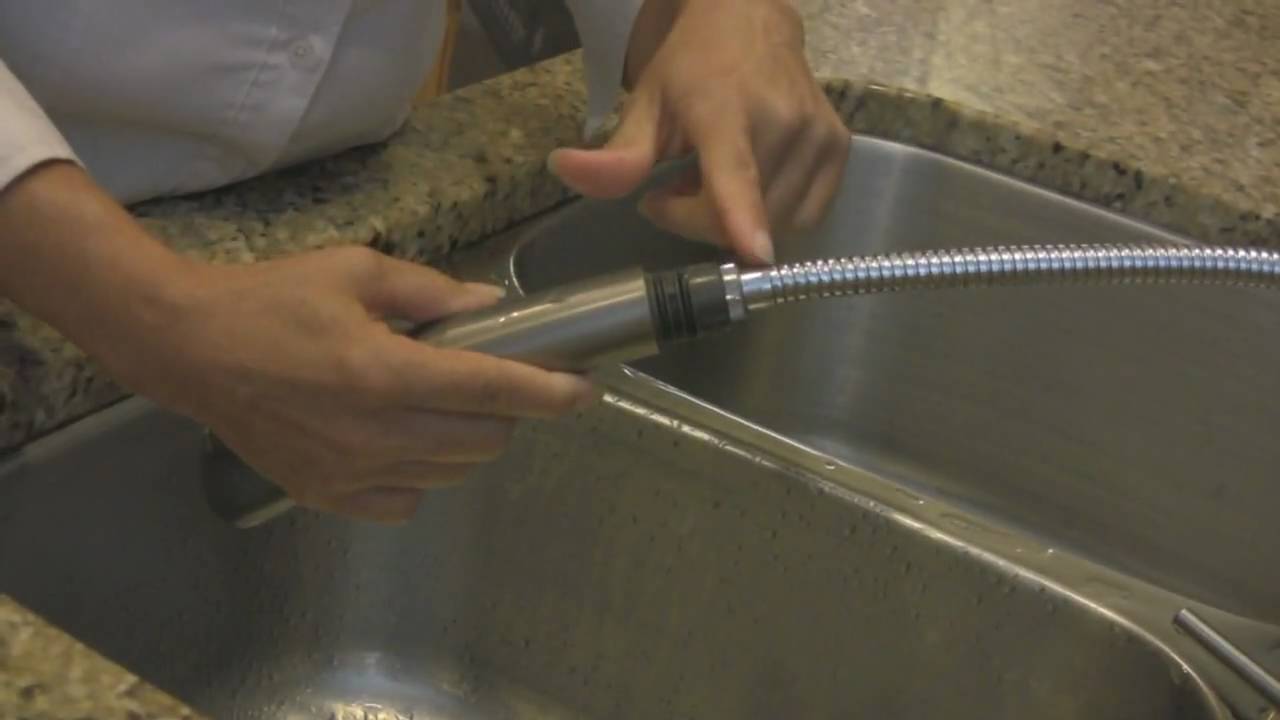
If your kitchen sink hose is beyond repair, you may need to replace it entirely. This may seem like a daunting task, but with the right steps, it can be done quickly and easily. First, you will need to purchase a replacement hose that fits your sink. Once you have the new hose, you can follow these steps to replace it: Step 1: Turn off the water supply to your sink by shutting off the valves under the sink. Step 2: Disconnect the old hose from the water supply and the sink by unscrewing the nuts holding it in place. Step 3: Connect the new hose to the water supply and the sink, making sure to tighten the nuts securely. Step 4: Turn the water supply back on and check for any leaks. If there are no leaks, you have successfully replaced your kitchen sink hose.How to Replace a Kitchen Sink Hose


How to Replace a Kitchen Sink Hose


If your kitchen sink hose is leaking, there are a few DIY methods you can try before resorting to replacing it. Here are some steps you can take to repair your kitchen sink hose: Step 1: Identify the source of the leak. Is it coming from the connection between the hose and the water supply, or is it coming from the hose itself? Step 2: If the leak is coming from the connection, try tightening the nuts holding the hose in place. If this doesn't stop the leak, you may need to replace the hose. Step 3: If the leak is coming from the hose itself, you can try patching it up with some waterproof tape. However, keep in mind that this is only a temporary solution and you will eventually need to replace the hose.DIY Kitchen Sink Hose Repair


DIY Kitchen Sink Hose Repair


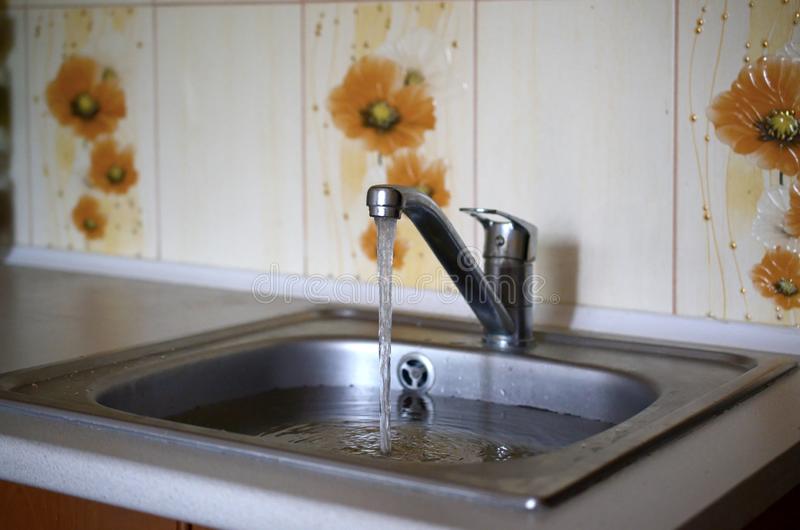
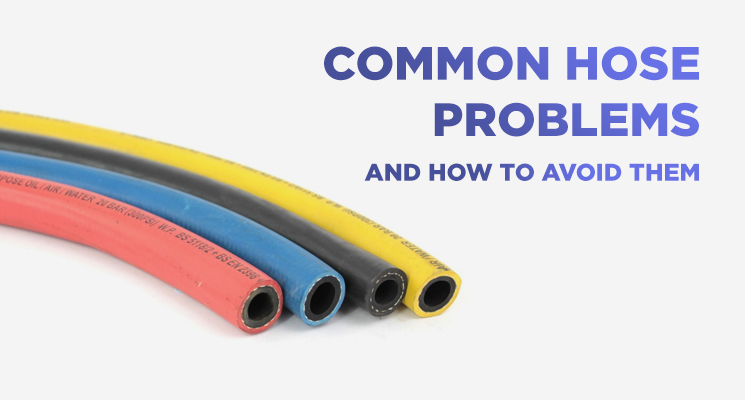
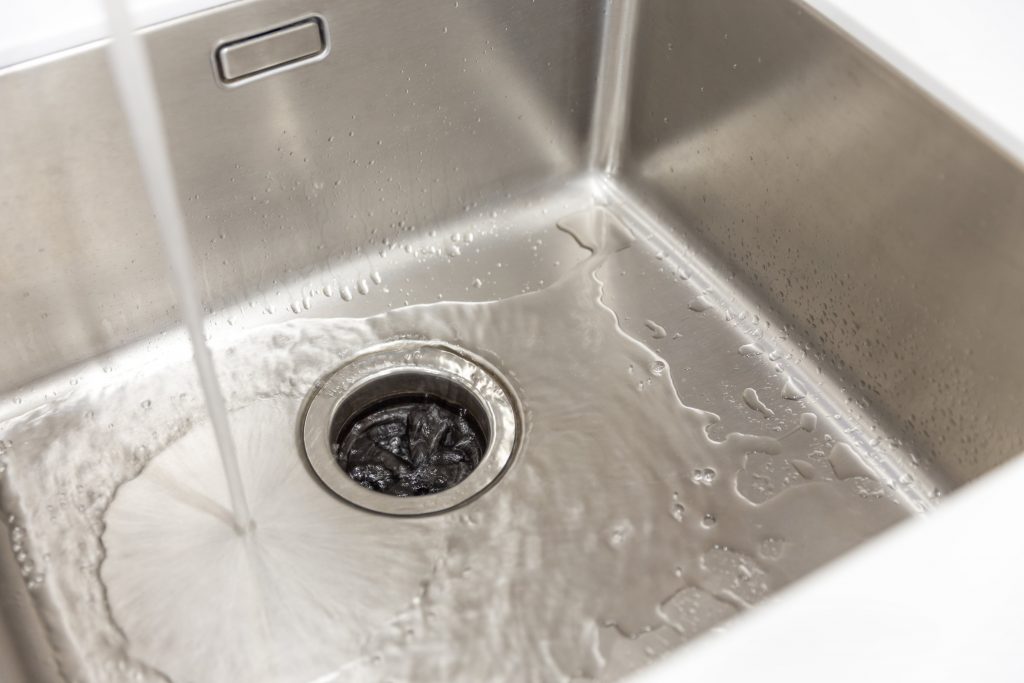
There are a few common problems that can occur with a kitchen sink hose. These include leaks, clogs, and low water pressure. Leaks and clogs can usually be fixed with the steps mentioned above, but if you are experiencing low water pressure, you may need to clean out the aerator. The aerator is a small mesh screen at the end of the faucet that can become clogged with debris over time. Simply unscrew it, clean it, and screw it back on to restore water pressure.Common Kitchen Sink Hose Problems


Common Kitchen Sink Hose Problems

If you need to fix your kitchen sink hose in a pinch, there is a quick solution you can try. You will need a rubber band and a plastic bag for this method. First, wrap the rubber band tightly around the leaky area of the hose. Then, cover the rubber band with the plastic bag and secure it with another rubber band. This method is not a permanent fix, but it can buy you some time until you can properly repair or replace the hose.Quick Kitchen Sink Hose Fix


Quick Kitchen Sink Hose Fix
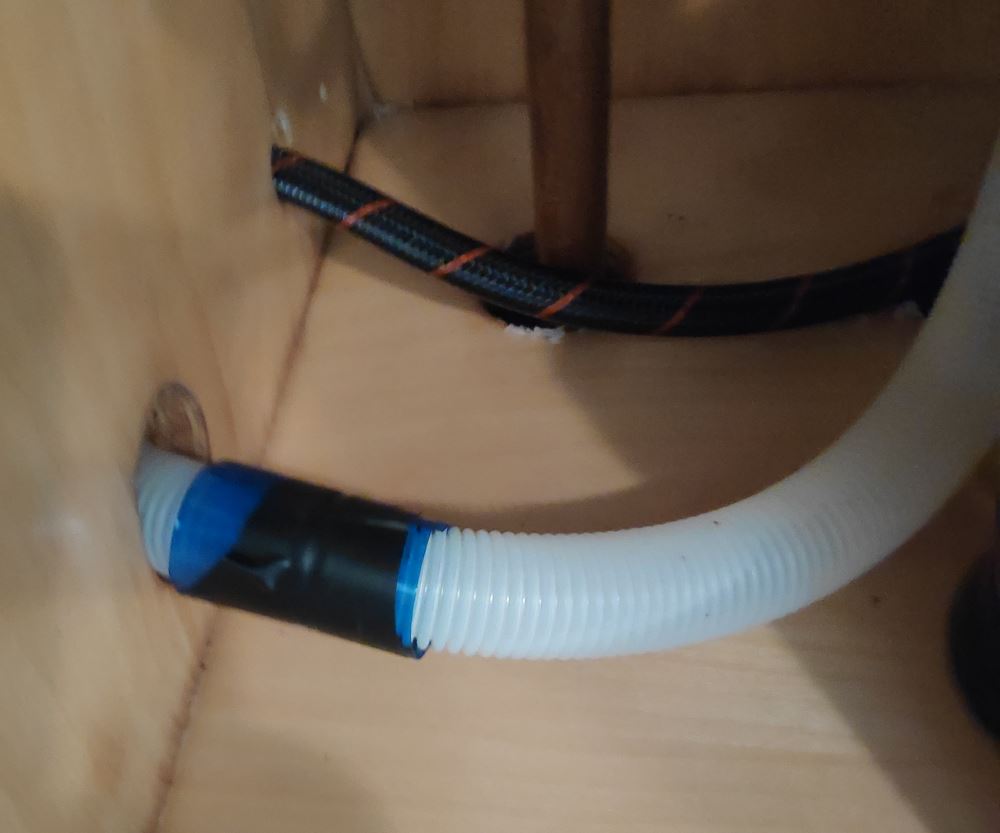


For a more detailed and thorough repair, follow these steps to fix your kitchen sink hose: Step 1: Turn off the water supply to your sink. Step 2: Disconnect the hose from the water supply and the sink. Step 3: Clean the hose with a mixture of warm water and dish soap to remove any buildup or debris. Step 4: Check for any cracks or holes in the hose. If you find any, you will need to replace the hose. Step 5: If there are no visible cracks or holes, check the fittings for any damage. If they are damaged, you can replace them with new ones. Step 6: Reattach the hose to the water supply and the sink, making sure to tighten the nuts securely. Step 7: Turn the water supply back on and check for any leaks. If there are no leaks, you have successfully repaired your kitchen sink hose.Step-by-Step Kitchen Sink Hose Repair

Step-by-Step Kitchen Sink Hose Repair


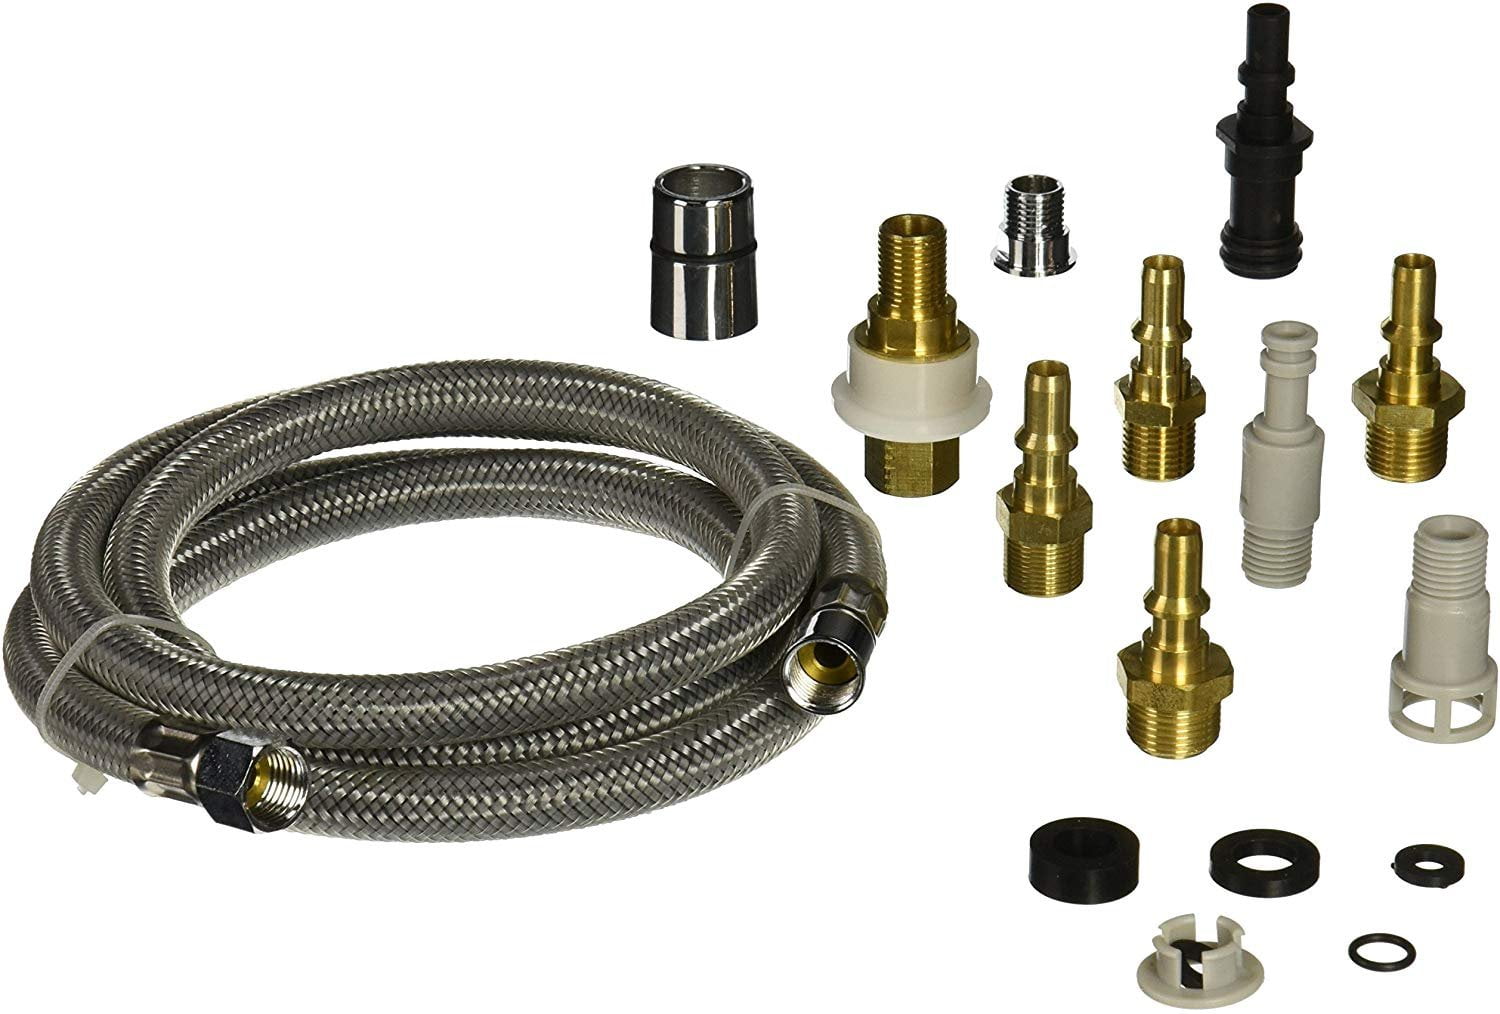
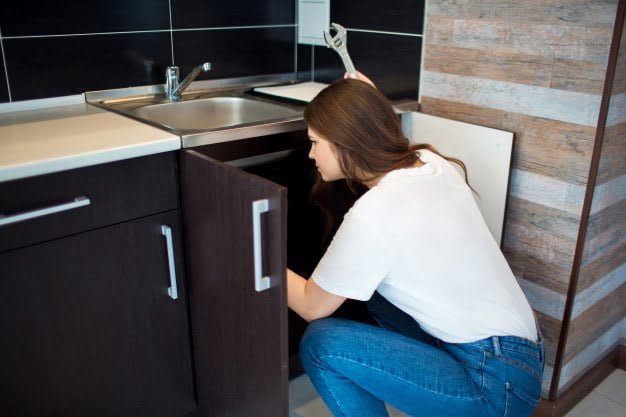
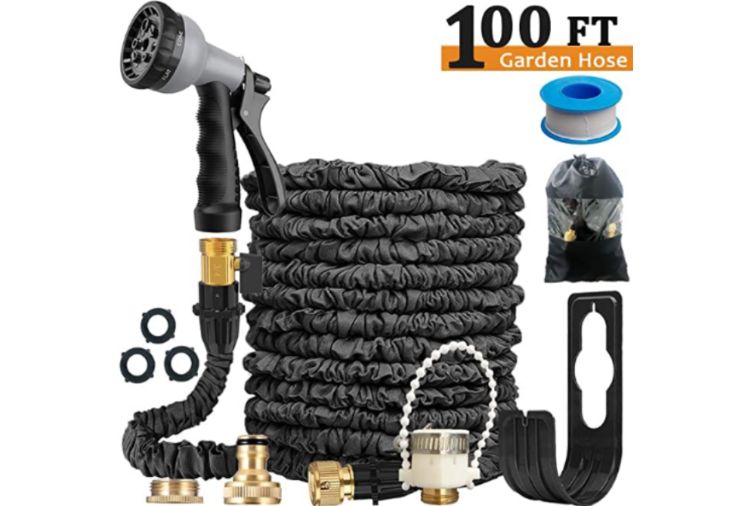
Here are the tools you will need to fix or replace your kitchen sink hose: - Adjustable wrench - Pliers - Screwdriver - Replacement hose (if needed)Tools Needed for Kitchen Sink Hose Fix

Tools Needed for Kitchen Sink Hose Fix


If you are still experiencing problems with your kitchen sink hose after attempting to fix it, there may be a more serious issue at hand. In this case, it is best to call a professional plumber to diagnose and fix the problem. They have the knowledge and expertise to handle any complex issues with your kitchen sink hose.Troubleshooting Kitchen Sink Hose Issues


Troubleshooting Kitchen Sink Hose Issues


The best way to deal with a leaky kitchen sink hose is to prevent it from happening in the first place. Here are some tips to help you prevent leaks and prolong the life of your kitchen sink hose: - Regularly check for any signs of wear and tear on your hose and replace it if necessary. - Avoid using harsh chemicals or abrasive cleaners on your sink, as these can damage the hose. - Be careful not to pull or tug on the hose too hard, as this can cause it to loosen or break. - Clean out the aerator regularly to prevent clogs and maintain good water pressure.Preventing Kitchen Sink Hose Leaks


Preventing Kitchen Sink Hose Leaks


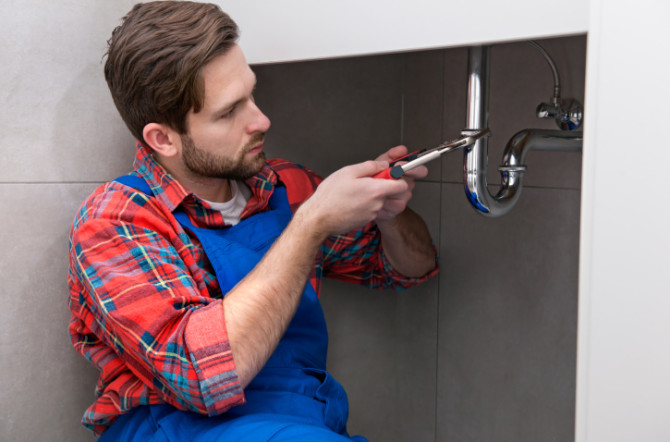
If you are not confident in your DIY skills or if the problem is too complex to tackle on your own, it is best to call a professional plumber for help. They have the necessary tools and expertise to properly diagnose and fix any issues with your kitchen sink hose. While this may be a more expensive option, it can save you time and hassle in the long run. In conclusion, a leaky kitchen sink hose may seem like a daunting problem, but with the right steps, it can be easily fixed or replaced. By following the tips and methods mentioned in this guide, you can save yourself the cost of hiring a plumber and have your kitchen sink back to working properly in no time.Professional Kitchen Sink Hose Repair Services
Professional Kitchen Sink Hose Repair Services


How to Fix a Kitchen Sink Hose Like a Pro

A Common Household Problem
 If you own a home, chances are you've encountered a leaky kitchen sink hose at some point. This can be a frustrating and messy issue, but luckily, it's also a relatively easy fix. By following a few simple steps, you can have your kitchen sink hose working like new in no time. In this article, we'll guide you through the process, so you can tackle this common household problem like a pro.
Gather Your Tools
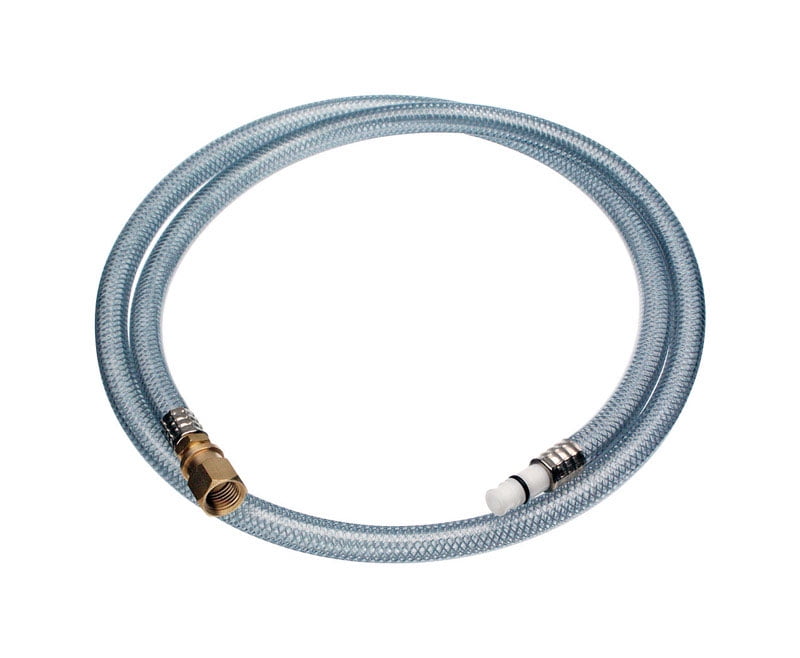 Before you begin, it's important to have all the necessary tools and materials on hand. This will save you time and frustration in the long run. You will need a wrench, adjustable pliers, a new
kitchen sink hose
, and some plumber's tape. Make sure to also have a towel or rag handy to clean up any water that may leak out during the process.
Before you begin, it's important to have all the necessary tools and materials on hand. This will save you time and frustration in the long run. You will need a wrench, adjustable pliers, a new
kitchen sink hose
, and some plumber's tape. Make sure to also have a towel or rag handy to clean up any water that may leak out during the process.
Step-by-Step Instructions
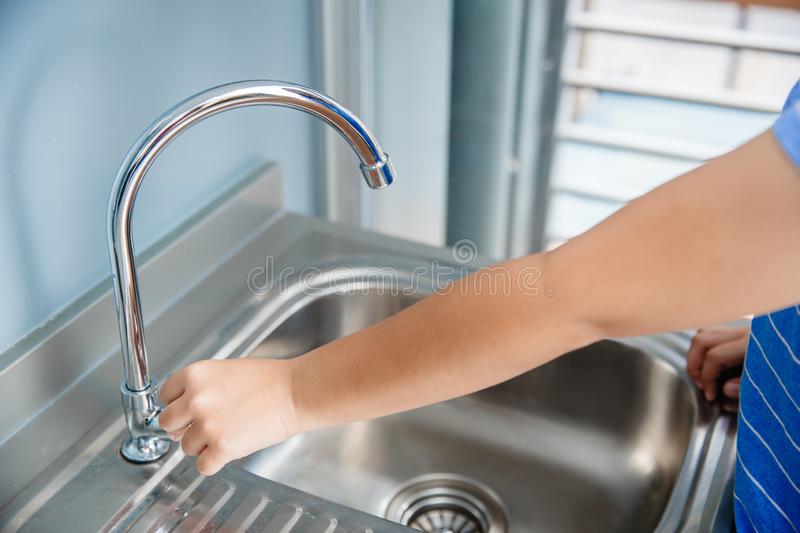
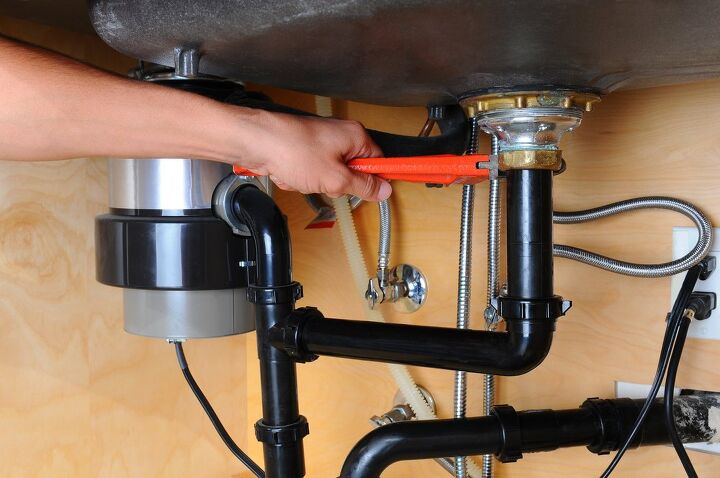
 1. Turn off the water supply - Before you begin, be sure to shut off the water supply to your kitchen sink. This can typically be done by turning off the valves located under the sink.
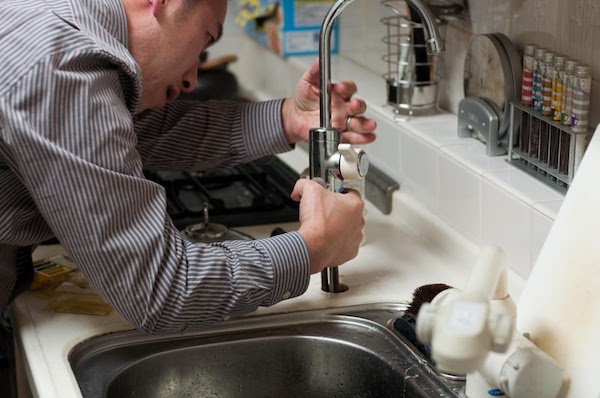
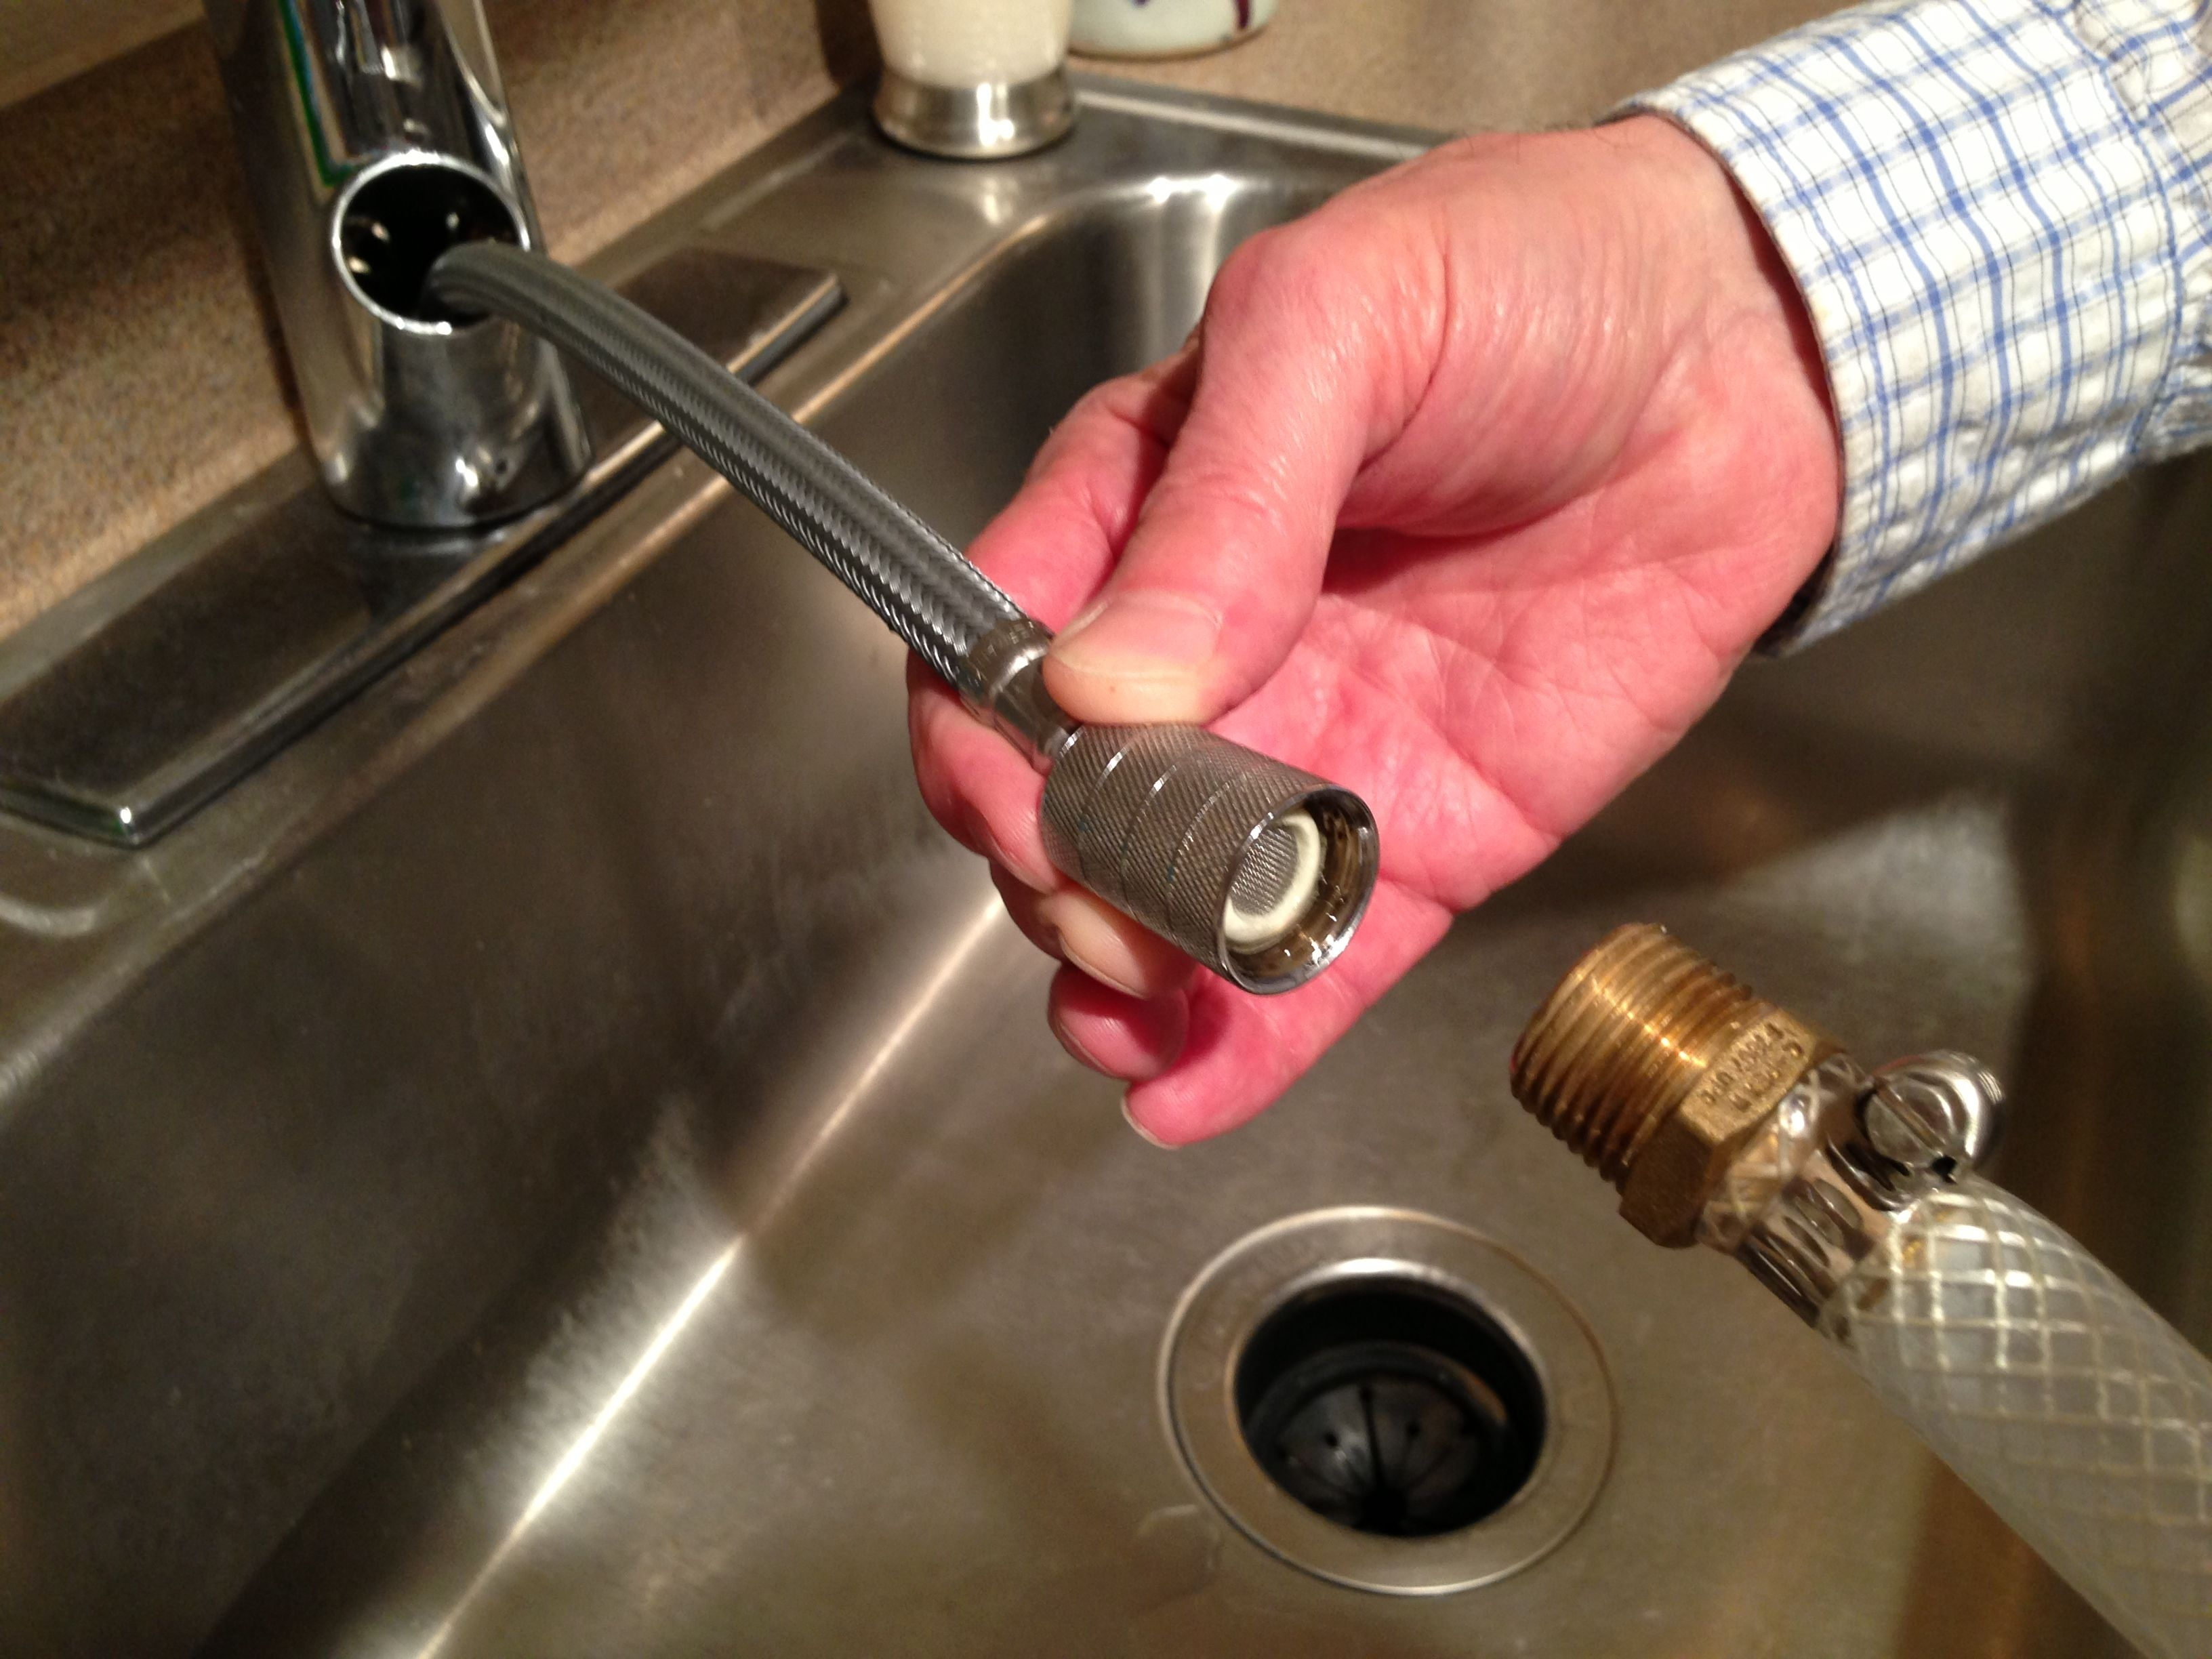
2. Remove the old hose - Using your adjustable pliers, loosen the connections on both ends of the old hose and remove it from the faucet and water supply valve. Be careful not to damage any other parts of the sink while doing this.
3. Clean the fittings - Once the old hose is removed, use a rag to clean any debris or buildup from the fittings on the faucet and water supply valve. This will ensure a tight seal when the new hose is installed.
4. Install the new hose - Take your new hose and attach it to the faucet and water supply valve, making sure the connections are tight. Use your wrench to secure the connections if needed.
5. Wrap with plumber's tape - To prevent any leaks, wrap the threads of the connections with plumber's tape before reattaching the old fittings.
6. Turn the water supply back on - Once everything is securely attached, turn the water supply back on and check for any leaks. If you notice any, try tightening the connections further.
1. Turn off the water supply - Before you begin, be sure to shut off the water supply to your kitchen sink. This can typically be done by turning off the valves located under the sink.
2. Remove the old hose - Using your adjustable pliers, loosen the connections on both ends of the old hose and remove it from the faucet and water supply valve. Be careful not to damage any other parts of the sink while doing this.
3. Clean the fittings - Once the old hose is removed, use a rag to clean any debris or buildup from the fittings on the faucet and water supply valve. This will ensure a tight seal when the new hose is installed.
4. Install the new hose - Take your new hose and attach it to the faucet and water supply valve, making sure the connections are tight. Use your wrench to secure the connections if needed.
5. Wrap with plumber's tape - To prevent any leaks, wrap the threads of the connections with plumber's tape before reattaching the old fittings.
6. Turn the water supply back on - Once everything is securely attached, turn the water supply back on and check for any leaks. If you notice any, try tightening the connections further.
Enjoy Your Fully Functioning Kitchen Sink
 By following these steps, you should now have a leak-free kitchen sink hose. This quick and easy fix can save you time and money in the long run, as a leaky hose can lead to higher water bills and potential water damage to your home. With your newly fixed kitchen sink hose, you can get back to enjoying your daily cooking and cleaning tasks without any hassle.