Are you looking to upgrade your bathroom with a new Kohler sink? Installing a Kohler bathroom sink is a simple and effective way to add a touch of elegance to your bathroom. However, it's important to follow the proper steps to ensure a successful installation. In this guide, we'll walk you through the process of installing a Kohler bathroom sink, from the tools you'll need to common mistakes to avoid. Whether you're a DIY enthusiast or hiring a professional, this guide has got you covered.Introduction


Kohler Bathroom Sink Installation Guide


If you're planning on installing a Kohler bathroom sink, here's a step-by-step guide to help you along the way:Kohler Bathroom Sink Installation Guide


How to Install a Kohler Bathroom Sink


Now that you have a general overview of the installation process, let's dive into the details. Here are some tips to help you install your Kohler bathroom sink with ease:How to Install a Kohler Bathroom Sink


Step-by-Step Guide for Installing a Kohler Bathroom Sink


To make the installation process even easier, we've broken down the steps into a simple guide:Step-by-Step Guide for Installing a Kohler Bathroom Sink


DIY Kohler Bathroom Sink Installation


Installing a Kohler bathroom sink is a relatively simple DIY project, as long as you have the right tools and follow the proper steps. By doing it yourself, you can save money on installation costs and have the satisfaction of completing the project on your own. However, if you're not confident in your DIY skills, it's always best to hire a professional to ensure a successful installation and avoid any potential mistakes.DIY Kohler Bathroom Sink Installation


Tips for Installing a Kohler Bathroom Sink
/Kohler-Highline-Toilet-Installed-56a4a0405f9b58b7d0d7e36a.JPG)
To help make your Kohler bathroom sink installation even smoother, here are some additional tips to keep in mind:Tips for Installing a Kohler Bathroom Sink

Kohler Bathroom Sink Installation Tutorial


For those who prefer visual guidance, Kohler offers installation tutorials on their website and YouTube channel. These step-by-step videos provide a helpful visual aid for those looking to install a Kohler bathroom sink themselves.Kohler Bathroom Sink Installation Tutorial


Common Mistakes to Avoid When Installing a Kohler Bathroom Sink


While installing a Kohler bathroom sink is a straightforward process, there are some common mistakes that can occur if proper care is not taken:Common Mistakes to Avoid When Installing a Kohler Bathroom Sink


Tools Needed for Installing a Kohler Bathroom Sink

To successfully install a Kohler bathroom sink, you'll need the following tools:Tools Needed for Installing a Kohler Bathroom Sink


How Long Does it Take to Install a Kohler Bathroom Sink?


The time it takes to install a Kohler bathroom sink can vary depending on your level of experience and the complexity of the sink. On average, it can take anywhere from 1-3 hours to complete the installation process.How Long Does it Take to Install a Kohler Bathroom Sink?


Professional vs. DIY: Installing a Kohler Bathroom Sink
How to Install a Kohler Bathroom Sink: A Professional Guide

Why Choose a Kohler Bathroom Sink?
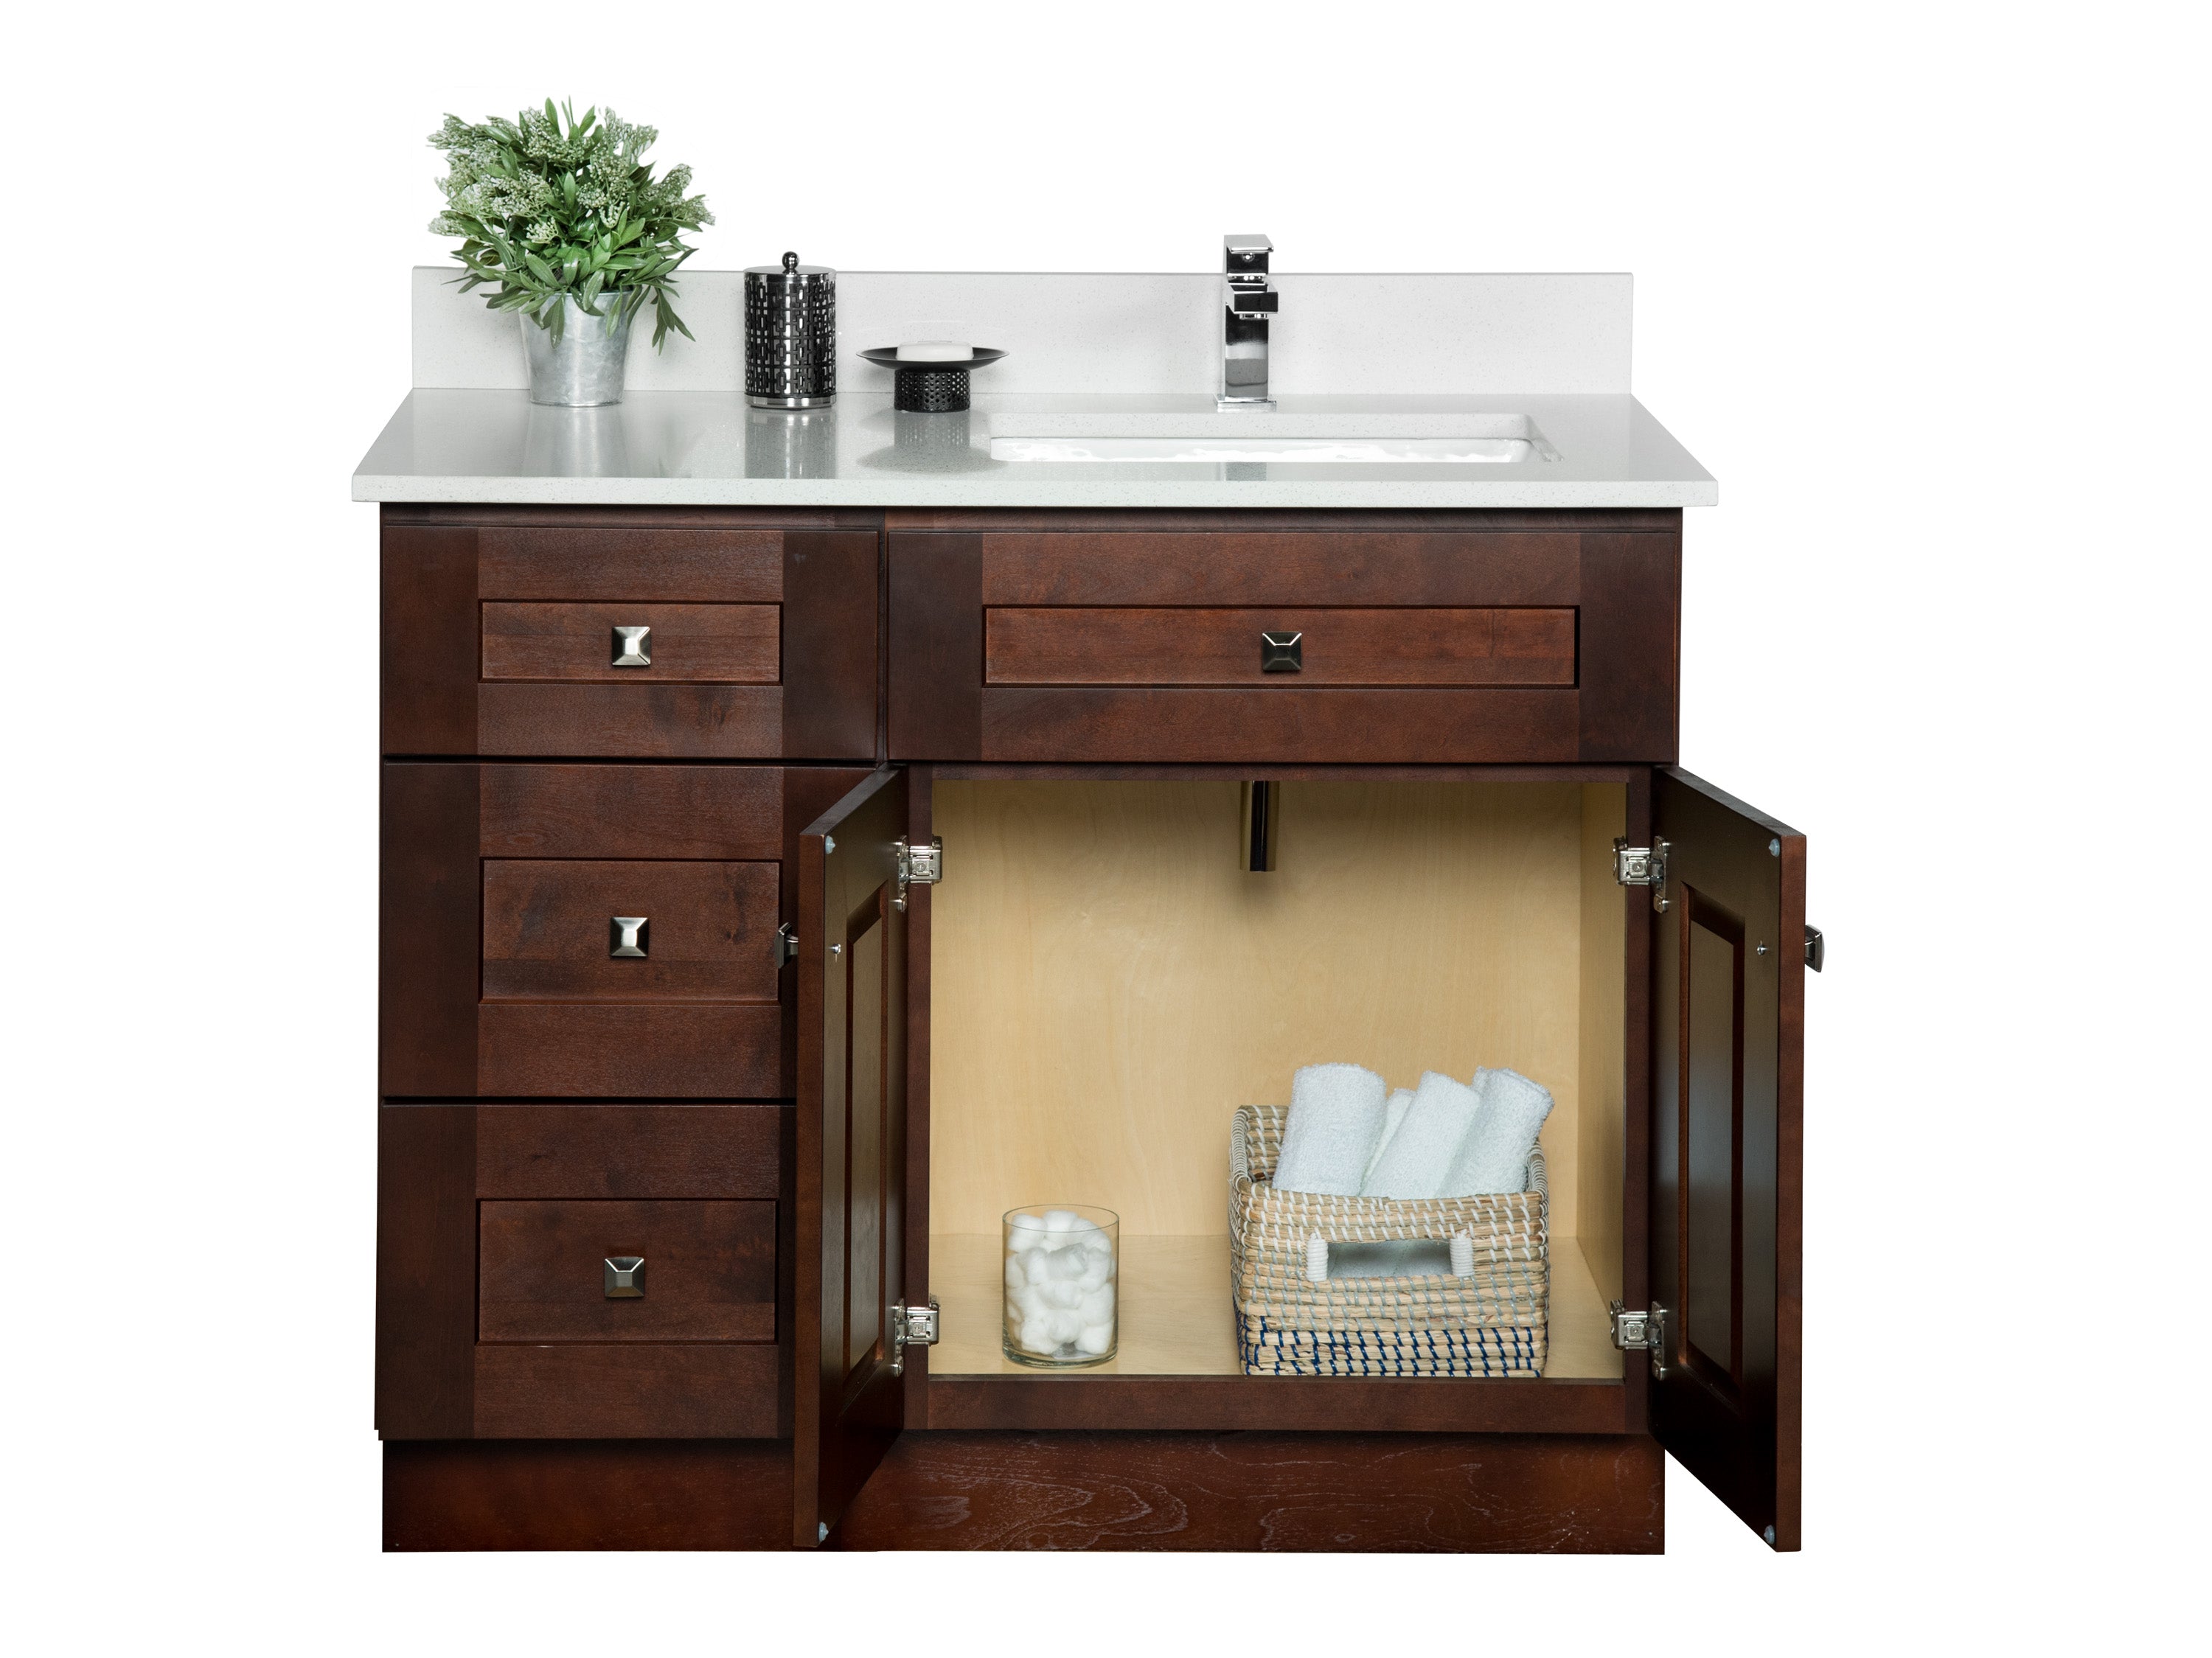
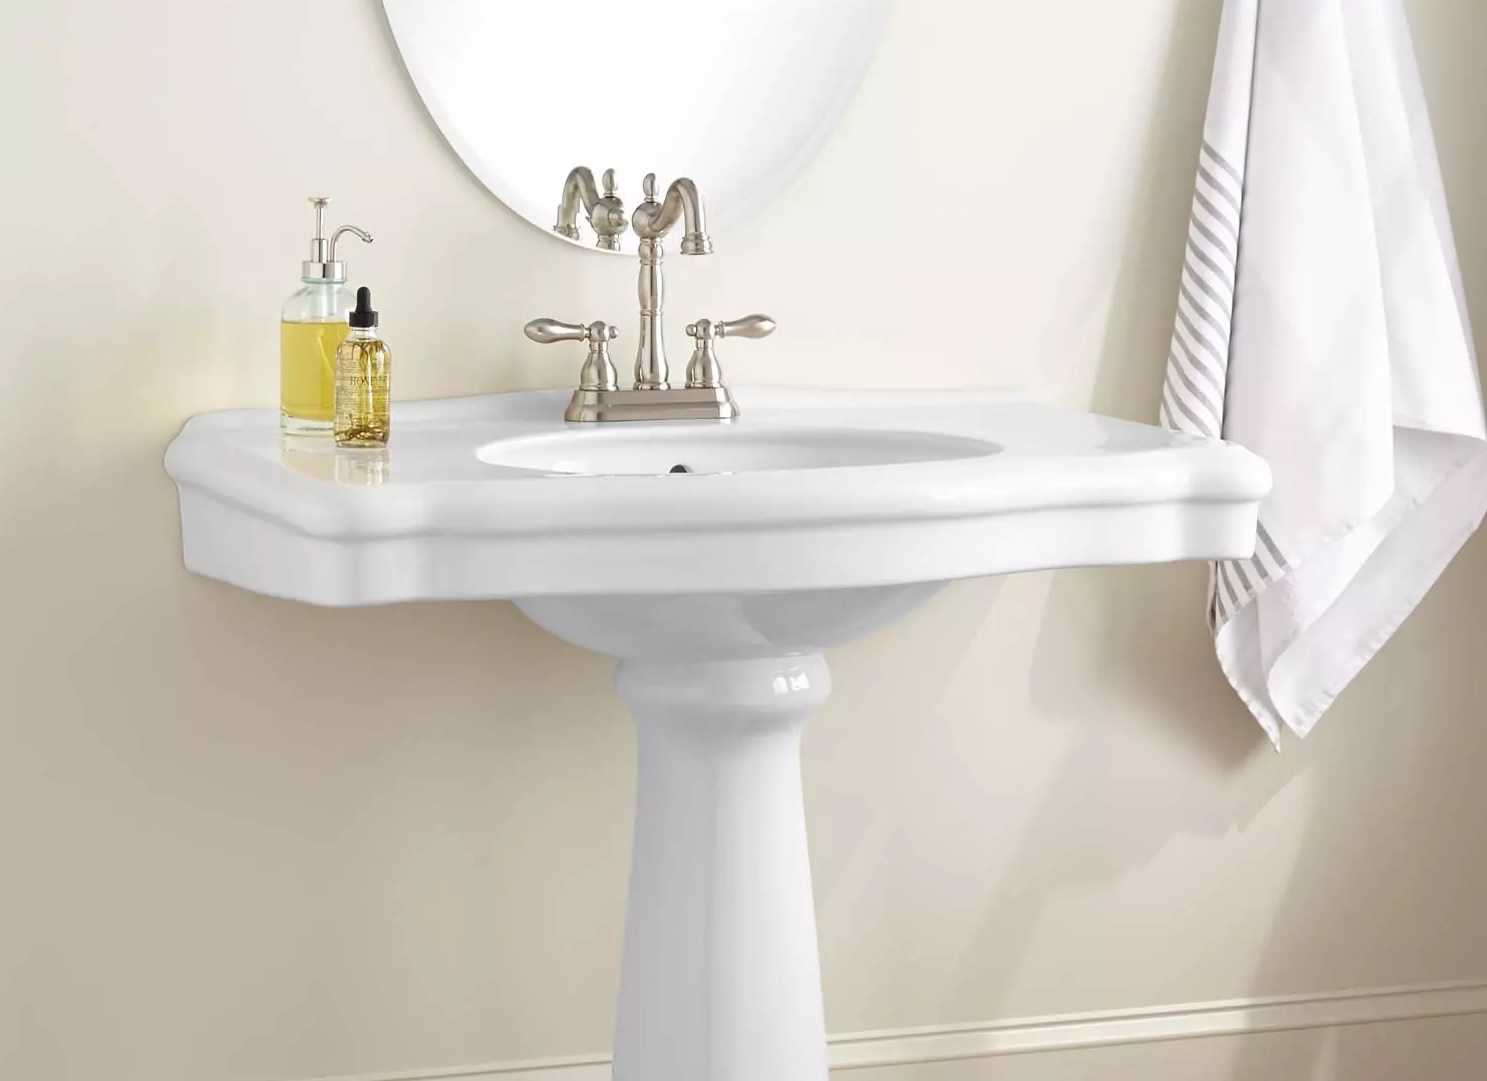
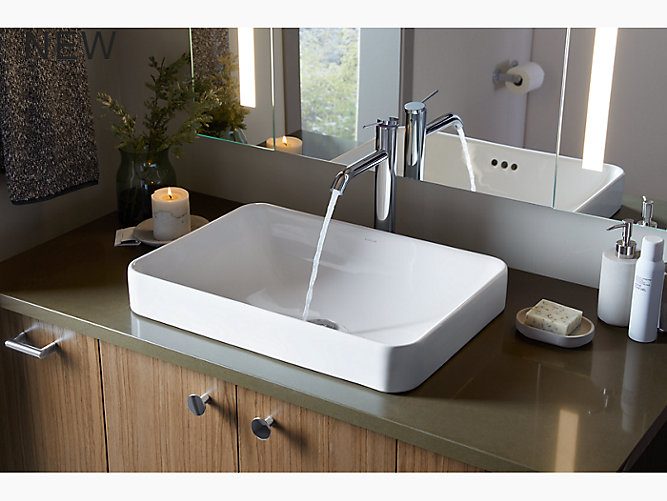
When it comes to designing your bathroom, every detail matters. One of the most important elements is the sink, and Kohler offers a wide range of options to suit any style and need. Not only are Kohler bathroom sinks aesthetically pleasing, but they are also known for their quality and durability. So if you want a sink that not only looks good but also stands the test of time, Kohler is the way to go.
Step 1: Gather Your Materials

Before diving into the installation process, it's important to have all the necessary materials on hand. You will need:
- Kohler bathroom sink (make sure to measure the space beforehand to ensure proper fit)
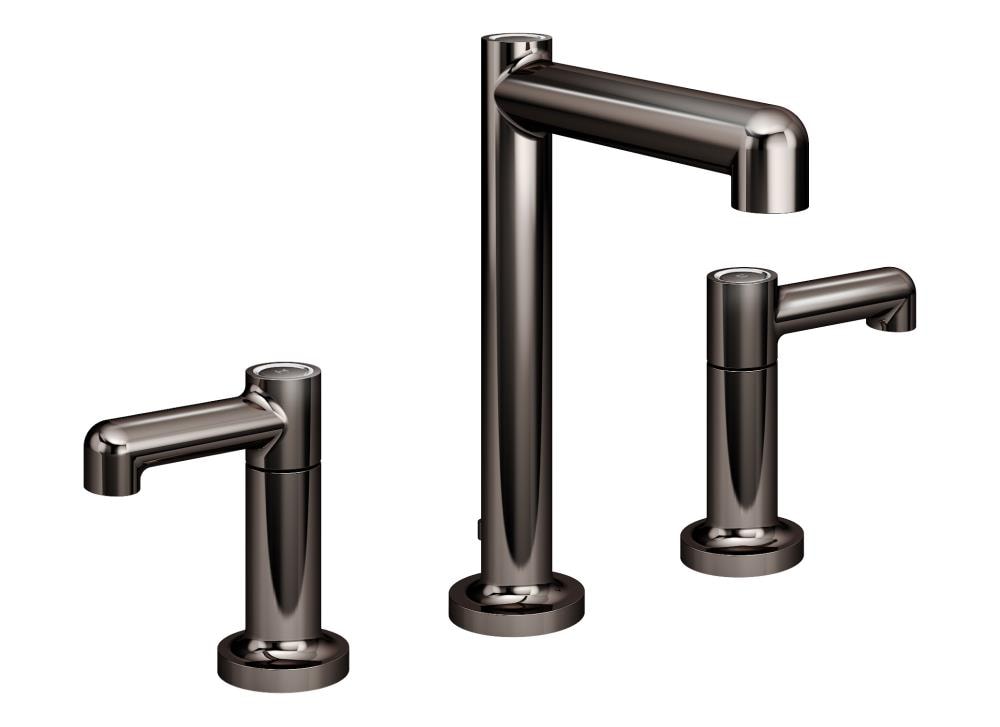
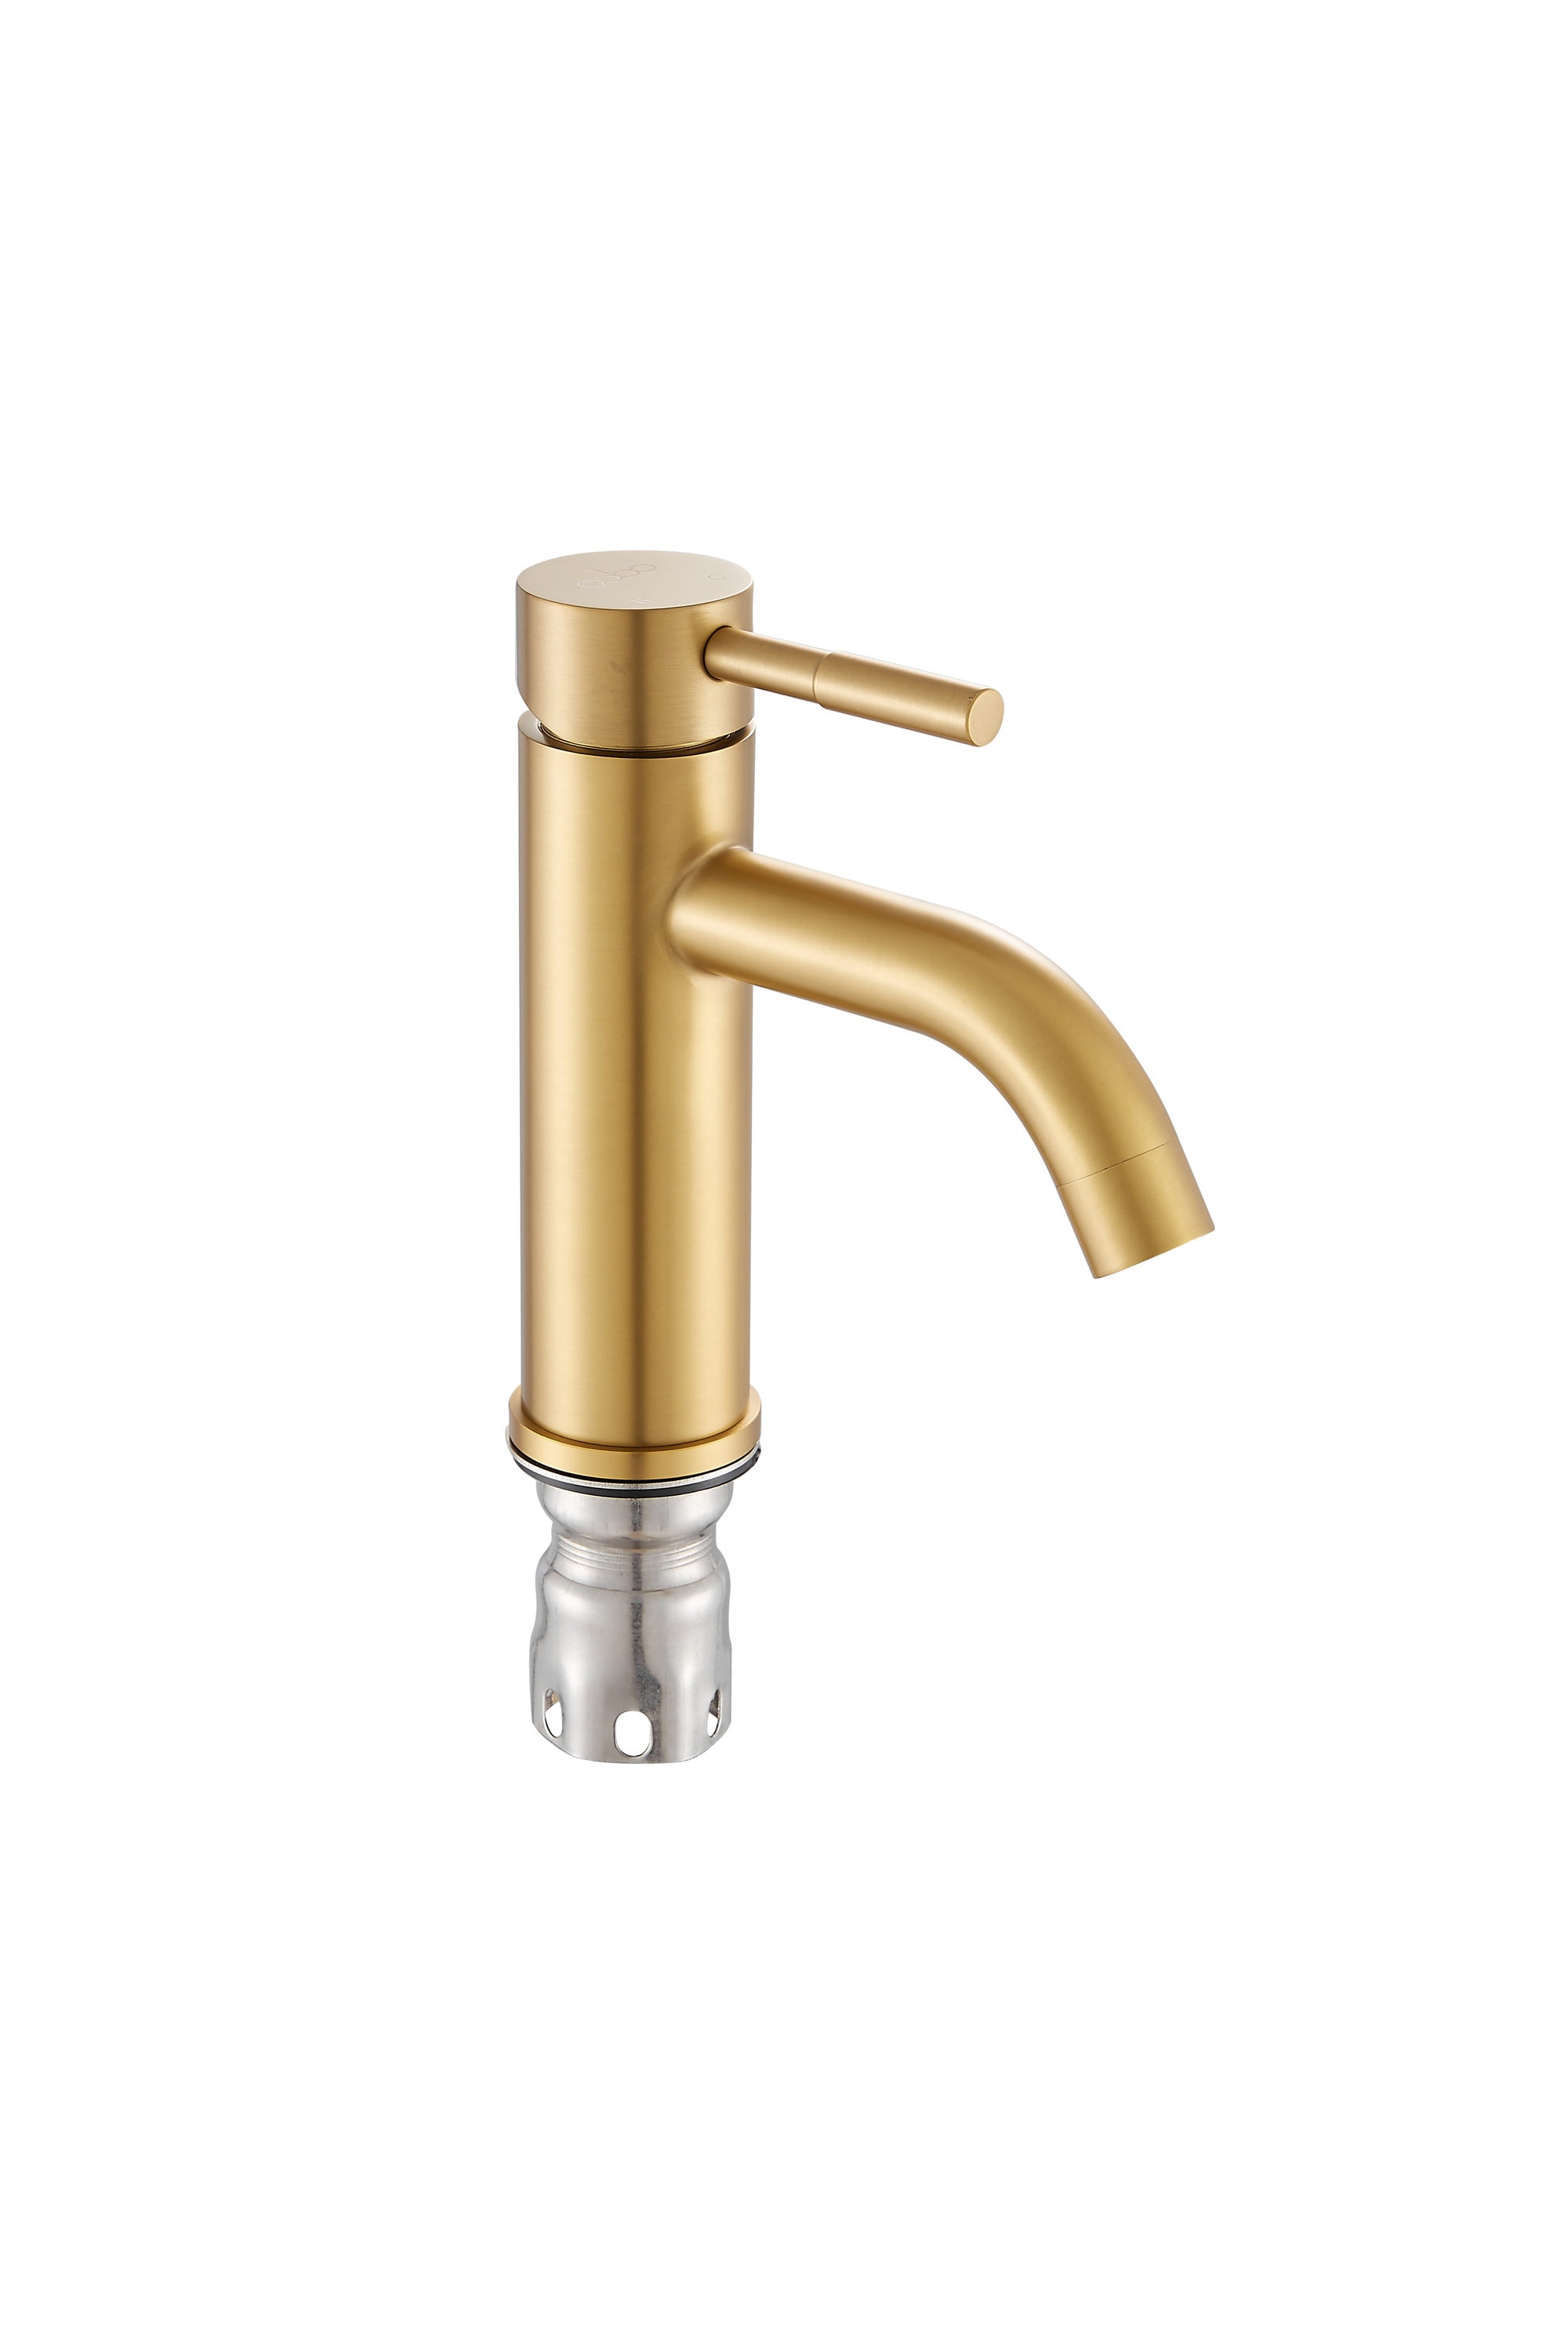
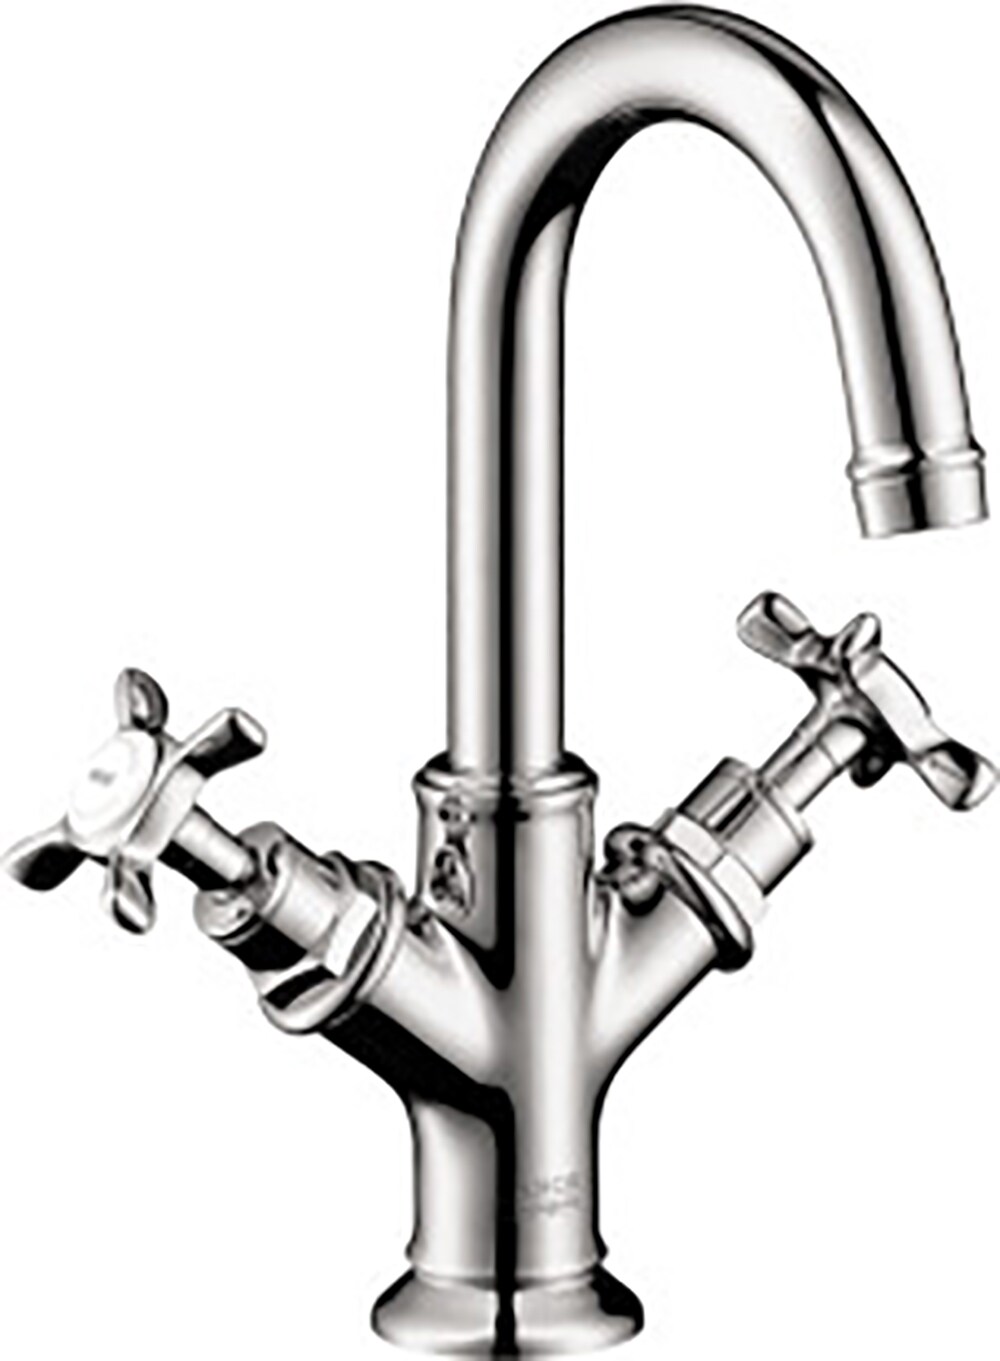
- Faucet (if not included with the sink)
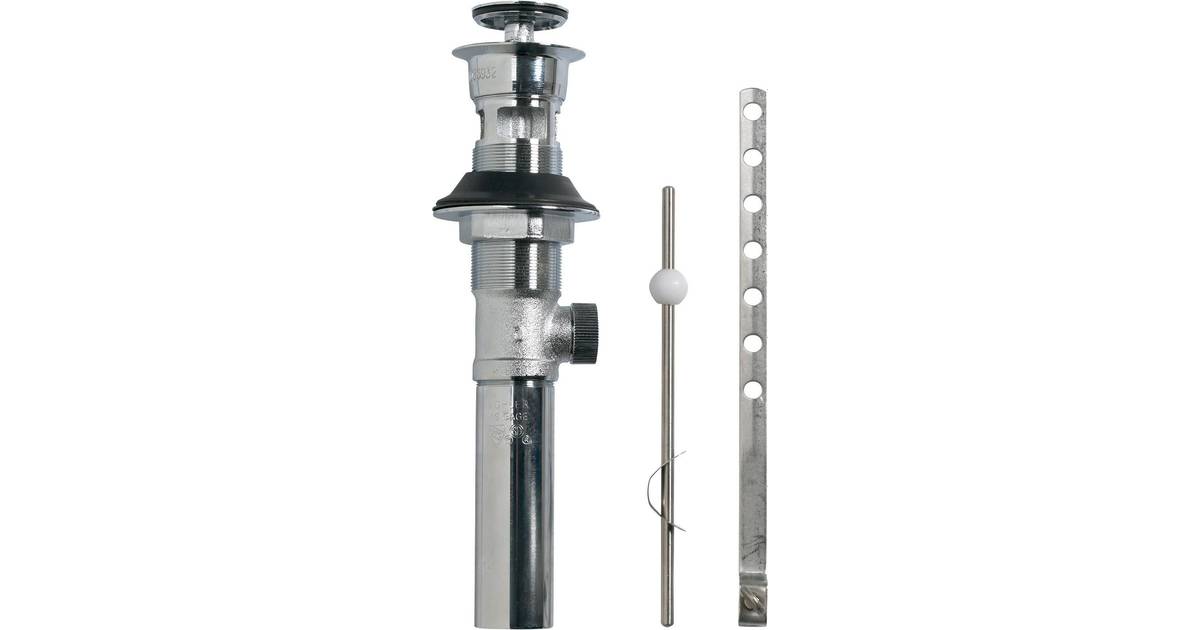
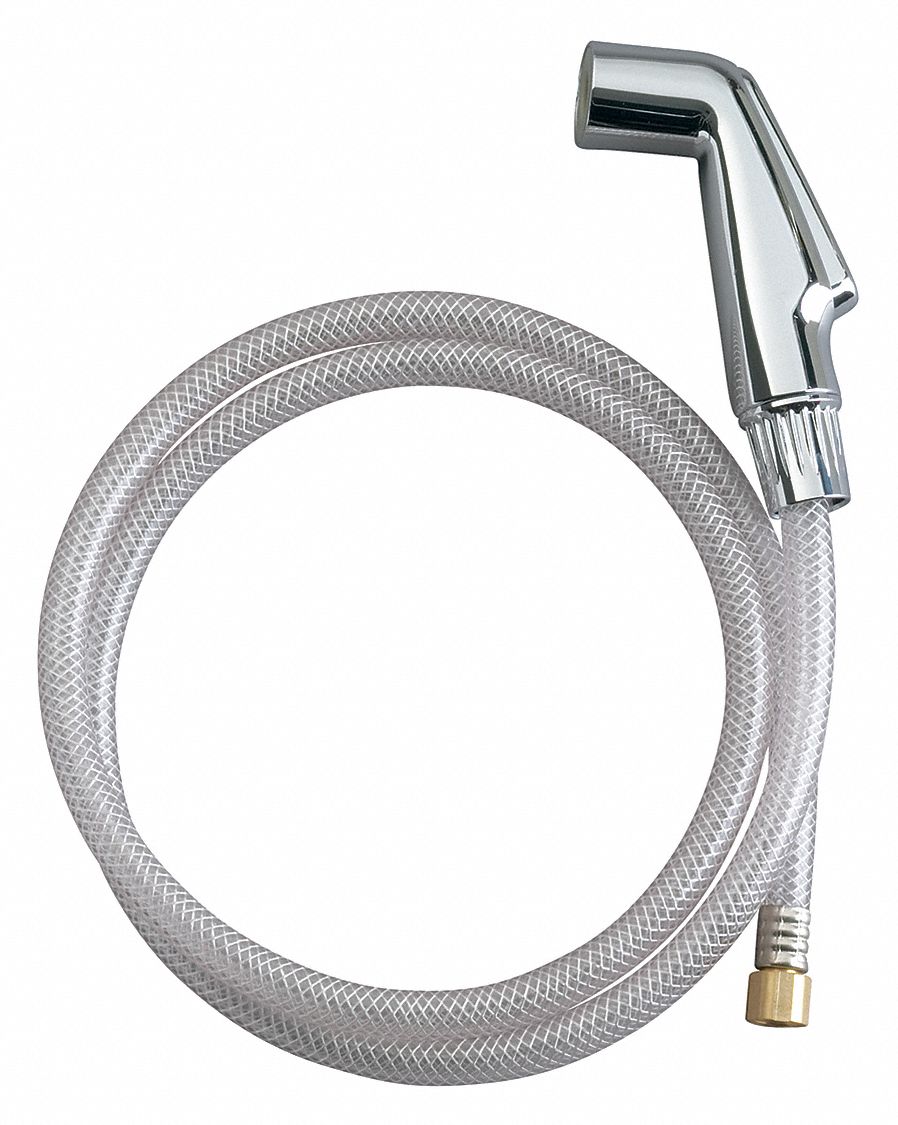
- Drain assembly
- Pipe wrench
- Plumber's putty
- Hacksaw
- Silicone caulk
- Adjustable pliers
- Screwdriver
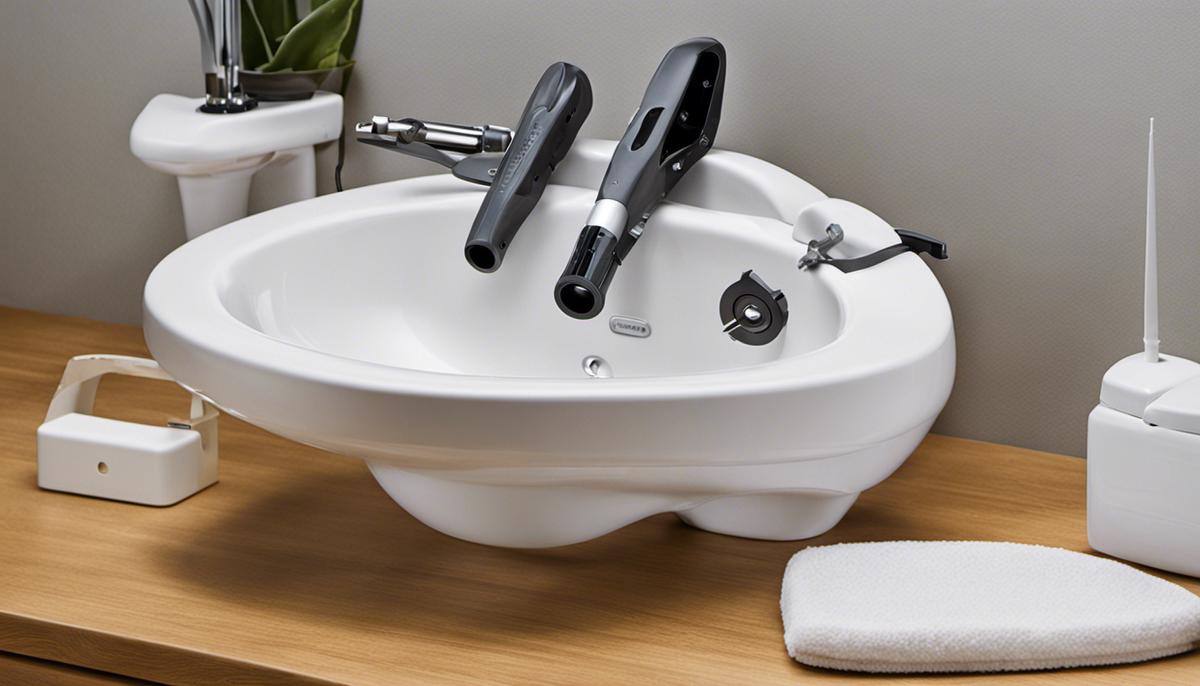
Step 2: Prepare the Area

Before installing the sink, make sure the area is clean and free of any debris. If you are replacing an old sink, remove it carefully and clean the area thoroughly. If you are installing a sink in a new location, make sure the plumbing is in place and the area is prepped for installation.
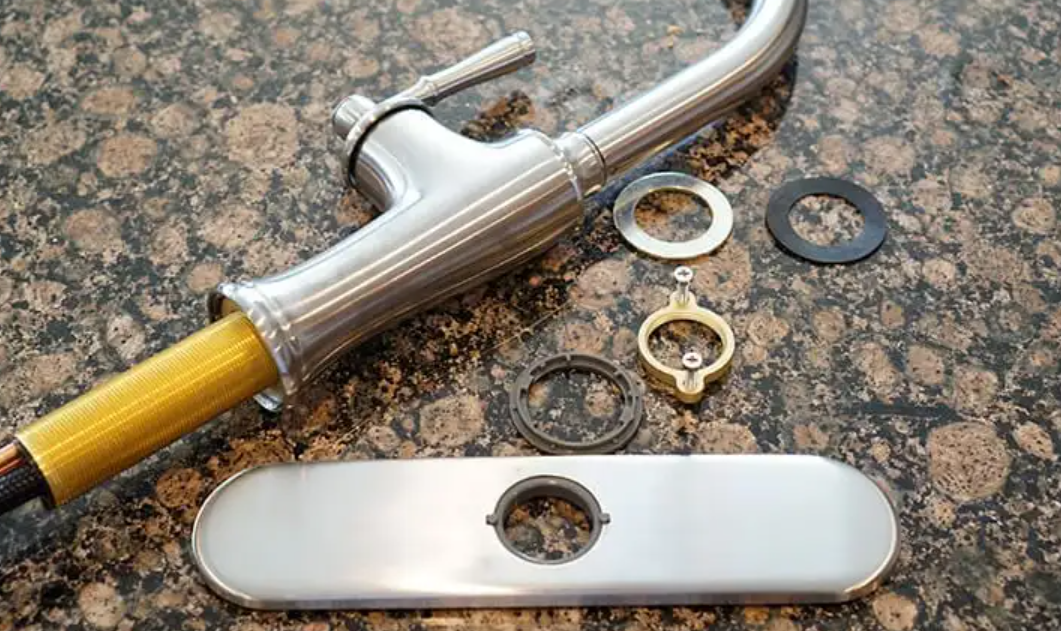
Step 3: Install the Faucet and Drain Assembly

Follow the manufacturer's instructions to install the faucet and drain assembly. Make sure to use plumber's putty around the base of the faucet to prevent any leaks. Once installed, let the putty dry for at least an hour before continuing.
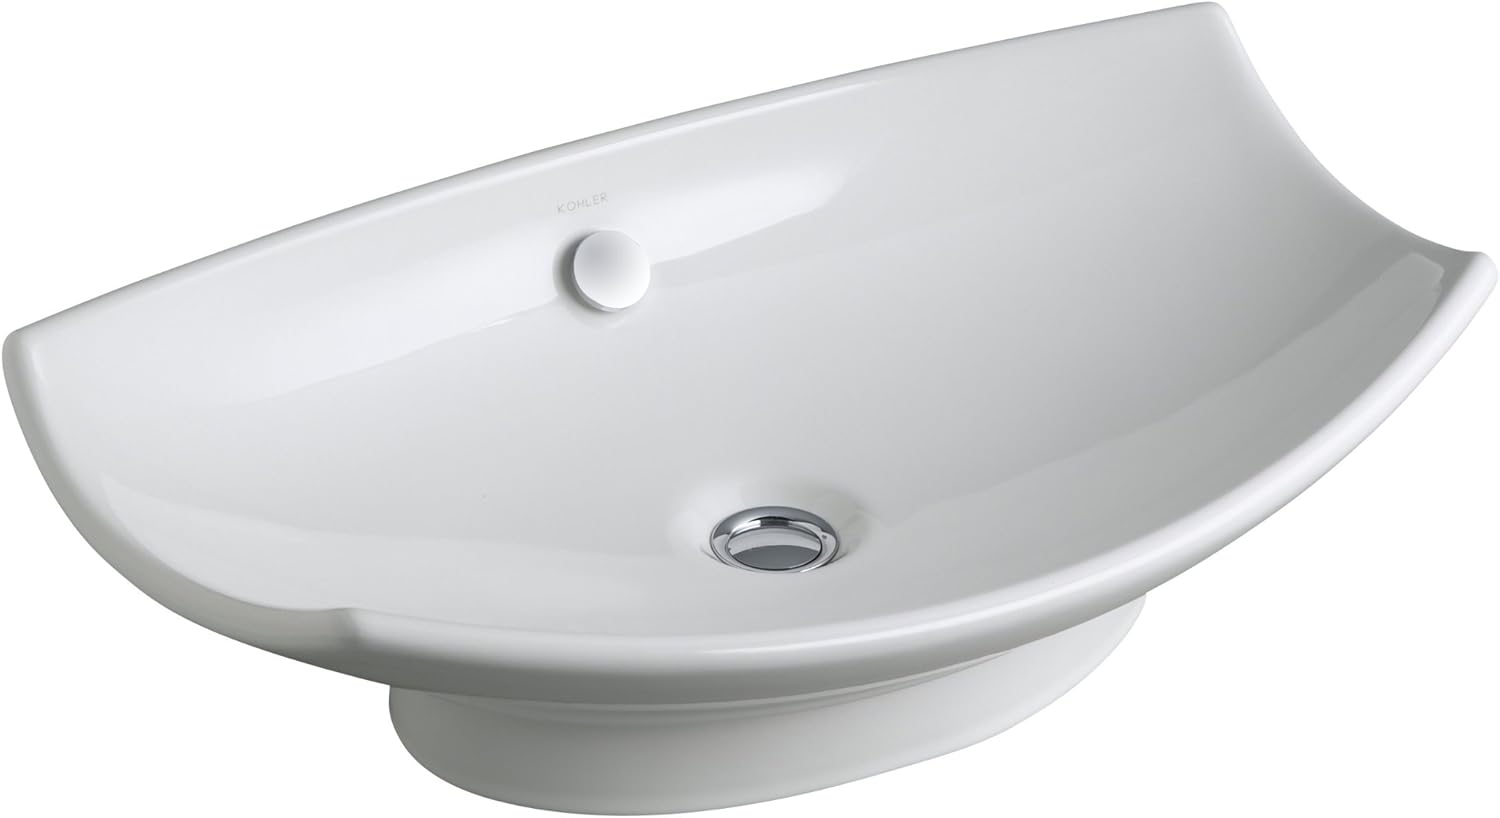
Step 4: Install the Sink

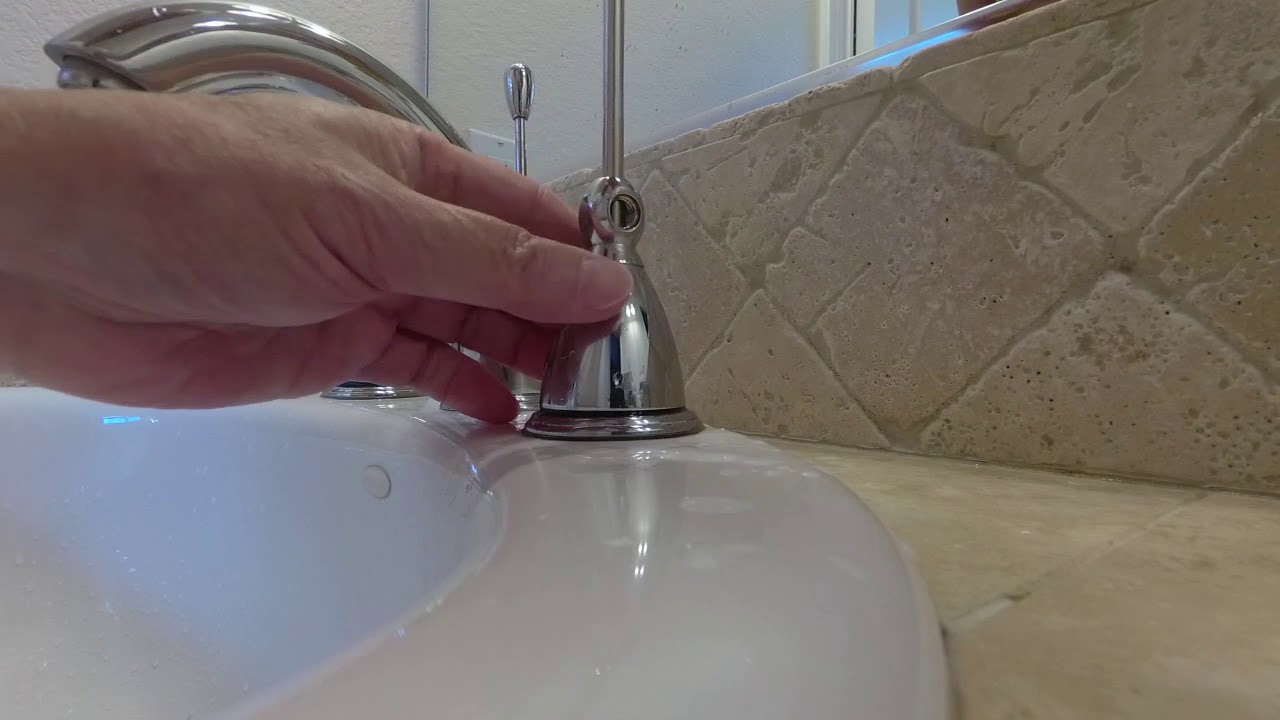
Place the sink on top of the vanity or countertop, making sure it is centered and level. Use adjustable pliers to tighten the mounting clips underneath the sink. Once secure, connect the water supply lines and the drain assembly to the sink.
Step 5: Seal the Sink

Apply a thin bead of silicone caulk around the edge of the sink where it meets the countertop or vanity. This will help prevent any water from seeping in and causing damage. Smooth out the caulk with your finger or a caulk tool for a clean finish.
Step 6: Test for Leaks

Turn on the water and check for any leaks around the faucet and drain. If you notice any leaks, tighten the connections or add more plumber's putty as needed.
And there you have it, your beautiful new Kohler bathroom sink is installed and ready to use! With its high-quality materials and sleek design, you can enjoy your new sink for years to come.