Are you looking to upgrade your kitchen with a sleek and durable granite countertop? Installing a kitchen sink in granite can be a daunting task, but with the right tools and knowledge, it can be a DIY project that you can easily tackle. In this article, we will guide you through the steps of installing a kitchen sink in granite, from cutting the hole to sealing and securing the sink.How to Install a Kitchen Sink in Granite


How to Install a Kitchen Sink in Granite


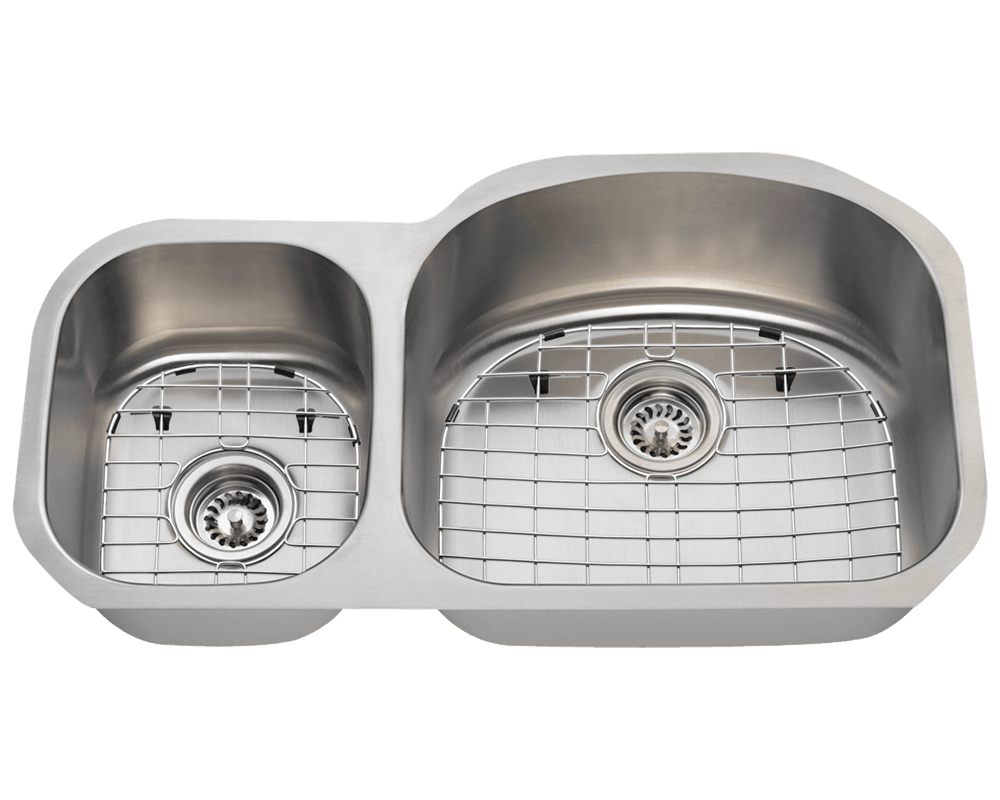
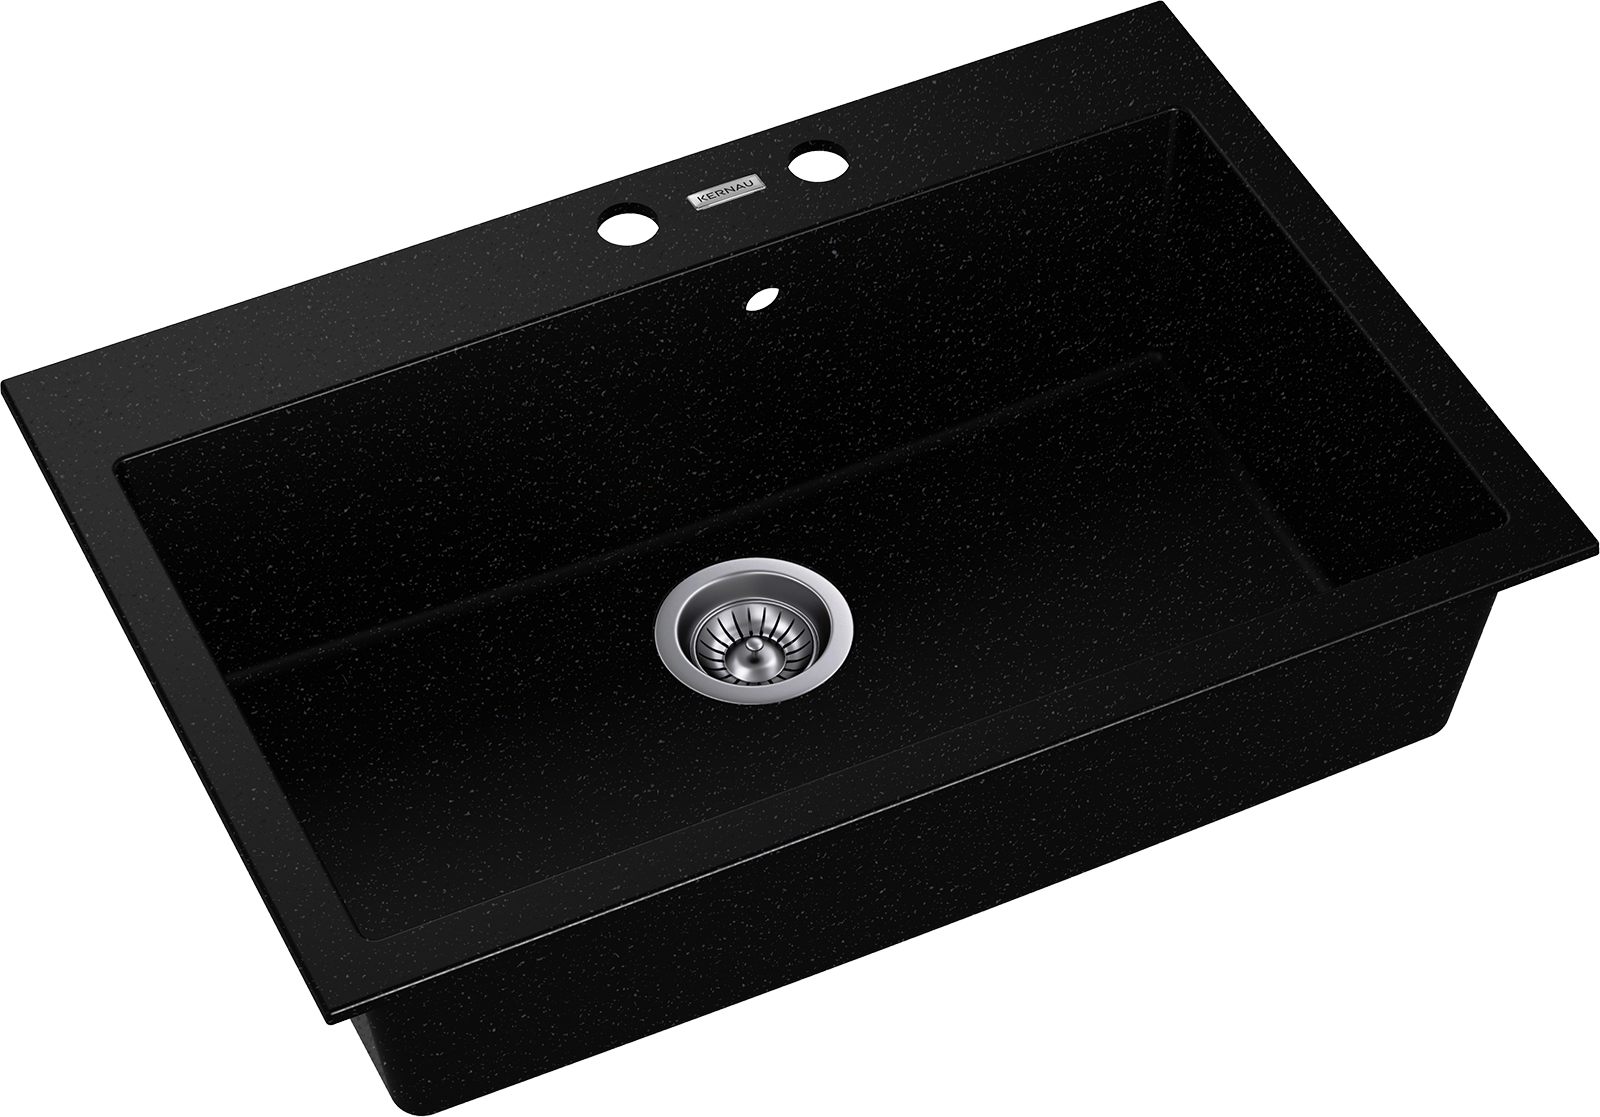
The first step in installing a kitchen sink in granite is to choose the right sink. Make sure to measure the dimensions of your sink and ensure that it will fit into the space you have available in your countertop. Once you have your sink, you can begin the installation process. Step 1: Prepare your workspace and gather your tools and materials. You will need a drill with diamond drill bits, a jigsaw, a silicone adhesive, a sink mounting kit, and a plumber's putty. Step 2: Place your sink upside down on the countertop and trace around it with a pencil. This will be your cutting guide. Step 3: Put on your safety gear, including goggles and a dust mask, and begin cutting along the traced line with a jigsaw. Slow and steady is the key to achieving a clean and accurate cut. Make sure to follow the manufacturer's instructions for your specific sink. Step 4: Once the hole is cut, clean up any debris and test fit the sink. If it fits properly, move on to the next step. Step 5: Apply a thin layer of plumber's putty to the bottom of the sink flange. This will help create a watertight seal between the sink and the countertop. Step 6: Place the sink into the hole and press down firmly to secure it in place. Use a damp cloth to remove any excess putty that may have squeezed out. Step 7: Next, use a drill with diamond drill bits to create holes in the granite around the perimeter of the sink. These holes will be used to secure the sink with the mounting kit. Step 8: Following the manufacturer's instructions, install the sink mounting clips or brackets. These will help secure the sink to the countertop and prevent it from shifting. Step 9: Once the sink is securely in place, apply a bead of silicone adhesive around the edges of the sink. This will help create a tight seal and prevent water from seeping into the gap between the sink and the countertop. Step 10: Allow the adhesive to dry according to the manufacturer's instructions. Once dry, you can connect the plumbing and turn on the water to test for any leaks.Installing a Kitchen Sink in Granite: A Step-by-Step Guide


Installing a Kitchen Sink in Granite: A Step-by-Step Guide


:no_upscale()/cdn.vox-cdn.com/uploads/chorus_asset/file/19495086/drain_0.jpg)


If you're feeling confident and want to save some money, installing a kitchen sink in granite countertops can be done as a DIY project. Just make sure to follow our step-by-step guide and take your time to ensure a professional-looking installation.DIY: Installing a Kitchen Sink in Granite Countertops


DIY: Installing a Kitchen Sink in Granite Countertops


Here are a few tips and tricks to keep in mind when installing a kitchen sink in granite: * To prevent the granite from chipping while cutting, place masking tape along the cutting line. * If your sink is top-mounted, use a router with a diamond router bit to create a smooth edge around the sink opening. * When installing an undermount sink, use a supporting bracket to help hold the sink in place while the adhesive dries.Installing a Kitchen Sink in Granite: Tips and Tricks


Installing a Kitchen Sink in Granite: Tips and Tricks


The best way to install a kitchen sink in granite is to take your time and follow the steps carefully. Rushing through the process can lead to mistakes and a less-than-perfect installation. If you're unsure about any step, don't hesitate to seek professional help.The Best Way to Install a Kitchen Sink in Granite


The Best Way to Install a Kitchen Sink in Granite


When installing a kitchen sink in granite, there are a few common mistakes to avoid: * Not measuring properly and ending up with a sink that doesn't fit. * Cutting the hole too big or too small. * Not using the correct tools and materials, which can result in damage to the granite or a faulty installation.Installing a Kitchen Sink in Granite: Common Mistakes to Avoid


Installing a Kitchen Sink in Granite: Common Mistakes to Avoid


To install a kitchen sink in granite, you will need the following tools and materials: * Drill with diamond drill bits * Jigsaw * Silicone adhesive * Sink mounting kit * Plumber's putty * Safety gear (goggles and dust mask)Tools and Materials Needed for Installing a Kitchen Sink in Granite


Tools and Materials Needed for Installing a Kitchen Sink in Granite


/how-to-install-a-sink-drain-2718789-hero-b5b99f72b5a24bb2ae8364e60539cece.jpg)

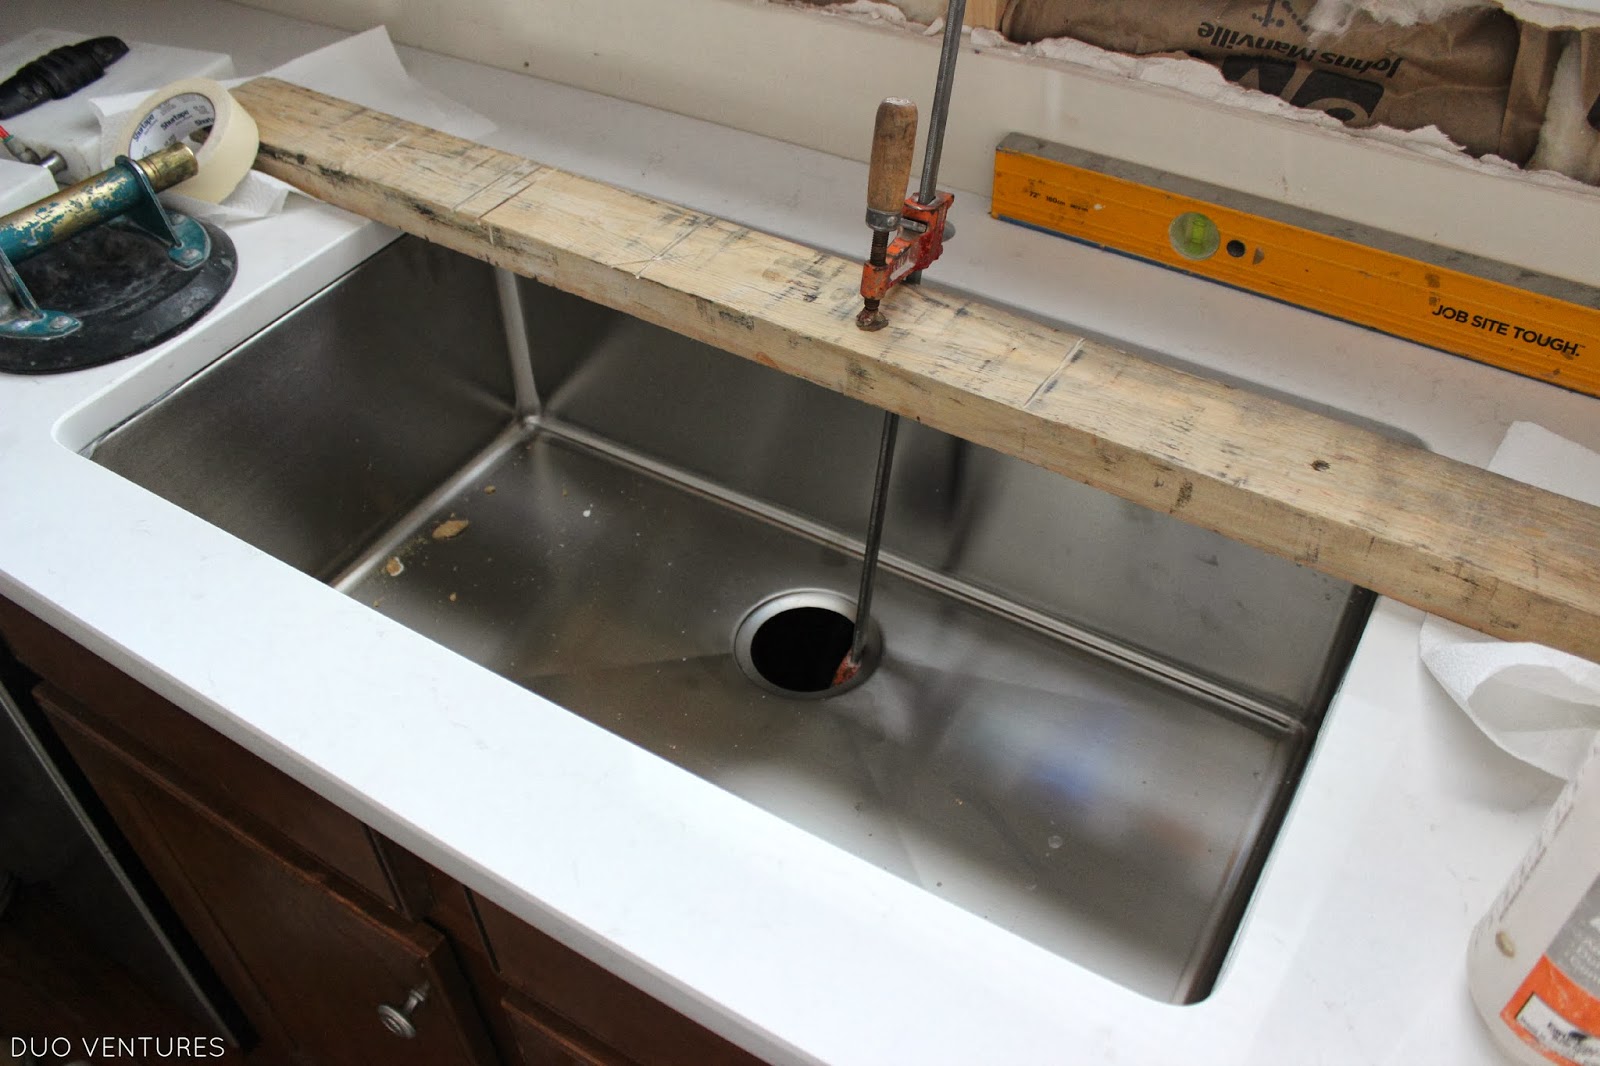
Cutting a hole for a kitchen sink in granite countertops can be a tricky task, but with the right tools and techniques, it can be done easily. Make sure to measure carefully and use a jigsaw with a diamond blade for a clean and precise cut.How to Cut a Hole for a Kitchen Sink in Granite Countertops


How to Cut a Hole for a Kitchen Sink in Granite Countertops


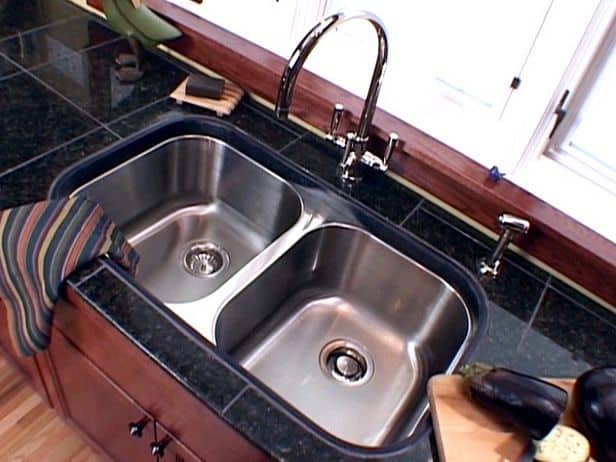
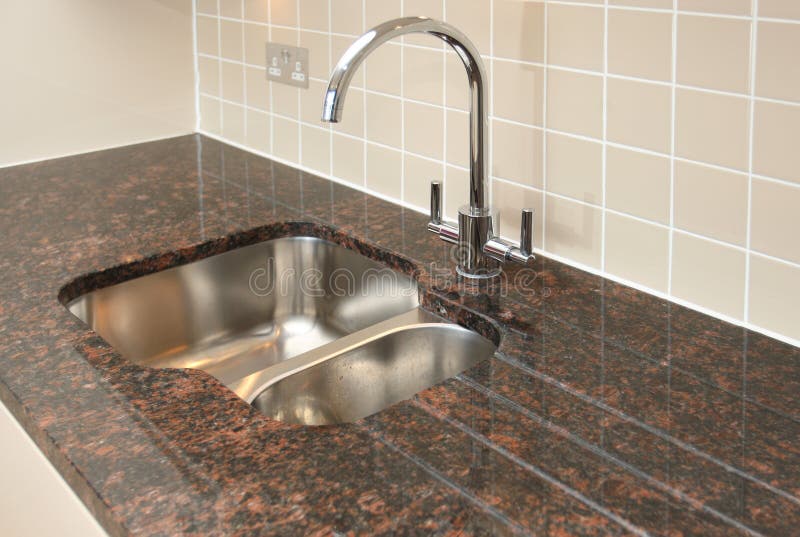
Installing an undermount kitchen sink in granite follows the same steps as a top-mounted sink, with the addition of using a supporting bracket to hold the sink in place while the adhesive dries. It's important to make sure the sink is level before securing it in place.Installing an Undermount Kitchen Sink in Granite
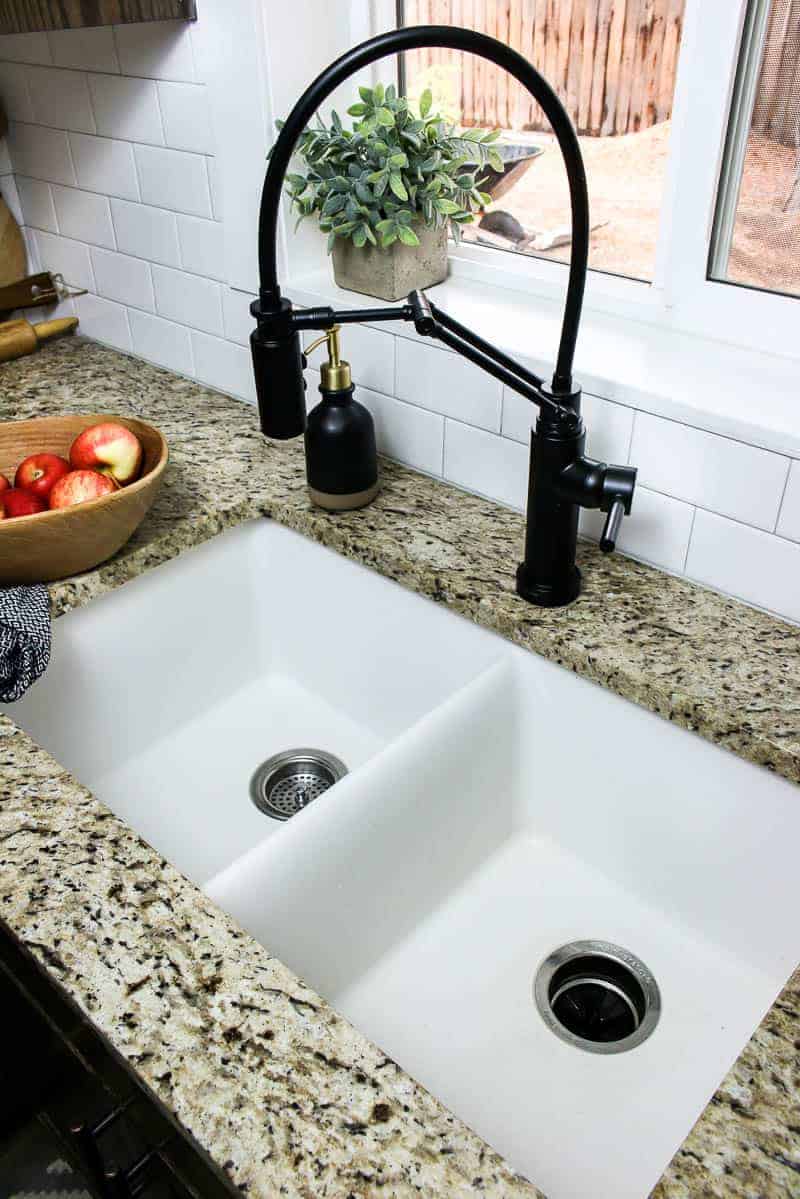


Installing an Undermount Kitchen Sink in Granite


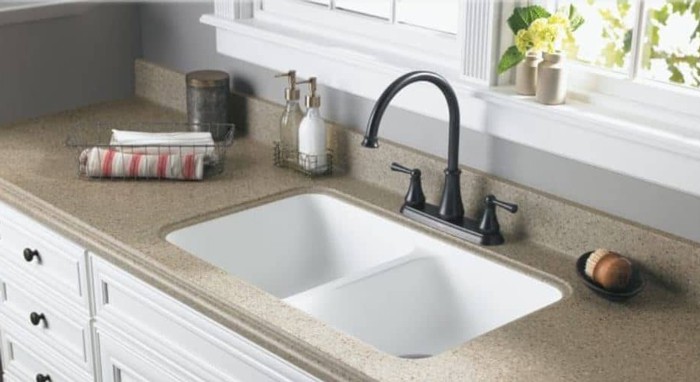
Once your kitchen sink is installed, you will need to seal and secure it to prevent any water from leaking into the gap between the sink and the countertop. Use a silicone adhesive and make sure to follow the manufacturer's instructions for drying time. Congratulations, you have successfully installed a kitchen sink in granite! With the right tools and a little bit of patience, you can achieve a professional-looking installation that will make your kitchen stand out. Now, it's time to enjoy your new and improved kitchen space.How to Seal and Secure a Kitchen Sink in Granite

How to Seal and Secure a Kitchen Sink in Granite


Installing a Kitchen Sink in Granite: A Guide for Homeowners

Why Choose Granite for Your Kitchen Sink?
 Granite is a popular choice for kitchen sinks due to its durability, beauty, and versatility. It is a natural stone that is known for its strength and resistance to scratches, stains, and heat. Granite also comes in a variety of colors and patterns, making it easy to find the perfect match for your kitchen design. Installing a kitchen sink in granite not only adds a touch of elegance to your space but also increases the value of your home.
Preparing for Installation
 Before you begin the installation process, make sure you have all the necessary tools and materials. This includes a measuring tape, drill, silicone caulk, and mounting clips. It is also important to have a helper to assist with lifting the sink during installation. Start by measuring the dimensions of your sink and marking them on the granite countertop. This will ensure that the sink will fit properly and that the faucet holes are in the right place.
Installing the Sink
 Once you have the sink and countertop dimensions marked, it's time to cut the hole for the sink. Use a drill with a diamond-tipped hole saw to make the cut. Be sure to follow the manufacturer's instructions and wear safety glasses during this step. After the hole is cut, test fit the sink to make sure it fits properly. If it does, apply silicone caulk around the edge of the sink and carefully place it into the hole. Have your helper hold the sink in place while you secure it with mounting clips.
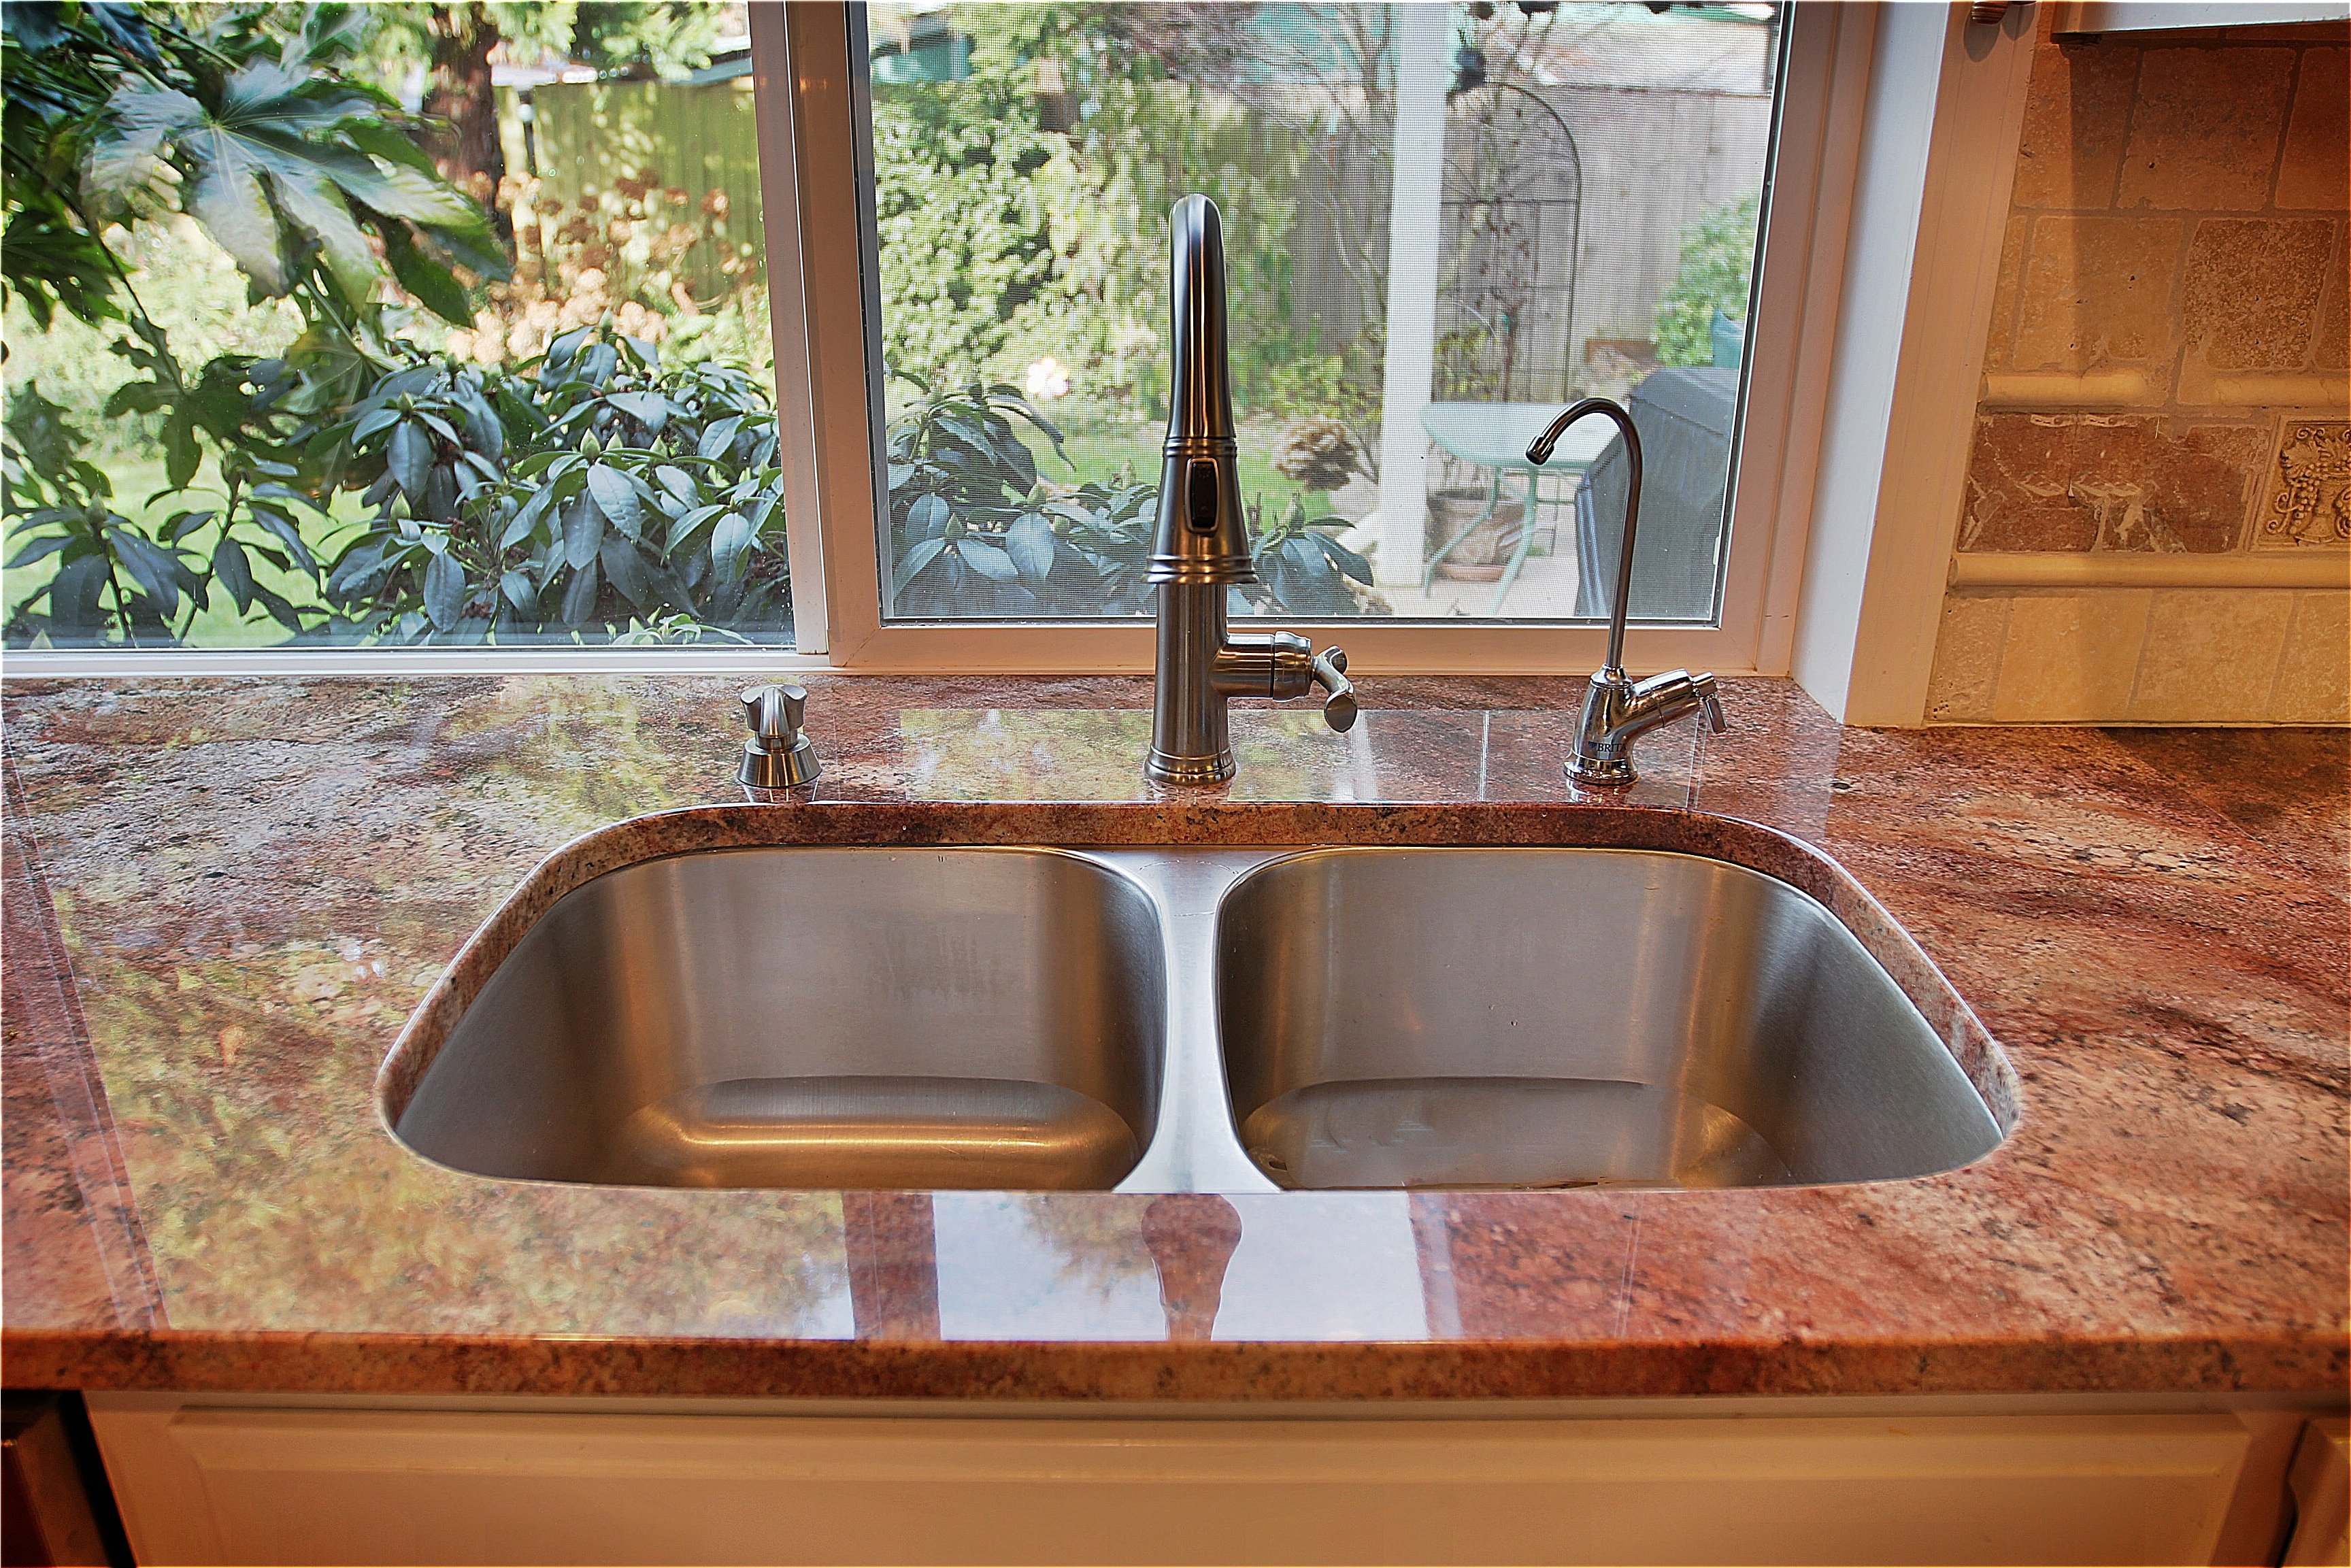
Finishing Touches
 Once the sink is securely in place, wipe away any excess caulk and install the faucet and drain. Make sure to follow the manufacturer's instructions for these steps as well. Once everything is installed, turn on the water and check for any leaks. If there are no leaks, you're all set! Your new granite sink is now ready to use.
Featured Keywords: installing a kitchen sink, granite, kitchen design, installation process, faucet holes, silicone caulk, mounting clips, durability, beauty, versatility
Overall, installing a kitchen sink in granite is a relatively straightforward process that can greatly enhance the look and functionality of your kitchen. With the right tools and careful preparation, you can easily achieve a professional-looking installation. So if you're looking to upgrade your kitchen, consider choosing granite for your sink and enjoy its many benefits for years to come.
Once the sink is securely in place, wipe away any excess caulk and install the faucet and drain. Make sure to follow the manufacturer's instructions for these steps as well. Once everything is installed, turn on the water and check for any leaks. If there are no leaks, you're all set! Your new granite sink is now ready to use.
Featured Keywords: installing a kitchen sink, granite, kitchen design, installation process, faucet holes, silicone caulk, mounting clips, durability, beauty, versatility
Overall, installing a kitchen sink in granite is a relatively straightforward process that can greatly enhance the look and functionality of your kitchen. With the right tools and careful preparation, you can easily achieve a professional-looking installation. So if you're looking to upgrade your kitchen, consider choosing granite for your sink and enjoy its many benefits for years to come.