When it comes to creating the perfect ambiance in your kitchen, lighting plays a crucial role. And if you're a fan of IKEA, you know that they have a wide range of stylish and affordable lighting options for your home. So, if you're planning to install IKEA kitchen lighting in your space, we've got you covered with this installation guide.1. IKEA Kitchen Lighting Installation Guide


1. IKEA Kitchen Lighting Installation Guide
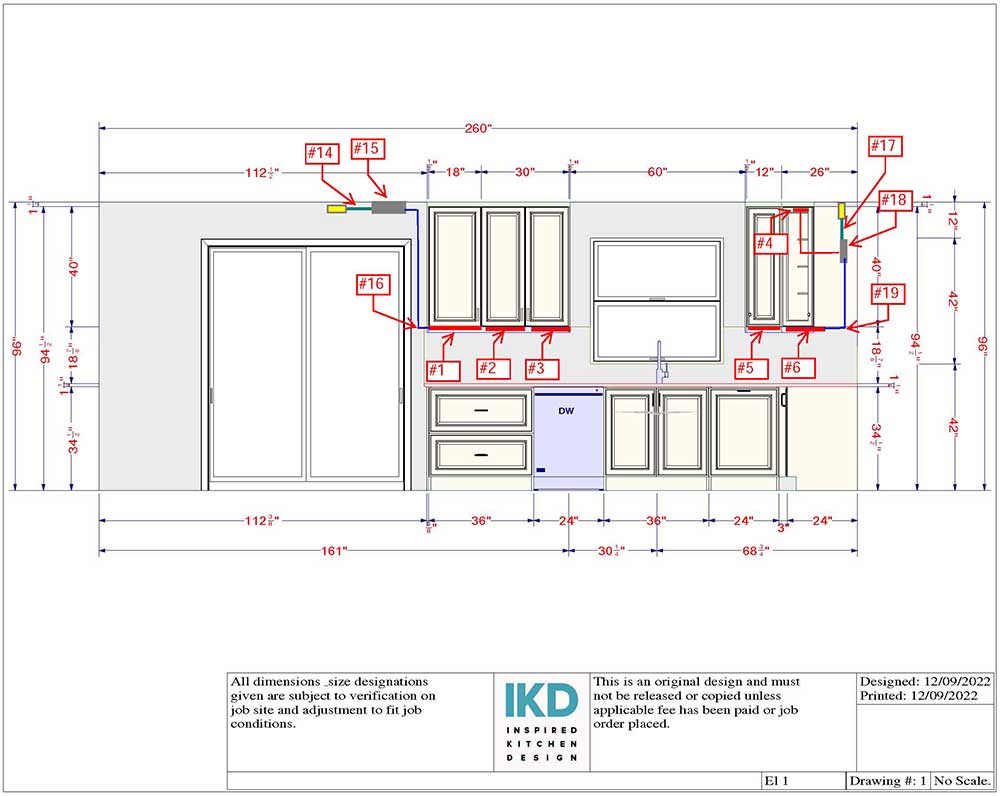

The first step to installing IKEA kitchen lighting is to carefully read the instructions provided with the specific lighting fixture you have purchased. Each lighting fixture may have different installation steps, so it's important to familiarize yourself with the process before starting. Next, gather all the necessary tools and equipment. This may include a drill, screws, screwdriver, wire stripper, and wire connectors.2. How to Install IKEA Kitchen Lighting


2. How to Install IKEA Kitchen Lighting


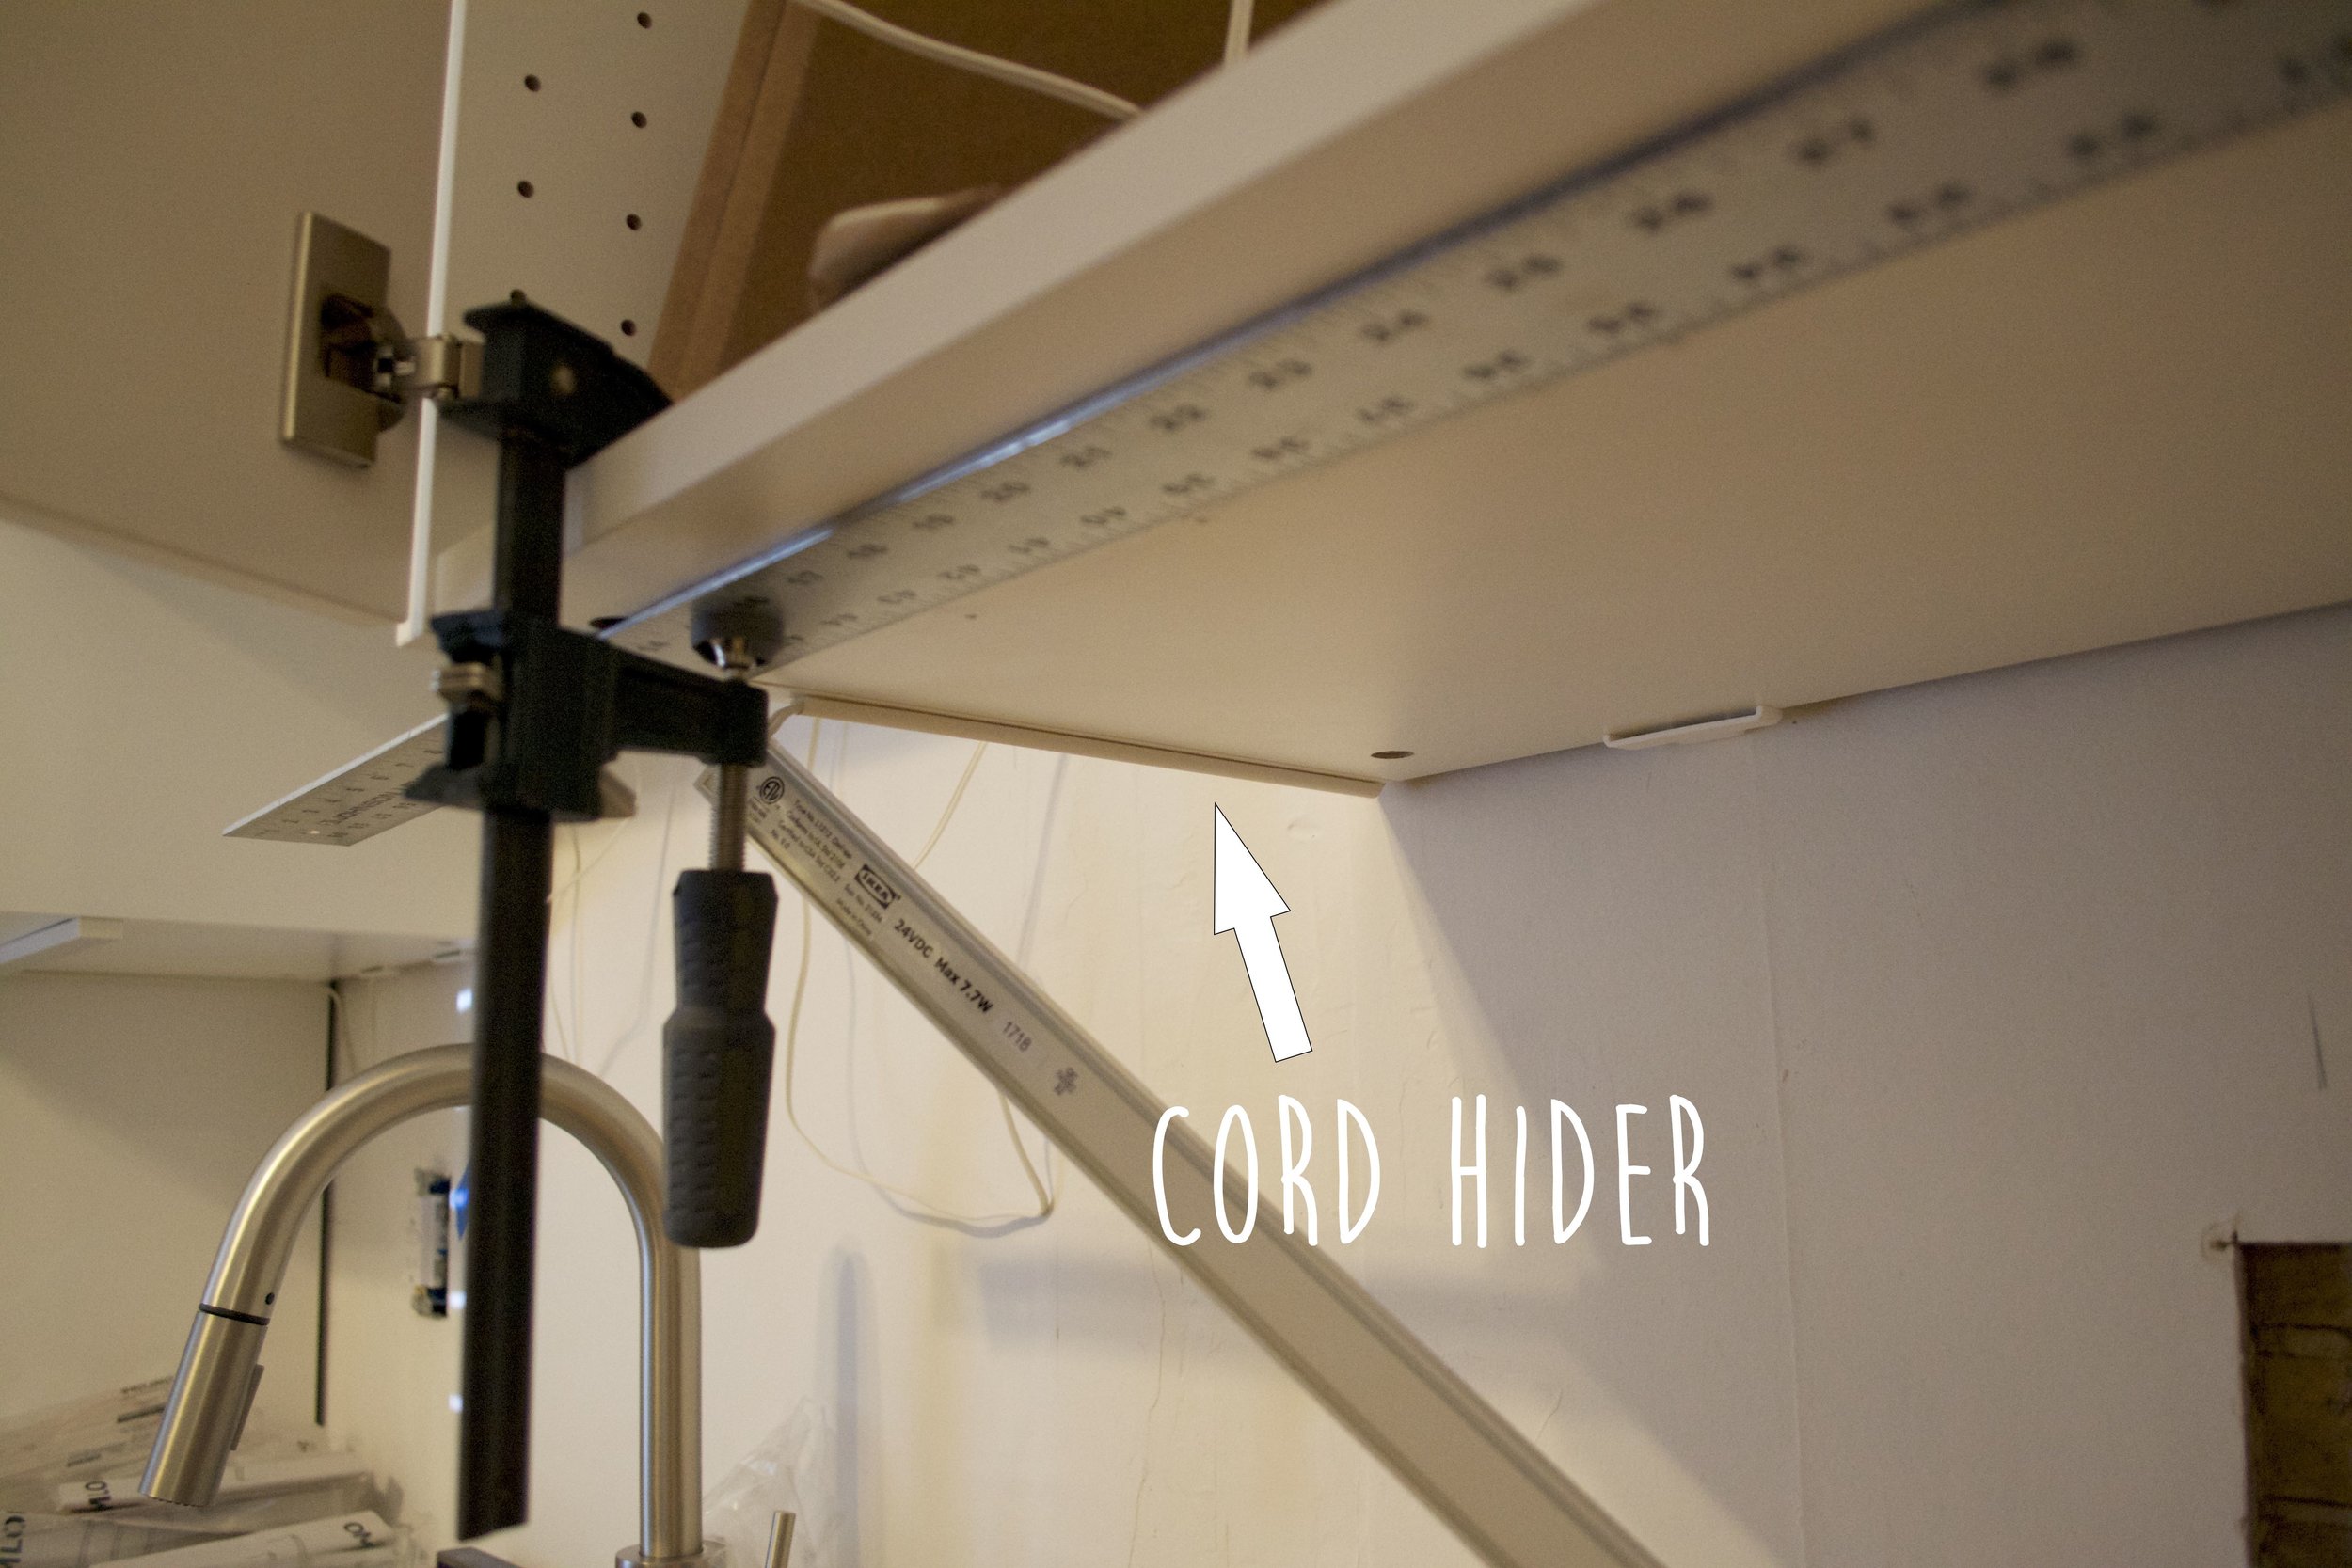
Step 1: Start by turning off the power to your kitchen at the main circuit breaker to ensure your safety. Step 2: Measure and mark the placement of your lighting fixtures on the ceiling or under cabinets. Step 3: Use a drill to create holes for the mounting screws or brackets. Step 4: If your lighting fixture requires wiring, use a wire stripper to remove the insulation from the end of the wires. Step 5: Connect the wires of the lighting fixture to the corresponding wires in your kitchen's electrical box using wire connectors. Step 6: Carefully mount the lighting fixture onto the ceiling or under cabinets using the screws or brackets provided. Step 7: Turn the power back on and test the lights to ensure they are working properly.3. Step-by-Step IKEA Kitchen Lighting Installation

3. Step-by-Step IKEA Kitchen Lighting Installation


Here are a few tips to keep in mind while installing IKEA kitchen lighting: - Always turn off the power before working with electrical wiring. - Make sure you have all the necessary tools and equipment before starting the installation process. - Take your time and follow the instructions carefully to avoid any mistakes. - If you're unsure about any steps, seek professional help.4. Tips for Installing IKEA Kitchen Lighting

4. Tips for Installing IKEA Kitchen Lighting


While installing IKEA kitchen lighting may seem simple, it's important to avoid these common mistakes: - Not turning off the power before working with electrical wiring. - Not reading the instructions carefully and skipping steps. - Not measuring and marking the placement of the lighting fixtures accurately. - Not using the correct tools or equipment for the installation.5. Common Mistakes to Avoid When Installing IKEA Kitchen Lighting


5. Common Mistakes to Avoid When Installing IKEA Kitchen Lighting


Here's a list of tools and equipment you may need for installing IKEA kitchen lighting: - Drill - Screws - Screwdriver - Wire stripper - Wire connectors6. Tools Needed for Installing IKEA Kitchen Lighting


6. Tools Needed for Installing IKEA Kitchen Lighting


Wiring IKEA kitchen lighting may sound daunting, but it's a simple process. Before starting, make sure to turn off the power to your kitchen at the main circuit breaker. Then, follow these steps: Step 1: Strip the insulation from the end of the wires using a wire stripper. Step 2: Connect the wires of the lighting fixture to the corresponding wires in your kitchen's electrical box using wire connectors. Step 3: Secure the connections with electrical tape for added safety. Step 4: Carefully mount the lighting fixture onto the ceiling or under cabinets using the screws or brackets provided. Step 5: Turn the power back on and test the lights to ensure they are working properly.7. How to Wire IKEA Kitchen Lighting


7. How to Wire IKEA Kitchen Lighting


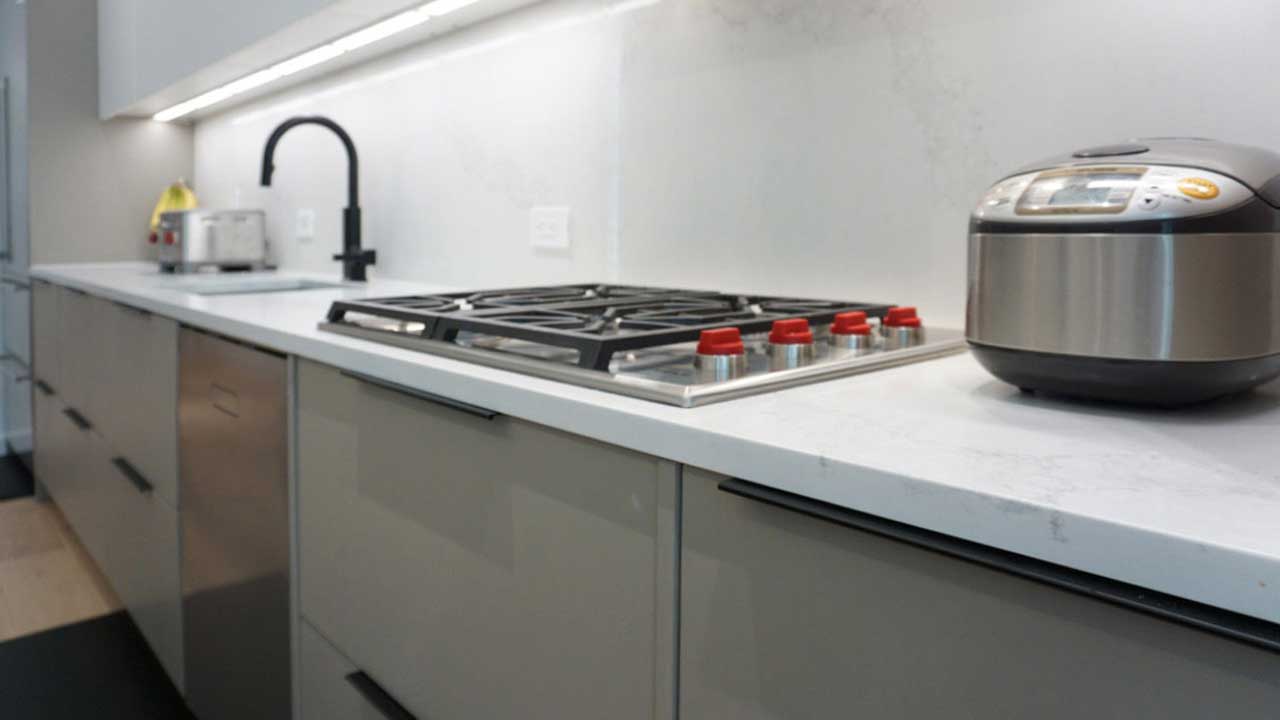
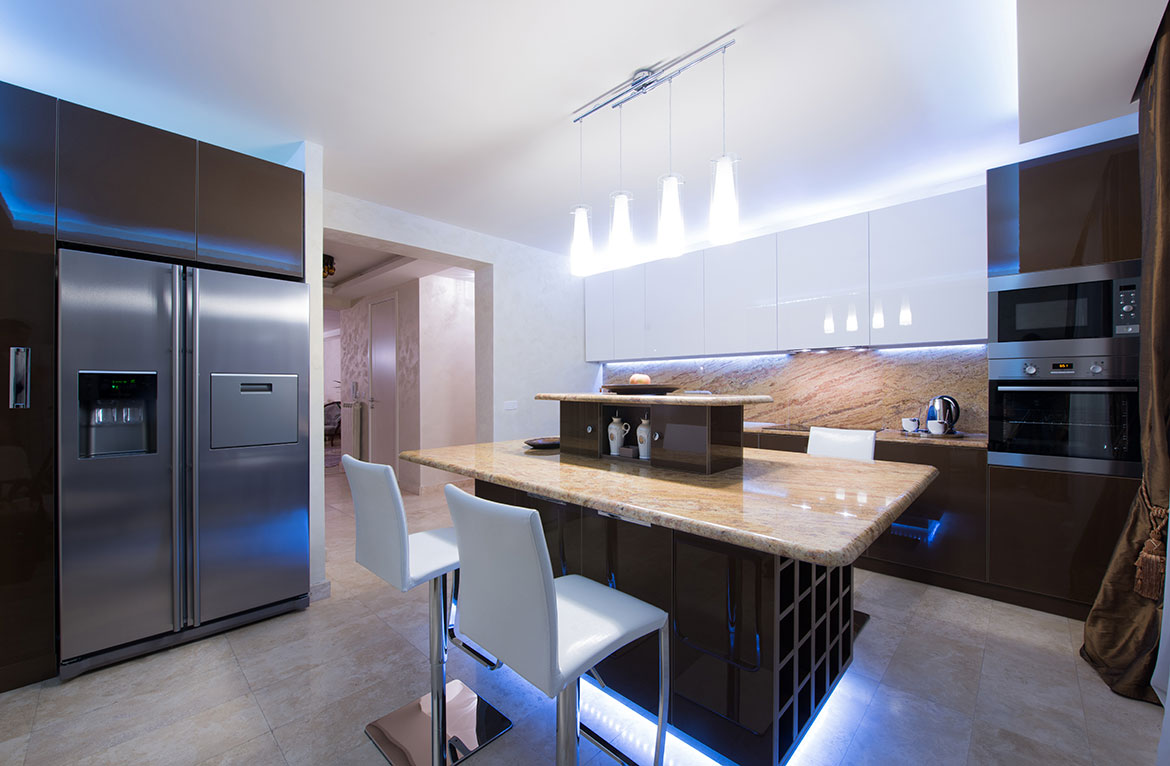
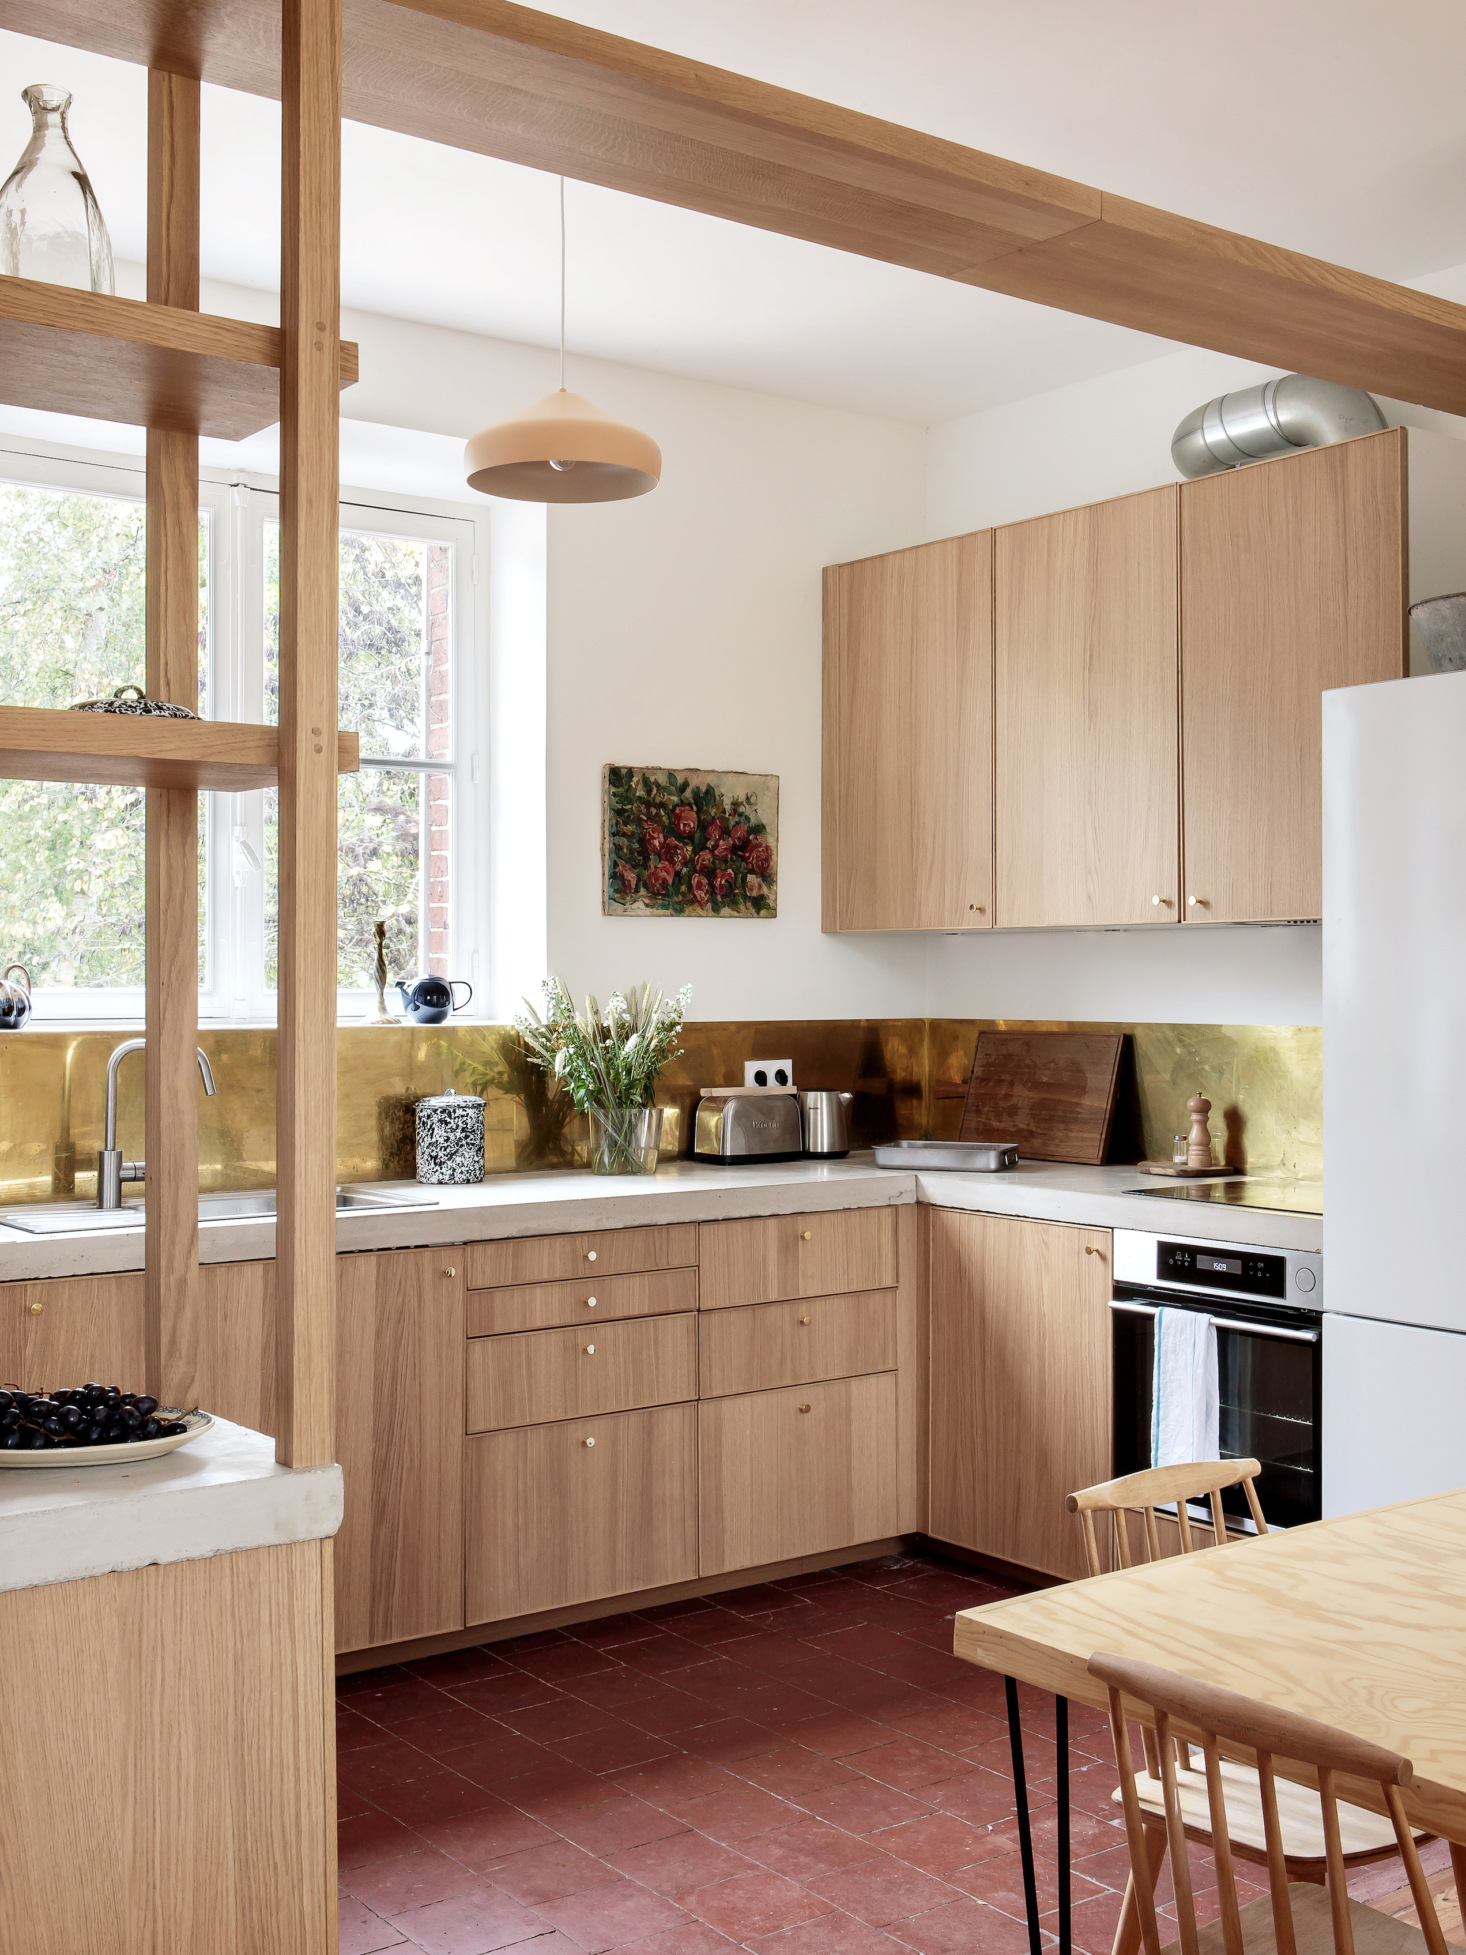
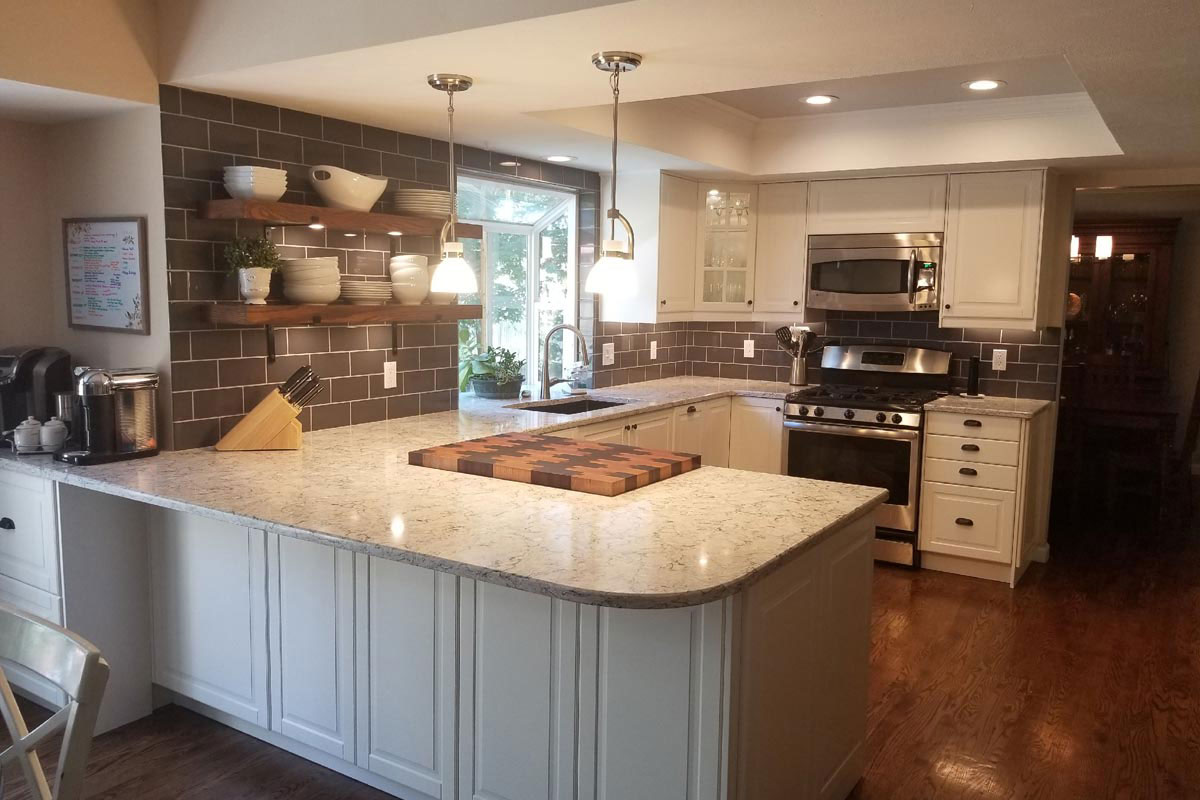
When selecting IKEA kitchen lighting, consider the style, size, and purpose of the fixture. For example, pendant lights are perfect for adding ambient lighting, while under cabinet lights are great for task lighting. You should also consider the color temperature of the light and how it will complement your kitchen's overall aesthetic.8. Choosing the Right IKEA Kitchen Lighting for Your Space
8. Choosing the Right IKEA Kitchen Lighting for Your Space


If you encounter any issues during the installation process, here are a few troubleshooting tips: - If the lights are not turning on, check the wiring connections and make sure the power is turned on. - If the lights are flickering, it could be due to loose wiring connections or a faulty light bulb. - If the lights are too dim or bright, check the wattage of the light bulbs and make sure they are suitable for the fixture.9. Troubleshooting Common Issues with IKEA Kitchen Lighting Installation


9. Troubleshooting Common Issues with IKEA Kitchen Lighting Installation


If you're not confident in your DIY skills or have a complex lighting installation, it's best to hire a professional. They have the necessary expertise and tools to ensure your IKEA kitchen lighting is installed safely and correctly. With this step-by-step guide and tips, you're now ready to install IKEA kitchen lighting in your space. Remember to take your time, follow the instructions carefully, and seek professional help if needed. Enjoy your new well-lit kitchen! 10. Hiring a Professional for IKEA Kitchen Lighting Installation

10. Hiring a Professional for IKEA Kitchen Lighting Installation

A Guide to Installing Ikea Kitchen Lighting for a Modern and Efficient Home Design
Why Lighting is Important in House Design
 Lighting is an essential element in any house design. It not only serves practical purposes, such as providing visibility and safety, but it also plays a significant role in creating the overall ambiance and atmosphere of a home. Proper lighting can make a space feel warm and inviting, while inadequate lighting can make it feel dull and uninviting. This is why it is crucial to carefully consider the lighting plan when designing your home, and Ikea offers a wide range of options for kitchen lighting that can elevate the look and functionality of your kitchen.
The Benefits of Ikea Kitchen Lighting
 Ikea is known for its modern and functional designs, and its kitchen lighting collection is no different. With a variety of styles, sizes, and types to choose from, Ikea has something for every kitchen and every design aesthetic. Not only are their lights aesthetically pleasing, but they are also energy-efficient, which can save you money on your electricity bill in the long run. Additionally, Ikea offers affordable prices, making it accessible for homeowners on a budget to upgrade their kitchen lighting.
Step-by-Step Guide to Installing Ikea Kitchen Lighting
 Now that you know the importance and benefits of Ikea kitchen lighting, here is a step-by-step guide to installing it in your home.
Step 1:
Measure the area where you want to install the lighting to determine the right size and type of light fixtures.
Step 2:
Choose the type of lighting that suits your needs and preferences. Ikea offers a variety of options, including ceiling lights, cabinet lights, and under-cabinet lights.
Step 3:
Gather all the necessary tools and materials, including a drill, screws, and a wire cutter.
Step 4:
Turn off the power to the kitchen to avoid any accidents.
Step 5:
Install the light fixtures according to the instructions provided by Ikea. This may involve drilling holes, connecting wires, and securing the fixtures in place.
Step 6:
Turn the power back on and test the lights to ensure they are working correctly.
Now that you know the importance and benefits of Ikea kitchen lighting, here is a step-by-step guide to installing it in your home.
Step 1:
Measure the area where you want to install the lighting to determine the right size and type of light fixtures.
Step 2:
Choose the type of lighting that suits your needs and preferences. Ikea offers a variety of options, including ceiling lights, cabinet lights, and under-cabinet lights.
Step 3:
Gather all the necessary tools and materials, including a drill, screws, and a wire cutter.
Step 4:
Turn off the power to the kitchen to avoid any accidents.
Step 5:
Install the light fixtures according to the instructions provided by Ikea. This may involve drilling holes, connecting wires, and securing the fixtures in place.
Step 6:
Turn the power back on and test the lights to ensure they are working correctly.
Final Thoughts
 With Ikea kitchen lighting, you can not only enhance the design of your kitchen but also make it a more functional and energy-efficient space. Follow these steps to install your Ikea kitchen lighting and enjoy a modern and efficient kitchen. Don't be afraid to get creative and mix and match different lights to achieve the perfect lighting for your space. Happy designing!