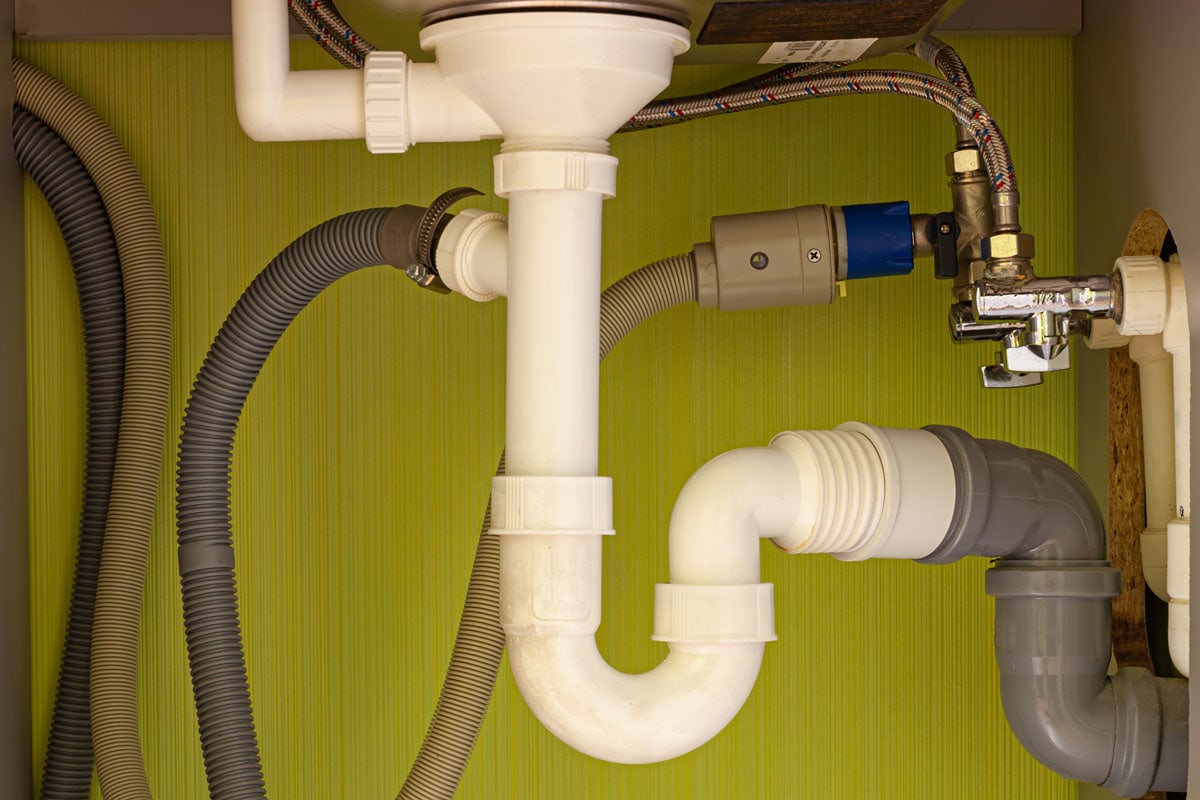
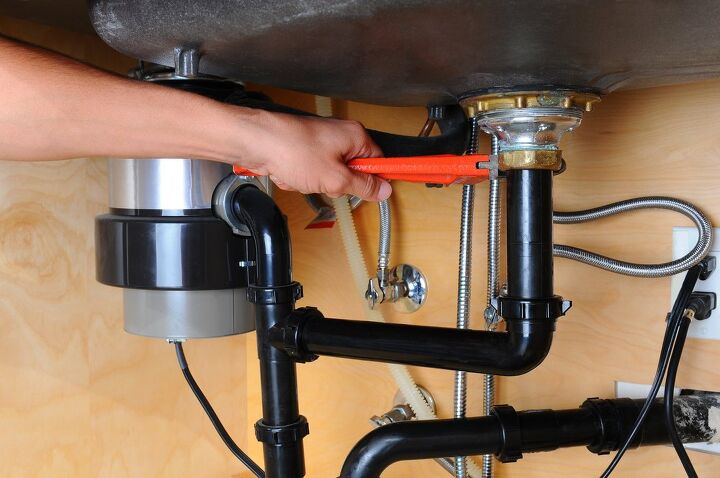
Before you start the process of hanging a kitchen sink, it's important to have all the necessary tools and materials on hand. These may include a drill, screws, sink clips, a silicone sealant, and a wrench. Make sure to also have a helper on standby to assist with lifting and holding the sink in place. Start by turning off the water supply and disconnecting the plumbing from the old sink. Then, remove the old sink and clean the area where the new sink will be installed. This is also a good time to make any necessary repairs or adjustments to the cabinet or countertop. Next, place the new sink upside down on a flat surface and attach the sink clips to the rim of the sink. These clips will help secure the sink to the countertop. Use a drill to make small pilot holes for the clips, and then screw them in place. Once the clips are attached, carefully flip the sink over and place it into the hole on the countertop. Have your helper hold the sink in place while you make any necessary adjustments to ensure it is level and centered. Using a silicone sealant, apply a small bead around the edge of the sink where it meets the countertop. This will create a watertight seal and prevent any leaks. Use a wet finger or a caulk smoothing tool to smooth out the sealant and remove any excess. Finally, reattach the plumbing and turn the water supply back on. Run water through the sink to check for any leaks, and make sure to tighten any connections if necessary. Congratulations, you have successfully hung a kitchen sink!1. How to Hang a Kitchen Sink


1. How to Hang a Kitchen Sink


If you're looking to update your kitchen, hanging a new sink is a great place to start. It may seem like a daunting task, but with the right tools and some basic know-how, you can easily hang a kitchen sink yourself. Here is a step-by-step guide to help you through the process. Step 1: Gather your tools and materials. As mentioned before, you will need a drill, sink clips, silicone sealant, and a wrench. You may also need a hacksaw if you need to adjust the length of the plumbing pipes. Step 2: Turn off the water supply and disconnect the plumbing from the old sink. This may require a wrench to loosen the connections. Make sure to also remove any excess water from the pipes. Step 3: Remove the old sink and clean the area where the new sink will be installed. This is also a good time to make any necessary repairs or adjustments to the cabinet or countertop. Step 4: Attach sink clips to the rim of the new sink. Use a drill to make pilot holes for the clips and then screw them in place. Step 5: Carefully place the sink into the hole on the countertop. Have a helper hold the sink in place while you make any necessary adjustments to ensure it is level and centered. Step 6: Apply a bead of silicone sealant around the edge of the sink where it meets the countertop. Use a wet finger or a caulk smoothing tool to smooth out the sealant and remove any excess. Step 7: Reattach the plumbing and turn the water supply back on. Check for any leaks and tighten connections if necessary. And that's it! You have successfully hung a kitchen sink.2. Hanging a Kitchen Sink: Step-by-Step Guide


2. Hanging a Kitchen Sink: Step-by-Step Guide


If you're a do-it-yourselfer, hanging a kitchen sink is a great project to tackle. Not only will it save you money, but it will also give you a sense of accomplishment. Here are some tips to keep in mind as you embark on this project. Measure twice, cut once: Before making any cuts or drilling any holes, double check your measurements to ensure everything will fit properly. This will save you time and frustration in the long run. Use a template: Many sinks come with a template that you can use to mark where the holes for the sink clips should go. If your sink doesn't come with a template, you can make your own by tracing the outline of the sink onto a piece of cardboard. Don't over-tighten: When attaching the sink clips or plumbing connections, make sure not to over-tighten them. This can cause damage to the sink or pipes. Have a helper: Hanging a sink can be a two-person job, especially when it comes to lifting and holding the sink in place. Having a helper can make the process much smoother and safer. Take your time: Installing a new sink may seem like a quick and easy task, but it's important to take your time and do it properly. Rushing through the process can lead to mistakes and potentially costly repairs in the future.3. DIY Kitchen Sink Hanging Tips


3. DIY Kitchen Sink Hanging Tips


When it comes to hanging a kitchen sink, there are a few different methods you can use. But what is the best way to ensure a secure and long-lasting installation? Here are some tips to help you hang your sink in the best way possible. Use the right materials: Make sure to use sink clips specifically designed for your type of sink. These will provide the necessary support and stability for your sink. Support the sink: If your sink is top-mounted, it's important to support it from below with a piece of wood or other sturdy material. This will prevent the sink from sagging over time. Check for level and stability: Before securing the sink in place, make sure it is level and stable. You can use shims to make any necessary adjustments. Properly seal the sink: A watertight seal is essential for preventing leaks and damage. Make sure to use a high-quality silicone sealant and apply it evenly around the edge of the sink. Follow manufacturer instructions: Every sink may have slightly different installation instructions, so make sure to read and follow the manufacturer's guidelines for the best results.4. The Best Way to Hang a Kitchen Sink


4. The Best Way to Hang a Kitchen Sink


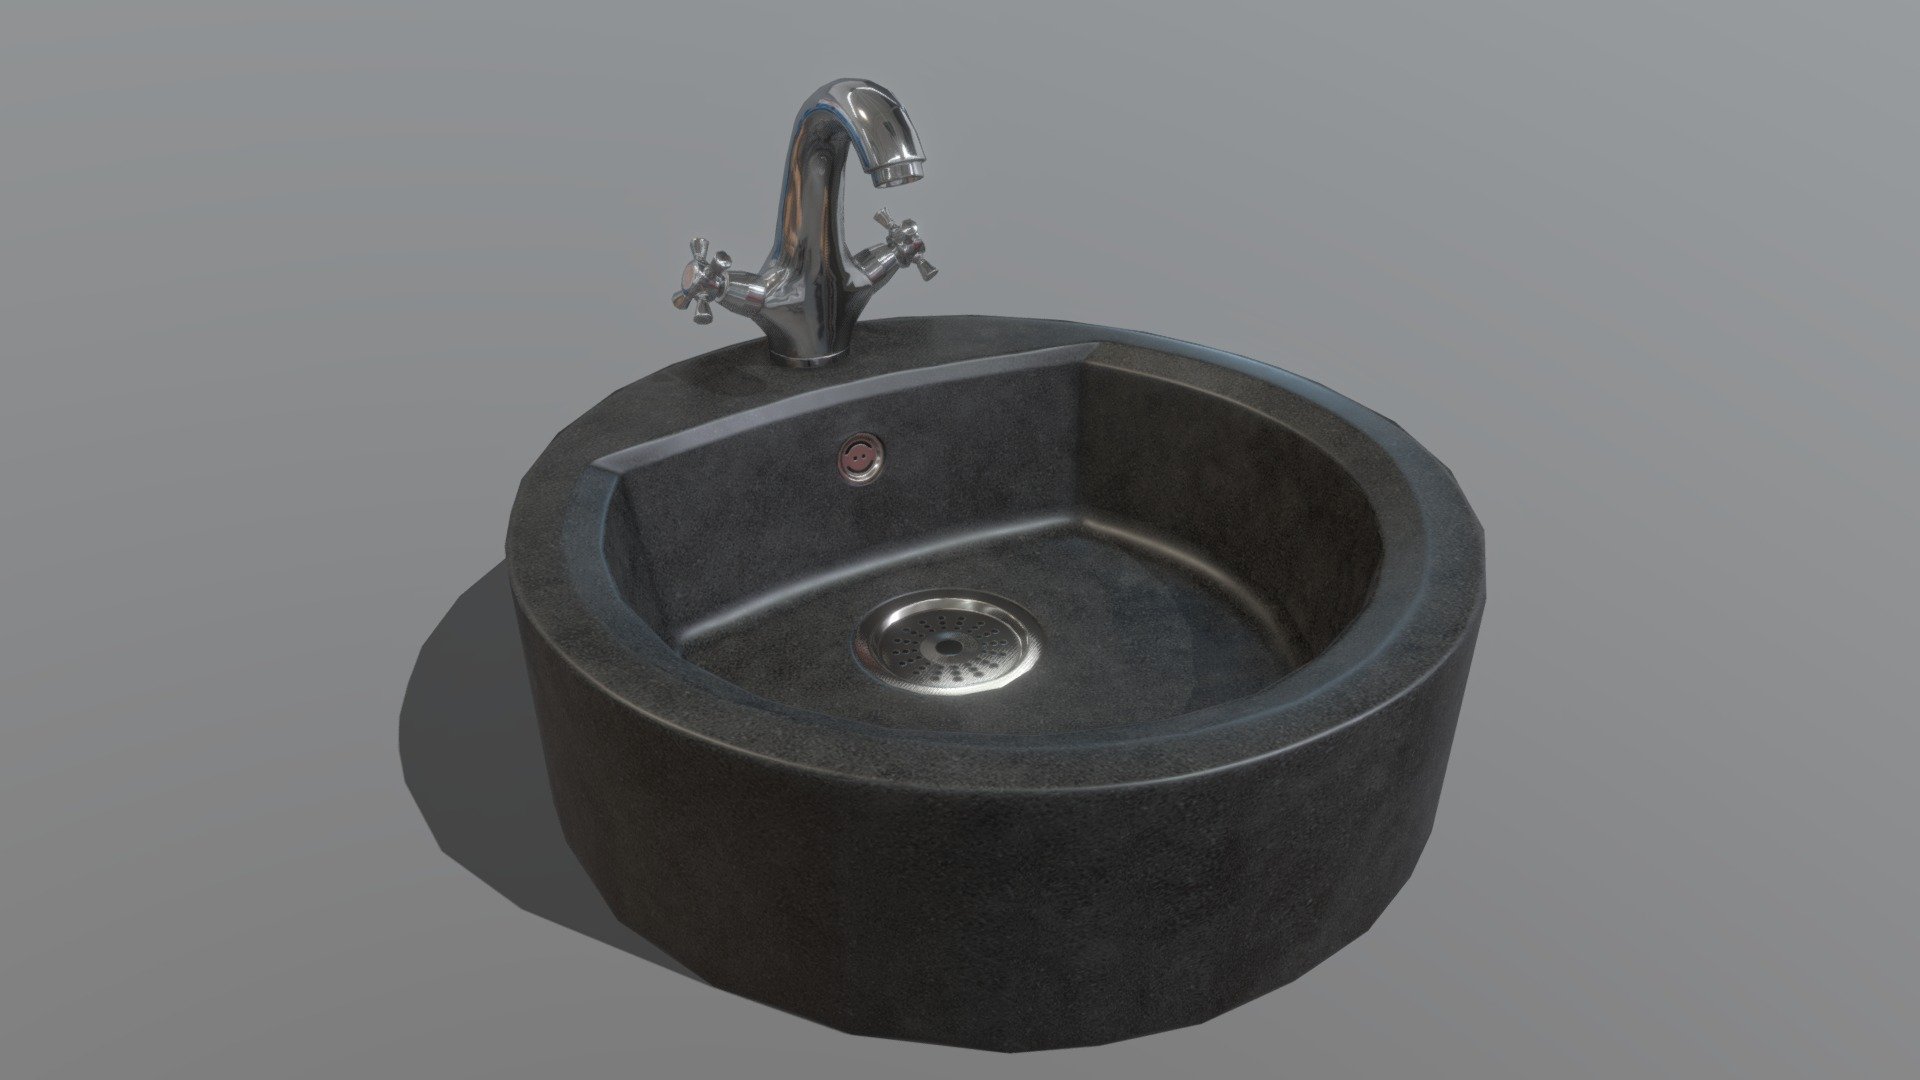
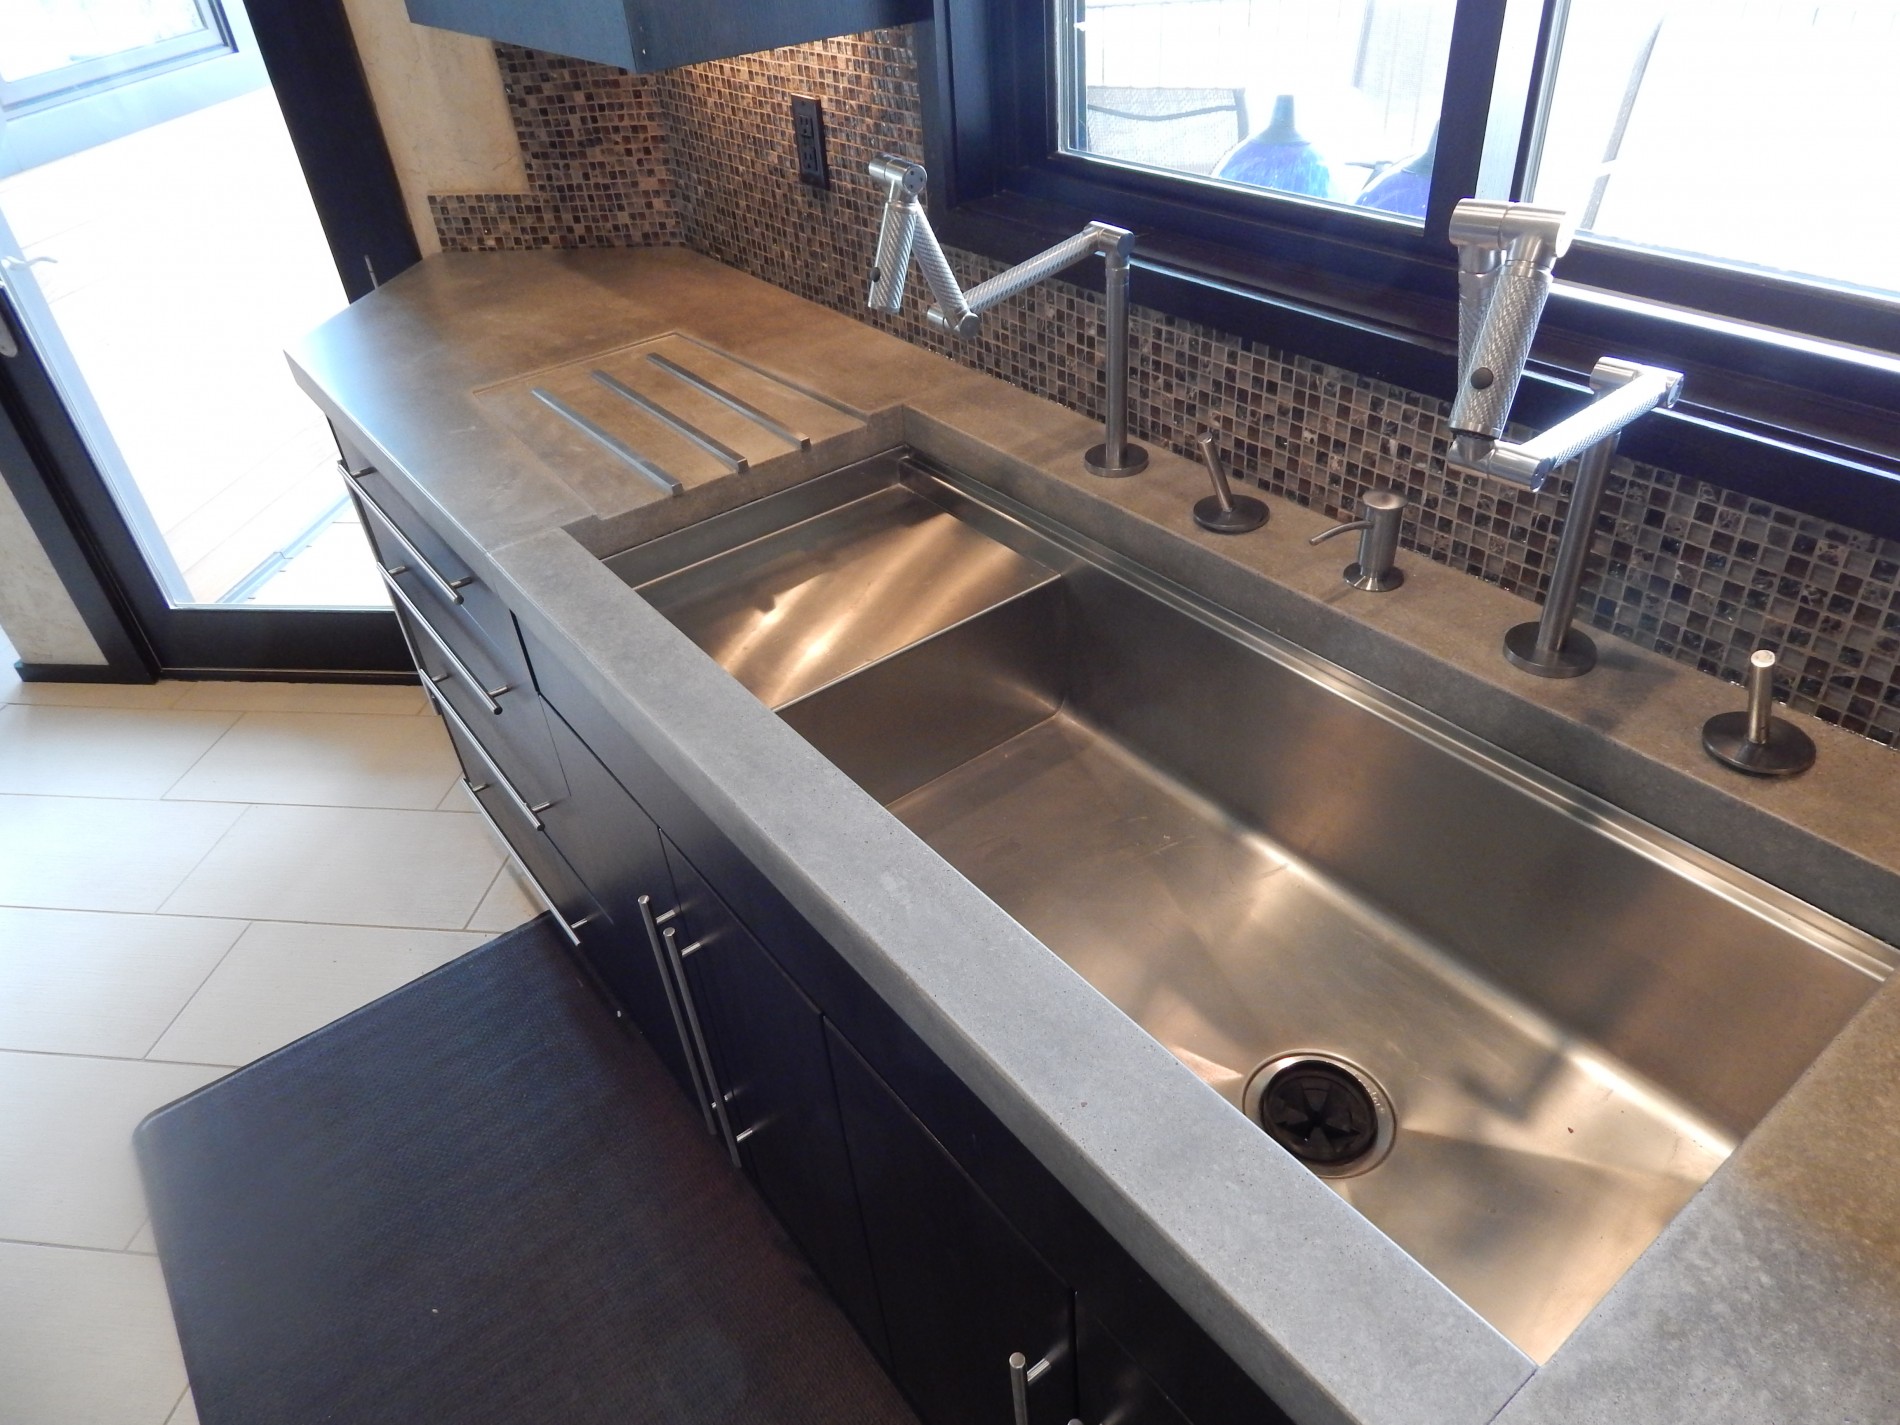
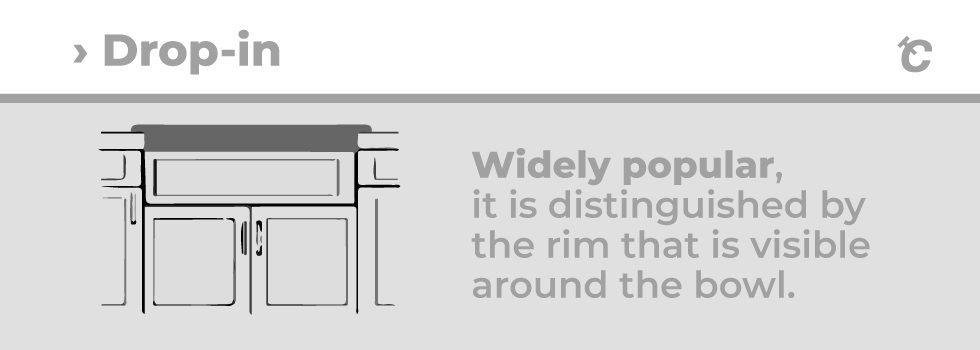
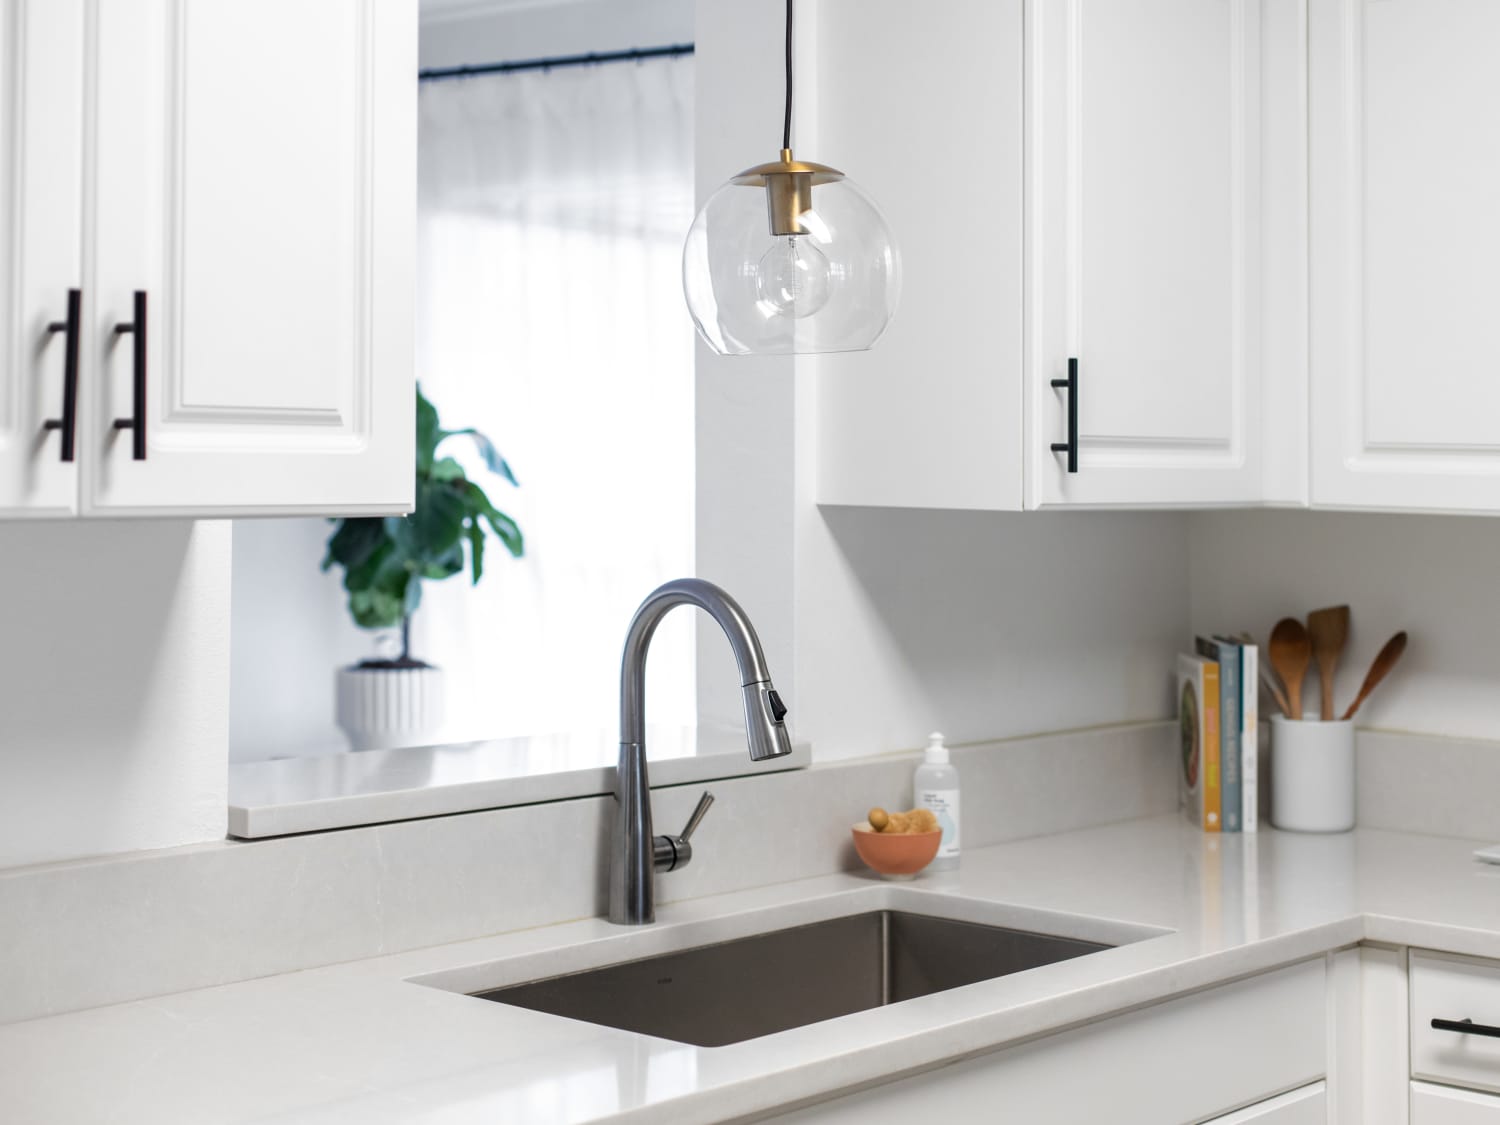
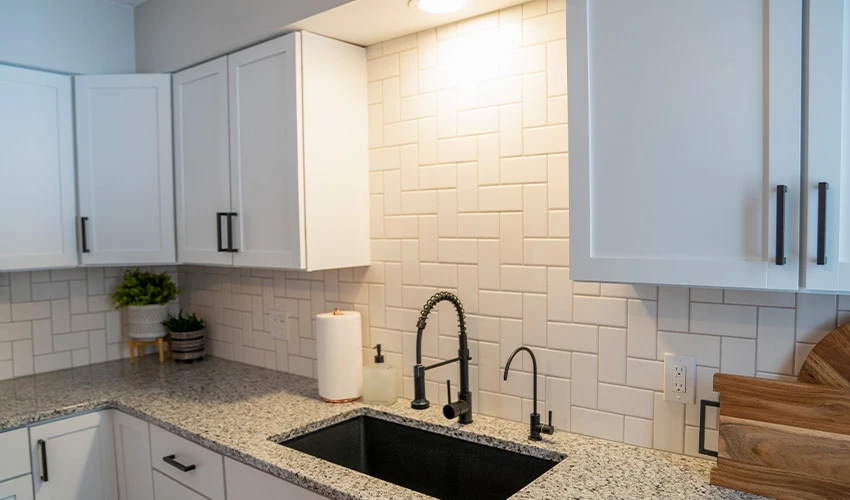
Before you start the process of hanging a kitchen sink, it's important to have a basic understanding of the different types of sinks and their installation methods. Here's what you need to know. Top-mount vs. undermount: Top-mount sinks are installed on top of the countertop, while undermount sinks are installed underneath. The method of hanging will vary depending on the type of sink you have. Materials: Sinks can be made of different materials, such as stainless steel, porcelain, or composite. The type of sink you have may affect the installation process. Sink clips: Sink clips are used to secure the sink to the countertop. They come in different shapes and sizes, so make sure to use ones that are compatible with your sink. Plumbing: Make sure to also consider the plumbing when hanging a new sink. You may need to purchase new pipes or make adjustments to the existing ones. By understanding the basics of sink installation, you will be better prepared to successfully hang your new kitchen sink.5. Hanging a Kitchen Sink: What You Need to Know


5. Hanging a Kitchen Sink: What You Need to Know


While hanging a kitchen sink may seem like a straightforward task, there are some common mistakes that can easily be made. Here are some things to avoid when installing your new sink. Not checking for level: A level sink is crucial for proper drainage and preventing leaks. Make sure to check for level and make any necessary adjustments before securing the sink in place. Not using enough sink clips: Sink clips provide the necessary support for the sink and prevent it from shifting or sagging. Make sure to use enough clips for your sink size. Not properly sealing the sink: A proper seal is essential for preventing leaks and damage to the countertop. Make sure to use a high-quality silicone sealant and apply it evenly. Over-tightening: Over-tightening sink clips or plumbing connections can cause damage to the sink or pipes. Make sure to tighten them just enough to secure them in place. Not following manufacturer instructions: Every sink may have slightly different installation instructions, so make sure to read and follow them carefully for the best results.6. Hanging a Kitchen Sink: Common Mistakes to Avoid


6. Hanging a Kitchen Sink: Common Mistakes to Avoid


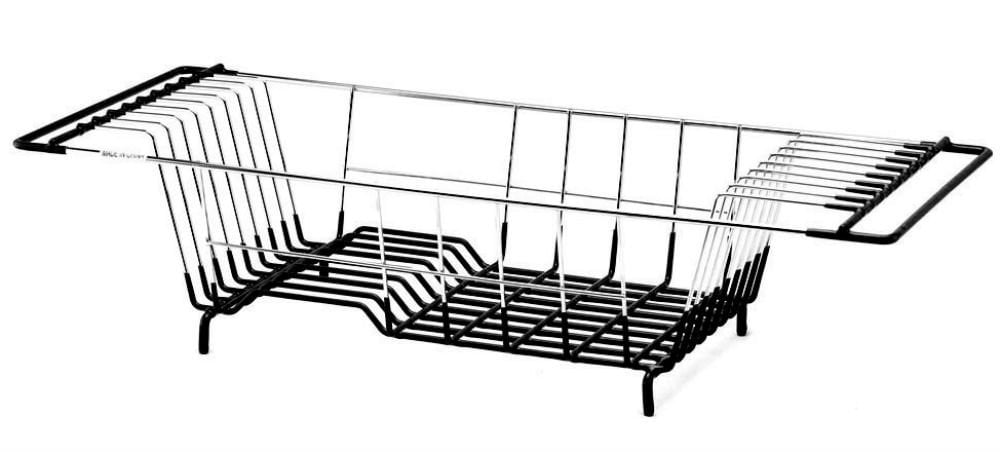
Before you start the process of hanging a kitchen sink, make sure you have all the necessary tools and materials on hand. Here's a list of what you'll need: Drill: A drill will be needed to make pilot holes for the sink clips and potentially for other steps in the installation process. Sink clips: These clips will be used to secure the sink to the countertop. Silicone sealant: A high-quality silicone sealant is essential for creating a watertight seal around the edge of the sink. Wrench: You may need a wrench to loosen and tighten plumbing connections. Hacksaw: If you need to adjust the length of the plumbing pipes, a hacksaw will come in handy. Helper: It's always helpful to have a second set of hands when hanging a sink, so make sure to have someone available to assist you.7. Hanging a Kitchen Sink: Tools and Materials You'll Need


7. Hanging a Kitchen Sink: Tools and Materials You'll Need


Hanging a kitchen sink may seem like a job for a professional, but with the right tools and some basic know-how, you can easily do it yourself. Not only will this save you money, but it will also give you a sense of accomplishment. Here are some tips for hanging a kitchen sink without a professional. Do your research: Before starting the process, make sure to research the specific type of sink you have and its installation instructions. This will help you feel more confident and prepared. Gather your tools and materials: Make sure to have all the necessary tools and materials on hand before starting the process. This will save you time and frustration later on. Take your time: Rushing through the process can lead to mistakes and potential damage. Take your time and follow the steps carefully for the best results. Don't be afraid to ask for help: If you're feeling overwhelmed or unsure about any step of the process, don't hesitate to ask for help from a friend or family member.8. How to Hang a Kitchen Sink Without a Professional


8. How to Hang a Kitchen Sink Without a Professional


A secure installation is crucial for a long-lasting and leak-free sink. Here are some tips to help ensure your sink is properly secured. Use the right sink clips: Make sure to use sink clips that are specifically designed for your type of sink. This will provide the necessary support and stability. Support the sink: If you have a top-mounted sink, make sure to support it from below with a piece of wood or other sturdy material. This will prevent the sink from sagging over time. Check for level and stability: Before securing the sink in place, make sure it is level and stable. You can use shims to make any necessary adjustments. Properly seal the sink: A watertight seal is essential for preventing leaks and damage. Make sure to use a high-quality silicone sealant and apply it evenly around the edge of the sink. Follow manufacturer instructions: Every sink may have slightly different installation instructions, so make sure to read and follow the manufacturer's guidelines for the best results.9. Hanging a Kitchen Sink: Tips for a Secure Installation

9. Hanging a Kitchen Sink: Tips for a Secure Installation
/how-to-install-a-sink-drain-2718789-hero-24e898006ed94c9593a2a268b57989a3.jpg)


Even with proper preparation and attention to detail, there may be some common issues that can arise when hanging a kitchen sink. Here are some troubleshooting tips to help you overcome these challenges. Uneven sink: If you find that your sink is not level, you can use shims to make adjustments. Place the shims under the sink clips or under the sink itself to even it out. Loose sink: If your sink feels loose, you may need to tighten the sink clips or plumbing connections. Make sure not to over-tighten them, as this can cause damage. Leaky sink: If you notice any leaks, check the connections for the plumbing and make sure they are properly tightened. You may also need to reapply the silicone sealant to create a watertight seal. Cracked sink: If your sink is cracked or damaged during installation, you may need to replace it. Make sure to handle the sink carefully to avoid any potential damage. Difficulty attaching the sink clips: If you are having trouble attaching the sink clips, try using a smaller drill bit to make pilot holes for the screws.10. Hanging a Kitchen Sink: Troubleshooting Common Issues


10. Hanging a Kitchen Sink: Troubleshooting Common Issues


The Benefits of Hanging at a Kitchen Sink

Creating a Functional and Modern Kitchen Space
 When it comes to designing a kitchen, the sink is often seen as just a functional element. However, with the right design and placement,
hanging at a kitchen sink
can actually enhance the overall look and feel of your kitchen space. Not only does it serve as a practical workspace for meal preparation and clean-up, but it can also add a touch of modernity and style to your kitchen design.
When it comes to designing a kitchen, the sink is often seen as just a functional element. However, with the right design and placement,
hanging at a kitchen sink
can actually enhance the overall look and feel of your kitchen space. Not only does it serve as a practical workspace for meal preparation and clean-up, but it can also add a touch of modernity and style to your kitchen design.
Maximizing Space in a Small Kitchen
 In today's modern homes, space is often limited, especially in the kitchen.
Hanging at a kitchen sink
can be a great solution for maximizing space in a small kitchen. By choosing a sink that hangs from the countertop or is mounted on the wall, you can free up valuable counter space for other kitchen tasks. This can make a small kitchen feel more open and spacious, while still providing a functional and efficient workspace.
In today's modern homes, space is often limited, especially in the kitchen.
Hanging at a kitchen sink
can be a great solution for maximizing space in a small kitchen. By choosing a sink that hangs from the countertop or is mounted on the wall, you can free up valuable counter space for other kitchen tasks. This can make a small kitchen feel more open and spacious, while still providing a functional and efficient workspace.
Adding a Unique Design Element
 In addition to its practical benefits, a hanging kitchen sink can also add a unique design element to your kitchen. With a variety of styles, materials, and finishes available, you can choose a sink that complements the overall aesthetic of your kitchen. Whether you opt for a sleek and modern stainless steel sink or a more traditional farmhouse-style sink,
hanging at a kitchen sink
can add character and charm to your space.
In addition to its practical benefits, a hanging kitchen sink can also add a unique design element to your kitchen. With a variety of styles, materials, and finishes available, you can choose a sink that complements the overall aesthetic of your kitchen. Whether you opt for a sleek and modern stainless steel sink or a more traditional farmhouse-style sink,
hanging at a kitchen sink
can add character and charm to your space.
Improving Ergonomics and Workflow
 One of the key benefits of hanging at a kitchen sink is its ability to improve ergonomics and workflow in the kitchen. By hanging the sink at a comfortable height, you can avoid straining your back and arms while washing dishes or preparing food. This can make a big difference in the overall functionality of your kitchen, making tasks easier and more enjoyable.
Hanging at a kitchen sink
may not be the first thing that comes to mind when designing your dream kitchen, but it can have a significant impact on both the aesthetics and functionality of the space. With its ability to create a modern and functional kitchen, maximize space, add a unique design element, and improve ergonomics and workflow, a hanging kitchen sink is a valuable addition to any home. So next time you're designing or renovating your kitchen, don't overlook the potential of a hanging kitchen sink.
One of the key benefits of hanging at a kitchen sink is its ability to improve ergonomics and workflow in the kitchen. By hanging the sink at a comfortable height, you can avoid straining your back and arms while washing dishes or preparing food. This can make a big difference in the overall functionality of your kitchen, making tasks easier and more enjoyable.
Hanging at a kitchen sink
may not be the first thing that comes to mind when designing your dream kitchen, but it can have a significant impact on both the aesthetics and functionality of the space. With its ability to create a modern and functional kitchen, maximize space, add a unique design element, and improve ergonomics and workflow, a hanging kitchen sink is a valuable addition to any home. So next time you're designing or renovating your kitchen, don't overlook the potential of a hanging kitchen sink.