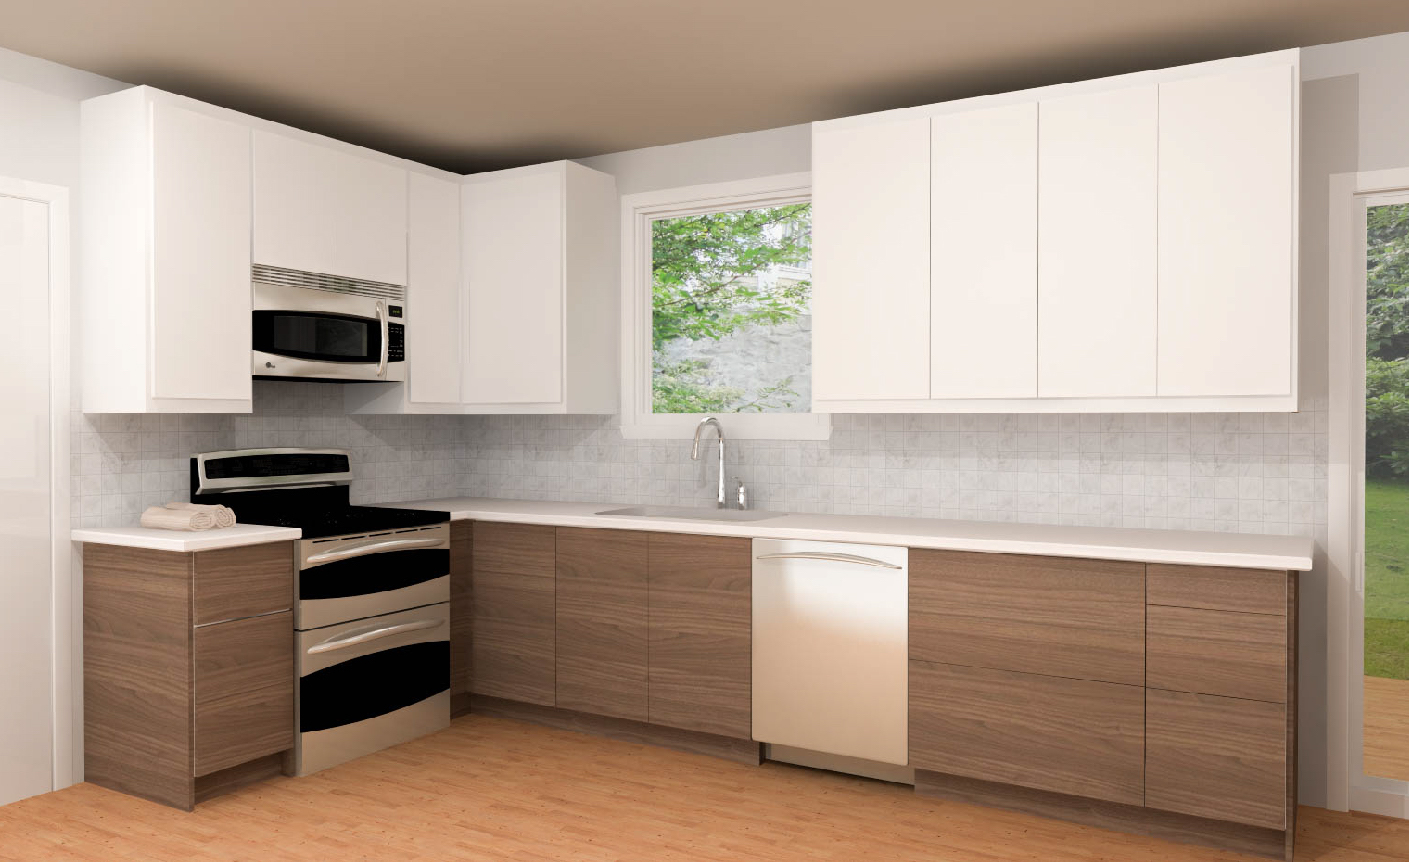
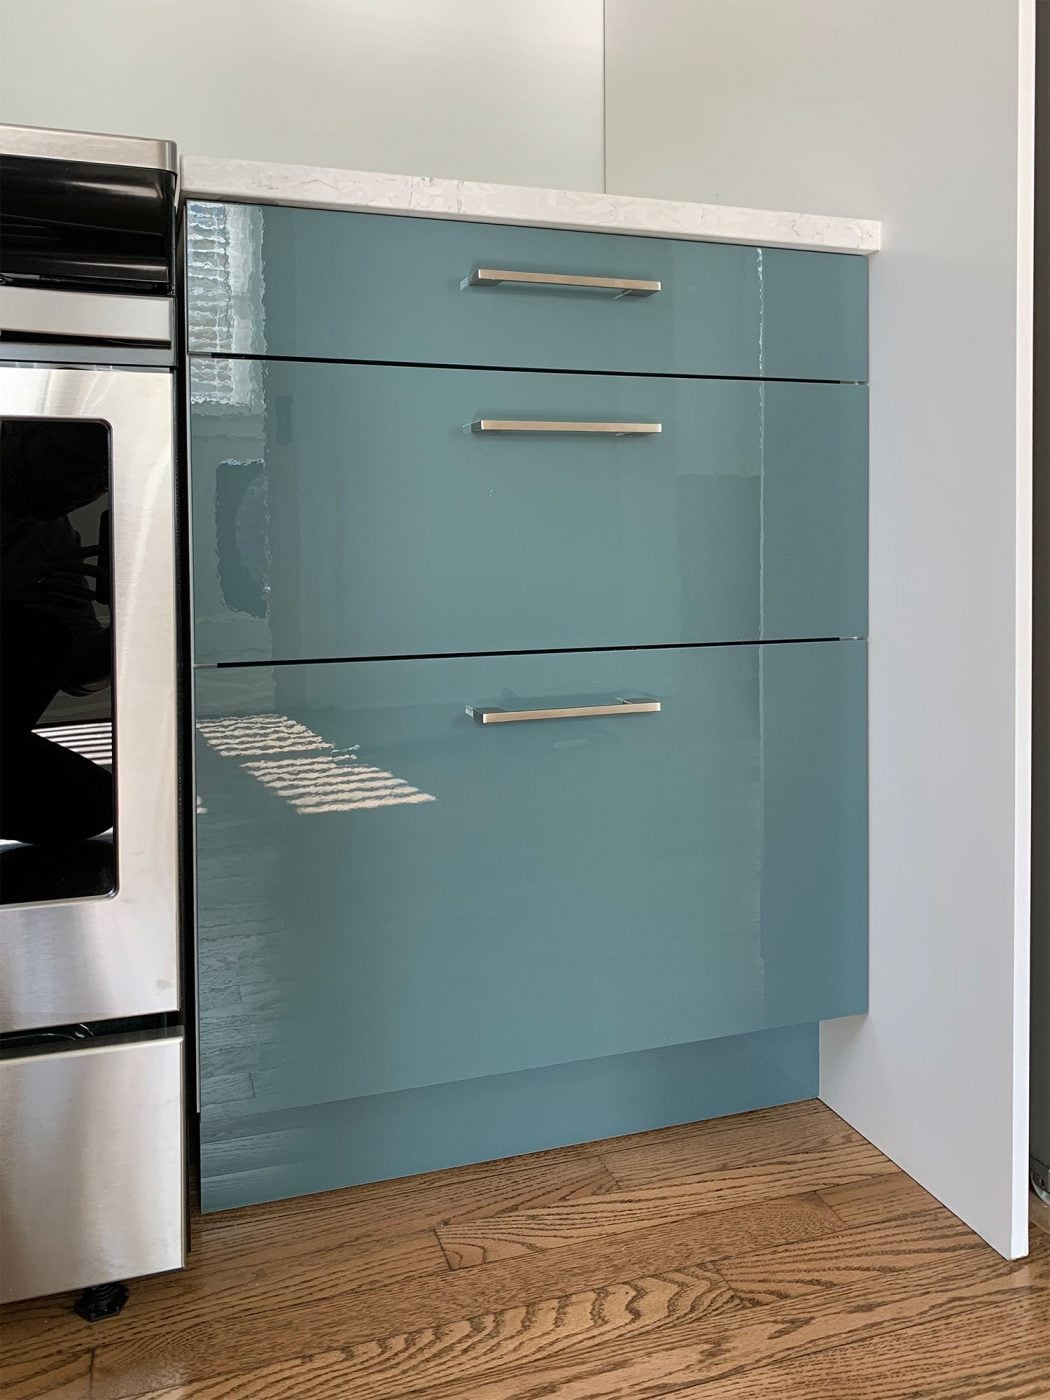
If you're ready to renovate your kitchen and are considering IKEA cabinets, you're not alone. IKEA kitchen cabinets are known for their affordability, modern style, and customizable options. However, one of the biggest concerns when it comes to installing IKEA kitchen cabinets is how to properly and securely attach them to the wall.How to Install IKEA Kitchen Cabinets


How to Install IKEA Kitchen Cabinets


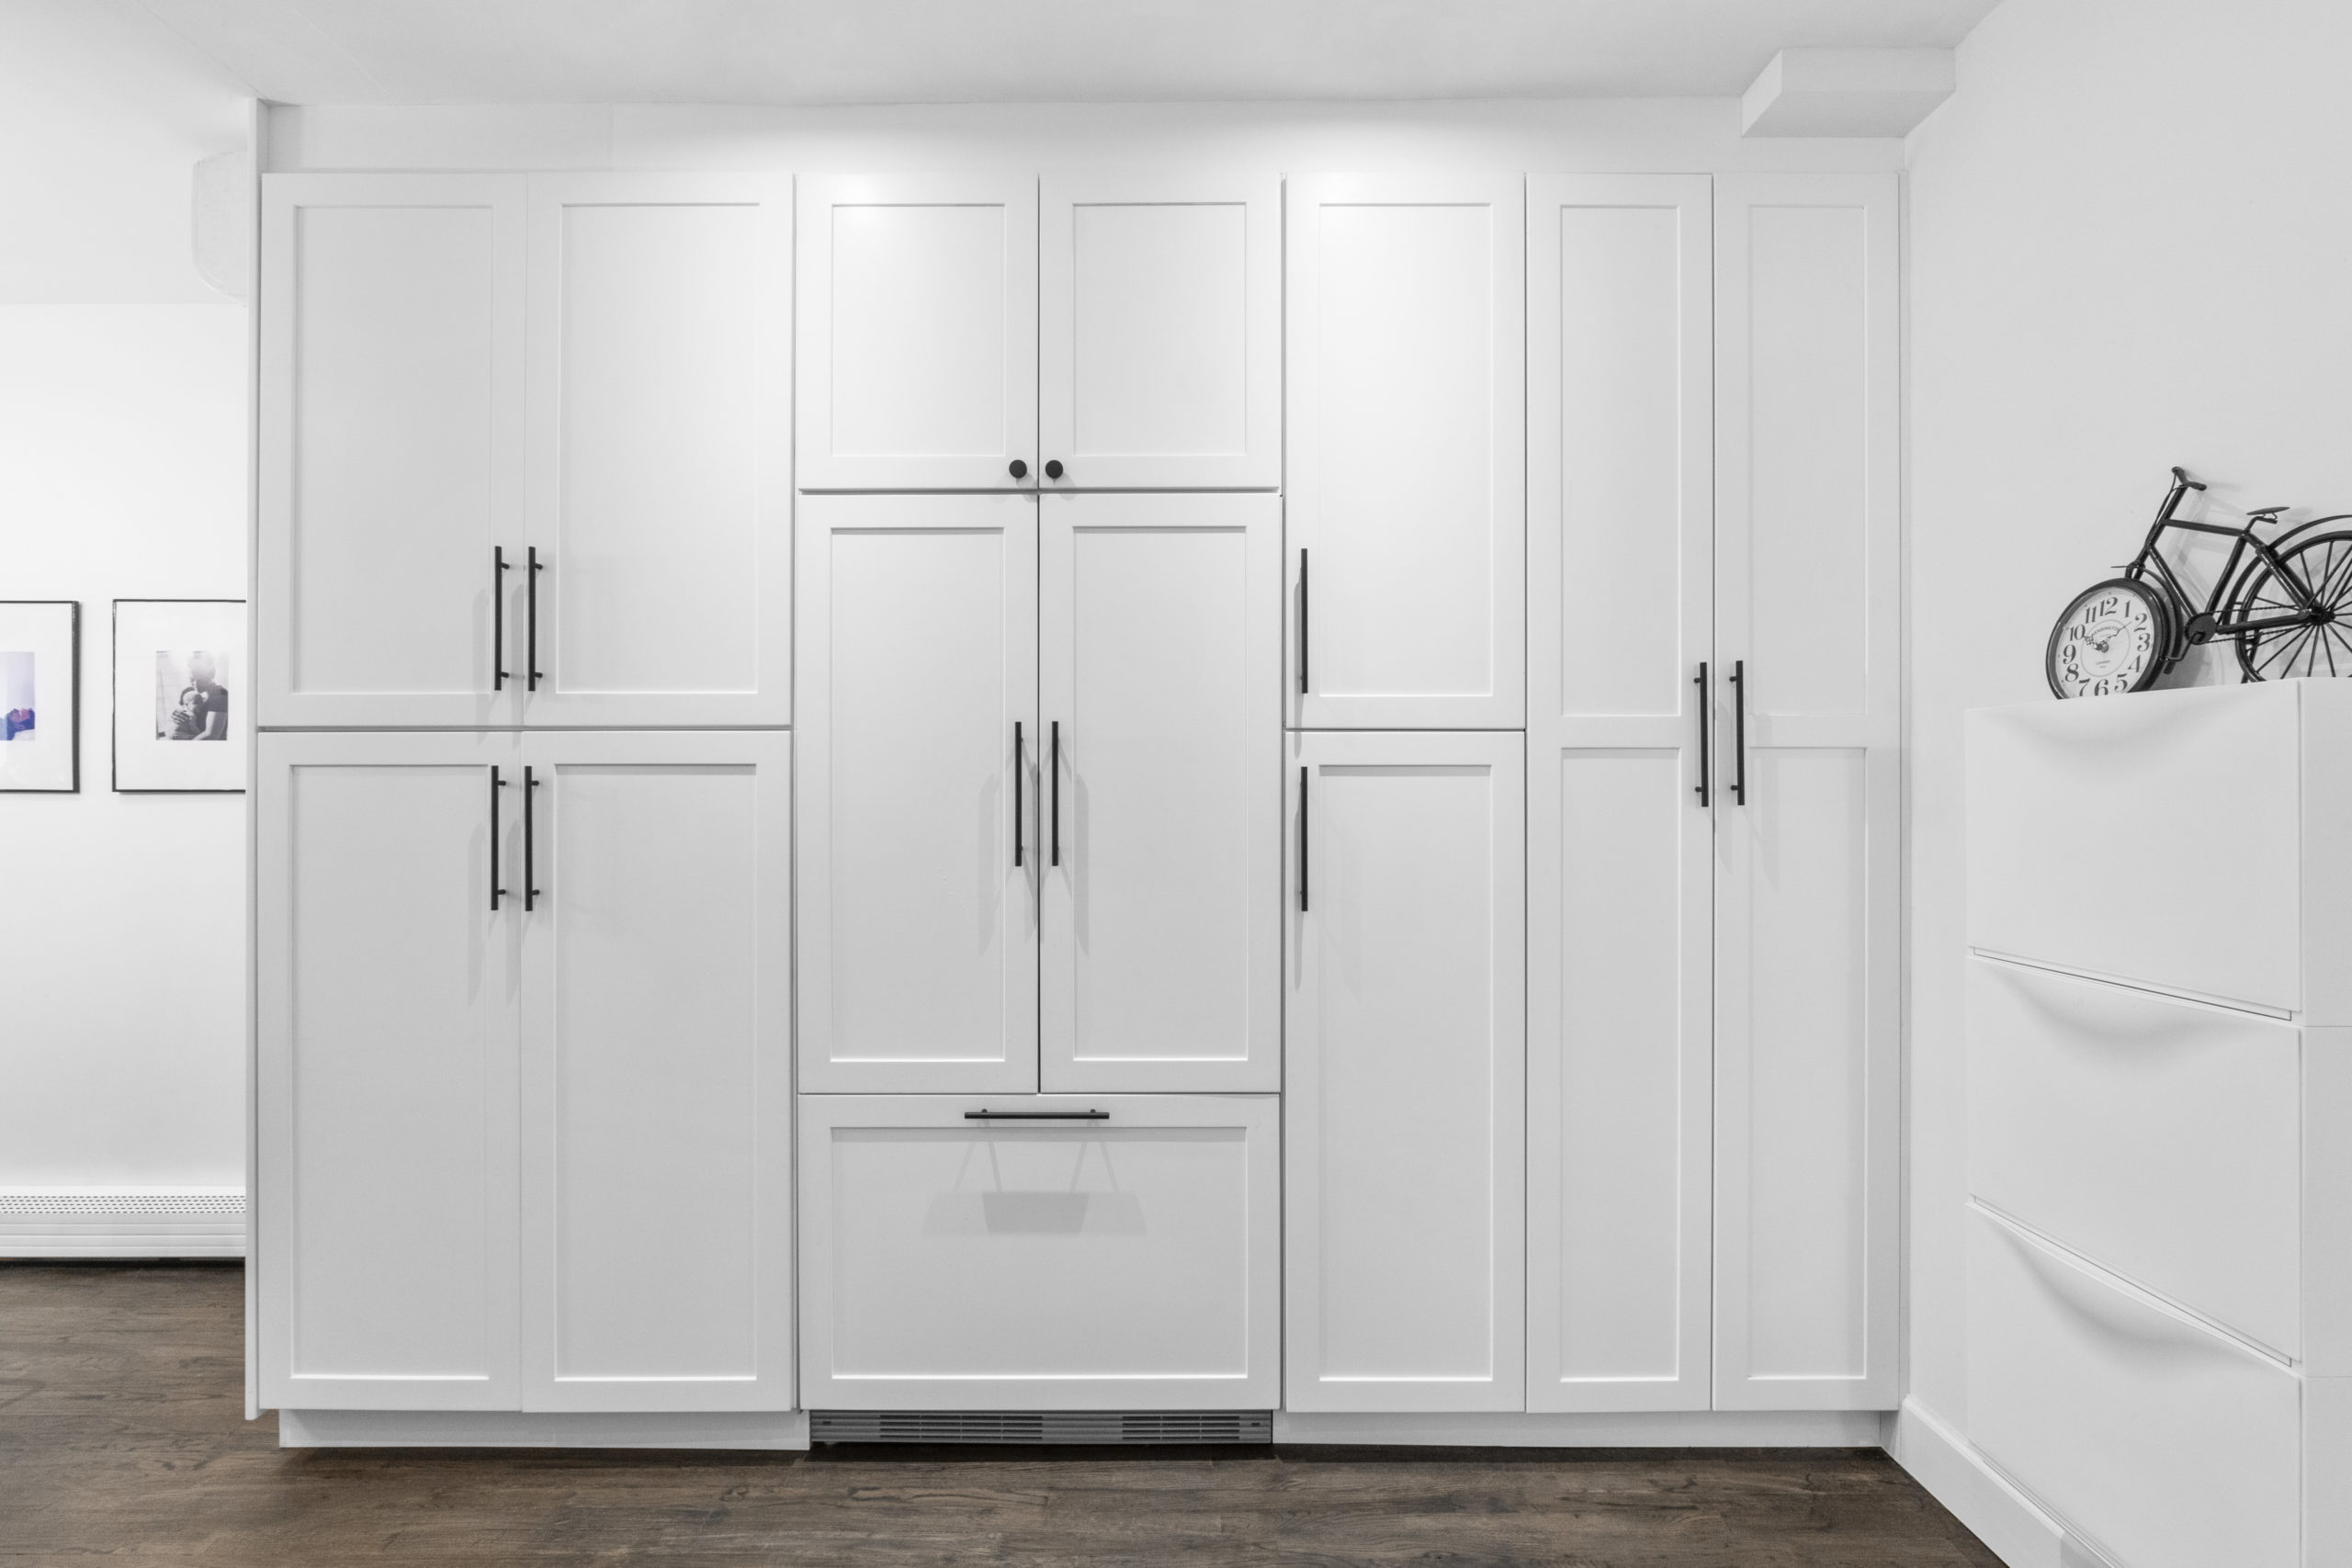
Hanging IKEA cabinets may seem like a daunting task, but with the right tools and knowledge, it can be a straightforward process. The first step is to carefully plan out your kitchen layout and measure the space where the cabinets will be installed. This will ensure that you purchase the correct size cabinets and have a clear idea of where they will go.How to Hang IKEA Cabinets


How to Hang IKEA Cabinets


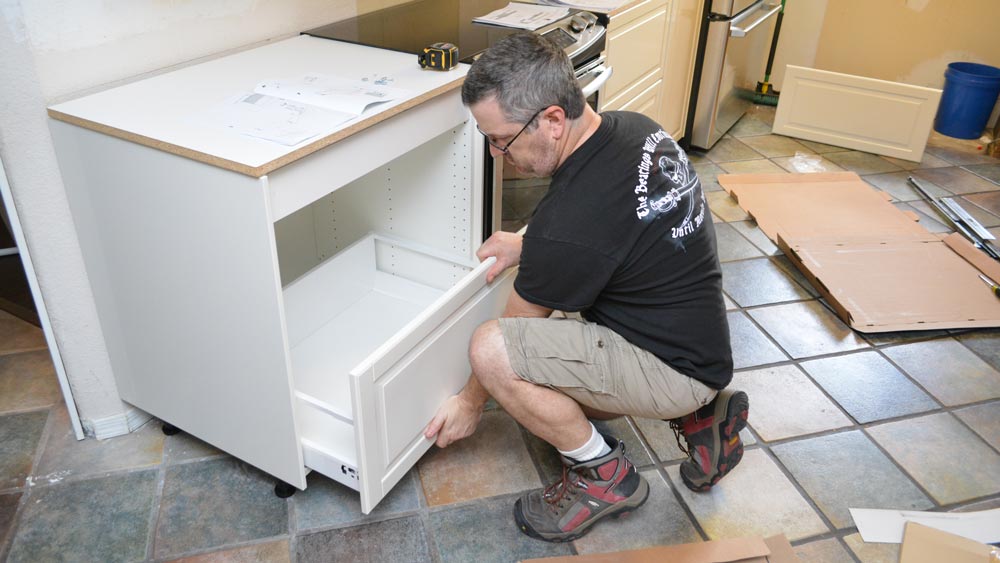
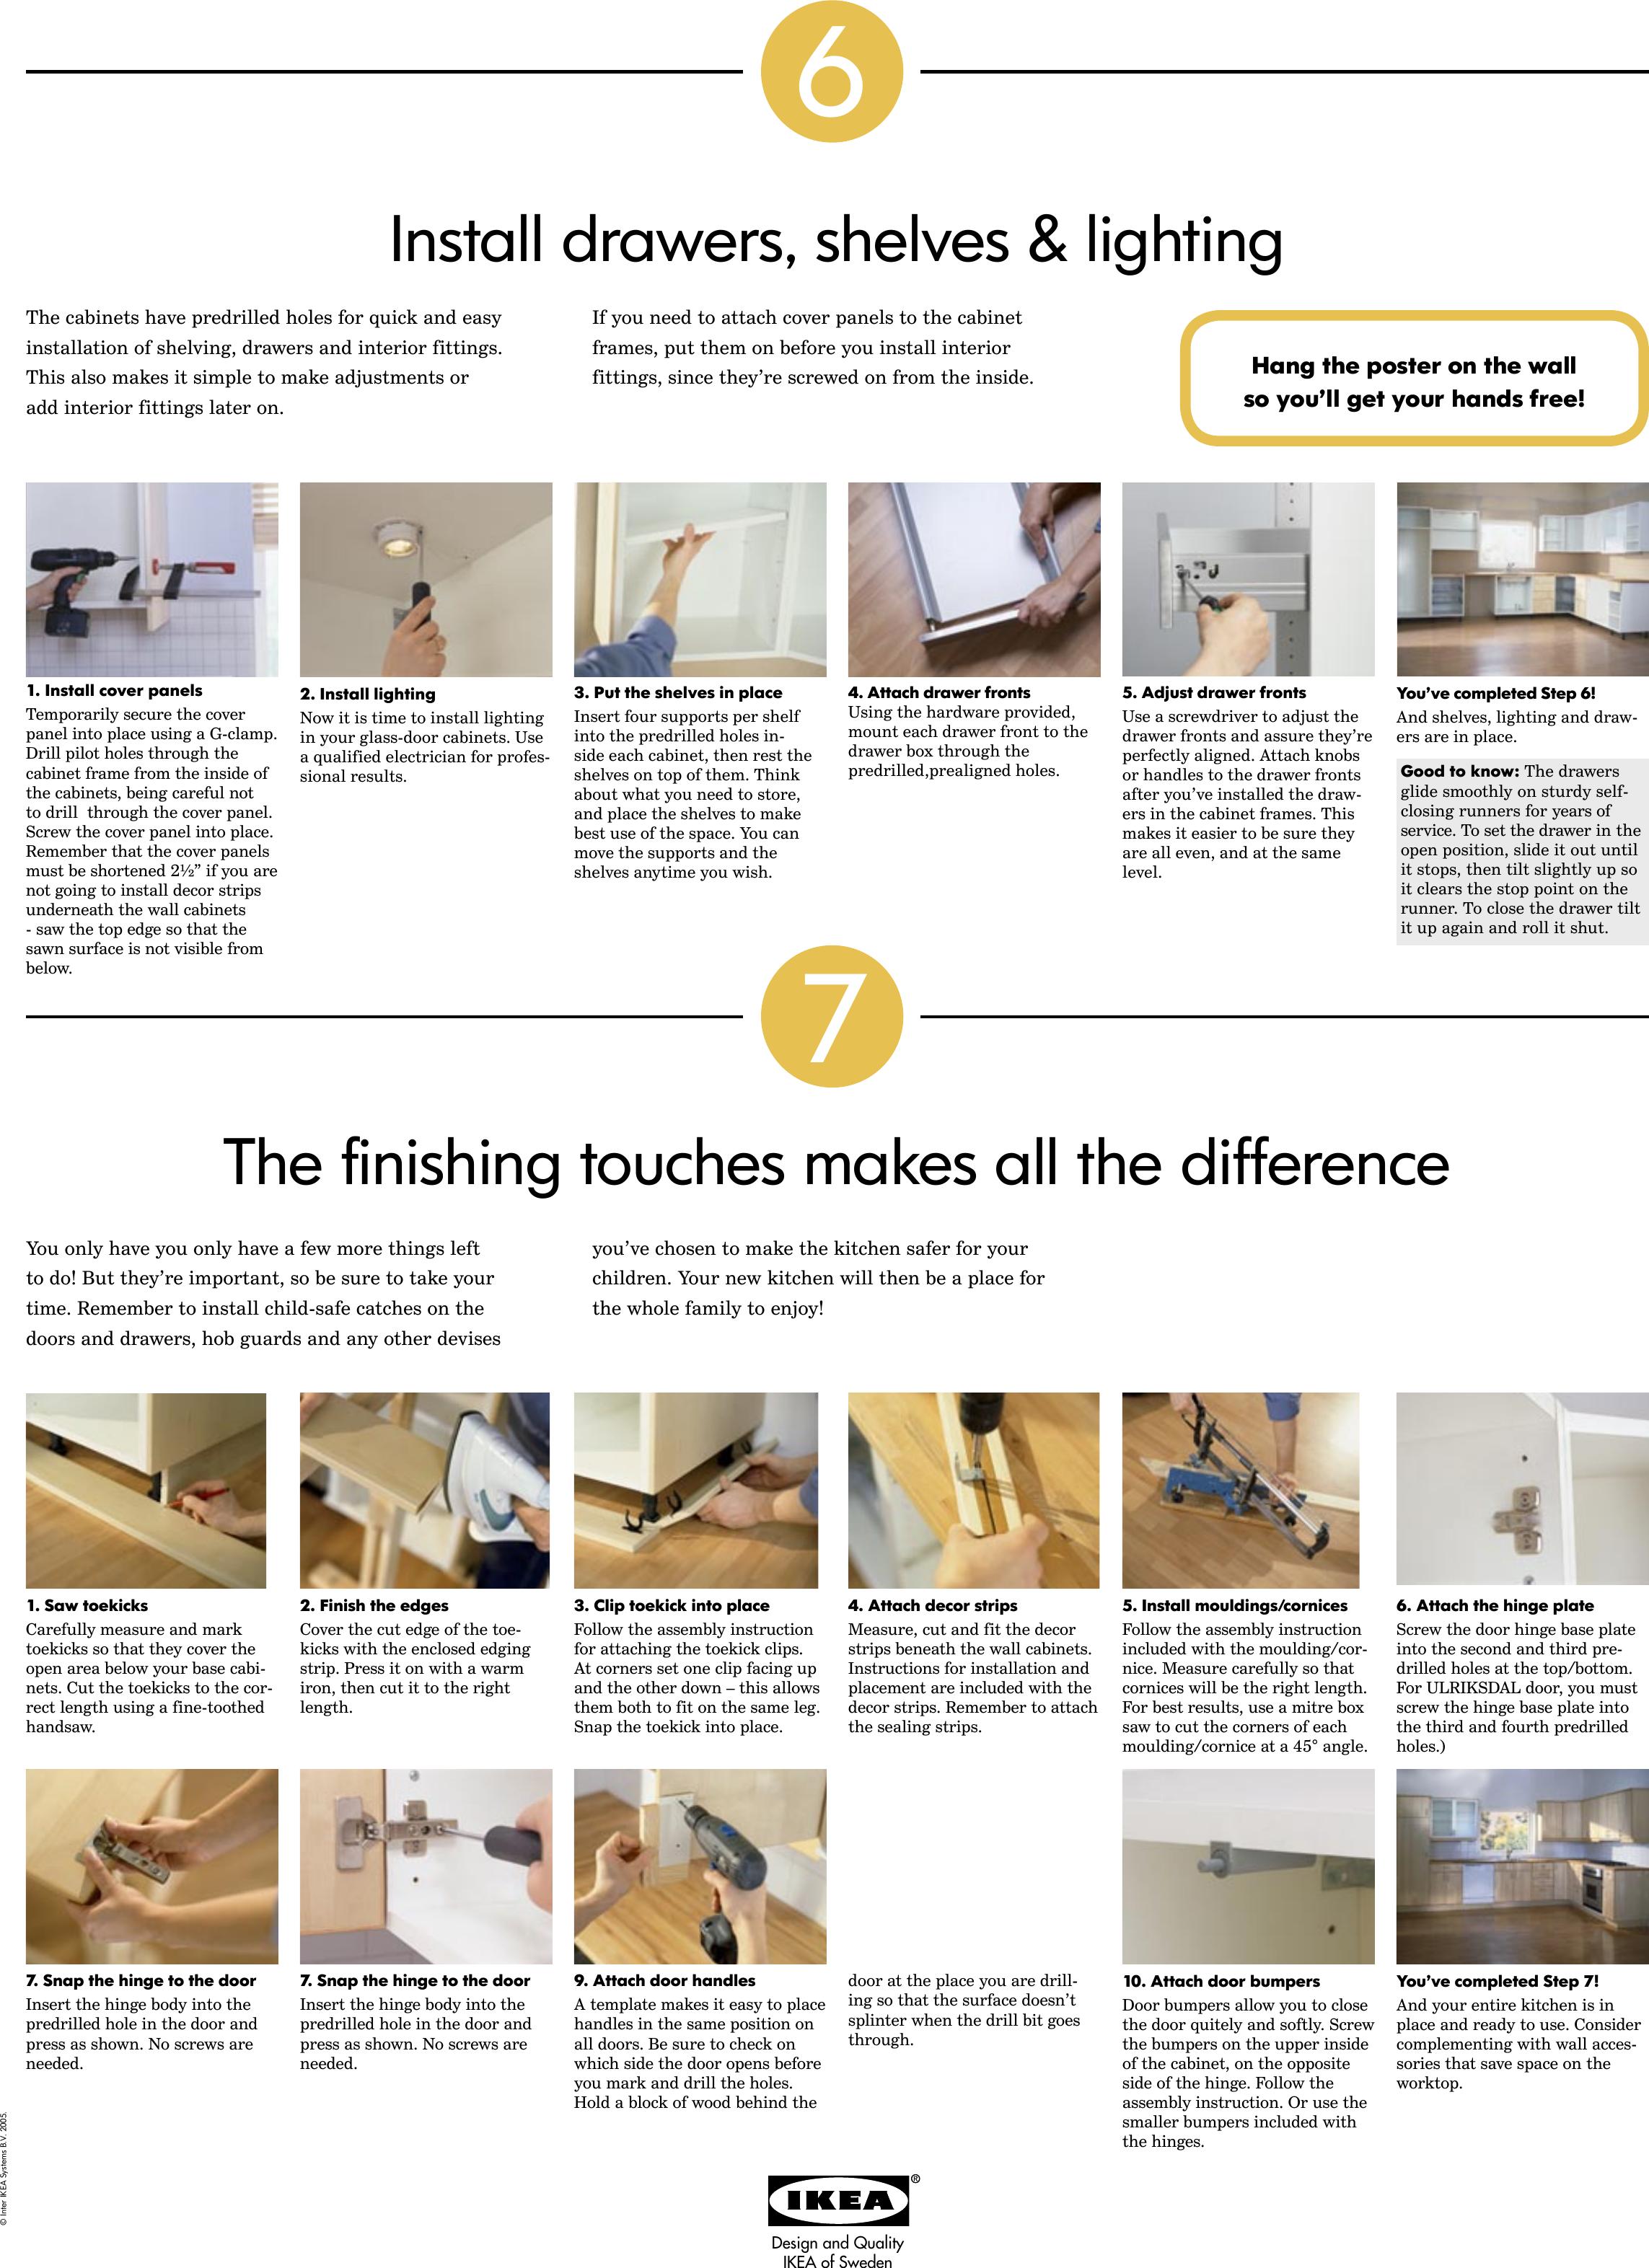
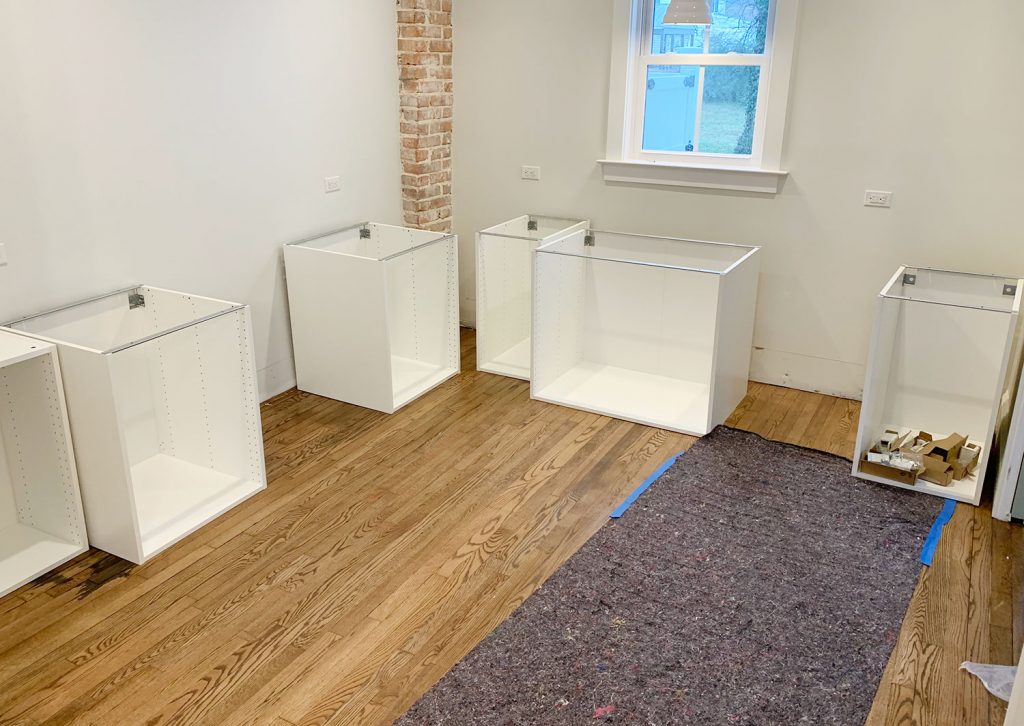
Before starting the installation process, it's important to have all the necessary tools and equipment. This includes a drill, level, measuring tape, screws, and a stud finder. Once you have everything you need, follow these steps for a successful installation: 1. Assemble the cabinets: Before attaching the cabinets to the wall, you will need to assemble them according to the instructions provided by IKEA. This typically involves attaching the sides, shelves, and doors together. 2. Locate the studs: Using a stud finder, locate the studs in the wall where the cabinets will be installed. This is crucial for ensuring that the cabinets are securely attached to the wall. 3. Mark the cabinet placement: Use a pencil to mark where the cabinets will be placed on the wall, using the stud locations as a guide. This will help you stay organized and ensure that the cabinets are evenly spaced. 4. Drill pilot holes: Using a drill, create pilot holes in the back of the cabinet where it will be attached to the wall. This will make it easier to screw the cabinets in place. 5. Install the cabinets: With the help of a friend, carefully lift the cabinets and place them on the marked areas of the wall. Use a level to ensure that they are straight before attaching them to the wall with screws. 6. Repeat for all cabinets: Once the first cabinet is securely attached, repeat the process for all remaining cabinets. Make sure to check the level each time to ensure that the cabinets are aligned. 7. Fill in gaps: If there are any gaps between the cabinets or between the cabinets and the wall, use filler strips or spacers to fill them in for a seamless look. 8. Attach cabinet doors and hardware: Once all the cabinets are installed, attach the doors and hardware according to IKEA's instructions.Step-by-Step Guide to Installing IKEA Kitchen Cabinets


Step-by-Step Guide to Installing IKEA Kitchen Cabinets


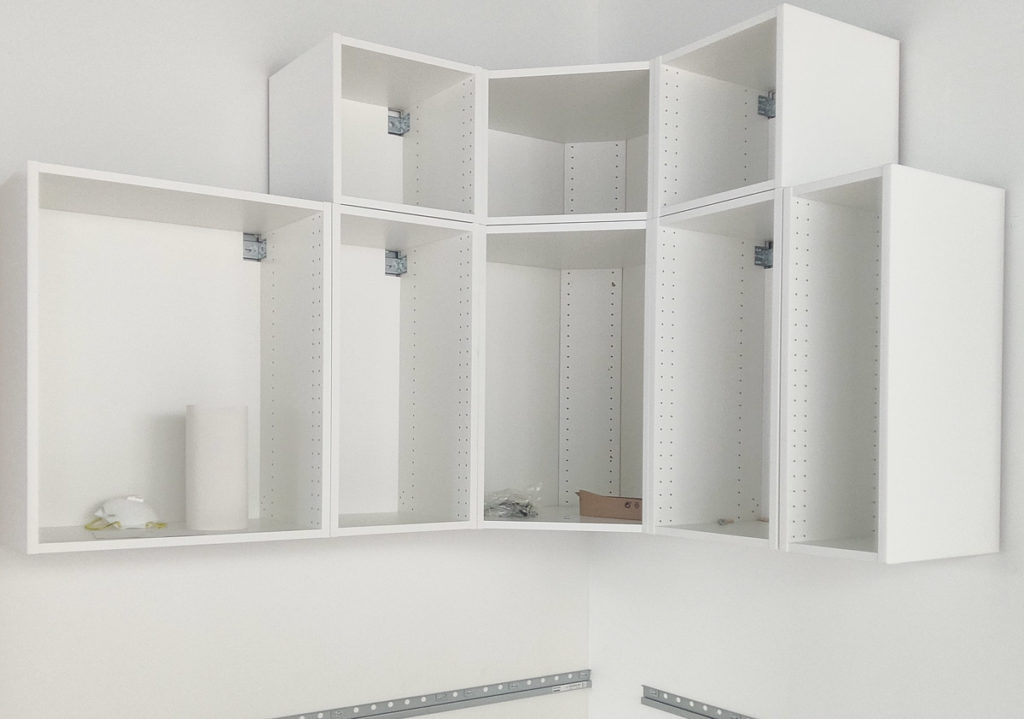
Mounting IKEA kitchen units to the wall is a crucial step in the installation process. This not only ensures that the cabinets are securely attached, but it also helps distribute the weight of the cabinets and their contents evenly. When mounting the cabinets, it's important to use screws that are long enough to go through the cabinet and into the wall studs. This will provide the necessary support and prevent the cabinets from falling off the wall.Mounting IKEA Kitchen Units to the Wall


Mounting IKEA Kitchen Units to the Wall


Once the cabinets are mounted to the wall, it's important to ensure that they are securely attached. This means checking that all screws are tight and that there are no gaps between the cabinet and the wall. You can also use brackets or L-brackets for extra support if needed.Securing IKEA Kitchen Cabinets to the Wall


Securing IKEA Kitchen Cabinets to the Wall


Installing IKEA kitchen cabinets may seem overwhelming, but with these tips, the process can go smoothly and efficiently: - Measure twice, cut once: Take the time to carefully measure your space and the cabinets before making any cuts or attaching them to the wall. - Use a level: This may seem obvious, but using a level throughout the installation process is crucial for ensuring that your cabinets are straight and aligned. - Ask for help: Don't try to install the cabinets on your own. Enlist the help of a friend or family member to make the process easier and safer. - Follow IKEA's instructions: Make sure to carefully read and follow the instructions provided by IKEA for assembling and installing the cabinets.Tips for Installing IKEA Kitchen Cabinets


Tips for Installing IKEA Kitchen Cabinets


Having the right tools for the job can make all the difference when it comes to installing IKEA kitchen cabinets. Here are the essential tools you will need: - Drill - Level - Measuring tape - Screwdriver - Stud finder - ScrewsTools Needed for Installing IKEA Kitchen Cabinets


Tools Needed for Installing IKEA Kitchen Cabinets


While installing IKEA kitchen cabinets may seem straightforward, there are some common mistakes that can be easily avoided: - Not measuring correctly: This can lead to ill-fitting cabinets and a lot of frustration. - Not using a level: This can result in crooked or uneven cabinets. - Not attaching the cabinets to the wall properly: This can cause the cabinets to fall off the wall or become unstable.Common Mistakes When Installing IKEA Kitchen Cabinets

Common Mistakes When Installing IKEA Kitchen Cabinets


Properly securing your IKEA kitchen cabinets to the wall is crucial for their stability and safety. Here are some steps you can take to ensure they are securely attached: - Use long enough screws: Make sure the screws go through the cabinet and into the wall studs. - Check for gaps: If there are any gaps between the cabinets and the wall, use filler strips or spacers to fill them in. - Use brackets or L-brackets: These can provide extra support for heavy cabinets or if you have concerns about stability.How to Ensure Your IKEA Kitchen Cabinets are Securely Attached to the Wall


How to Ensure Your IKEA Kitchen Cabinets are Securely Attached to the Wall


For a professional and secure installation, consider these expert tips when fixing IKEA kitchen units to the wall: - Use a laser level: This can make the leveling process much easier and more accurate. - Use a power drill: This will save you time and effort when drilling pilot holes and attaching the cabinets to the wall. - Consider hiring a professional: If you're not confident in your DIY skills, it's worth hiring a professional to ensure the job is done correctly and safely. In conclusion, installing IKEA kitchen cabinets is a manageable task that can greatly enhance the look and functionality of your kitchen. By following the steps outlined in this guide and utilizing the right tools and techniques, you can successfully fix your IKEA kitchen units to the wall and create a beautiful and functional kitchen space.Expert Tips for Fixing IKEA Kitchen Units to the Wall


Expert Tips for Fixing IKEA Kitchen Units to the Wall


Fixing IKEA Kitchen Units to Wall

The Importance of Properly Securing Your Kitchen Units
 When it comes to designing your dream kitchen, IKEA is often the go-to choice for affordable and stylish options. However, the installation process may seem daunting, especially when it comes to fixing the kitchen units to the wall. But securing your kitchen units properly is crucial for both safety and functionality. Not only does it ensure that your units are stable and won't come crashing down, but it also allows for a seamless and professional-looking finish. In this article, we will discuss the steps to properly fix IKEA kitchen units to the wall, so you can enjoy your new kitchen with peace of mind.
Gather the Necessary Tools and Materials
 Before you begin the installation process, make sure you have all the necessary tools and materials. This includes a drill, screws, a level, a pencil, and a measuring tape.
It is important to use the correct size and type of screws recommended by IKEA to ensure the units are securely fastened to the wall.
You will also need wall brackets, which can be purchased from IKEA or any hardware store. Make sure to carefully read the instructions provided by IKEA for your specific kitchen unit model, as different units may require different tools and materials.
Before you begin the installation process, make sure you have all the necessary tools and materials. This includes a drill, screws, a level, a pencil, and a measuring tape.
It is important to use the correct size and type of screws recommended by IKEA to ensure the units are securely fastened to the wall.
You will also need wall brackets, which can be purchased from IKEA or any hardware store. Make sure to carefully read the instructions provided by IKEA for your specific kitchen unit model, as different units may require different tools and materials.
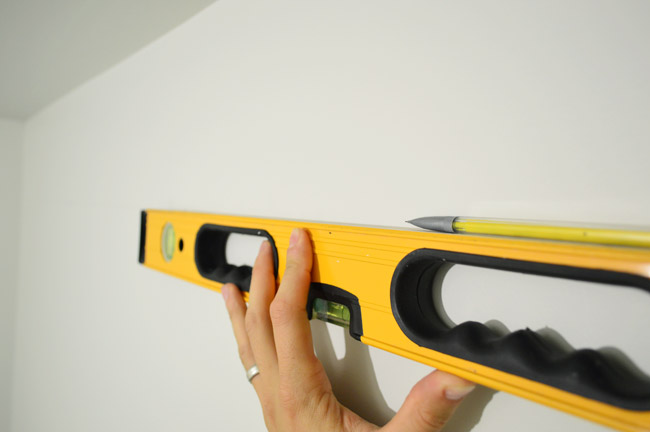
Locate and Mark the Studs
 Once you have all the tools and materials ready, the next step is to locate and mark the studs on the wall.
Studs are vertical beams in the wall that provide a solid anchor for your kitchen units.
Use a stud finder or knock on the wall to find the studs. Once you locate them, use a pencil to mark their location. It is essential to fix the wall brackets directly into the studs for maximum stability.
Once you have all the tools and materials ready, the next step is to locate and mark the studs on the wall.
Studs are vertical beams in the wall that provide a solid anchor for your kitchen units.
Use a stud finder or knock on the wall to find the studs. Once you locate them, use a pencil to mark their location. It is essential to fix the wall brackets directly into the studs for maximum stability.
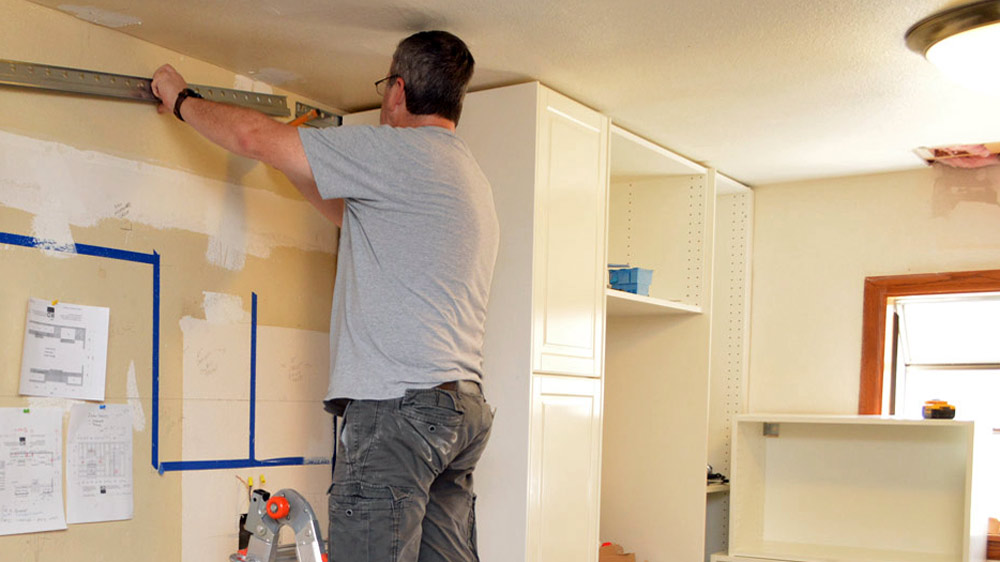
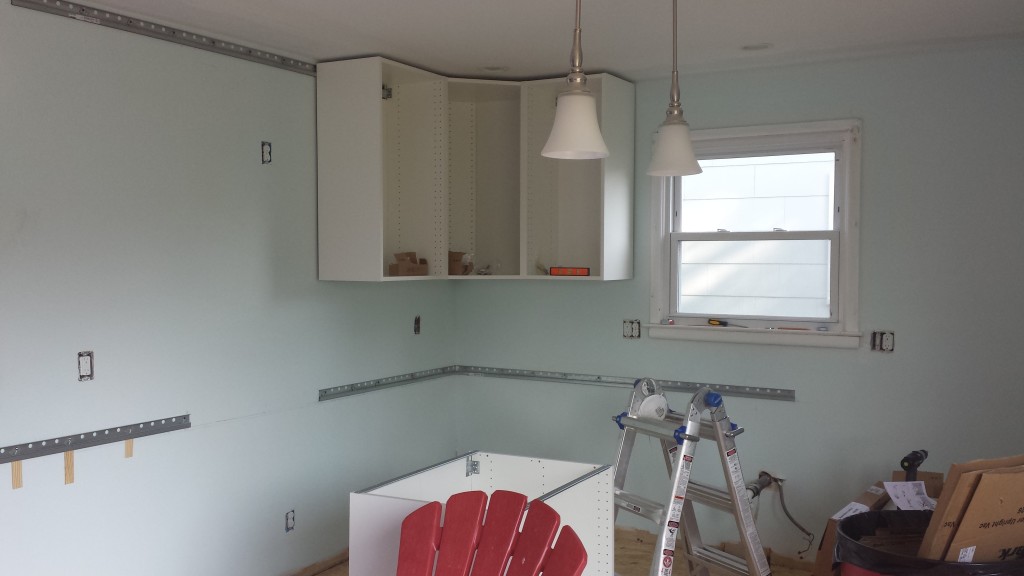
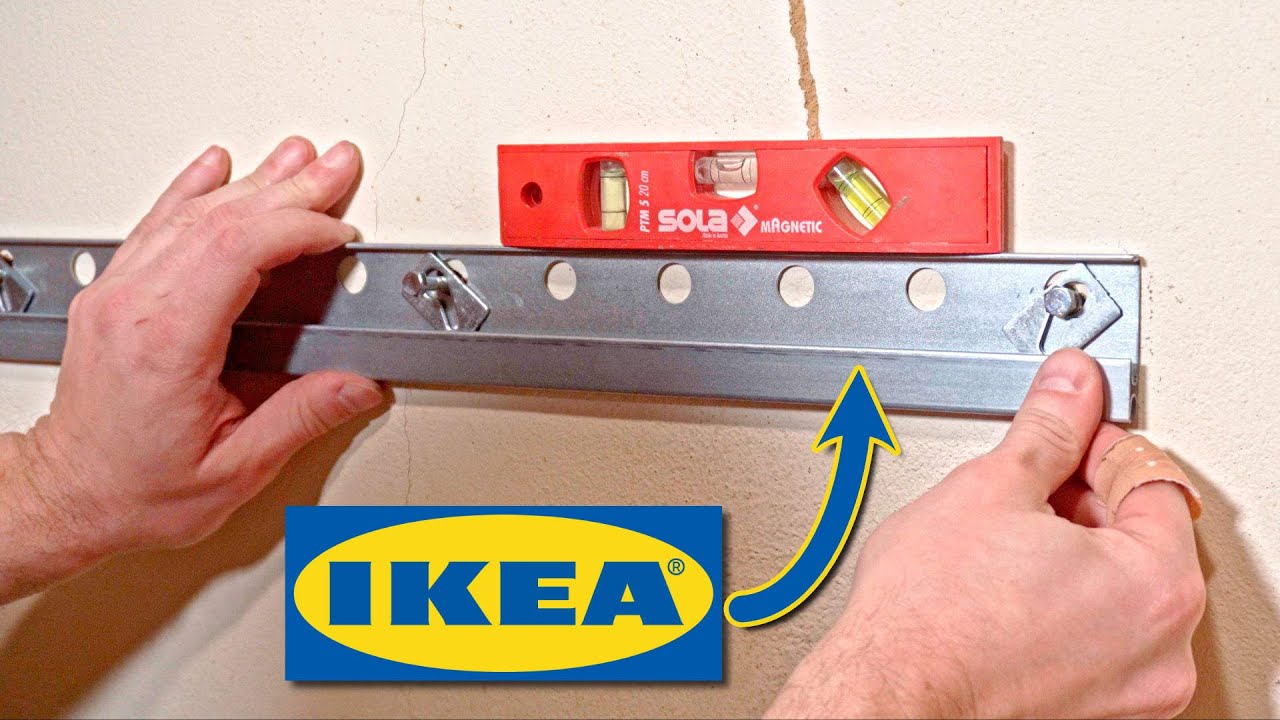
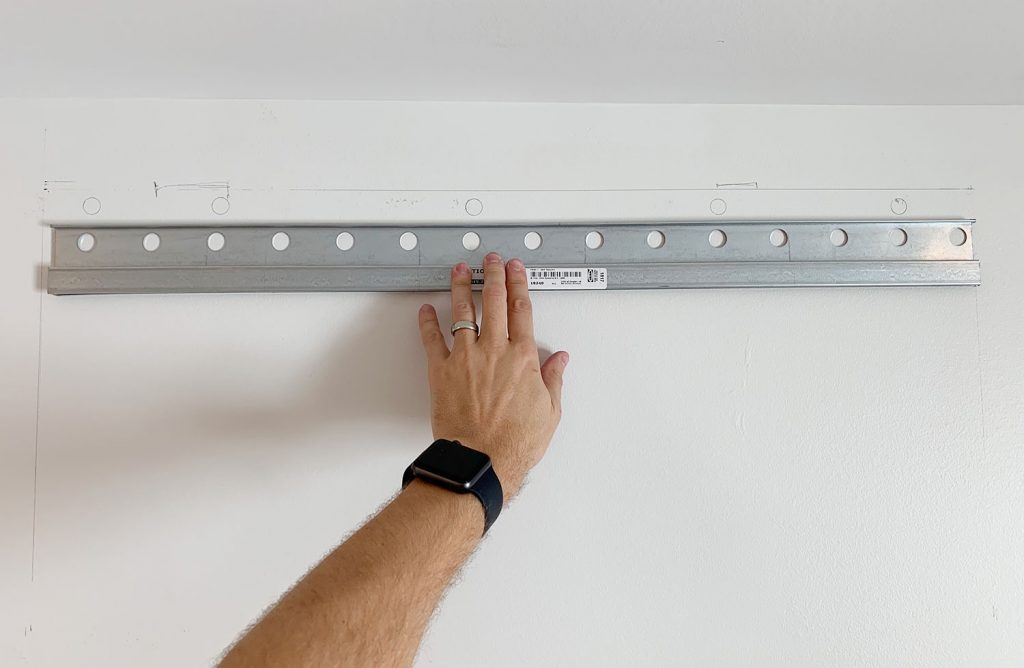
Install the Wall Brackets
 With the studs located and marked, it's time to install the wall brackets.
Make sure the brackets are level and aligned with each other before securing them to the wall.
Use a drill to screw the brackets into the wall, making sure to go through the drywall and into the stud. It is recommended to use at least three screws per bracket for added stability.
With the studs located and marked, it's time to install the wall brackets.
Make sure the brackets are level and aligned with each other before securing them to the wall.
Use a drill to screw the brackets into the wall, making sure to go through the drywall and into the stud. It is recommended to use at least three screws per bracket for added stability.
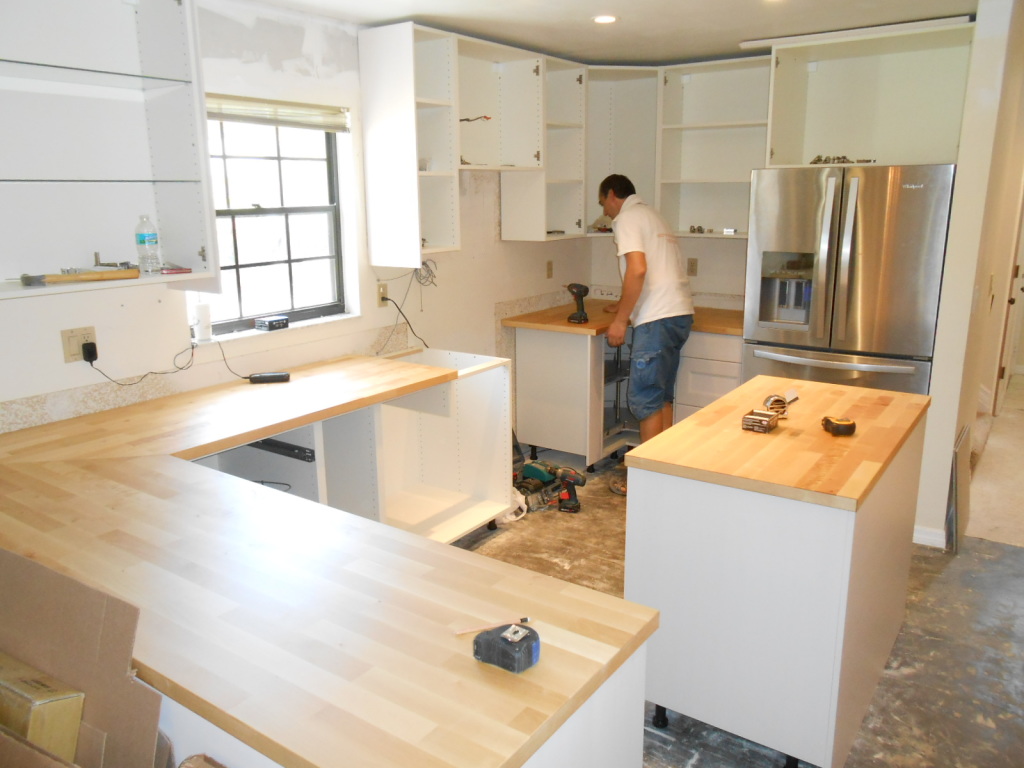
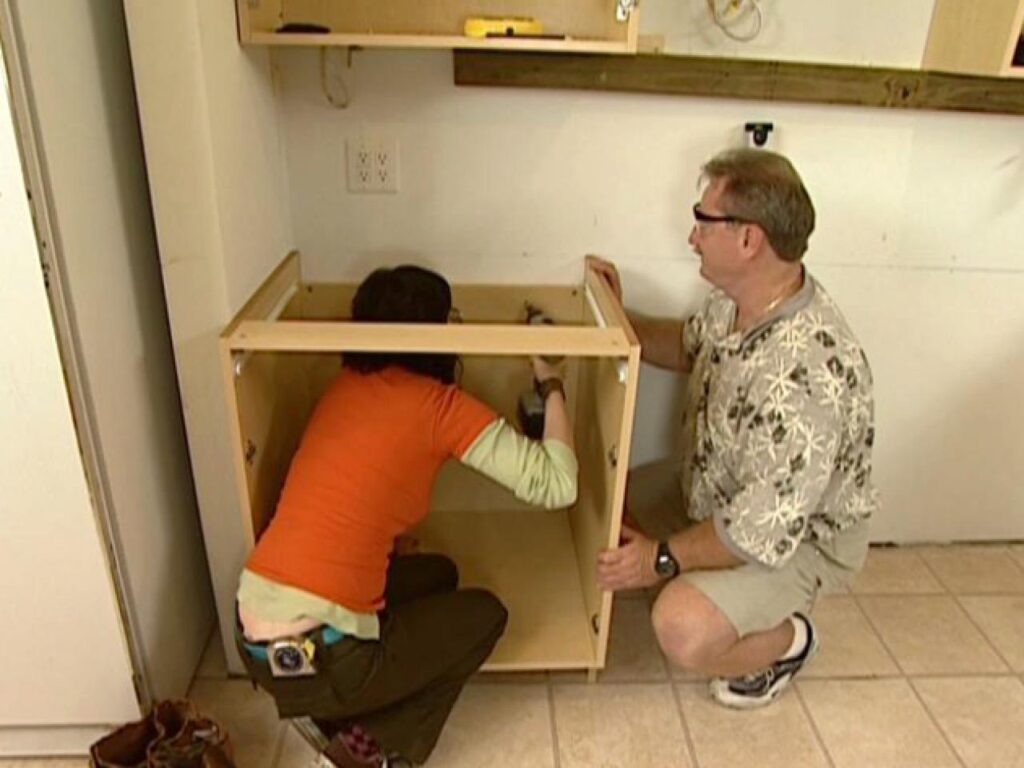
Attach the Kitchen Units to the Wall Brackets
 With the wall brackets securely in place, it's time to attach the kitchen units.
Make sure to use the correct screws provided by IKEA to attach the units to the wall brackets.
Follow the instructions carefully, making sure the units are level and properly aligned with each other. Once the units are attached, check for any gaps or unevenness and make adjustments as needed.
With the wall brackets securely in place, it's time to attach the kitchen units.
Make sure to use the correct screws provided by IKEA to attach the units to the wall brackets.
Follow the instructions carefully, making sure the units are level and properly aligned with each other. Once the units are attached, check for any gaps or unevenness and make adjustments as needed.
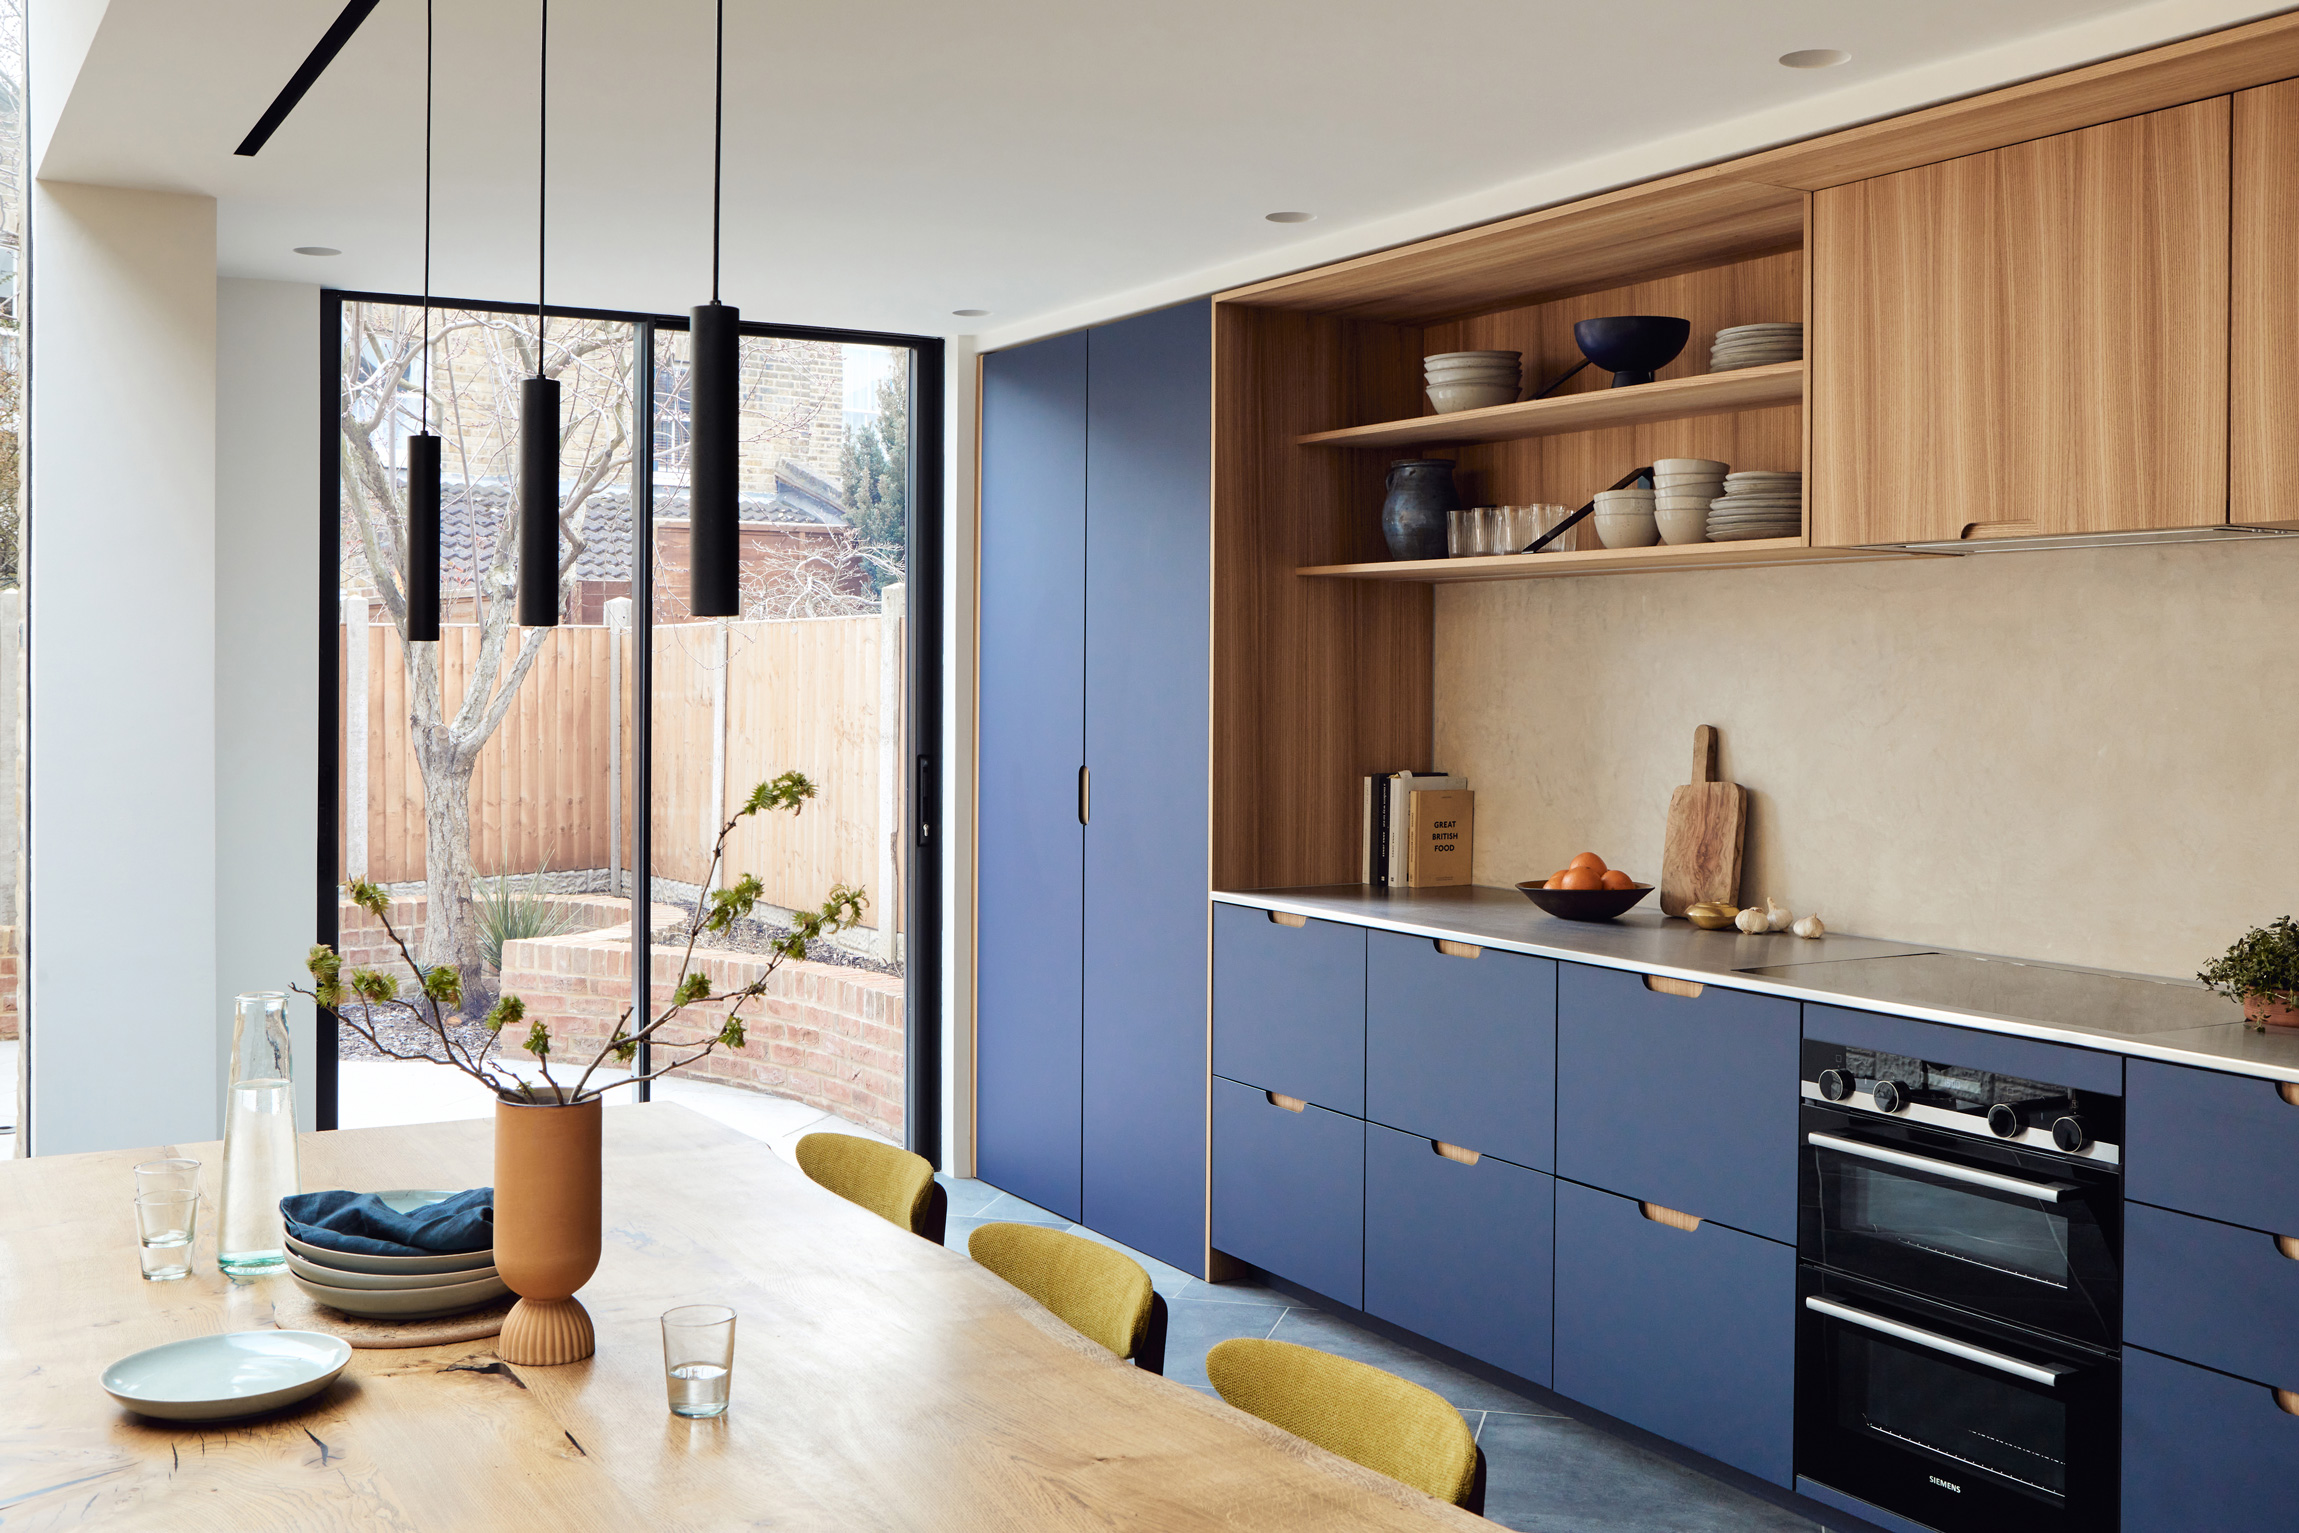
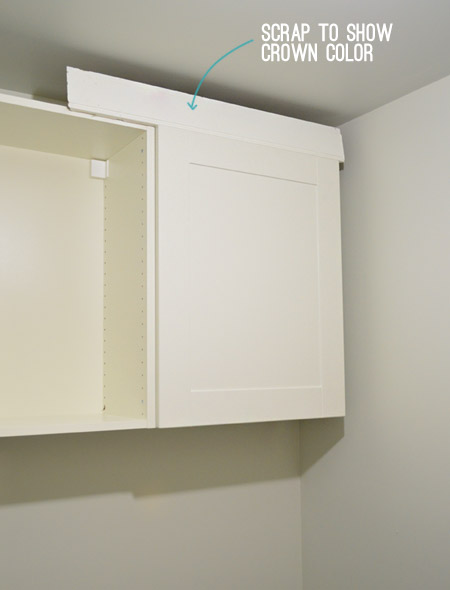
Final Touches
 With the kitchen units securely attached to the wall, it's time for the final touches.
Use a cover panel to hide any visible gaps between the units and the wall.
You can also add a finishing strip along the top of the units for a polished look. Finally, add the cabinet doors and drawers to complete the installation process.
In conclusion, properly fixing your IKEA kitchen units to the wall is essential for both safety and aesthetics. By following these steps and using the correct tools and materials, you can have a functional and stylish kitchen that will last for years to come. So don't let the installation process intimidate you, and enjoy your new IKEA kitchen with confidence.
With the kitchen units securely attached to the wall, it's time for the final touches.
Use a cover panel to hide any visible gaps between the units and the wall.
You can also add a finishing strip along the top of the units for a polished look. Finally, add the cabinet doors and drawers to complete the installation process.
In conclusion, properly fixing your IKEA kitchen units to the wall is essential for both safety and aesthetics. By following these steps and using the correct tools and materials, you can have a functional and stylish kitchen that will last for years to come. So don't let the installation process intimidate you, and enjoy your new IKEA kitchen with confidence.