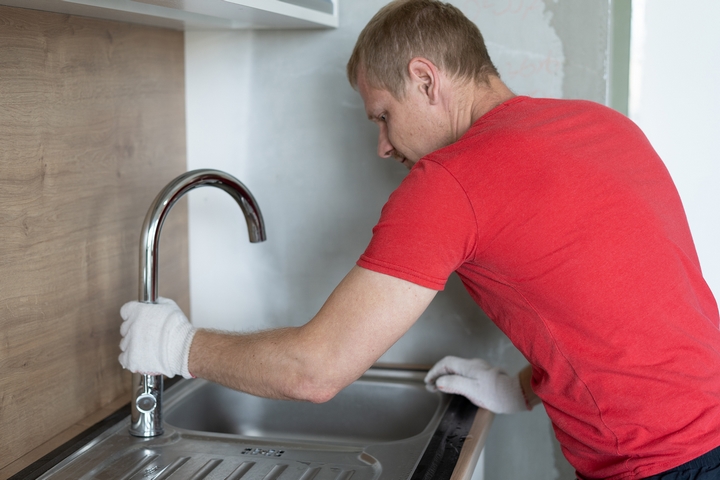
If you're dealing with a kitchen sink valve leak, you're not alone. It's a common problem that can be caused by a number of factors, including wear and tear, faulty installation, or even a loose connection. However, the good news is that fixing a leaky kitchen sink valve is not as complicated as it may seem. With the right tools and a little know-how, you can easily repair the leak and avoid any further damage to your sink or surrounding area.How to Fix a Leaky Kitchen Sink Valve


How to Fix a Leaky Kitchen Sink Valve


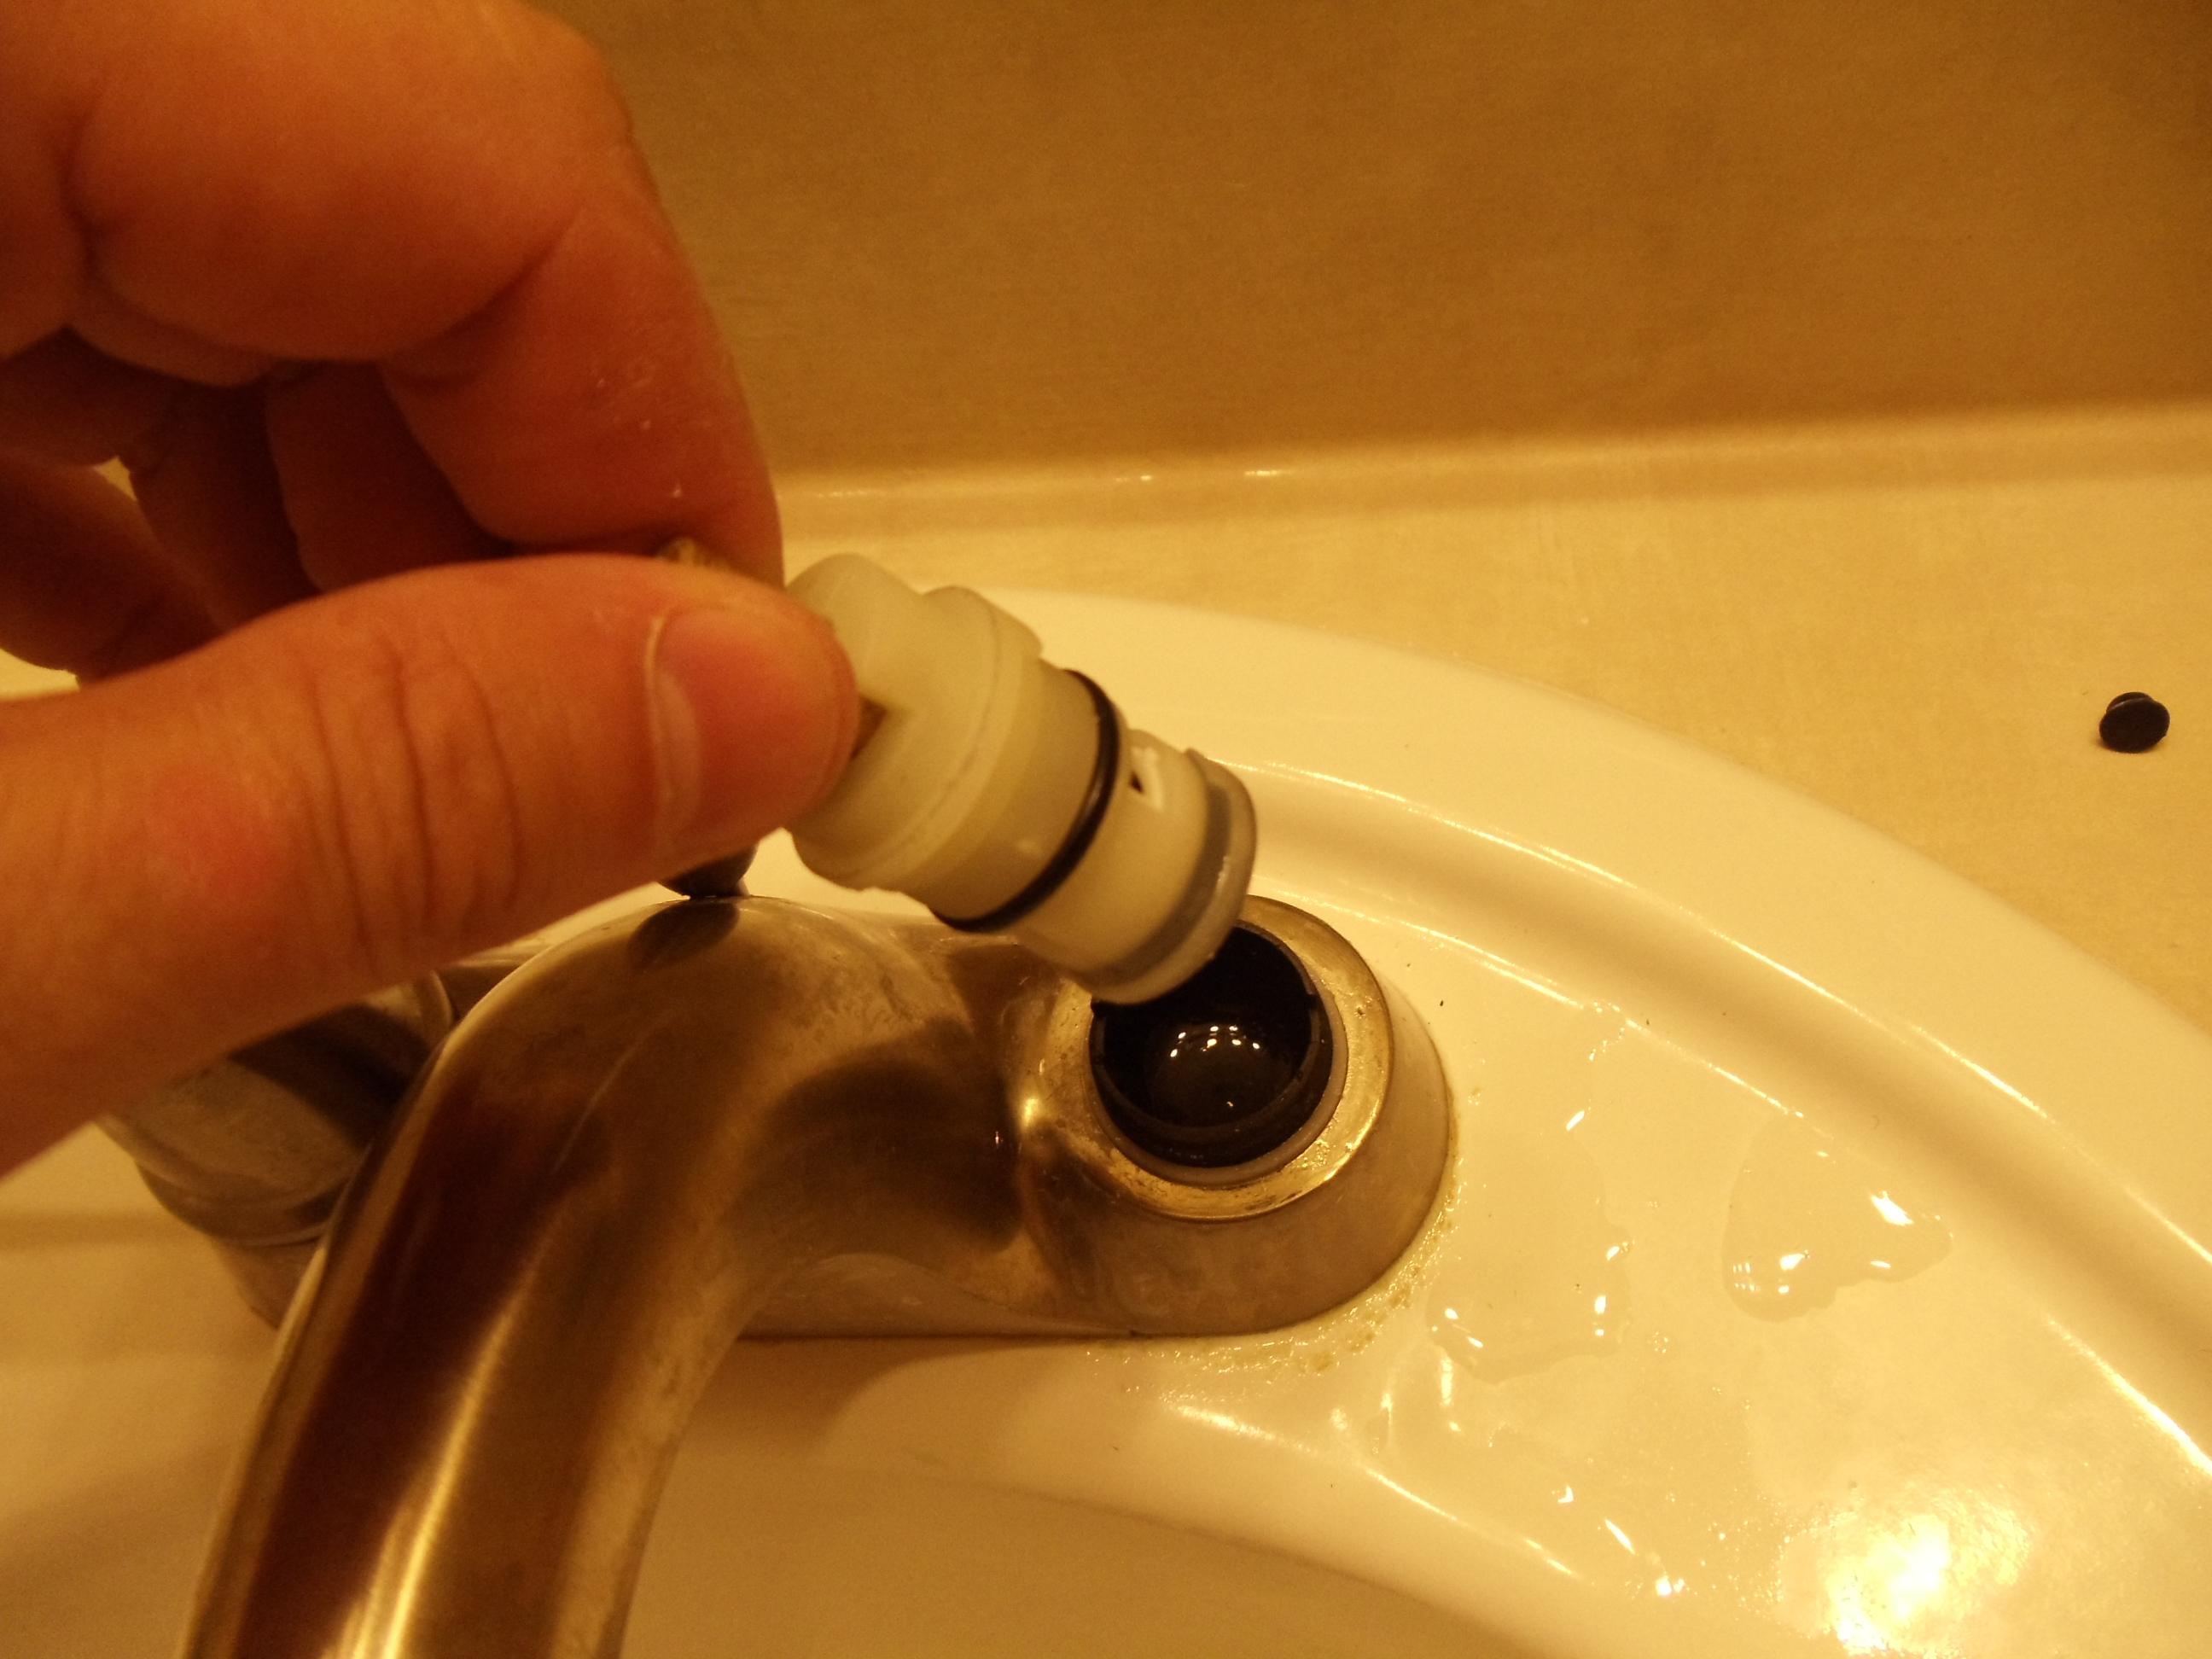
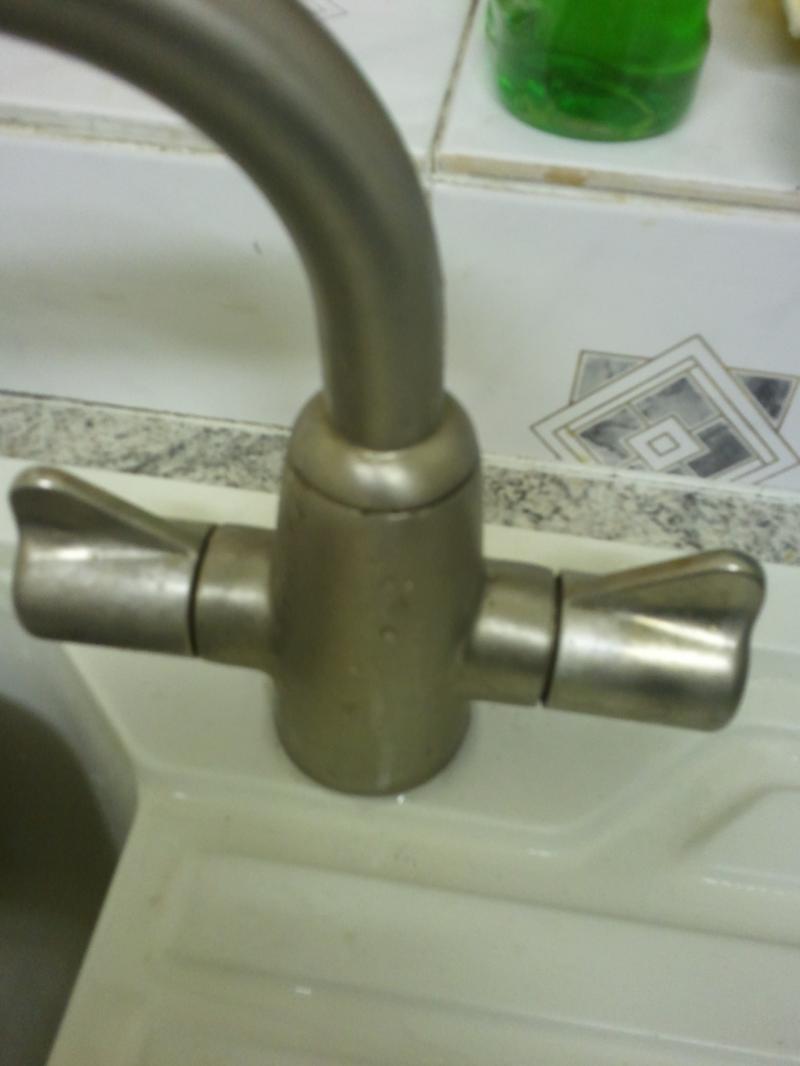
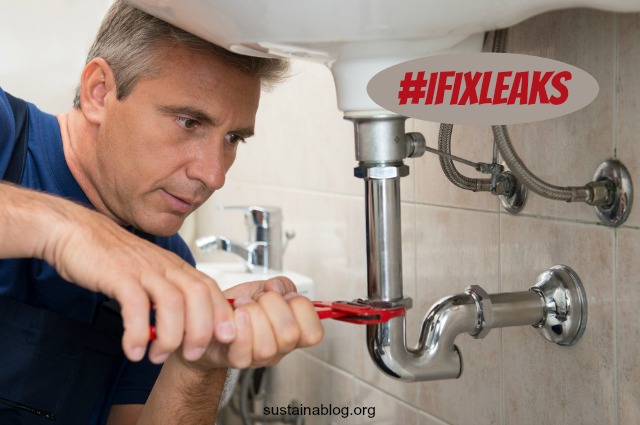
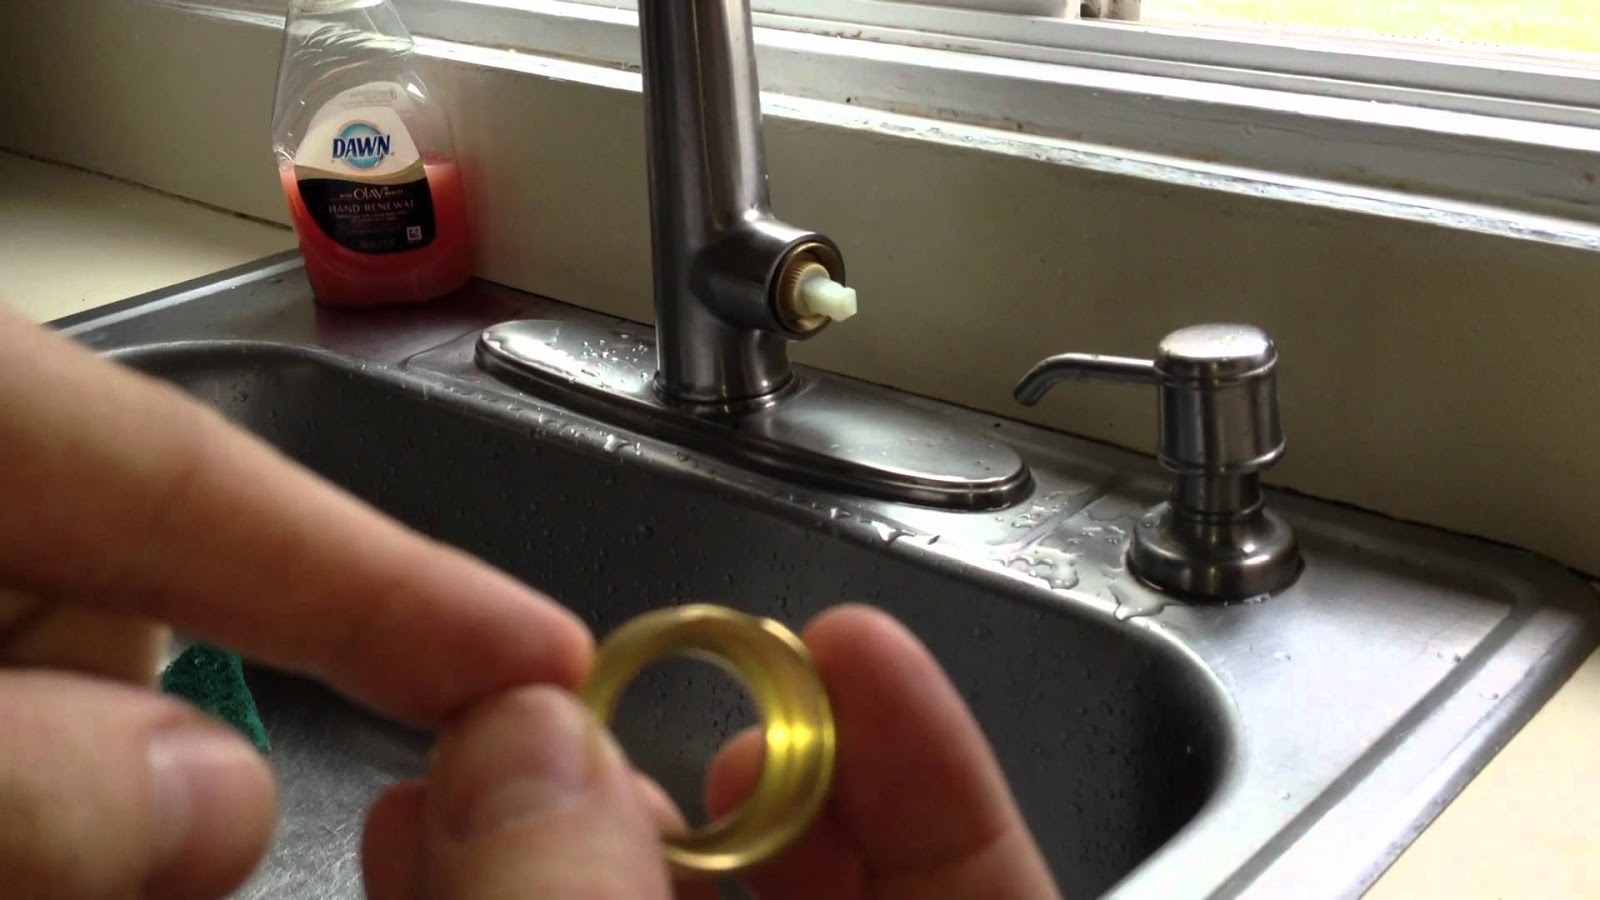
Before you can start fixing the leak, you need to first identify where it's coming from. The most common location for a kitchen sink valve leak is at the base of the valve, where it connects to the sink. You may notice water pooling around this area or even dripping from the valve itself. Once you've located the source of the leak, you can begin the repair process.How to Repair a Leaky Kitchen Sink Valve


How to Repair a Leaky Kitchen Sink Valve

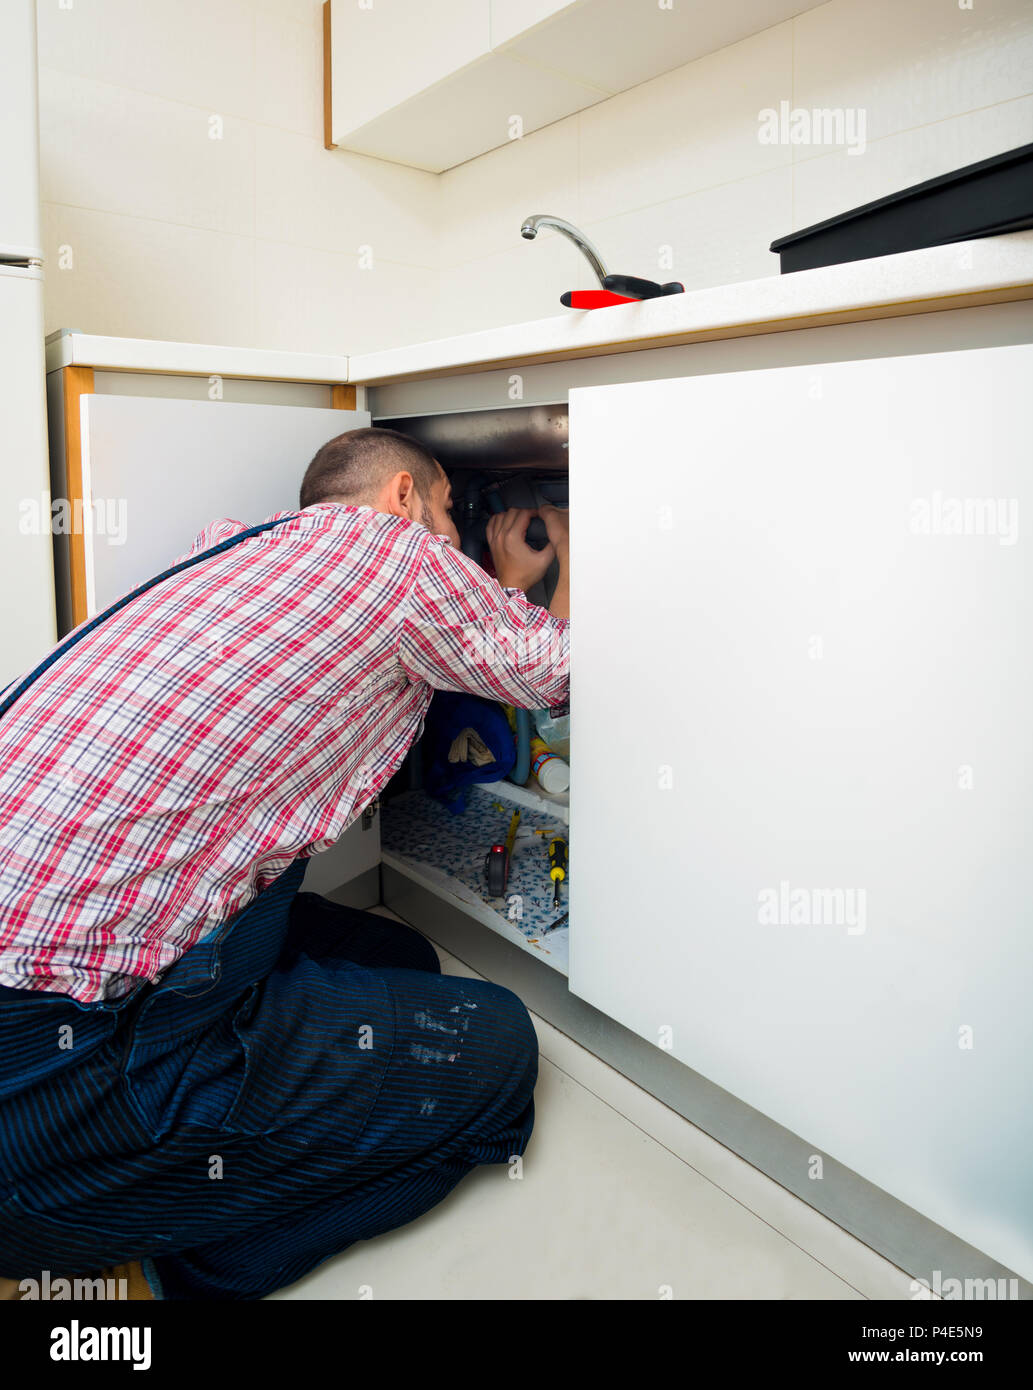
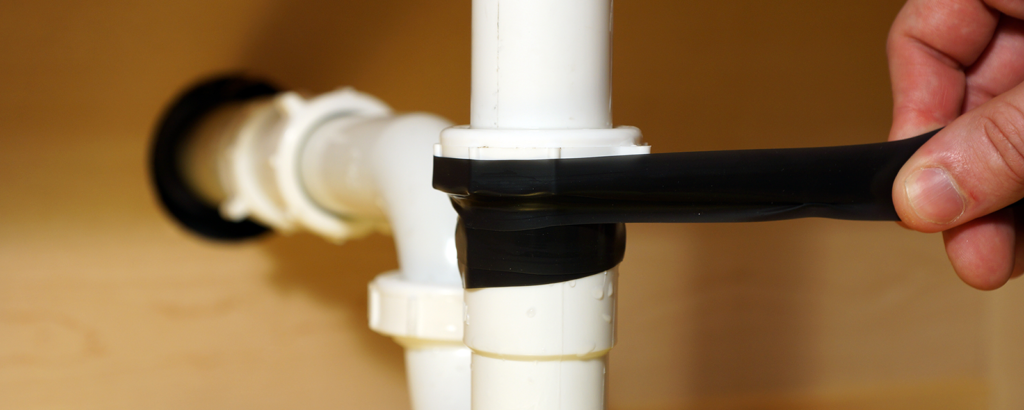
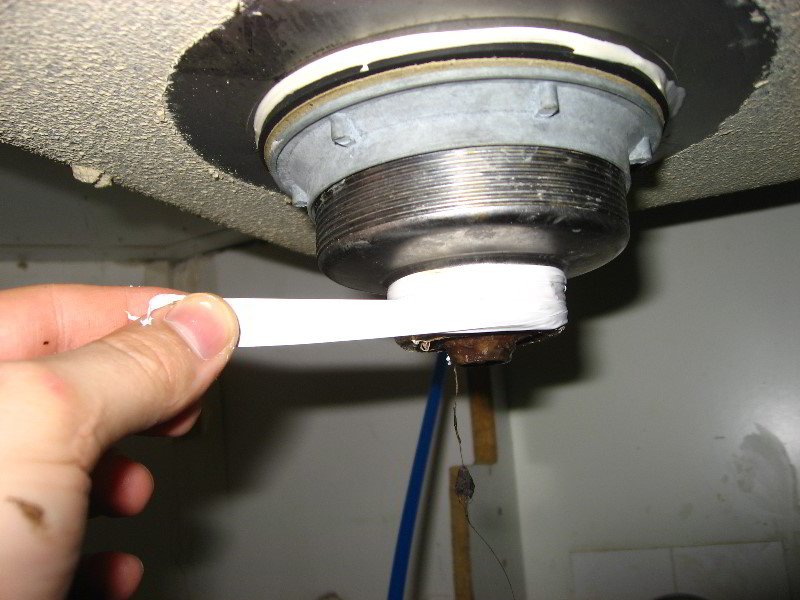
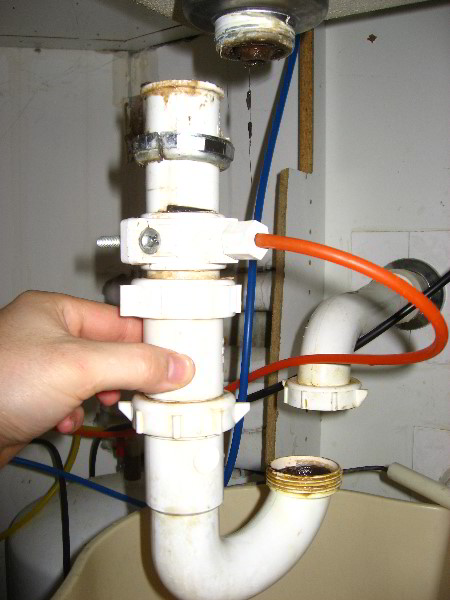
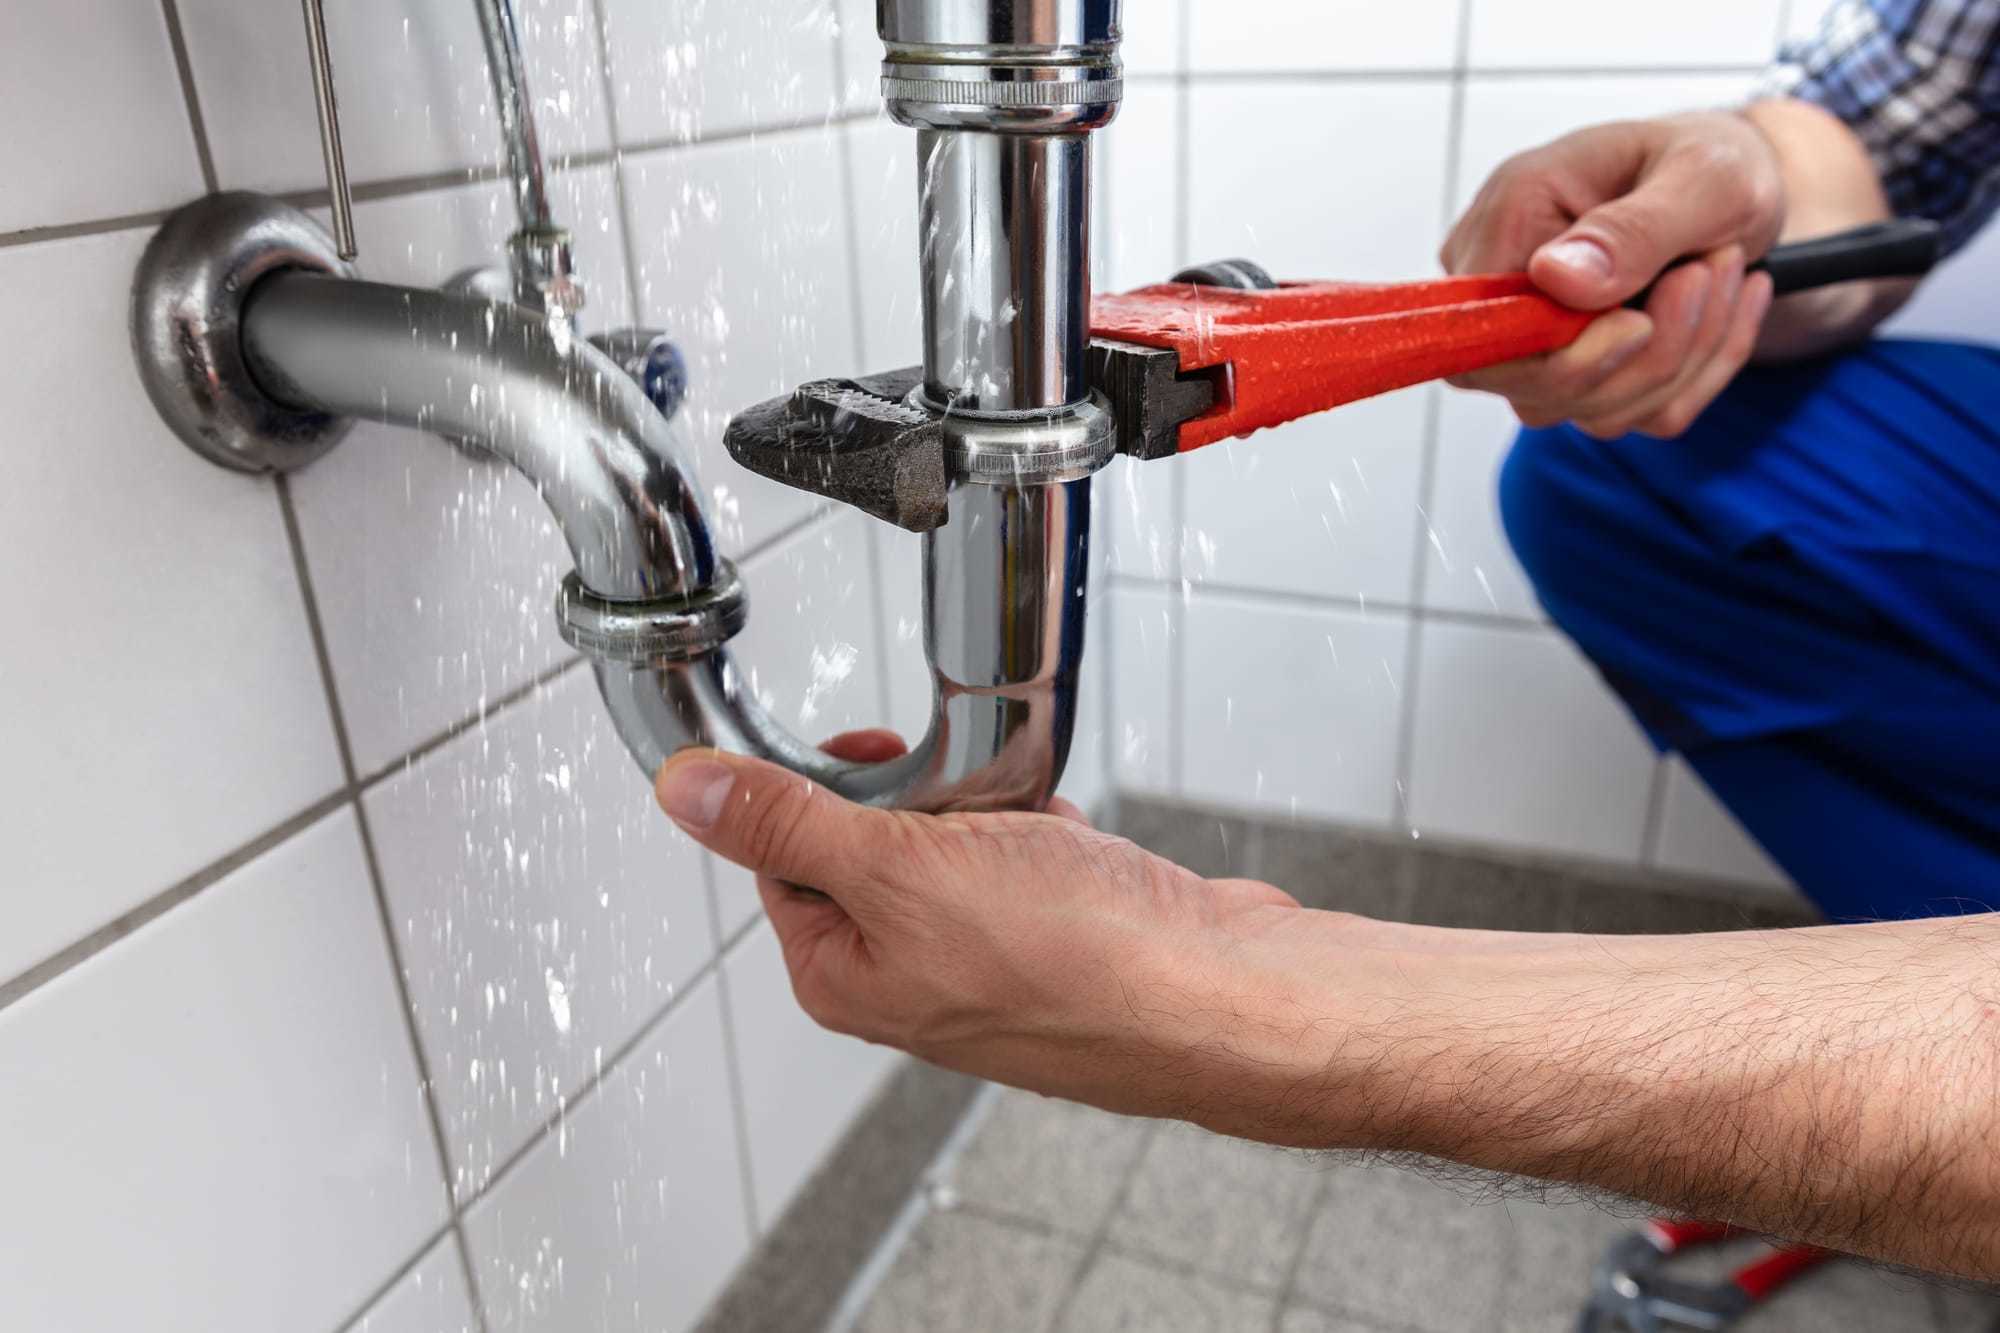
If you're comfortable with basic home repairs and have the necessary tools, you can easily fix the leak yourself. First, turn off the water supply to the sink either by turning off the main water valve or using the shut-off valve located under the sink. Then, use a wrench to loosen the nuts that hold the valve in place. Once the valve is free, you can inspect it for any cracks or damage. If the valve is damaged, you will need to replace it with a new one. If it appears to be in good condition, you can try resealing it with plumber's tape or pipe joint compound. Once the valve is back in place, tighten the nuts and turn the water supply back on to test for any leaks.DIY Kitchen Sink Valve Leak Repair


DIY Kitchen Sink Valve Leak Repair


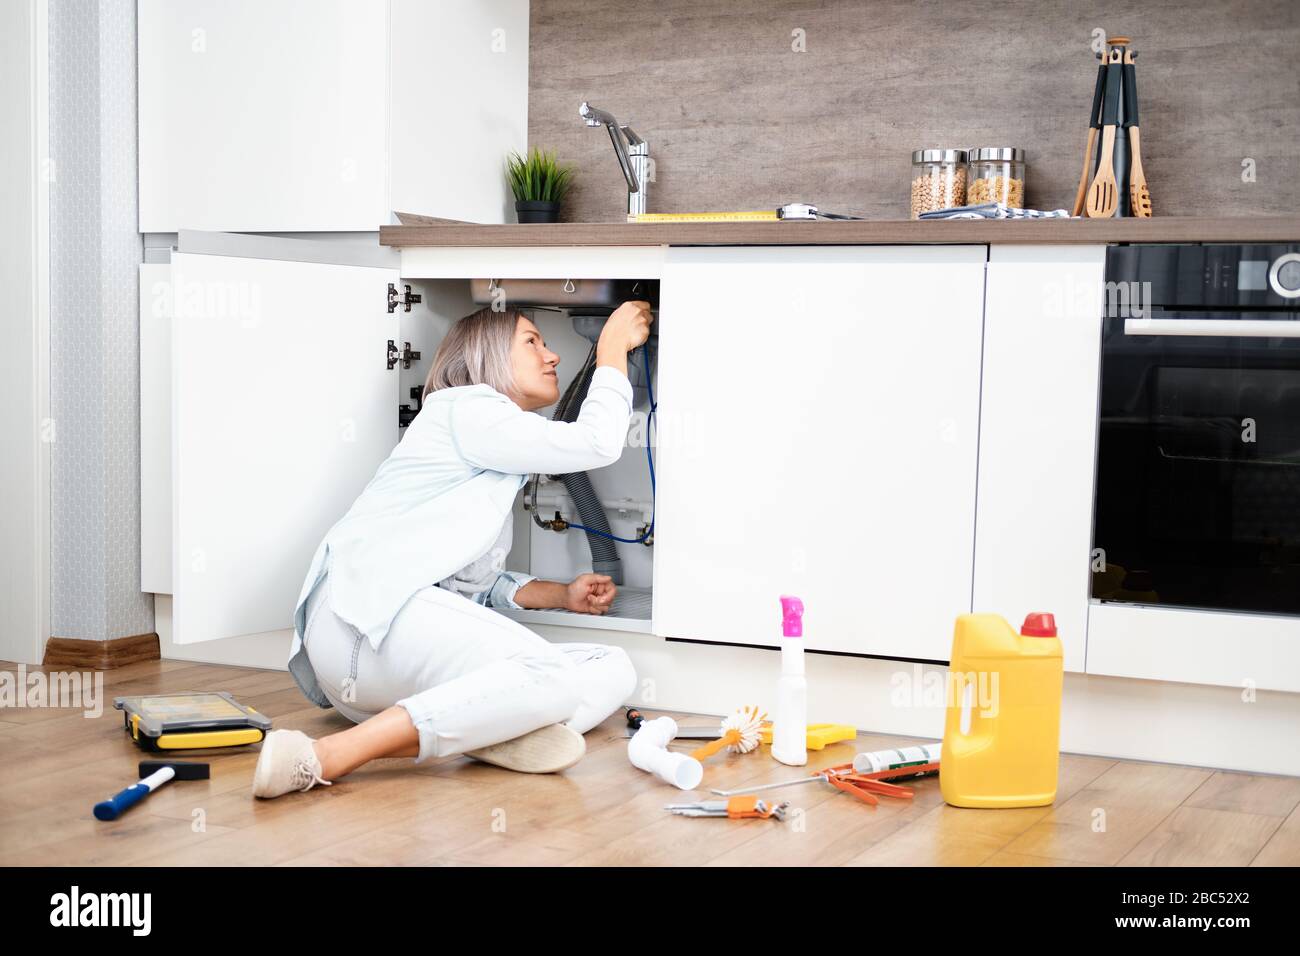
If you're not familiar with plumbing repairs, it can be helpful to have a step-by-step guide to follow. Here's a simple guide for fixing a kitchen sink valve leak:Step-by-Step Guide for Fixing a Kitchen Sink Valve Leak

Step-by-Step Guide for Fixing a Kitchen Sink Valve Leak


Understanding the potential causes of a kitchen sink valve leak can help you prevent future leaks from occurring. Here are some common reasons why a kitchen sink valve may leak:Common Causes of Kitchen Sink Valve Leaks

Common Causes of Kitchen Sink Valve Leaks


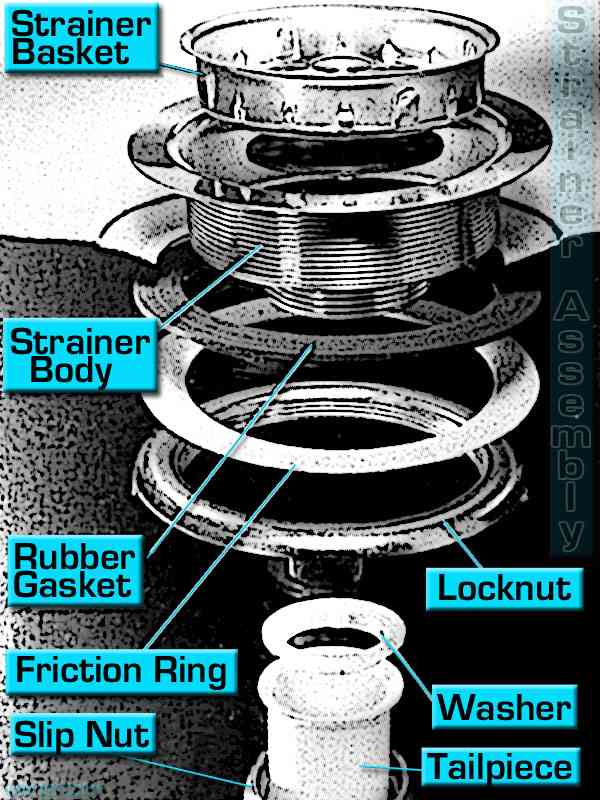
To successfully repair a kitchen sink valve leak, you will need the following tools and materials:Tools and Materials Needed for Fixing a Kitchen Sink Valve Leak

Tools and Materials Needed for Fixing a Kitchen Sink Valve Leak

:max_bytes(150000):strip_icc()/sink-pipe-under-wash-basin-119001607-6f28aec4c66944efb7a9a38cb622ab8b.jpg)

The best way to deal with a kitchen sink valve leak is to prevent it from happening in the first place. Here are some tips to help you prevent kitchen sink valve leaks:Tips for Preventing Kitchen Sink Valve Leaks


Tips for Preventing Kitchen Sink Valve Leaks


If you're not comfortable with DIY repairs or if the leak is too severe, it's best to call a professional plumber for help. They have the knowledge, experience, and tools necessary to quickly and effectively fix the leak. Plus, they can also inspect your entire plumbing system to ensure there are no other issues that may lead to future leaks.Professional Kitchen Sink Valve Leak Repair Services


Professional Kitchen Sink Valve Leak Repair Services
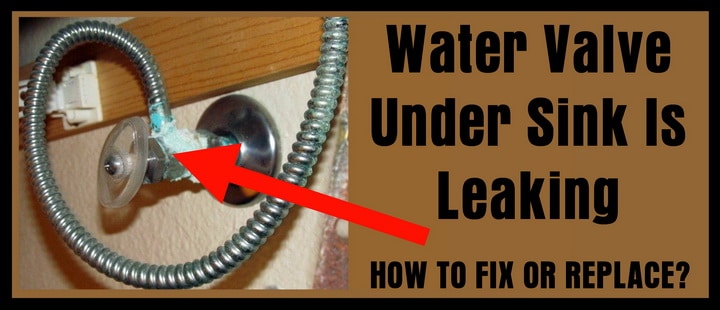
If you're not sure if you have a kitchen sink valve leak, there are a few signs to look out for. These include water pooling around the valve, dripping or running water, or a decrease in water pressure. If you notice any of these signs, it's important to troubleshoot the issue and address it as soon as possible to prevent further damage.How to Identify and Troubleshoot a Kitchen Sink Valve Leak

How to Identify and Troubleshoot a Kitchen Sink Valve Leak

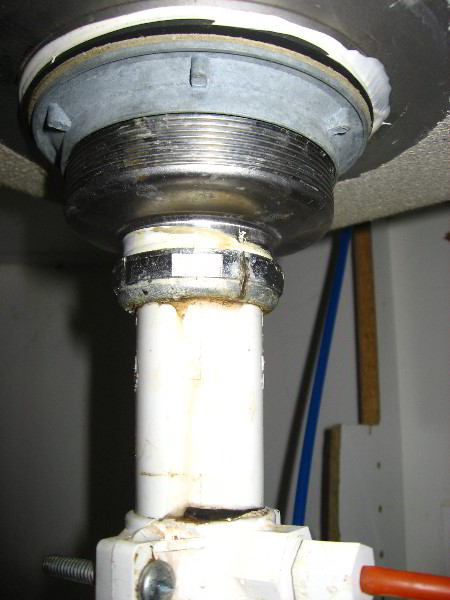
If the kitchen sink valve is damaged beyond repair, you will need to replace it with a new one. This may require some basic plumbing knowledge and tools, or you may want to hire a professional to do it for you. Either way, replacing the valve is a necessary step to fix a leak and ensure your sink functions properly.Replacing a Kitchen Sink Valve to Fix a Leak


Replacing a Kitchen Sink Valve to Fix a Leak


Preventing Future Leaks
Once you have successfully fixed the leak in your kitchen sink valve, it is important to take some preventative measures to ensure it does not happen again in the future. One of the main causes of valve leaks is wear and tear over time, so it is crucial to regularly maintain your sink and its components.
Regular Maintenance

Regular maintenance can include checking for any cracks or damage in the valve, as well as cleaning it to remove any debris that may have accumulated. This can be done by using a mixture of vinegar and water to loosen and remove any buildup. It is also important to check the connections and tighten any loose fittings.
Water Pressure
Another factor that can contribute to valve leaks is high water pressure . This can put unnecessary strain on the valve and cause it to wear out faster. Consider installing a pressure regulator to maintain a steady and safe water pressure in your home.
Proper Usage

Using your kitchen sink valve properly can also help prevent future leaks. Avoid turning the handle too tightly when turning the water on and off, as this can put strain on the valve. It is also important to avoid putting anything heavy or sharp on top of the valve to prevent damage.
By following these preventative measures, you can extend the lifespan of your kitchen sink valve and avoid any future leaks. Remember to regularly check and maintain your valve to catch any potential issues early on before they turn into bigger problems.
:max_bytes(150000):strip_icc()/2225401_septe_051-2000-c3eee82f89614abdae89d003f932c67a.jpg)