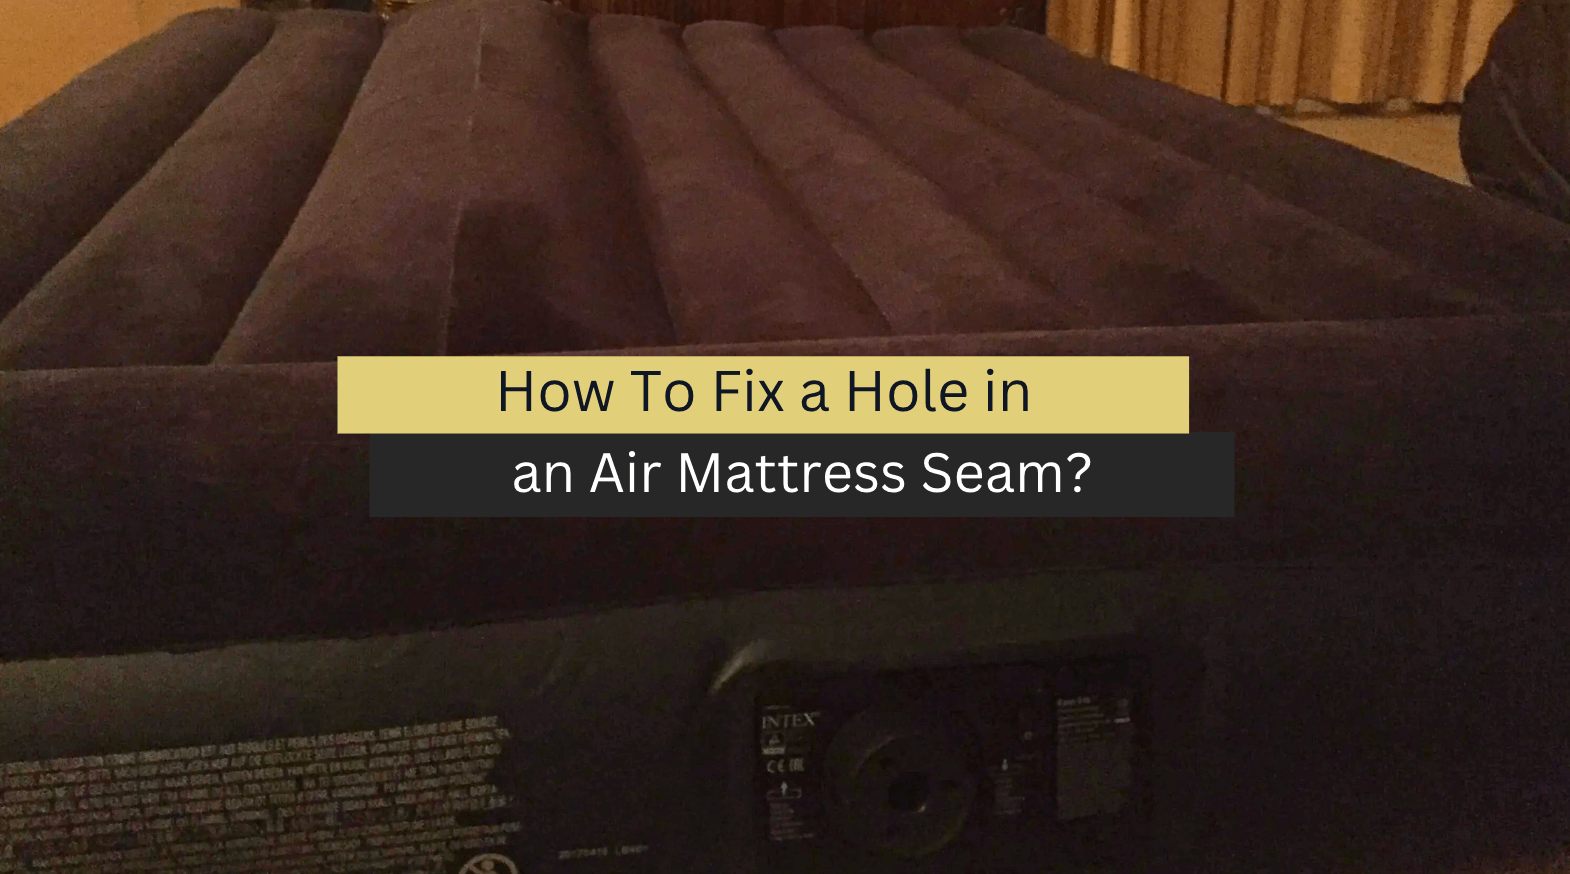
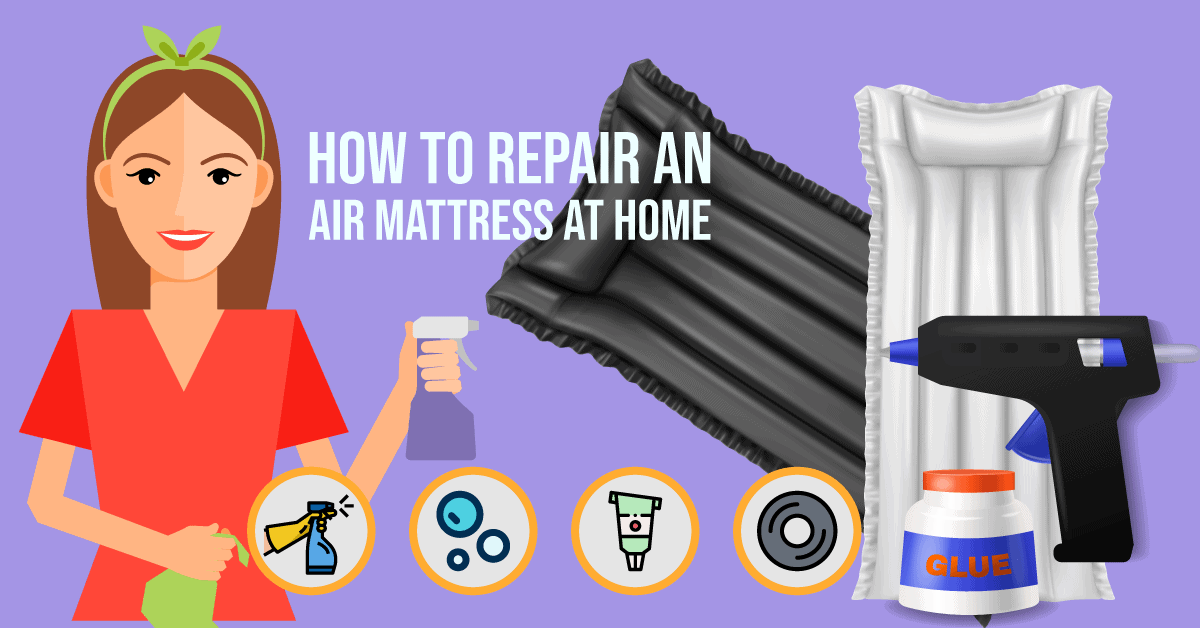
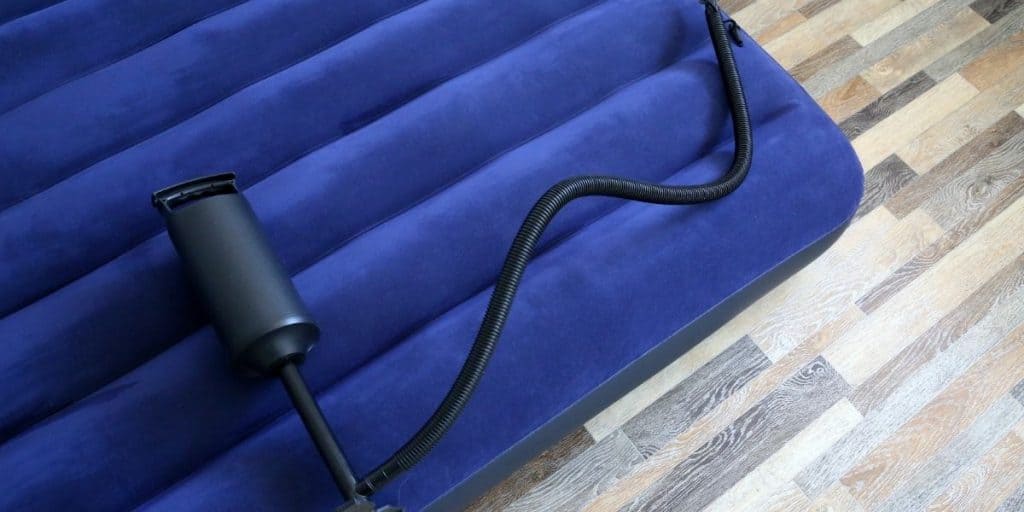
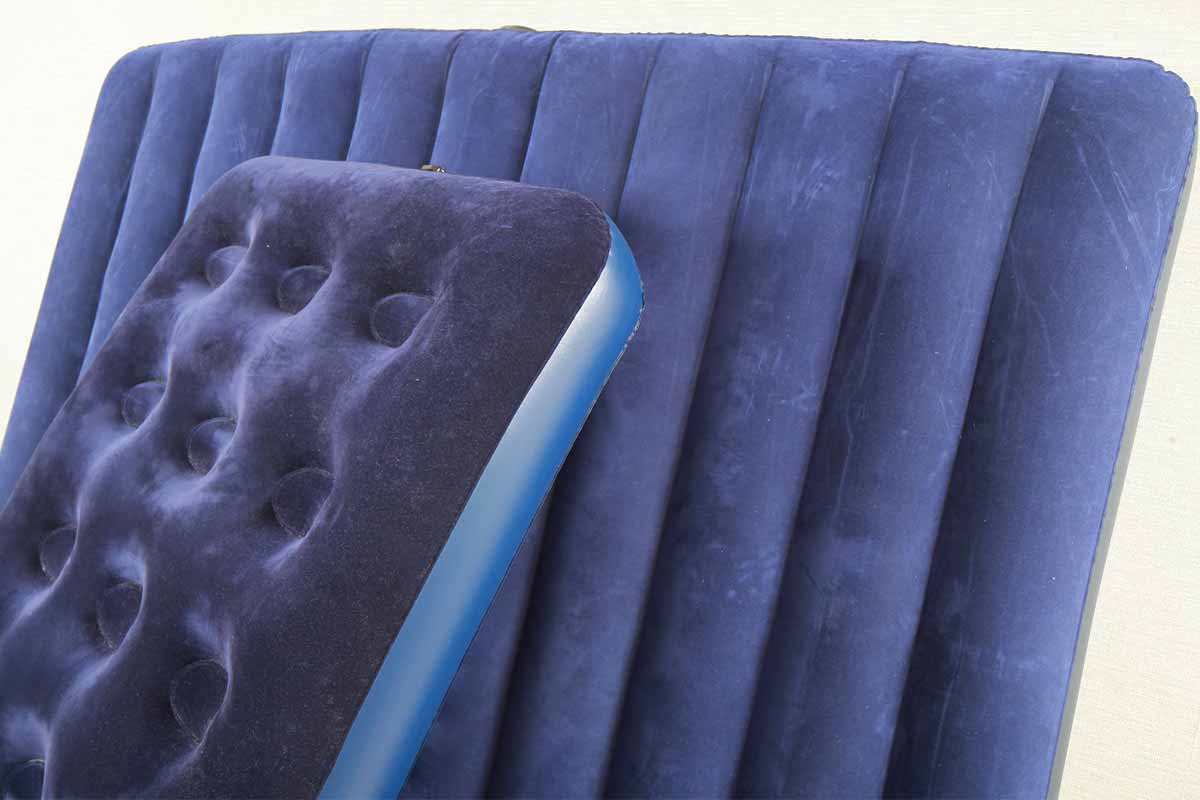
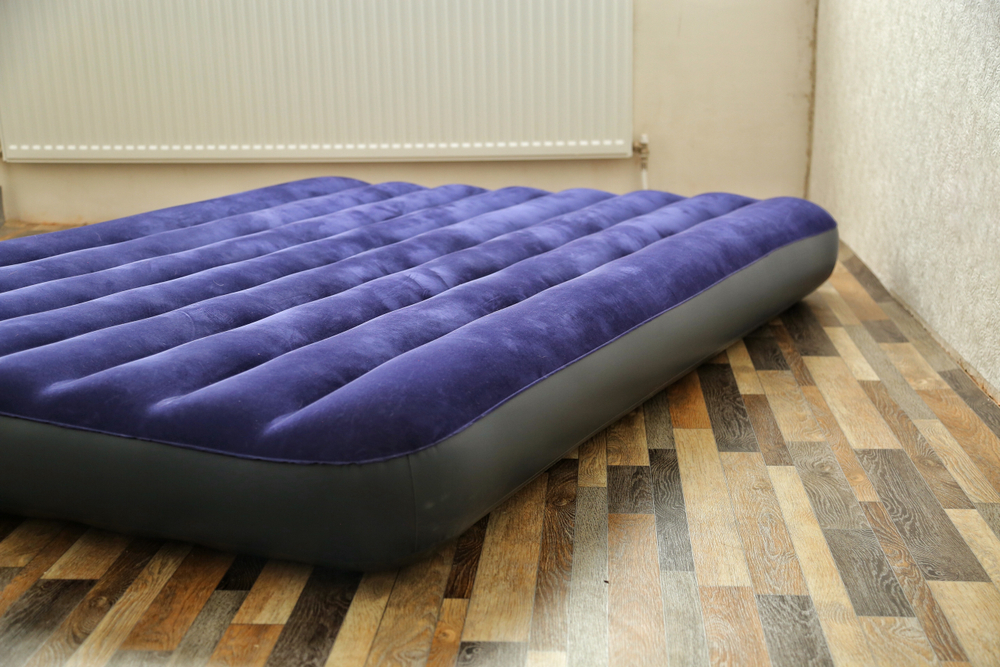
If you have ever experienced the frustration of waking up in the middle of the night to find your air mattress deflated, you are not alone. Air mattresses are convenient and comfortable, but they are also prone to leaks and tears along the seams. Luckily, there are several ways to fix an air mattress seam and get a good night's rest once again.How to Fix an Air Mattress Seam

How to Fix an Air Mattress Seam


Whether you are camping or using an air mattress as a temporary bed, a leaky seam can quickly put a damper on your plans. But don't worry, there are some simple and quick ways to fix an air mattress seam without having to spend a lot of time or money. One method is to use a patch kit specifically designed for air mattresses. These kits usually include adhesive patches and a patch roller, making it easy to seal the leak. Another quick fix is to use duct tape to cover the seam. However, this is not a long-term solution and may not hold up well under pressure.Quick and Easy Ways to Repair an Air Mattress Seam


Quick and Easy Ways to Repair an Air Mattress Seam


If you prefer a more hands-on approach, there are several DIY methods for fixing an air mattress seam. One popular method is to use a hot glue gun to seal the leak. Simply heat up the glue gun, apply a thin layer of glue along the seam, and use a roller or your fingers to smooth it out. Another DIY option is to use a bike tire repair kit. These kits usually come with rubber patches and glue, which can be used to seal the leak. However, make sure to read the instructions carefully and follow the recommended drying time before using the mattress again.DIY Tips for Fixing a Leaky Air Mattress Seam


DIY Tips for Fixing a Leaky Air Mattress Seam


If you are a visual learner, following a step-by-step guide can be helpful when repairing an air mattress seam. First, start by identifying the location of the leak. Inflate the mattress and listen for the sound of air escaping. Once you have located the leak, deflate the mattress and clean the area with rubbing alcohol. Next, apply a thin layer of adhesive from a patch kit or hot glue gun along the seam. Place the patch or glue over the seam and use a roller or your fingers to smooth it out. Let it dry according to the instructions before inflating the mattress again.Step-by-Step Guide for Repairing an Air Mattress Seam


Step-by-Step Guide for Repairing an Air Mattress Seam


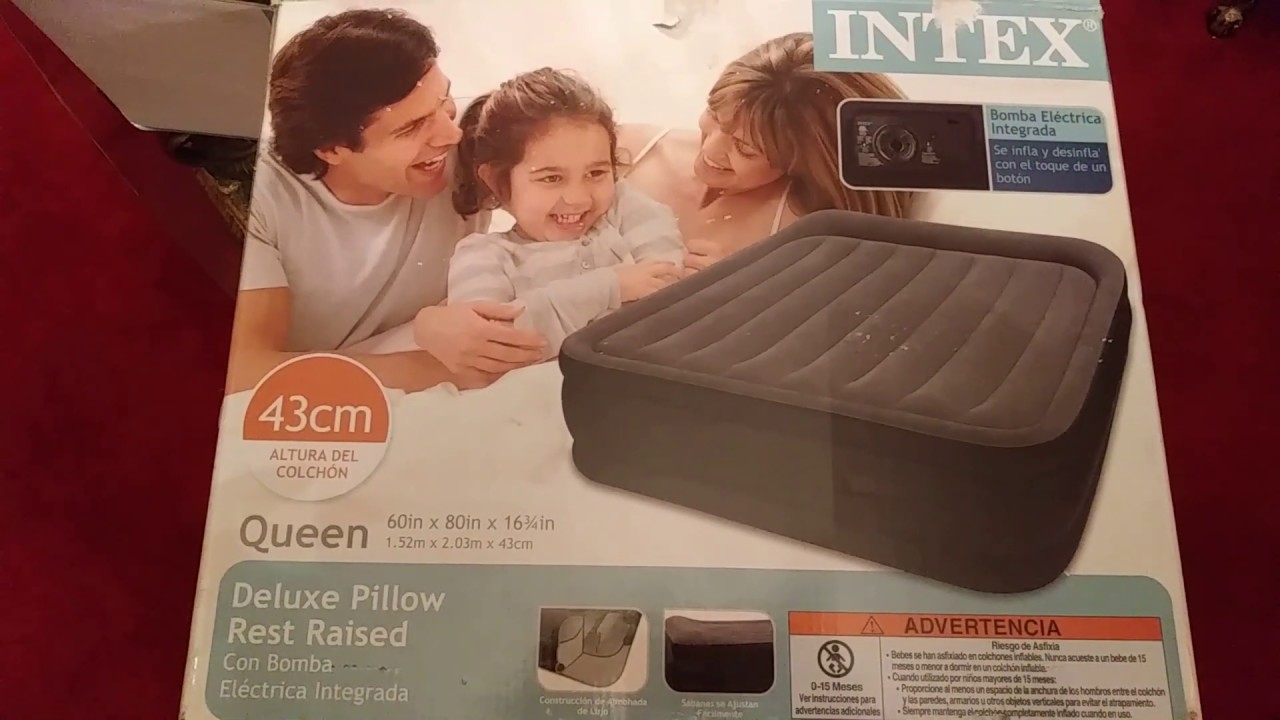
If you want a reliable and long-lasting fix for your air mattress seam, investing in the right products is crucial. Look for a patch kit specifically designed for air mattresses, as these will have a stronger adhesive and be more durable. Some popular brands include Therm-a-Rest, Coghlan's, and Intex. Another great product to have on hand is a vinyl repair kit. These kits can be used to fix small tears and punctures in the mattress, as well as seal seams.Best Products for Fixing an Air Mattress Seam


Best Products for Fixing an Air Mattress Seam


Air mattress seam leaks can be caused by a variety of factors, such as age, wear and tear, and improper storage. One common cause is over-inflating the mattress, which can put excess pressure on the seams and cause them to weaken and leak. To prevent this, make sure to follow the recommended inflation instructions and avoid jumping or bouncing on the mattress. Another common cause is storing the mattress in a hot or humid environment, which can cause the vinyl to become brittle and prone to tears. To avoid this, store the mattress in a cool and dry place.Common Causes of Air Mattress Seam Leaks and How to Fix Them


Common Causes of Air Mattress Seam Leaks and How to Fix Them


If you are still having trouble fixing your air mattress seam, it may be time to consult the experts. One tip from professionals is to use a hairdryer to warm up the vinyl before applying a patch or glue. This will help the adhesive to bond more effectively. Another tip is to use sandpaper to rough up the surface of the seam before applying the adhesive. This will create a stronger bond and prevent the patch from peeling off.Expert Tips for Fixing a Seam on an Air Mattress


Expert Tips for Fixing a Seam on an Air Mattress

While fixing an air mattress seam is a simple and quick process, it can be avoided altogether by taking some preventative measures. First, make sure to properly inflate and deflate the mattress according to the instructions. This will prevent the seams from becoming over-stretched and weakened. Next, avoid placing sharp objects on or near the mattress, as these can puncture the vinyl. Finally, store the mattress in a dry and cool place to prevent the vinyl from becoming brittle and prone to tears.How to Prevent Air Mattress Seam Leaks in the Future

How to Prevent Air Mattress Seam Leaks in the Future


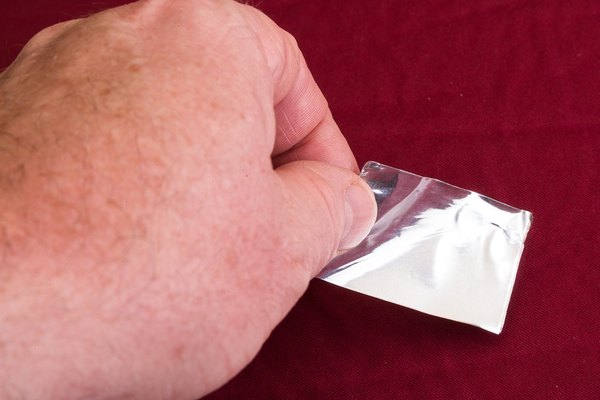
If you don't have access to a patch kit or glue, there are some household items that can be used to fix an air mattress seam in a pinch. One option is to use a piece of duct tape. First, clean the area with rubbing alcohol and let it dry completely. Then, carefully place the tape over the seam and smooth it out with your fingers to create a tight seal. Another household item that can be used is a bar of soap. Rub the soap over the leaky seam and use a hairdryer to melt the soap into the vinyl. This will create a temporary seal until you can properly fix the seam.Using Household Items to Fix an Air Mattress Seam


Using Household Items to Fix an Air Mattress Seam


If DIY methods are not working or you want a more permanent solution, you may want to consider professional repair options for your air mattress seam. Many outdoor and camping stores offer repair services for air mattresses, which can be a quick and hassle-free option. You can also take your mattress to a professional upholstery or vinyl repair shop for a more thorough and long-lasting fix. However, be prepared to pay a higher cost for these services.Professional Repair Options for an Air Mattress Seam


Professional Repair Options for an Air Mattress Seam


How to Fix a Leaky Seam on Your Air Mattress
Understanding the Importance of a Good Night's Sleep

Air mattresses have become increasingly popular over the years, providing a convenient and comfortable option for guests or for camping trips. However, there's nothing worse than waking up in the middle of the night to a deflated air mattress and a sore back. A leaky seam can be the culprit of this sleepless night, but don't worry, it's a common issue that can easily be fixed. In this article, we'll walk you through the steps to fix a leaky seam on your air mattress so you can rest easy and wake up feeling refreshed.
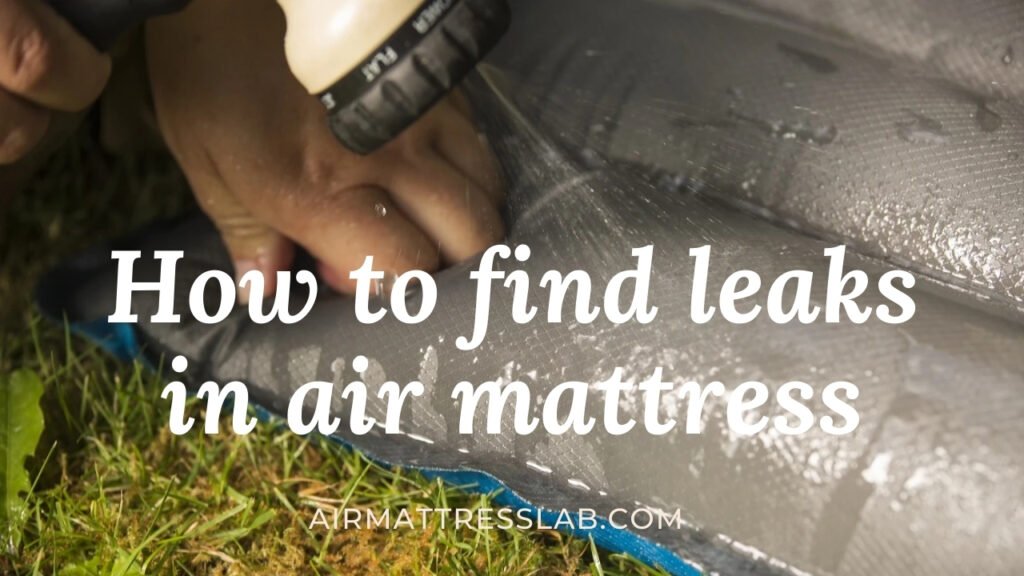
Finding the Leak

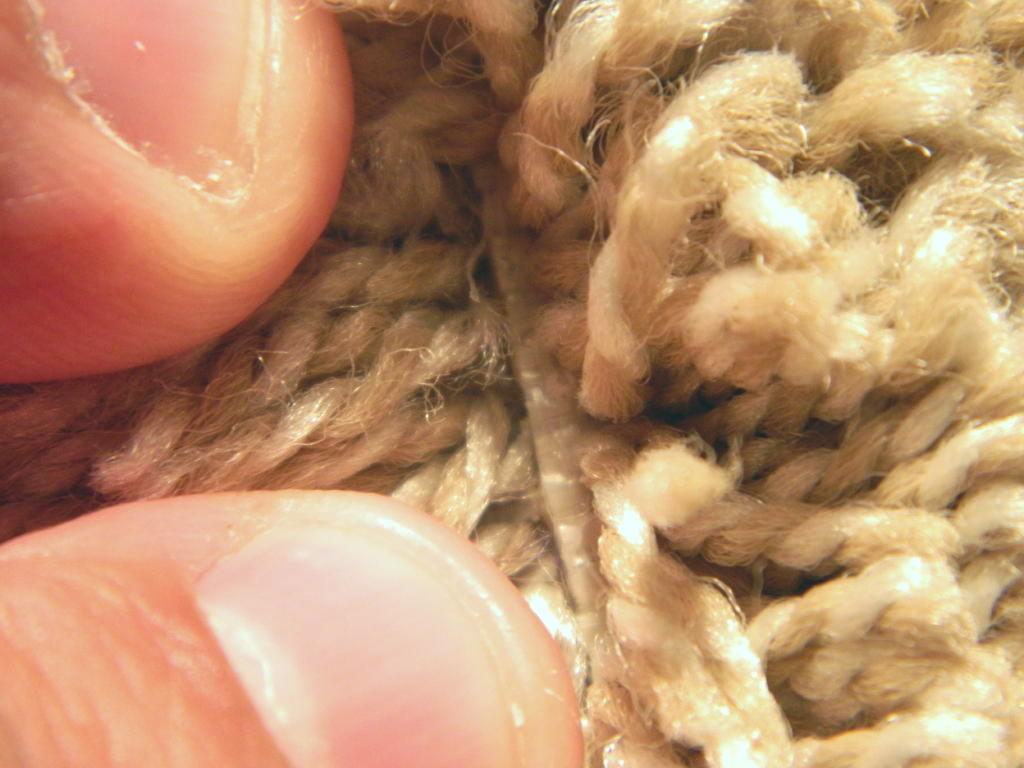
The first step to fixing a leaky seam is to locate the source of the leak. This may seem like an obvious step, but it's important to thoroughly check the entire mattress as the leak may not be immediately visible. Begin by inflating the mattress fully and then use your hands to feel around for any areas that may feel cooler than others. This could indicate a leak. You can also try listening for a hissing sound which can also indicate a leak. Once you've located the leak, mark it with a piece of tape or a permanent marker so you can easily find it again.
Preparing the Area

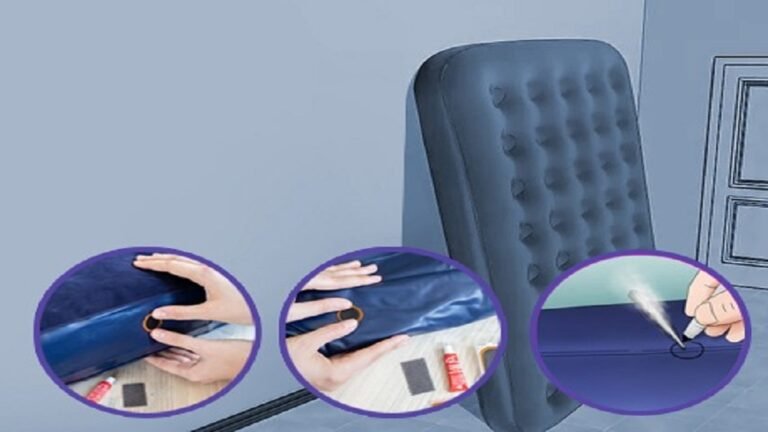
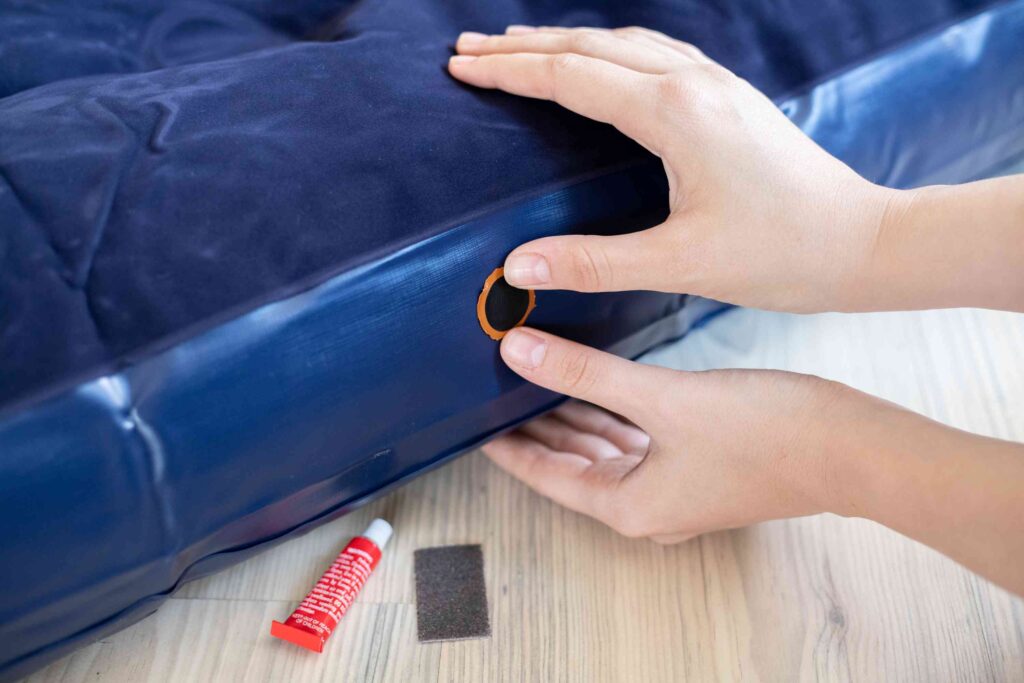
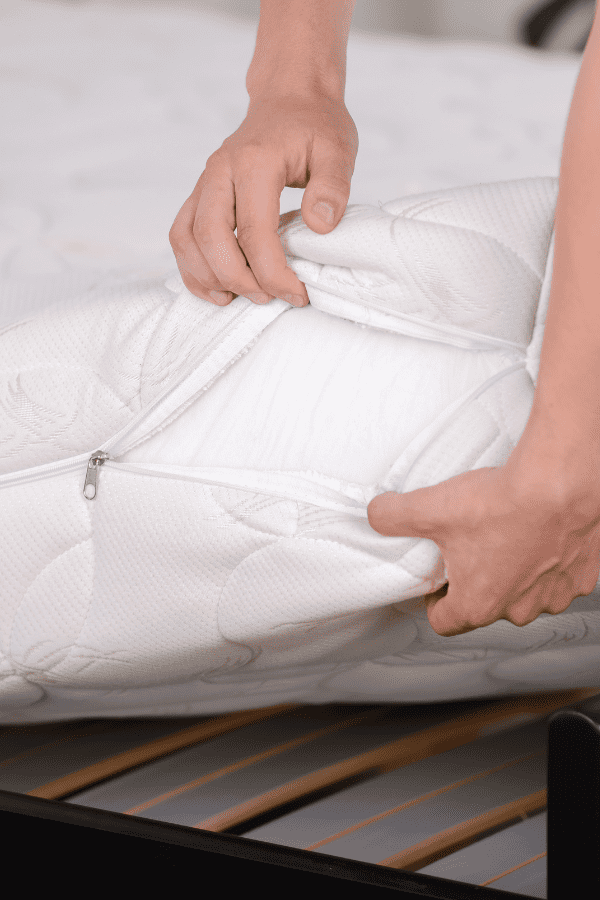
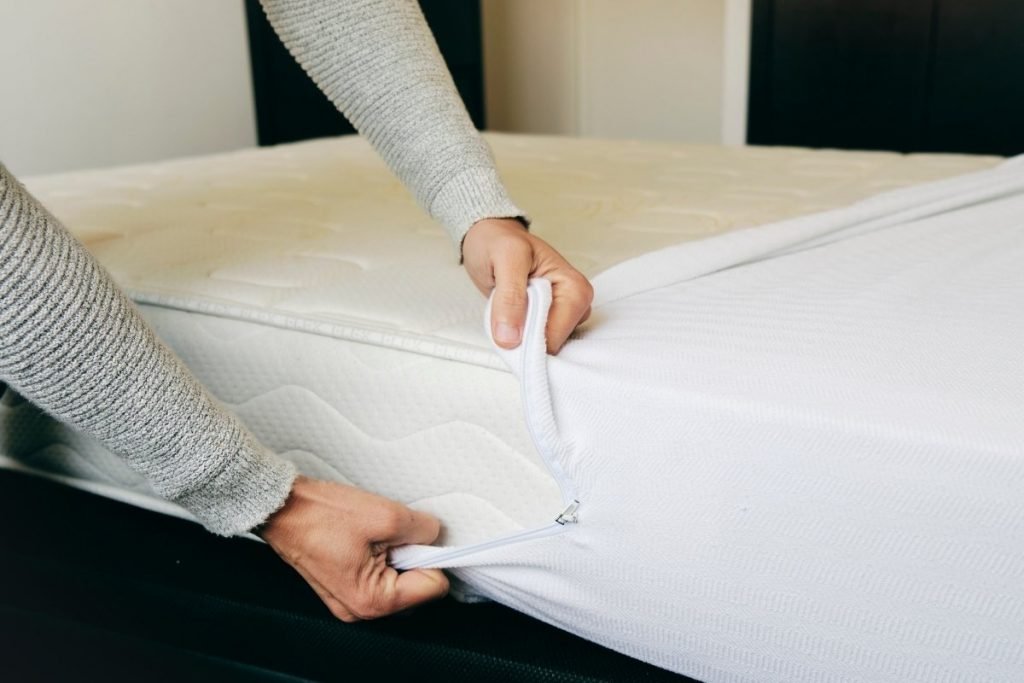
Before attempting to fix the leak, it's important to properly prepare the area. Deflate the air mattress completely and clean the area around the leak with soap and water. This will help to remove any dirt or debris that may prevent the patch from sticking properly. Dry the area completely before moving on to the next step.
Applying the Patch
Now it's time to fix the leak. Most air mattress repair kits come with a patch and adhesive that is specifically designed for use on air mattresses. Follow the instructions on the kit carefully to ensure the best results. Typically, you will need to apply the adhesive to both the patch and the area around the leak, and then press the patch firmly onto the mattress. Allow the adhesive to dry completely before inflating the mattress again.
Preventing Future Leaks
To prevent future leaks, it's important to properly care for your air mattress. Avoid placing it on rough or sharp surfaces and make sure to fully deflate it before packing it away. You can also apply a protective coating or sealant to the seams of your air mattress to help prevent leaks from occurring.
Fixing a leaky seam on your air mattress may seem like a daunting task, but with the right tools and techniques, it can be a simple and quick fix. Don't let a leaky air mattress ruin your good night's sleep – follow these steps and you'll be back to resting comfortably in no time.