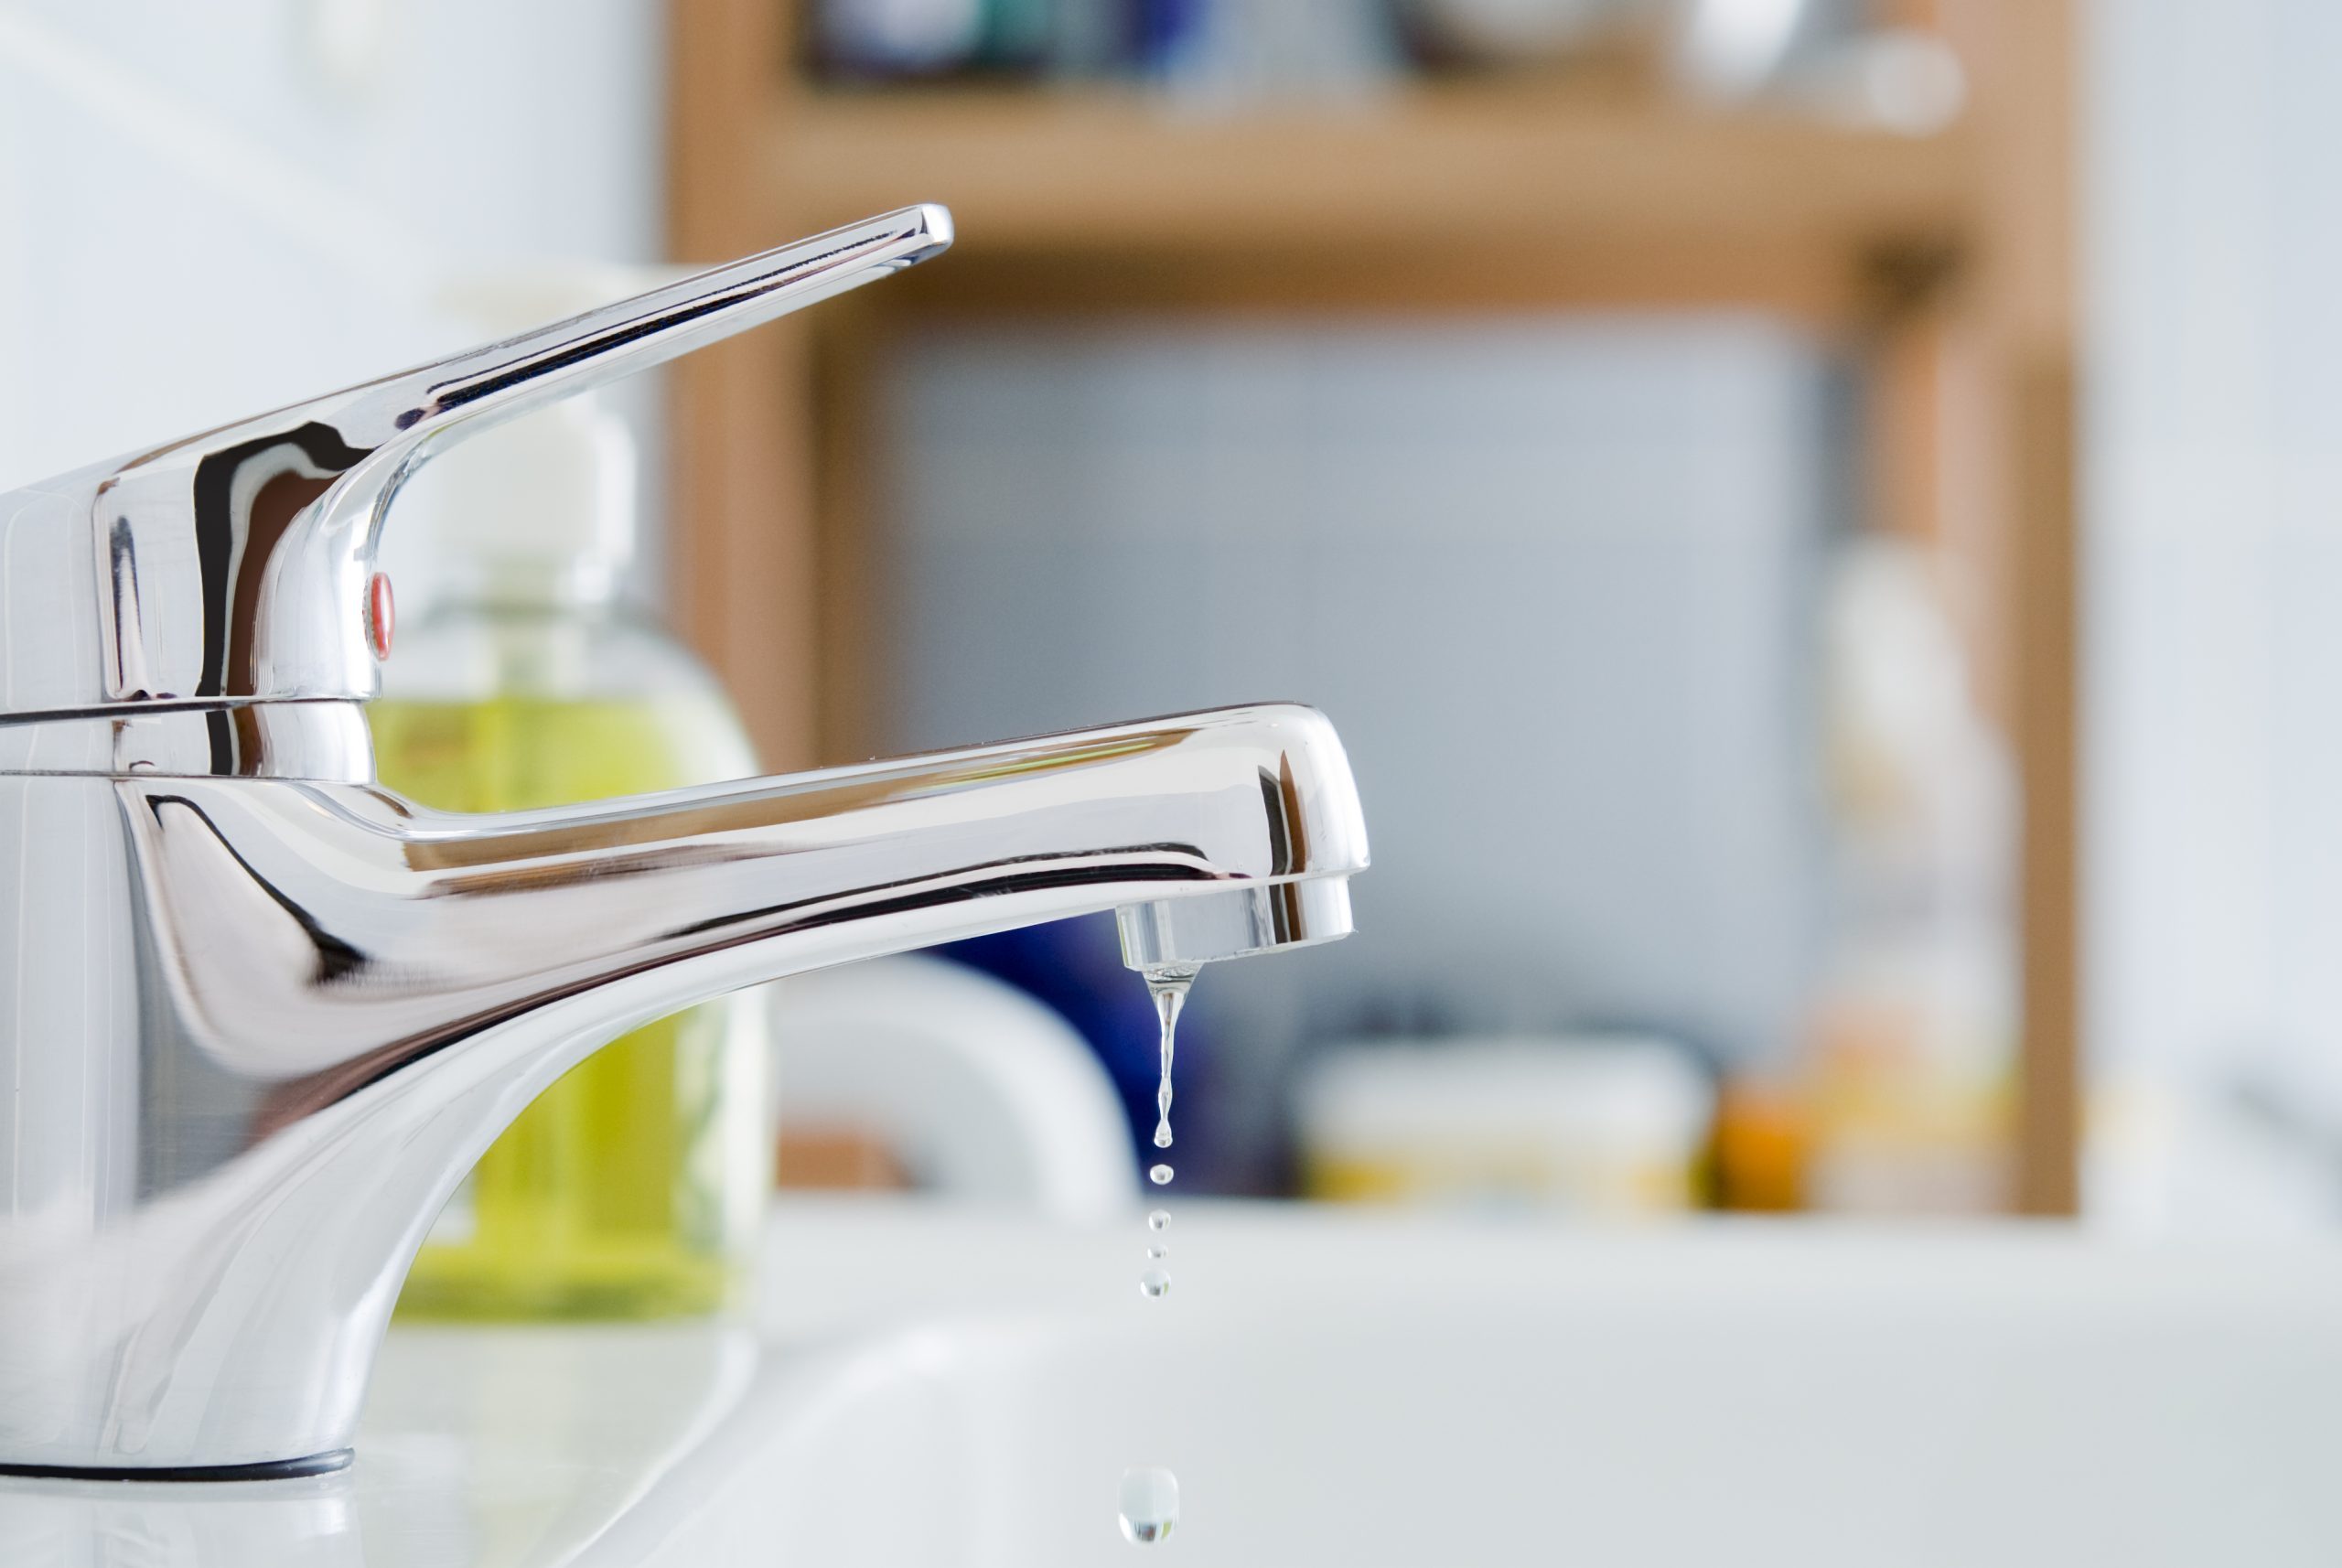
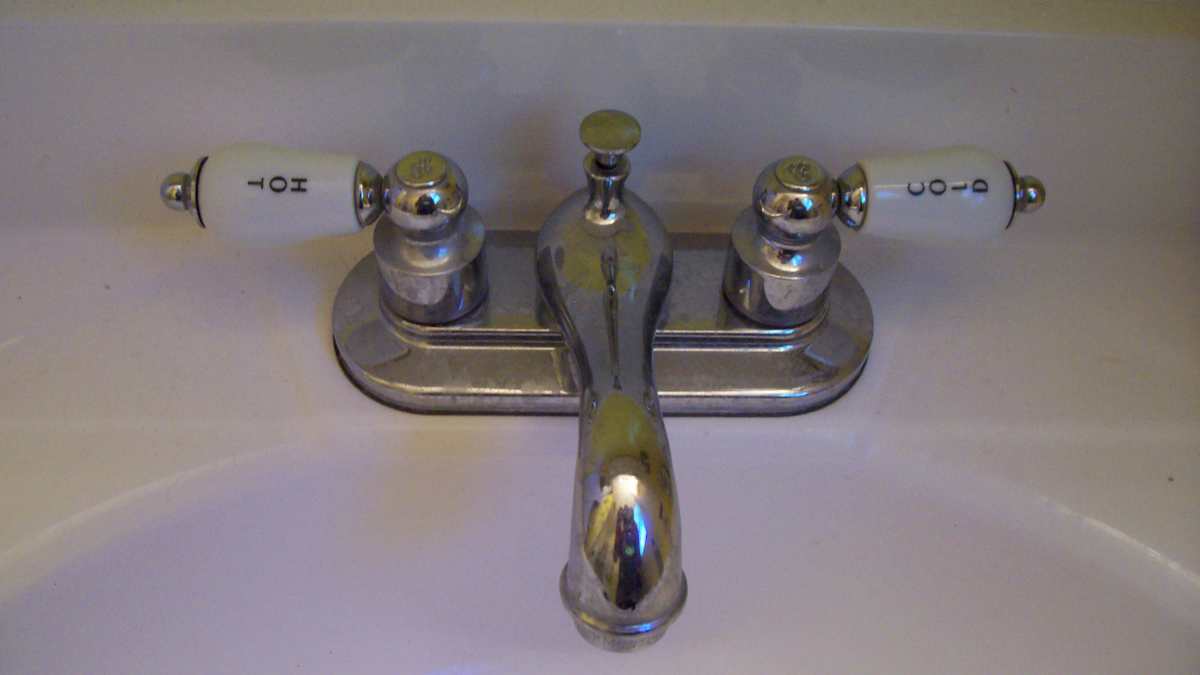
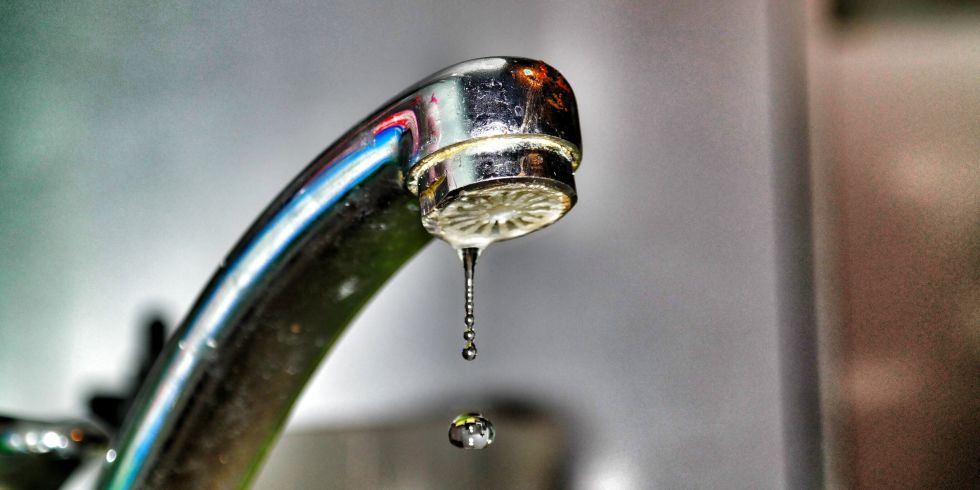
Having a dripping faucet in your bathroom sink can be incredibly frustrating. Not only is it a constant annoyance, but it can also waste a significant amount of water and increase your water bill. Luckily, fixing a dripping bathroom sink faucet is a relatively simple DIY task that can save you time and money in the long run. In this article, we will guide you through the steps to fix a dripping faucet in a bathroom sink.How to Fix a Dripping Faucet in a Bathroom Sink


How to Fix a Dripping Faucet in a Bathroom Sink


Fixing a dripping bathroom sink faucet is a DIY task that anyone can do with the right tools and materials. By following these simple steps, you can save yourself the hassle and expense of hiring a plumber to fix the issue for you.DIY: How to Fix a Dripping Bathroom Sink Faucet


DIY: How to Fix a Dripping Bathroom Sink Faucet


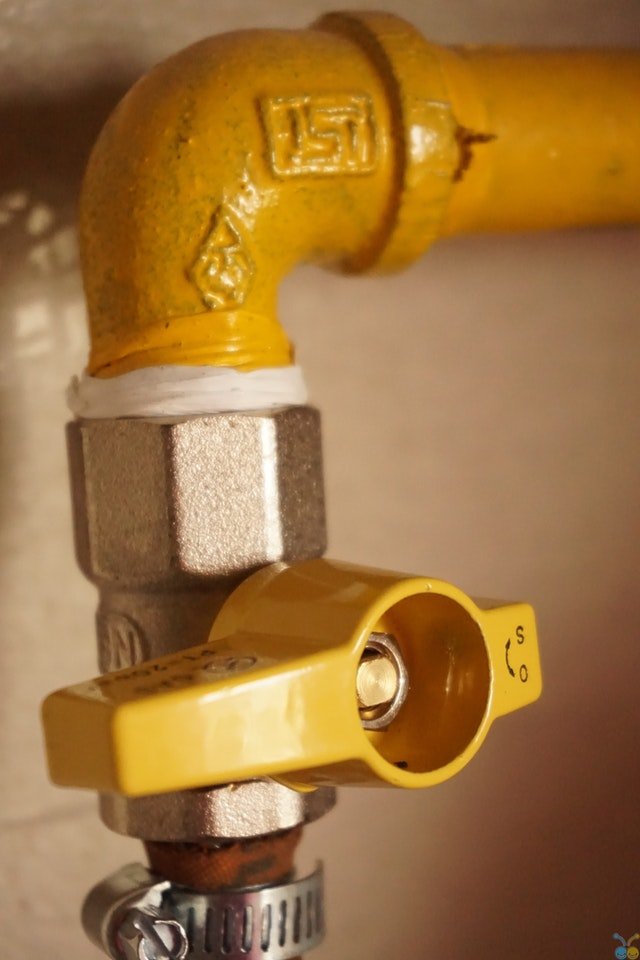
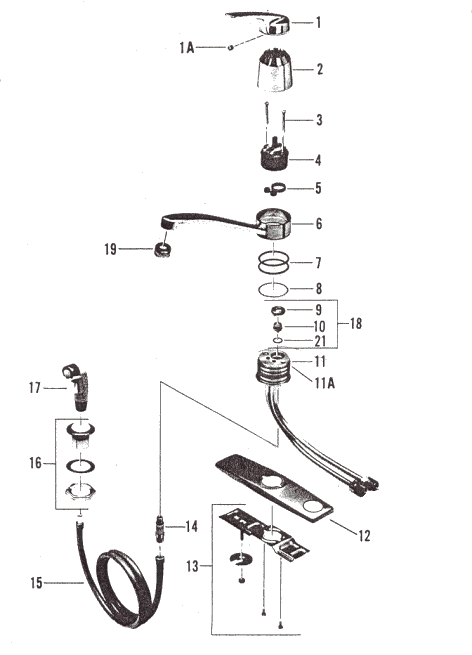
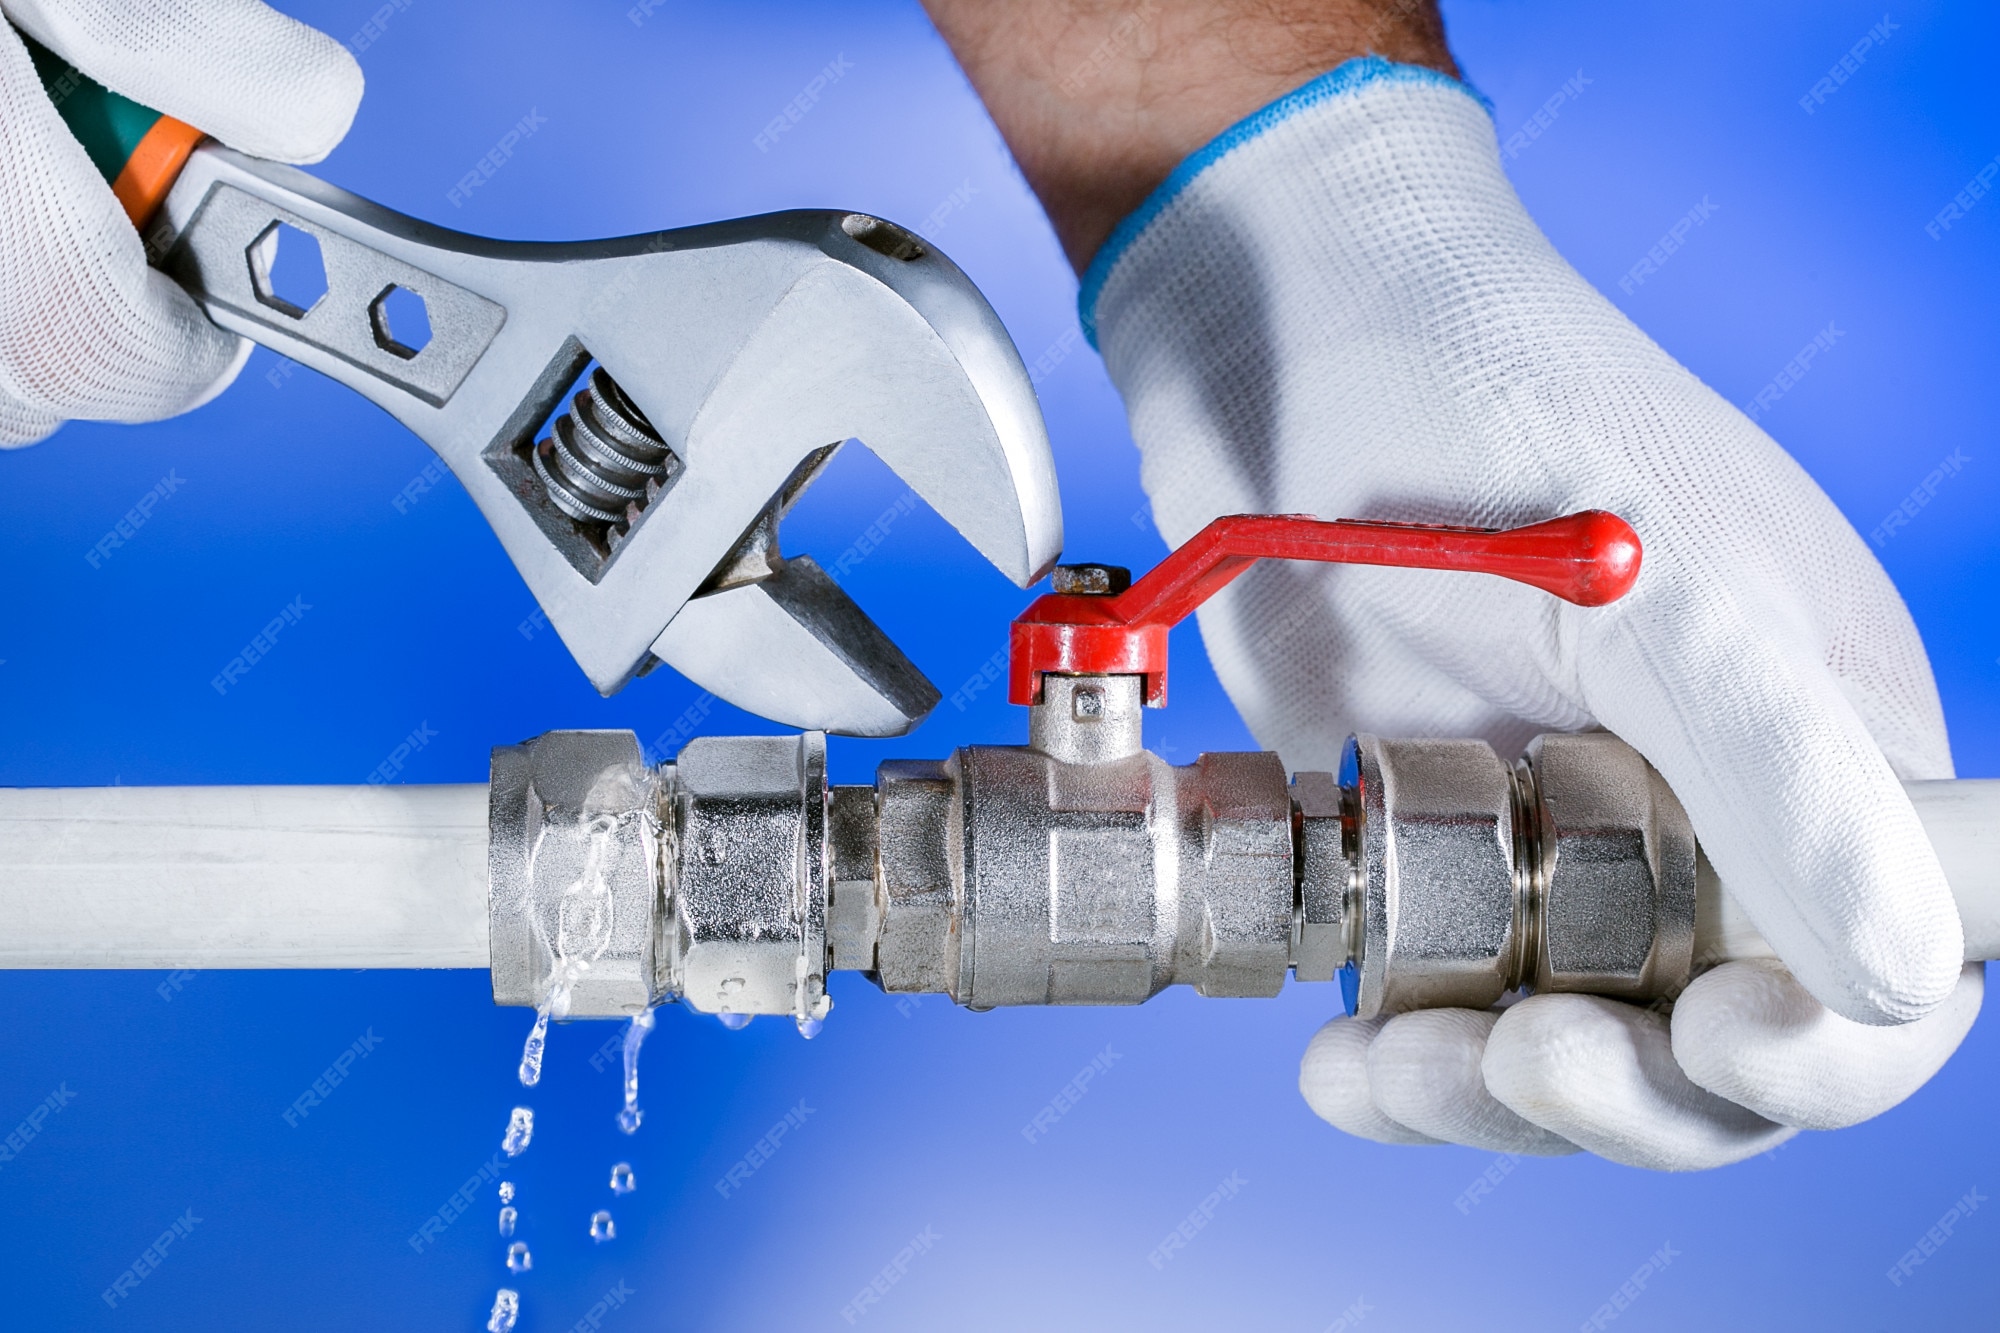
Before you begin, make sure to turn off the water supply to your sink. This can usually be done by turning off the valves under the sink. Once the water is off, you can follow these steps to fix a dripping faucet in your bathroom sink: Step 1: Remove the handle of the faucet. This can usually be done by unscrewing the handle using a screwdriver or an Allen wrench. Step 2: Use pliers to remove the retaining nut, which holds the cartridge or valve in place. Step 3: Once the nut is removed, pull out the cartridge or valve from the faucet. Step 4: Inspect the cartridge or valve for any signs of damage or wear and tear. If necessary, replace it with a new one. Step 5: Clean and lubricate the cartridge or valve before putting it back in place. Step 6: Reassemble the faucet by following the steps in reverse order. Step 7: Turn the water supply back on and test the faucet to ensure it is no longer dripping.Step-by-Step Guide to Fixing a Dripping Bathroom Sink Faucet


Step-by-Step Guide to Fixing a Dripping Bathroom Sink Faucet


If you're looking for a quick and easy fix for a dripping bathroom sink faucet, there are a few simple solutions you can try before taking apart the faucet: 1. Tighten any loose parts: Sometimes, a dripping faucet can be caused by loose parts. Use a wrench or pliers to tighten any loose nuts or screws on the faucet. 2. Replace washers or O-rings: A worn-out washer or O-ring can also cause a faucet to drip. These can easily be replaced with new ones, which can be found at most hardware stores. 3. Clean the aerator: Mineral deposits can build up in the aerator, causing water to flow unevenly and potentially contributing to a dripping faucet. Remove the aerator and clean it thoroughly before reattaching it to the faucet.Quick and Easy Ways to Fix a Dripping Bathroom Sink Faucet


Quick and Easy Ways to Fix a Dripping Bathroom Sink Faucet

Understanding the common causes of a dripping bathroom sink faucet can help you prevent the issue from occurring in the future. Some of the most common causes include: 1. Worn-out parts: Over time, the various parts of a faucet can become worn out and need to be replaced. This includes washers, O-rings, and valves. 2. Mineral buildup: Mineral deposits can build up in a faucet, causing it to function improperly and potentially leading to leaks and drips. 3. Water pressure issues: If the water pressure in your home is too high, it can put unnecessary strain on your plumbing fixtures and cause them to leak. 4. Corrosion: Corrosion can occur in the different parts of a faucet, leading to leaks and drips. Regular maintenance and cleaning can help prevent corrosion.Common Causes of a Dripping Bathroom Sink Faucet and How to Fix Them

Common Causes of a Dripping Bathroom Sink Faucet and How to Fix Them


Before you get started on fixing a dripping bathroom sink faucet, make sure you have the following tools and materials on hand: 1. Wrench or pliers: These tools will be necessary for loosening and tightening various parts of the faucet. 2. Screwdriver or Allen wrench: You may need these tools to remove the handle of the faucet. 3. Replacement parts: Depending on the cause of the drip, you may need to replace certain parts of the faucet, such as washers, O-rings, or valves. 4. Clean cloth: A clean cloth will be useful for wiping down and cleaning the various parts of the faucet.Tools and Materials You'll Need to Fix a Dripping Bathroom Sink Faucet

Tools and Materials You'll Need to Fix a Dripping Bathroom Sink Faucet
Prevention is key when it comes to avoiding a dripping bathroom sink faucet. Here are a few tips to help prevent this issue from occurring: 1. Regular maintenance: It's important to regularly clean and maintain your faucets to prevent mineral buildup and corrosion. 2. Monitor water pressure: If the water pressure in your home is too high, consider installing a pressure regulator to prevent strain on your plumbing fixtures. 3. Address leaks promptly: If you notice a leak or drip in your faucet, address it as soon as possible to prevent it from turning into a bigger issue.Tips for Preventing a Dripping Bathroom Sink Faucet

Tips for Preventing a Dripping Bathroom Sink Faucet

If you're not comfortable tackling the task of fixing a dripping bathroom sink faucet yourself, or if the issue persists even after attempting to fix it, it may be best to call in a professional plumber. They will have the necessary expertise and tools to fix the issue efficiently and effectively.Professional Plumbing Services for Fixing a Dripping Bathroom Sink Faucet


Professional Plumbing Services for Fixing a Dripping Bathroom Sink Faucet
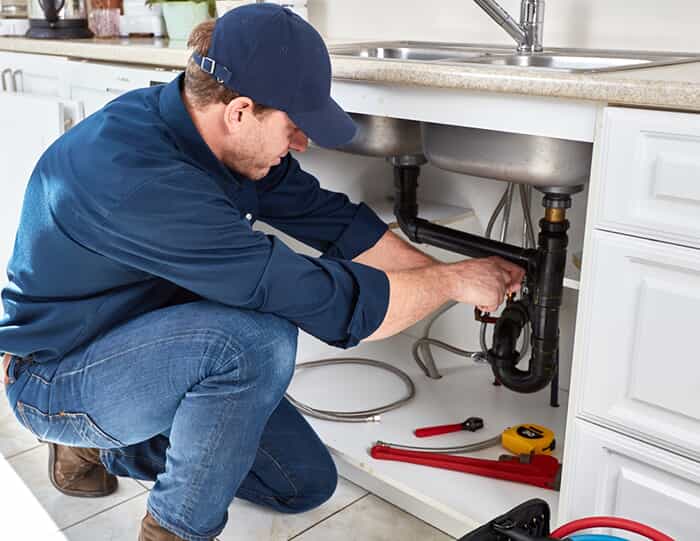
For those who prefer to try to fix the issue themselves before calling a professional, there are many step-by-step tutorials and videos available online that can guide you through the process. With the right tools and some patience, you may be able to fix a dripping bathroom sink faucet on your own.How to Fix a Dripping Bathroom Sink Faucet Without Calling a Plumber
How to Fix a Dripping Bathroom Sink Faucet Without Calling a Plumber
If you're a visual learner, there are numerous video tutorials available online to guide you through the process of fixing a dripping bathroom sink faucet. These videos can provide helpful tips and show you exactly how to take apart and reassemble your faucet to fix the issue. In conclusion, fixing a dripping bathroom sink faucet is a relatively simple DIY task that can save you time and money in the long run. By following these steps and tips, you can prevent leaks and drips and keep your bathroom sink functioning properly. However, if the issue persists or you are not comfortable attempting the fix yourself, it's always best to call in a professional plumber for assistance.Step-by-Step Video Tutorial: How to Fix a Dripping Bathroom Sink Faucet


Step-by-Step Video Tutorial: How to Fix a Dripping Bathroom Sink Faucet

How to Fix a Dripping Faucet in Your Bathroom Sink

A Common Household Problem
 If you have a dripping faucet in your bathroom sink, you are not alone. This is a common household problem that can be quite annoying and wasteful. Not only does it create a constant dripping sound, but it can also lead to higher water bills and potential damage to your sink and pipes. Luckily, fixing a dripping faucet is a relatively simple task that can be done on your own without the need for a plumber. In this article, we will guide you through the steps to fix a dripping faucet in your bathroom sink.
Tools and Materials Needed
 Before you begin, gather the necessary tools and materials to fix your dripping faucet. You will need an adjustable wrench, screwdriver, replacement
valve cartridge
, and plumber's tape. These can be found at your local hardware store or online.
Before you begin, gather the necessary tools and materials to fix your dripping faucet. You will need an adjustable wrench, screwdriver, replacement
valve cartridge
, and plumber's tape. These can be found at your local hardware store or online.
Step 1: Turn Off the Water
 The first step is to turn off the water supply to your bathroom sink. Look for the shut-off valves under the sink and turn them clockwise until they are fully closed. If you cannot find the shut-off valves, you may need to turn off the main water supply to your house.
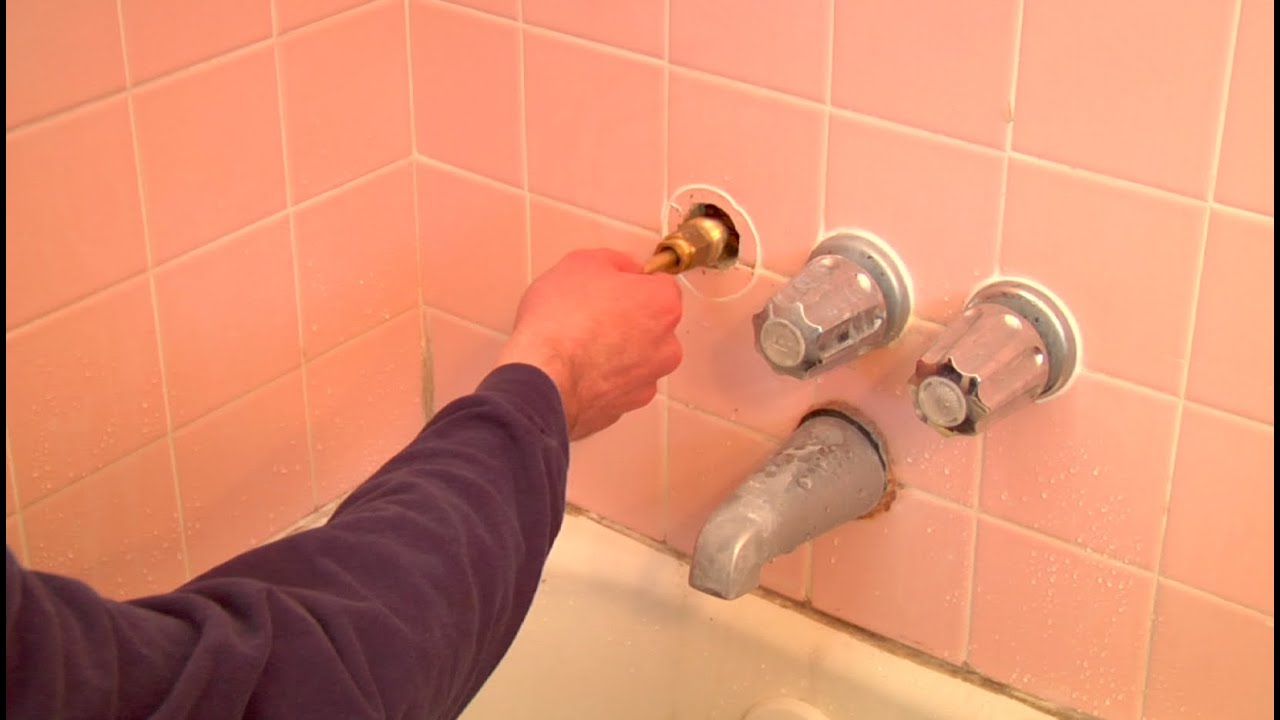
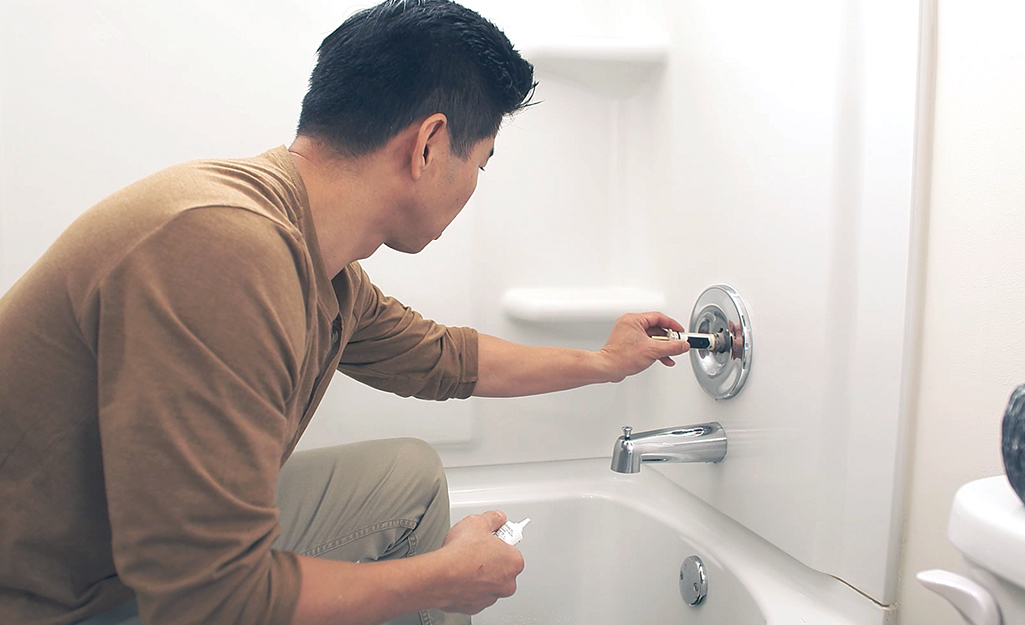
Step 2: Remove the Faucet Handle
 Using the screwdriver, remove the screw on the top or side of the faucet handle. Once the screw is removed, you can easily lift off the handle. Some handles may have a decorative cap covering the screw, which can be removed with a flathead screwdriver or by simply twisting it off.
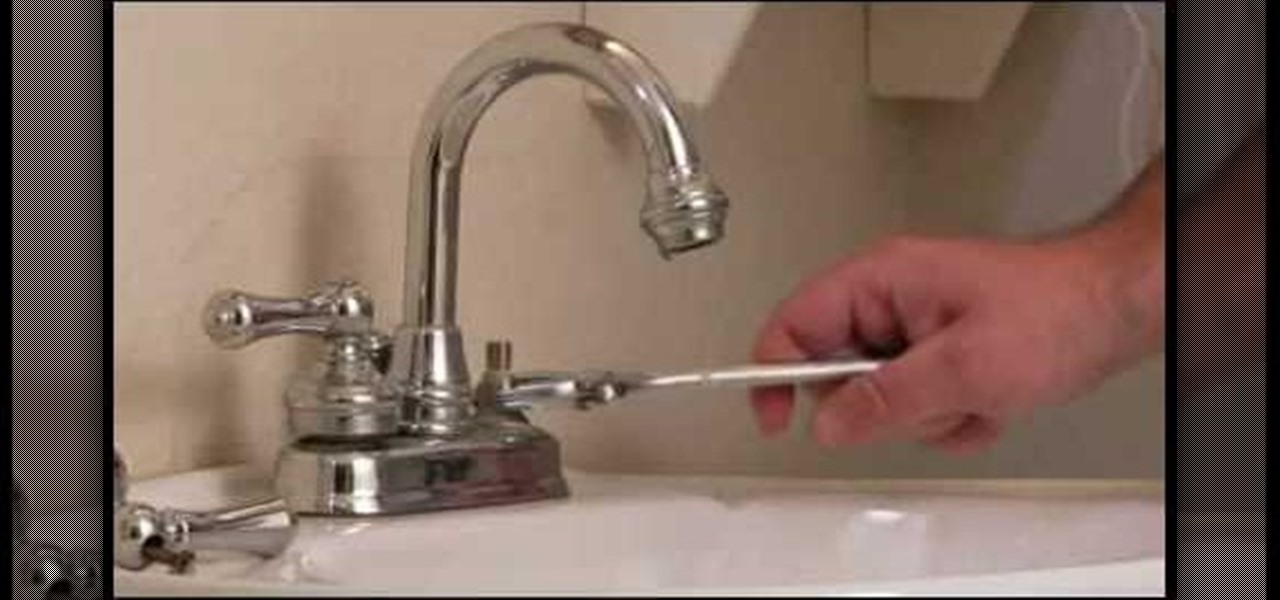
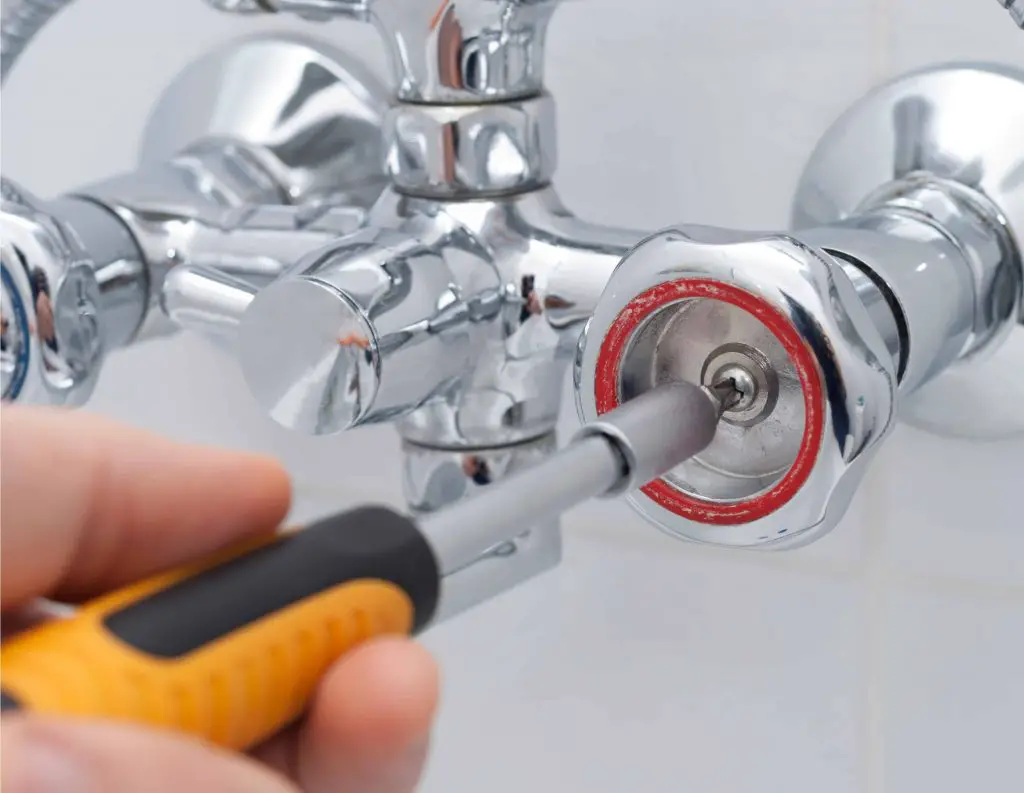
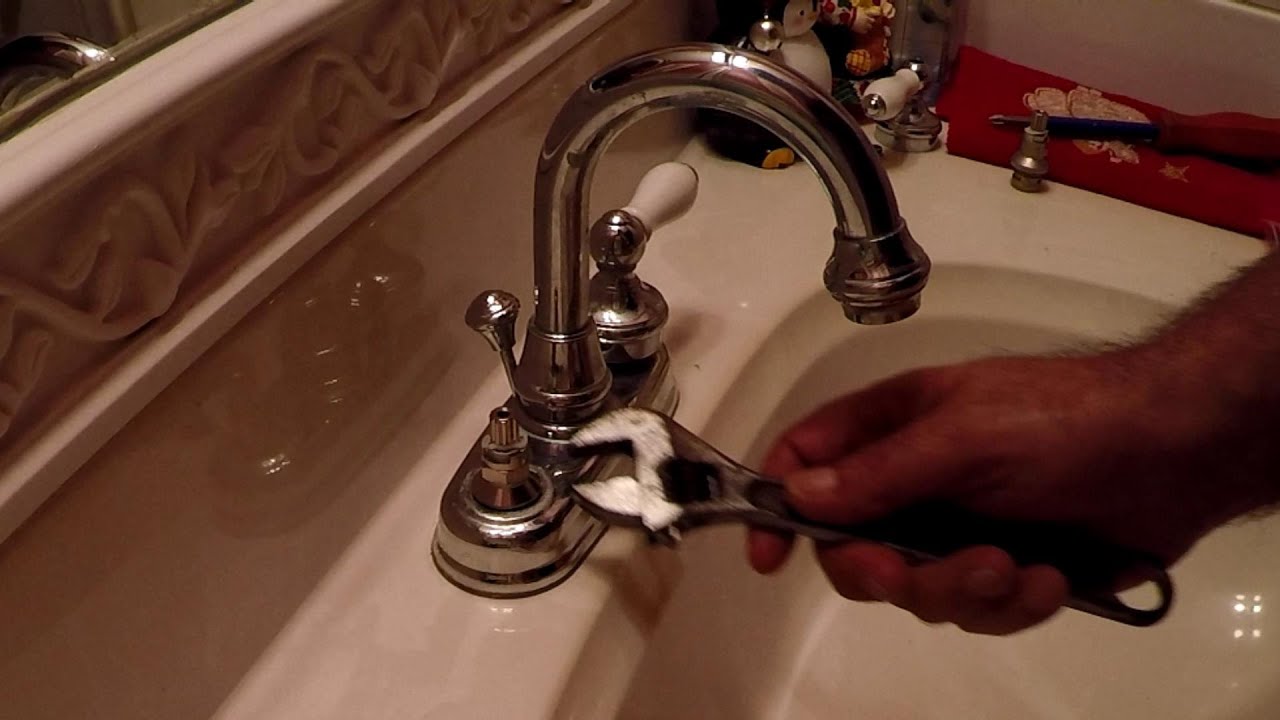
Step 3: Remove the Valve Cartridge
 Using the adjustable wrench, carefully unscrew the
valve cartridge
from the faucet body. This is the part responsible for controlling the flow of water. Once removed, inspect the cartridge for any cracks or damage. If it is damaged, you will need to replace it with a new one.
Using the adjustable wrench, carefully unscrew the
valve cartridge
from the faucet body. This is the part responsible for controlling the flow of water. Once removed, inspect the cartridge for any cracks or damage. If it is damaged, you will need to replace it with a new one.
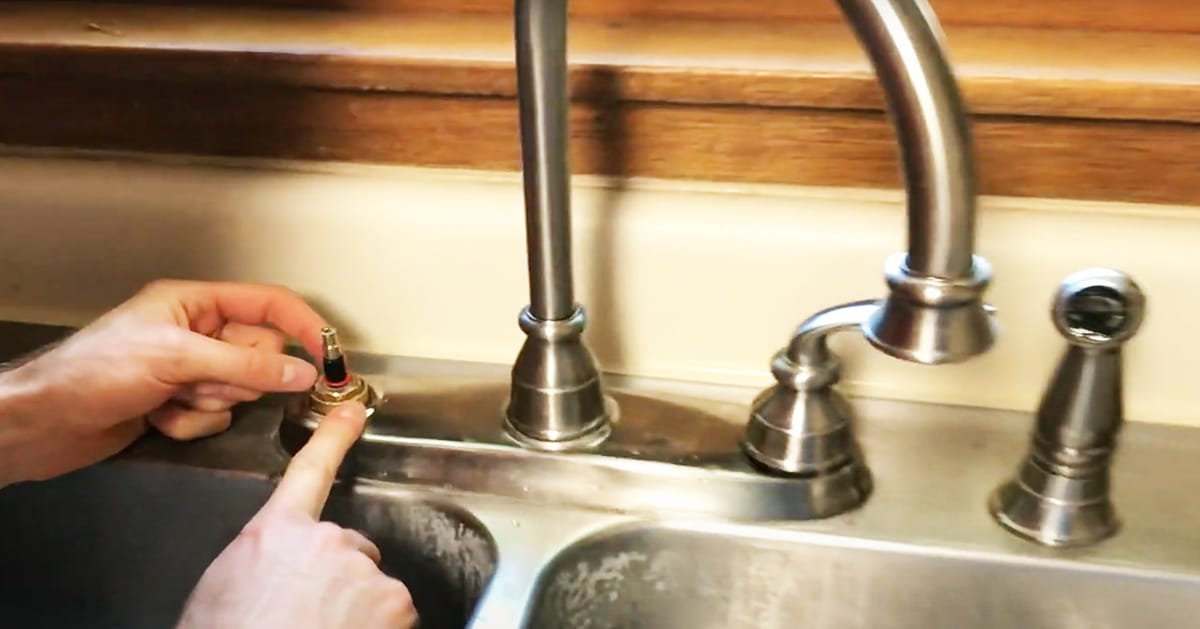
Step 4: Install the New Cartridge
 If you need to replace the cartridge, simply screw in the new one in place of the old one. Make sure it is securely in place and then reattach the faucet handle.
Step 5: Turn the Water Back On
 Once the new cartridge is in place, turn the water supply back on and test the faucet. If it is still dripping, you may need to tighten the cartridge further or replace it again.
Step 6: Apply Plumber's Tape
 If the faucet is no longer dripping, but you notice a small leak at the base of the handle, you may need to apply plumber's tape. This will create a tight seal and prevent any further leaks.
Conclusion
 Fixing a dripping faucet in your bathroom sink is a simple task that can save you money and frustration in the long run. With the right tools and materials, you can easily tackle this common household problem on your own. Remember to turn off the water supply before beginning and always test the faucet after completing the repair. Happy fixing!