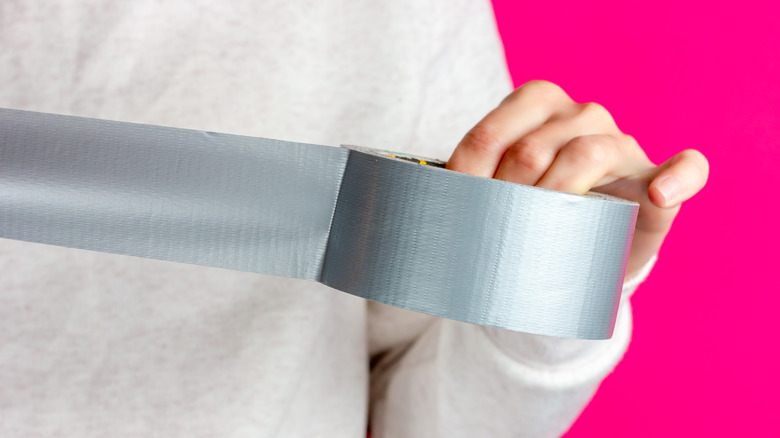
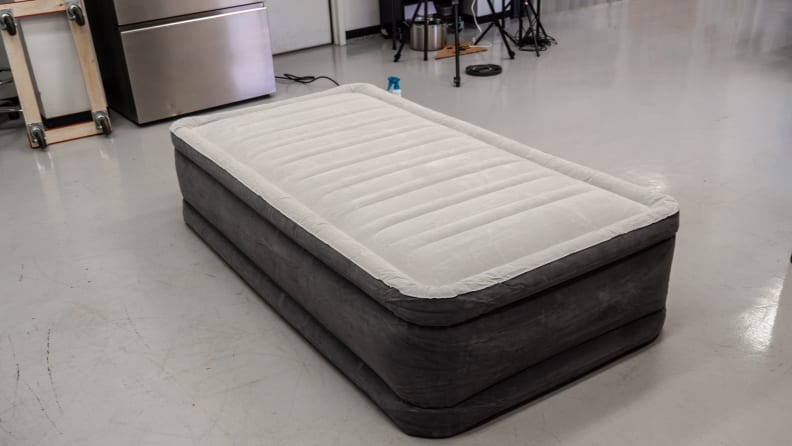
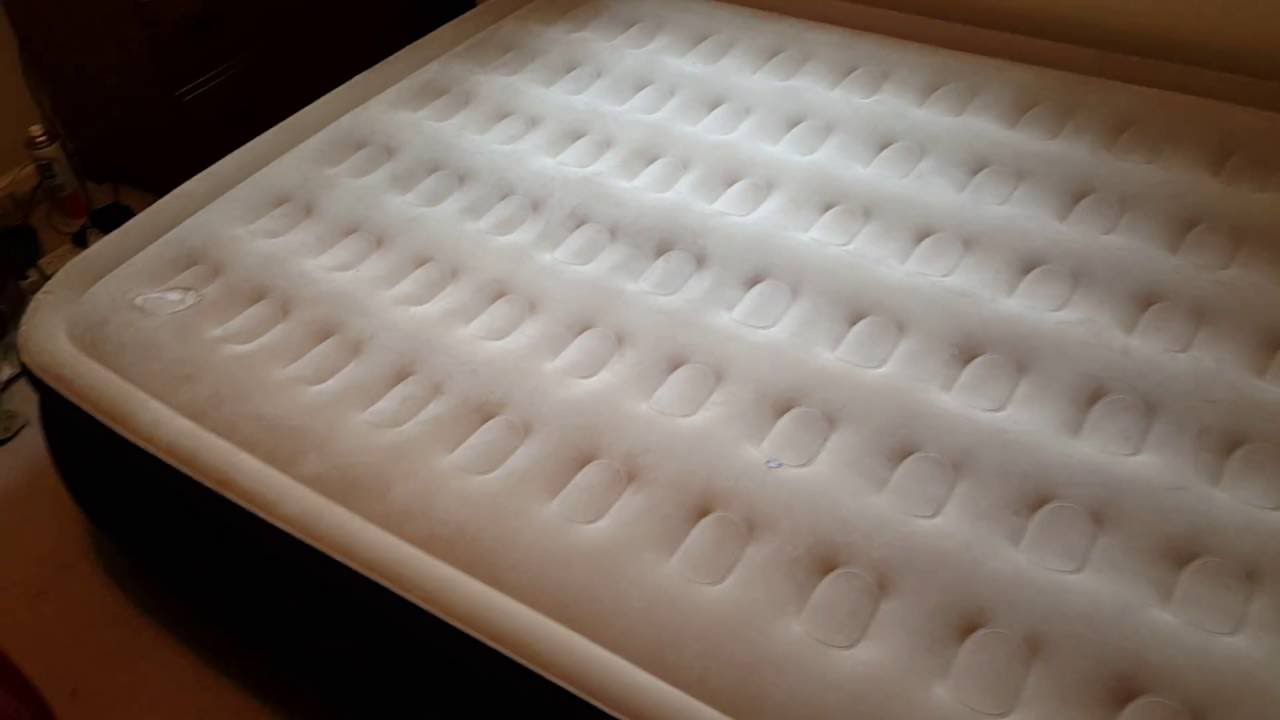
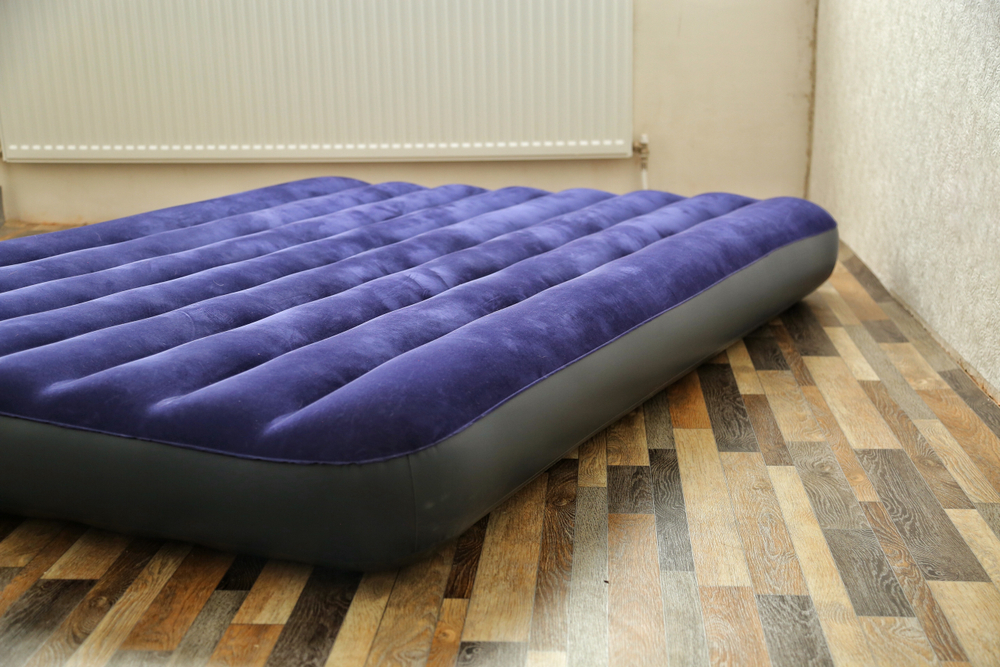
Dealing with a leaky air mattress can be frustrating, especially when you're in need of a good night's sleep. But fear not, because duct tape is here to save the day! With its strong adhesive and waterproof properties, duct tape is the perfect solution for fixing a leaky air mattress. In this guide, we'll walk you through the steps to fix your air mattress using duct tape, so you can get back to enjoying a comfortable and uninterrupted slumber.1. How to Fix a Leaky Air Mattress with Duct Tape


1. How to Fix a Leaky Air Mattress with Duct Tape


Aside from repairing leaks, duct tape can also be used for other air mattress-related problems. For example, if you have a rip or tear on the surface of your air mattress, you can use duct tape to patch it up. Simply cut a piece of duct tape that is slightly larger than the damaged area and press it firmly onto the surface. This will create a strong and durable seal to prevent any further damage.2. Duct Tape Hacks for Your Air Mattress


2. Duct Tape Hacks for Your Air Mattress


When it comes to fixing a leaky air mattress, duct tape is the go-to solution for many. However, there are certain techniques that can make the repair process even more effective. First, deflate your air mattress completely before attempting to fix it. This will make it easier to locate the leak and ensure that the duct tape adheres properly. It's also a good idea to clean and dry the area around the leak to remove any dirt or debris that may prevent the tape from sticking.3. The Ultimate Guide to Repairing an Air Mattress with Duct Tape


3. The Ultimate Guide to Repairing an Air Mattress with Duct Tape


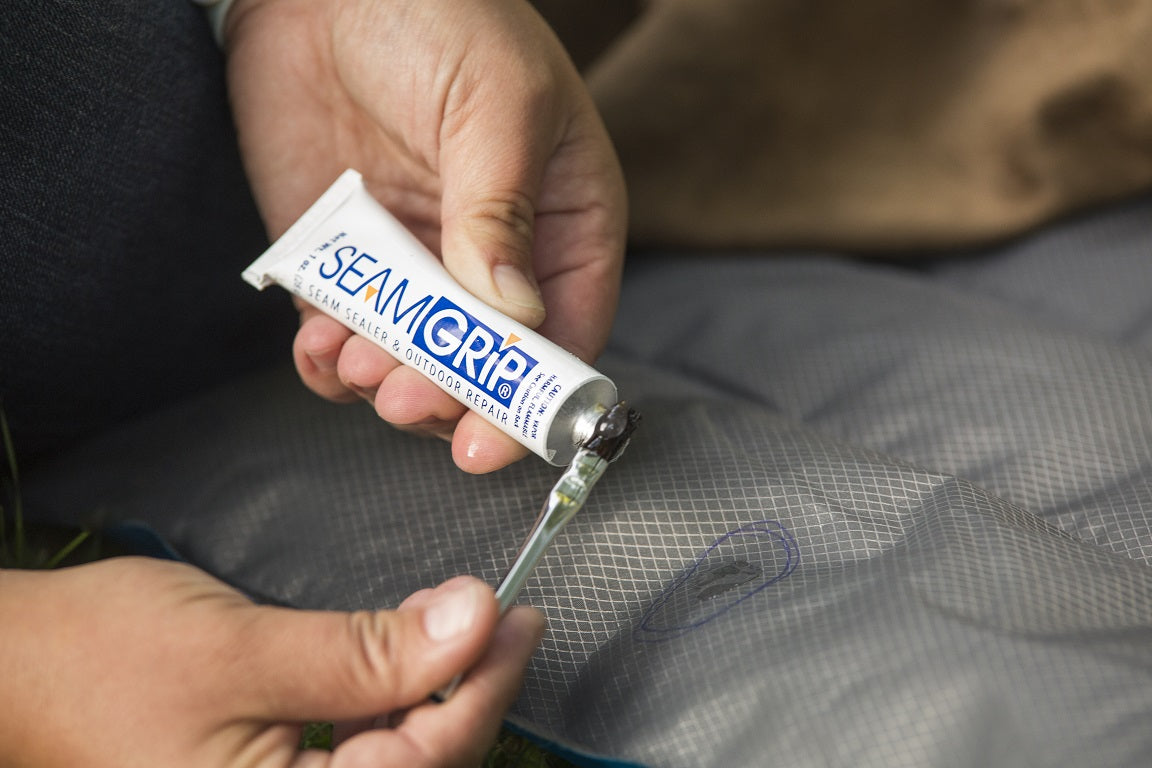
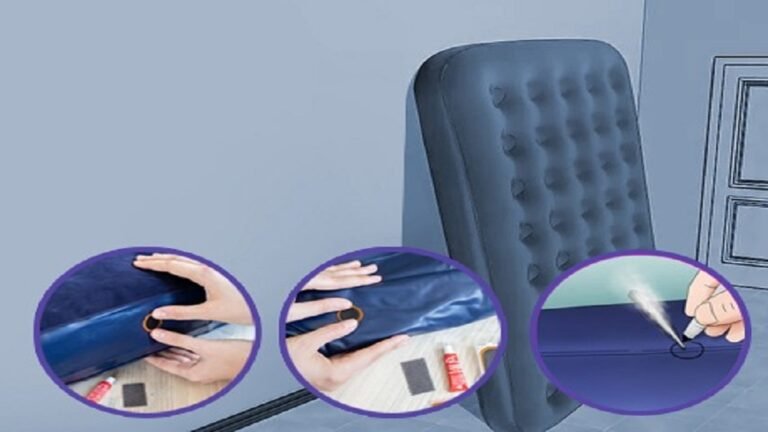
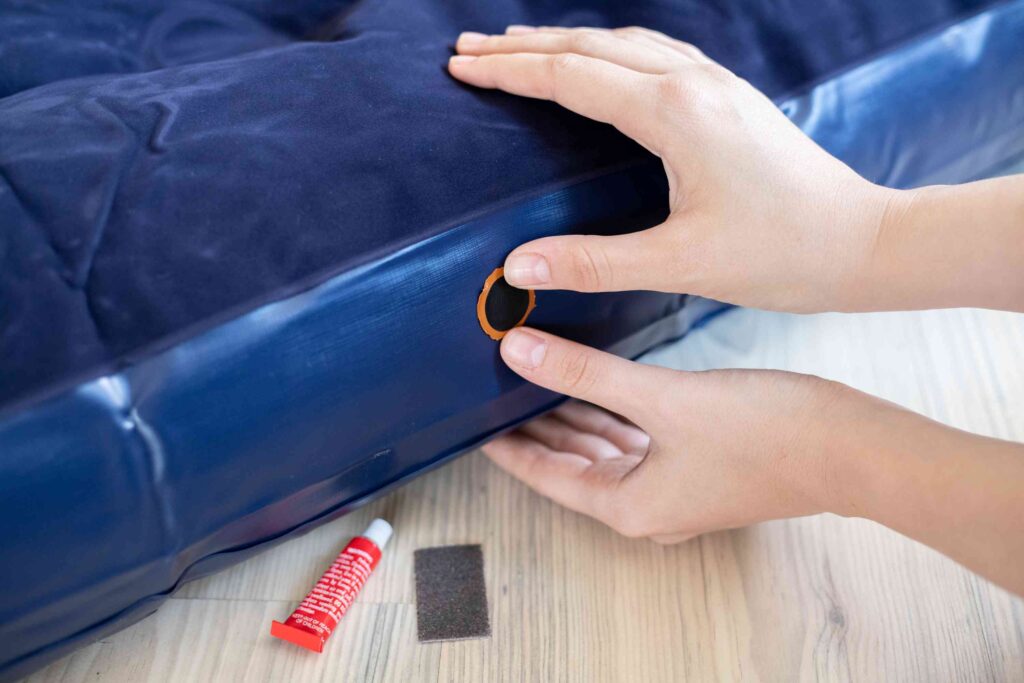
If you're looking to save some money and fix your air mattress yourself, duct tape can be a cost-effective and efficient solution. Start by identifying the location of the leak. Then, cut a piece of duct tape that is large enough to cover the entire leak, with some extra on the sides for reinforcement. Press the tape firmly onto the surface, making sure there are no air bubbles or creases. For added durability, you can also apply a second layer of duct tape.4. DIY: Fixing a Leaky Air Mattress with Duct Tape


4. DIY: Fixing a Leaky Air Mattress with Duct Tape


For a quick fix on a small leak, you can use a piece of duct tape in the shape of a cross. Simply place the cross over the leak and press down firmly. This will create a strong seal and prevent any further air from escaping. However, keep in mind that this may not be a long-term solution and you may need to replace the tape or add more layers in the future.5. Quick and Easy Fix for a Leaky Air Mattress using Duct Tape


5. Quick and Easy Fix for a Leaky Air Mattress using Duct Tape


If you're dealing with multiple leaks on your air mattress, duct tape can still come to the rescue. Cut a long strip of duct tape and place it over the area where the leaks are located. Make sure the tape covers each leak completely and press down firmly. This will create a strong barrier and prevent any air from escaping. It's also a good idea to add a second layer of tape for extra reinforcement.6. Duct Tape Solutions for a Leaky Air Mattress


6. Duct Tape Solutions for a Leaky Air Mattress


If your air mattress has a hole or tear, you can use duct tape to patch it up and prevent any further damage. First, clean and dry the area around the hole to ensure the tape sticks properly. Then, cut a piece of duct tape that is slightly larger than the hole. Place the tape over the hole and press down firmly. For added durability, you can also apply a second layer of tape on top of the first one.7. How to Patch a Hole in an Air Mattress with Duct Tape
7. How to Patch a Hole in an Air Mattress with Duct Tape


While duct tape can be a quick and easy solution for fixing a leaky air mattress, it's important to note that it may not be a permanent fix. If your air mattress has multiple leaks or has been patched up several times, it may be time to invest in a new one. However, duct tape can still be used to temporarily fix any small leaks or tears until you are able to purchase a new air mattress.8. The Best Way to Repair an Air Mattress with Duct Tape


8. The Best Way to Repair an Air Mattress with Duct Tape


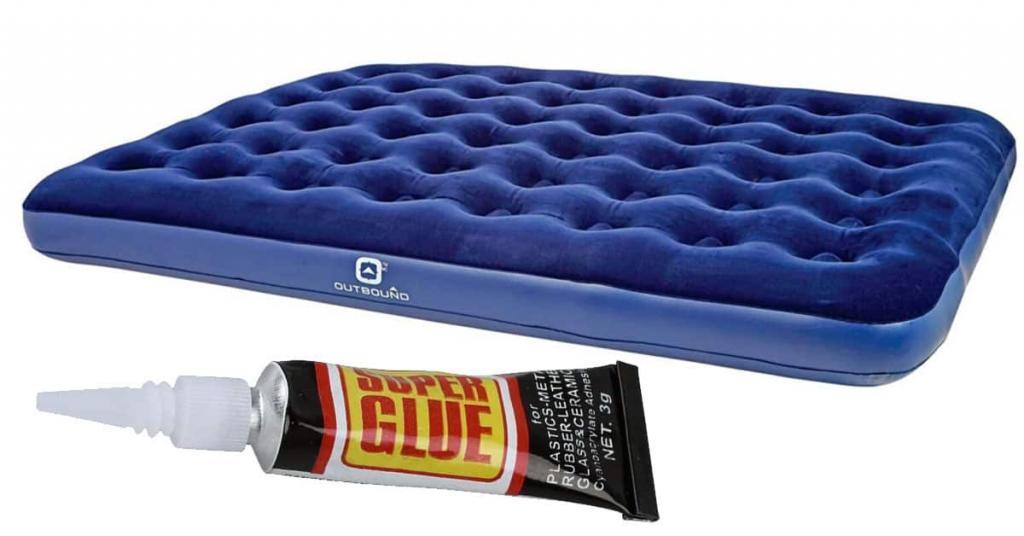
If you're dealing with a stubborn leak that just won't stay sealed, there are a few tricks you can try to make the duct tape adhere better. Before applying the tape, you can use a hairdryer on low heat to warm up the area around the leak. This will help the adhesive on the tape to stick better. Additionally, you can also use a small amount of super glue on the edges of the tape for added reinforcement.9. Duct Tape Tricks for Fixing a Leaky Air Mattress
9. Duct Tape Tricks for Fixing a Leaky Air Mattress


Here's a recap of the steps for fixing a leaky air mattress with duct tape: 1. Deflate the air mattress completely. 2. Clean and dry the area around the leak. 3. Cut a piece of duct tape that is large enough to cover the leak, with extra for reinforcement. 4. Apply the duct tape firmly over the leak, making sure there are no air bubbles or creases. 5. For added durability, apply a second layer of duct tape. 6. Inflate the air mattress and check for any remaining leaks. 7. If needed, repeat the process or try using a different technique. With these tips and tricks, you can easily fix a leaky air mattress using duct tape and get a good night's sleep without any interruptions. Remember to always keep a roll of duct tape handy for any future air mattress mishaps!10. Step-by-Step Guide to Fixing a Leaky Air Mattress with Duct Tape


10. Step-by-Step Guide to Fixing a Leaky Air Mattress with Duct Tape
How to Fix a Leaky Air Mattress with Duct Tape: A Quick and Easy Solution
 If you have ever owned an air mattress, you know how frustrating it can be when it starts to leak. Not only does it disrupt your sleep, but it also means constantly having to inflate it throughout the night. Luckily, there is a simple and effective solution to this problem – duct tape. In this article, we will show you how to use
duct tape
to fix a leaky air mattress, saving you time and money in the process.
If you have ever owned an air mattress, you know how frustrating it can be when it starts to leak. Not only does it disrupt your sleep, but it also means constantly having to inflate it throughout the night. Luckily, there is a simple and effective solution to this problem – duct tape. In this article, we will show you how to use
duct tape
to fix a leaky air mattress, saving you time and money in the process.
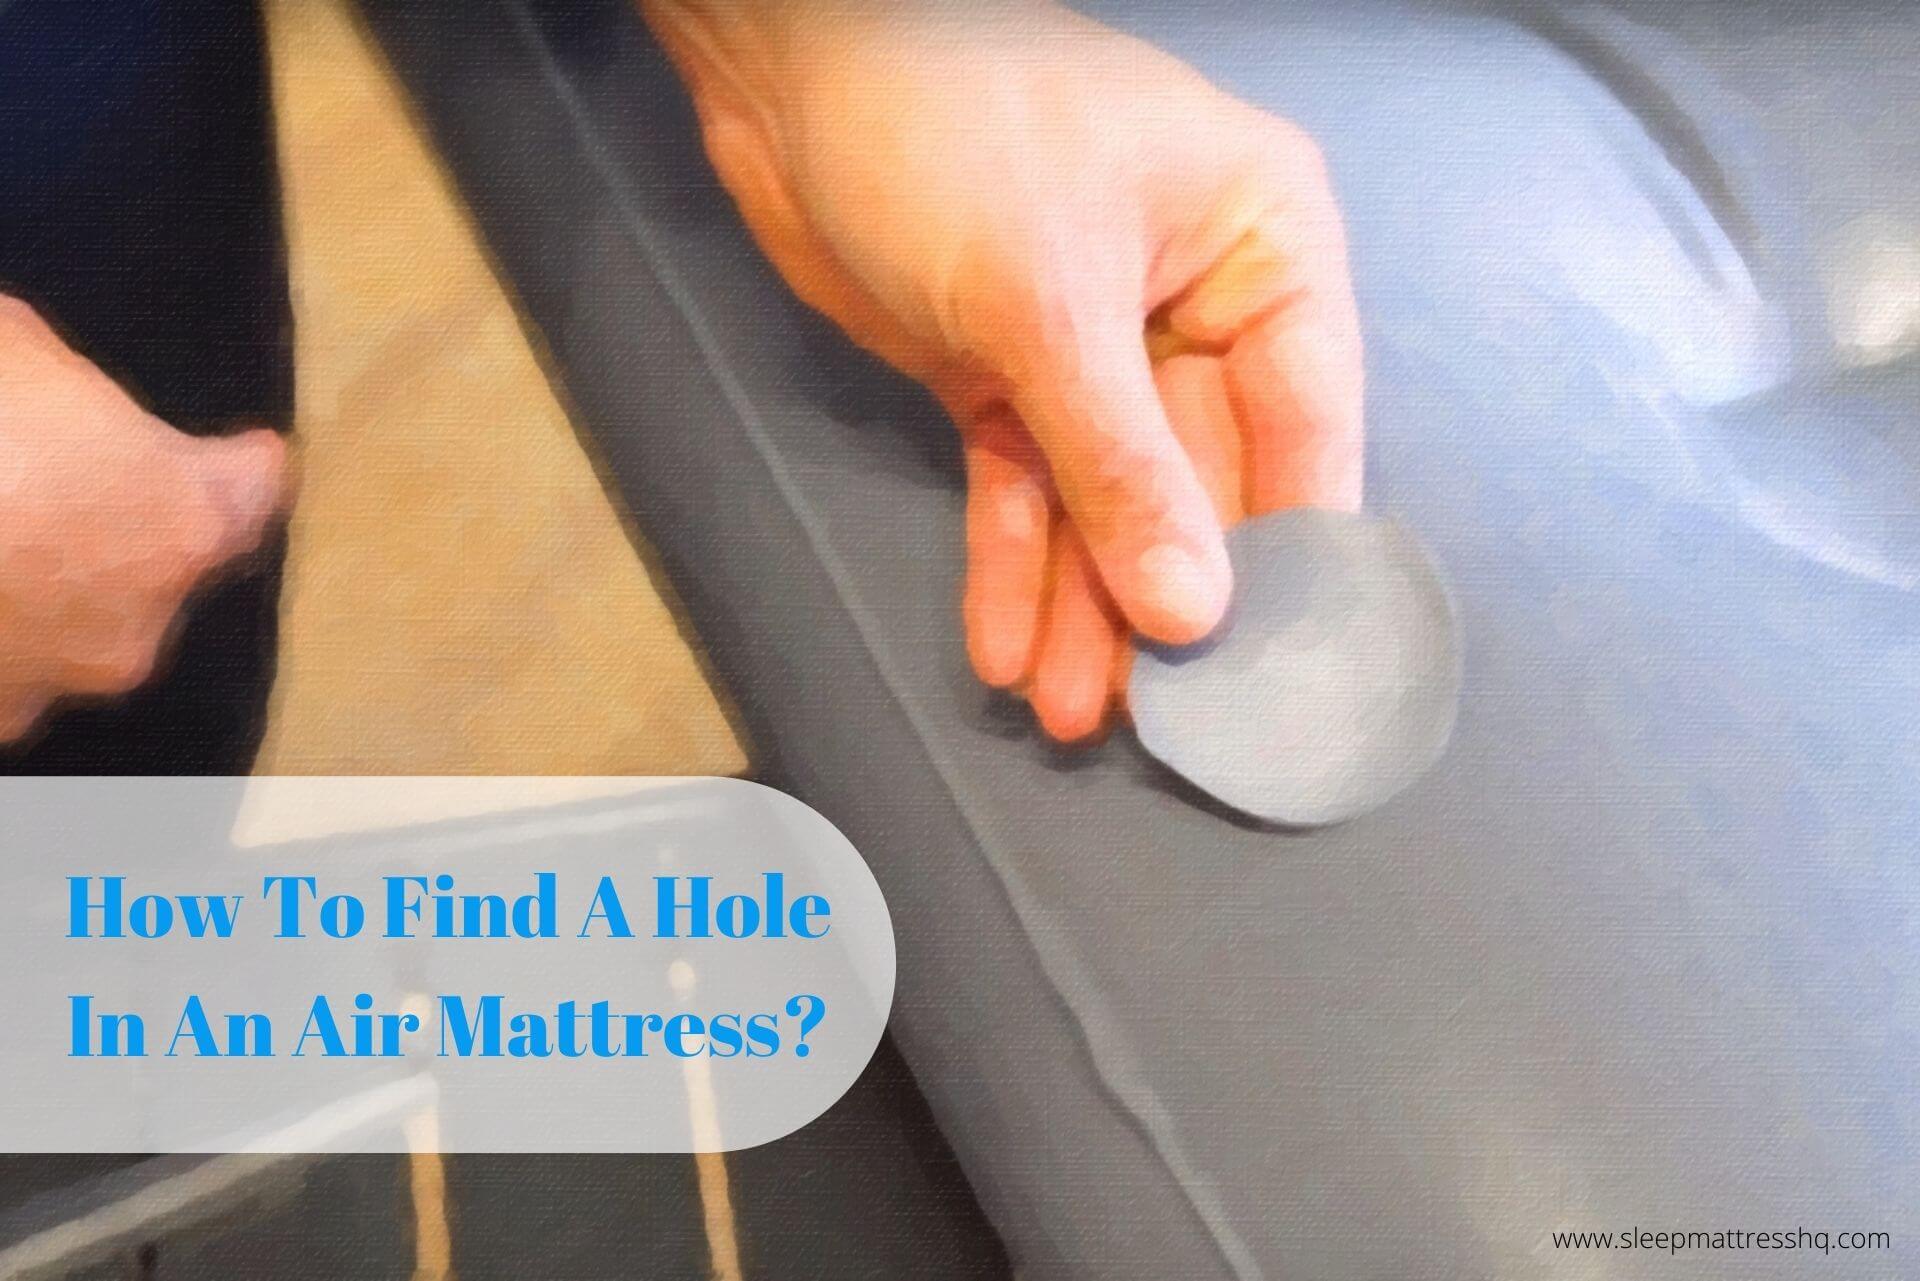
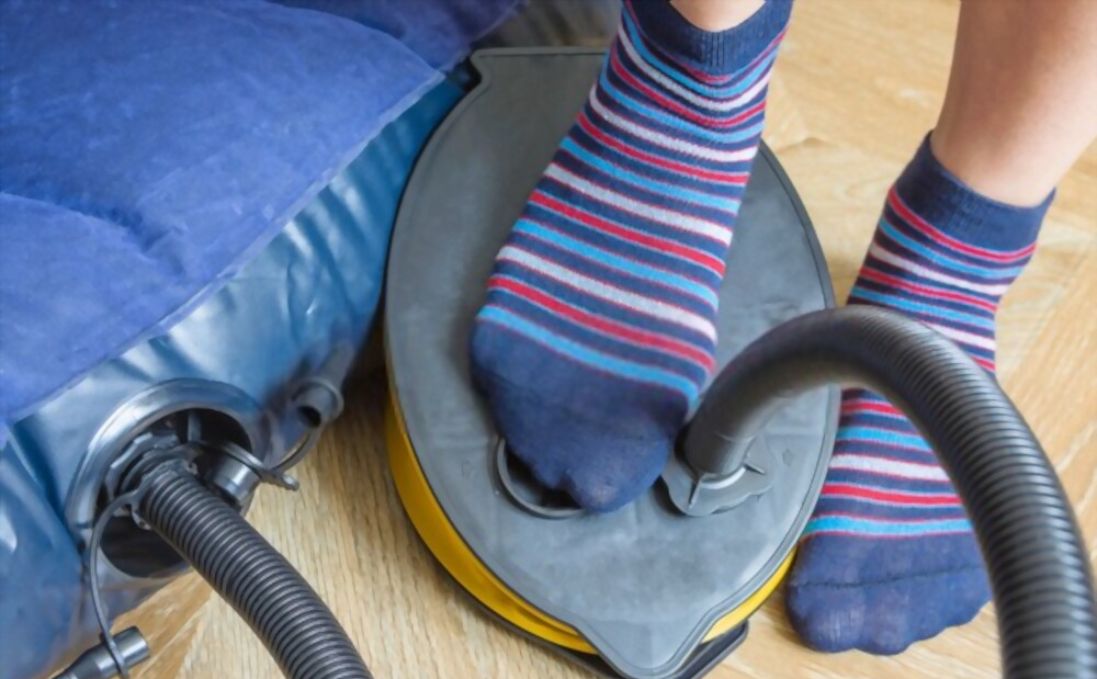
Step 1: Locate the Leak
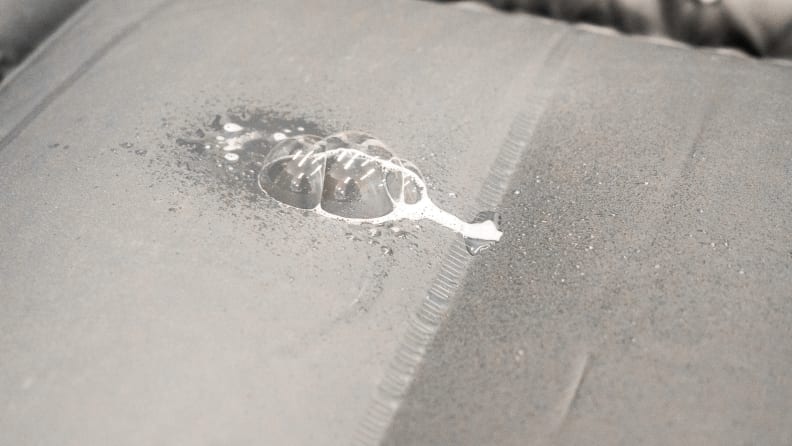
 The first step in fixing a leaky air mattress is to locate the source of the leak. This can be done by inflating the mattress and listening for any hissing sounds or by feeling for any escaping air with your hands. Once you have identified the area of the leak, mark it with a pen or a small piece of tape so that you can easily find it again.
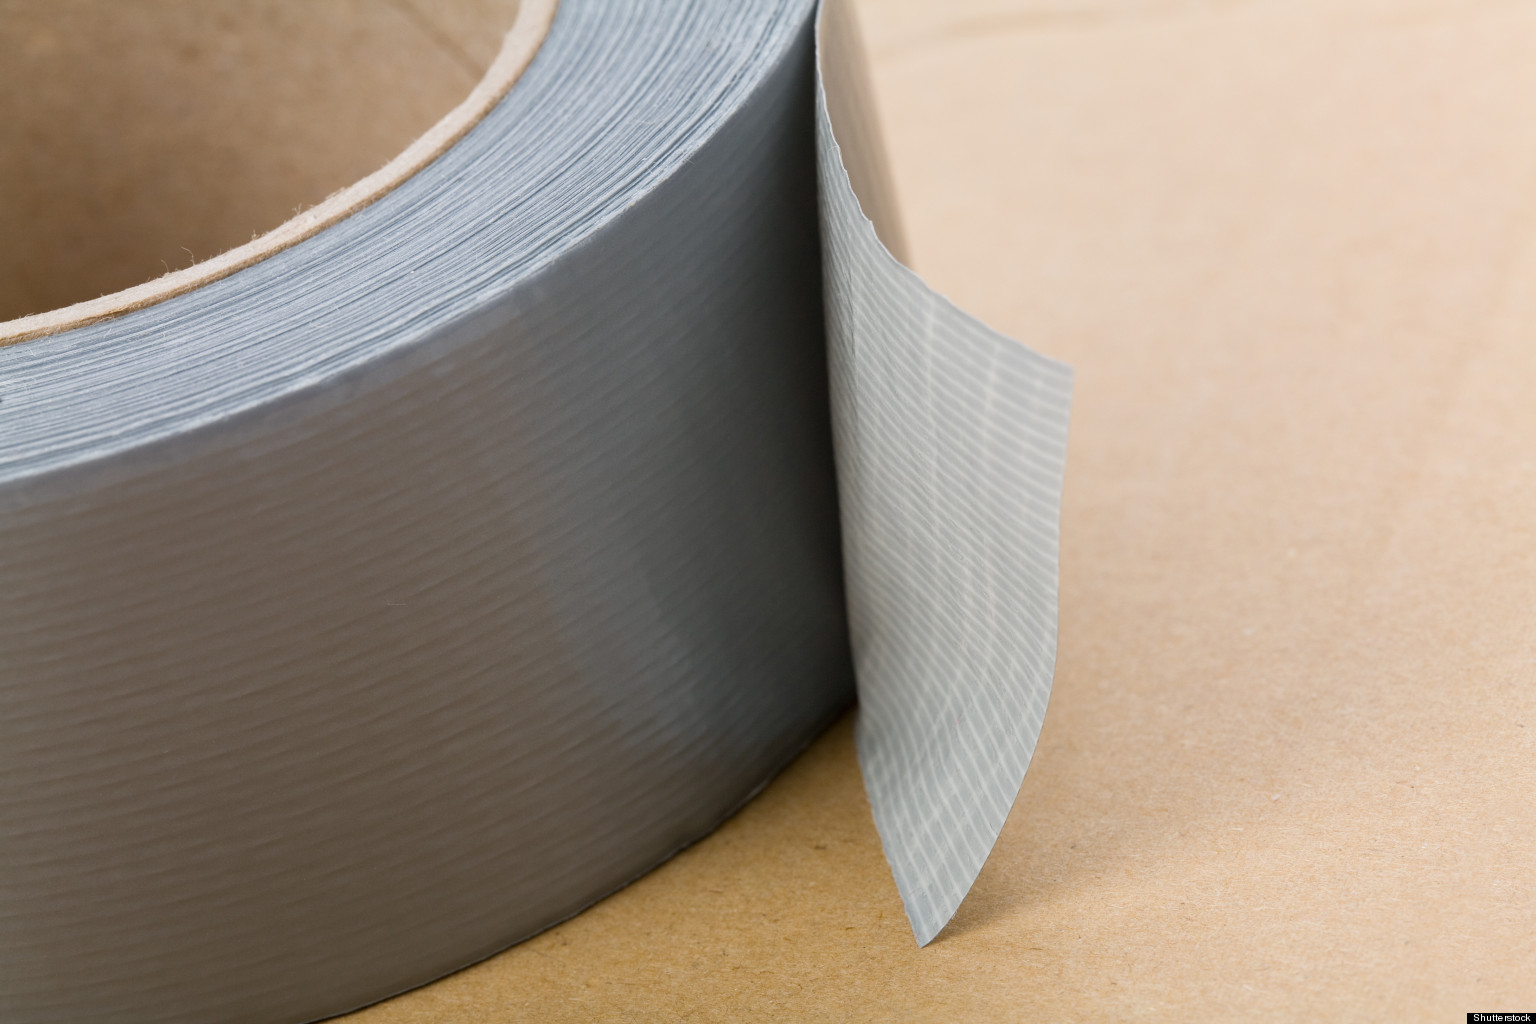
Step 2: Gather Your Materials
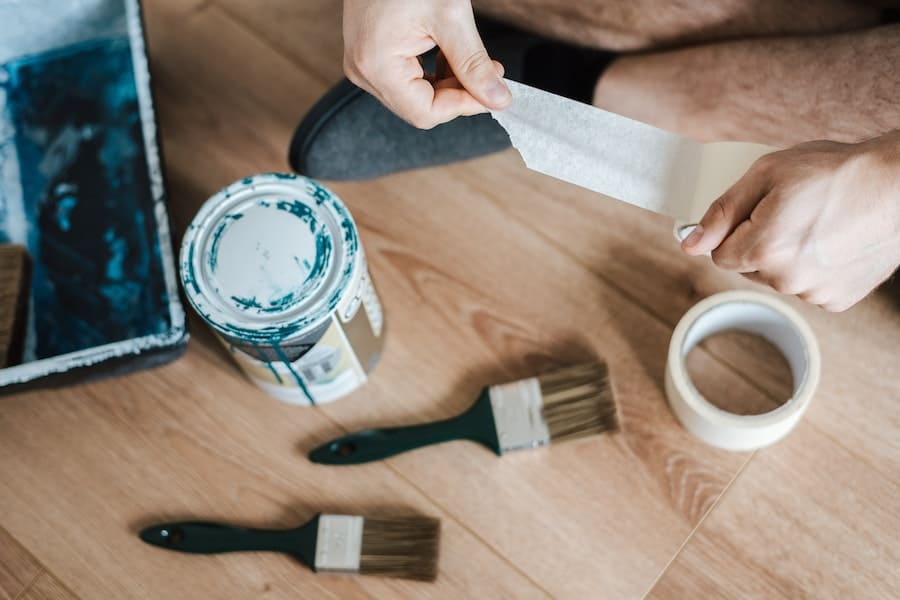
 To fix the leak, you will need a few supplies. The most important one being duct tape. Make sure to use a high-quality tape that is strong and waterproof. You will also need a pair of scissors and a clean cloth to dry the area around the leak.
Step 3: Clean and Dry the Area
 Before applying the duct tape, it is important to clean and dry the area around the leak. Use a clean cloth to remove any dirt or debris and make sure the area is completely dry. This will ensure that the tape adheres properly and creates a strong seal.
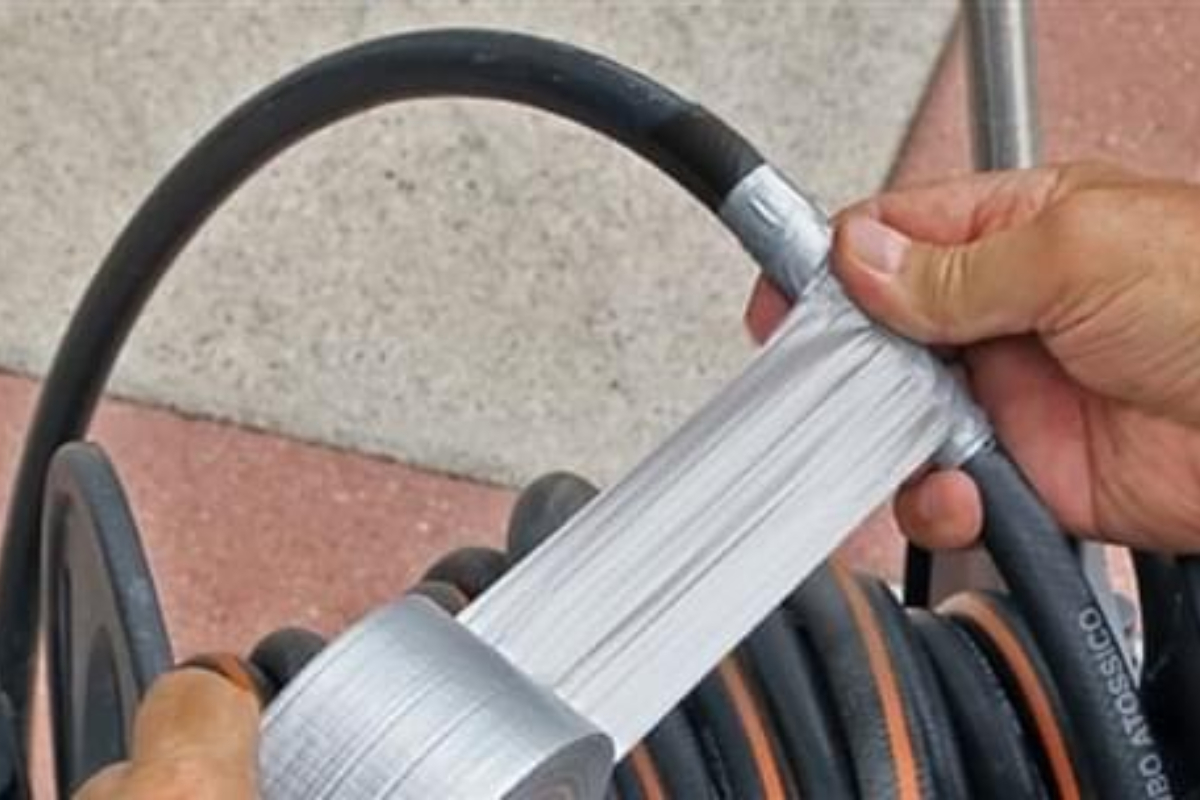
Step 4: Apply the Duct Tape
 Now it's time to use the duct tape to fix the leak. Cut a piece of tape that is slightly larger than the area of the leak. Place the tape over the marked spot, making sure to cover it completely. Press down firmly to ensure a strong seal. You can also add additional layers of tape for added strength.
Step 5: Test the Repair
 After applying the duct tape, it's important to test the repair to make sure it is holding. Inflate the mattress and listen for any hissing sounds. If you don't hear any, then the repair was successful. If you do hear a hissing sound, locate the leak again and add more tape if necessary.
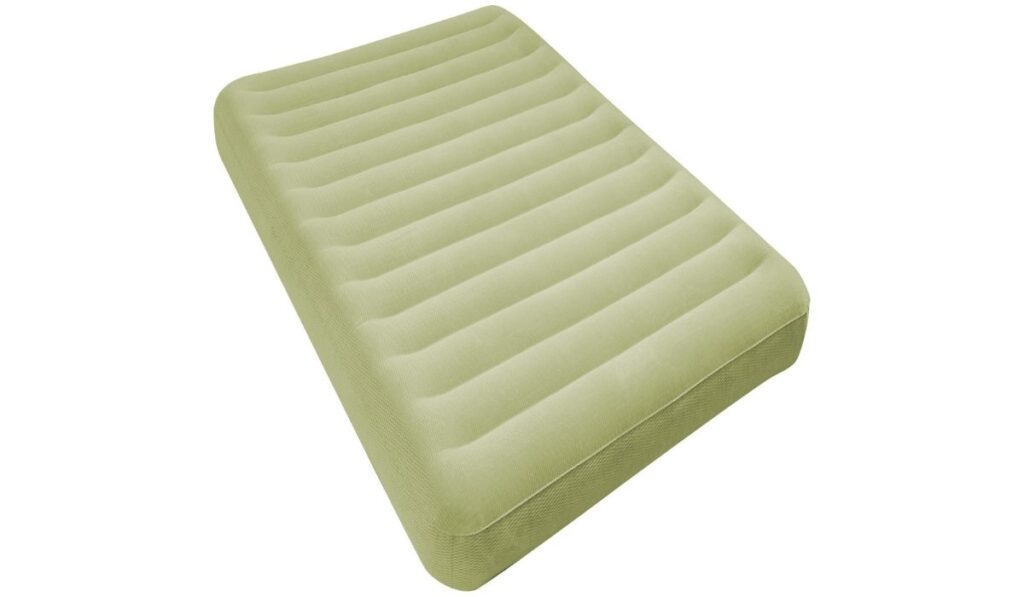
The Benefits of Using Duct Tape for Air Mattress Repairs
 Using duct tape to fix a leaky air mattress is not only quick and easy, but it also has many benefits. Duct tape is strong, waterproof, and readily available in most households. It is also a cost-effective solution, as you won't have to spend money on expensive repair kits or replacement mattresses. Plus, with proper application, the repair can last for a long time.
In conclusion, if you have a leaky air mattress, don't waste your time and money on expensive repairs or replacements. Use
duct tape
to fix the leak quickly and easily. Just remember to clean and dry the area, apply the tape properly, and test the repair before using the mattress again. With this simple solution, you can enjoy a comfortable and leak-free night's sleep.
Using duct tape to fix a leaky air mattress is not only quick and easy, but it also has many benefits. Duct tape is strong, waterproof, and readily available in most households. It is also a cost-effective solution, as you won't have to spend money on expensive repair kits or replacement mattresses. Plus, with proper application, the repair can last for a long time.
In conclusion, if you have a leaky air mattress, don't waste your time and money on expensive repairs or replacements. Use
duct tape
to fix the leak quickly and easily. Just remember to clean and dry the area, apply the tape properly, and test the repair before using the mattress again. With this simple solution, you can enjoy a comfortable and leak-free night's sleep.