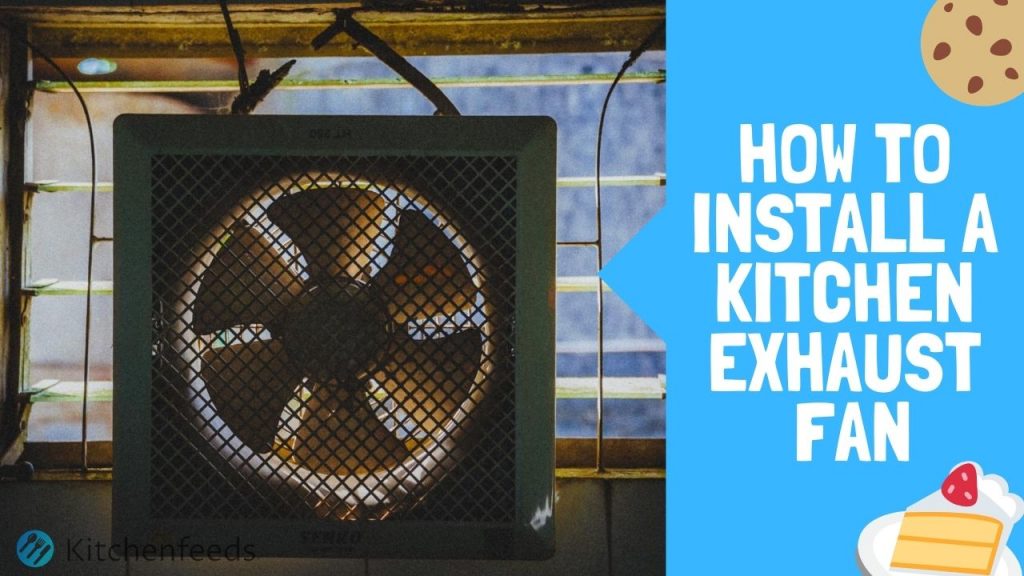
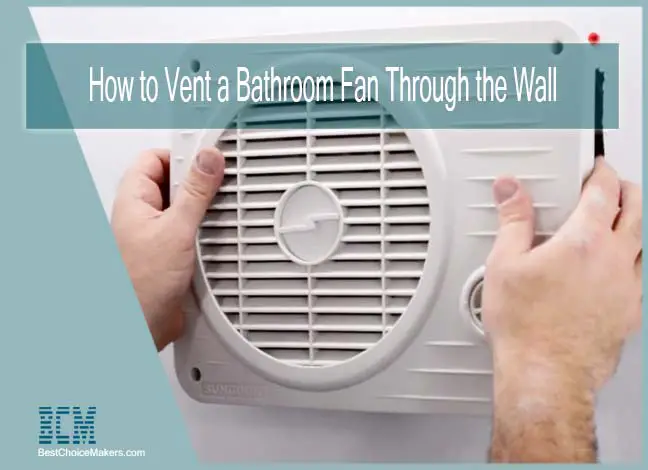
If you're tired of cooking smells and smoke lingering in your kitchen, installing a kitchen exhaust fan through the wall is a great solution. While this may seem like a daunting task, it's actually a project that you can easily do yourself. Follow this step-by-step guide for a simple and effective DIY kitchen exhaust fan installation.How to Install a Kitchen Exhaust Fan Through the Wall
How to Install a Kitchen Exhaust Fan Through the Wall


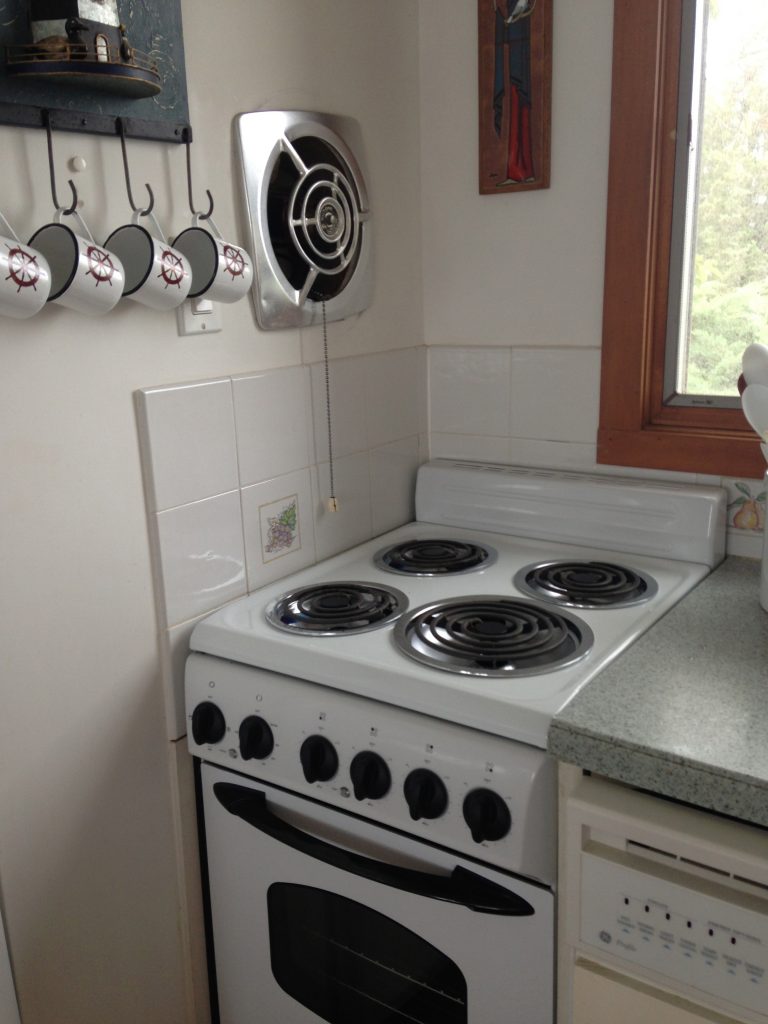
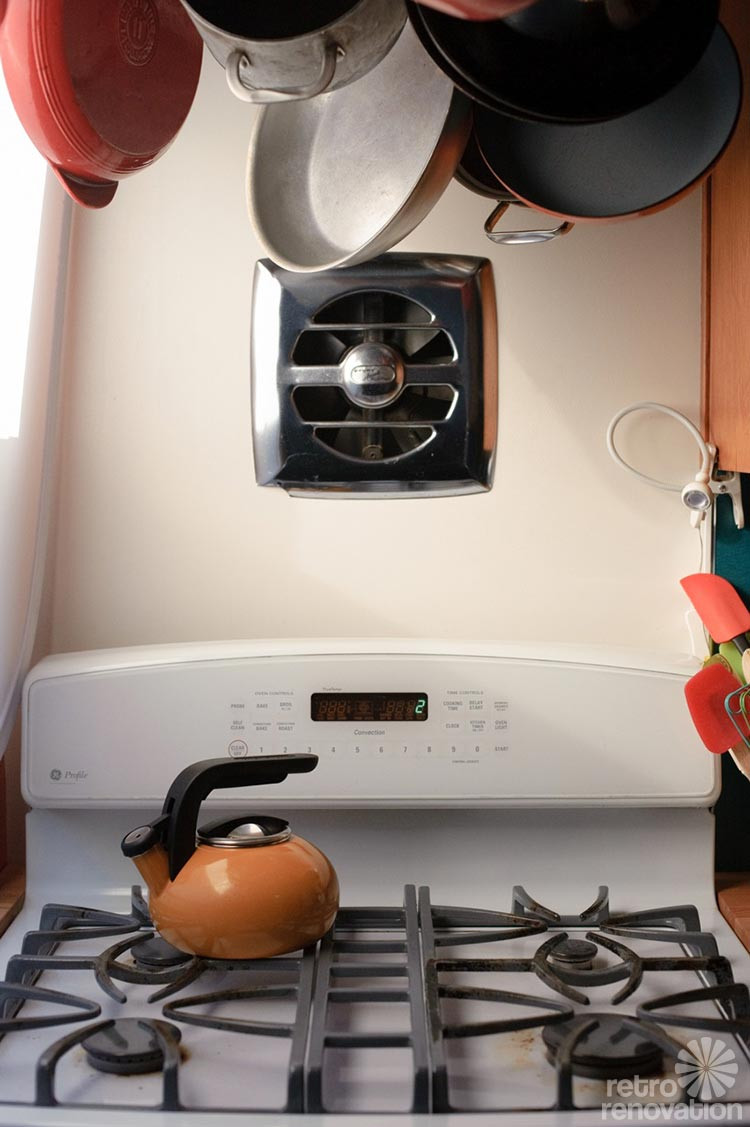
The first step in installing a kitchen exhaust fan through the wall is to choose the right location for your fan. Ideally, it should be placed above your stove or cooktop for maximum effectiveness. Once you've chosen the location, you'll need to measure and mark the area where the fan will be installed.DIY Kitchen Exhaust Fan Installation


DIY Kitchen Exhaust Fan Installation


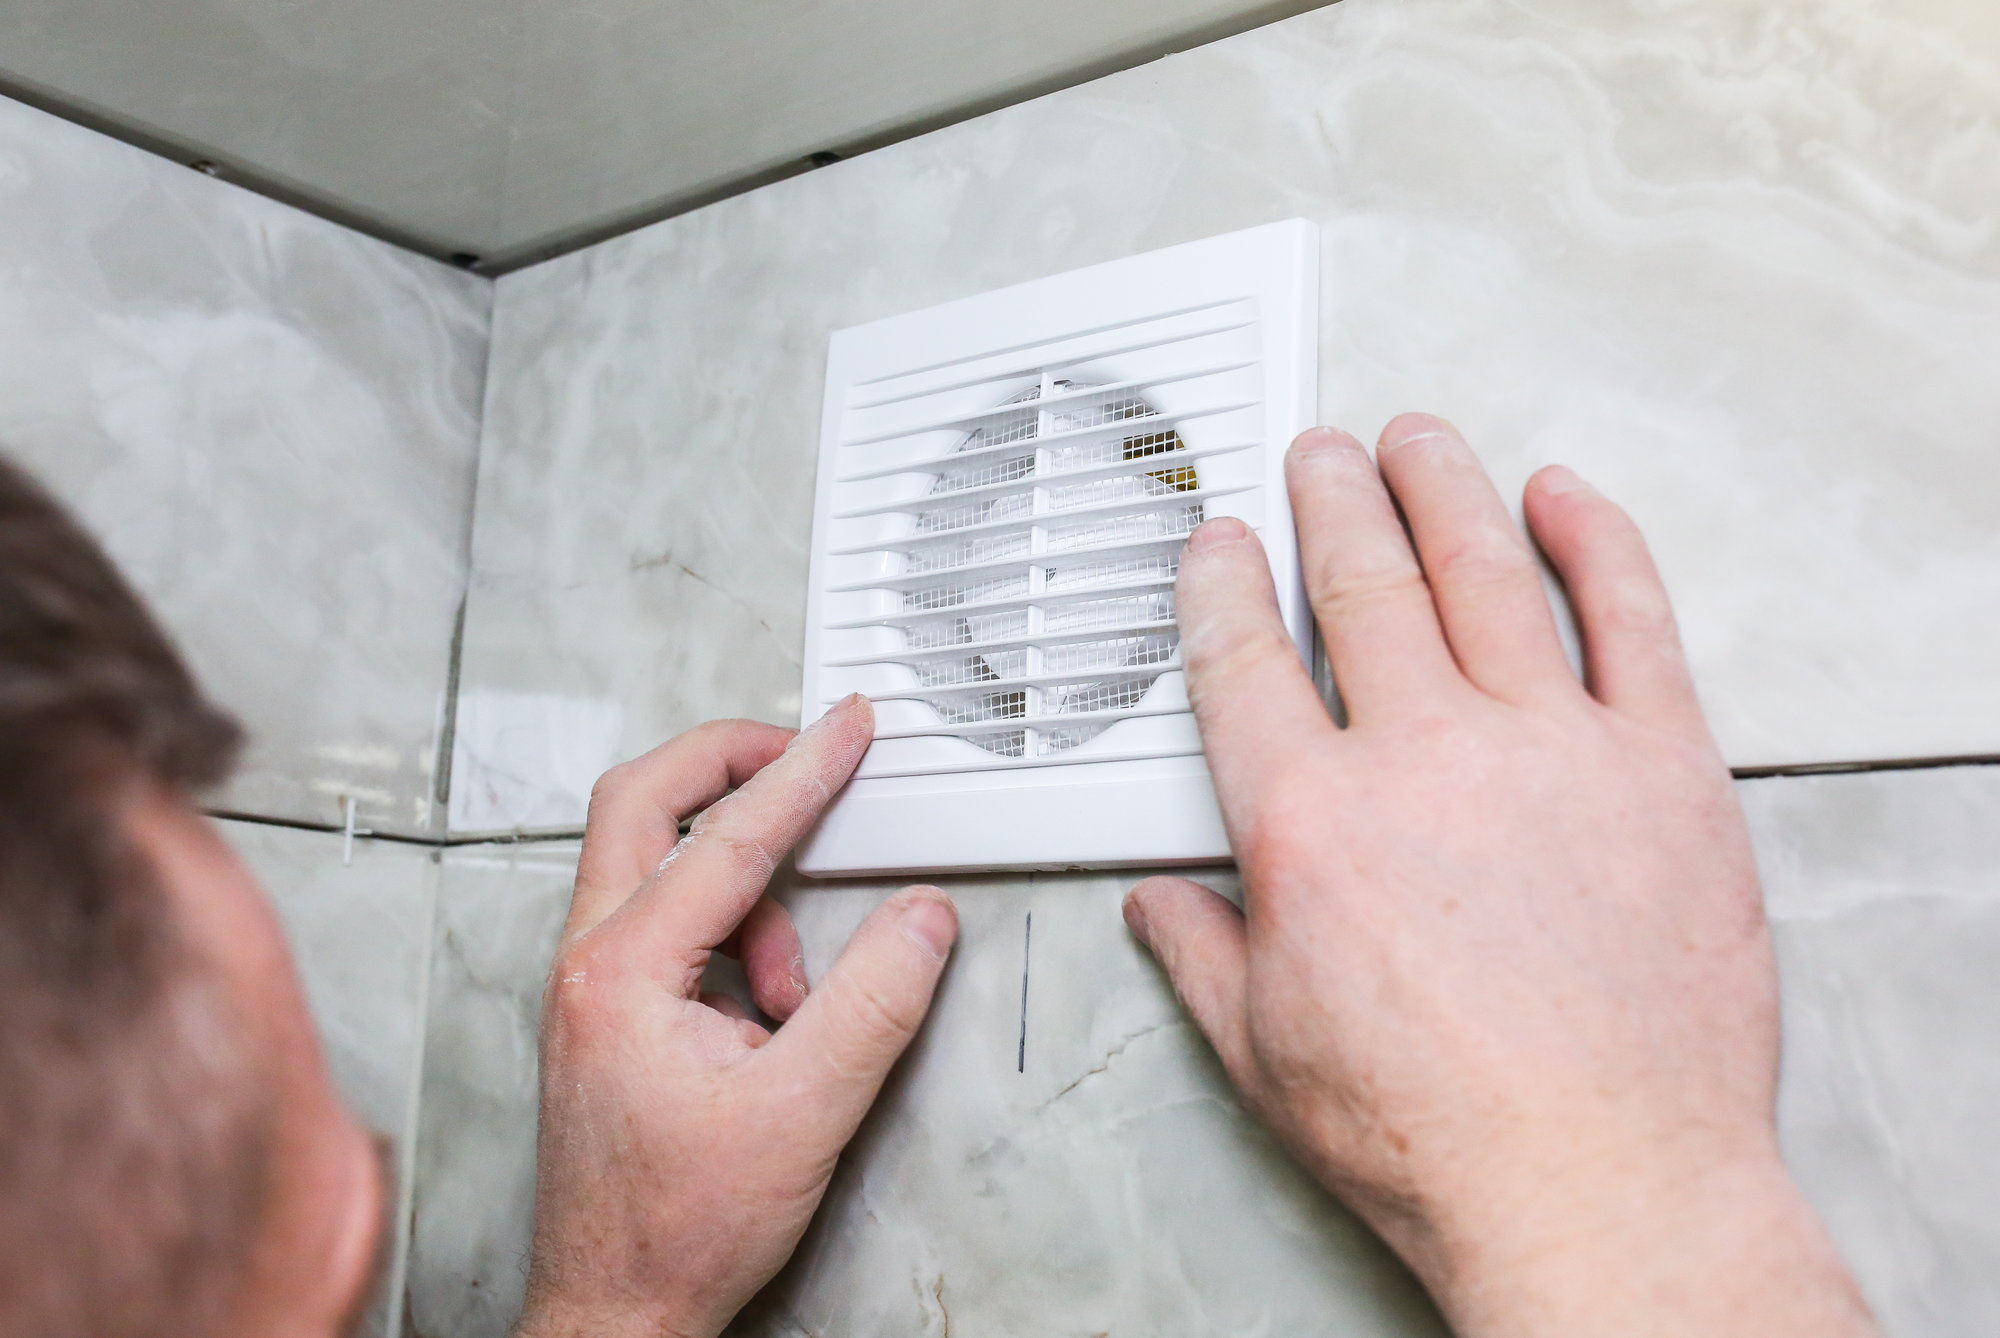
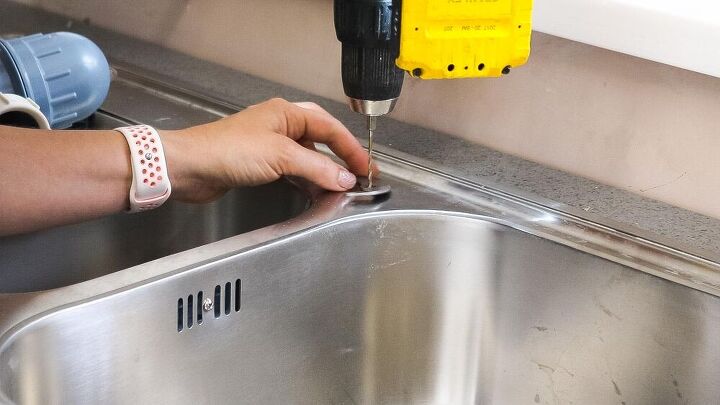
Next, you'll need to cut a hole in the wall for the fan. You can use a drywall saw or a jigsaw to do this. Make sure to follow the manufacturer's instructions for the size of the hole. Once the hole is cut, you can install the fan by securing it to the wall with screws.Step-by-Step Guide for Installing a Kitchen Exhaust Fan


Step-by-Step Guide for Installing a Kitchen Exhaust Fan


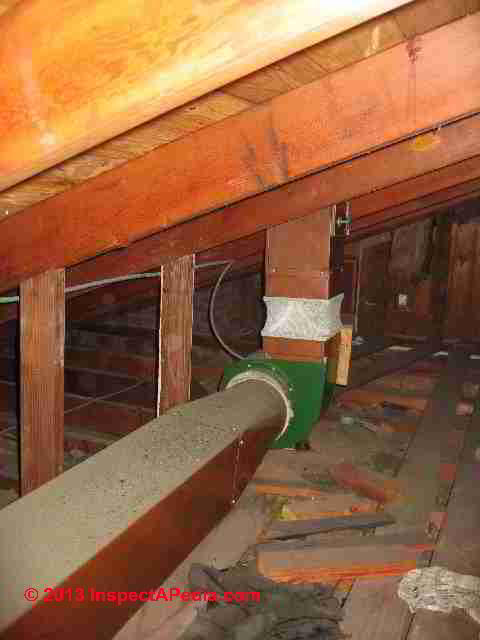
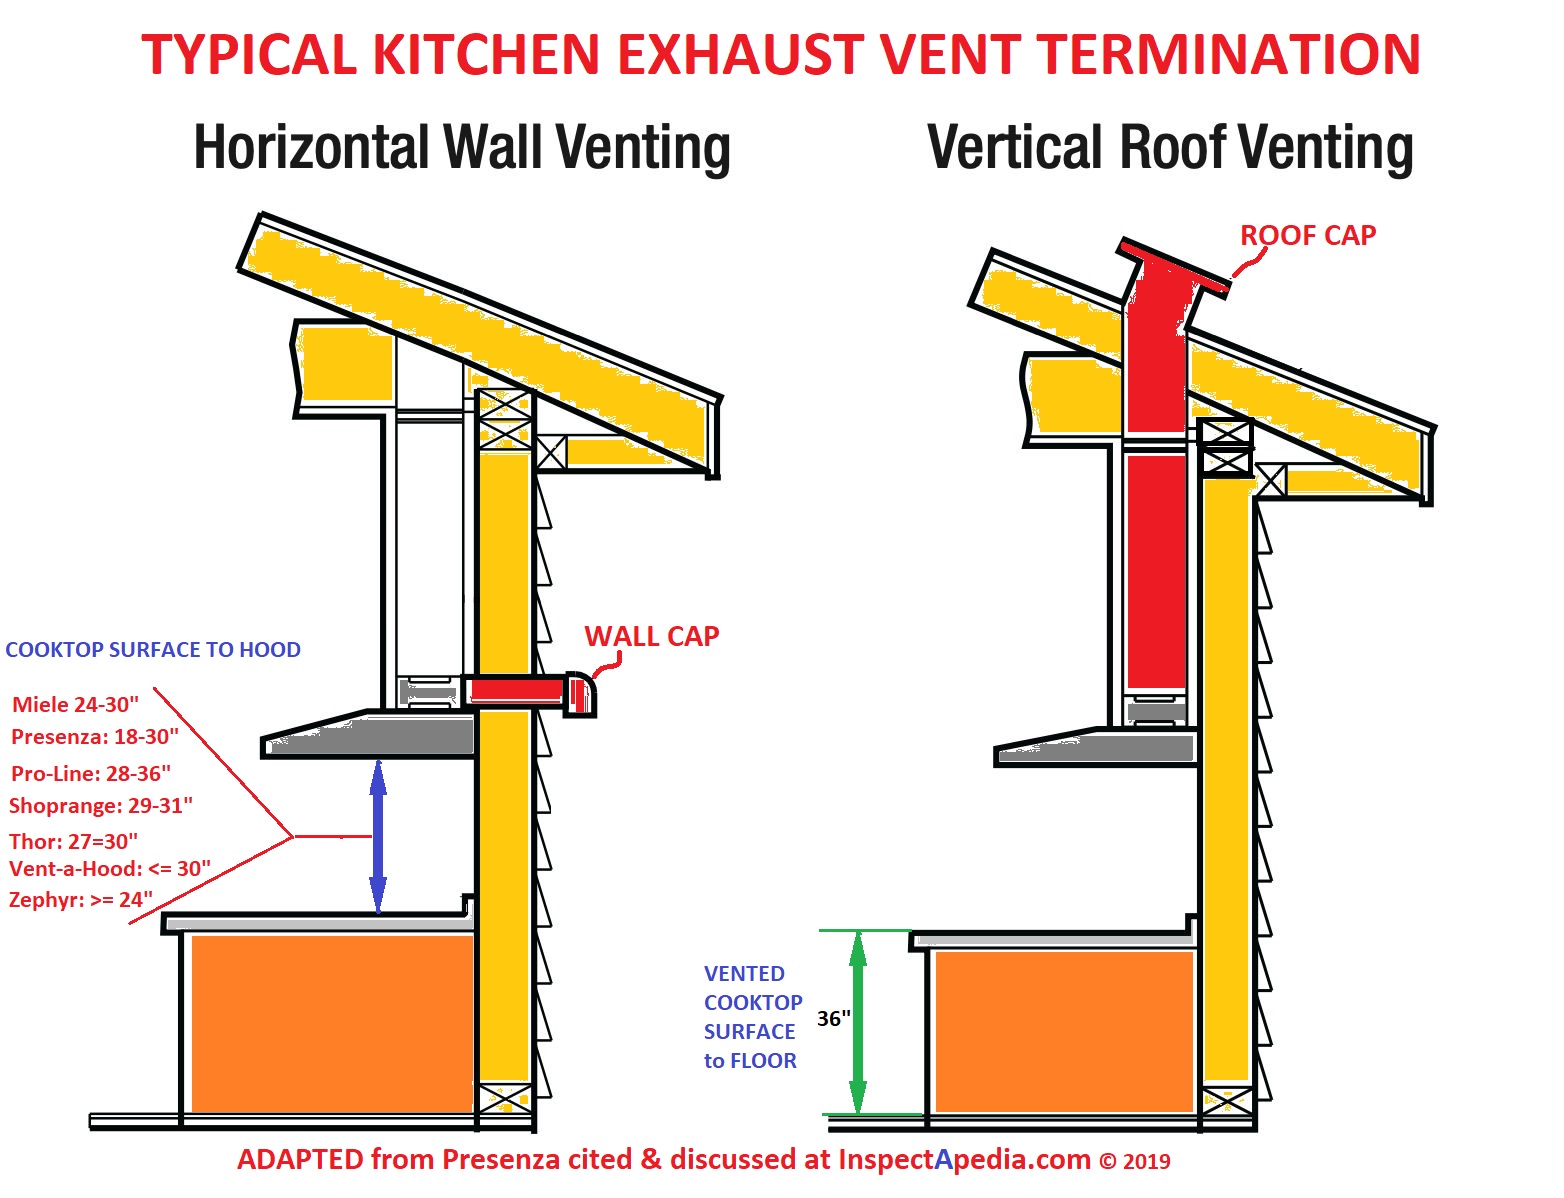
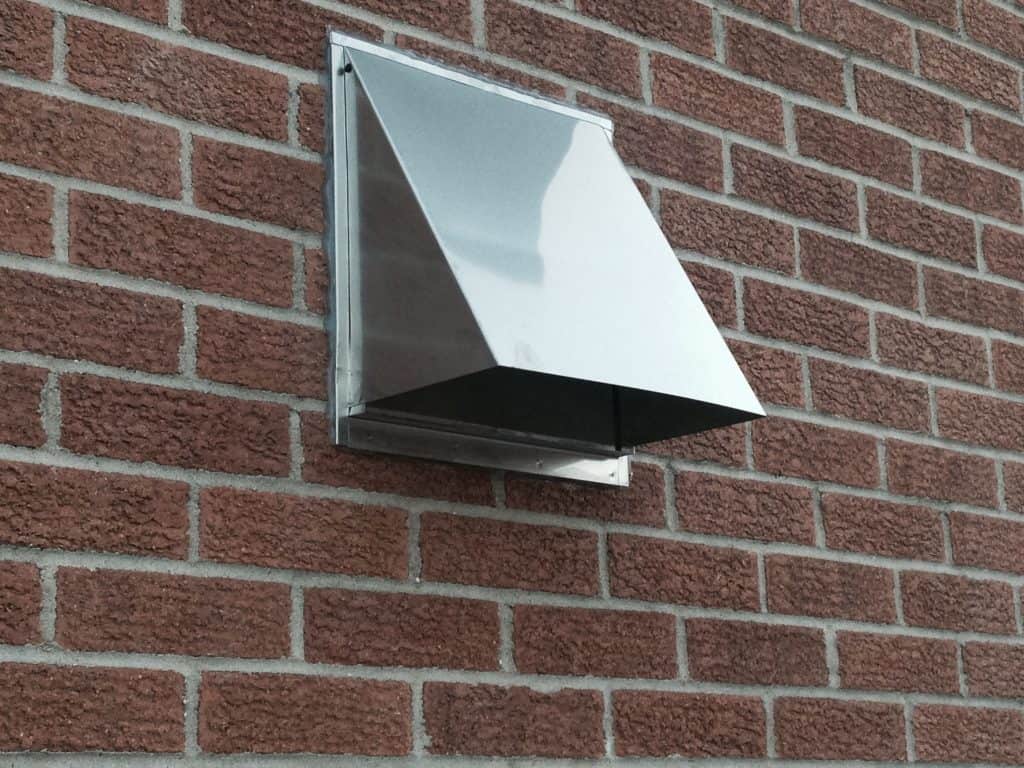
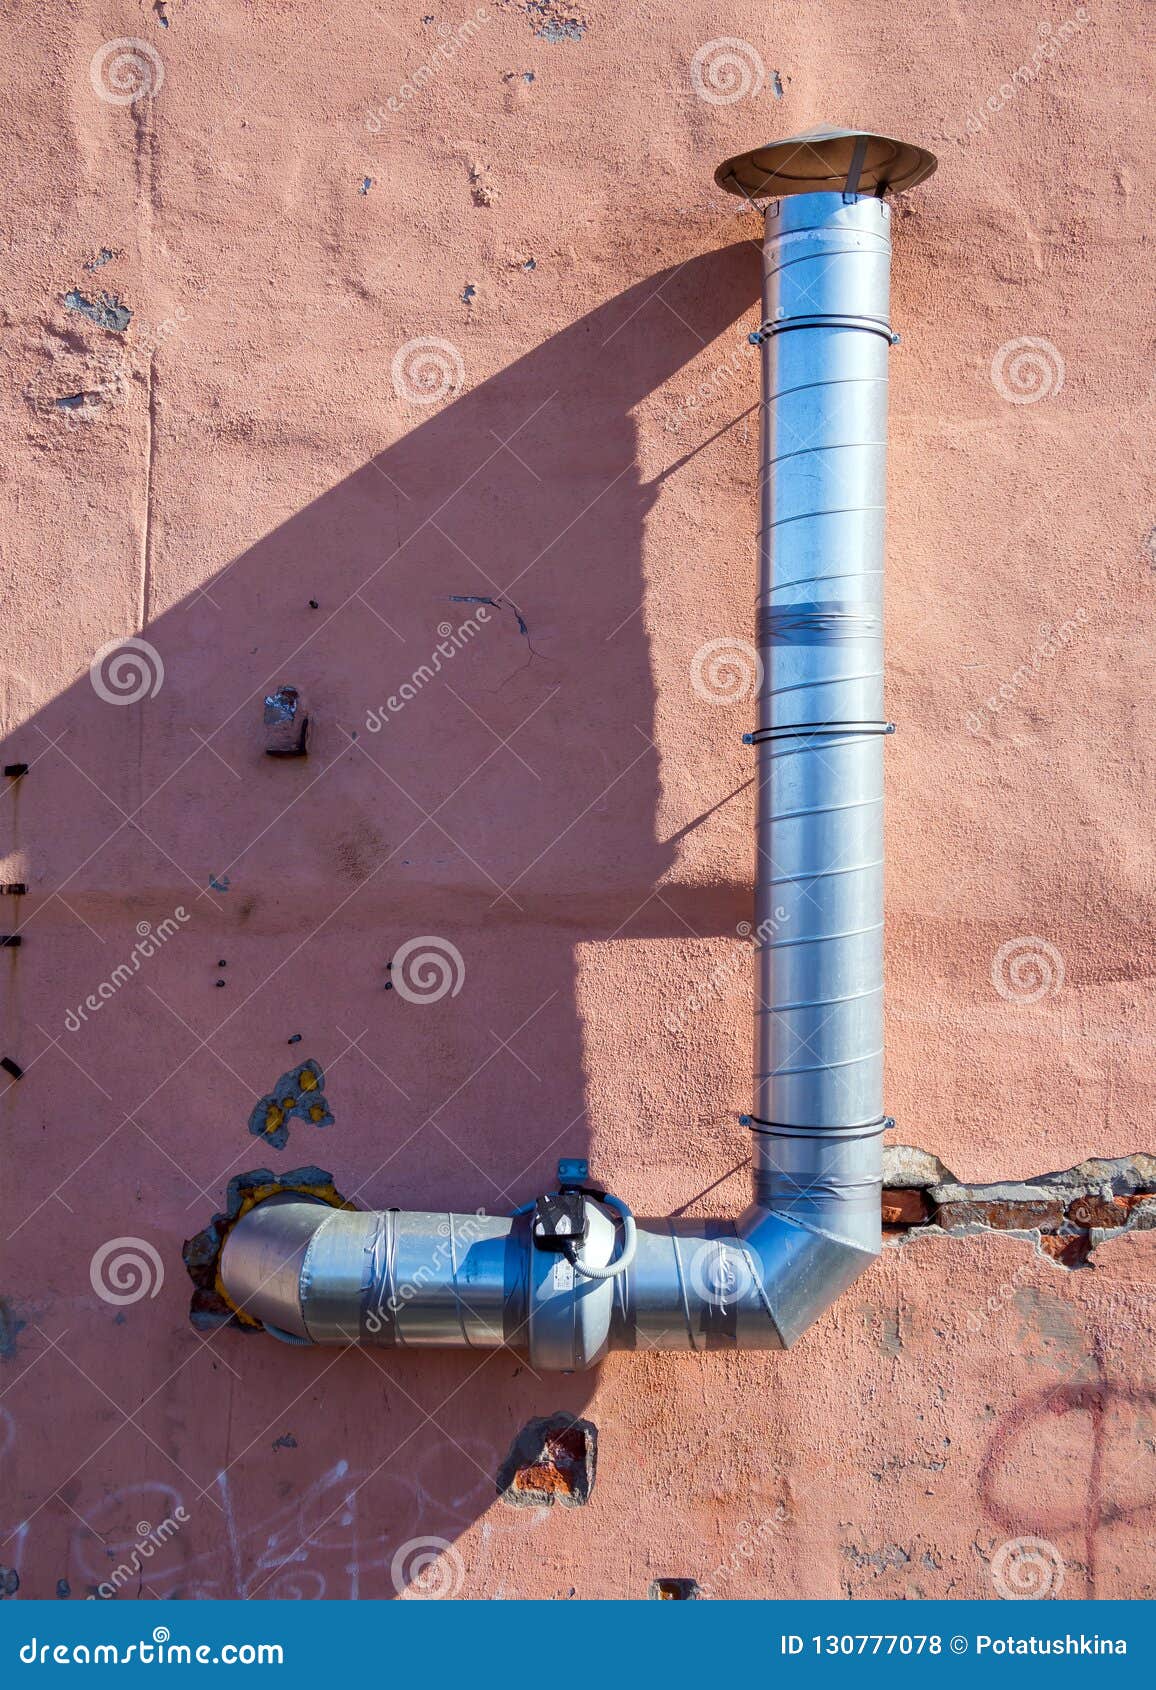
Proper venting is essential for a functional kitchen exhaust fan. The fan should be vented to the outside of your home, not into the attic or another interior space. This will help to remove cooking odors and excess moisture from your kitchen. You can use a vent hood or ductwork to properly vent the fan.DIY Kitchen Exhaust Fan Venting


DIY Kitchen Exhaust Fan Venting

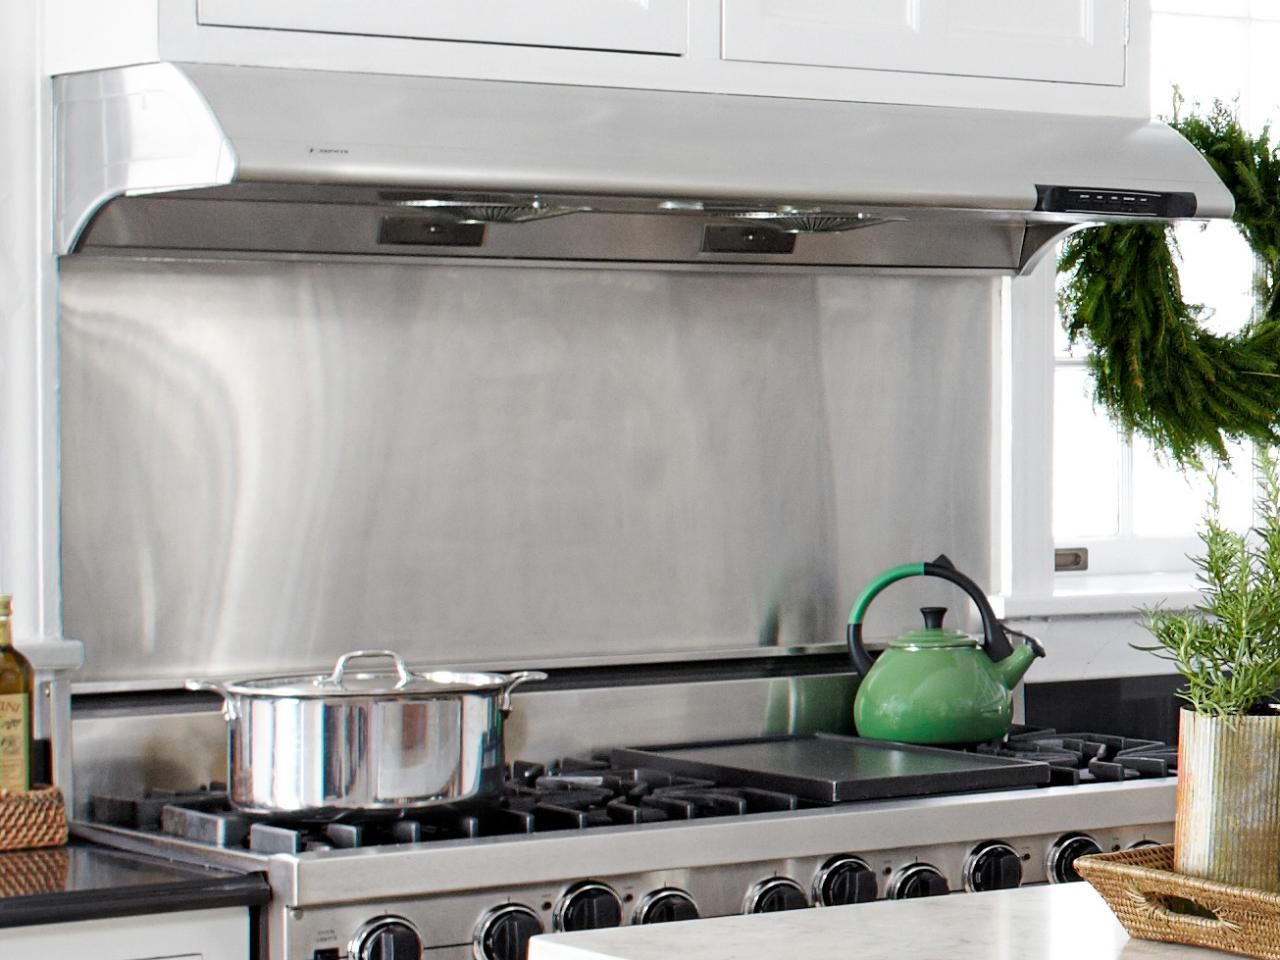


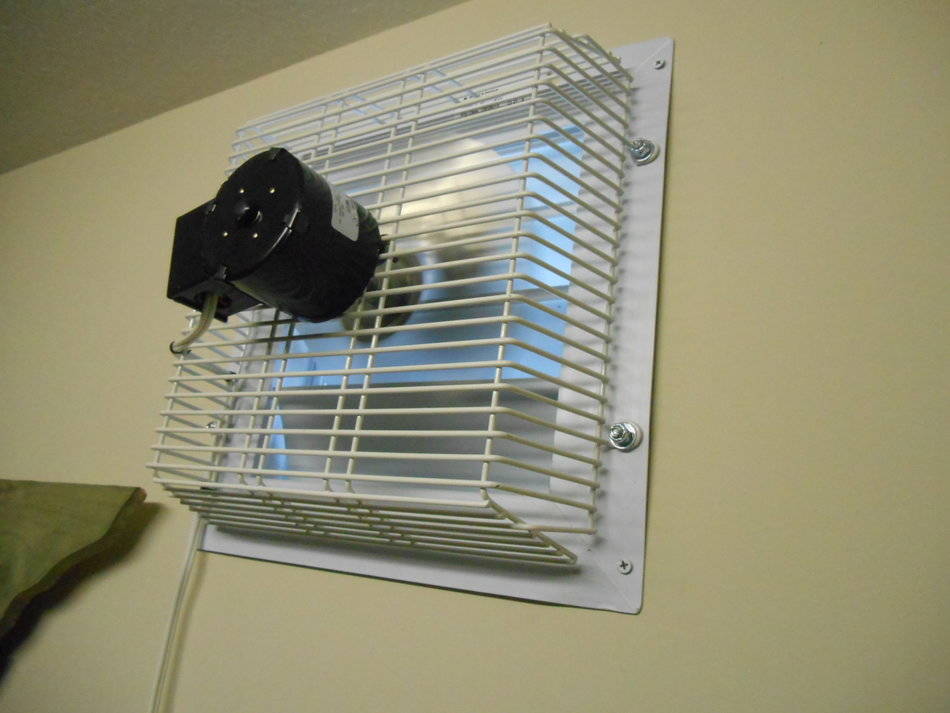
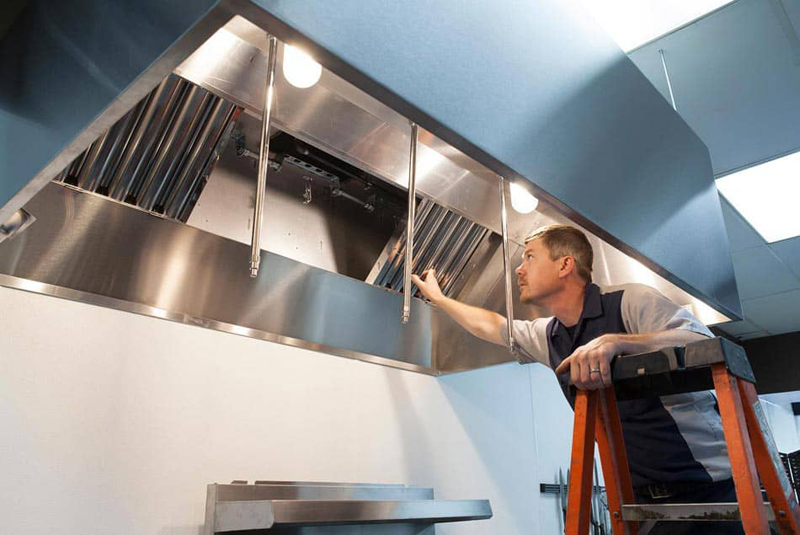
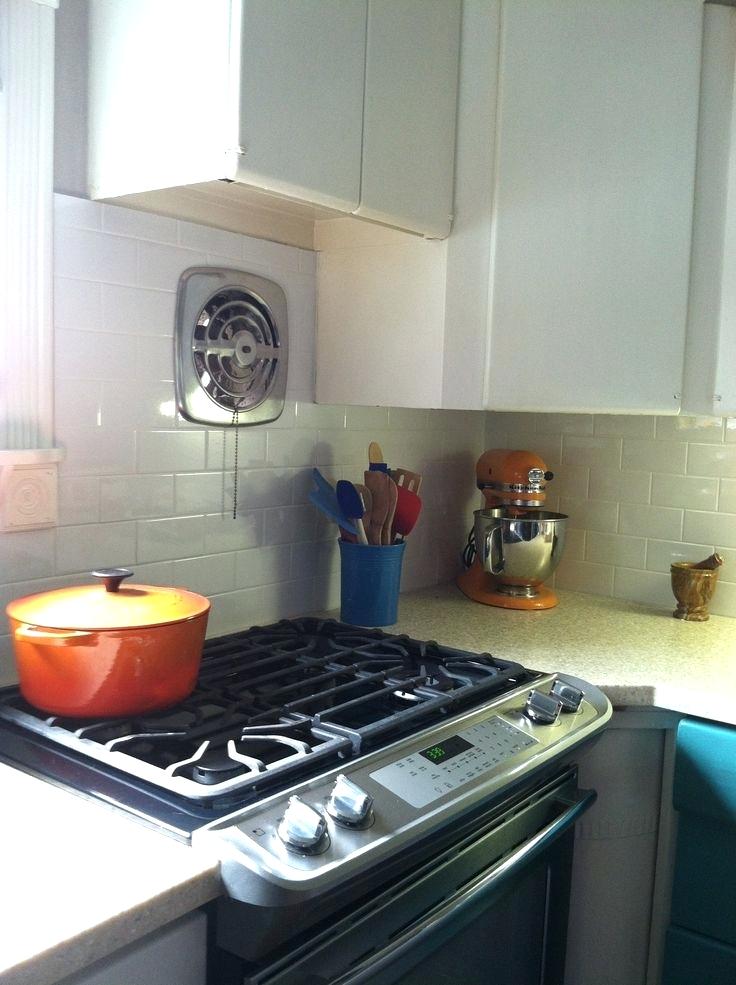
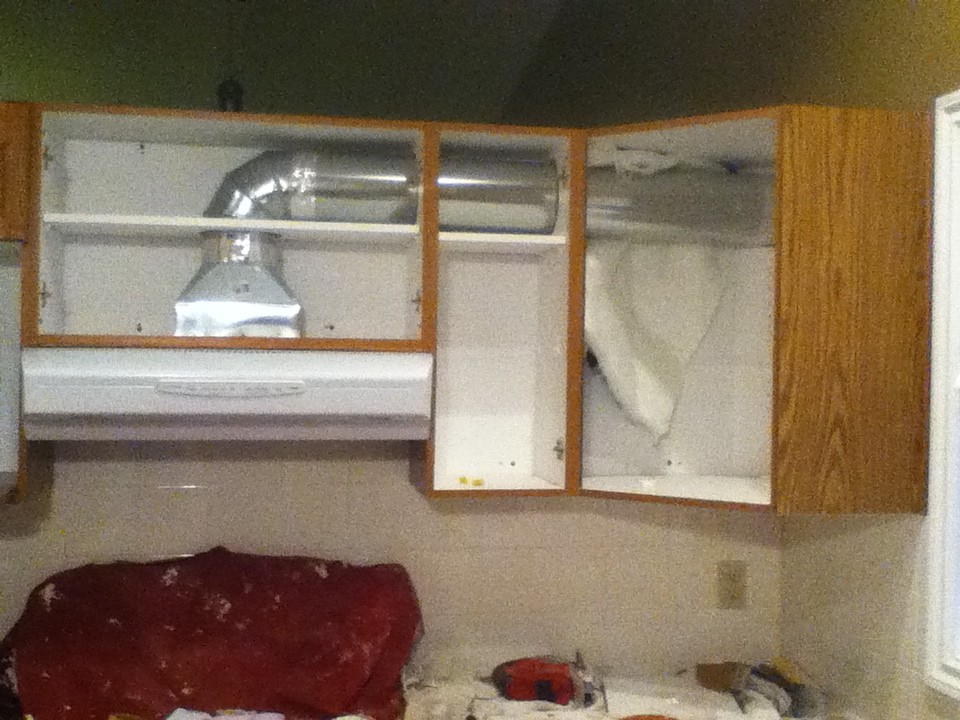
Wall-mounted kitchen exhaust fans are a popular choice for many homeowners because they are easy to install and don't take up much space in the kitchen. These fans are mounted on the wall above the stove and use a vent hood to remove air and odors from the kitchen. They can also be connected to ductwork for proper venting.Installing a Wall-Mounted Kitchen Exhaust Fan


Installing a Wall-Mounted Kitchen Exhaust Fan


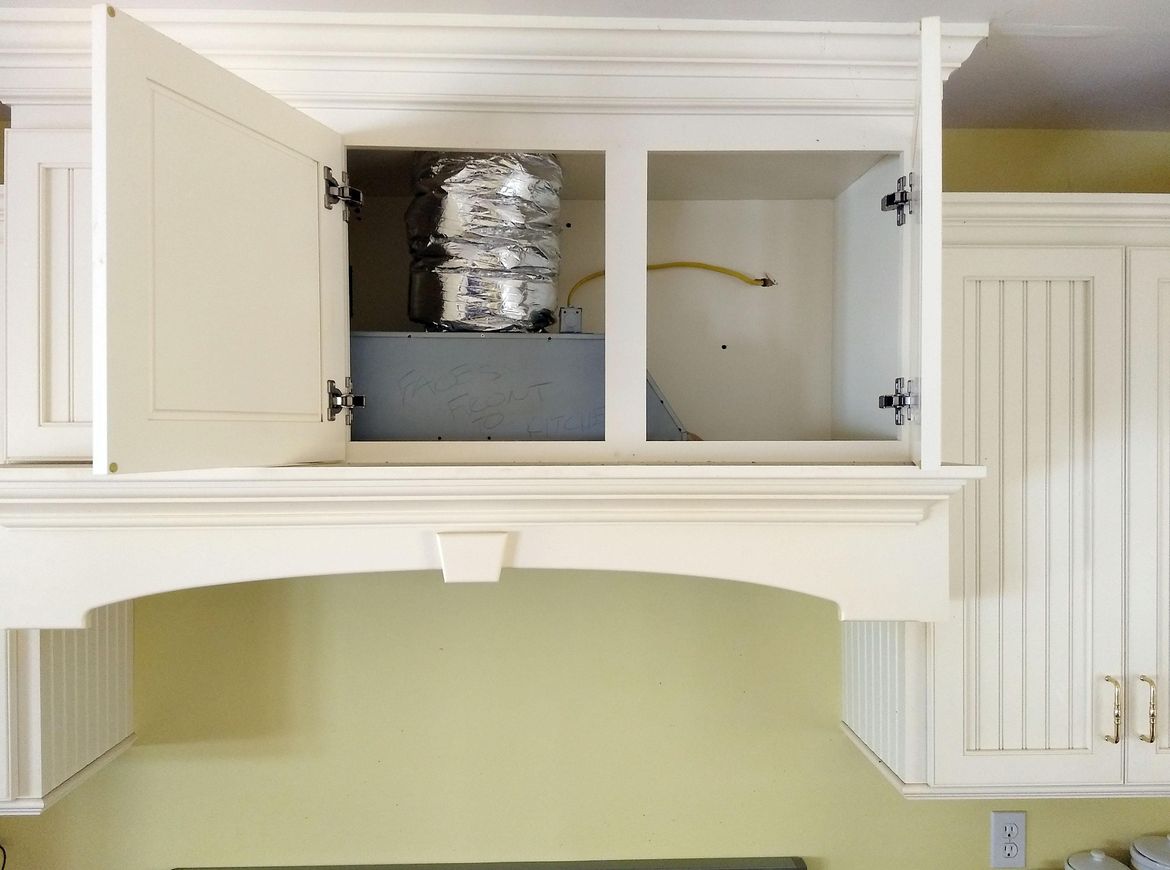
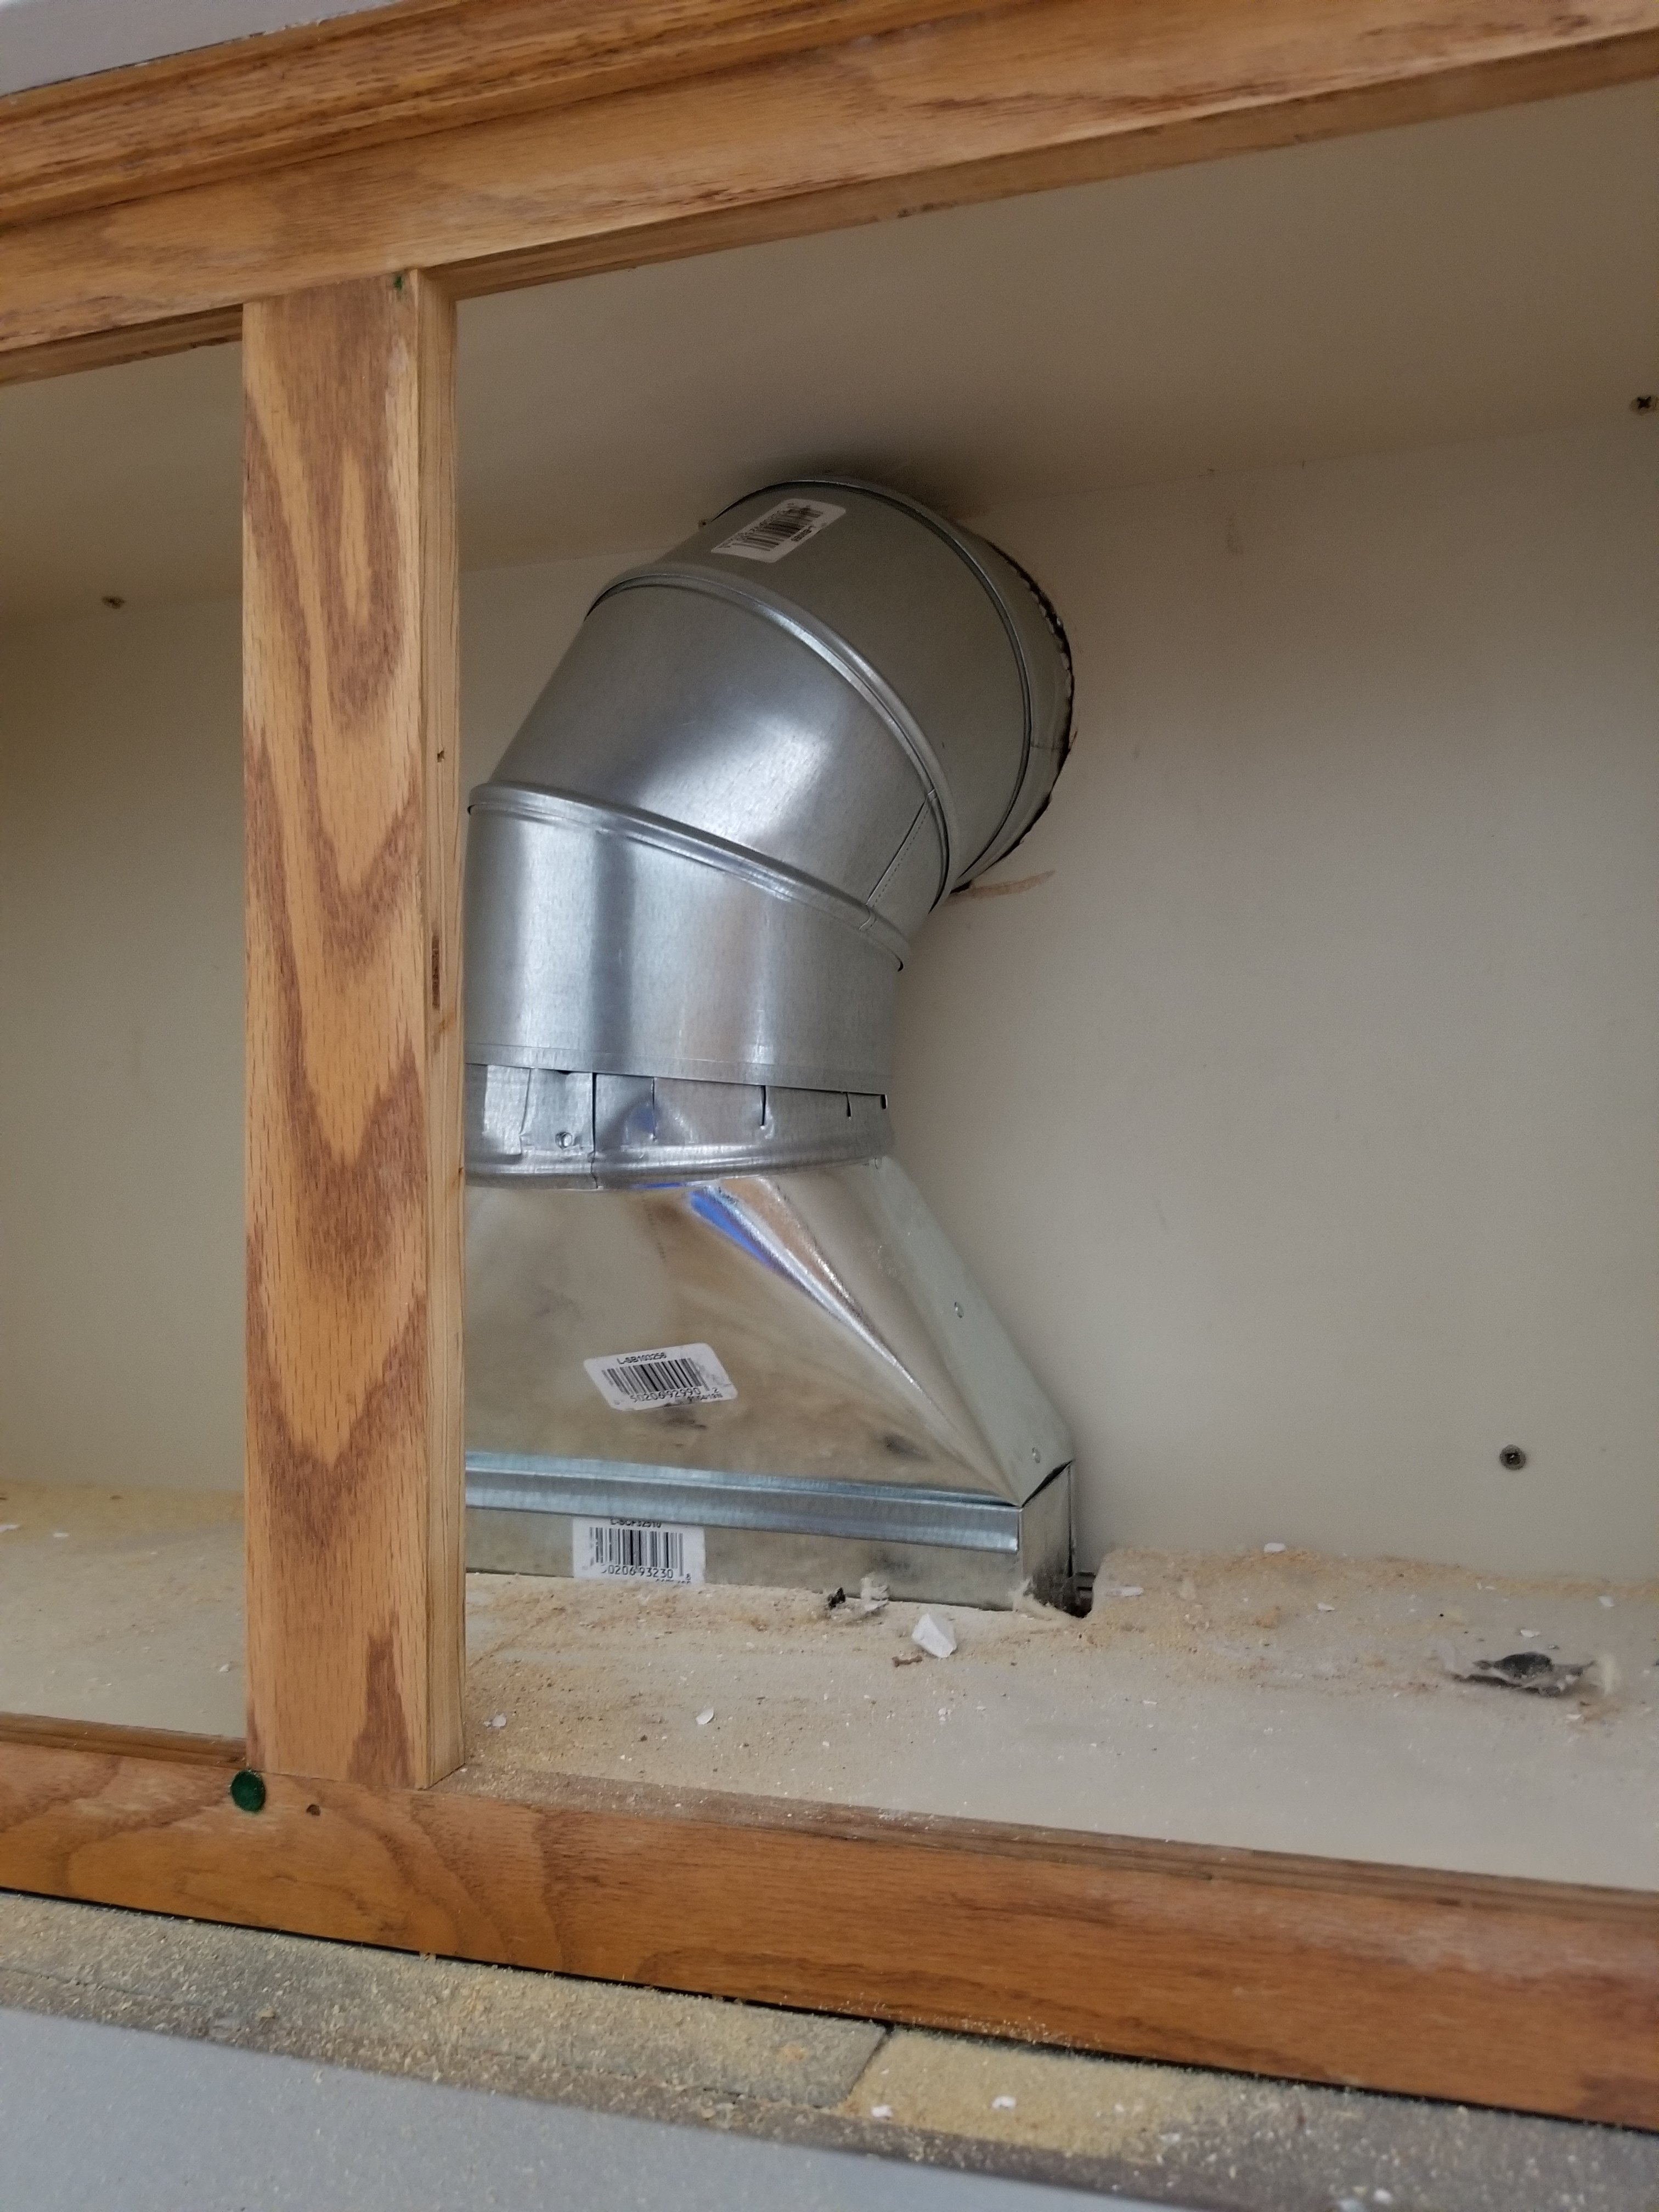
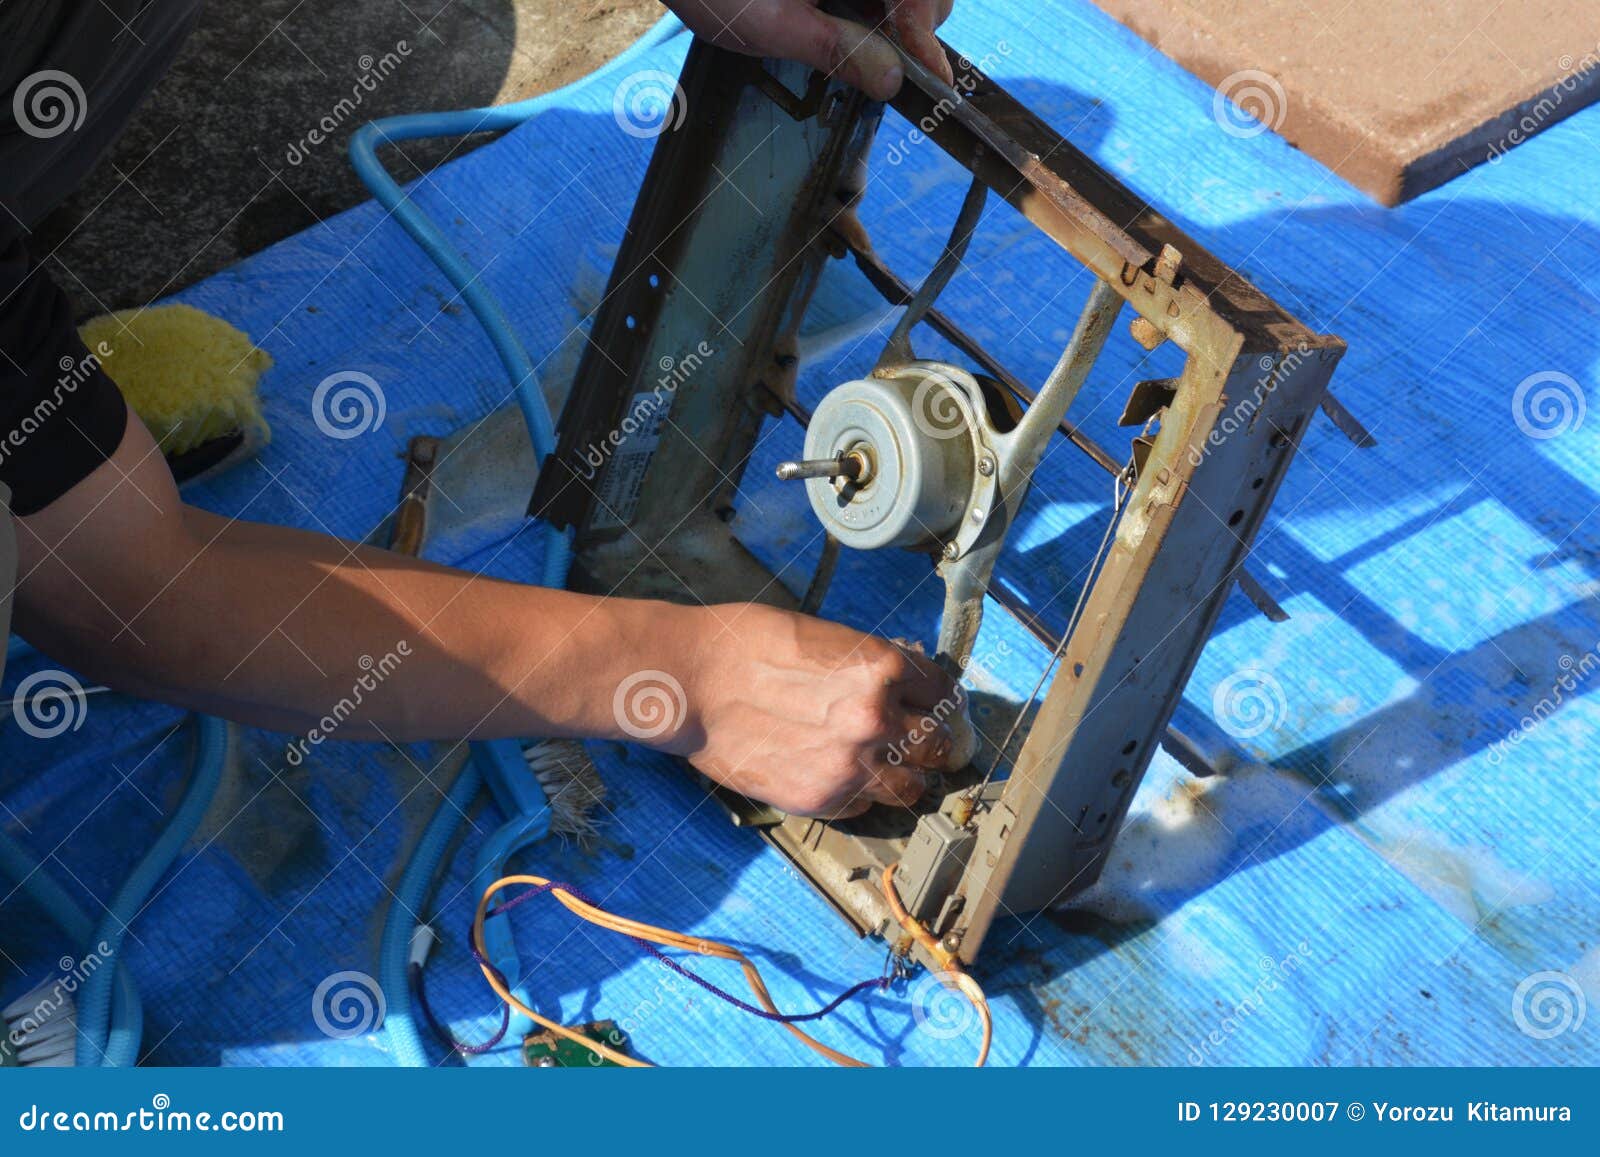
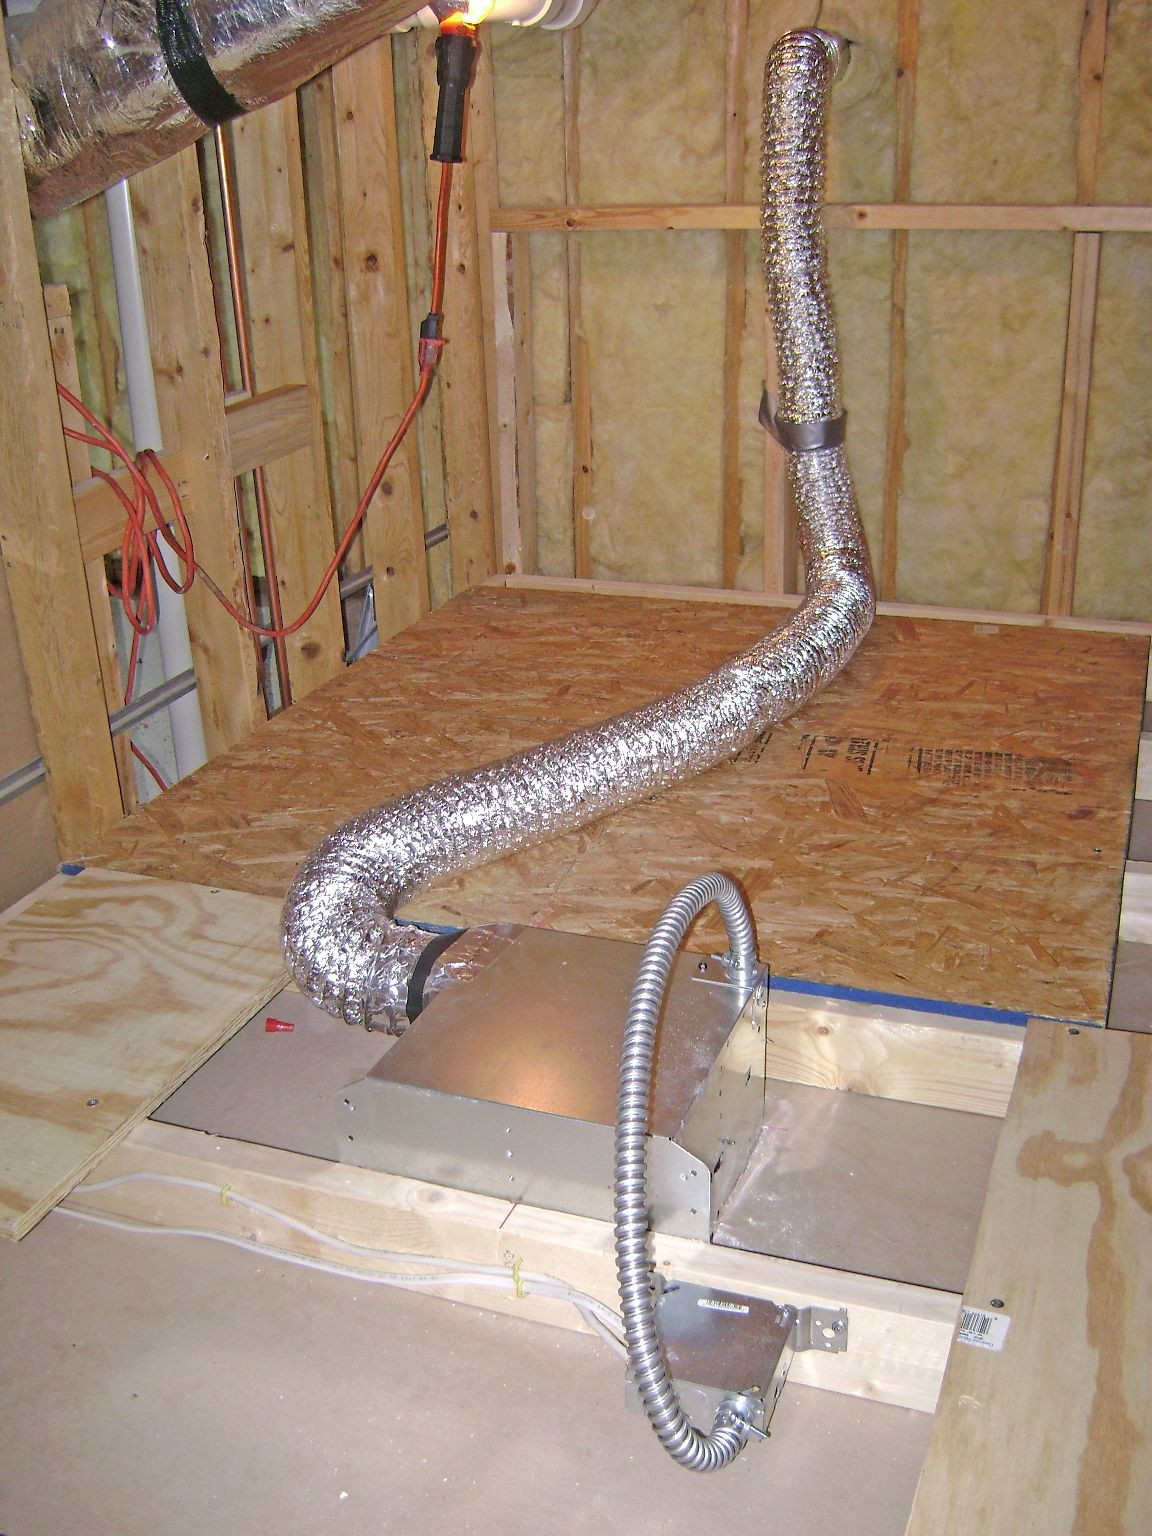
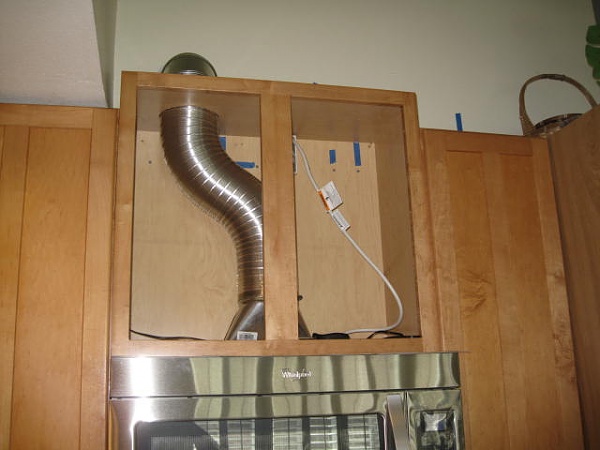
If your kitchen exhaust fan is not already connected to ductwork, you'll need to install it yourself. This involves running a duct from the fan to the outside of your home. Make sure to use the proper size duct for your fan and secure it in place with duct tape. This will ensure that the fan is properly vented and functioning effectively.DIY Kitchen Exhaust Fan Ductwork


DIY Kitchen Exhaust Fan Ductwork


:max_bytes(150000):strip_icc()/how-to-install-a-bathroom-exhaust-fan-4147975-06-15c68685a26047188f9b5a7873a50f45.jpg)

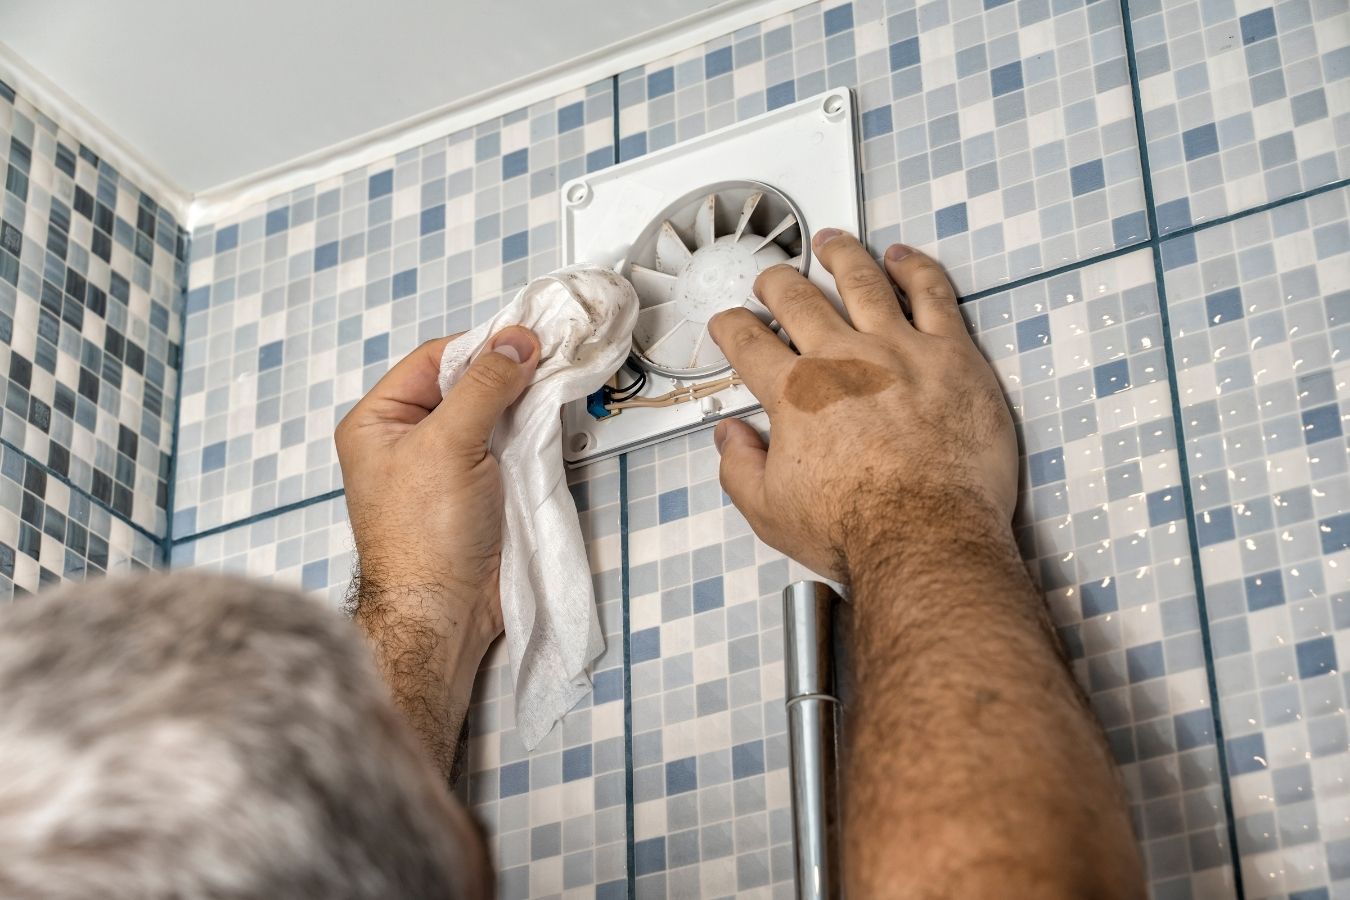
When installing a kitchen exhaust fan through the wall, there are a few tips to keep in mind to ensure a successful installation. First, make sure to turn off the power to the area where you'll be working. This will prevent any accidents and ensure your safety. Also, be sure to follow the manufacturer's instructions for your specific fan for the best results.Tips for Installing a Kitchen Exhaust Fan Through the Wall


Tips for Installing a Kitchen Exhaust Fan Through the Wall


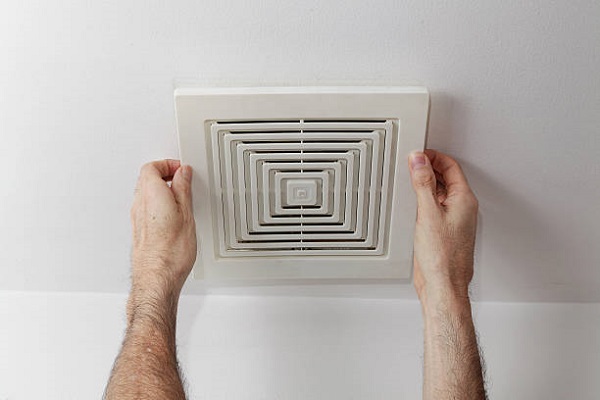
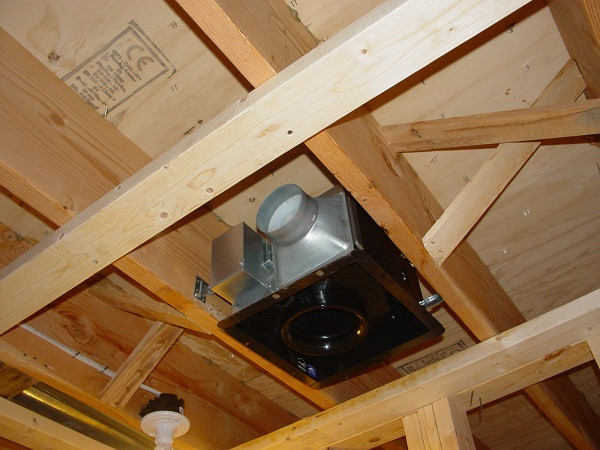
Aside from wall-mounted fans, there are other venting options for kitchen exhaust fans. Ceiling-mounted fans are a great choice for kitchens with limited wall space. Under-cabinet fans are another option for kitchens with cabinets above the stove. No matter which type of fan you choose, proper venting is crucial for effective removal of odors and moisture.DIY Kitchen Exhaust Fan Venting Options


DIY Kitchen Exhaust Fan Venting Options
Cutting a hole in the wall for a kitchen exhaust fan may seem daunting, but it's a simple process. Make sure to measure and mark the area accurately before cutting. Use a drywall saw or jigsaw to cut the hole, and be sure to wear safety gear. Once the hole is cut, you can install the fan and connect it to ductwork for proper venting.How to Cut a Hole in the Wall for a Kitchen Exhaust Fan

How to Cut a Hole in the Wall for a Kitchen Exhaust Fan


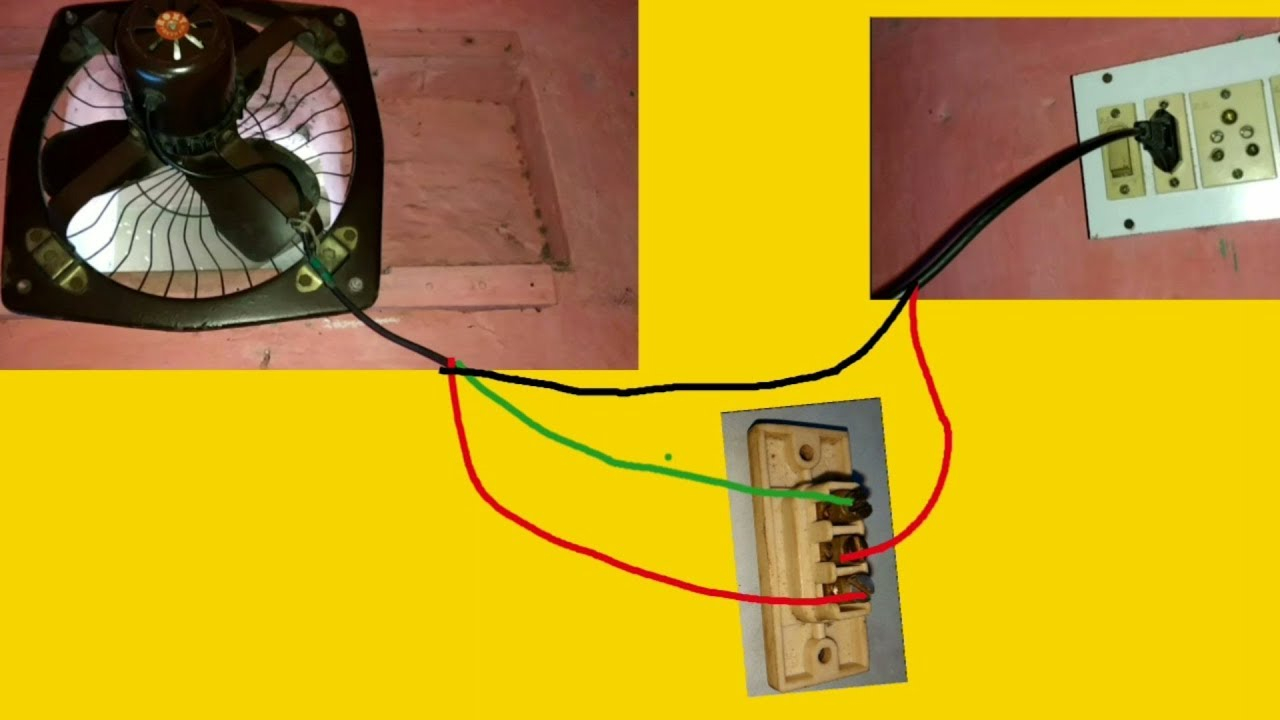
Before you can use your new kitchen exhaust fan, you'll need to wire it for power. This is a job best left to a professional electrician, as it can be dangerous if not done correctly. An electrician can ensure that your fan is wired properly and connected to a switch for easy operation. Installing a kitchen exhaust fan through the wall is a simple and effective way to improve air quality and remove cooking odors from your kitchen. With the right tools and instructions, this DIY project can be completed in no time. Follow these tips and steps for a successful installation and enjoy a fresh, clean kitchen every time you cook.DIY Kitchen Exhaust Fan Wiring


DIY Kitchen Exhaust Fan Wiring


Why You Should Consider Installing a DIY Kitchen Exhaust Fan Through the Wall

Efficient Ventilation for Your Kitchen
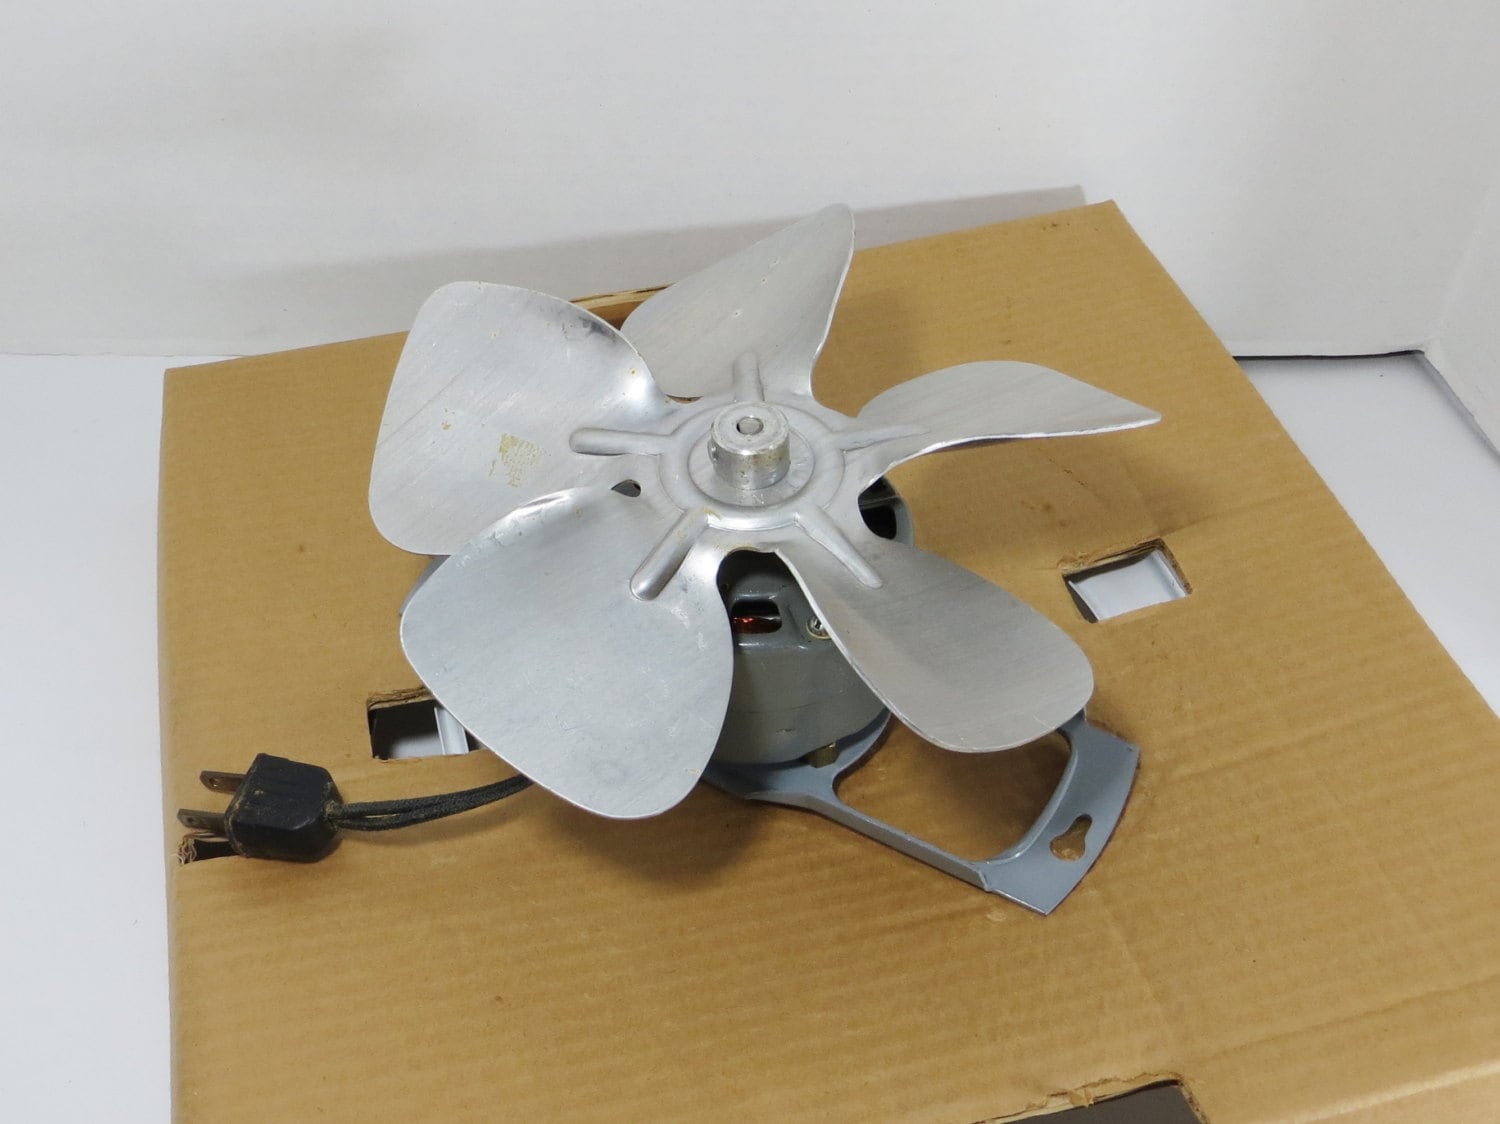
 Kitchen exhaust fans
are an essential part of any household, especially for those who love to cook and spend a significant amount of time in the kitchen. They help to remove smoke, steam, and cooking odors, keeping your kitchen clean and fresh. However, traditional kitchen exhaust fans that are mounted above the stove may not be the most effective option. They can be noisy, take up valuable space, and may not be able to effectively remove all the fumes and odors from your kitchen.
This is where a
DIY kitchen exhaust fan through the wall
comes in. By installing a fan that is mounted on the exterior wall of your kitchen, you can ensure more efficient ventilation. This allows for a more powerful suction that can effectively remove all the fumes and odors from your kitchen, leaving it clean and fresh.
Kitchen exhaust fans
are an essential part of any household, especially for those who love to cook and spend a significant amount of time in the kitchen. They help to remove smoke, steam, and cooking odors, keeping your kitchen clean and fresh. However, traditional kitchen exhaust fans that are mounted above the stove may not be the most effective option. They can be noisy, take up valuable space, and may not be able to effectively remove all the fumes and odors from your kitchen.
This is where a
DIY kitchen exhaust fan through the wall
comes in. By installing a fan that is mounted on the exterior wall of your kitchen, you can ensure more efficient ventilation. This allows for a more powerful suction that can effectively remove all the fumes and odors from your kitchen, leaving it clean and fresh.
Cost-effective Solution
 Another benefit of installing a
DIY kitchen exhaust fan through the wall
is that it is a cost-effective solution. Traditional kitchen exhaust fans can be expensive, and hiring a professional to install them can add to the cost. However, with a DIY option, you can save money on both the fan itself and the installation. You can find affordable and high-quality exhaust fans that are specifically designed for through-the-wall installation, making it a budget-friendly choice.
Another benefit of installing a
DIY kitchen exhaust fan through the wall
is that it is a cost-effective solution. Traditional kitchen exhaust fans can be expensive, and hiring a professional to install them can add to the cost. However, with a DIY option, you can save money on both the fan itself and the installation. You can find affordable and high-quality exhaust fans that are specifically designed for through-the-wall installation, making it a budget-friendly choice.
Space-saving Design
 As mentioned earlier, traditional kitchen exhaust fans can take up valuable space in your kitchen. This can be a problem, especially if you have a small kitchen. With a
DIY kitchen exhaust fan through the wall
, you can save space and make your kitchen look more spacious and organized. The fan is mounted on the exterior wall, so it doesn't take up any space in your kitchen. This also allows for more flexibility in terms of placement, as you can choose the most convenient spot for the fan.
As mentioned earlier, traditional kitchen exhaust fans can take up valuable space in your kitchen. This can be a problem, especially if you have a small kitchen. With a
DIY kitchen exhaust fan through the wall
, you can save space and make your kitchen look more spacious and organized. The fan is mounted on the exterior wall, so it doesn't take up any space in your kitchen. This also allows for more flexibility in terms of placement, as you can choose the most convenient spot for the fan.
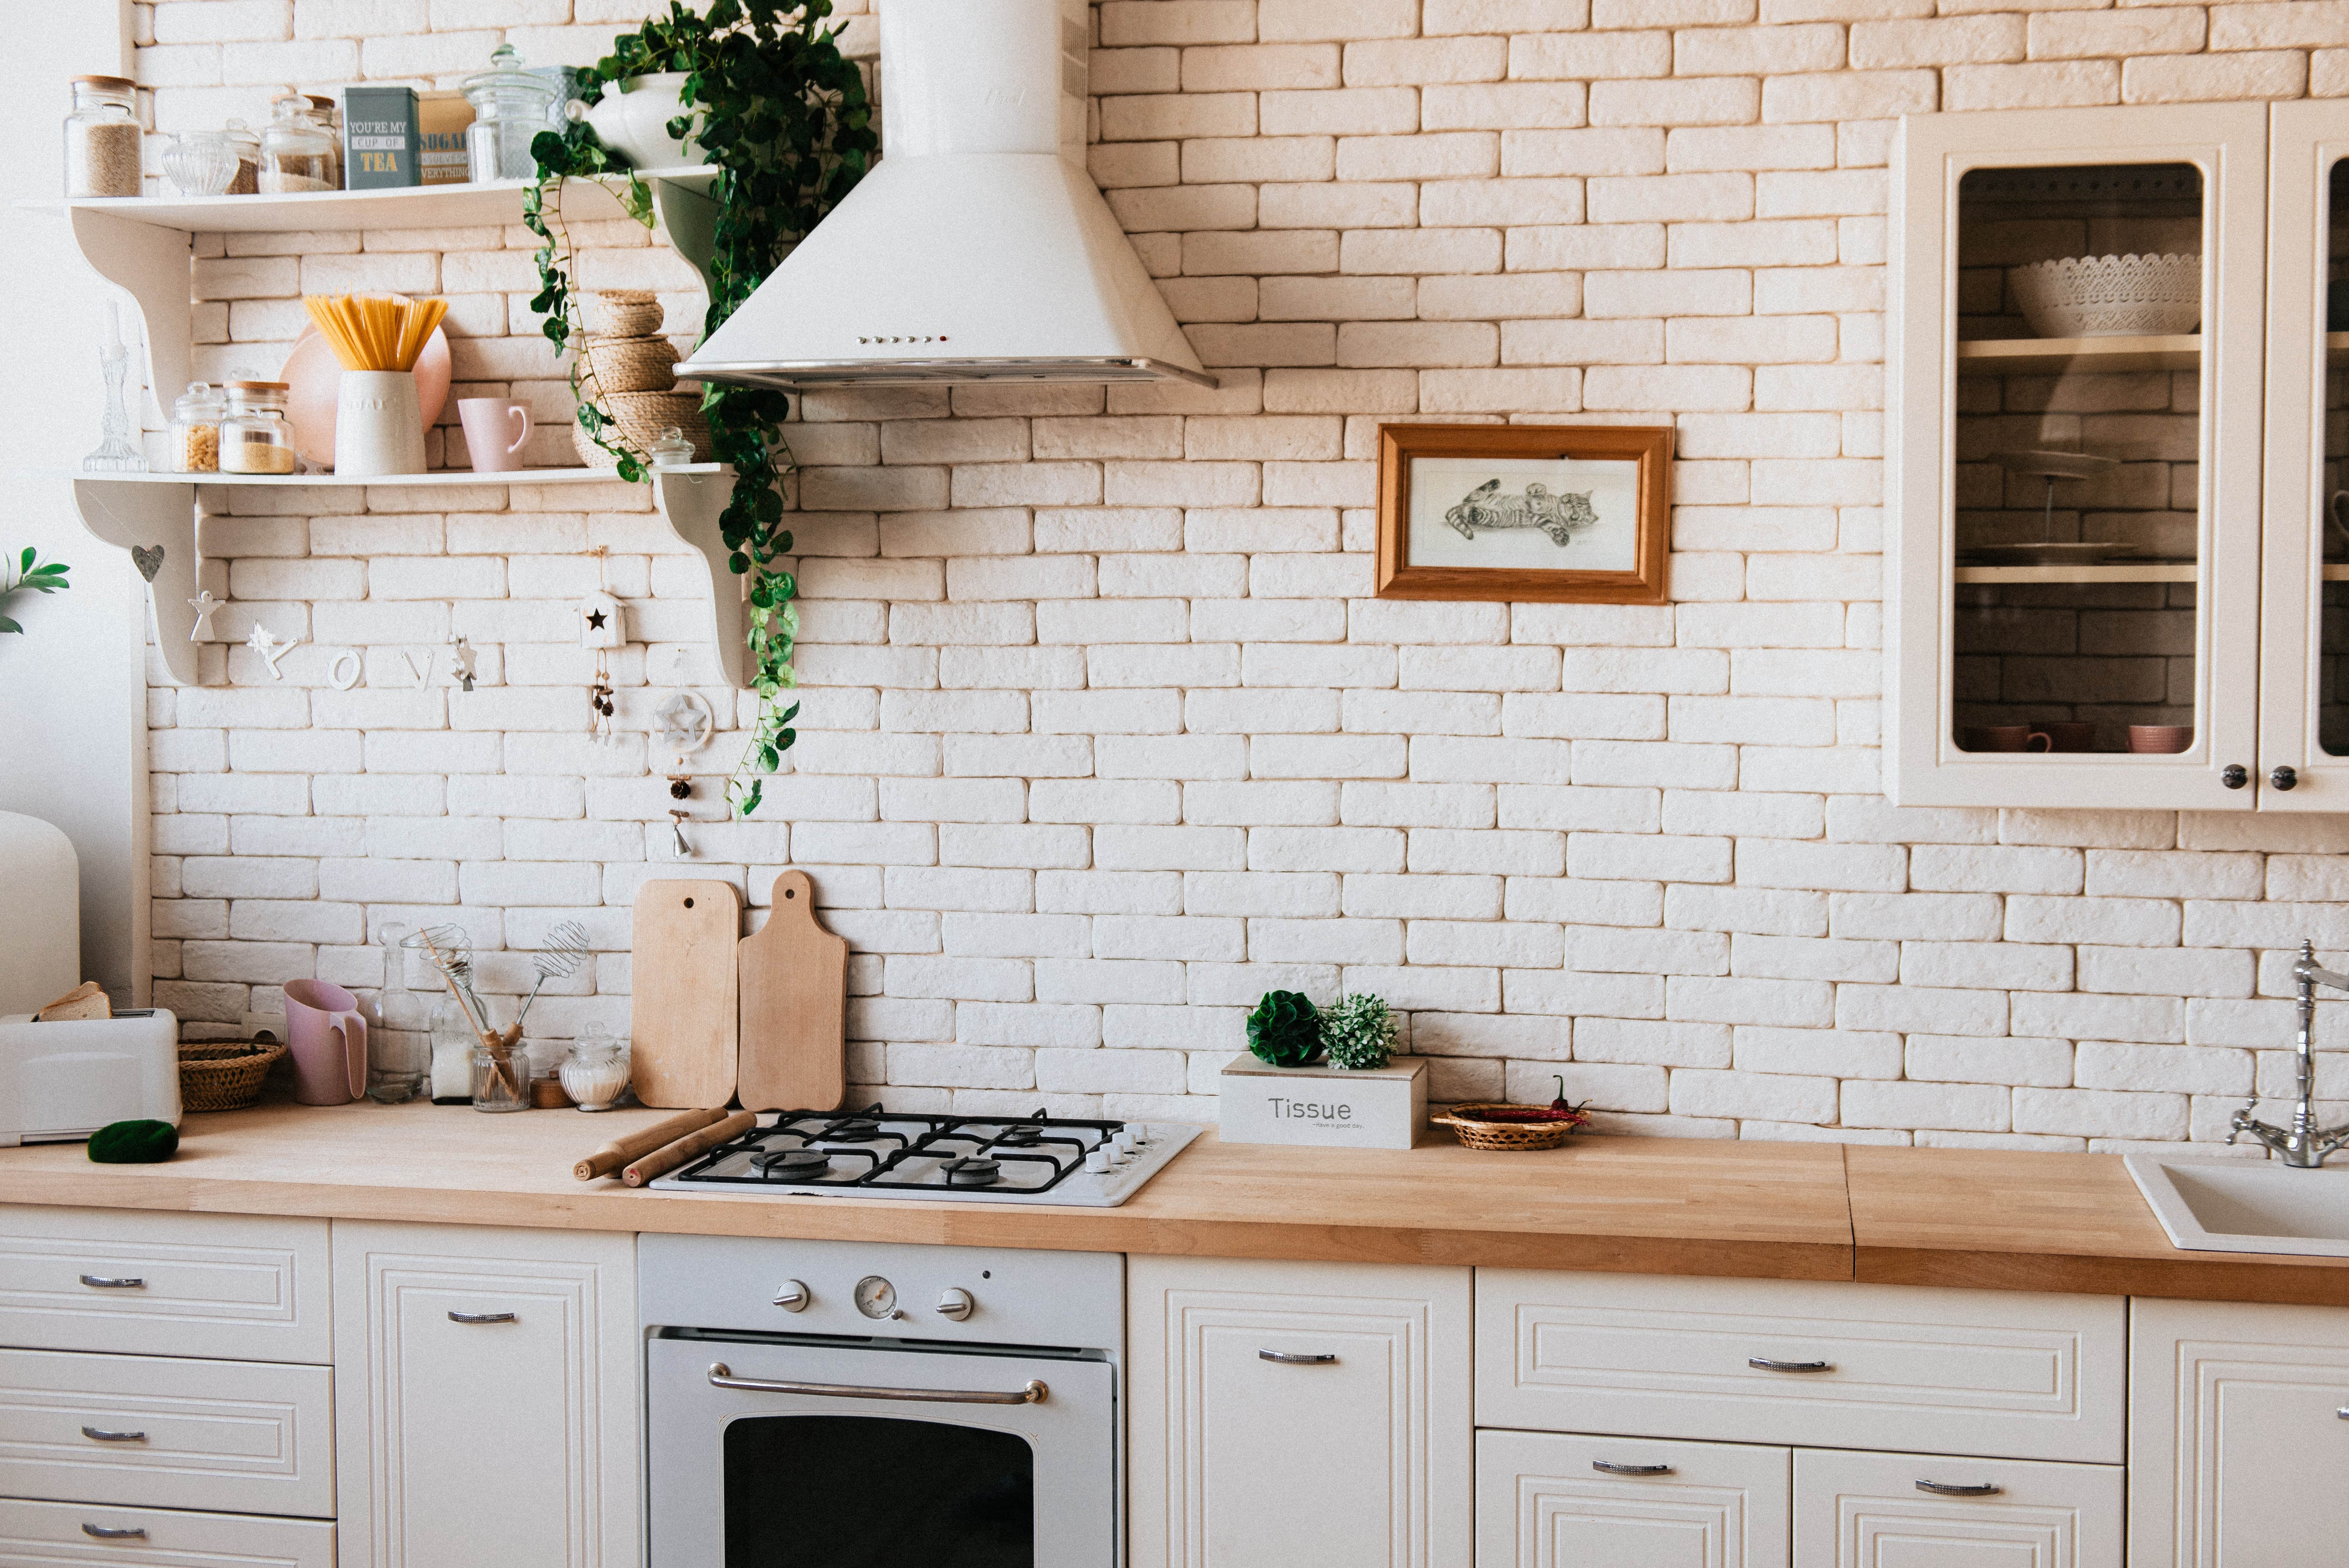
Aesthetic Appeal
 Apart from being functional, a
DIY kitchen exhaust fan through the wall
can also add aesthetic appeal to your kitchen. These fans come in a variety of designs and styles, allowing you to choose one that complements your kitchen's design and overall aesthetic. You can also opt for a fan with a built-in light, which can add both functionality and style to your kitchen.
In conclusion, if you want efficient ventilation, a cost-effective solution, space-saving design, and aesthetic appeal in your kitchen, opting for a
DIY kitchen exhaust fan through the wall
is a great choice. With the right tools and proper installation, you can easily install the fan yourself and enjoy all the benefits it has to offer. Say goodbye to noisy and bulky traditional kitchen exhaust fans and hello to a cleaner, fresher, and more beautiful kitchen.
Apart from being functional, a
DIY kitchen exhaust fan through the wall
can also add aesthetic appeal to your kitchen. These fans come in a variety of designs and styles, allowing you to choose one that complements your kitchen's design and overall aesthetic. You can also opt for a fan with a built-in light, which can add both functionality and style to your kitchen.
In conclusion, if you want efficient ventilation, a cost-effective solution, space-saving design, and aesthetic appeal in your kitchen, opting for a
DIY kitchen exhaust fan through the wall
is a great choice. With the right tools and proper installation, you can easily install the fan yourself and enjoy all the benefits it has to offer. Say goodbye to noisy and bulky traditional kitchen exhaust fans and hello to a cleaner, fresher, and more beautiful kitchen.