Formica is a popular choice for bathroom sinks due to its durability, affordability, and wide range of color options. However, cutting a sink into this material can be a daunting task for many DIY enthusiasts. The good news is, with the right tools and techniques, it can be easily done at home. In this article, we will share the top 10 essential tips and tricks for cutting a bathroom sink in Formica. So put on your safety goggles and let's get started!Cutting a Bathroom Sink in Formica: 10 Essential Tips and Tricks


cutting


The first step in cutting a bathroom sink in Formica is accurate measurement. Measure the dimensions of your sink and mark them on the Formica sheet. Make sure to double-check your measurements before making any cuts to avoid any costly mistakes.1. Measure Twice, Cut Once


bathroom sink


A jigsaw is the ideal tool for cutting Formica, as it allows for precision and control. Make sure to use a fine-tooth blade to avoid any chipping or splintering of the material. You can also use a circular saw or a router with a laminate cutting bit, but these may require more experience and expertise.2. Use a Jigsaw with a Fine-tooth Blade


formica cutting formica


Before cutting, apply masking tape along the edges of the marked line. This will help prevent any chipping or splintering of the Formica. Once you have made your cuts, simply remove the tape to reveal clean and smooth edges.3. Protect the Edges with Tape

bathroom sink
When using a jigsaw, it is recommended to cut from the back side of the Formica sheet. This will help prevent any chipping or splintering on the visible side. Just make sure to flip your sheet over and follow the same markings on the back.4. Cut from the Back Side

cutting formica cutting formica


If you are using a jigsaw, it is helpful to start with a pilot hole before making your cuts. This will allow for more control and precision in cutting the sink hole. Simply drill a small hole at the corners of your marked lines before using the jigsaw to cut along the lines.5. Start with a Pilot Hole
bathroom sink
When cutting Formica, it is important to secure the sheet in place to avoid any movement or shifting. Use clamps to secure the sheet to your work surface before making any cuts. This will help ensure accuracy and prevent any accidents.6. Use Clamps to Secure the Sheet


cutting formica cutting formica
When cutting a bathroom sink in Formica, it is important to take your time and not rush the process. This will help ensure accuracy and prevent any mistakes. Remember, it is always better to take a little longer and get the job done right the first time.7. Don't Rush the Cutting Process
bathroom sink

Once you have made your cuts, use sandpaper to smooth out the edges of the sink hole. This will help ensure a clean and professional-looking finish. You can also use a file to smooth out any rough spots or imperfections.8. Sand the Edges for a Smooth Finish
cutting formica cutting formica
Before installing your sink, it is important to test fit it in the sink hole. This will help ensure a perfect fit and allow for any necessary adjustments to be made. Once you are satisfied with the fit, you can proceed with the installation process.9. Test Fit the Sink Before Installing
bathroom sink
Finally, once your sink is installed, it is important to seal the edges of the sink hole. This will help prevent any water damage and prolong the lifespan of your Formica sink. You can use a silicone sealant or an adhesive caulk to seal the edges. With these 10 essential tips and tricks, cutting a bathroom sink in Formica can be a smooth and successful project. Remember to always take proper safety precautions and use the right tools and techniques for best results. Now, go ahead and confidently tackle your next DIY project! 10. Don't Forget to Seal the Edges
cutting formica cutting formica

Cutting a Bathroom Sink in Formica: A Professional Guide

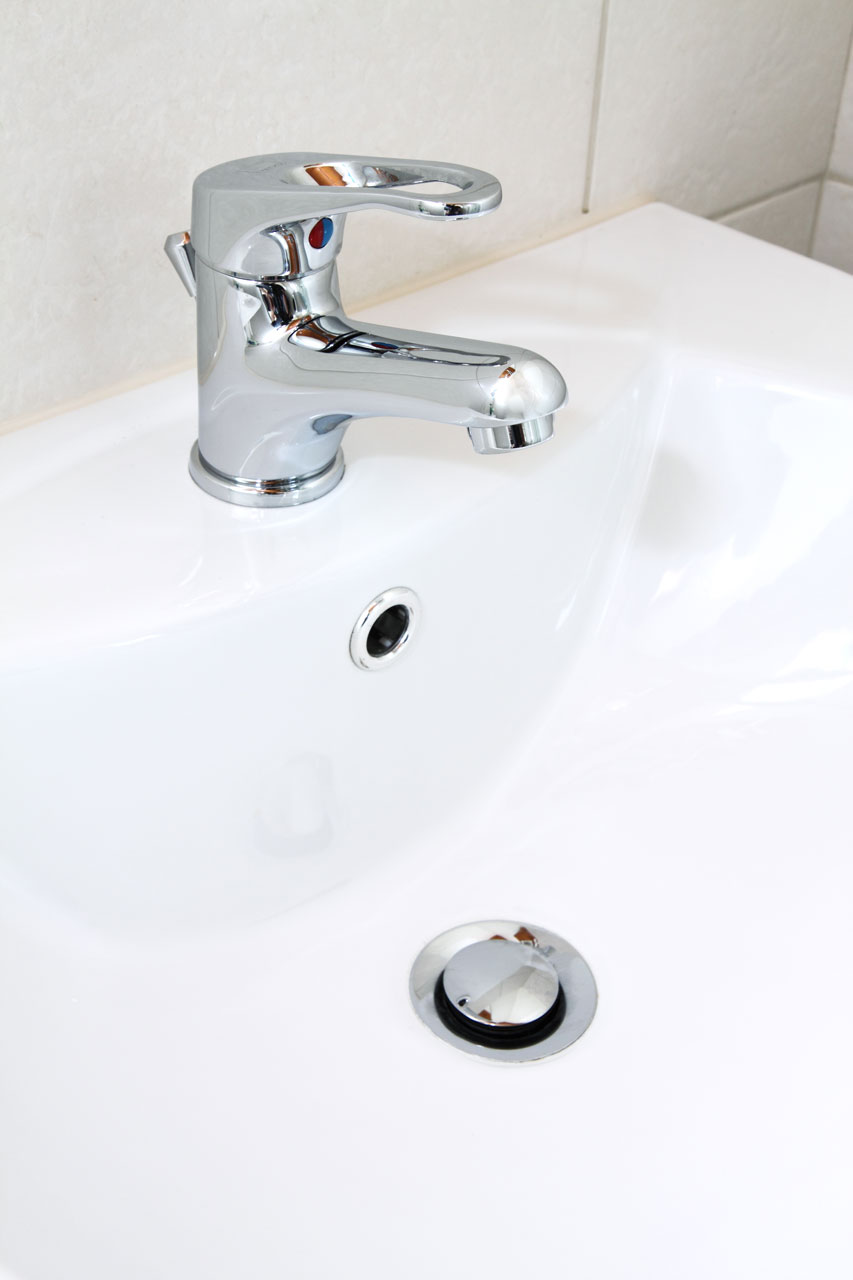
The Importance of Choosing the Right Sink Material
 When it comes to designing a bathroom, every detail matters. From the tiles to the fixtures, every element plays a crucial role in creating a functional and aesthetically pleasing space. One of the essential features of a bathroom is the sink, and choosing the right material for it is crucial. Formica is a popular choice for bathroom sinks due to its durability, versatility, and affordability. However, cutting a Formica sink can be a daunting task, especially for those who are not familiar with the process. In this article, we will guide you through the steps of cutting a bathroom sink in Formica, so you can achieve a professional and seamless finish.
Gather Your Tools and Materials
 Before you begin cutting your Formica sink, it is essential to gather all the necessary tools and materials. This includes a circular saw with a fine-toothed blade, a jigsaw, a drill, a measuring tape, a straight edge, and a pencil. You will also need a sheet of Formica large enough to cover the sink's top and sides, contact cement adhesive, a utility knife, and a router with a flush-trim bit. Having all these tools and materials ready will make the cutting process smoother and more efficient.
Measuring and Marking the Sink
 The first step in cutting a bathroom sink in Formica is to measure and mark the sink's dimensions on the Formica sheet. Using a measuring tape and a pencil, carefully measure and mark the sink's length, width, and depth on the Formica sheet. Make sure to add an extra inch to each side to allow for overhang. Next, using a straight edge, draw lines connecting the marks to create a template for the sink. This template will serve as a guide for cutting the Formica sheet.
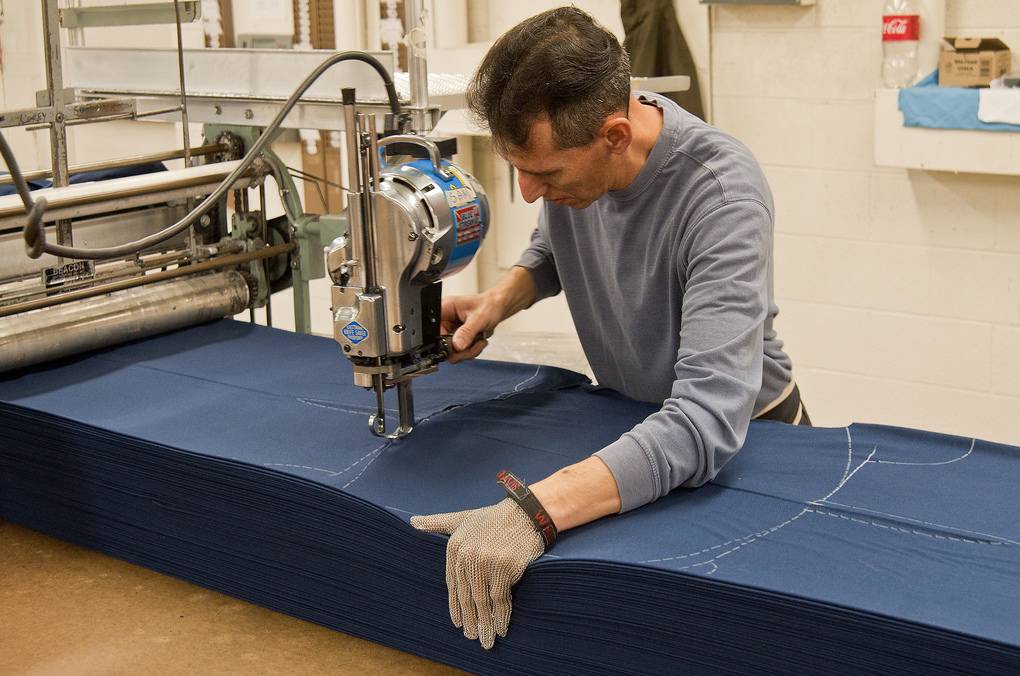
Cutting the Formica Sheet
 Once you have your template ready, it is time to cut the Formica sheet. Using a circular saw with a fine-toothed blade, carefully cut along the marked lines. It is essential to go slow and steady to avoid any mistakes or damage to the Formica. For the curved areas, use a jigsaw to make more precise cuts. After cutting the sink's top, repeat the process for the sides, making sure to leave an inch of overhang on each side.
Attaching the Formica to the Sink
 After cutting the Formica sheet, it is time to attach it to the sink. First, clean the sink's surface thoroughly and let it dry. Then, apply a layer of contact cement adhesive to the sink's surface and the back of the Formica sheet. Wait for the adhesive to dry, according to the manufacturer's instructions, before carefully placing the Formica sheet on top of the sink. Use a roller to smooth out any air bubbles and ensure a secure bond.
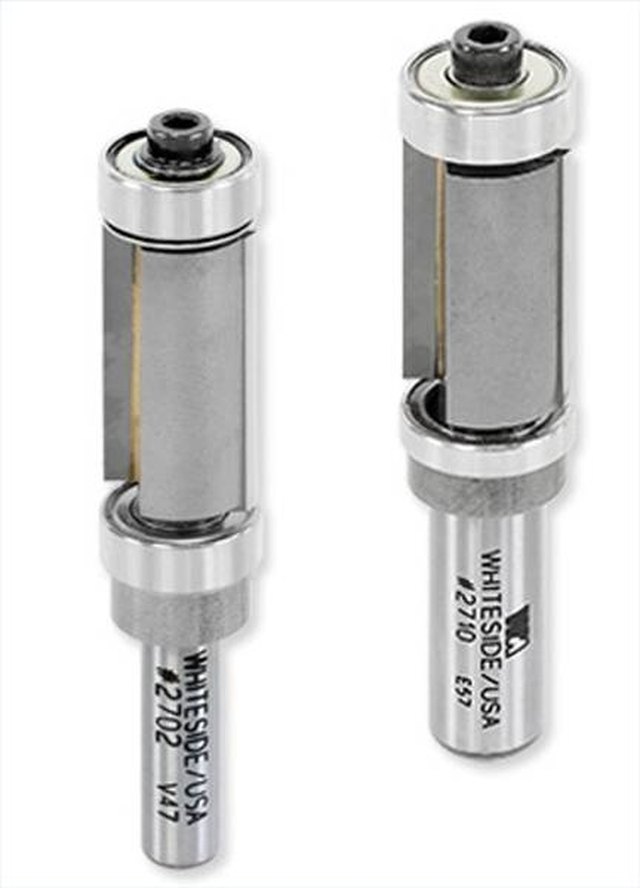
Trimming and Finishing
 Once the Formica sheet is attached, use a router with a flush-trim bit to trim off the excess overhang. Next, use a utility knife to cut out the sink hole, and a drill to make holes for the faucet and drain. Finally, use a file to smooth out any rough edges and a damp cloth to clean off any excess adhesive. Your new Formica sink is now ready to be installed and will add a sleek and modern touch to your bathroom.
In conclusion, cutting a bathroom sink in Formica can seem intimidating, but with the right tools and techniques, it can be a simple and rewarding process. By following these steps and using high-quality materials, you can achieve a professional and seamless finish that will elevate the design of your bathroom. So go ahead and give your bathroom a makeover with a beautiful Formica sink.
Once the Formica sheet is attached, use a router with a flush-trim bit to trim off the excess overhang. Next, use a utility knife to cut out the sink hole, and a drill to make holes for the faucet and drain. Finally, use a file to smooth out any rough edges and a damp cloth to clean off any excess adhesive. Your new Formica sink is now ready to be installed and will add a sleek and modern touch to your bathroom.
In conclusion, cutting a bathroom sink in Formica can seem intimidating, but with the right tools and techniques, it can be a simple and rewarding process. By following these steps and using high-quality materials, you can achieve a professional and seamless finish that will elevate the design of your bathroom. So go ahead and give your bathroom a makeover with a beautiful Formica sink.
:max_bytes(150000):strip_icc()/image-of-astrology-signs---cygnus--cassiopeia--orion--102756291-5af8577dc5542e0036ff0857.jpg)