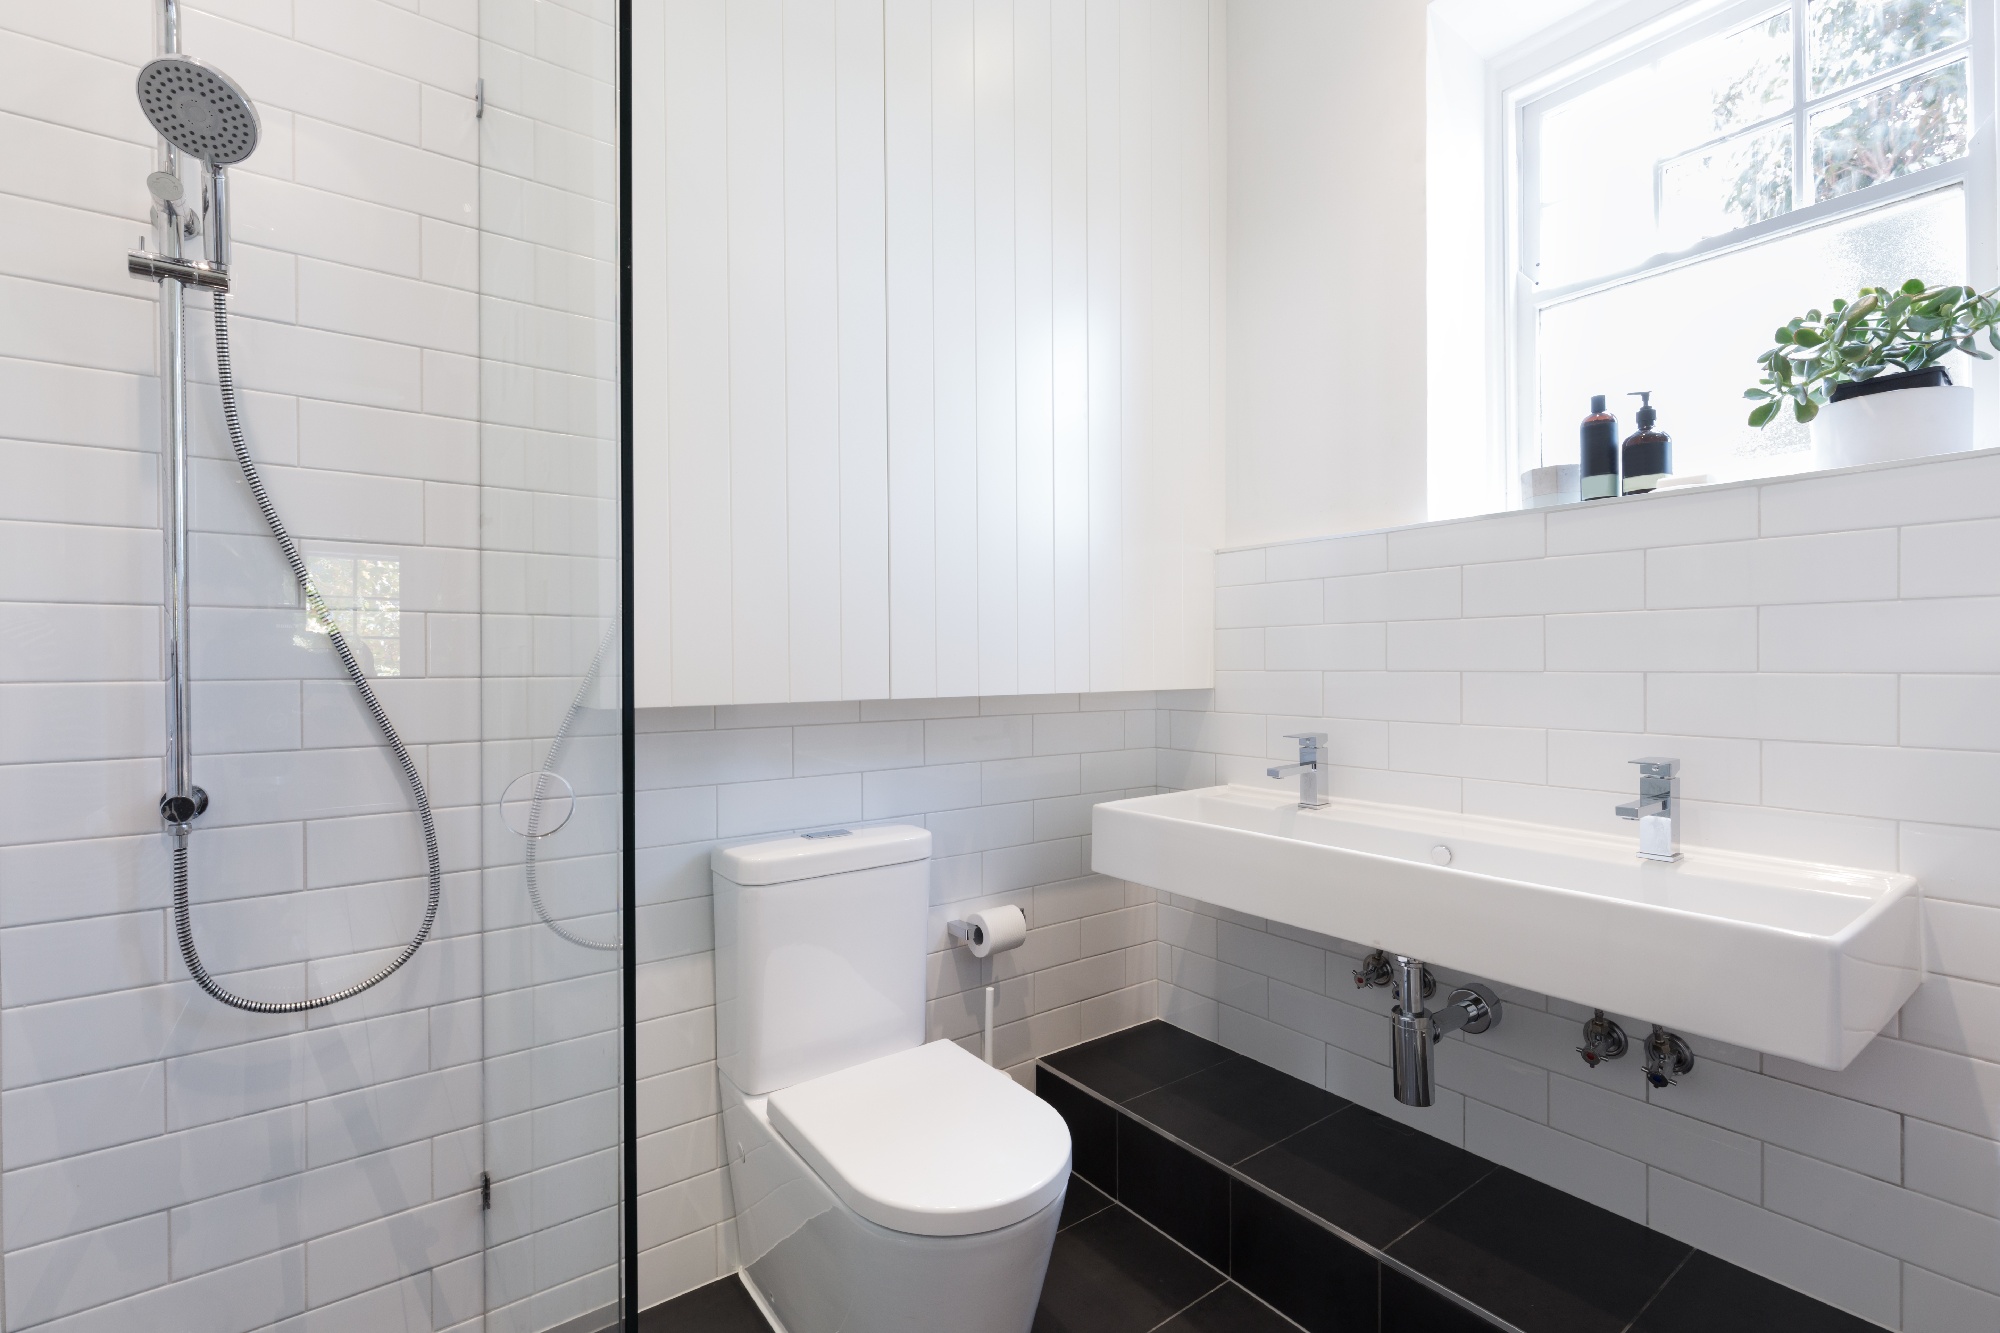
If you're tired of dealing with a leaky or outdated faucet in your bathroom sink, it may be time for a change. Whether you're looking to update the style of your bathroom or simply need a functional replacement, changing a faucet may seem like a daunting task. However, with the right tools and a little bit of know-how, you can easily replace your bathroom sink faucet yourself and save money on hiring a professional plumber. In this guide, we'll walk you through the step-by-step process of changing a faucet in your bathroom sink.Changing Faucet in Bathroom Sink


Changing Faucet in Bathroom Sink

The first step in replacing a bathroom sink faucet is to gather all the necessary tools and materials. You'll need an adjustable wrench, a basin wrench, plumber's putty, Teflon tape, and a new faucet. Before beginning any work, be sure to turn off the water supply to your sink by shutting off the valves under the sink or near the main water supply. Once the water is shut off, you can begin the process of removing the old faucet.How to Replace a Bathroom Faucet

How to Replace a Bathroom Faucet

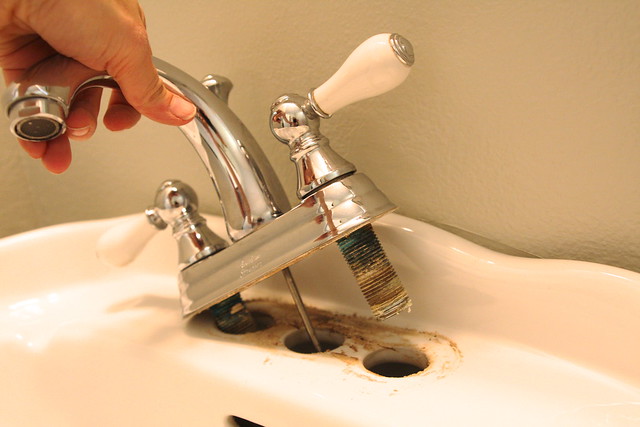

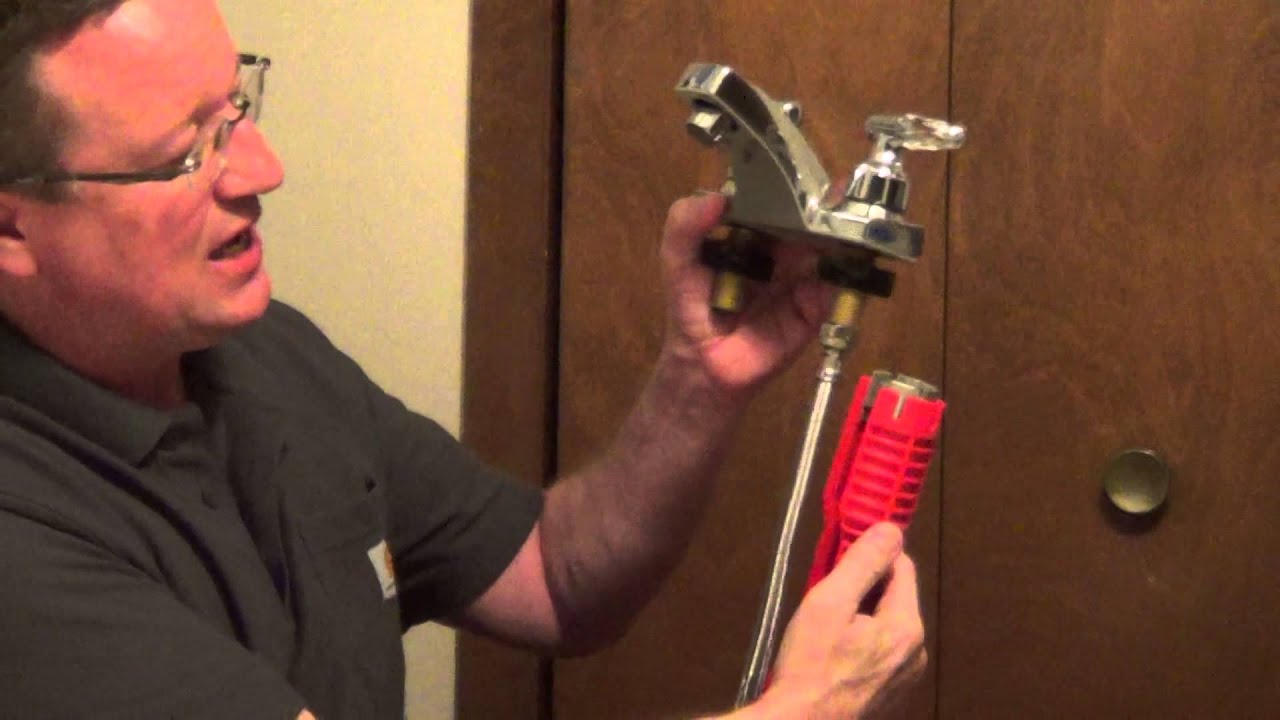
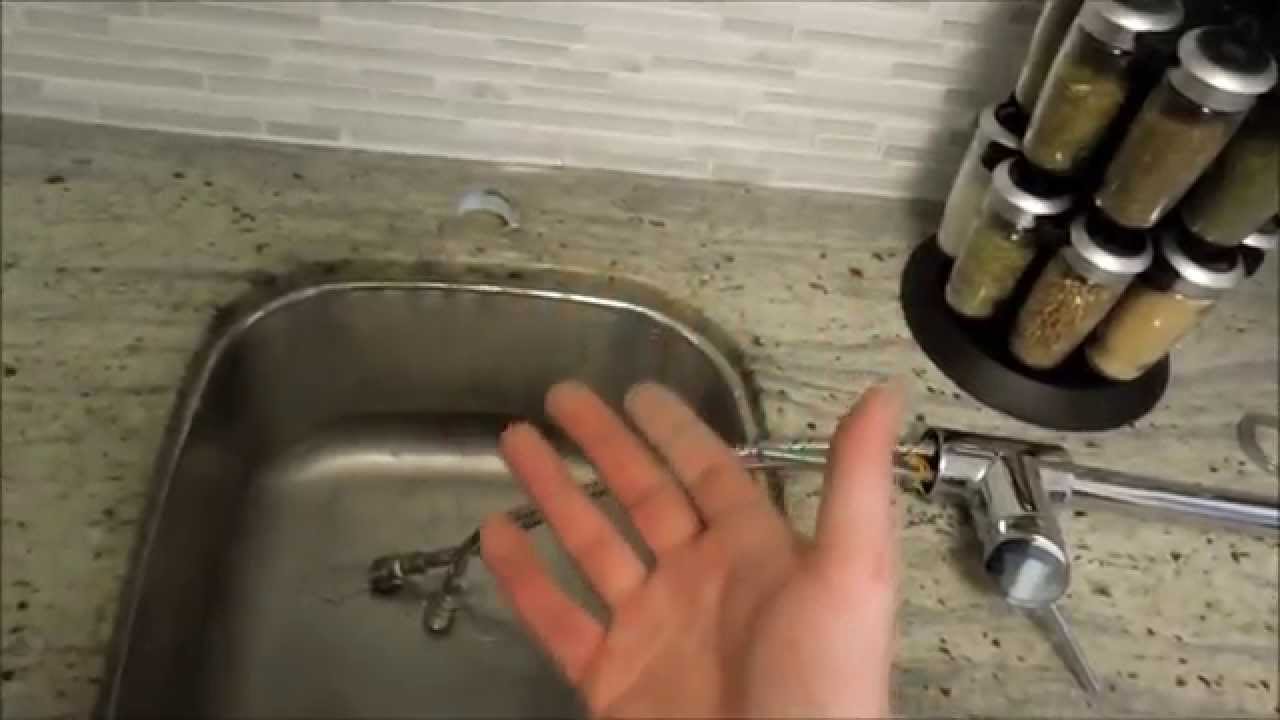
To remove the old faucet, start by disconnecting the water supply lines and unscrewing the nuts holding the faucet in place. Depending on the type of faucet you have, you may need to use a basin wrench to reach and remove the nuts. Once the faucet is disconnected, you can lift it out of the sink and clean the area where the new faucet will be installed. Use a putty knife to remove any old plumber's putty or caulk, and then dry the area thoroughly.DIY Bathroom Sink Faucet Replacement


DIY Bathroom Sink Faucet Replacement


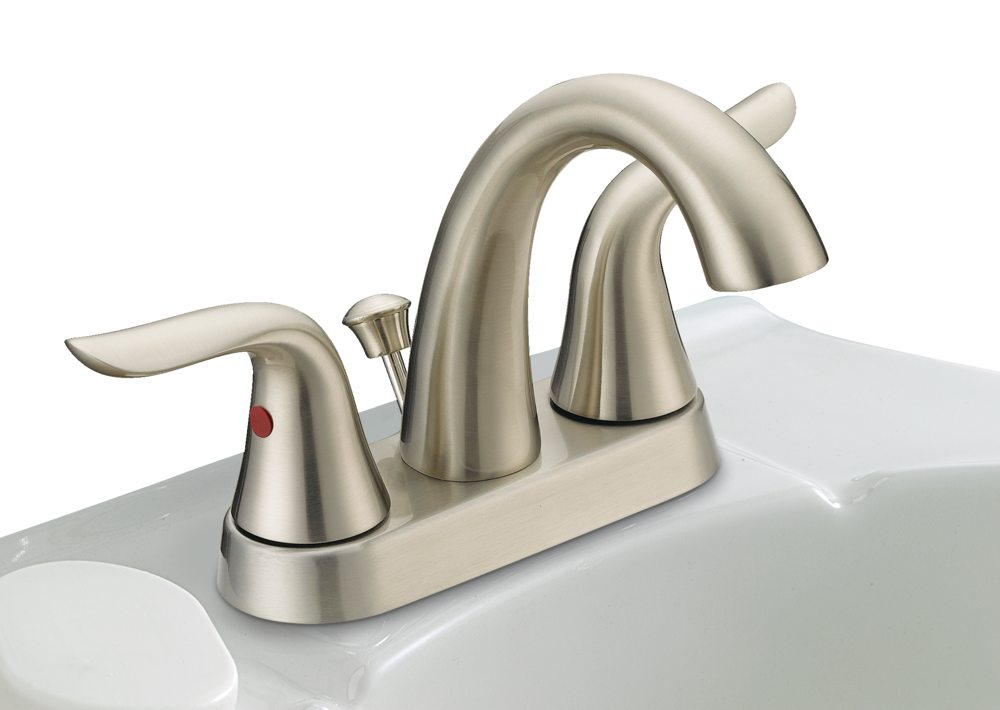
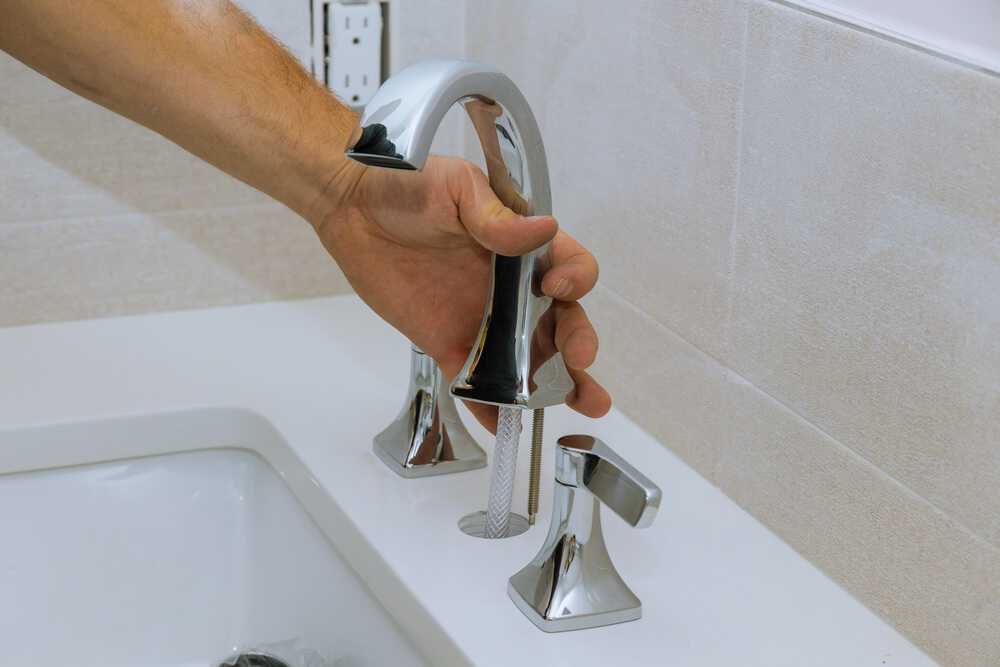
Now it's time to install the new faucet. Begin by placing a thin bead of plumber's putty around the base of the new faucet. Then, insert the faucet into the holes on the sink and secure it from underneath with the included mounting nuts. Use a basin wrench to tighten the nuts, making sure the faucet is straight and securely in place. Next, attach the water supply lines to the corresponding valves and tighten them with an adjustable wrench. Finally, turn the water supply back on and test the new faucet for any leaks.Step-by-Step Guide for Changing a Bathroom Sink Faucet


Step-by-Step Guide for Changing a Bathroom Sink Faucet


The tools required for changing a bathroom sink faucet may vary depending on the type of faucet and sink you have. Some common tools that may be needed include an adjustable wrench, a basin wrench, a putty knife, and Teflon tape. It's important to gather all the necessary tools before starting the project to ensure a smooth and efficient process.Tools Needed for Replacing a Bathroom Sink Faucet


Tools Needed for Replacing a Bathroom Sink Faucet


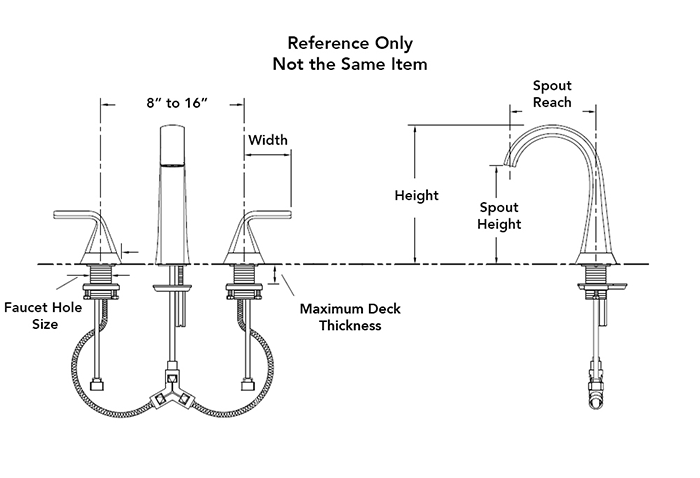
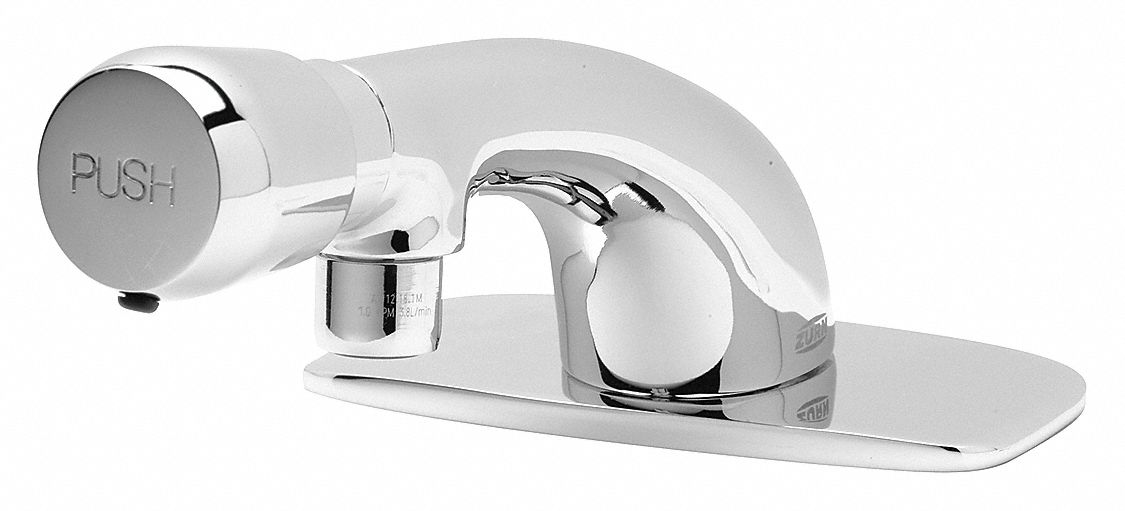
When selecting a new faucet for your bathroom sink, there are a few things to keep in mind. Consider the style and finish of your sink and choose a faucet that will complement it. It's also important to choose a faucet with the right configuration for your sink, such as single-hole, three-hole, or wall-mounted. Additionally, pay attention to the features and functions of the faucet, such as water flow and temperature control, to ensure it meets your needs and preferences.Tips for Choosing the Right Bathroom Sink Faucet


Tips for Choosing the Right Bathroom Sink Faucet


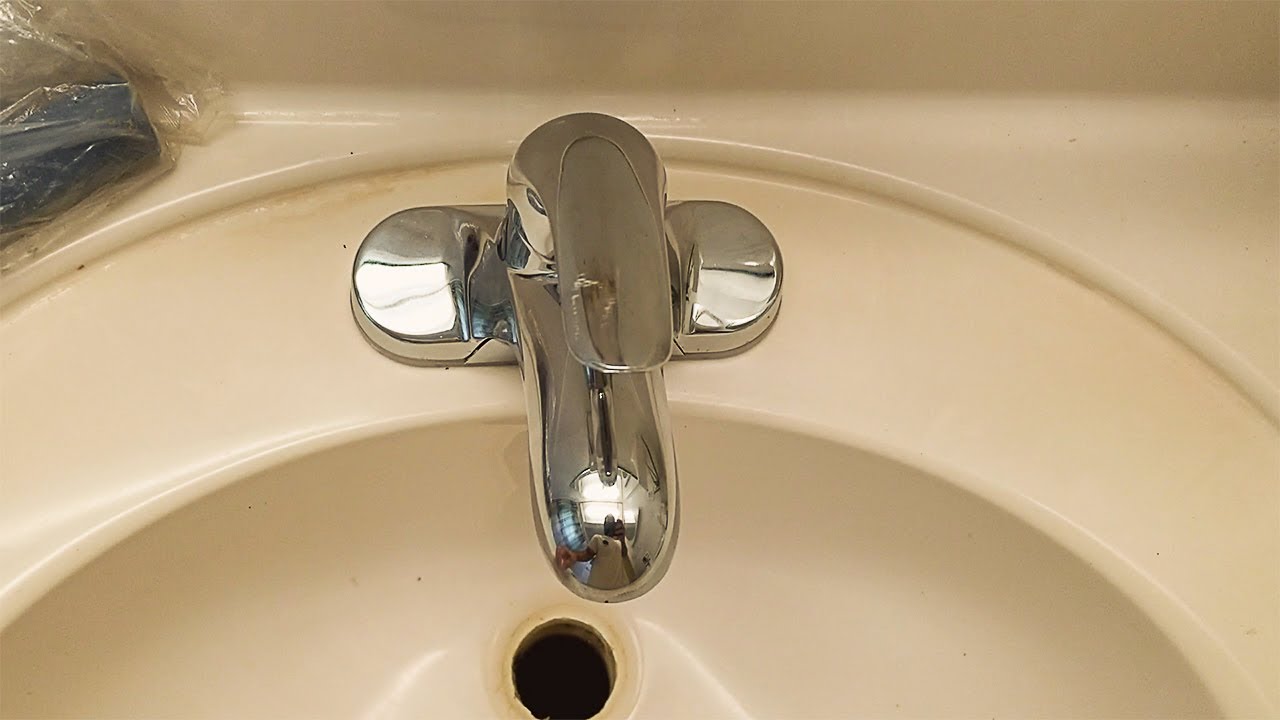
While changing a bathroom sink faucet may seem like a straightforward task, there are a few common problems that may arise. These include difficulty reaching the mounting nuts, dealing with corroded or stuck parts, and encountering unexpected plumbing issues. If you run into any problems, don't hesitate to seek assistance from a professional plumber.Common Problems When Changing a Bathroom Sink Faucet


Common Problems When Changing a Bathroom Sink Faucet


The cost of replacing a bathroom sink faucet can vary depending on the type of faucet and the complexity of the installation process. On average, homeowners can expect to spend between $150 and $350 for a new faucet and installation. However, if you have some DIY skills, you can save money by doing the replacement yourself.Cost of Replacing a Bathroom Sink Faucet


Cost of Replacing a Bathroom Sink Faucet


:max_bytes(150000):strip_icc()/8_IMG_3767-56a4a2753df78cf772835b72.JPG)
Deciding whether to hire a professional or tackle the faucet replacement yourself ultimately depends on your budget and skill level. Hiring a professional can ensure a quick and efficient installation, but it can also come at a higher cost. However, if you have some DIY experience and the necessary tools, replacing the faucet yourself can save you money and give you a sense of accomplishment.Professional vs. DIY Bathroom Sink Faucet Replacement

Professional vs. DIY Bathroom Sink Faucet Replacement

Once your new faucet is installed, it's important to properly maintain it to ensure its longevity and functionality. This includes regularly cleaning the faucet and keeping it free of any buildup or debris. It's also important to check for any leaks or drips and address them promptly to prevent water damage. By taking good care of your new bathroom sink faucet, you can enjoy its use for years to come.How to Maintain Your New Bathroom Sink Faucet


How to Maintain Your New Bathroom Sink Faucet


Step 3: Installing the New Faucet

1. Prepare the New Faucet
 Before you begin the installation process, it is important to prepare the new faucet. Make sure to read the manufacturer's instructions carefully before starting.
Gather all necessary tools
such as a wrench, pliers, and screwdriver.
Inspect the new faucet for any damages
and make sure all the necessary parts are included.
Before you begin the installation process, it is important to prepare the new faucet. Make sure to read the manufacturer's instructions carefully before starting.
Gather all necessary tools
such as a wrench, pliers, and screwdriver.
Inspect the new faucet for any damages
and make sure all the necessary parts are included.
2. Remove the Old Faucet
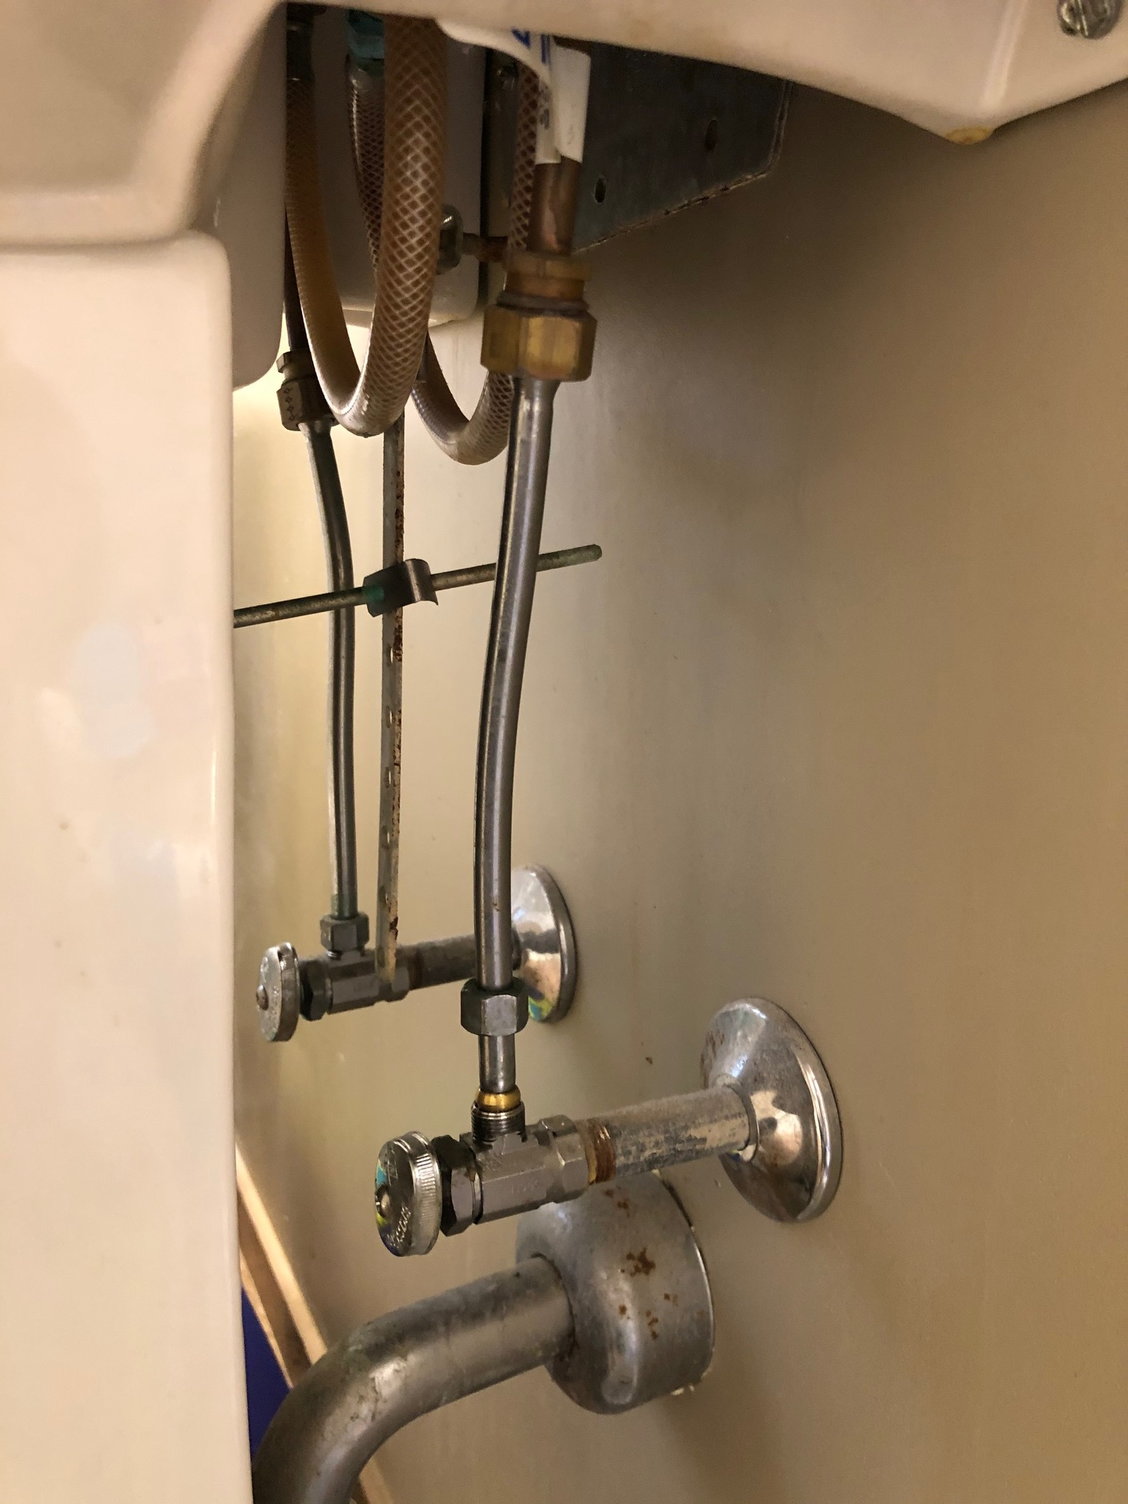
 Start by turning off the water supply to the sink. This can usually be done by turning the shut-off valves located under the sink in a clockwise direction.
Place a bucket under the sink
to catch any excess water that may drip out.
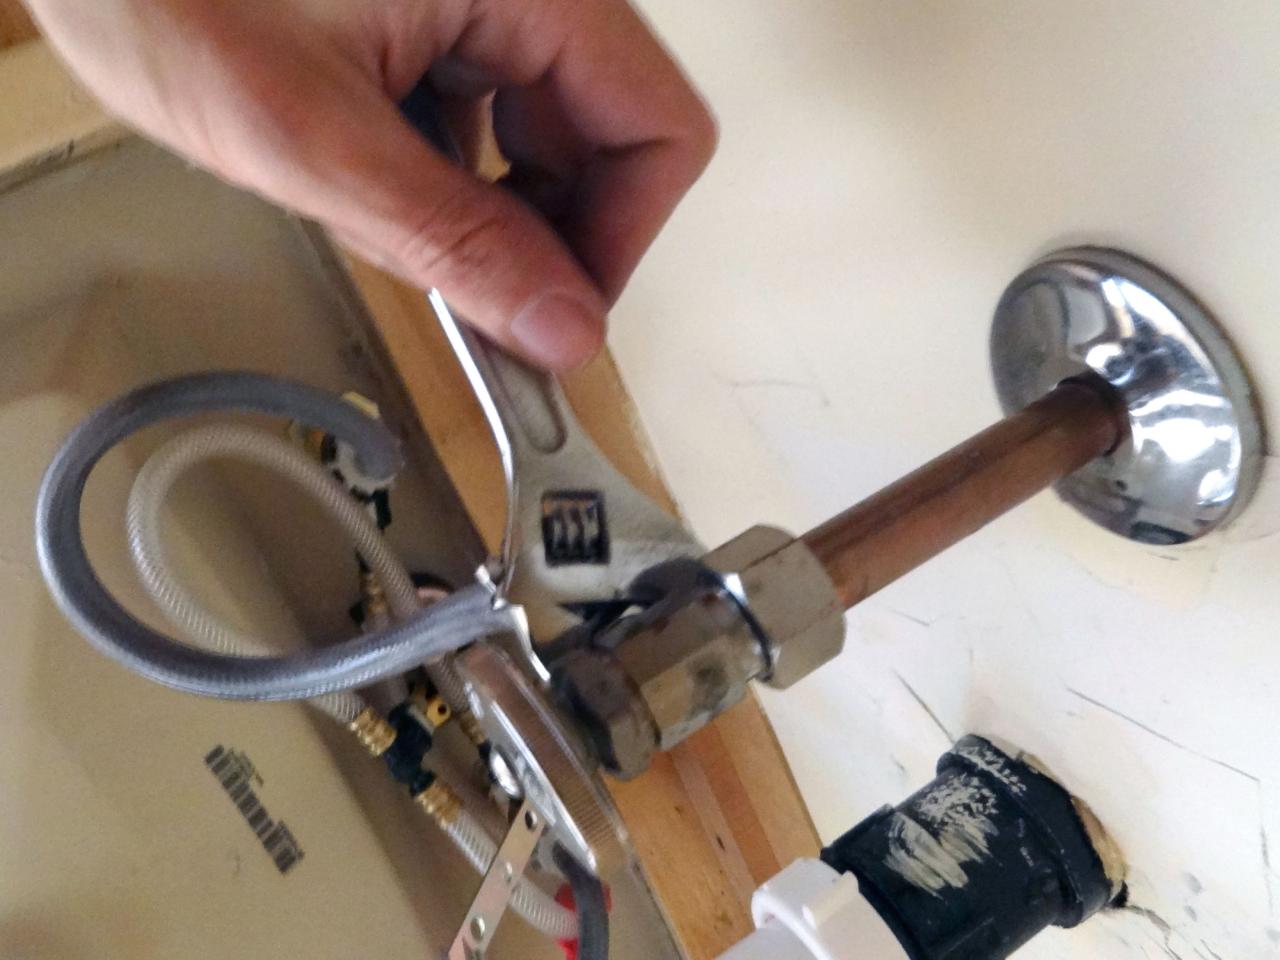
Use a wrench or pliers to disconnect the water supply tubes
from the faucet. Then,
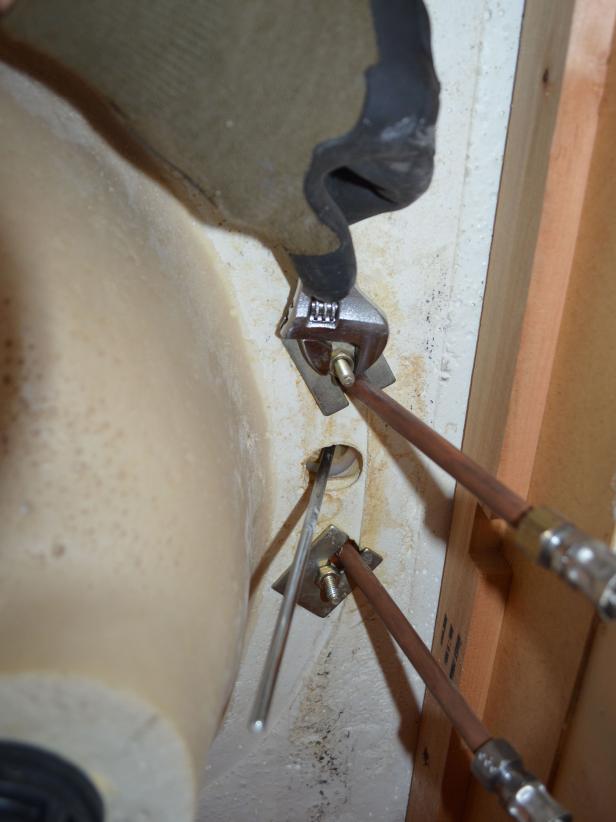
use a screwdriver to remove the mounting nuts
that hold the faucet in place. Finally,
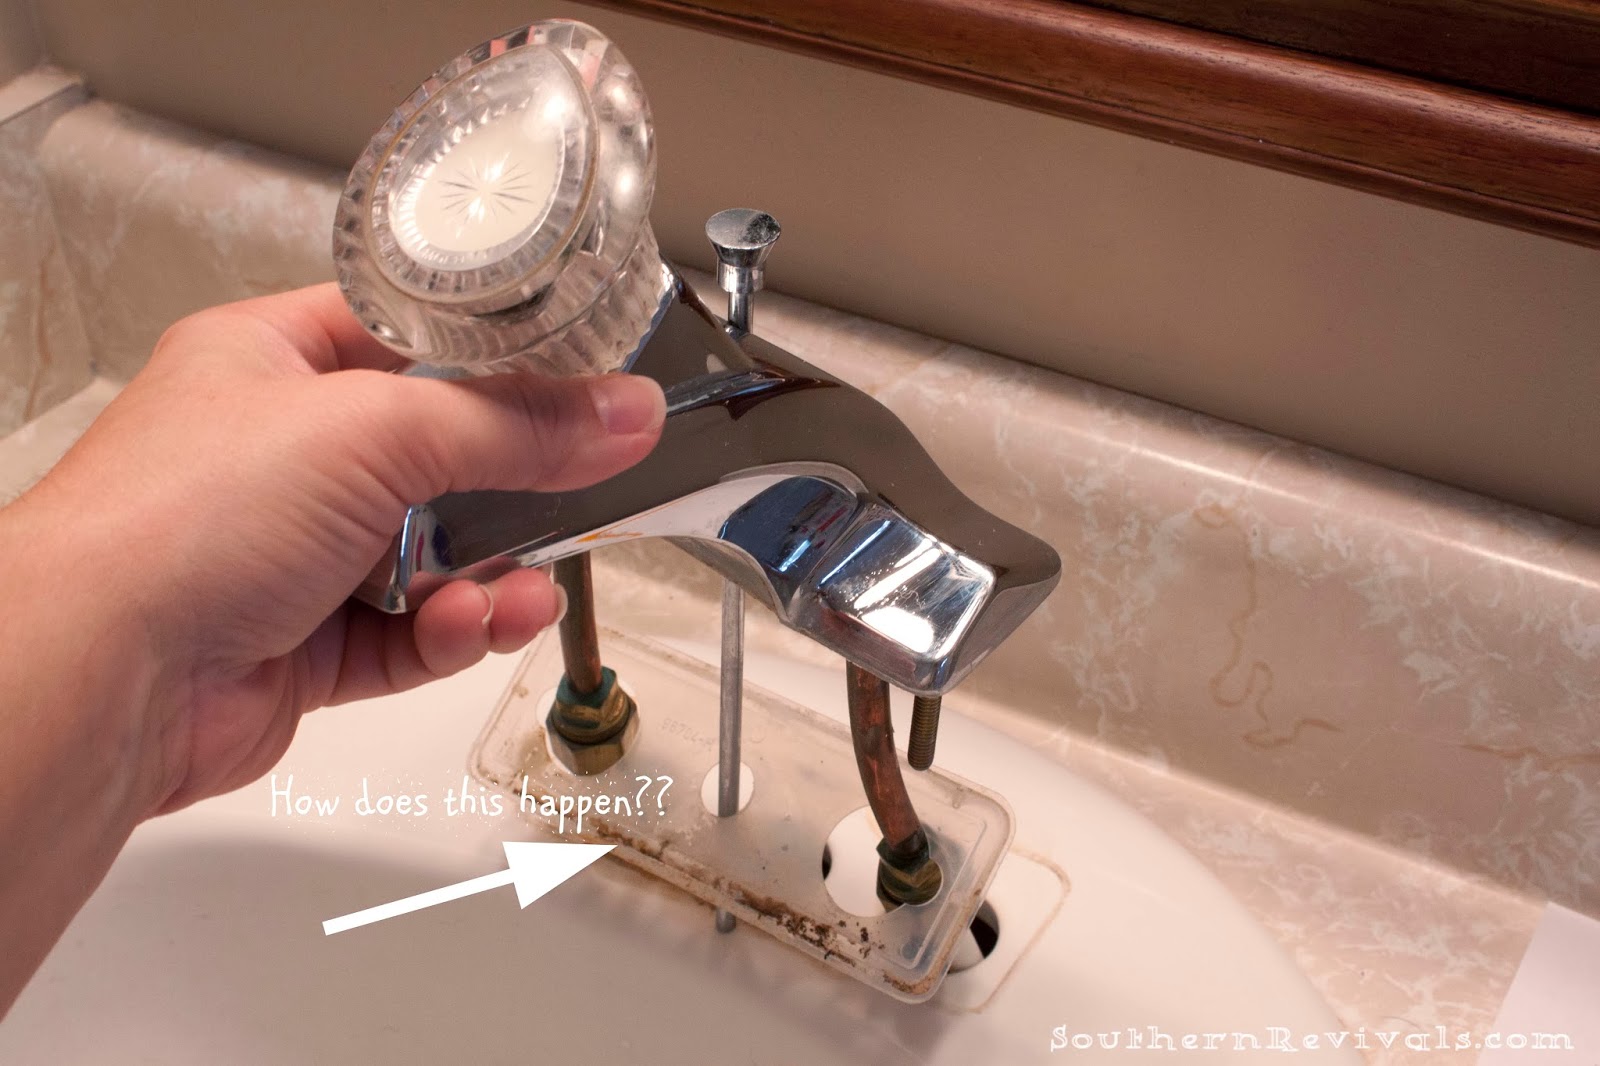
lift the old faucet out of the sink
and set it aside.
Start by turning off the water supply to the sink. This can usually be done by turning the shut-off valves located under the sink in a clockwise direction.
Place a bucket under the sink
to catch any excess water that may drip out.
Use a wrench or pliers to disconnect the water supply tubes
from the faucet. Then,
use a screwdriver to remove the mounting nuts
that hold the faucet in place. Finally,
lift the old faucet out of the sink
and set it aside.
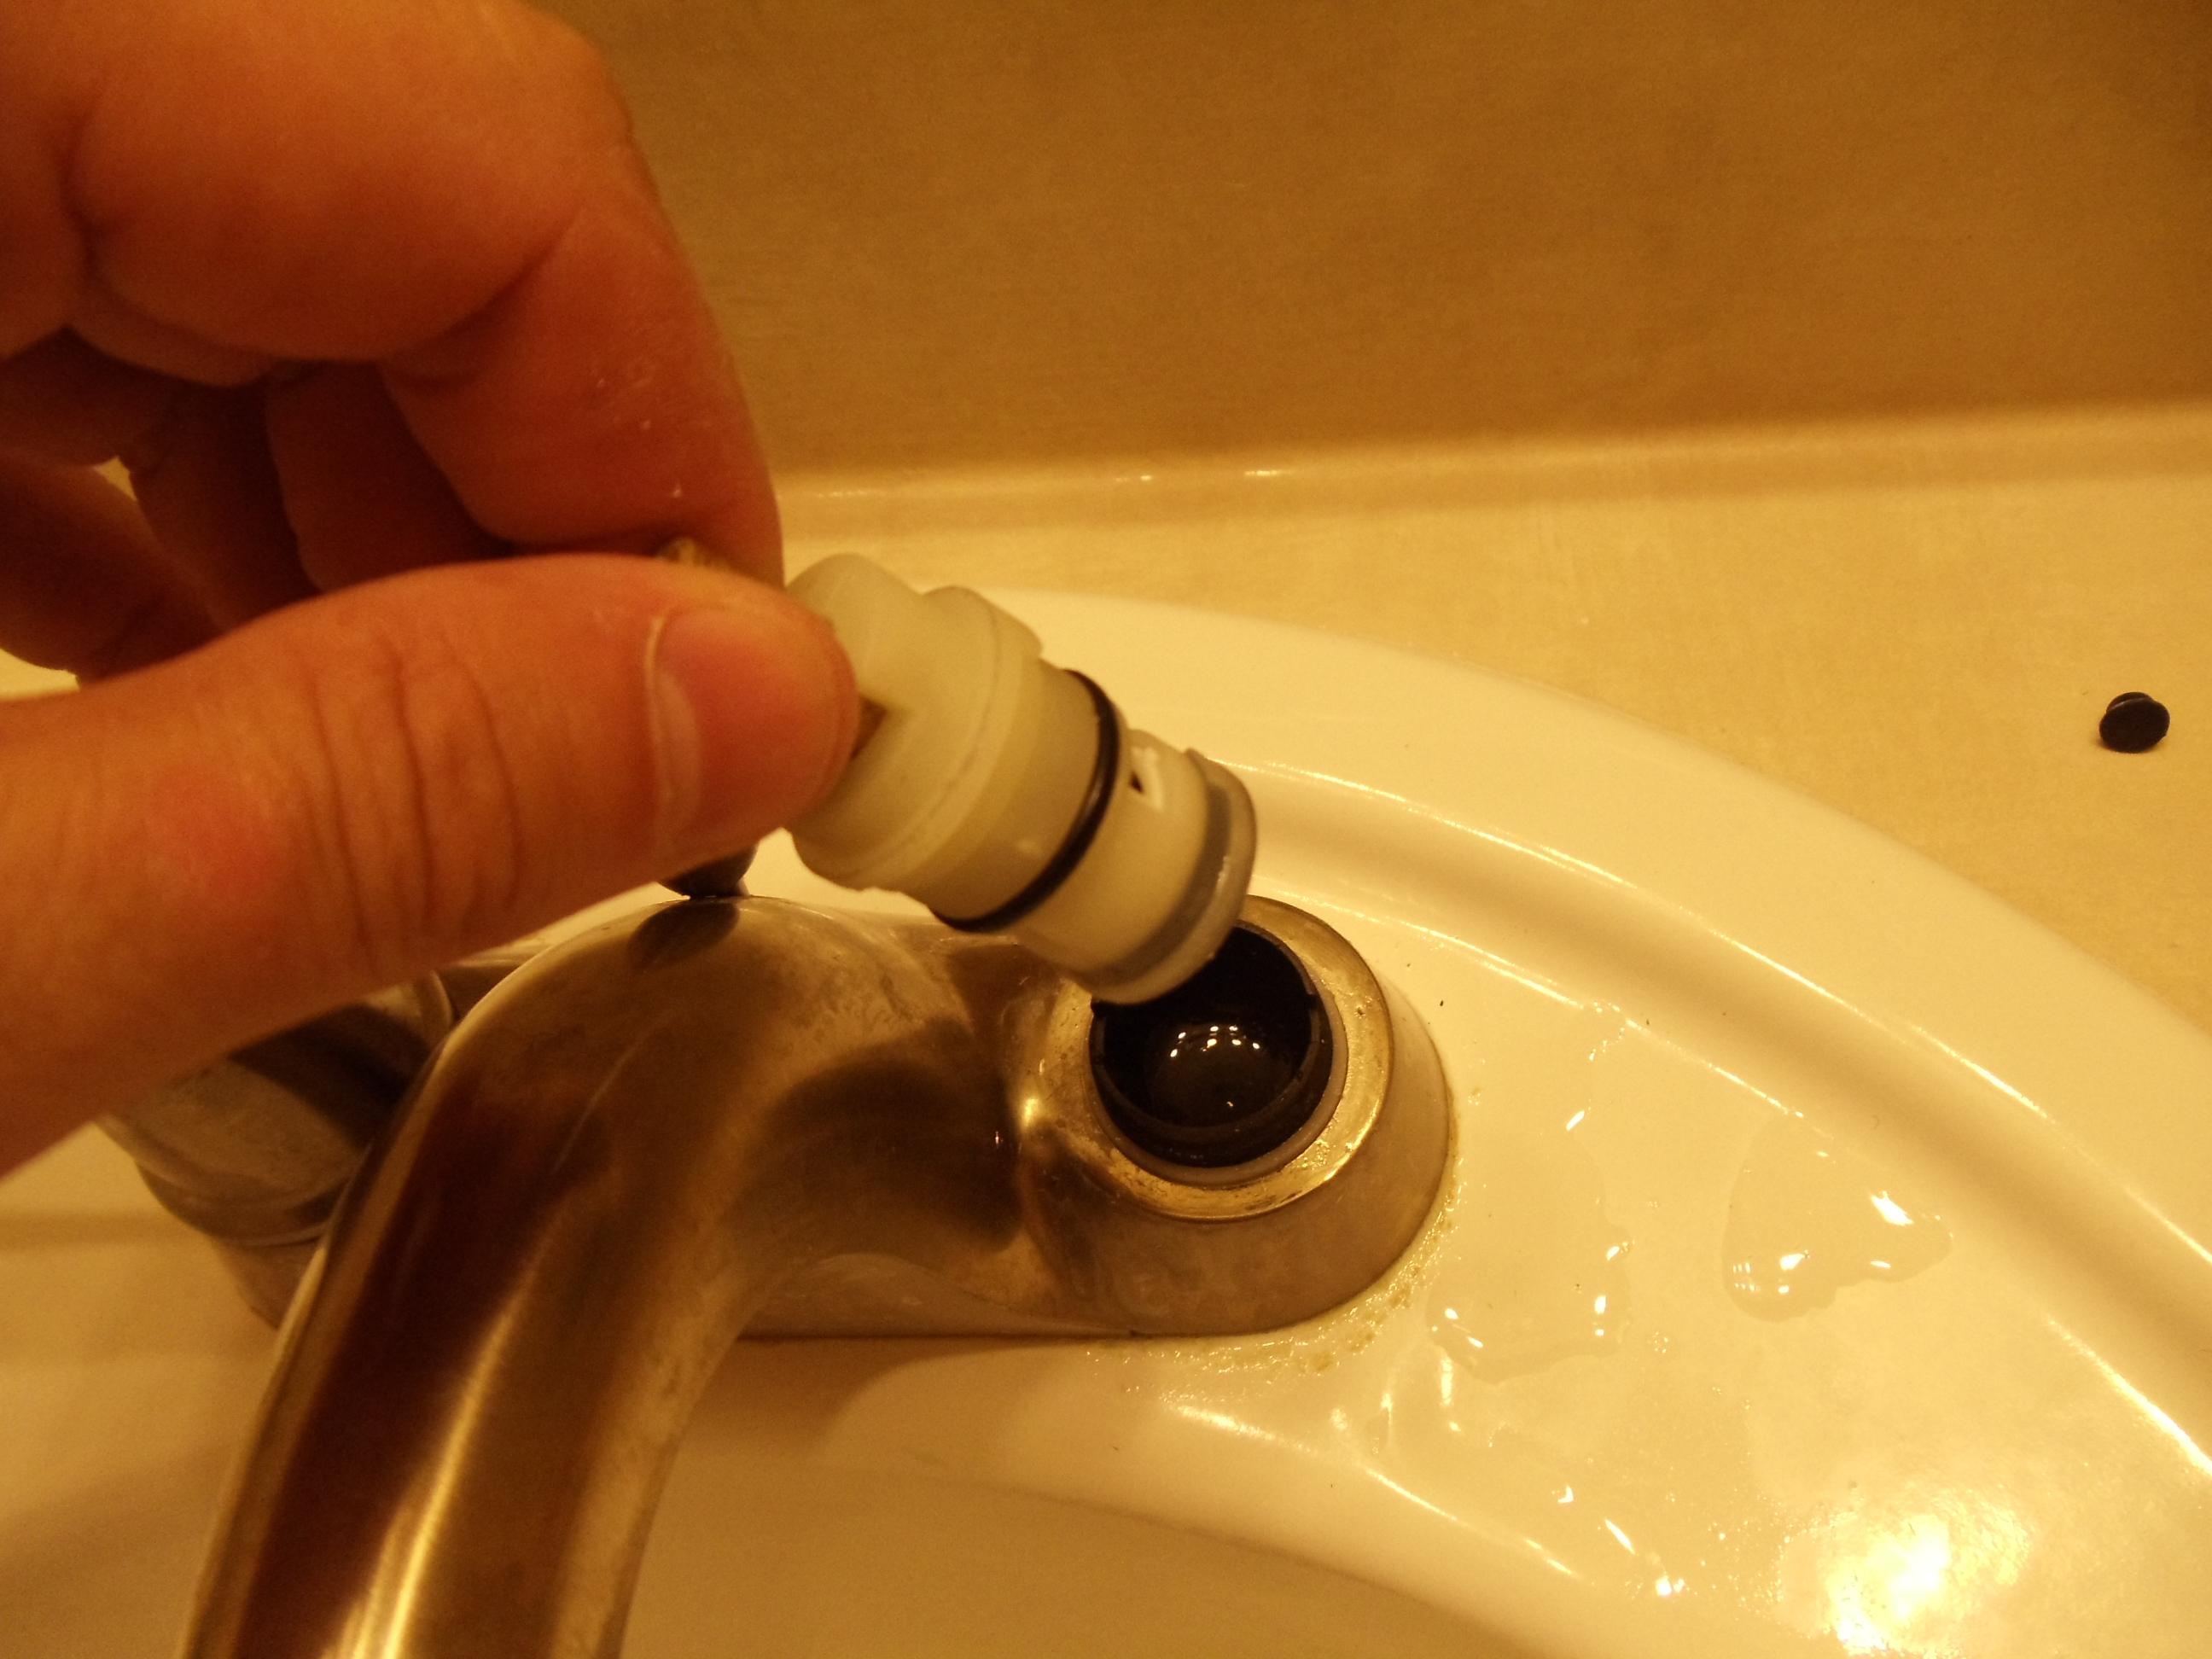
3. Install the New Faucet
 Follow the manufacturer's instructions
to properly install the new faucet. This may include attaching any necessary hardware and securing the faucet to the sink using mounting nuts.
Connect the water supply tubes
to the new faucet and make sure they are tightly secured. Once everything is in place,
turn on the water supply
and check for any leaks.
Follow the manufacturer's instructions
to properly install the new faucet. This may include attaching any necessary hardware and securing the faucet to the sink using mounting nuts.
Connect the water supply tubes
to the new faucet and make sure they are tightly secured. Once everything is in place,
turn on the water supply
and check for any leaks.
4. Test the Faucet
 Once the new faucet is installed,
turn on the water and test the functionality of the faucet
. Make sure both hot and cold water are running properly and that there are no leaks. If you encounter any issues,
refer back to the manufacturer's instructions
for troubleshooting tips.
Once the new faucet is installed,
turn on the water and test the functionality of the faucet
. Make sure both hot and cold water are running properly and that there are no leaks. If you encounter any issues,
refer back to the manufacturer's instructions
for troubleshooting tips.
5. Clean Up and Enjoy
 After successfully installing the new faucet,
clean up any debris and excess water
from the sink area.
Dispose of the old faucet properly
and enjoy your newly upgraded bathroom sink!
Remember to regularly maintain and clean your new faucet
to keep it in top condition. With these easy steps, you can
easily change the faucet in your bathroom sink
and give your bathroom a fresh new look.
After successfully installing the new faucet,
clean up any debris and excess water
from the sink area.
Dispose of the old faucet properly
and enjoy your newly upgraded bathroom sink!
Remember to regularly maintain and clean your new faucet
to keep it in top condition. With these easy steps, you can
easily change the faucet in your bathroom sink
and give your bathroom a fresh new look.