If you're tired of dealing with a leaky or clogged drain in your bathroom sink, it may be time to change the drain plug. This may seem like a daunting task, but with the right tools and a little know-how, it can be a quick and easy DIY project. In this guide, we'll walk you through the steps for changing the drain plug on your bathroom sink.How to Change the Drain Plug on a Bathroom Sink


How to Change the Drain Plug on a Bathroom Sink


The first step in changing the drain plug on a bathroom sink is to remove the old one. This can usually be done by unscrewing the plug from the drain. If it is too tight to unscrew by hand, you may need to use pliers to loosen it. Once the old drain plug is removed, you can move on to installing the new one.Replacing the Drain Plug on a Bathroom Sink


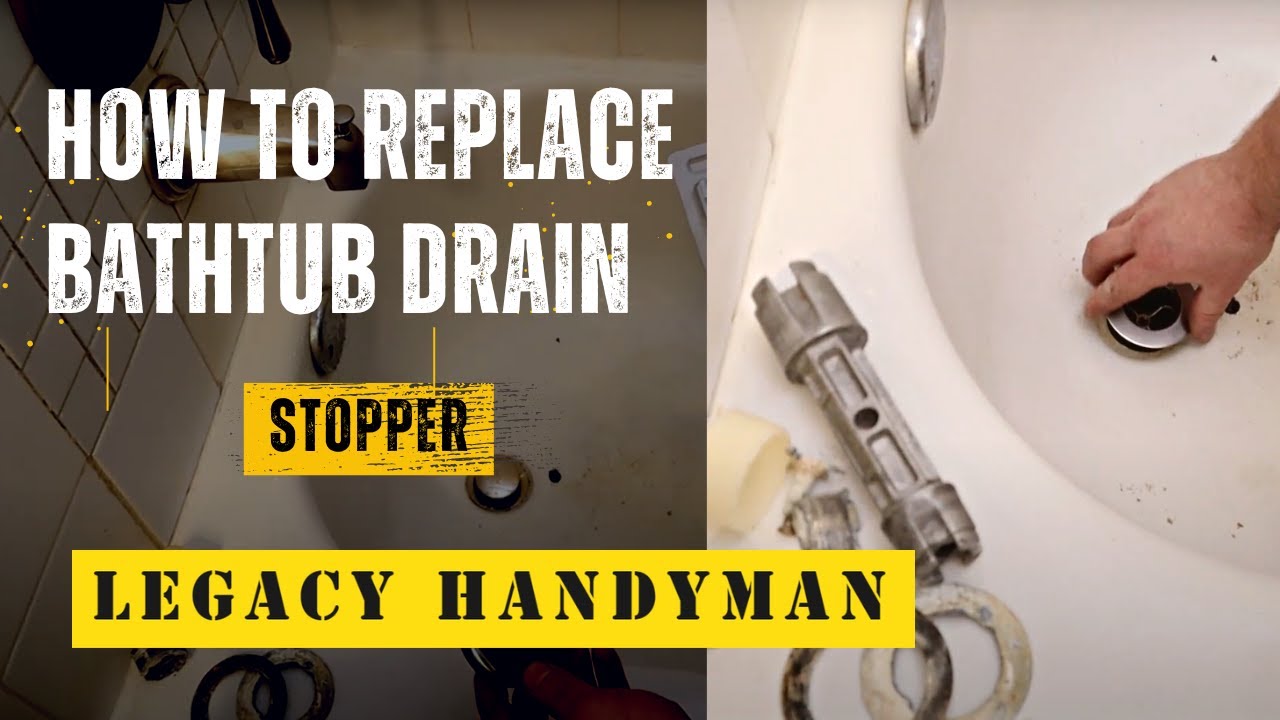
Replacing the Drain Plug on a Bathroom Sink


Before you begin, gather all the necessary tools and materials. This will typically include a new drain plug, pliers, a screwdriver, and plumber's putty. With everything ready, follow these steps: Step 1: Clean the area around the drain thoroughly to remove any residue or old putty. Step 2: Roll a small amount of plumber's putty between your hands to form a thin rope. Place the putty around the edge of the drain hole on the bottom side of the sink. Step 3: Insert the new drain plug into the drain hole from the top side of the sink, making sure the rubber gasket is facing down. Step 4: Screw on the nut from the bottom side of the sink, making sure it is tight enough to create a seal but not too tight that it cracks the sink. Step 5: Use pliers to tighten the nut, if needed. Step 6: Place the new stopper into the drain and screw on the top cap. Step 7: Test the new drain plug by filling the sink with water and checking for leaks.Step-by-Step Guide for Changing the Drain Plug on a Bathroom Sink


Step-by-Step Guide for Changing the Drain Plug on a Bathroom Sink


Changing the drain plug on a bathroom sink is a simple DIY project that can save you time and money. By following the steps above, you can easily replace the old drain plug with a new one and improve the functionality of your sink.DIY: Replacing the Drain Plug on a Bathroom Sink


DIY: Replacing the Drain Plug on a Bathroom Sink


If you're short on time or don't have all the necessary tools, there is a quick and easy method for changing the drain plug on a bathroom sink. Instead of using plumber's putty, you can use a silicone sealant to create a seal around the drain plug. This method is faster and does not require any special tools.Quick and Easy Method for Changing the Drain Plug on a Bathroom Sink


Quick and Easy Method for Changing the Drain Plug on a Bathroom Sink


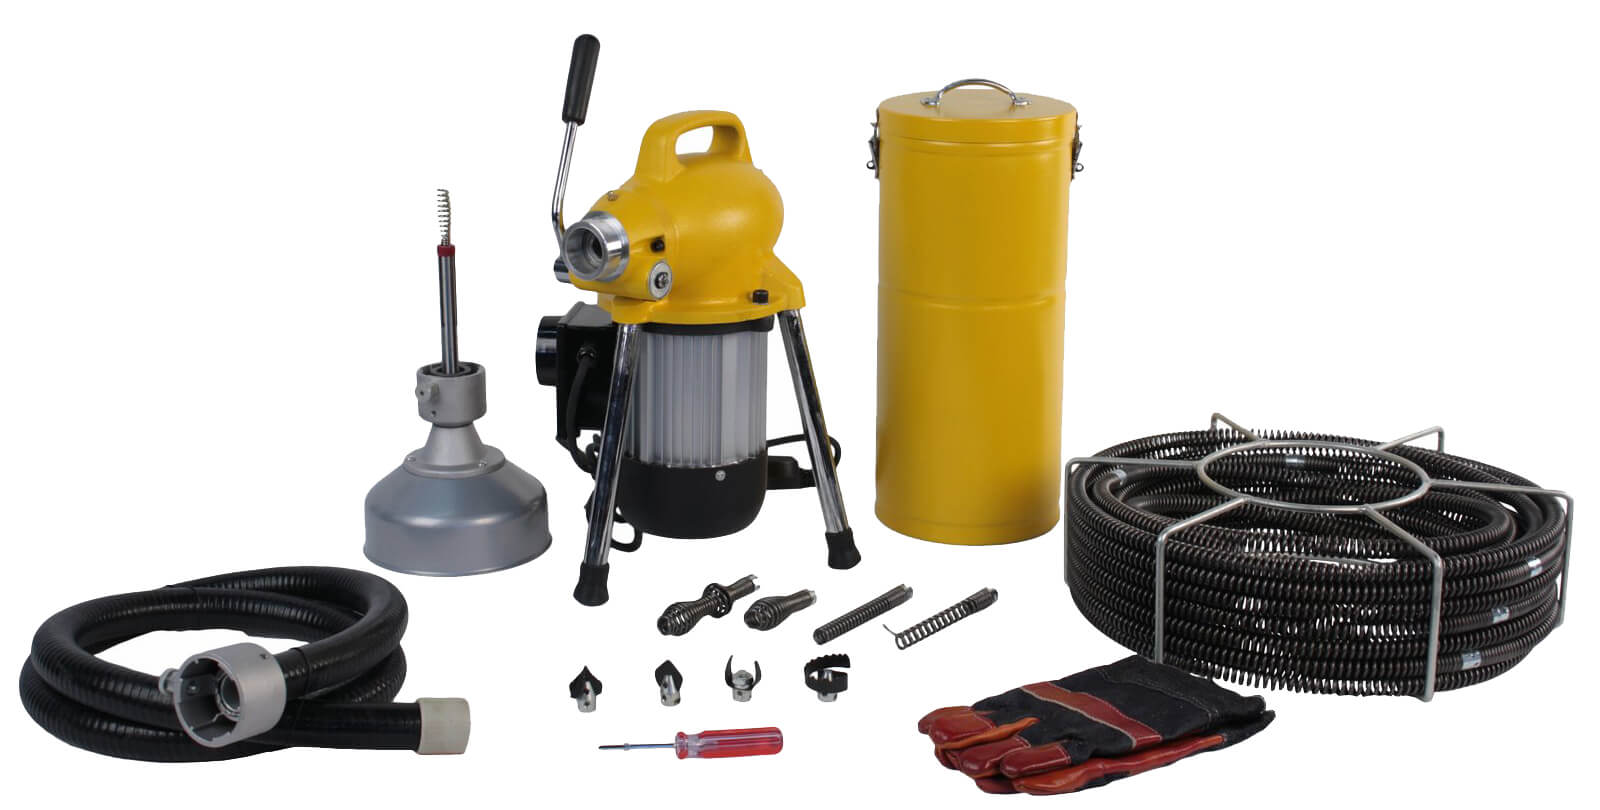
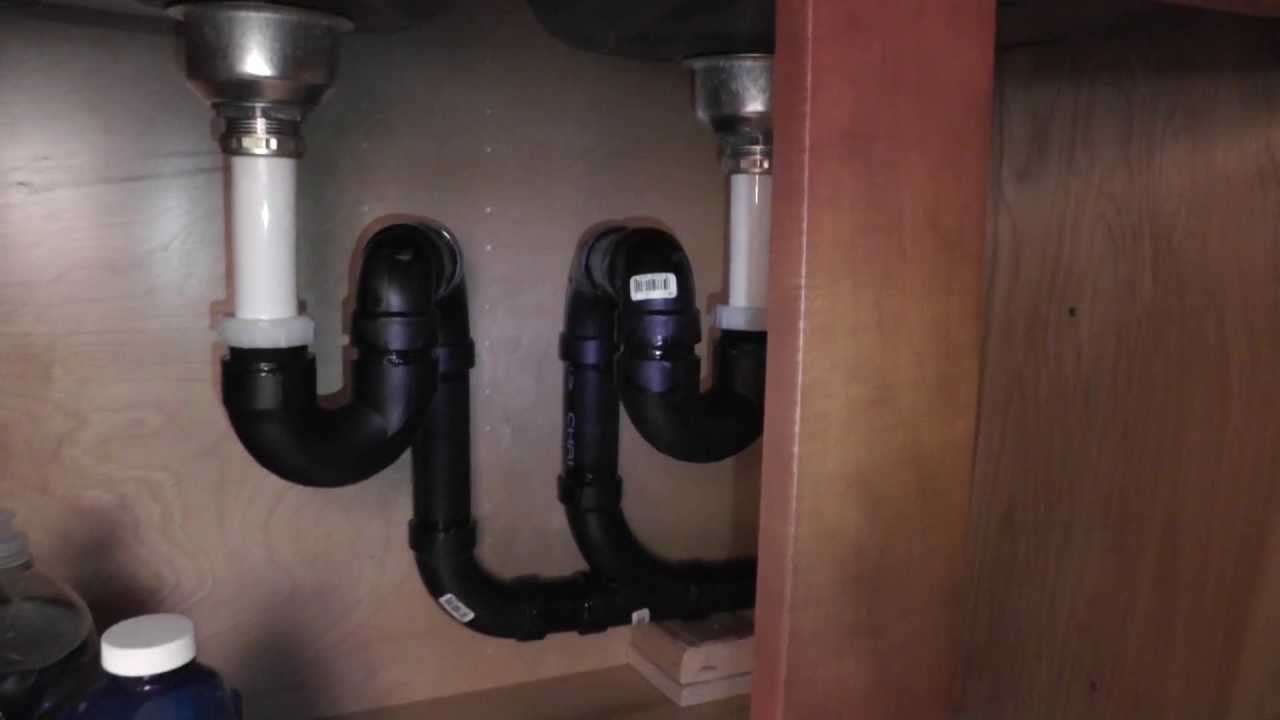
While the specific tools needed may vary depending on the type of drain plug you are replacing, here are some essential tools that may come in handy: Pliers: These will be useful for unscrewing the old drain plug and tightening the new one. Screwdriver: You may need a screwdriver to remove the old stopper or top cap from the drain. Plumber's Putty: This will create a waterproof seal around the new drain plug. Silicone Sealant: An alternative to plumber's putty, this can also be used to create a waterproof seal.Essential Tools for Changing the Drain Plug on a Bathroom Sink


Essential Tools for Changing the Drain Plug on a Bathroom Sink

While changing the drain plug on a bathroom sink may seem like a straightforward task, there are some common mistakes that can lead to issues down the line. These include: Not using enough plumber's putty: If the plumber's putty is not applied thick enough, it may cause leaks. Tightening the nut too much: Over-tightening the nut can cause the sink to crack, leading to more extensive repairs. Not testing for leaks: It's important to test the new drain plug for leaks before considering the project complete.Common Mistakes to Avoid When Changing the Drain Plug on a Bathroom Sink


Common Mistakes to Avoid When Changing the Drain Plug on a Bathroom Sink


Here are some additional tips and tricks to keep in mind when changing the drain plug on a bathroom sink: Use gloves: Plumber's putty and silicone sealant can be messy, so it's a good idea to wear gloves to protect your hands. Apply pressure when using pliers: When tightening the nut with pliers, make sure to apply even pressure to avoid cracking the sink. Clean up excess putty or sealant: After the project is complete, clean up any excess putty or sealant to prevent it from hardening and causing issues in the future.Tips and Tricks for Successfully Changing the Drain Plug on a Bathroom Sink

Tips and Tricks for Successfully Changing the Drain Plug on a Bathroom Sink


If you encounter any issues while changing the drain plug on your bathroom sink, here are some troubleshooting tips: If the nut won't budge: Try using WD-40 or a similar lubricant to loosen the nut. If there are leaks: Make sure the nut is tight enough and that there is enough plumber's putty or sealant creating a seal. If the sink cracks: Unfortunately, this can happen if the nut is tightened too much. In this case, you may need to call a professional to repair the sink.Troubleshooting: What to Do If You Encounter Issues While Changing the Drain Plug on a Bathroom Sink


Troubleshooting: What to Do If You Encounter Issues While Changing the Drain Plug on a Bathroom Sink


If you're still unsure about changing the drain plug on your bathroom sink, it's always a good idea to consult with an expert. They can offer guidance on the best methods and tools to use and provide helpful tips to ensure a successful project. With this guide, you should now have all the information you need to confidently change the drain plug on your bathroom sink. Remember to take your time, follow the steps carefully, and don't hesitate to seek professional help if needed. A functional and leak-free sink awaits you! Expert Advice: How to Properly Change the Drain Plug on a Bathroom Sink


Expert Advice: How to Properly Change the Drain Plug on a Bathroom Sink
Why Change the Drain Plug on Your Bathroom Sink?

An Important Yet Overlooked Detail in House Design
 When it comes to house design, many details are often overlooked or considered less important. However, every small element in a house plays a significant role in its overall functionality and aesthetic. One such often overlooked detail is the
drain plug on bathroom sinks
. Many homeowners tend to ignore the condition of their drain plugs, but it is a crucial element that can affect the overall functionality and appearance of your bathroom sink. In this article, we will discuss the importance of changing the drain plug on your bathroom sink and how it can improve your overall house design.
When it comes to house design, many details are often overlooked or considered less important. However, every small element in a house plays a significant role in its overall functionality and aesthetic. One such often overlooked detail is the
drain plug on bathroom sinks
. Many homeowners tend to ignore the condition of their drain plugs, but it is a crucial element that can affect the overall functionality and appearance of your bathroom sink. In this article, we will discuss the importance of changing the drain plug on your bathroom sink and how it can improve your overall house design.
Prevent Clogging and Water Damage
 The primary function of a drain plug is to control the flow of water in your bathroom sink. Over time, the drain plug can become clogged with hair, soap scum, and other debris, causing water to drain slowly or even get completely blocked. This can lead to standing water in your sink, which not only creates an unpleasant sight but can also cause water damage to your sink and surrounding areas. By
changing the drain plug
regularly, you can prevent clogging and avoid potential water damage, keeping your bathroom sink clean and functional.
The primary function of a drain plug is to control the flow of water in your bathroom sink. Over time, the drain plug can become clogged with hair, soap scum, and other debris, causing water to drain slowly or even get completely blocked. This can lead to standing water in your sink, which not only creates an unpleasant sight but can also cause water damage to your sink and surrounding areas. By
changing the drain plug
regularly, you can prevent clogging and avoid potential water damage, keeping your bathroom sink clean and functional.
Improve the Aesthetic of Your Bathroom Sink
 Apart from its functionality, the drain plug also plays a significant role in the appearance of your bathroom sink. An old or worn-out drain plug can make your sink look dull and outdated, which can affect the overall aesthetic of your bathroom. By
upgrading to a new drain plug
, you can instantly enhance the look of your sink and give your bathroom a fresh and modern touch. With various designs and finishes available, you can also choose a drain plug that complements your bathroom's overall design theme.
Apart from its functionality, the drain plug also plays a significant role in the appearance of your bathroom sink. An old or worn-out drain plug can make your sink look dull and outdated, which can affect the overall aesthetic of your bathroom. By
upgrading to a new drain plug
, you can instantly enhance the look of your sink and give your bathroom a fresh and modern touch. With various designs and finishes available, you can also choose a drain plug that complements your bathroom's overall design theme.
Enhance the Efficiency of Your Bathroom
 A slow or clogged drain plug can also affect the efficiency of your bathroom. With a dysfunctional drain plug, you may have to spend more time and effort trying to unclog it or clean your sink. This can be a hassle, especially during busy mornings when you need to get ready quickly. By regularly changing the drain plug, you can ensure the efficient flow of water in your bathroom sink, making your daily routine more convenient and time-saving.
In conclusion, the
drain plug on your bathroom sink
may seem like a small and insignificant detail, but it plays a crucial role in the functionality and appearance of your bathroom. Regularly changing the drain plug can prevent clogging and water damage, improve the aesthetic of your sink, and enhance the efficiency of your bathroom. So, don't overlook this important element in your house design and make sure to include it in your regular maintenance routine.
A slow or clogged drain plug can also affect the efficiency of your bathroom. With a dysfunctional drain plug, you may have to spend more time and effort trying to unclog it or clean your sink. This can be a hassle, especially during busy mornings when you need to get ready quickly. By regularly changing the drain plug, you can ensure the efficient flow of water in your bathroom sink, making your daily routine more convenient and time-saving.
In conclusion, the
drain plug on your bathroom sink
may seem like a small and insignificant detail, but it plays a crucial role in the functionality and appearance of your bathroom. Regularly changing the drain plug can prevent clogging and water damage, improve the aesthetic of your sink, and enhance the efficiency of your bathroom. So, don't overlook this important element in your house design and make sure to include it in your regular maintenance routine.