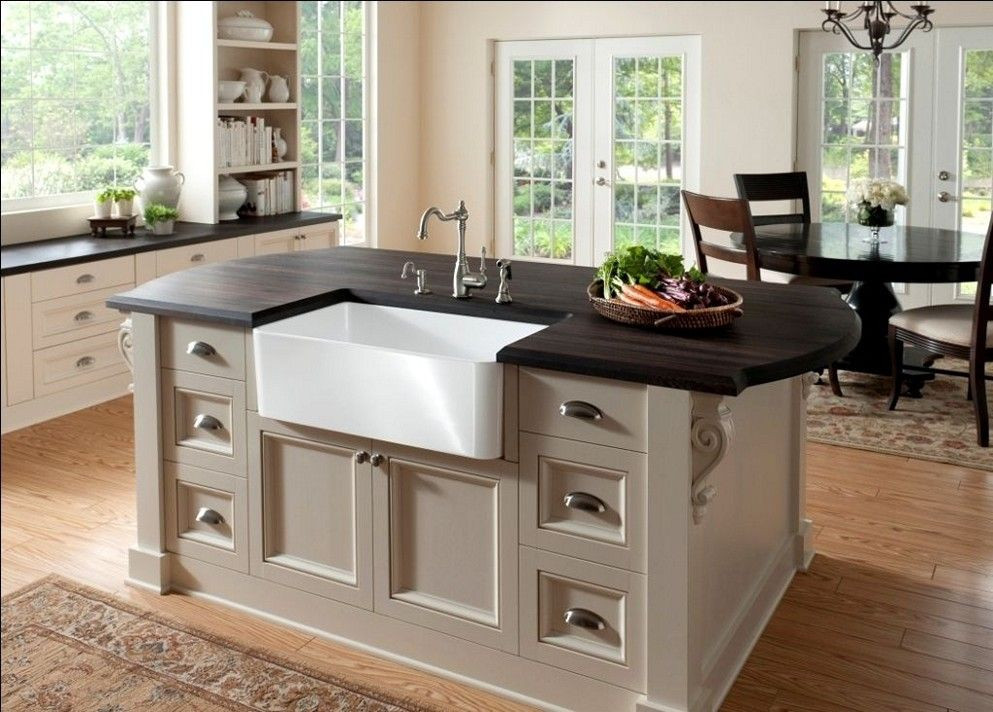
Are you looking to add more counter space and storage to your kitchen without breaking the bank? Look no further than your existing sink base. With a little creativity and some basic tools, you can easily transform your sink base into a functional and stylish kitchen island. Not only will this project save you money, but it will also give your kitchen a unique and personalized touch.1. Convert a Sink Base into a Kitchen Island


1. Convert a Sink Base into a Kitchen Island


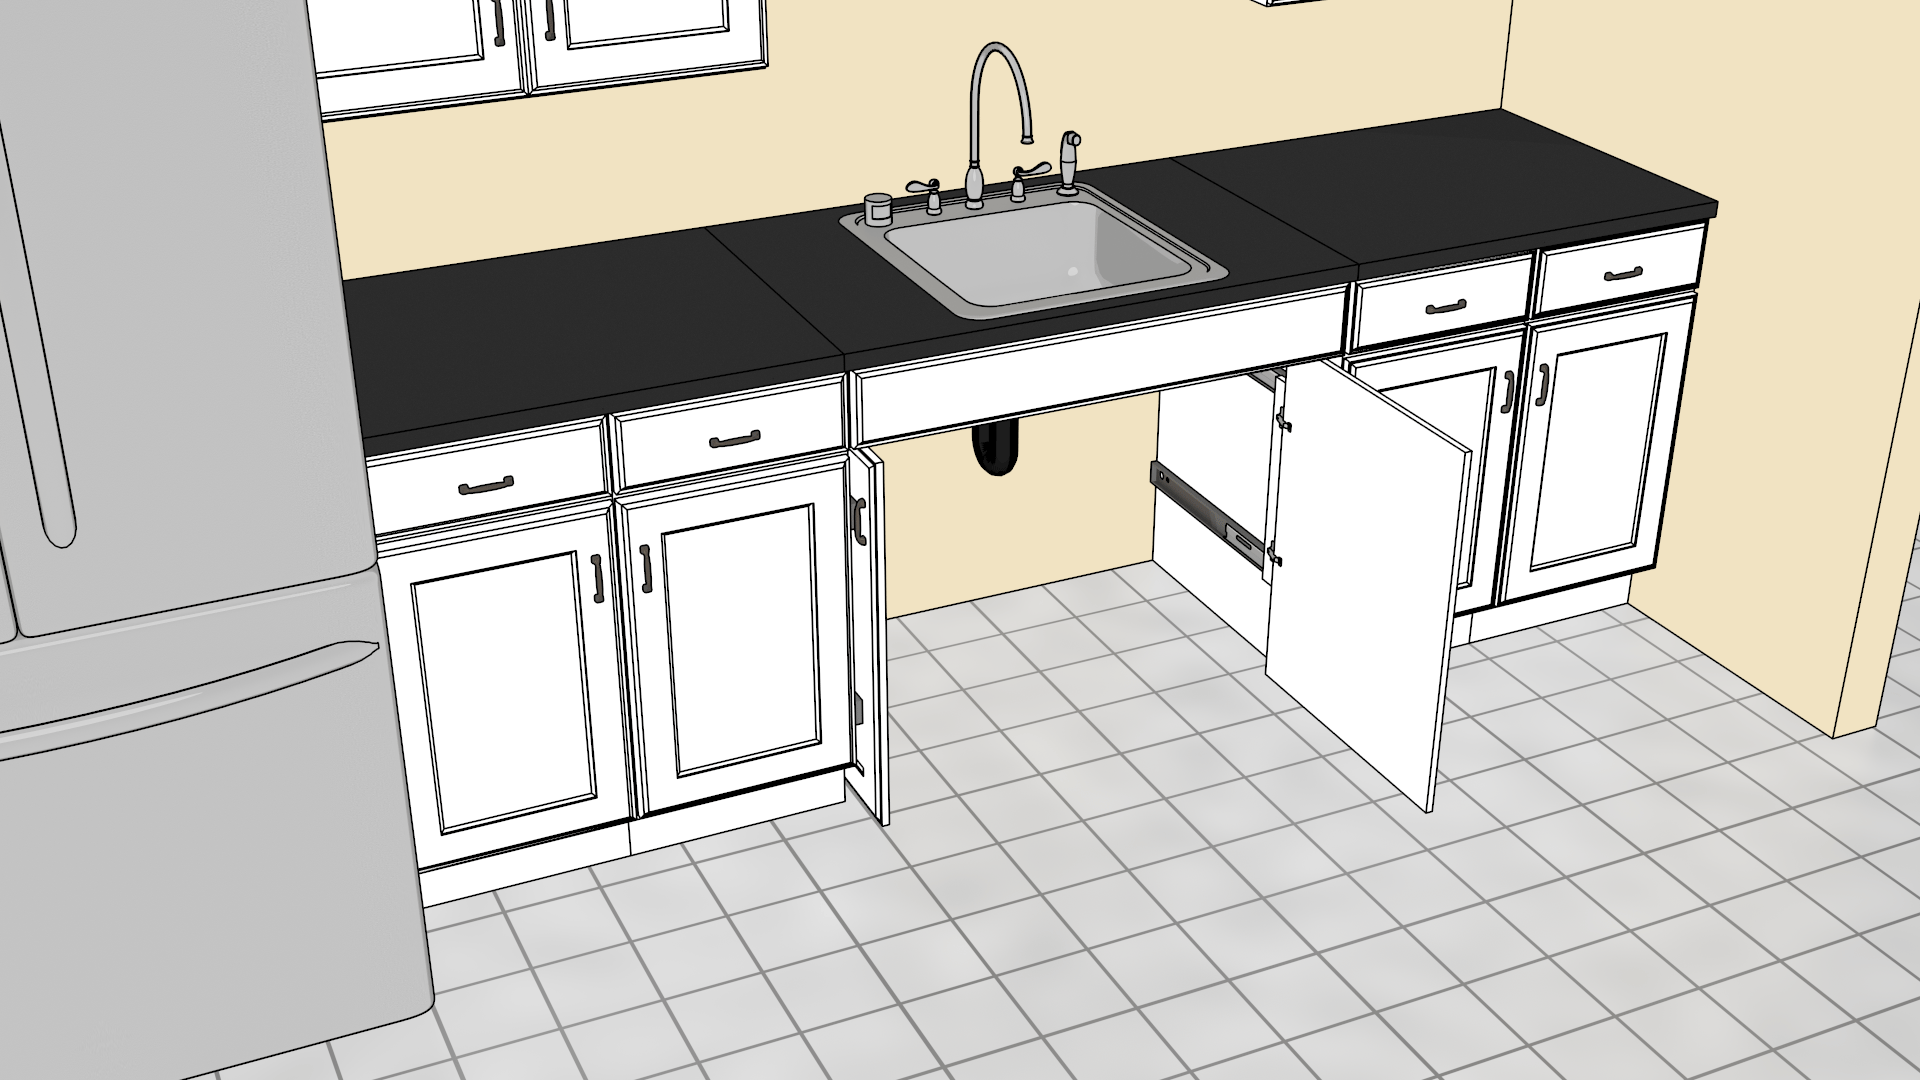


The first step to creating your kitchen island is to measure your sink base and determine the size and shape of your island. You can choose to use the entire sink base or cut it down to a smaller size. Keep in mind that you will need to leave enough room for walkways and other kitchen appliances.2. Transforming a Sink Base into a Kitchen Island

2. Transforming a Sink Base into a Kitchen Island


/kitchen-island-with-sink-ideas-6-naked-kitchens-heathwood-5857587bd7714e24a0f831ebd373918c.jpeg)
:strip_icc()/kitchen-island-with-sink-ideas-7-mindy-gayer-neillie-gail-8a3e8e62f5ca4883aa351d1b849943b2.jpeg)
/KitchenIslandwithSeating-494358561-59a3b217af5d3a001125057e.jpg)
Once you have your measurements, it’s time to start the transformation. Begin by removing the sink and any plumbing attached to the sink base. Next, remove the drawers and doors from the base. This will give you a blank canvas to work with.3. Changing a Sink Base to Create a Kitchen Island


3. Changing a Sink Base to Create a Kitchen Island

Now it’s time to add the legs or wheels to your island. You can purchase pre-made legs or use furniture legs from a thrift store or hardware store. Simply attach the legs to the bottom of the sink base using screws and a drill. If you are using wheels, make sure they are sturdy enough to support the weight of your island.4. How to Turn a Sink Base into a Kitchen Island


4. How to Turn a Sink Base into a Kitchen Island


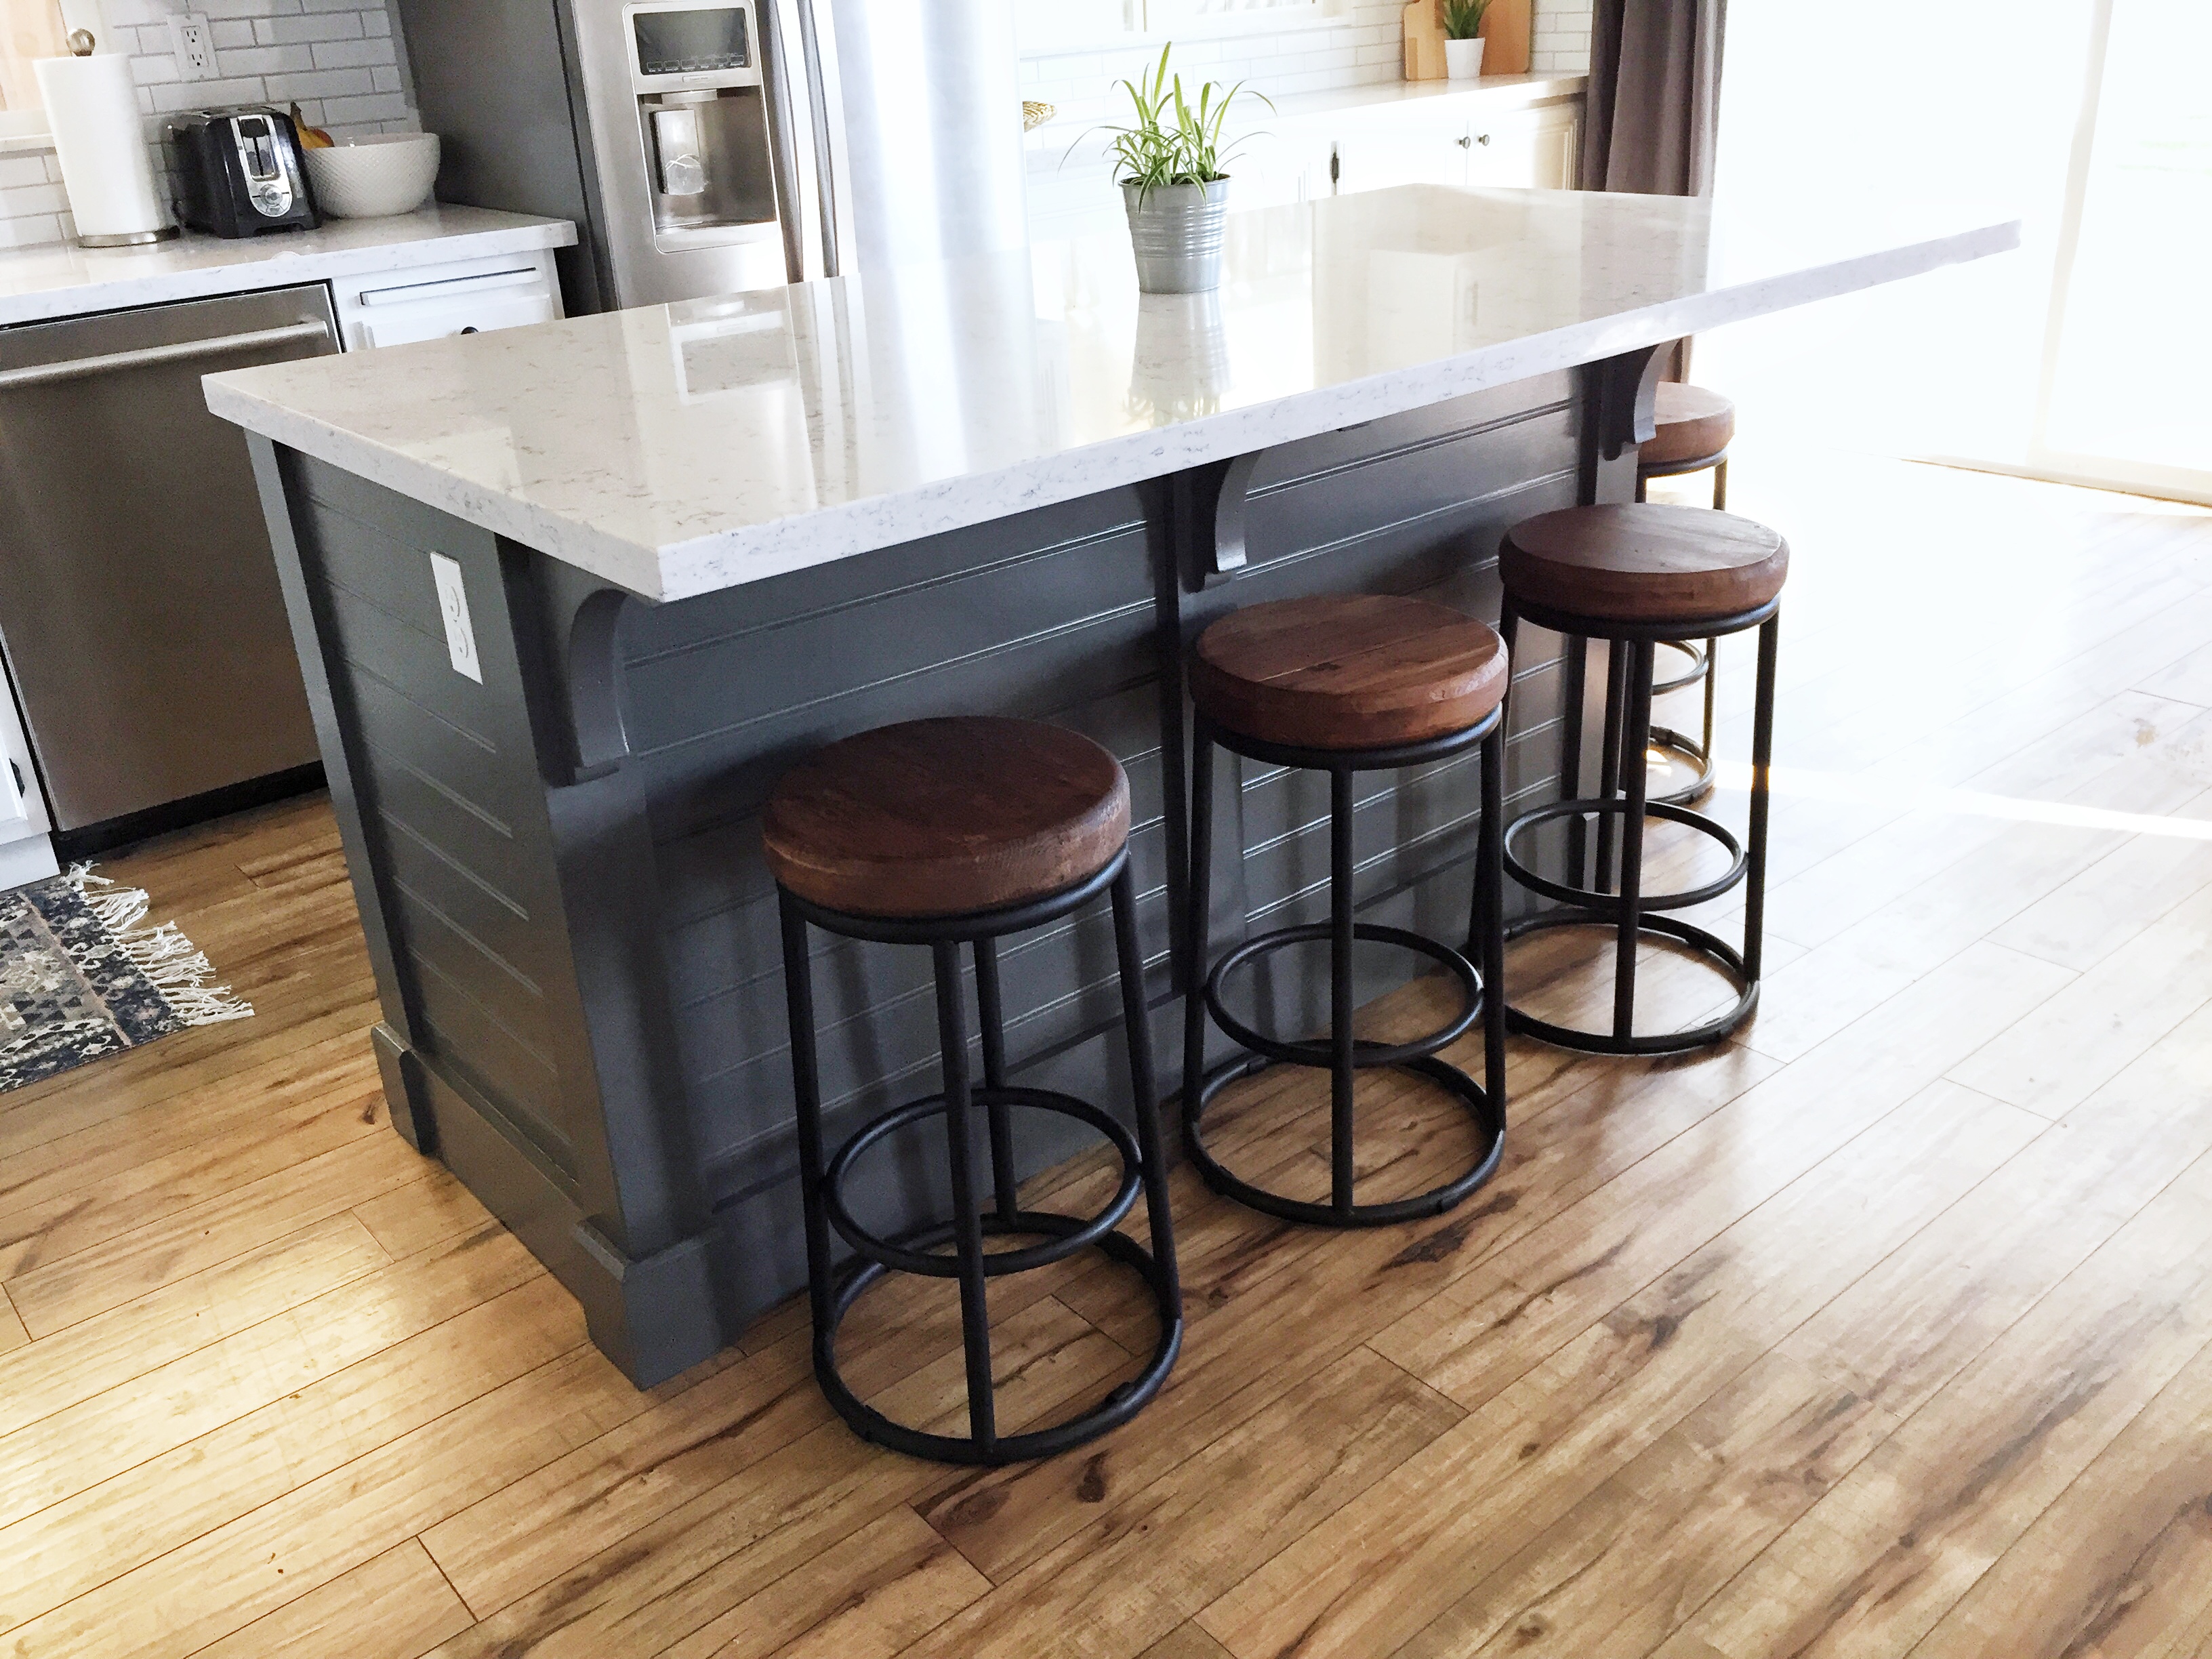
Next, you will want to add a countertop to your island. This can be a butcher block, granite, or even a repurposed piece of wood. Measure and cut the countertop to fit the top of your island and secure it using construction adhesive. You can also add a backsplash using tiles or a piece of wood to give your island a finished look.5. DIY Kitchen Island from a Sink Base


5. DIY Kitchen Island from a Sink Base


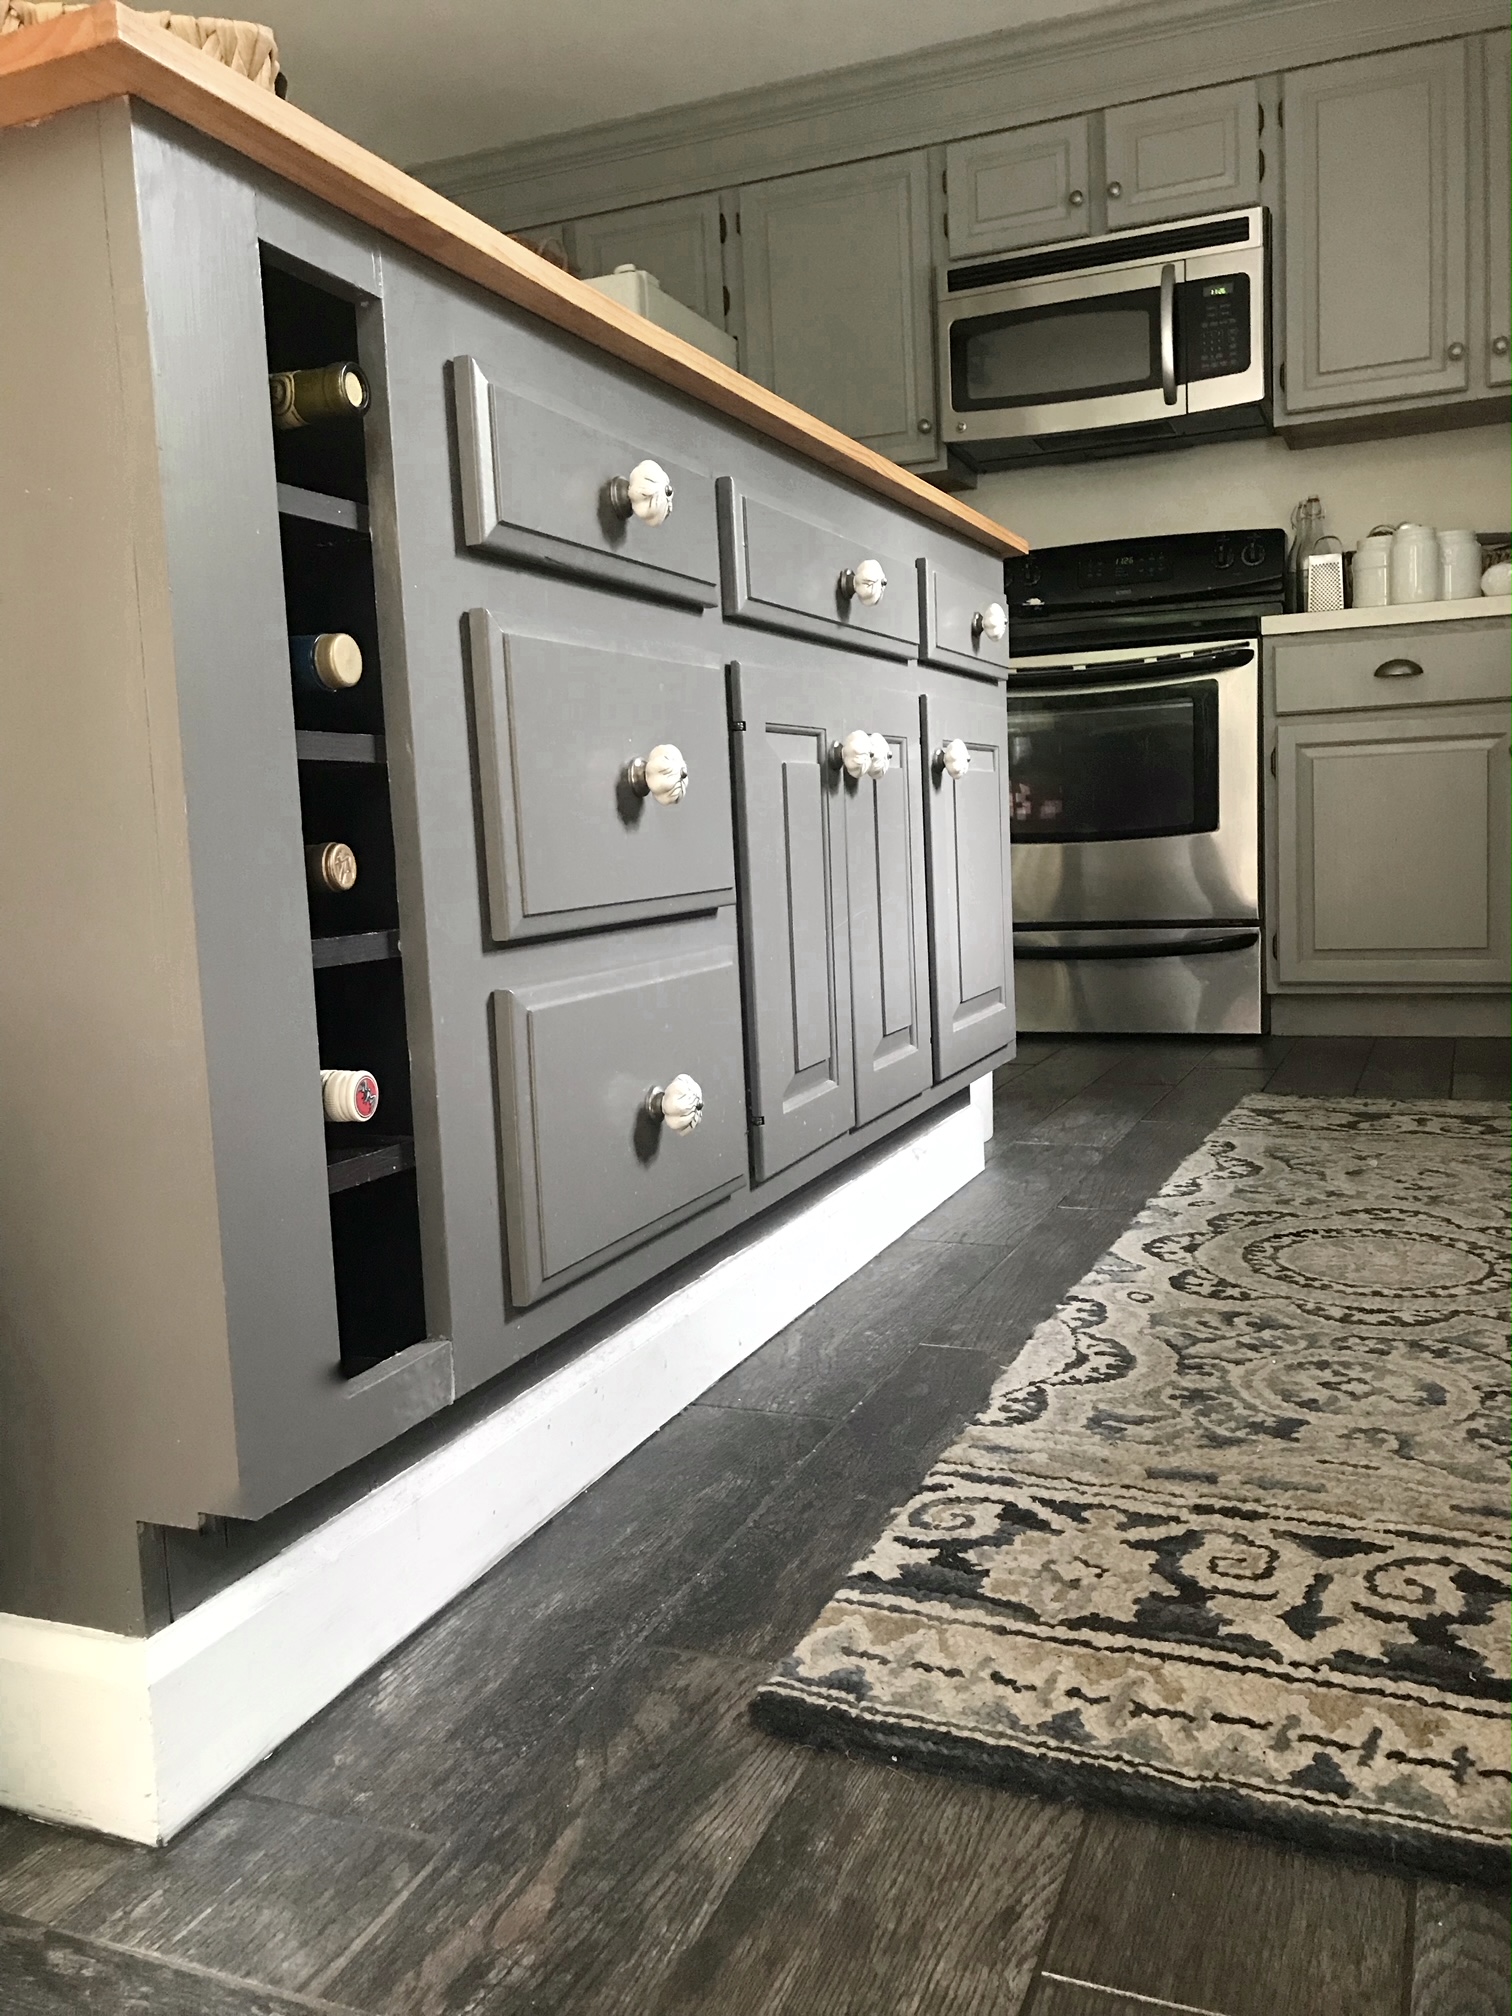
Now it’s time to add some storage to your island. You can use the existing drawers and doors from the sink base or purchase new ones to fit the size of your island. Add shelves or baskets to the bottom for additional storage options. You can also add hooks or a towel rack to the sides of the island for hanging utensils or towels.6. Converting a Sink Base for Use as a Kitchen Island


6. Converting a Sink Base for Use as a Kitchen Island
/cdn.vox-cdn.com/uploads/chorus_image/image/65889507/0120_Westerly_Reveal_6C_Kitchen_Alt_Angles_Lights_on_15.14.jpg)


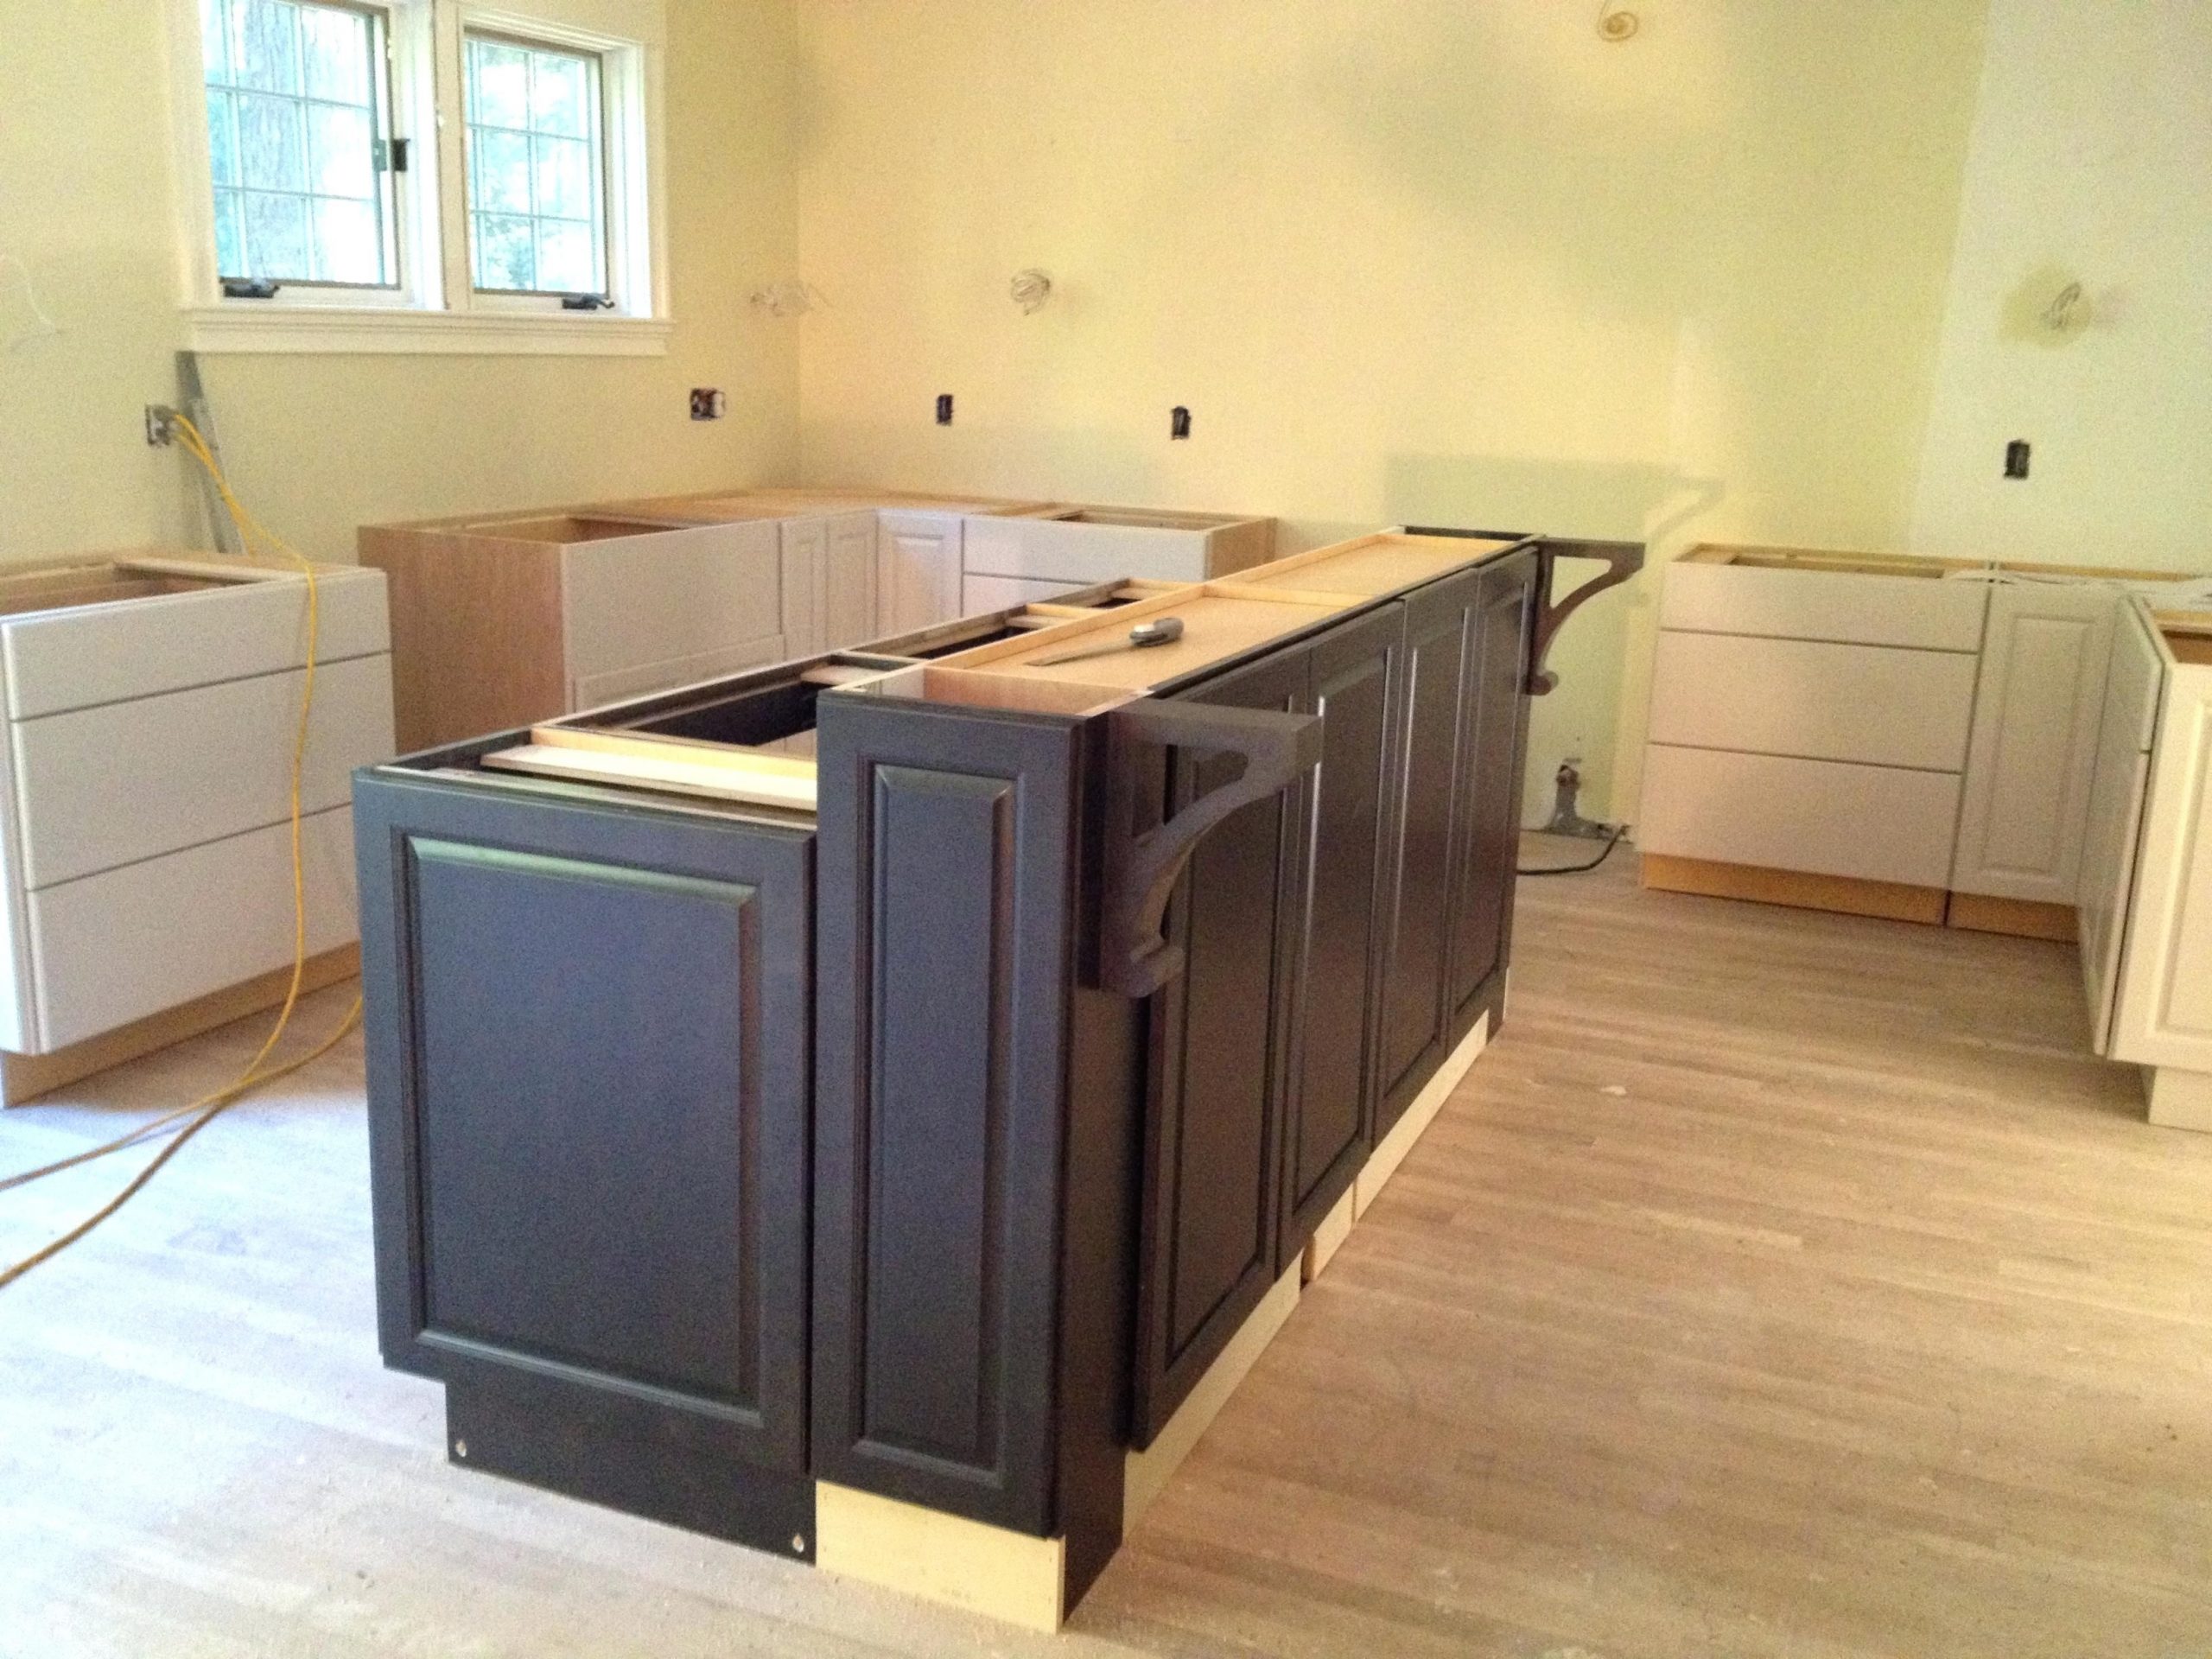
The final step is to give your island a fresh coat of paint or stain to match your kitchen’s décor. You can also add decorative hardware to the drawers and doors to add a personal touch. Once everything is dry and in place, your kitchen island is ready to use!7. Steps to Change a Sink Base into a Kitchen Island


7. Steps to Change a Sink Base into a Kitchen Island


Not only is this project budget-friendly, but it also allows you to repurpose an existing piece of furniture. You can customize your island to fit your specific needs and style. Plus, it’s a great DIY project that can be completed in a weekend.8. Using a Sink Base to Make a Kitchen Island


8. Using a Sink Base to Make a Kitchen Island


9. Tips for Turning a Sink Base into a Kitchen Island


9. Tips for Turning a Sink Base into a Kitchen Island
If you have an old sink base lying around, don’t throw it away just yet. There are many creative ways to repurpose it into a kitchen island. You can add wheels and use it as a mobile serving cart or add a cutting board to the top for a designated food prep station. The possibilities are endless! In conclusion, transforming a sink base into a kitchen island is a cost-effective and fun way to add more counter space and storage to your kitchen. With a little bit of creativity and some basic tools, you can turn an ordinary piece of furniture into a unique and functional island that will be the centerpiece of your kitchen. So why wait? Start your DIY project today!10. Creative Ways to Repurpose a Sink Base as a Kitchen Island


10. Creative Ways to Repurpose a Sink Base as a Kitchen Island


Transform Your Kitchen with a DIY Sink Base Turned Kitchen Island

Revamp Your Kitchen Space
 Are you tired of your outdated kitchen design? Are you looking to add more storage and counter space without breaking the bank? Look no further – transforming your old sink base into a kitchen island is the perfect solution for you.
DIY
projects are all the rage these days, and what better way to
save money
and
add personality
to your kitchen than by creating your own custom island? With a little bit of creativity and some basic
carpentry skills
, you can turn your sink base into a functional and stylish kitchen island.
Are you tired of your outdated kitchen design? Are you looking to add more storage and counter space without breaking the bank? Look no further – transforming your old sink base into a kitchen island is the perfect solution for you.
DIY
projects are all the rage these days, and what better way to
save money
and
add personality
to your kitchen than by creating your own custom island? With a little bit of creativity and some basic
carpentry skills
, you can turn your sink base into a functional and stylish kitchen island.
Materials and Tools
 First things first, gather all the necessary materials and tools. You will need:
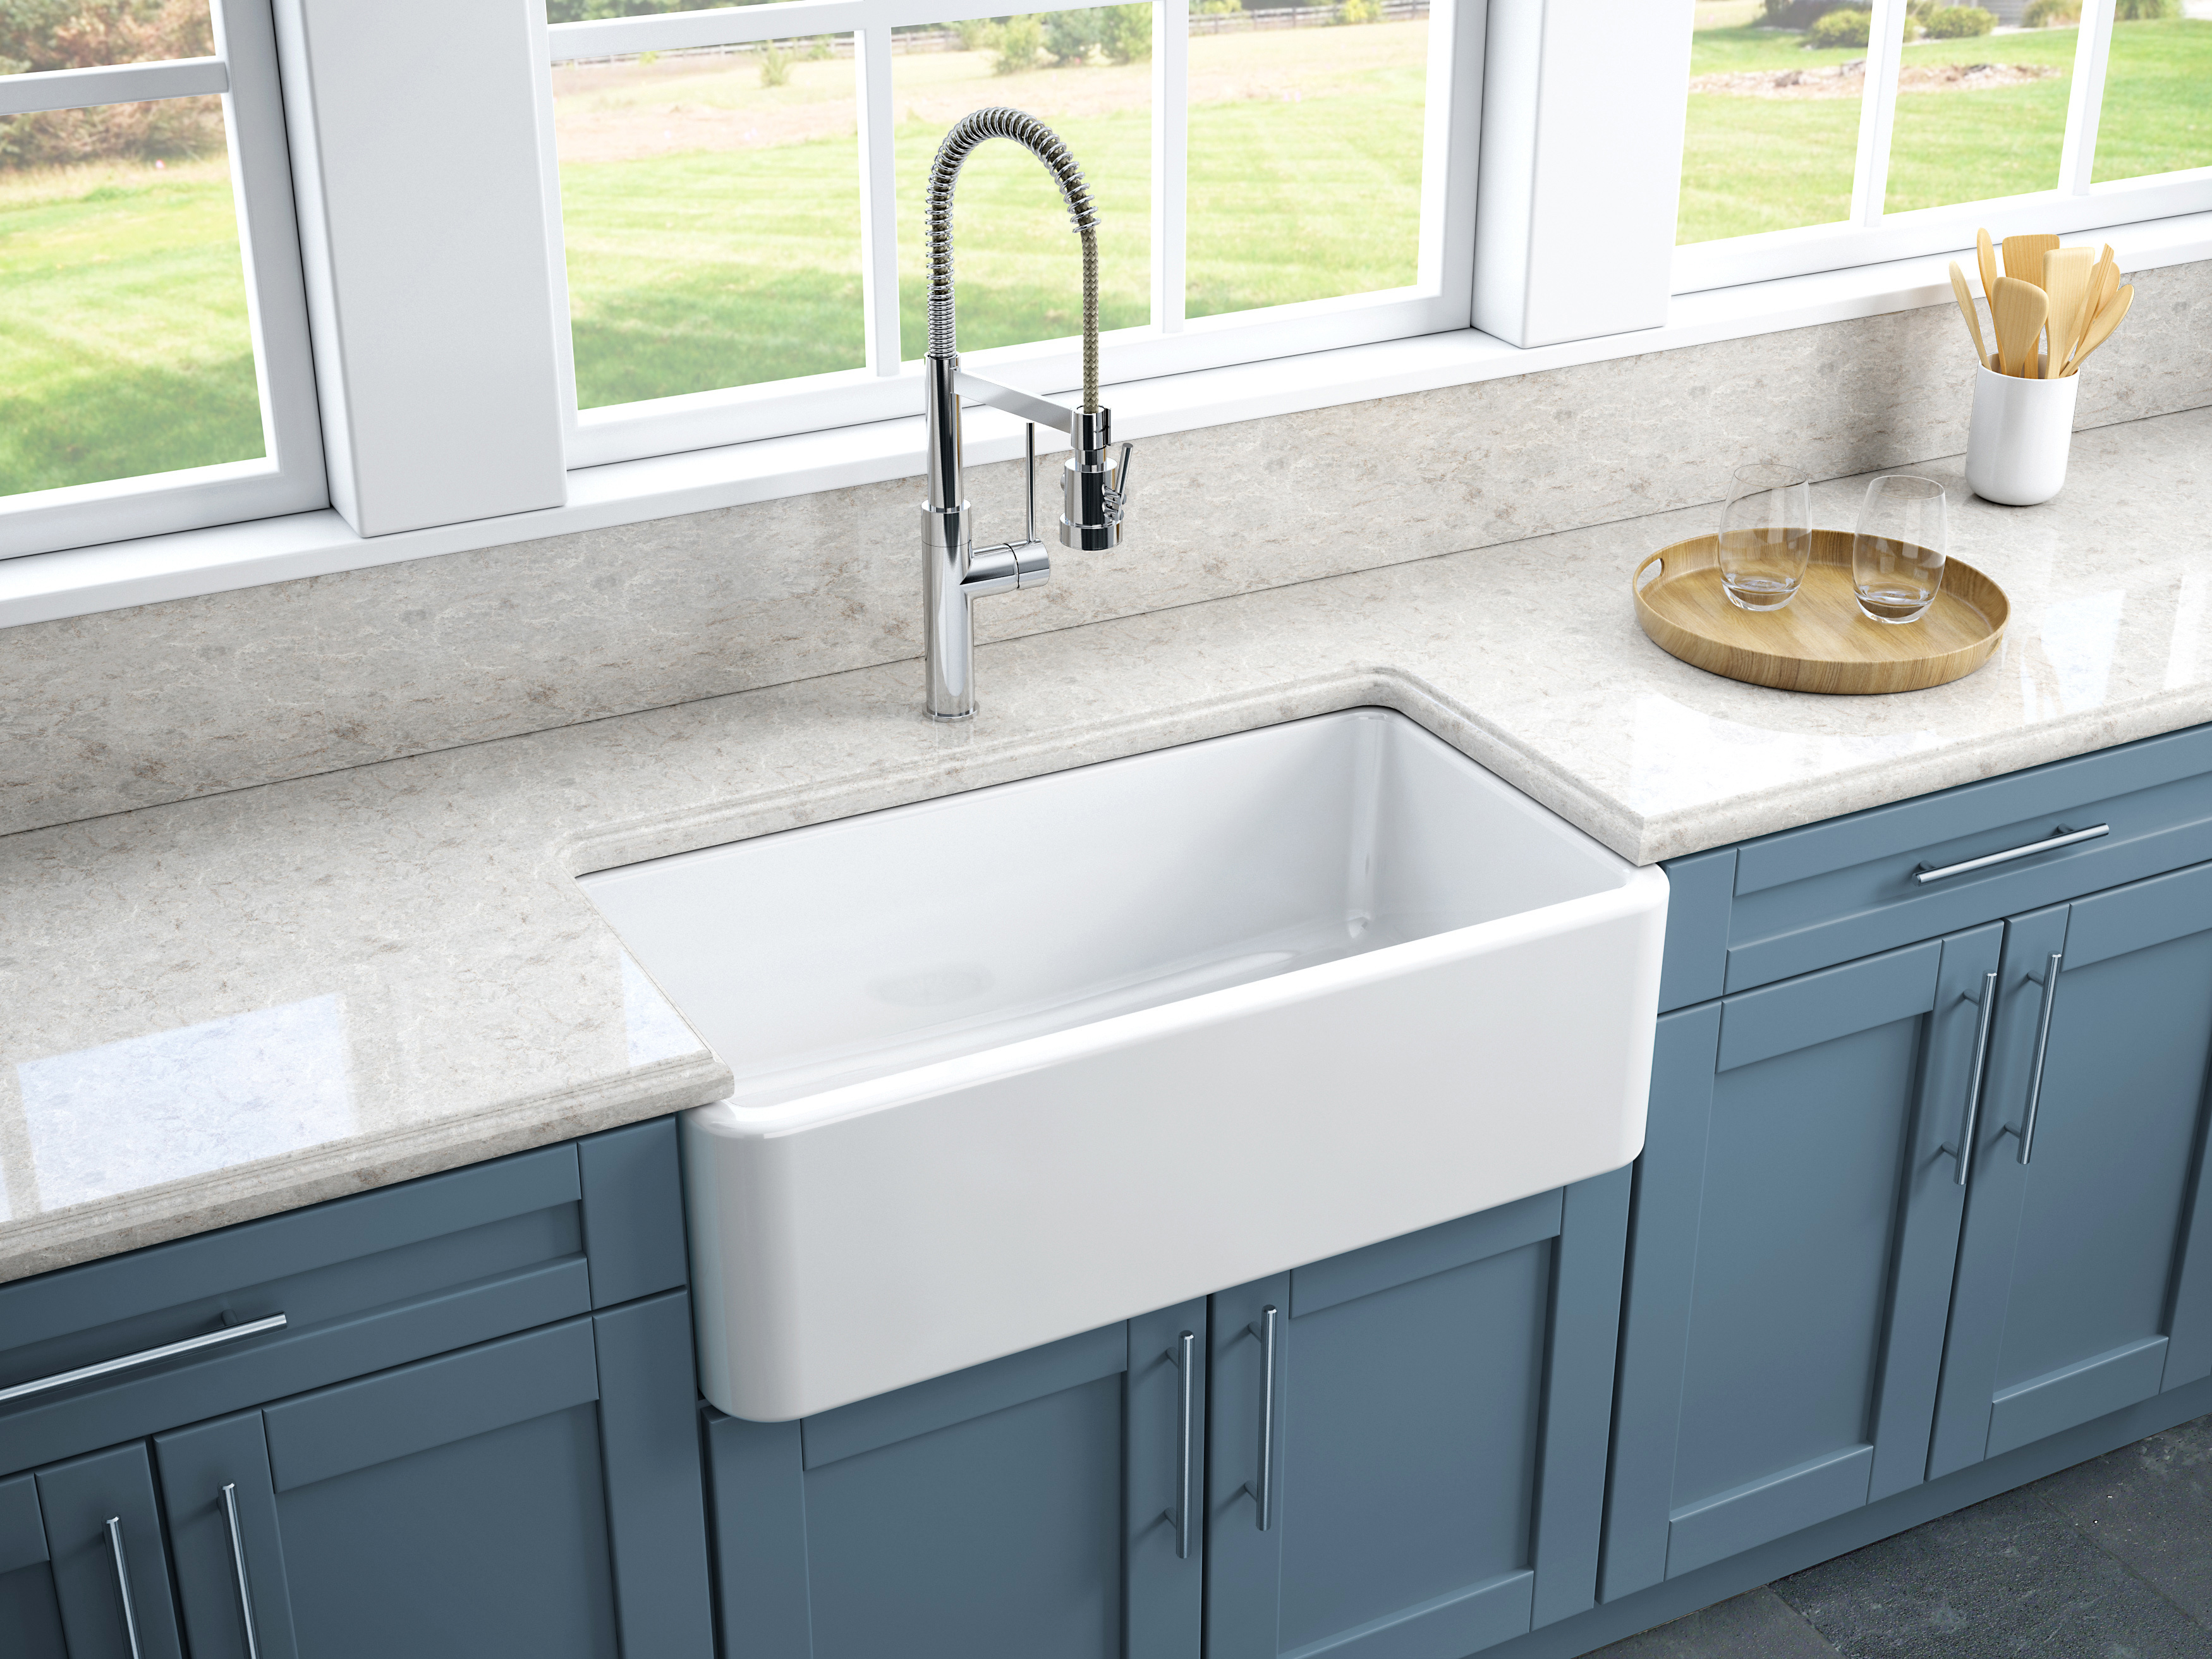
- Sink base cabinet (preferably with a functional sink and faucet)
- 2x4 lumber
- Countertop material of your choice
- Measuring tape
- Saw
- Screwdriver
- Wood screws
- Level
- Drill
Step by Step Guide
:max_bytes(150000):strip_icc()/incredible-kitchen-islands-with-seating-1822164-hero-ab8cf0c1c21f4c1ca658145cb6b52338.jpg) Now that you have all the materials and tools, it's time to get to work. Follow these simple steps to transform your sink base into a kitchen island:
Now that you have all the materials and tools, it's time to get to work. Follow these simple steps to transform your sink base into a kitchen island:
- Measure the dimensions of your sink base cabinet and cut the 2x4 lumber to fit the length and width of the cabinet.
- Attach the 2x4s to the bottom of the cabinet using wood screws. This will serve as the base for your island.
- Place the cabinet in the desired location in your kitchen and use a level to ensure it is straight.
- Next, measure and cut your countertop material to fit the top of your cabinet. This can be a butcher block, granite, or any other material of your choice.
- Secure the countertop to the cabinet base using wood screws.
- If your sink base has a functional sink and faucet, you can keep them in place or replace them with new ones to match your kitchen's new look.
- Add any finishing touches such as decorative hardware or a fresh coat of paint to complete your kitchen island transformation.
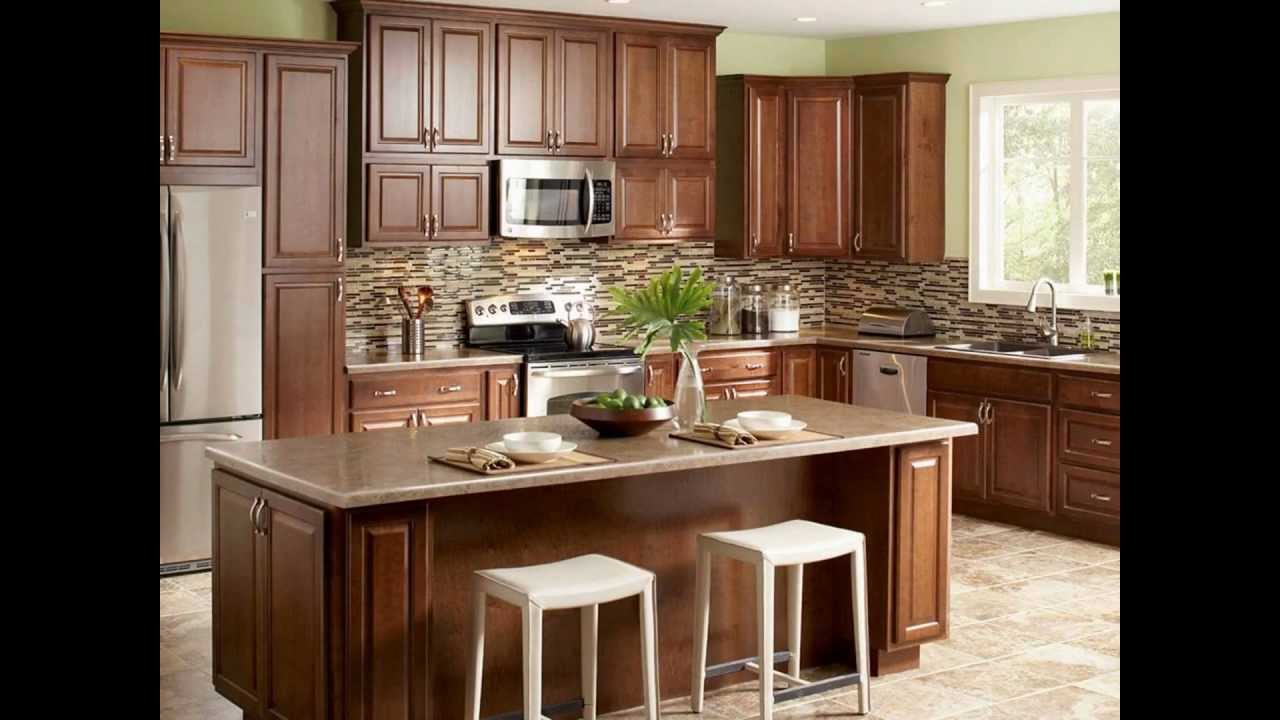
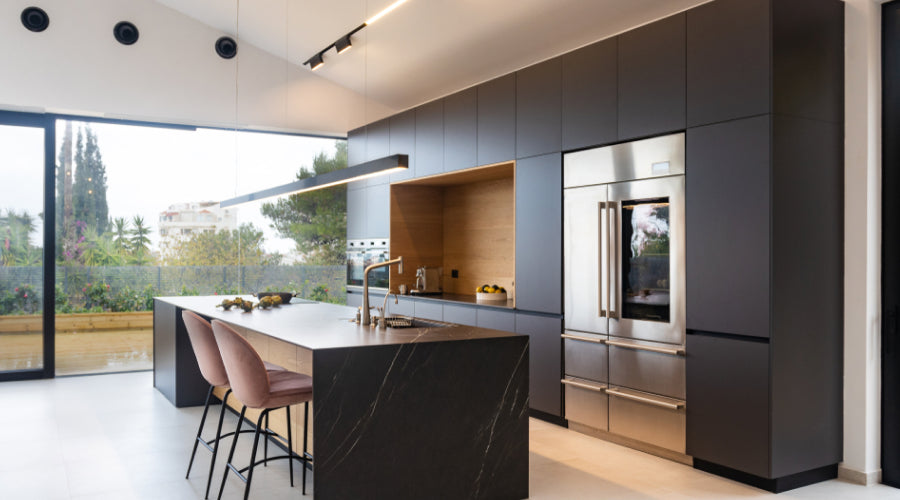
Benefits of a Kitchen Island
 Not only will transforming your sink base into a kitchen island add value and character to your home, but it also has many practical benefits. A kitchen island provides extra storage and counter space, making meal prep and cooking easier. It can also serve as a gathering spot for family and friends, creating a more social and inviting atmosphere in your kitchen.
Transforming your sink base into a kitchen island
is a cost-effective and creative way to upgrade your kitchen. With just a few materials and some basic tools, you can have a custom-made island that will transform your kitchen into a space you love. So why wait? Get started on this
DIY project
and enjoy the many benefits of a functional and stylish kitchen island.
Not only will transforming your sink base into a kitchen island add value and character to your home, but it also has many practical benefits. A kitchen island provides extra storage and counter space, making meal prep and cooking easier. It can also serve as a gathering spot for family and friends, creating a more social and inviting atmosphere in your kitchen.
Transforming your sink base into a kitchen island
is a cost-effective and creative way to upgrade your kitchen. With just a few materials and some basic tools, you can have a custom-made island that will transform your kitchen into a space you love. So why wait? Get started on this
DIY project
and enjoy the many benefits of a functional and stylish kitchen island.