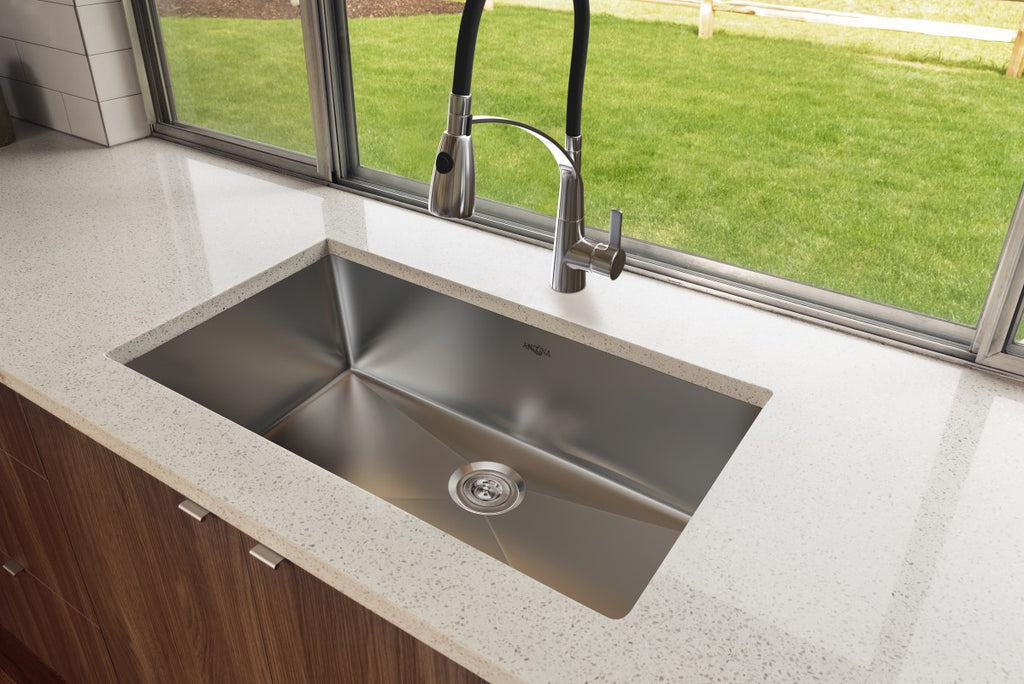
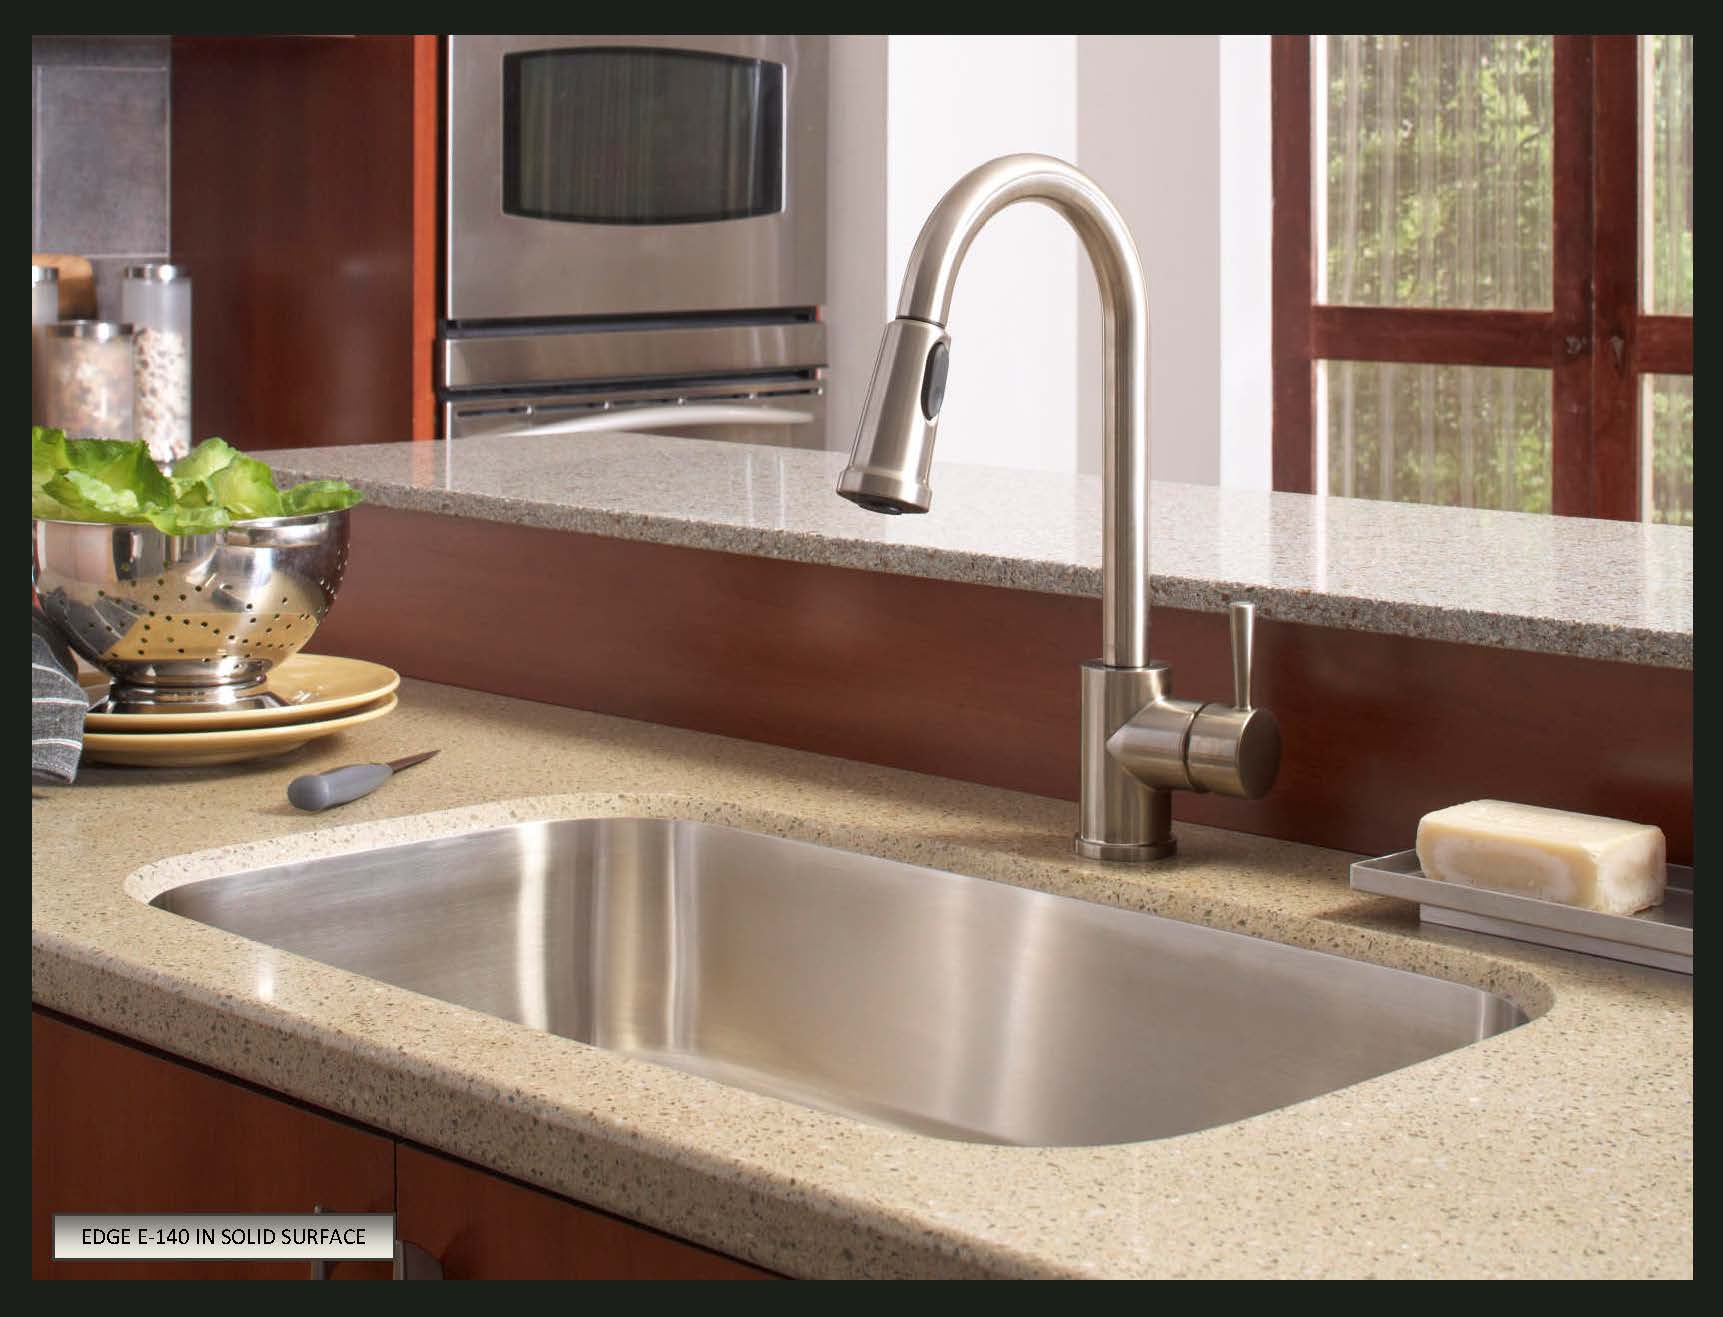
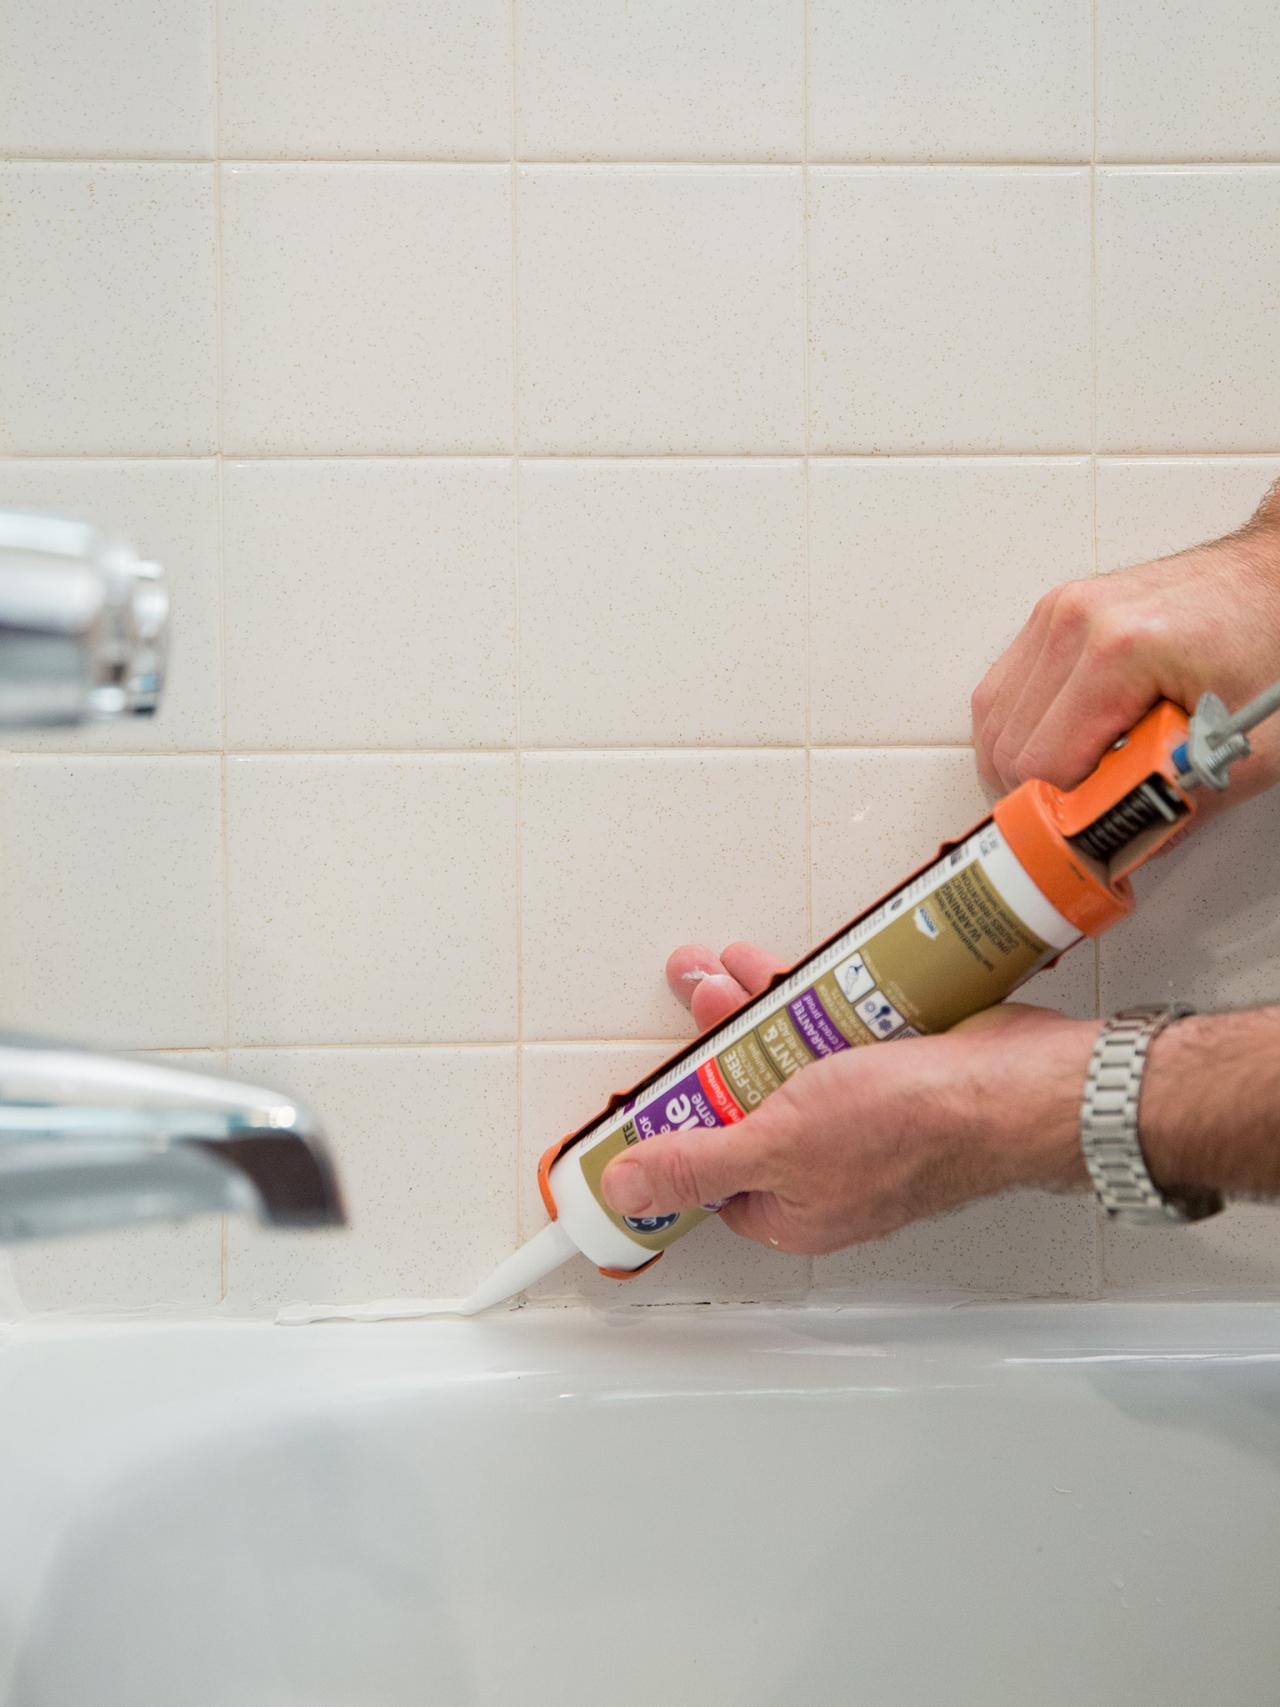
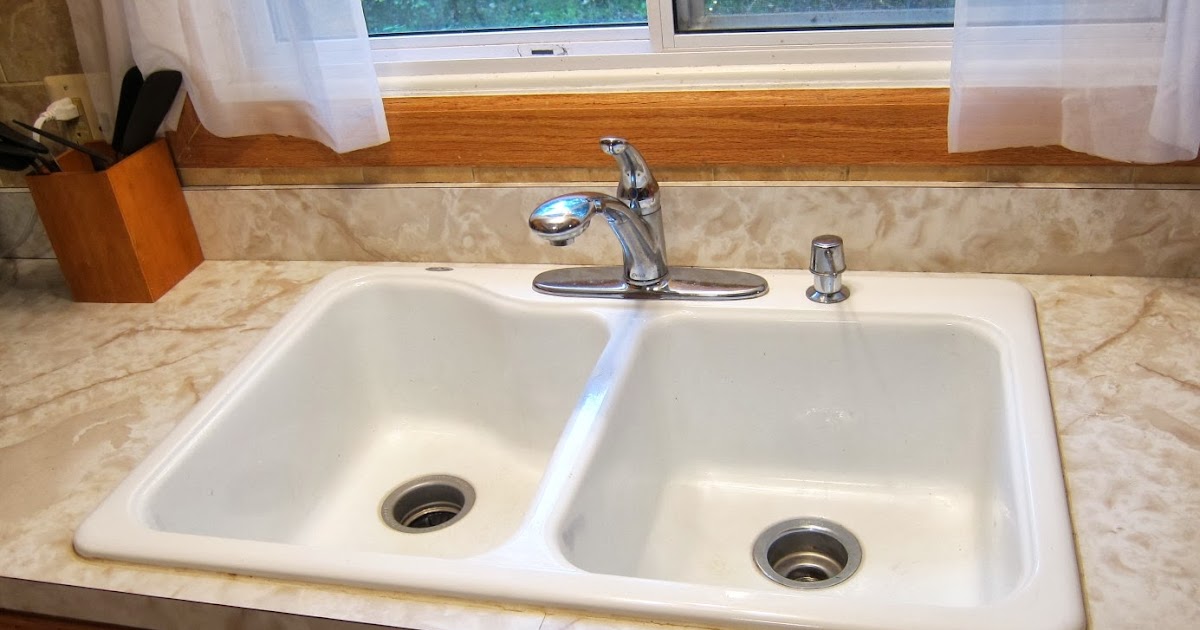
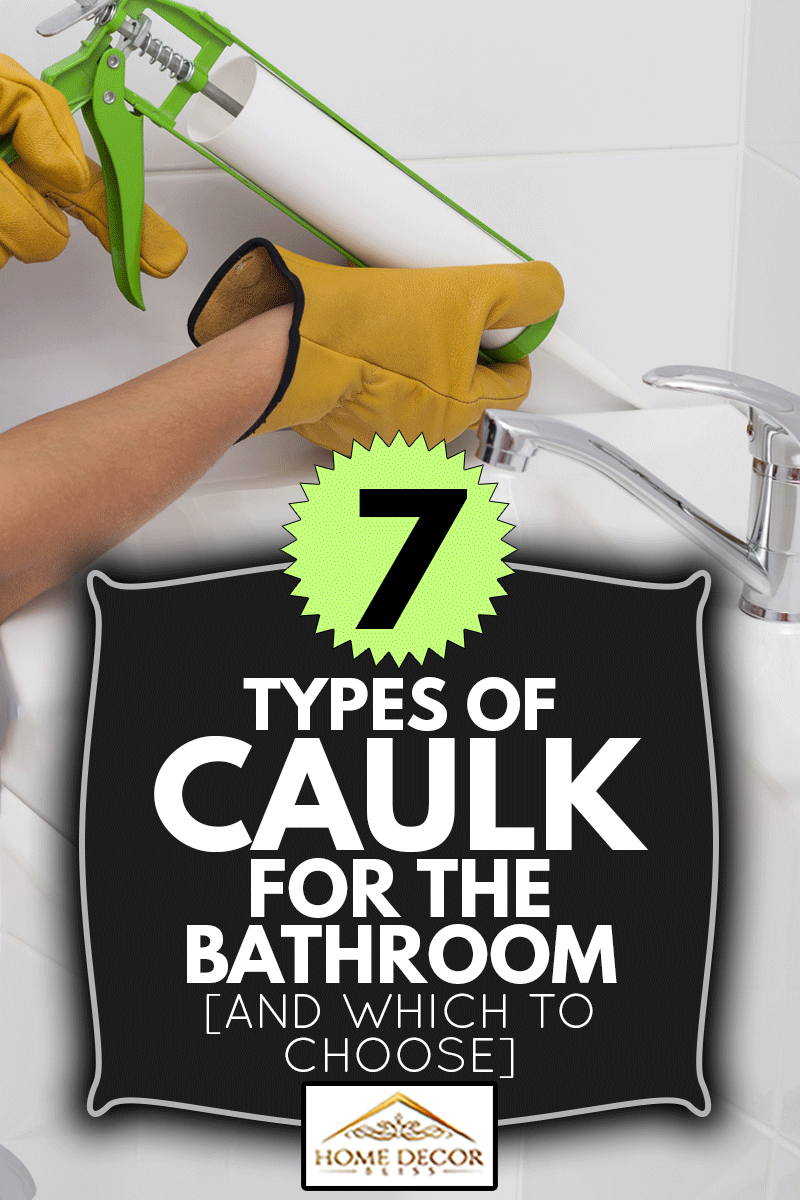
If you have an undermount kitchen sink, proper caulking is essential to prevent leaks and water damage. Here's a step-by-step guide on how to caulk your undermount kitchen sink. Step 1: Clean the Area - Before caulking, make sure the area around your sink is clean and free of any debris or old caulk. Use a mild cleaner to remove any grease or grime, and then dry the surface thoroughly. Step 2: Choose the Right Caulk - For undermount kitchen sinks, it's best to use a silicone caulk that is specifically designed for use in kitchens and bathrooms. This type of caulk is waterproof and flexible, making it perfect for use in areas that are exposed to water. Step 3: Prepare the Caulk - Cut the tip of the caulk tube at a 45-degree angle and insert it into a caulking gun. Then, puncture the seal inside the tube with a nail or wire. Squeeze the trigger on the caulking gun until the caulk starts to come out of the tube. Step 4: Apply the Caulk - Starting at one corner of your sink, apply a thin, even bead of caulk along the edge where the sink meets the countertop. Use a caulk tool or your finger to smooth out the caulk and remove any excess. Repeat this process for the remaining edges of the sink. Step 5: Let It Dry - Allow the caulk to dry for at least 24 hours before using your sink or running water over the caulked areas. This will ensure that the caulk has fully cured and is waterproof.How to Caulk an Undermount Kitchen Sink


How to Caulk an Undermount Kitchen Sink


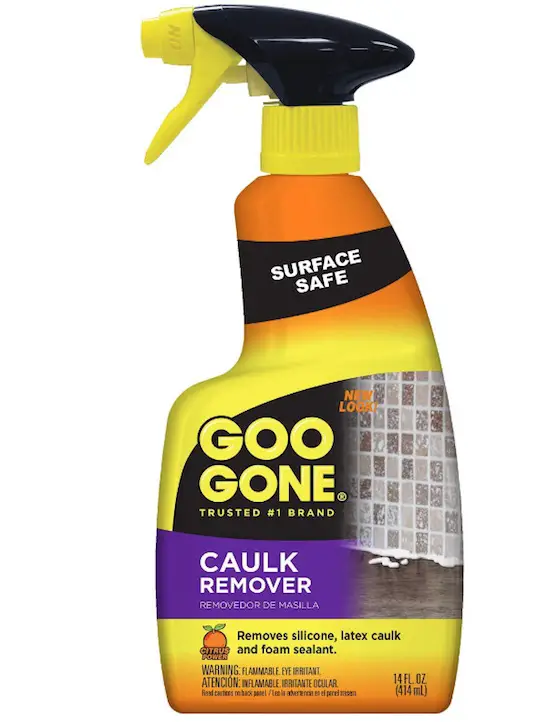
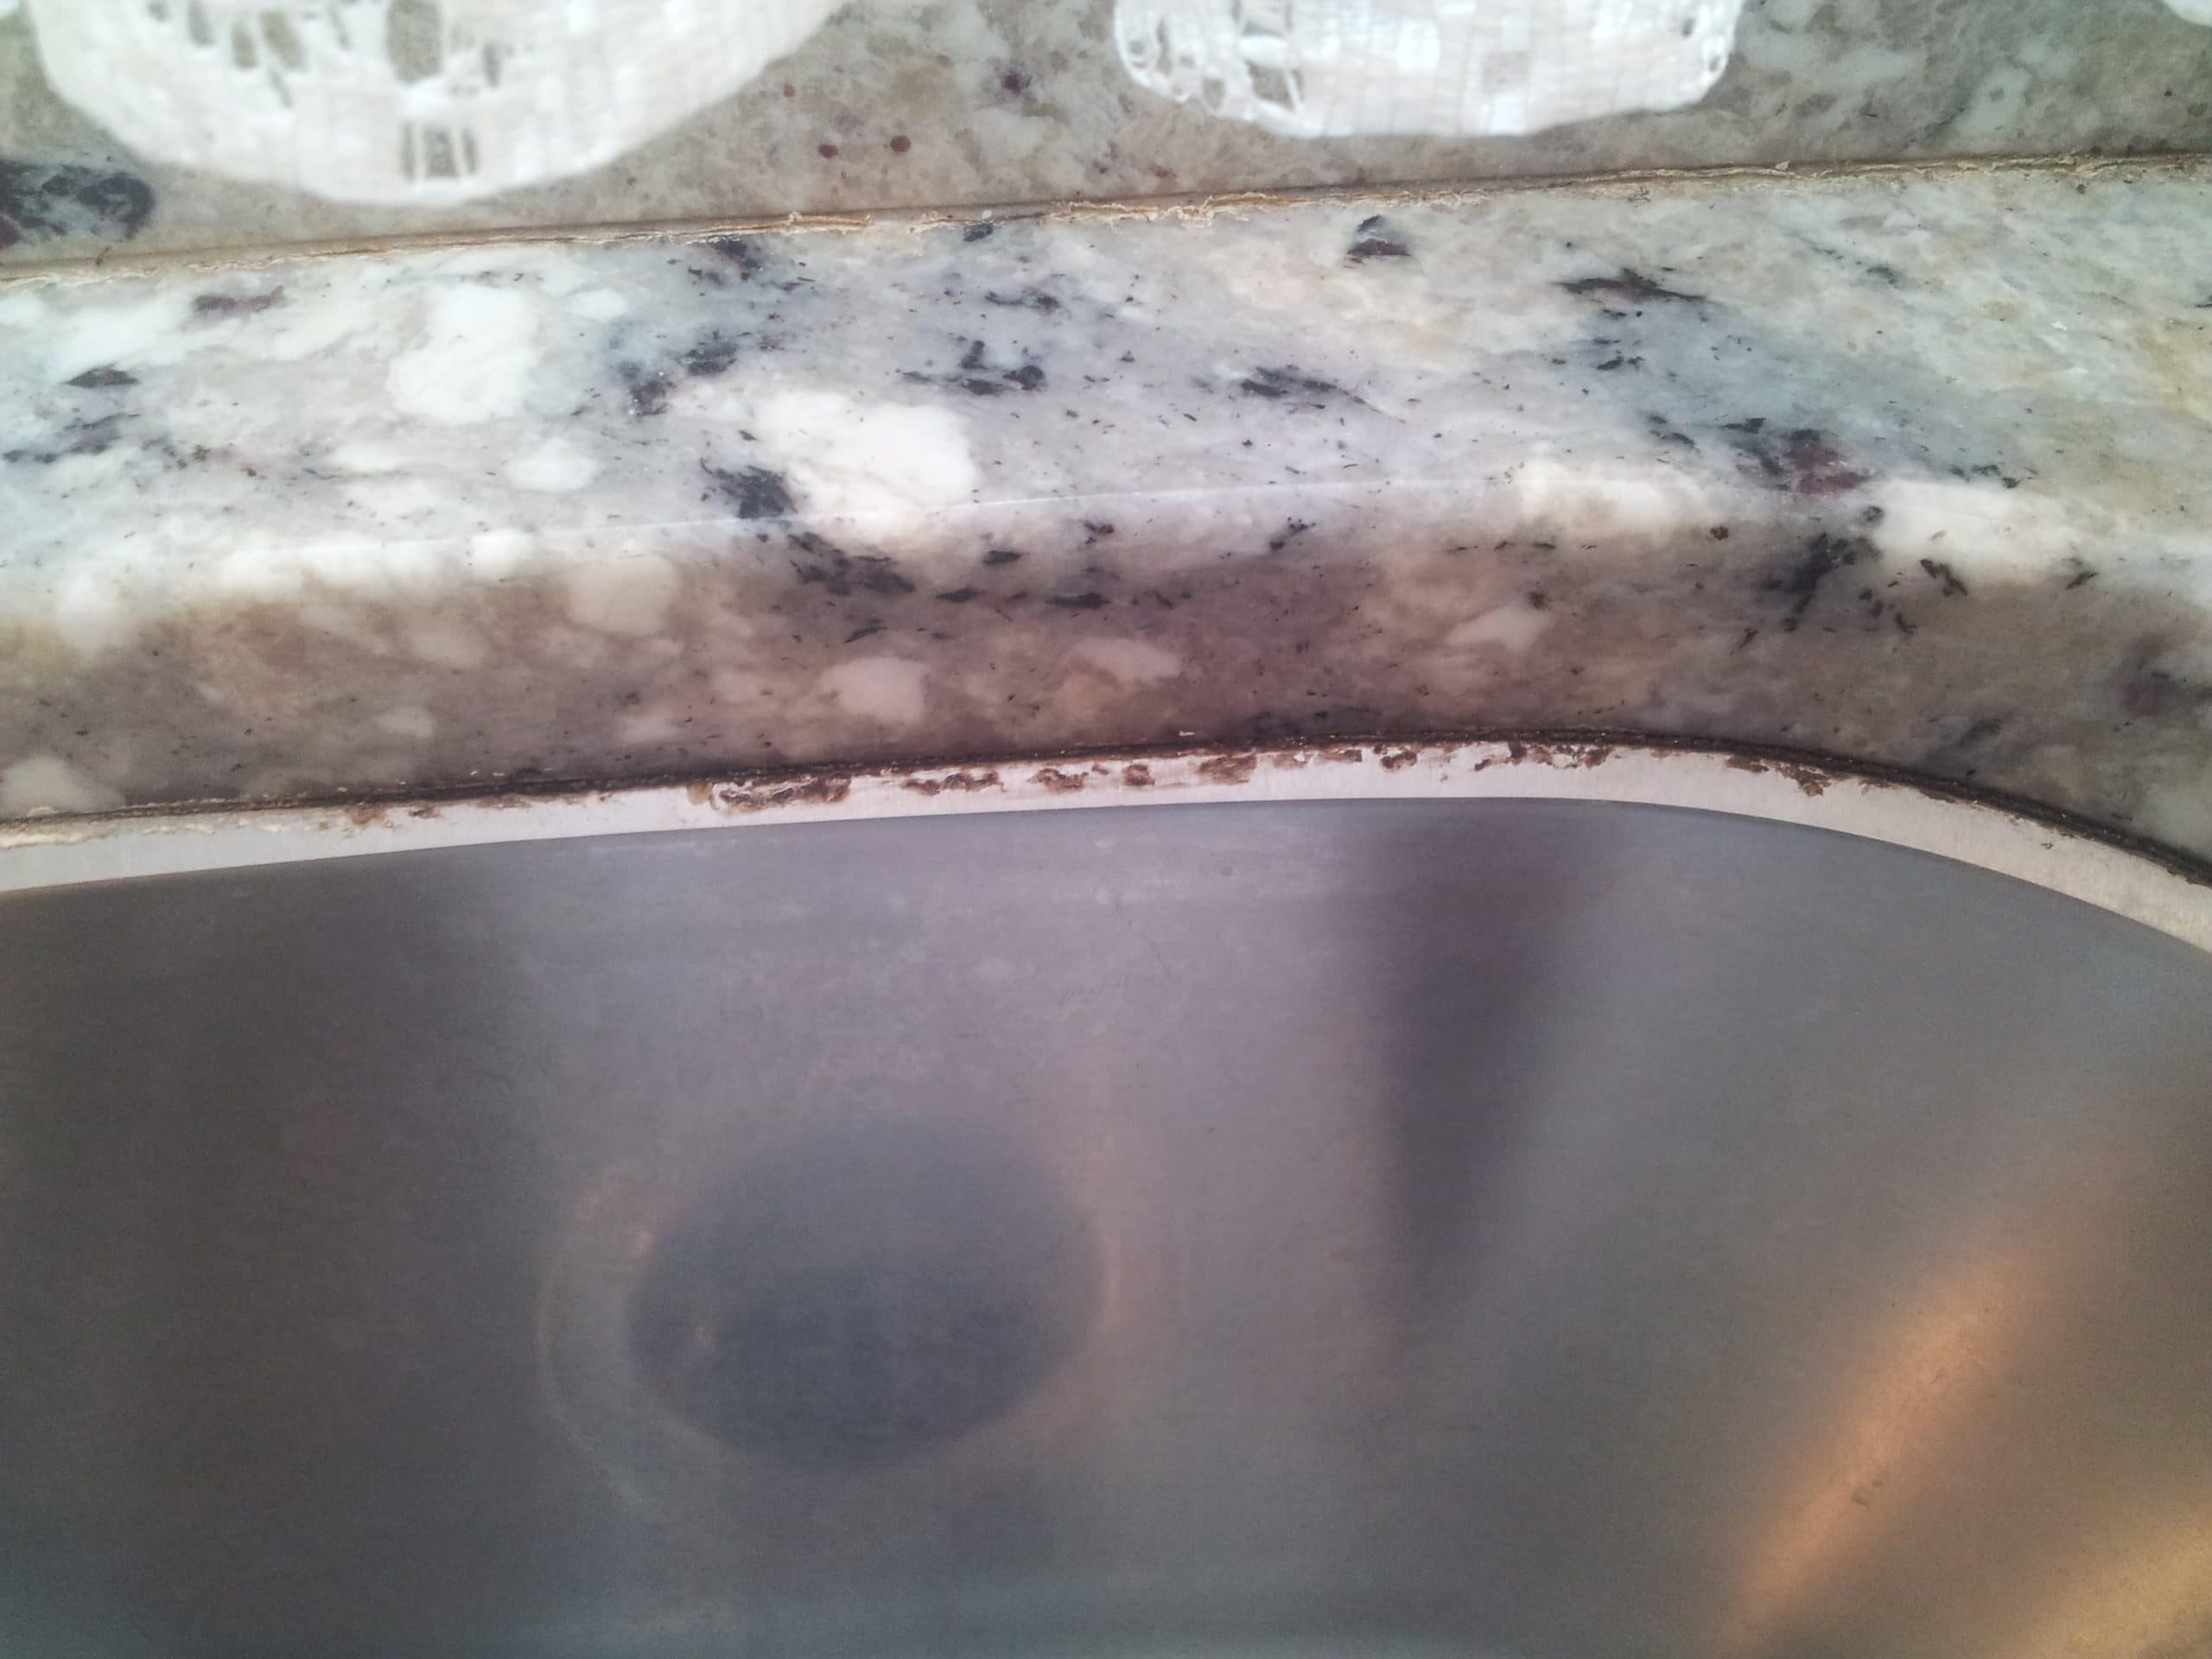
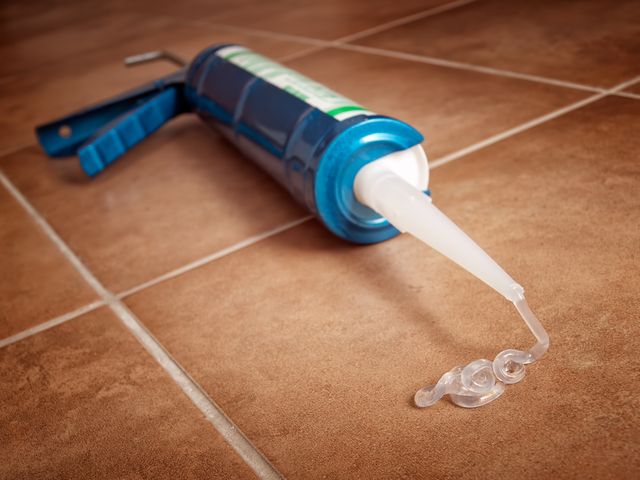
If you need to remove old caulk from your undermount kitchen sink, follow these steps: Step 1: Soften the Caulk - Use a caulk softener or a heat gun to soften the old caulk. This will make it easier to remove without damaging the sink or countertop. Step 2: Scrape Away the Old Caulk - Use a razor blade or caulk removal tool to scrape away the old caulk. Be careful not to scratch the surface of your sink or countertop. Step 3: Clean the Area - After removing the old caulk, clean the area with a mild cleaner and dry it thoroughly before applying new caulk.How to Remove Caulk from an Undermount Kitchen Sink


How to Remove Caulk from an Undermount Kitchen Sink
:max_bytes(150000):strip_icc()/how-to-remove-old-caulk-1824827-01-3d0370c59e124dbbaa6560c68bab111c.jpg)


When it comes to undermount kitchen sinks, the best caulk is a silicone caulk that is specifically designed for use in kitchens and bathrooms. Look for a caulk that is waterproof, flexible, and mold-resistant. Some popular brands include GE Silicone II, DAP Kwik Seal, and Loctite Clear Silicone.Best Caulk for Undermount Kitchen Sink


Best Caulk for Undermount Kitchen Sink


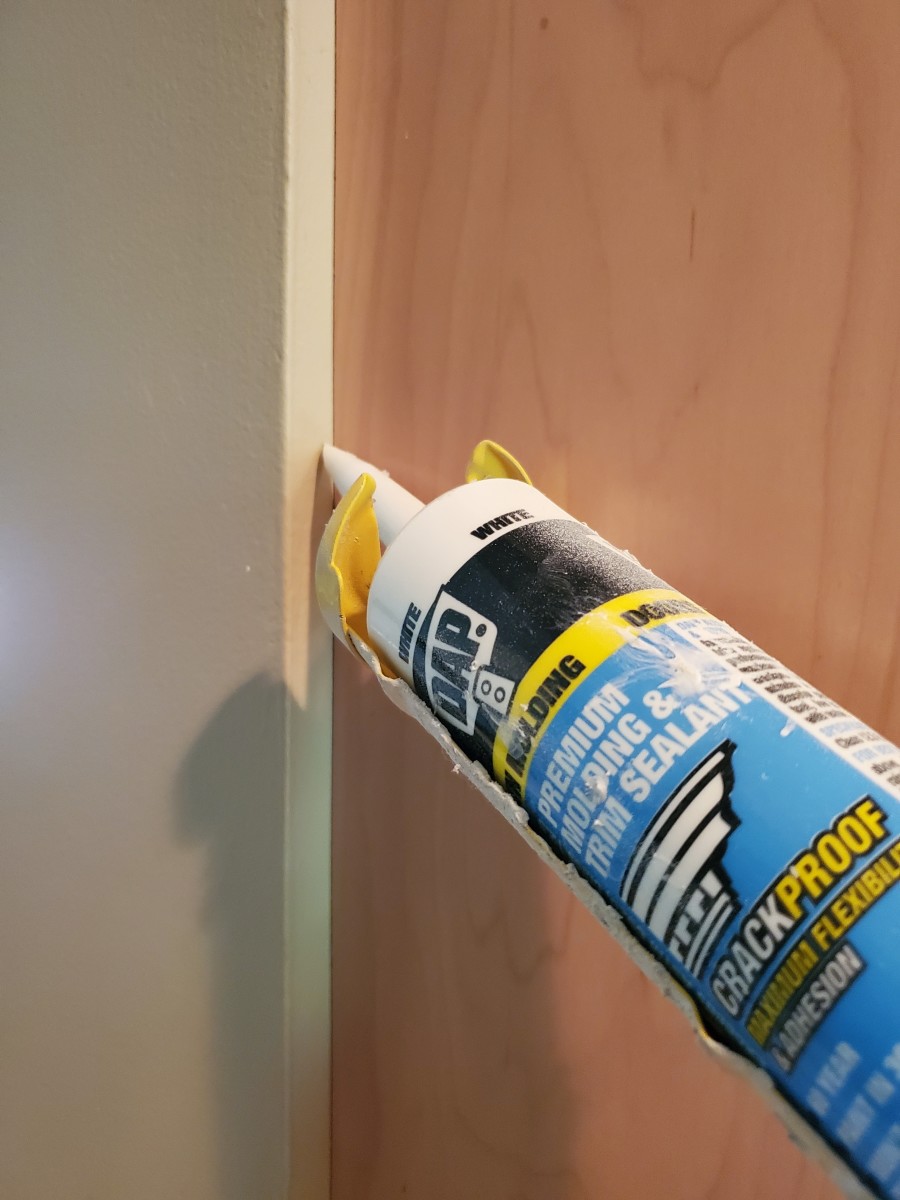
If you have a new undermount kitchen sink or are re-caulking an existing one, here's how to properly seal it: Step 1: Clean the Area - As with caulking, make sure the area around your sink is clean and free of debris before sealing. Use a mild cleaner and dry the surface thoroughly. Step 2: Apply the Sealant - Use a clear silicone sealant and apply a thin, even layer along the edge where the sink meets the countertop. Use a caulk tool or your finger to smooth out the sealant and remove any excess. Step 3: Let It Dry - Allow the sealant to dry for at least 24 hours before using your sink or running water over the sealed area.How to Seal an Undermount Kitchen Sink


How to Seal an Undermount Kitchen Sink


If your undermount kitchen sink's caulk is cracked or damaged, it's time to re-caulk. Follow these steps: Step 1: Remove the Old Caulk - Use the steps outlined in "How to Remove Caulk from an Undermount Kitchen Sink" to remove the old caulk. Step 2: Clean and Dry the Area - After removing the old caulk, clean the area and let it dry completely before applying new caulk. Step 3: Apply the New Caulk - Follow the steps outlined in "How to Caulk an Undermount Kitchen Sink" to apply the new caulk. Make sure to smooth out the caulk and remove any excess.How to Re-Caulk an Undermount Kitchen Sink

How to Re-Caulk an Undermount Kitchen Sink


.jpg)


To keep your undermount kitchen sink's caulk looking clean and fresh, regularly clean it with a mild cleaner and a soft cloth. Avoid using abrasive cleaners or scrub brushes, as they can damage the caulk. If your caulk is stained or discolored, you can use a bleach solution or a paste made from baking soda and water to remove the stains.How to Clean Caulk from an Undermount Kitchen Sink


How to Clean Caulk from an Undermount Kitchen Sink

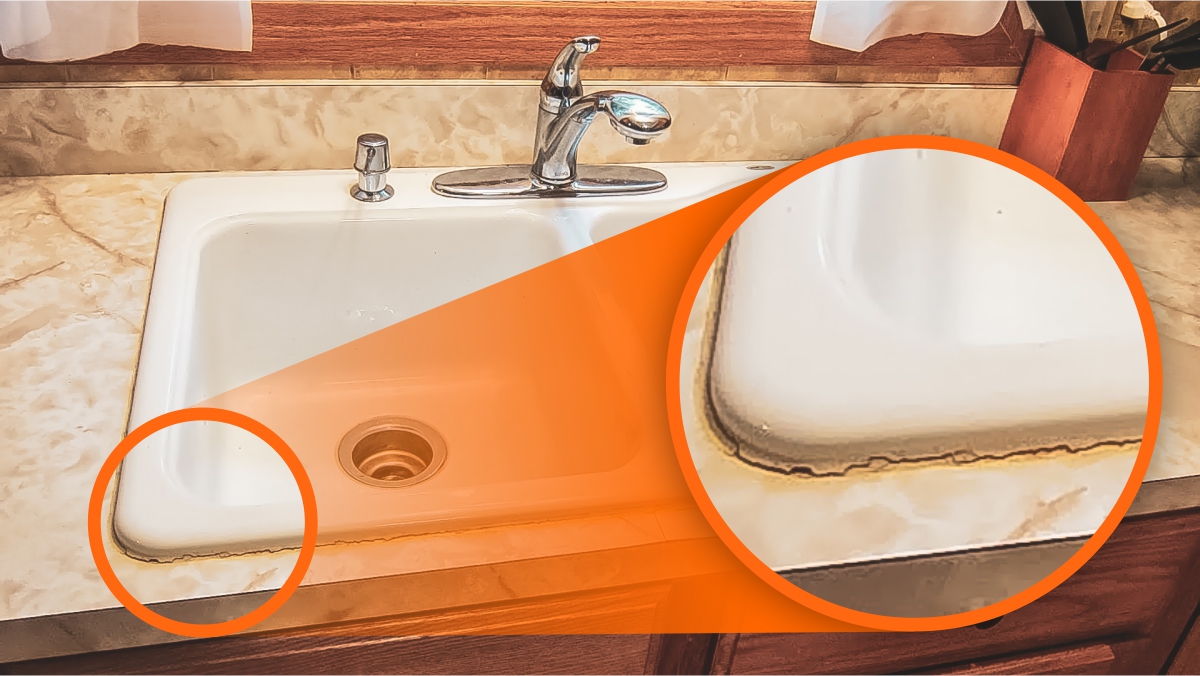
If you notice that your undermount kitchen sink's caulk is cracked or damaged, follow these steps to repair it: Step 1: Clean the Area - Before repairing the caulk, make sure the area is clean and free of debris. Use a mild cleaner and dry the surface thoroughly. Step 2: Remove the Damaged Caulk - Use a caulk removal tool or a razor blade to carefully remove the damaged caulk. Be sure not to damage the sink or countertop. Step 3: Apply the New Caulk - Follow the steps outlined in "How to Caulk an Undermount Kitchen Sink" to apply the new caulk. Make sure to smooth out the caulk and remove any excess.How to Repair Caulk in an Undermount Kitchen Sink


How to Repair Caulk in an Undermount Kitchen Sink


To prevent your undermount kitchen sink's caulk from cracking, make sure to use a high-quality silicone caulk that is designed for use in kitchens and bathrooms. Additionally, avoid using abrasive cleaners or scrub brushes on the caulk, as they can cause damage. Regularly cleaning and drying the caulk can also help prevent cracking.How to Prevent Caulk from Cracking in an Undermount Kitchen Sink


How to Prevent Caulk from Cracking in an Undermount Kitchen Sink


When choosing caulk for your undermount kitchen sink, look for a high-quality silicone caulk that is specifically designed for use in kitchens and bathrooms. It should be waterproof, flexible, and mold-resistant. You can also consider the color of the caulk and choose one that matches your sink or countertop for a seamless look.How to Choose the Right Caulk for an Undermount Kitchen Sink

How to Choose the Right Caulk for an Undermount Kitchen Sink


To properly apply caulk to your undermount kitchen sink, start by cleaning the area and choosing the right caulk. Then, use a caulking gun to apply a thin, even bead of caulk along the edge where the sink meets the countertop. Use a caulk tool or your finger to smooth out the caulk and remove any excess. Allow the caulk to dry for at least 24 hours before using your sink or running water over the caulked areas.How to Properly Apply Caulk to an Undermount Kitchen Sink

How to Properly Apply Caulk to an Undermount Kitchen Sink
Why Caulking is Essential for Undermount Kitchen Sinks
The Importance of Proper Caulking for Kitchen Design
 When it comes to designing a kitchen, every detail matters. From the color of the cabinets to the style of the countertops, every decision contributes to the overall look and function of the space. However, one often overlooked aspect of kitchen design is the caulking around the undermount sink. While it may not seem like a major factor, proper caulking is essential for both the aesthetic and functional aspects of your kitchen. In this article, we will discuss the importance of caulking for undermount kitchen sinks and how to ensure a professional and durable caulking job.
The Role of Caulking in Undermount Kitchen Sinks
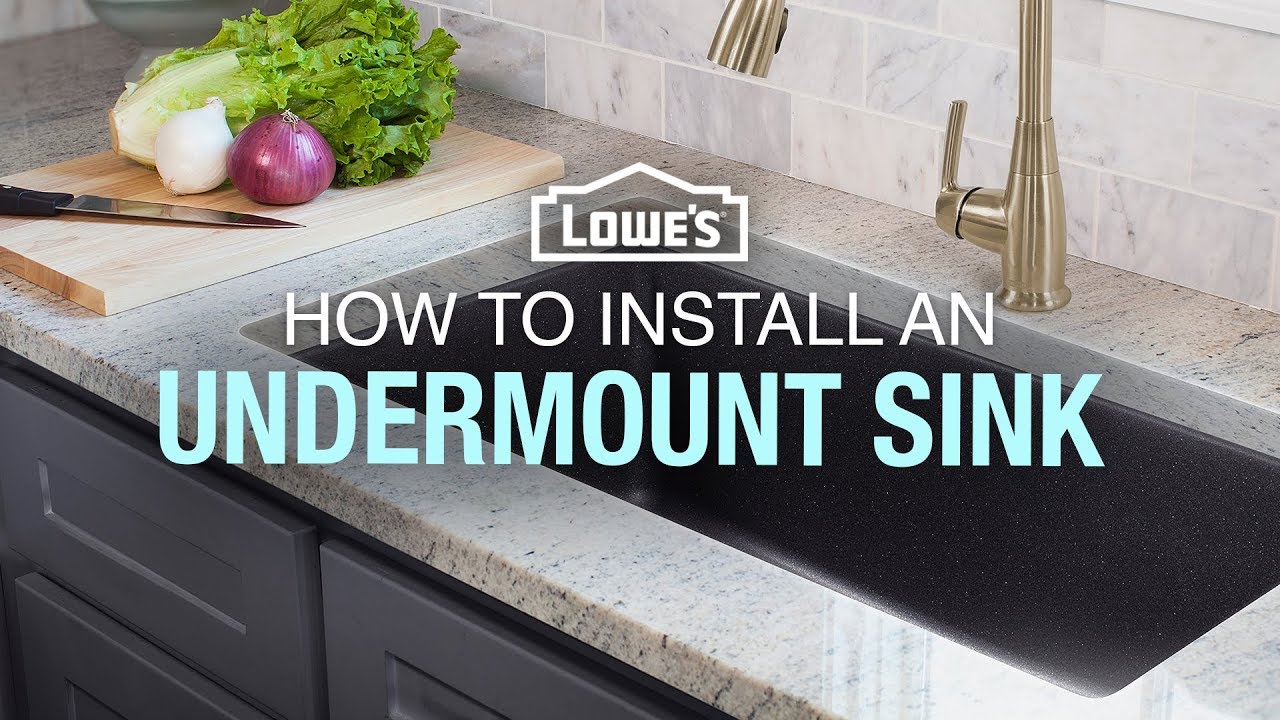
 Undermount kitchen sinks are a popular choice for modern kitchens due to their sleek and seamless appearance. Unlike traditional top-mounted sinks, undermount sinks are installed under the countertop, leaving the edges of the sink exposed. This creates a clean and seamless look, but it also means that the sink needs to be securely attached to the countertop to prevent any leaks or water damage. This is where caulking comes in.
Caulking is a waterproof sealant that is applied along the edges of the undermount sink to create a watertight seal. Without proper caulking, water can seep through the gaps between the sink and the countertop, causing damage to both the sink and the surrounding area. Additionally, caulking also helps to prevent bacteria and mold growth, keeping your kitchen hygienic and safe.
Undermount kitchen sinks are a popular choice for modern kitchens due to their sleek and seamless appearance. Unlike traditional top-mounted sinks, undermount sinks are installed under the countertop, leaving the edges of the sink exposed. This creates a clean and seamless look, but it also means that the sink needs to be securely attached to the countertop to prevent any leaks or water damage. This is where caulking comes in.
Caulking is a waterproof sealant that is applied along the edges of the undermount sink to create a watertight seal. Without proper caulking, water can seep through the gaps between the sink and the countertop, causing damage to both the sink and the surrounding area. Additionally, caulking also helps to prevent bacteria and mold growth, keeping your kitchen hygienic and safe.
The Benefits of Professional Caulking
 While some homeowners may attempt to caulk their undermount sink themselves, it is always best to hire a professional for this task. Proper caulking requires precision and expertise to ensure a tight and durable seal. Professional caulkers have the necessary tools and experience to create a seamless and long-lasting seal.
In addition to preventing water damage and promoting hygiene, professional caulking also enhances the overall appearance of your kitchen. A skilled caulker will use high-quality caulk that matches the color of your sink and countertop, creating a seamless and visually appealing finish. This attention to detail can make a significant difference in the overall look and feel of your kitchen.
While some homeowners may attempt to caulk their undermount sink themselves, it is always best to hire a professional for this task. Proper caulking requires precision and expertise to ensure a tight and durable seal. Professional caulkers have the necessary tools and experience to create a seamless and long-lasting seal.
In addition to preventing water damage and promoting hygiene, professional caulking also enhances the overall appearance of your kitchen. A skilled caulker will use high-quality caulk that matches the color of your sink and countertop, creating a seamless and visually appealing finish. This attention to detail can make a significant difference in the overall look and feel of your kitchen.
Conclusion
 In conclusion, caulking is a crucial step in the installation of undermount kitchen sinks. It not only prevents water damage and promotes hygiene but also enhances the overall appearance of your kitchen. For a professional and durable caulking job, it is best to hire a skilled caulker. So next time you are designing or updating your kitchen, don't forget the importance of proper caulking for your undermount sink.