Properly caulking your bathroom sink faucet is crucial for preventing water damage and maintaining a clean and professional-looking bathroom. Here are 10 tips to help you achieve a perfect seal every time: 1. Choose the right caulk for your bathroom sink faucet. Not all caulks are created equal - some are better suited for kitchen or outdoor use, while others are specifically designed for bathroom fixtures. Look for a caulk that is labeled as "mildew resistant" to ensure it will hold up well in a damp environment. 2. Clean the area thoroughly before applying caulk. Use a mildew cleaner and a scrub brush to remove any dirt, grime, or old caulk from the area. This will help the new caulk adhere better and create a smooth surface for application. 3. Dry the area completely. Before applying caulk, make sure the area is completely dry to prevent any moisture from getting trapped under the caulk and causing mold or mildew growth. 4. Use a caulk gun for precision. While you can use a squeeze tube of caulk, a caulk gun allows for more control and precision when applying the caulk. It also makes it easier to create a smooth and even bead of caulk. 5. Cut the tip of the caulk tube at a 45-degree angle. This will help you create a clean and precise line of caulk. It's also important to cut the tip small enough so that the caulk comes out in a thin and controlled stream. 6. Start at one end and work your way to the other. It's best to start at one end of the sink faucet and work your way around to the other end. This will help ensure that you have a continuous and even line of caulk. 7. Use a damp finger or caulk tool to smooth out the caulk. Wetting your finger or a caulk tool with water can help create a smooth and even surface for the caulk. This will also help push the caulk into any small gaps or cracks for a better seal. 8. Wipe away excess caulk immediately. Don't wait too long before wiping away any excess caulk. It's easier to clean up while the caulk is still wet, and this will help create a cleaner and more professional-looking finish. 9. Let the caulk dry completely before using the sink. Check the drying time on the caulk packaging and make sure to let it dry completely before using the sink. This will ensure that the caulk has enough time to fully cure and create a strong seal. 10. Regularly check and re-caulk as needed. Over time, caulk can shrink or crack, leading to water leakage and potential damage to your bathroom. It's important to regularly check the caulk around your sink faucet and re-caulk as needed to maintain a watertight seal.Caulking Bathroom Sink Faucet: 10 Tips for a Perfect Seal


Caulking Bathroom Sink Faucet: 10 Tips for a Perfect Seal


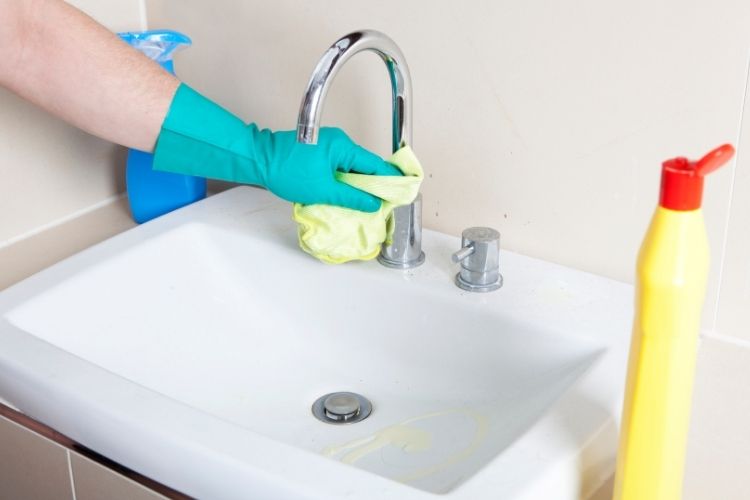
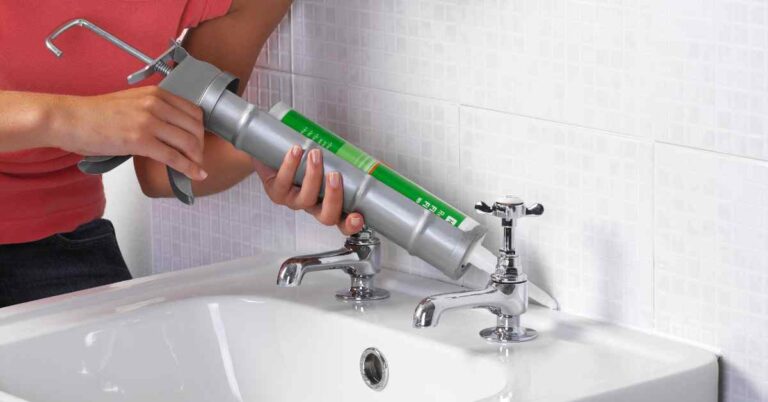
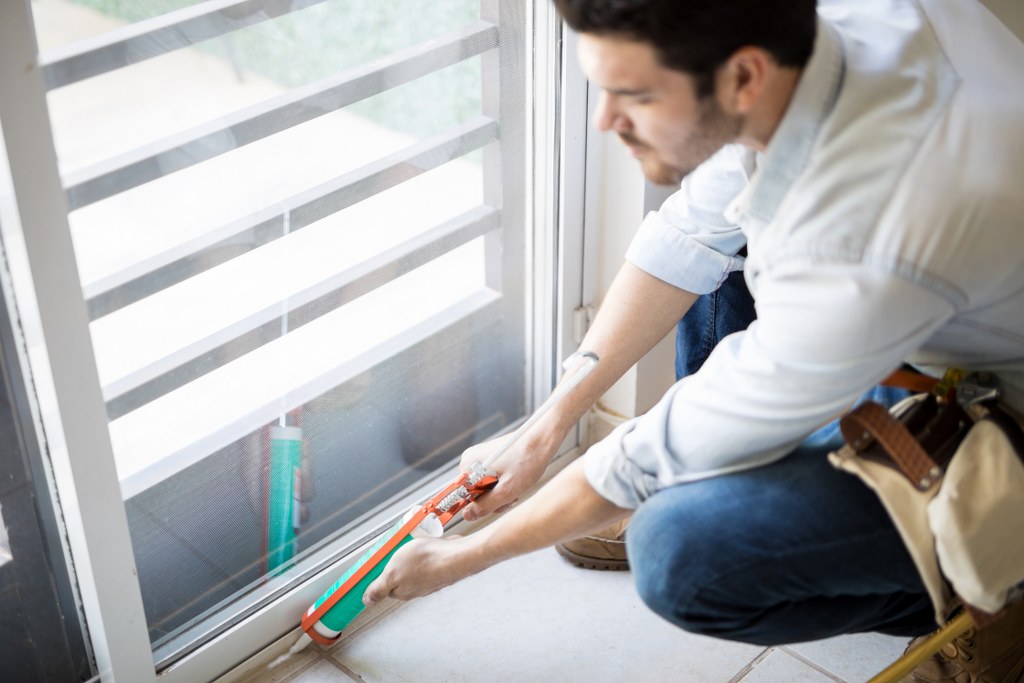
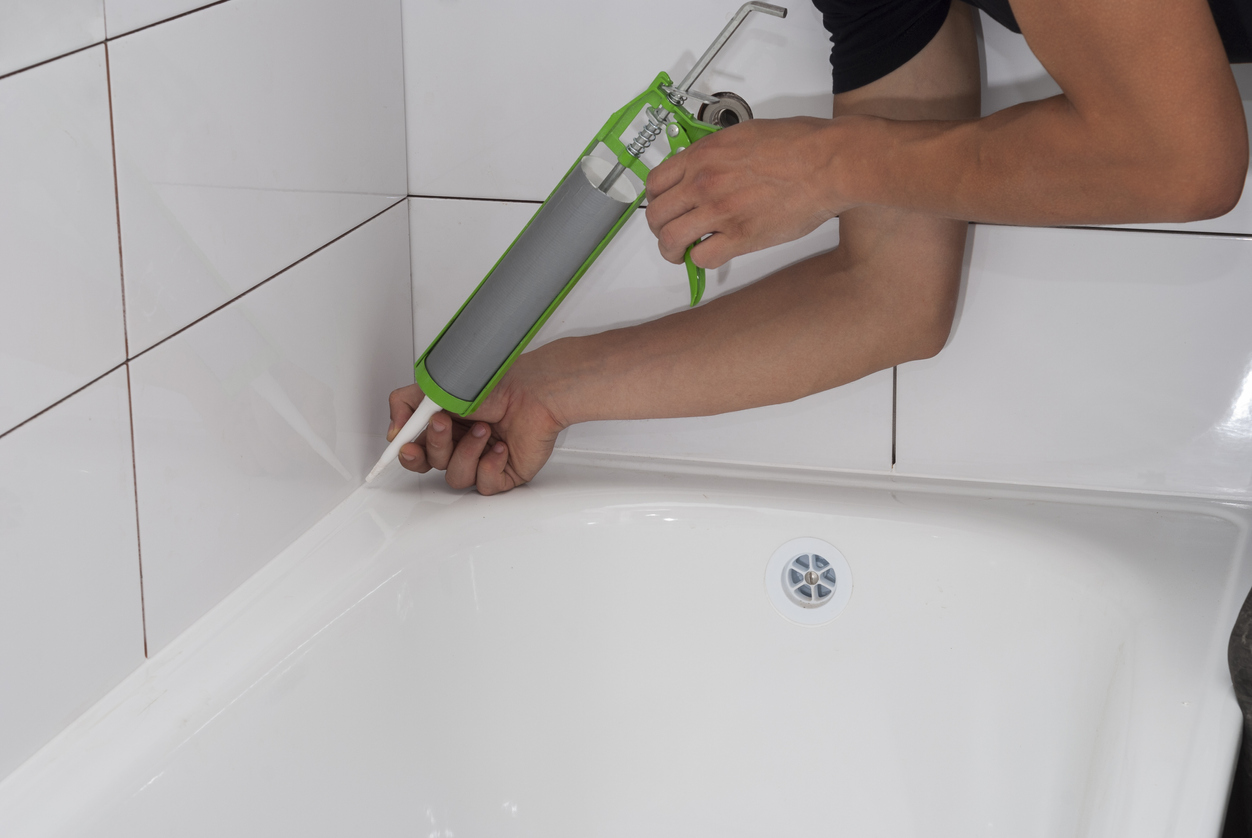
Now that you have some tips for achieving a perfect caulk seal, here's a step-by-step guide to help you through the process: Step 1: Gather your materials. You will need a caulk gun, caulk, a caulk tool or your finger, a damp cloth, and a mildew cleaner. Step 2: Clean the area. Use a mildew cleaner and a scrub brush to thoroughly clean the area around your bathroom sink faucet. Step 3: Dry the area. Make sure the area is completely dry before starting to caulk. Step 4: Cut the caulk tube. Cut the tip of the caulk tube at a 45-degree angle, making sure the opening is small enough for a controlled stream of caulk. Step 5: Load the caulk gun. Load the caulk tube into the caulk gun and squeeze the trigger until the caulk starts to come out. Step 6: Start at one end of the sink faucet. Begin applying the caulk at one end of the sink faucet, moving in a continuous motion around to the other end. Step 7: Smooth out the caulk. Use a damp finger or caulk tool to smooth out the caulk and create an even and clean finish. Step 8: Wipe away excess caulk. Use a damp cloth to wipe away any excess caulk before it dries. Step 9: Let the caulk dry. Check the drying time on the caulk packaging and let it dry completely before using the sink. Step 10: Check and re-caulk as needed. Regularly check the caulk and re-caulk as needed to maintain a watertight seal.How to Caulk a Bathroom Sink Faucet: Step-by-Step Guide


How to Caulk a Bathroom Sink Faucet: Step-by-Step Guide


With so many caulks on the market, it can be overwhelming trying to choose the right one for your bathroom sink faucet. Here are our top picks for the best caulk for bathroom sink faucet: 1. GE Silicone II Kitchen & Bath Caulk - This caulk is specifically designed for use in kitchens and bathrooms, making it perfect for sealing your sink faucet. It is also mildew resistant and has a lifetime mold-free guarantee. 2. DAP Kwik Seal Plus Caulk - This caulk is easy to apply and has a 30-minute water-ready time, making it a great option for quick projects. It is also mold and mildew resistant and has a low odor formula. 3. Loctite Polyseamseal Tub & Tile Caulk - This caulk is perfect for use in high-moisture areas like bathrooms. It is also mildew resistant and has a 10-year mold-free product protection guarantee.Best Caulk for Bathroom Sink Faucet: Top Picks and Reviews


Best Caulk for Bathroom Sink Faucet: Top Picks and Reviews


The frequency of caulking your bathroom sink faucet will depend on the type of caulk used and the amount of usage the sink gets. Generally, it is recommended to check the caulk every 6-12 months and re-caulk as needed to prevent any water damage.How Often Should You Caulk a Bathroom Sink Faucet?


How Often Should You Caulk a Bathroom Sink Faucet?
Here are some common mistakes to avoid when caulking your bathroom sink faucet: 1. Not cleaning the area properly. Failing to clean the area thoroughly before caulking can lead to a weaker seal and potential mold or mildew growth. 2. Using the wrong type of caulk. Not all caulks are suitable for bathroom use, so make sure to choose one that is specifically labeled as "mildew resistant." 3. Cutting the caulk tube too large. A large opening can lead to too much caulk being dispensed and a messy application. 4. Not smoothing out the caulk. Leaving the caulk unsmoothed can result in an uneven and unprofessional look.Common Mistakes to Avoid When Caulking a Bathroom Sink Faucet


Common Mistakes to Avoid When Caulking a Bathroom Sink Faucet

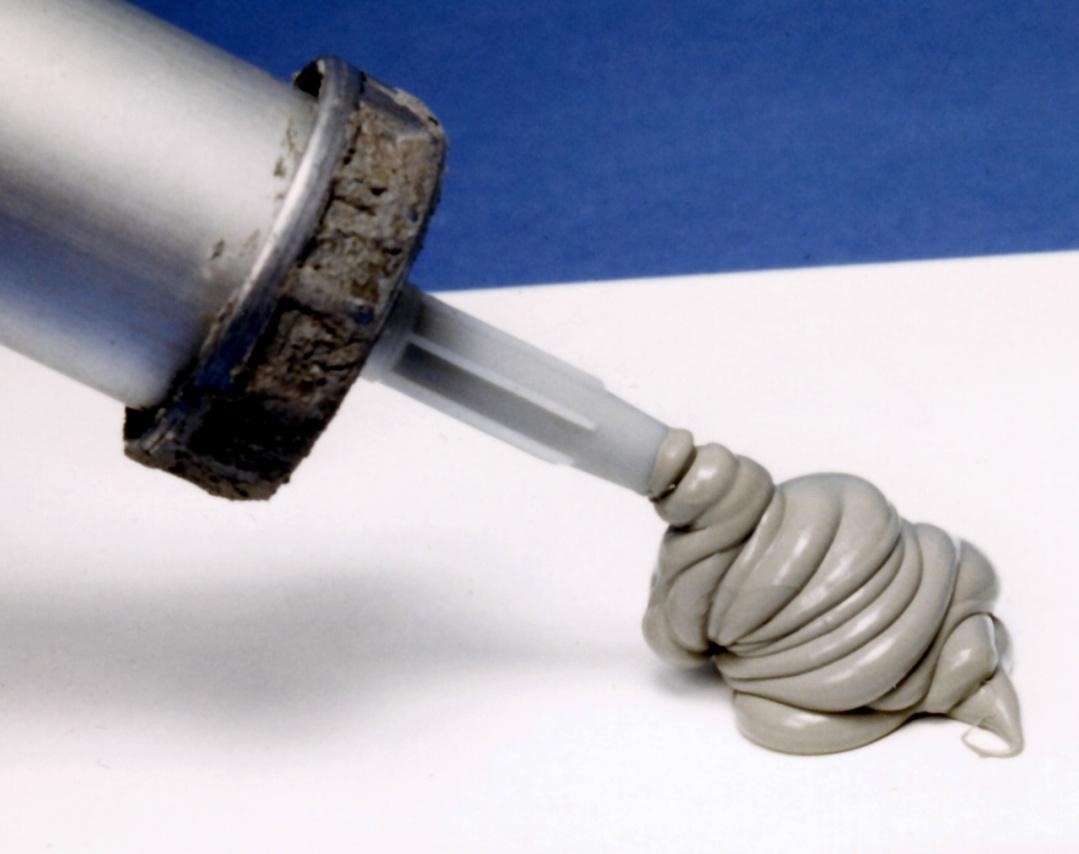


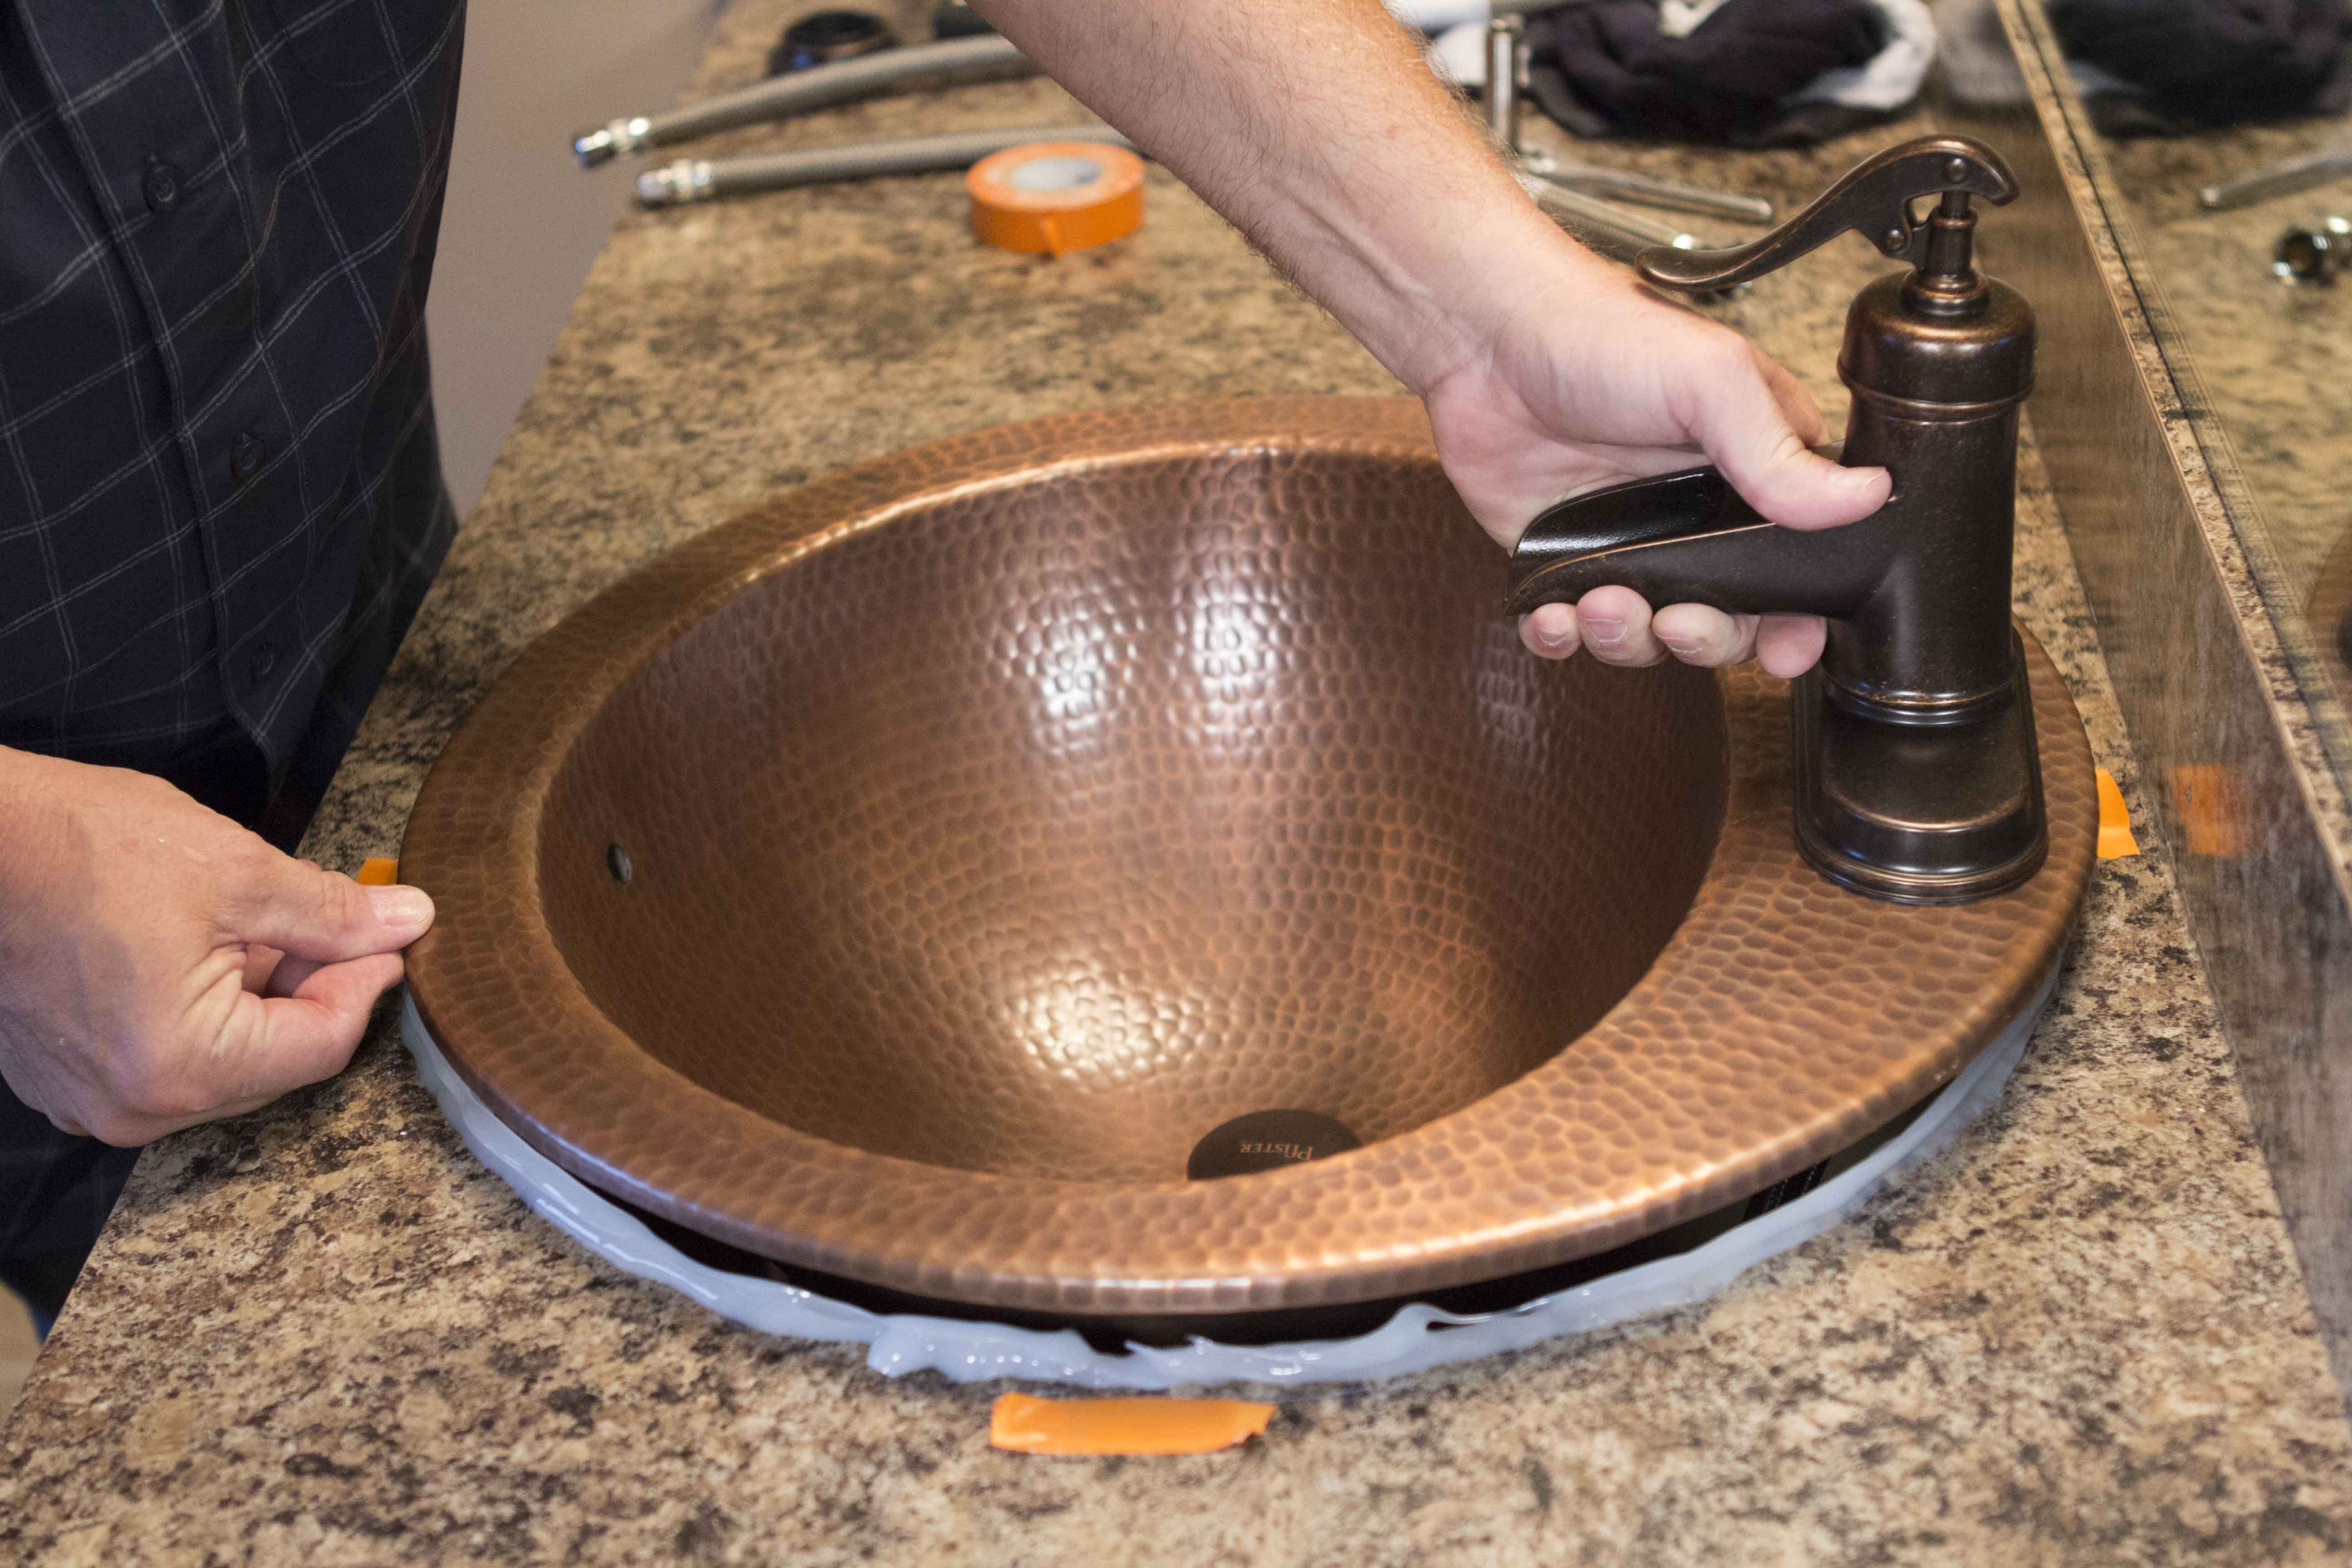
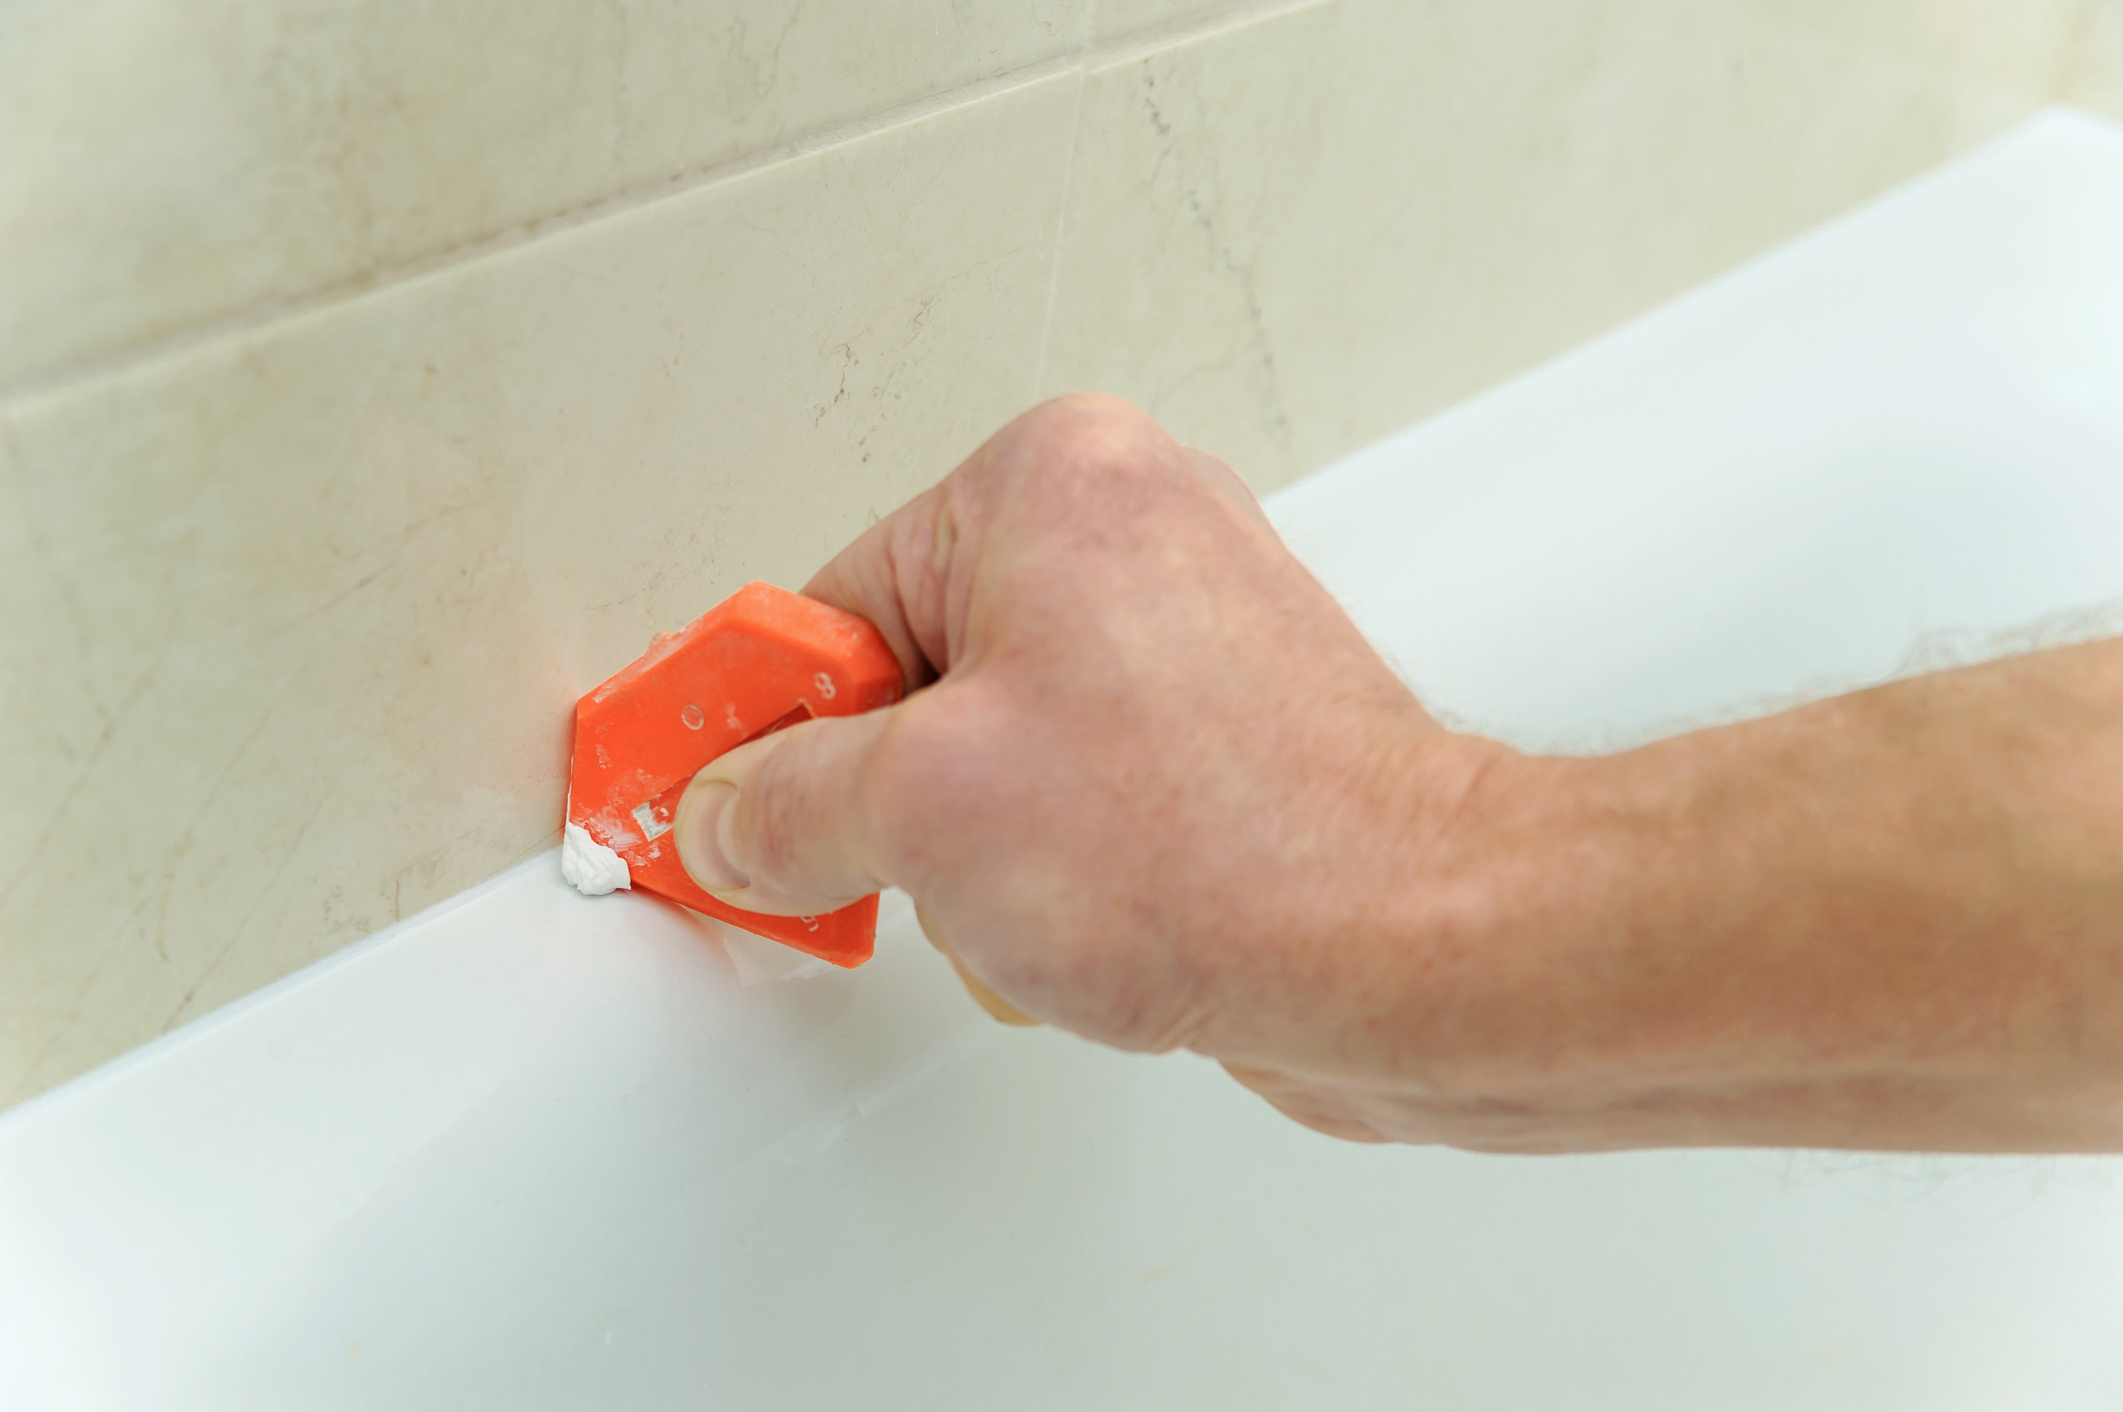
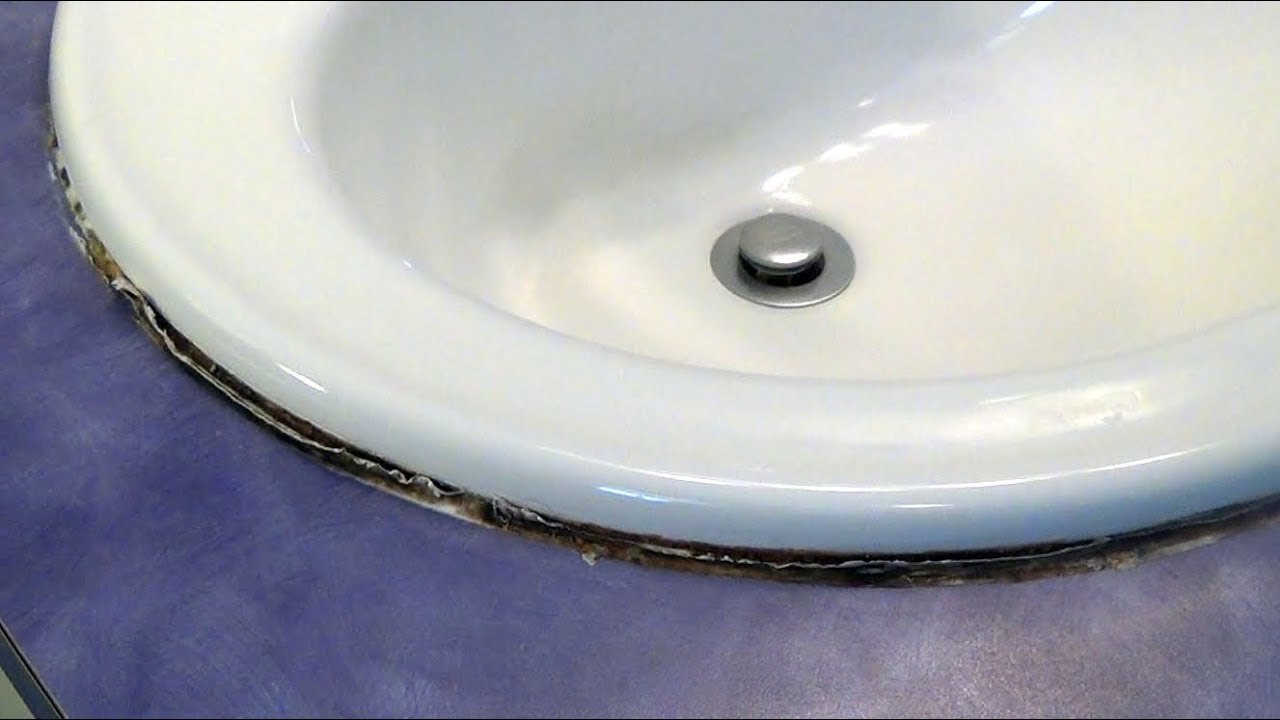
If you need to remove old caulk before reapplying, here's how to do it: Step 1: Soften the caulk. Use a caulk softener or a mildew cleaner and let it sit for a few hours to soften the caulk. Step 2: Scrape away the old caulk. Use a caulk removal tool or a razor blade to carefully scrape away the old caulk. Step 3: Clean the area. Use a mildew cleaner to clean the area and remove any residue from the old caulk. Step 4: Let the area dry completely. Make sure the area is completely dry before applying new caulk.How to Remove Old Caulk from a Bathroom Sink Faucet


How to Remove Old Caulk from a Bathroom Sink Faucet

:max_bytes(150000):strip_icc()/how-to-remove-old-caulk-1824827-01-3d0370c59e124dbbaa6560c68bab111c.jpg)
:max_bytes(150000):strip_icc()/how-to-remove-old-caulk-1824827-hero-4863fcf5169e426da8f822429ed46301.jpg?strip=all)
:max_bytes(150000):strip_icc()/how-to-remove-old-caulk-1824827-04-c71b38e1f79142e3b7b6656a81cdcdbb.jpg)
Caulk and silicone are both viable options for sealing your bathroom sink faucet, but they have some differences to consider: 1. Caulk: Caulk is a flexible and easy-to-use option for sealing sinks. It can be painted over and is generally more cost-effective. 2. Silicone: Silicone is a more durable and water-resistant option. It is also more resistant to mildew and mold growth, making it a better choice for high-moisture areas like bathrooms.Caulking vs. Silicone: Which is Better for Bathroom Sink Faucets?


Caulking vs. Silicone: Which is Better for Bathroom Sink Faucets?


When choosing a caulk for your bathroom sink faucet, consider the following factors: 1. Water-resistance: Look for a caulk that is labeled as "mildew resistant" or specifically designed for bathroom use. 2. Durability: Consider the amount of usage your sink gets and choose a caulk that will hold up well over time. 3. Price: Caulk prices can vary, so choose one that fits your budget.How to Choose the Right Caulk for Your Bathroom Sink Faucet


How to Choose the Right Caulk for Your Bathroom Sink Faucet


To achieve a professional-looking caulk job on your bathroom sink faucet, keep these tips in mind: 1. Choose the right caulk. Make sure to choose a caulk that is suitable for bathroom use and labeled as mildew resistant. 2. Clean the area thoroughly. A clean surface is crucial for a smooth and even application of caulk. 3. Use a caulk gun. A caulk gun allows for more control and precision when applying caulk. 4. Smooth out the caulk. Use a damp finger or caulk tool to create a smooth and even finish. 5. Wipe away excess caulk. Wipe away any excess caulk before it dries to achieve a clean and professional look.Tips for a Professional-Looking Caulk Job on Your Bathroom Sink Faucet


Tips for a Professional-Looking Caulk Job on Your Bathroom Sink Faucet


Caulking your bathroom sink faucet is essential for preventing water damage. Water can easily seep into small gaps or cracks in the caulk and cause damage to your bathroom cabinets or flooring. It can also lead to mold or mildew growth, which can be costly and difficult to remove. Properly caulking your sink faucet will create a watertight seal and protect your bathroom from potential damage.Why Caulking Your Bathroom Sink Faucet is Important for Preventing Water Damage

Why Caulking Your Bathroom Sink Faucet is Important for Preventing Water Damage
Why Caulking Your Bathroom Sink Faucet is Important for Your House Design

Keep Water Damage at Bay
 When it comes to designing your house, every detail matters. From the color of the walls to the type of tiles you choose, everything plays a role in creating the perfect aesthetic. However, there is one aspect that often gets overlooked – the caulking around your bathroom sink faucet. While it may seem like a small and insignificant detail, caulking is actually crucial for maintaining the overall design and function of your bathroom.
Caulking is a sealant used to fill gaps and cracks around bathroom fixtures, including the sink faucet. This creates a watertight barrier that prevents water from seeping into the walls and causing damage. Without proper caulking, water can find its way into the smallest of gaps and cause mold, mildew, and even structural damage over time. Not only can this ruin the design of your bathroom, but it can also be costly to repair.
Prevent the Spread of Germs
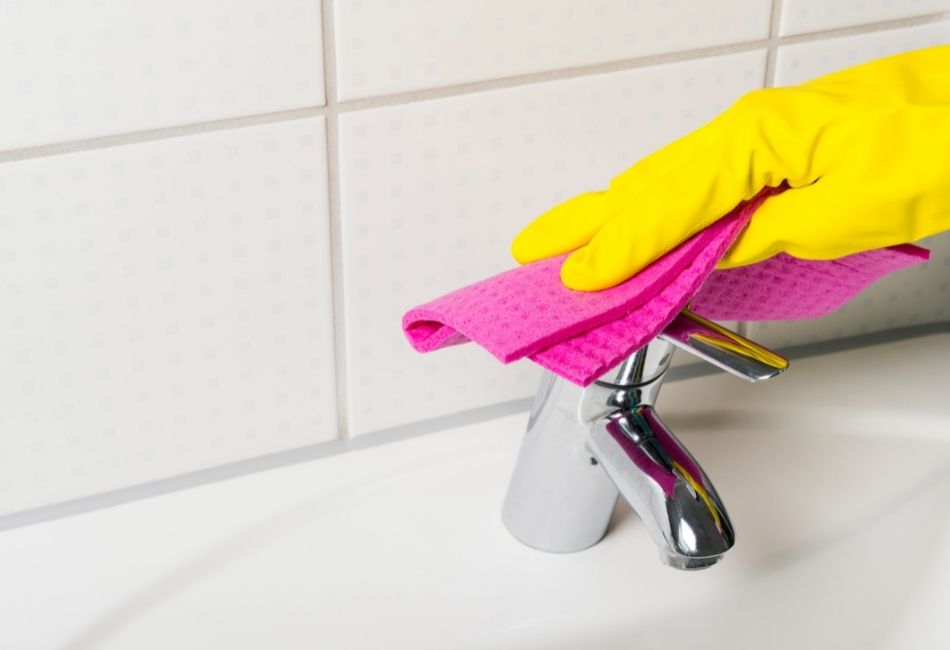
 Aside from keeping your walls dry, caulking your bathroom sink faucet also helps to prevent the spread of germs. When water seeps into the gaps and cracks, it creates a damp environment that is perfect for bacteria and mold to thrive. This can lead to unpleasant odors and potential health hazards for you and your family. By
regularly caulking your sink faucet, you can ensure that your bathroom remains a clean and sanitary space.
Aside from keeping your walls dry, caulking your bathroom sink faucet also helps to prevent the spread of germs. When water seeps into the gaps and cracks, it creates a damp environment that is perfect for bacteria and mold to thrive. This can lead to unpleasant odors and potential health hazards for you and your family. By
regularly caulking your sink faucet, you can ensure that your bathroom remains a clean and sanitary space.
Avoid Unnecessary Maintenance
 Caulking is a simple and cost-effective solution to prevent water damage and germ growth in your bathroom.
By regularly inspecting and replacing old or damaged caulking, you can save yourself from dealing with more significant and costly repairs in the future.
Not only will this save you time and money, but it will also help to maintain the overall design and appearance of your bathroom.
Caulking is a simple and cost-effective solution to prevent water damage and germ growth in your bathroom.
By regularly inspecting and replacing old or damaged caulking, you can save yourself from dealing with more significant and costly repairs in the future.
Not only will this save you time and money, but it will also help to maintain the overall design and appearance of your bathroom.
Enhance the Aesthetic of Your Bathroom
 Apart from its practical benefits, caulking your bathroom sink faucet can also enhance the overall aesthetic of your bathroom. With a clean and well-maintained caulking job, your sink faucet will look seamless and polished, adding to the overall design of your bathroom.
There are also different types and colors of caulking available, allowing you to choose one that complements your bathroom's design and adds a touch of personalization.
Apart from its practical benefits, caulking your bathroom sink faucet can also enhance the overall aesthetic of your bathroom. With a clean and well-maintained caulking job, your sink faucet will look seamless and polished, adding to the overall design of your bathroom.
There are also different types and colors of caulking available, allowing you to choose one that complements your bathroom's design and adds a touch of personalization.
In conclusion, caulking your bathroom sink faucet is an essential aspect of house design that should not be overlooked. By keeping water damage, germs, and unnecessary maintenance at bay, it not only maintains the functionality of your bathroom but also enhances its aesthetic appeal. So, the next time you are planning a bathroom renovation or simply cleaning your sink, don't forget to give your caulking some attention. Your bathroom will thank you for it.