If you're an avid camper or frequently have guests staying over, you know the struggle of dealing with a leaky air mattress. It can be a frustrating and inconvenient issue, but don't worry, it's not impossible to fix. With some quick and easy steps, you can have your air mattress up and running in no time. Let's take a look at how to fix a leak in an air mattress. The first step is to locate the leak. This can be done by inflating the air mattress and listening for any hissing sounds or by spraying soapy water over the mattress and looking for bubbles. Once you've found the leak, mark it with a bold or italicized pen so you can easily find it again. Next, deflate the air mattress and clean the area around the leak with rubbing alcohol. This will ensure that the patch will stick properly. If the leak is caused by a puncture, use a pair of scissors to trim any loose threads or plastic around the hole. Now it's time to patch the leak. You can either use a patch kit specifically designed for air mattresses or a piece of duct tape. If using a patch kit, follow the instructions provided. For duct tape, cut a piece slightly larger than the leak and round off the edges. Apply the patch over the leak, smoothing out any wrinkles or air bubbles. Let the patch dry completely before inflating the air mattress again. Once it's fully inflated, check to make sure the leak is fixed. If there are still small leaks, you can apply another layer of duct tape or patch to ensure a stronger seal.How to Fix a Leak in an Air Mattress

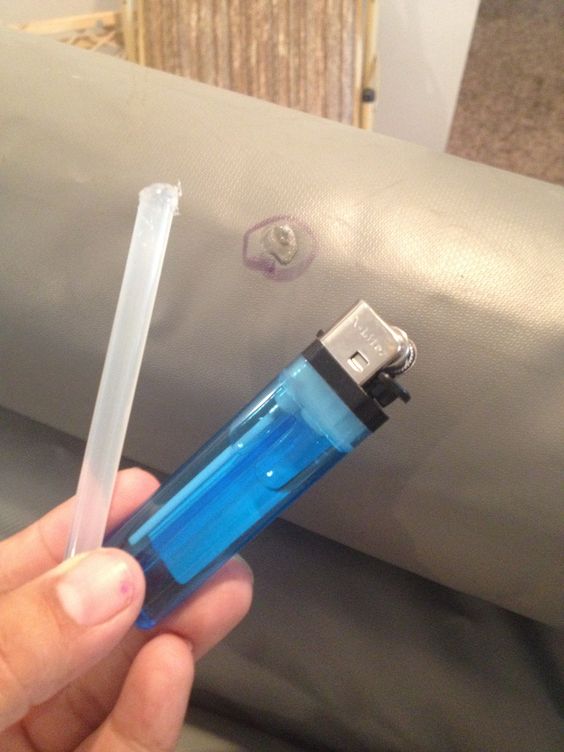

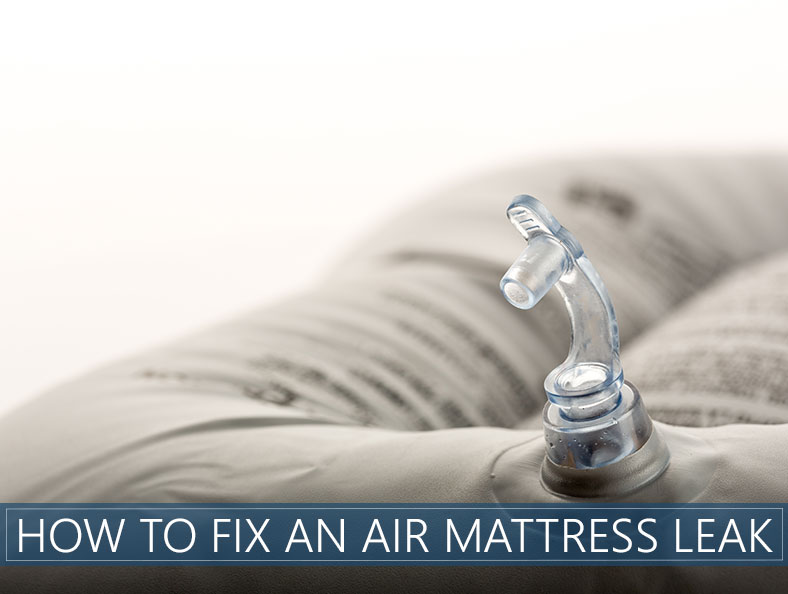
How to Fix a Leak in an Air Mattress


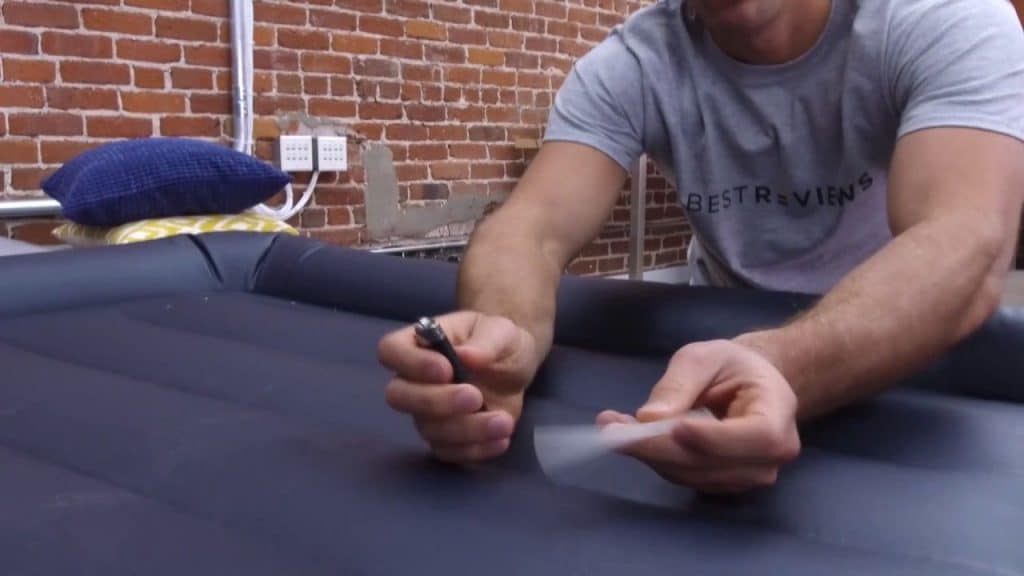
Patching an air mattress is a quick and easy DIY solution for fixing leaks. Here's a step-by-step guide on how to patch an air mattress: Step 1: Clean the area around the leak with rubbing alcohol. Step 2: Cut a piece of duct tape slightly larger than the leak and round off the edges. Step 3: Apply the tape over the leak, smoothing out any wrinkles or air bubbles. Step 4: Let the patch dry completely. Step 5: Check for any remaining leaks and patch as needed. It's important to note that patching an air mattress is a temporary solution. If the leak is caused by a larger issue, such as a tear or worn out material, it may be time to invest in a new air mattress.How to Patch an Air Mattress


How to Patch an Air Mattress


If you're someone who loves to tackle home repairs on your own, you'll be happy to know that you can also fix your air mattress yourself. Here's a simple DIY air mattress repair guide: Step 1: Locate the leak by inflating the air mattress and listening for any hissing sounds or using soapy water to find bubbles. Step 2: Clean the area around the leak with rubbing alcohol. Step 3: Cut a piece of vinyl material slightly larger than the leak. Step 4: Apply a layer of vinyl adhesive around the leak. Step 5: Place the vinyl patch over the leak and press down firmly. Step 6: Let the patch dry completely. Step 7: Inflate the air mattress and check for any remaining leaks. This DIY method may require a bit more effort, but it can save you money and give you a sense of accomplishment.DIY Air Mattress Repair


DIY Air Mattress Repair


If you don't have the time or resources to patch a leak in your air mattress, there are a few quick and easy fixes you can try: Use a hot glue gun: If the leak is small and located on a seam, you can use a hot glue gun to seal it quickly and effectively. Apply silicone sealant: This method is best for larger holes or tears. Apply a layer of silicone sealant over the leak and let it dry completely before inflating the mattress. Use a tire repair kit: If you have a tire repair kit on hand, you can use the rubber patch and adhesive to fix the leak in your air mattress. While these quick fixes may not be a permanent solution, they can help you get through a camping trip or a night with guests until you have time to properly patch the leak.Quick and Easy Air Mattress Fix


Quick and Easy Air Mattress Fix


Fixing a hole in an air mattress is similar to patching a leak, but requires a bit more work. Here's how to fix a hole in an air mattress: Step 1: Locate the hole by inflating the air mattress and listening for any hissing sounds or using soapy water to find bubbles. Step 2: Deflate the air mattress and clean the area around the hole with rubbing alcohol. Step 3: Use a pair of scissors to trim any loose threads or plastic around the hole. Step 4: Cut a piece of vinyl material slightly larger than the hole. Step 5: Apply a layer of vinyl adhesive around the hole. Step 6: Place the vinyl patch over the hole and press down firmly. Step 7: Let the patch dry completely. Step 8: Check for any remaining leaks and patch as needed. This method may require more time and effort, but it's a reliable way to fix a hole in an air mattress.Fixing a Hole in an Air Mattress

Fixing a Hole in an Air Mattress


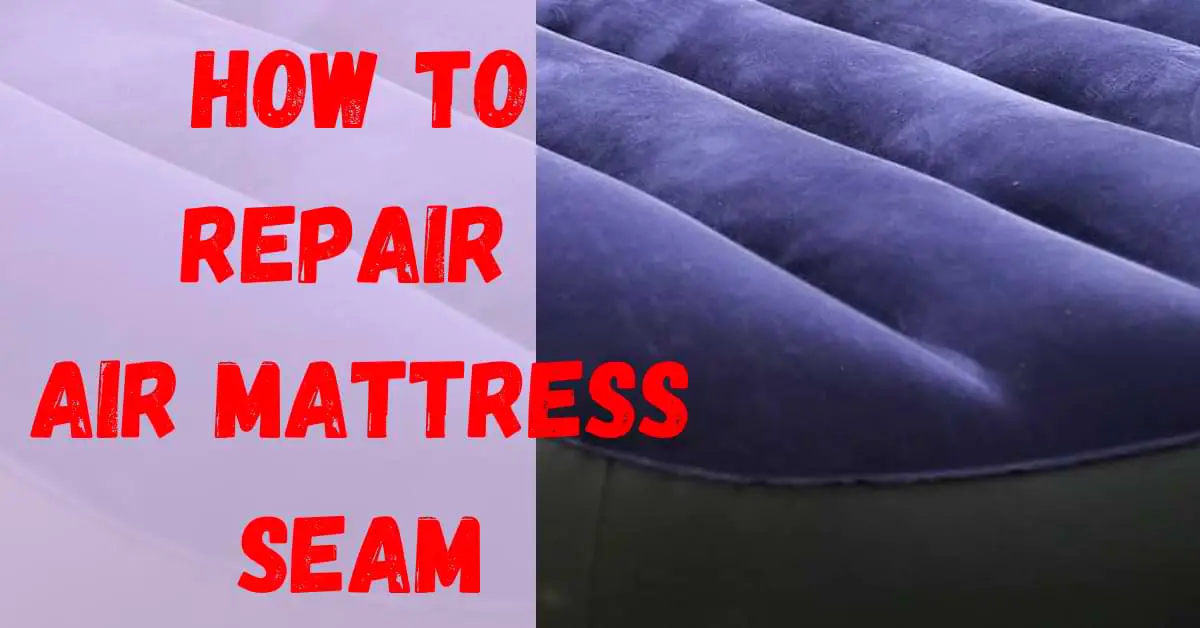
Sometimes the leak in your air mattress may be due to a faulty seam. Here's how to repair an air mattress seam: Step 1: Locate the leak by inflating the air mattress and listening for any hissing sounds or using soapy water to find bubbles. Step 2: Deflate the air mattress and clean the area around the seam with rubbing alcohol. Step 3: Apply a layer of vinyl adhesive along the seam. Step 4: Place a piece of vinyl material over the seam and press down firmly. Step 5: Let the patch dry completely. Step 6: Inflate the air mattress and check for any remaining leaks. If the seam is heavily damaged, it may be best to invest in a new air mattress.Repairing an Air Mattress Seam


Repairing an Air Mattress Seam


Dealing with a slow leak in your air mattress can be frustrating, as it means constantly having to reinflate it. Here's how to fix a slow leak in an air mattress: Step 1: Locate the leak by inflating the air mattress and listening for any hissing sounds or using soapy water to find bubbles. Step 2: Clean the area around the leak with rubbing alcohol. Step 3: Cut a piece of duct tape slightly larger than the leak and round off the edges. Step 4: Apply the tape over the leak, smoothing out any wrinkles or air bubbles. Step 5: Let the patch dry completely. Step 6: Check for any remaining leaks and patch as needed. If the leak is caused by a puncture, you may need to apply a few layers of duct tape to ensure a strong seal.Fixing a Slow Leak in an Air Mattress


Fixing a Slow Leak in an Air Mattress


If you're someone who likes to be prepared, investing in a patch kit for your air mattress is a wise decision. Here's how to use a patch kit to fix an air mattress: Step 1: Locate the leak by inflating the air mattress and listening for any hissing sounds or using soapy water to find bubbles. Step 2: Deflate the air mattress and clean the area around the leak with rubbing alcohol. Step 3: Cut a piece of patch from the kit slightly larger than the leak. Step 4: Apply a layer of adhesive provided in the kit around the leak. Step 5: Place the patch over the leak and press down firmly. Step 6: Let the patch dry completely. Step 7: Inflate the air mattress and check for any remaining leaks. Using a patch kit is a reliable way to fix a leak in your air mattress and is especially useful for frequent campers.Using a Patch Kit to Fix an Air Mattress


Using a Patch Kit to Fix an Air Mattress


As mentioned earlier, duct tape can be a quick and easy solution for fixing leaks in your air mattress. Here's how to fix an air mattress with duct tape: Step 1: Locate the leak by inflating the air mattress and listening for any hissing sounds or using soapy water to find bubbles. Step 2: Clean the area around the leak with rubbing alcohol. Step 3: Cut a piece of duct tape slightly larger than the leak and round off the edges. Step 4: Apply the tape over the leak, smoothing out any wrinkles or air bubbles. Step 5: Let the patch dry completely. Step 6: Check for any remaining leaks and patch as needed. Duct tape is a versatile and easily accessible solution for fixing leaks in your air mattress, making it a go-to for many campers and hosts.How to Fix an Air Mattress with Duct Tape


How to Fix an Air Mattress with Duct Tape


Now that you know how to fix a leak in an air mattress, let's take a look at some other common problems and their solutions: Air mattress won't hold air: This could be due to a leak, a faulty valve, or an issue with the pump. Try patching any leaks, replacing the valve, or using a different pump. Sagging in the middle: This could be caused by over-inflating the mattress or an issue with the internal baffles. Try adjusting the air pressure or contacting the manufacturer for a replacement. Uncomfortable surface: Air mattresses are known for being less comfortable than traditional mattresses, but adding a mattress topper or using extra blankets underneath can help improve the surface. By knowing how to fix these common problems, you can extend the life of your air mattress and ensure a comfortable sleeping experience for yourself and your guests. In conclusion, dealing with a leaky air mattress doesn't have to be a headache. With these tips and tricks, you can easily fix any leaks and other common problems and enjoy a good night's sleep on your air mattress. Remember to regularly check for leaks and patch them immediately to avoid any further damage. Happy camping and hosting!Common Air Mattress Problems and Solutions


Common Air Mattress Problems and Solutions


How to Properly Fix an Air Mattress

A Guide for Homeowners
 If you have an air mattress at home, chances are you have experienced a leak or puncture at some point. This can be frustrating and inconvenient, especially when you have guests staying over. But fear not, with the right tools and techniques, you can easily fix your air mattress and have it back in tip-top shape. In this article, we will guide you on how to properly fix an air mattress, so you can enjoy a comfortable and uninterrupted sleep.
Gather Your Tools
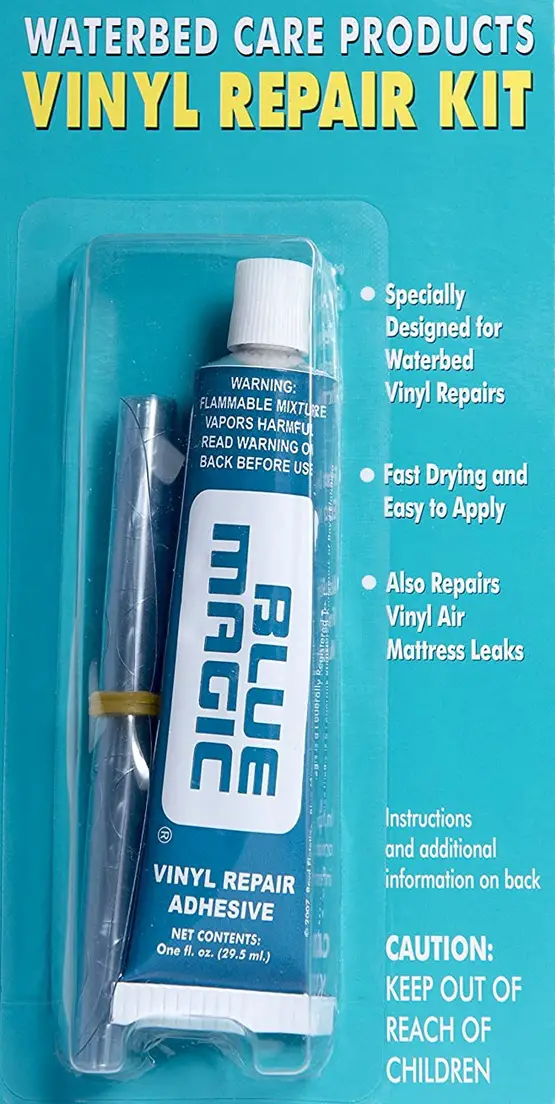
 Before you start fixing your air mattress, you will need to gather the necessary tools. These include a patch kit, scissors, rubbing alcohol, and a marker. You can purchase a patch kit specifically for repairing air mattresses from your local hardware store. Make sure to choose a kit with strong adhesive and a patch large enough to cover the size of the hole.
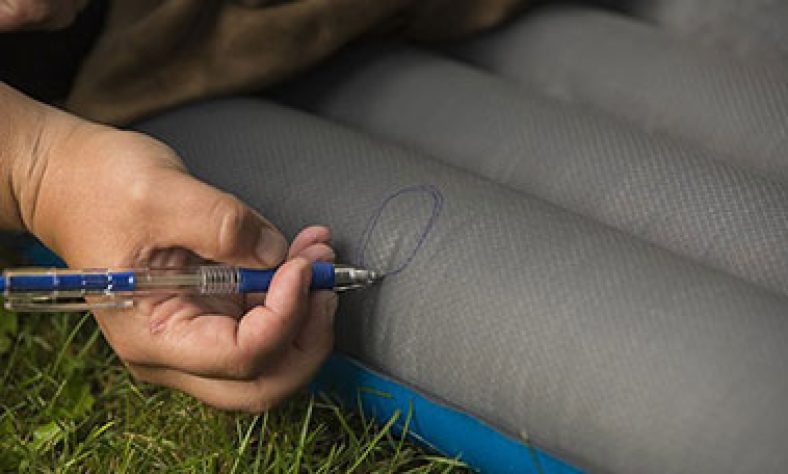
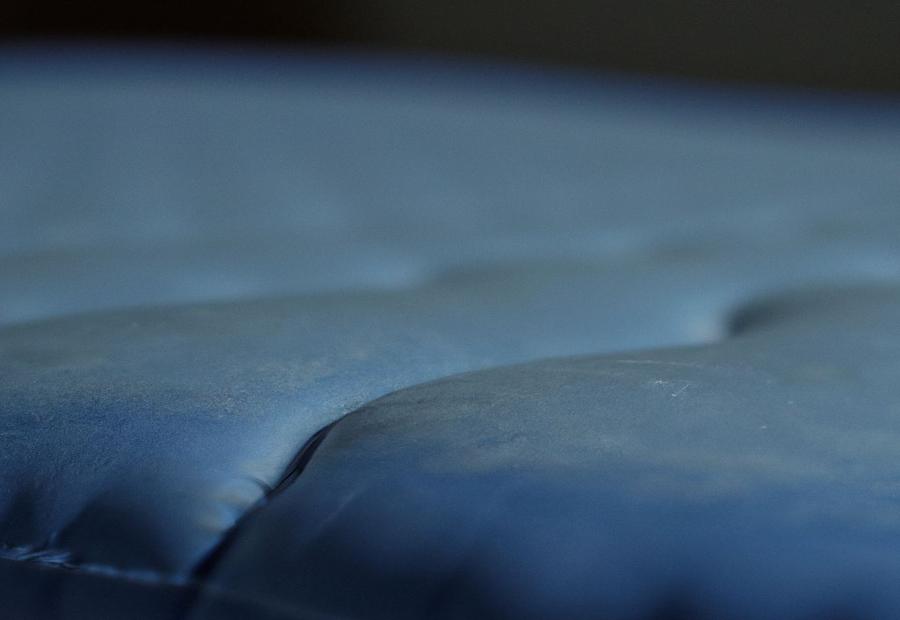
Locate the Leak
 The first step in fixing your air mattress is to locate the leak. This can be easily done by inflating the mattress and running your hand over the surface. You will feel a slight breeze or hear a faint hissing sound where the leak is located. Once you have identified the leak, mark it with a marker so you can easily find it again later.
Clean and Dry the Area
 Before applying the patch, it is important to clean and dry the area around the leak. Use a damp cloth and mild soap to gently clean the surface. Make sure to dry the area thoroughly before proceeding to the next step.
Apply the Patch
 Using the adhesive provided in your patch kit, apply a thin layer around the area of the leak. Then, place the patch over the adhesive and press down firmly. Make sure there are no air bubbles trapped under the patch. Leave the patch to dry for at least 24 hours before using the air mattress again.
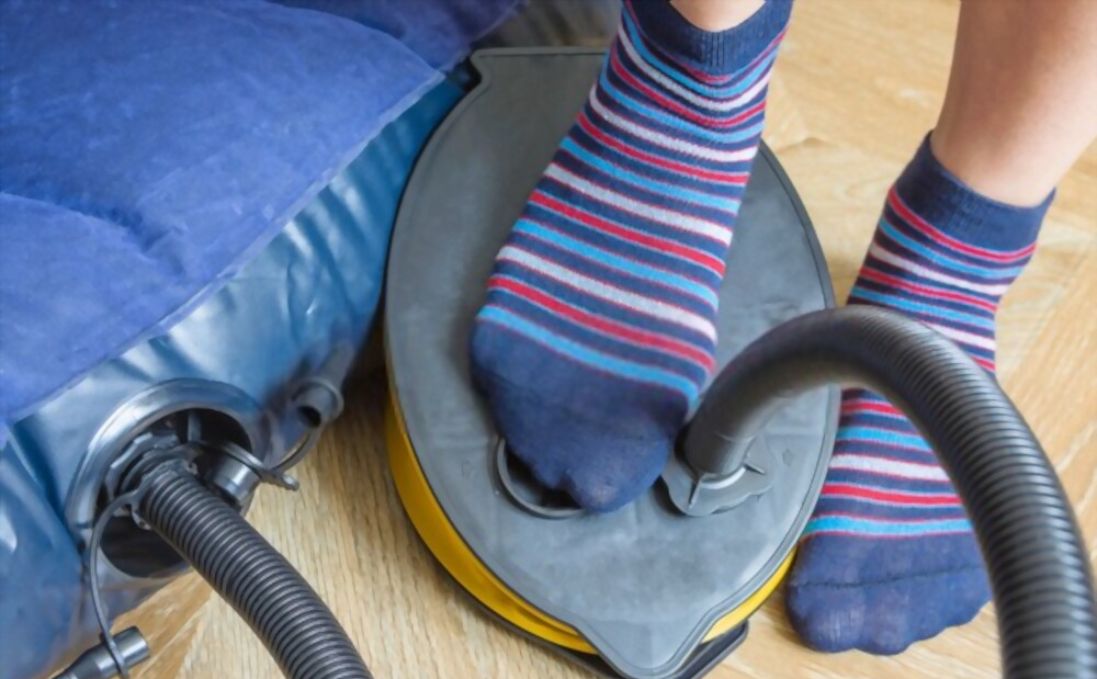
Check for Additional Leaks
 After fixing the identified leak, it is important to check for any additional leaks. Repeat the process of inflating the mattress and running your hand over the surface. If you find any more leaks, repeat the steps above to fix them.
Prevent Future Leaks
 To prevent future leaks, make sure to properly maintain your air mattress. Avoid placing it on rough or sharp surfaces and be cautious when moving it around. If you have pets, keep them away from the air mattress to avoid accidental punctures. Additionally, make sure to regularly check for leaks and patch them as soon as possible to prevent them from getting bigger.
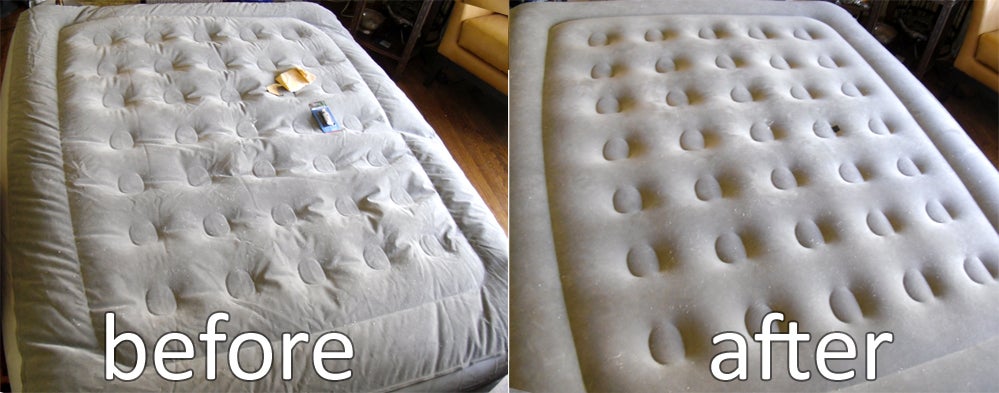
Fixing an air mattress is a simple and straightforward process that can save you time and money. By following these steps and properly maintaining your air mattress, you can ensure a comfortable and uninterrupted sleep for you and your guests.
To prevent future leaks, make sure to properly maintain your air mattress. Avoid placing it on rough or sharp surfaces and be cautious when moving it around. If you have pets, keep them away from the air mattress to avoid accidental punctures. Additionally, make sure to regularly check for leaks and patch them as soon as possible to prevent them from getting bigger.
Fixing an air mattress is a simple and straightforward process that can save you time and money. By following these steps and properly maintaining your air mattress, you can ensure a comfortable and uninterrupted sleep for you and your guests.
In conclusion , knowing how to properly fix an air mattress is an essential skill for any homeowner. By gathering the necessary tools, locating the leak, cleaning and drying the area, and properly applying the patch, you can easily fix your air mattress and avoid any future leaks. Remember to always check for additional leaks and take preventive measures to maintain the longevity of your air mattress.