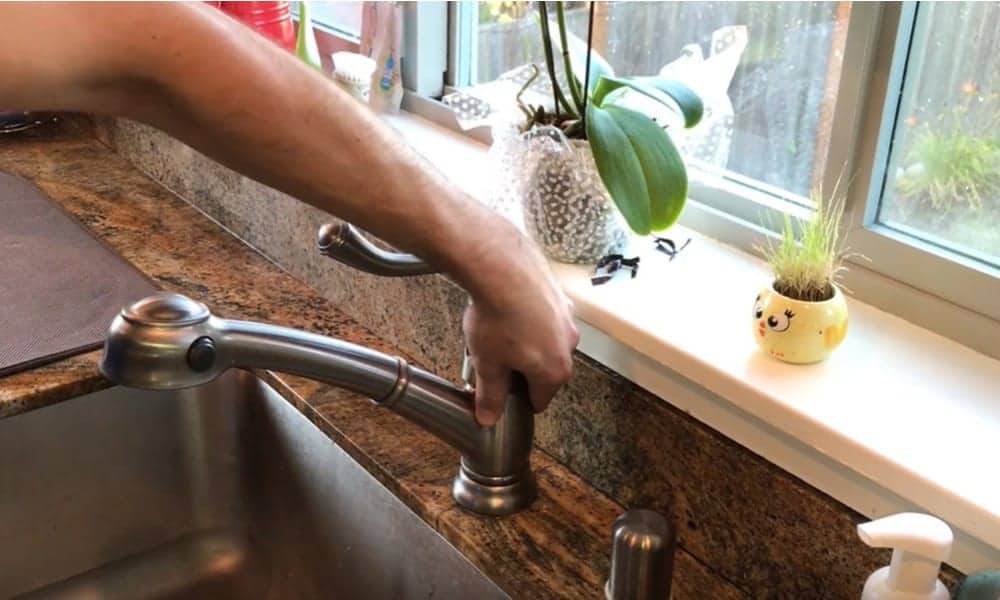
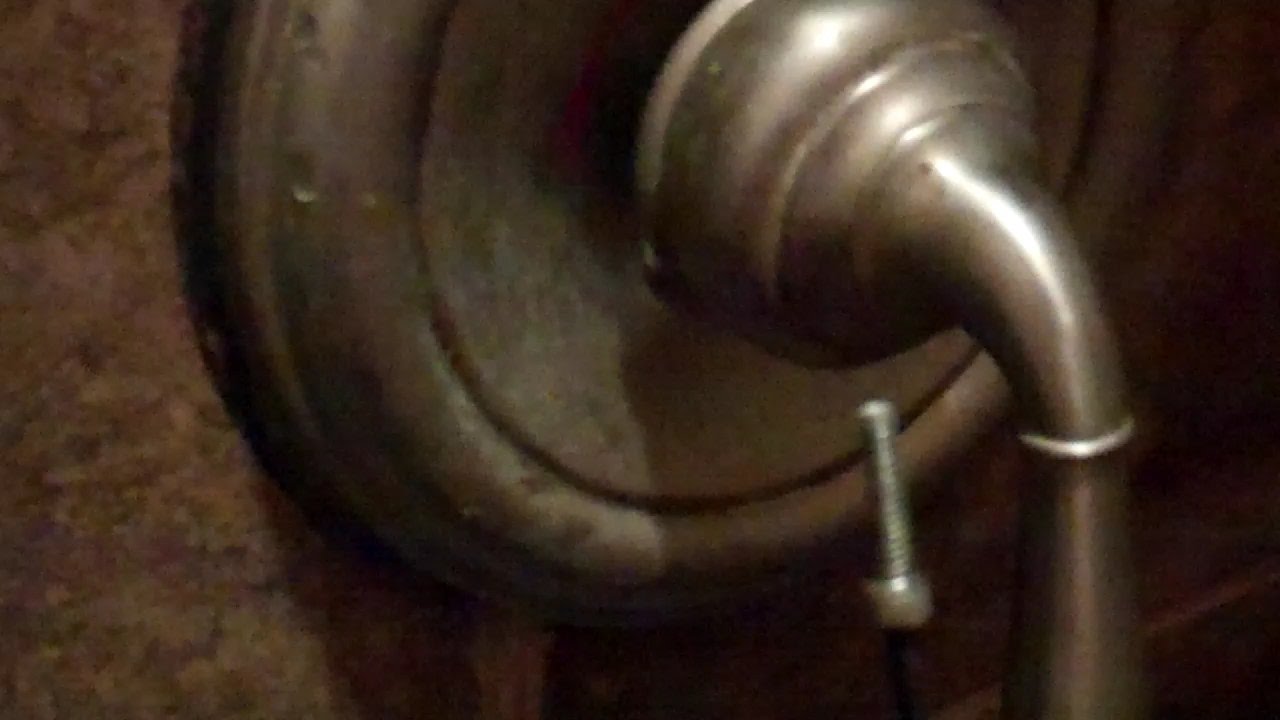
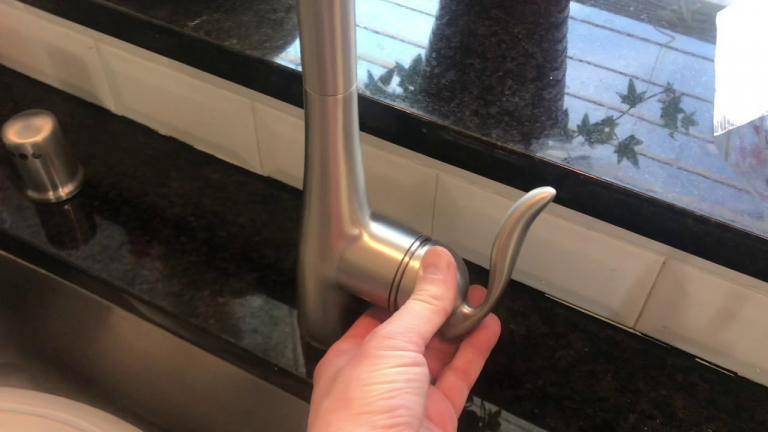
If you notice that your kitchen sink faucet is wobbly or loose, the first step to tightening it is to check the faucet base. This is the bottom part of the faucet that connects to the sink. Over time, the base may become loose due to regular use and water pressure. To tighten it, turn off the water supply and use a wrench to tighten the mounting nuts located underneath the sink. This will secure the faucet base and prevent any further wobbling or movement.1. Tightening the Faucet Base


1. Tightening the Faucet Base


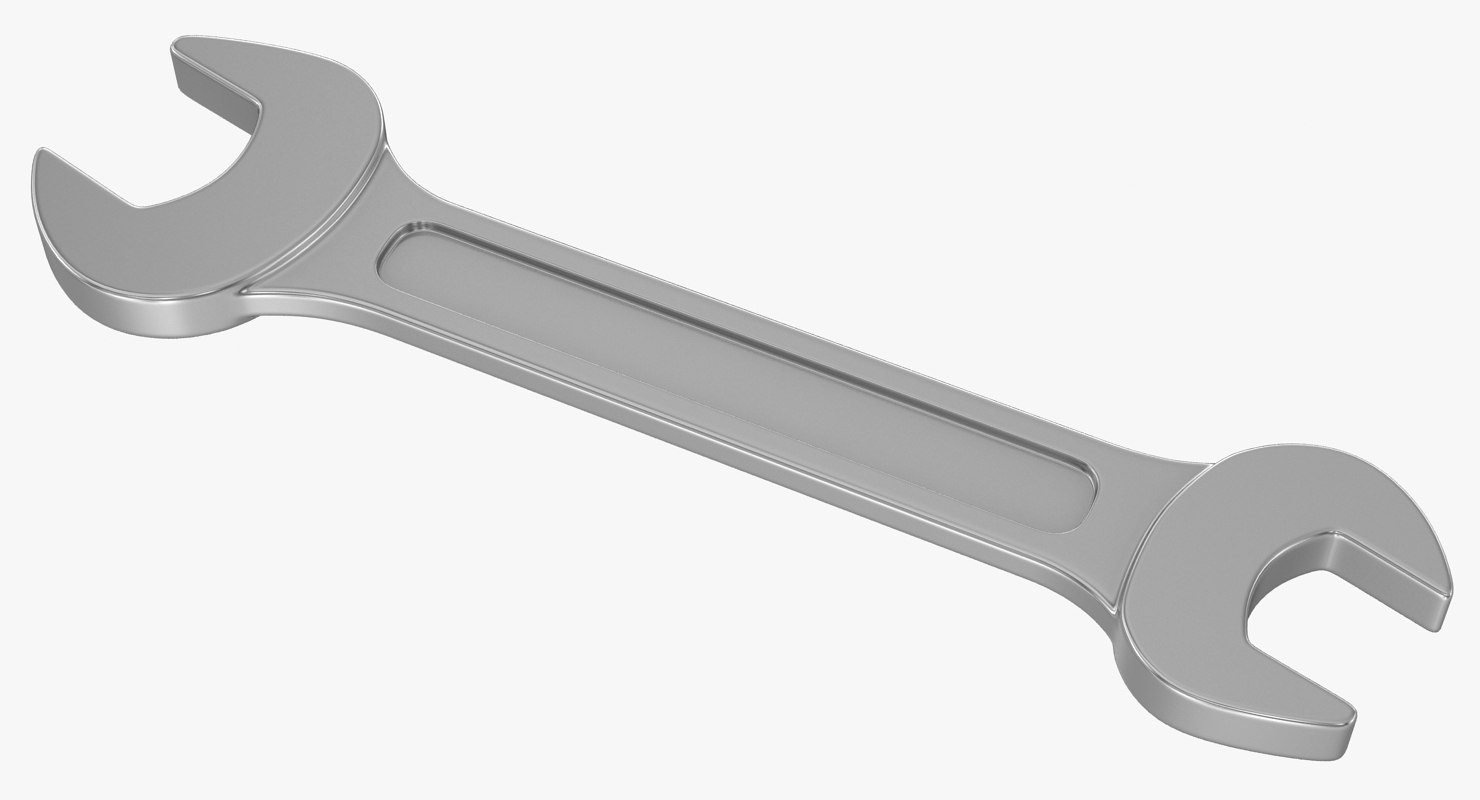
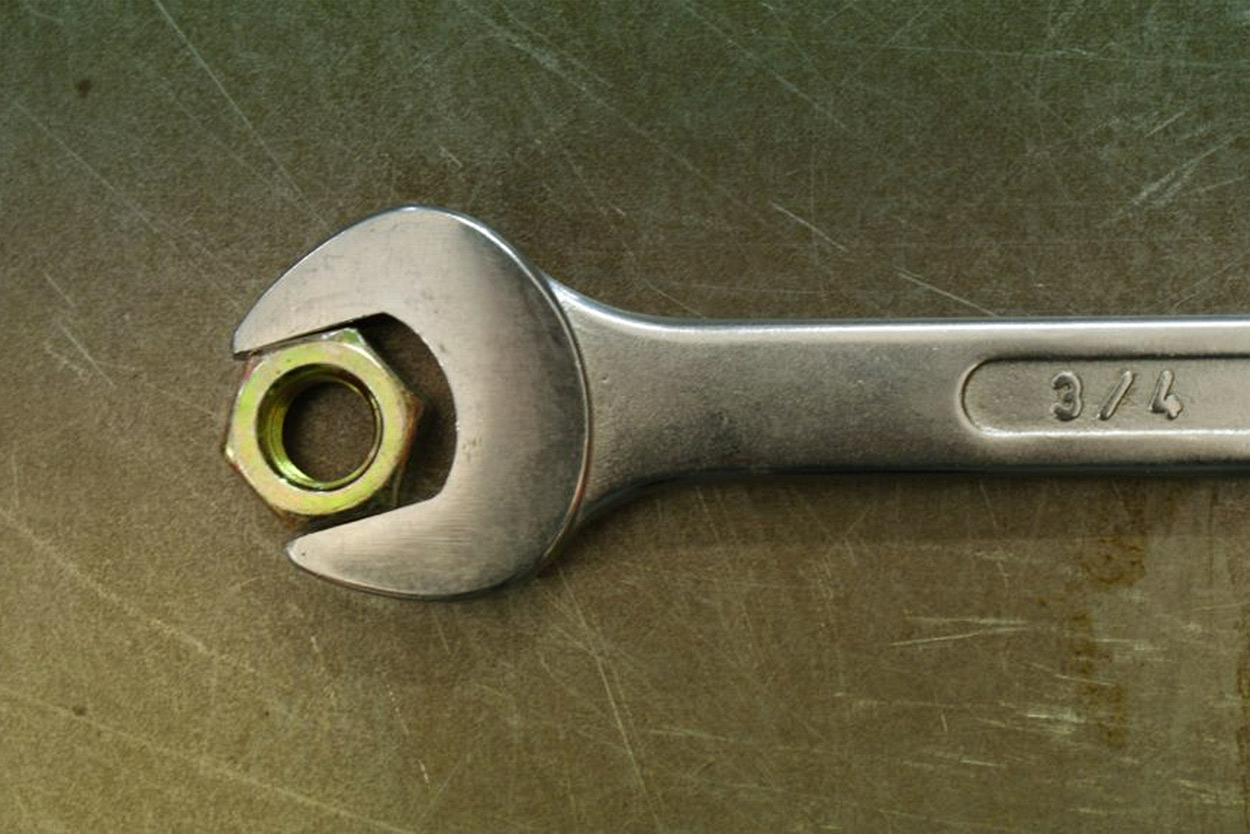
One of the easiest ways to tighten a loose kitchen sink faucet is by using a wrench. This tool allows you to easily access and tighten the nuts and bolts that hold the faucet in place. Before using a wrench, make sure to turn off the water supply and place a towel or cloth underneath the faucet to catch any water that may drip. Use the wrench to tighten the mounting nuts and bolts located underneath the sink. You can also use the wrench to tighten the faucet handle if it feels loose.2. Using a Wrench


2. Using a Wrench


The mounting nuts are an essential part of a kitchen sink faucet as they hold the faucet securely in place. If you notice that your faucet is loose, check to see if the mounting nuts are loose as well. You can easily tighten them with a wrench or pliers. If the mounting nuts are worn or damaged, you may need to replace them with new ones to ensure a secure fit.3. Adjusting the Mounting Nuts


3. Adjusting the Mounting Nuts


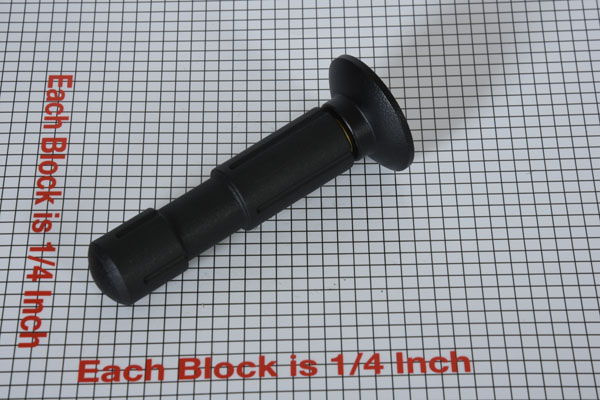
The handle of your kitchen sink faucet is another area that may become loose over time. If you notice that the handle is wobbly or difficult to turn, it may be time to tighten it. To do this, use a wrench to tighten the mounting nuts located underneath the sink. You can also use a screwdriver to tighten the screws on the handle itself. If the handle is still loose, you may need to replace it with a new one.4. Tightening the Handle


4. Tightening the Handle


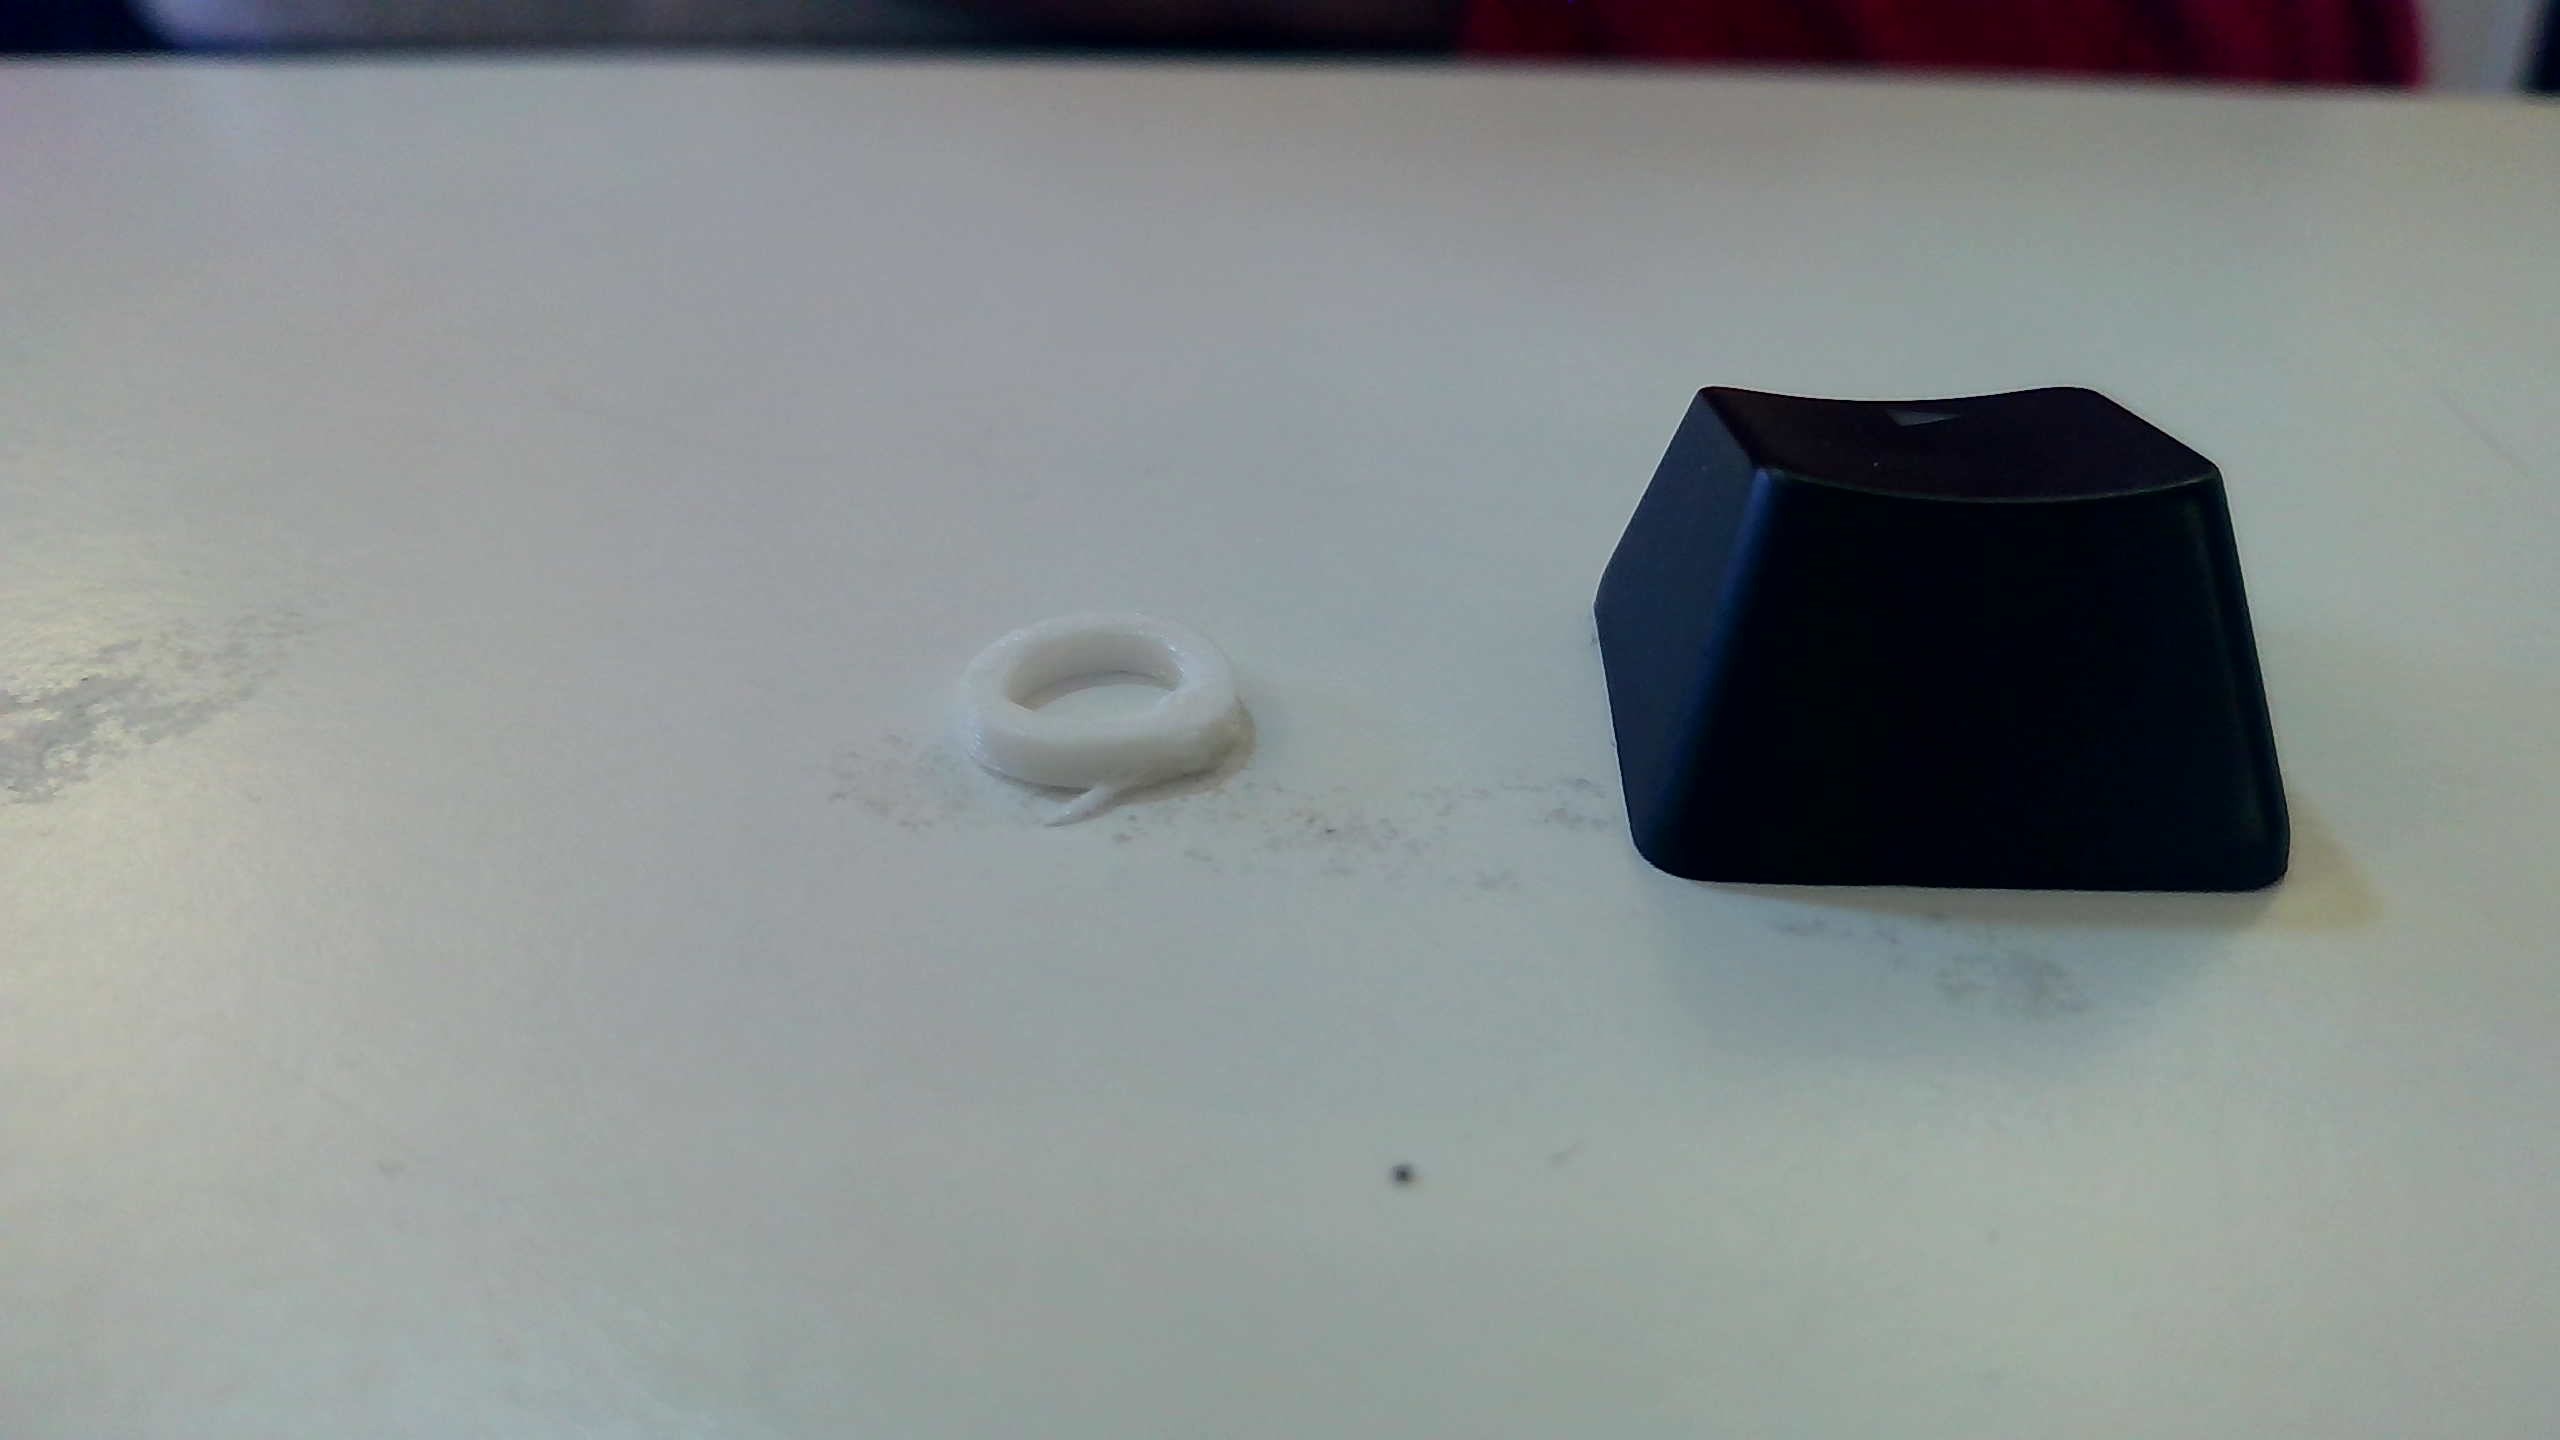
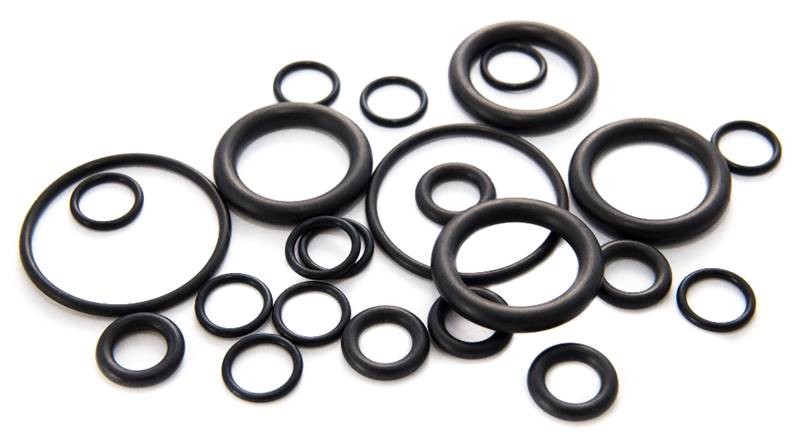
The O-ring is a small rubber ring that helps to create a tight seal between the faucet and the sink. Over time, this ring may become worn or damaged, causing the faucet to become loose. To replace the O-ring, turn off the water supply and remove the faucet handle. You can then access and replace the O-ring with a new one. This will help to create a tighter seal and prevent any further movement or wobbling.5. Replacing the O-Ring

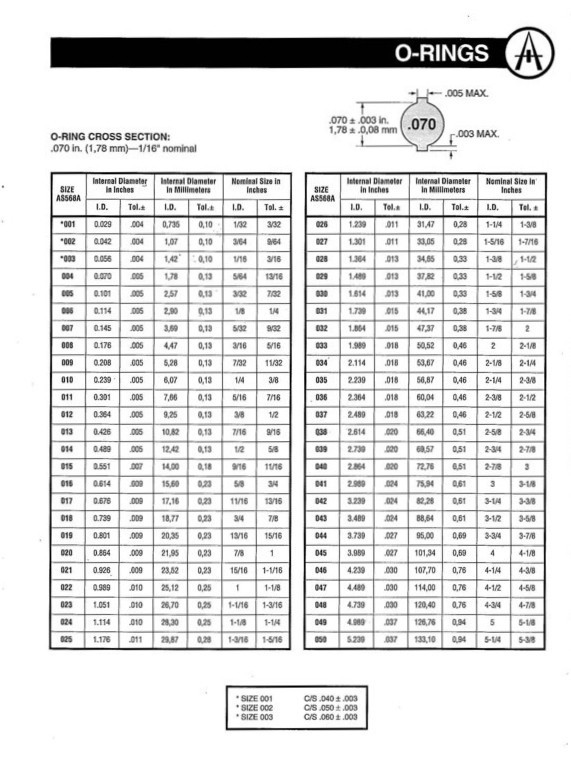

5. Replacing the O-Ring


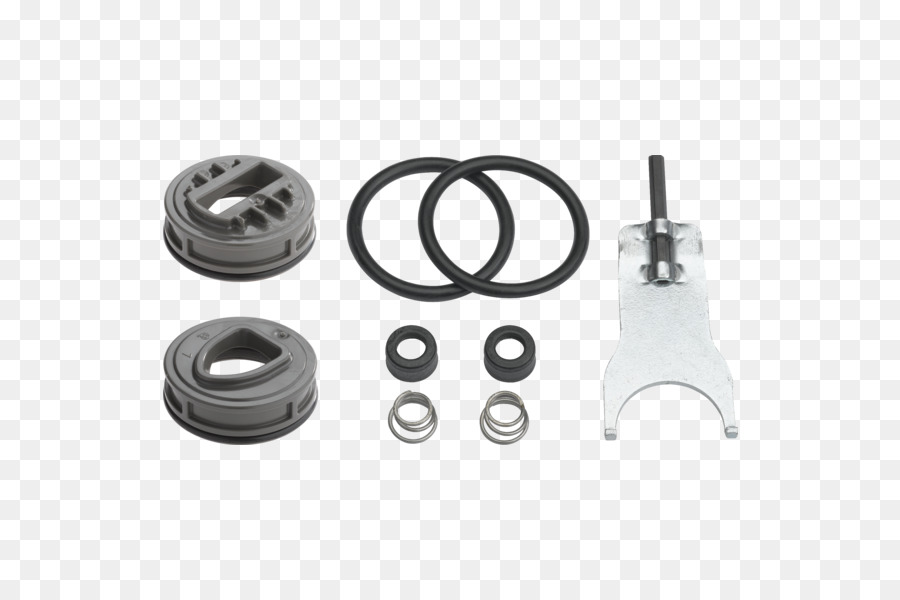
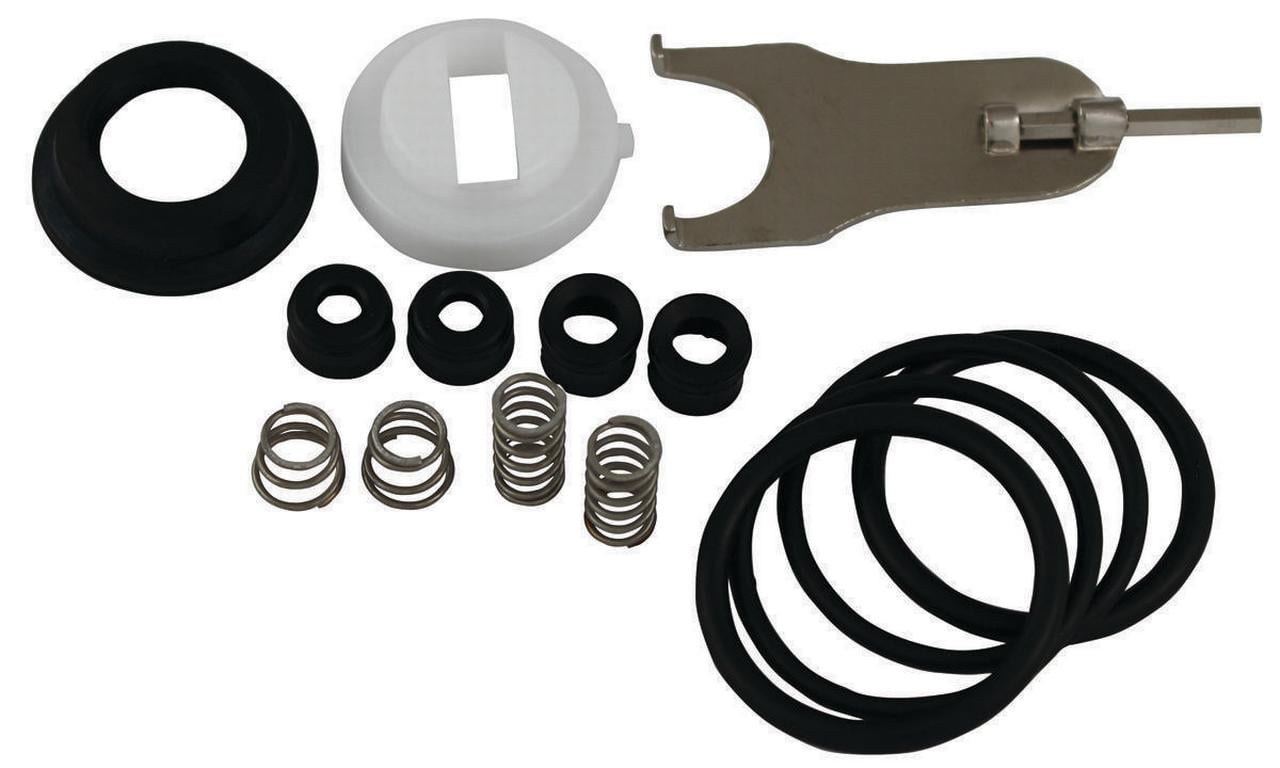
If your kitchen sink faucet is constantly becoming loose or wobbly, you may need to invest in a faucet repair kit. These kits come with all the necessary tools and parts to repair and tighten your faucet. They often include replacement O-rings, mounting nuts, and other essential parts. Follow the instructions included in the kit to properly tighten and secure your faucet.6. Using a Faucet Repair Kit


6. Using a Faucet Repair Kit


After tightening your kitchen sink faucet, it's important to check for any leaks. Turn the water supply back on and let the water run for a few minutes. Inspect the faucet for any leaks or drips. If you notice any, double check that all the parts are securely tightened and make any necessary adjustments. It's better to catch and fix any leaks early on to prevent further damage or potential water damage.7. Checking for Leaks


7. Checking for Leaks


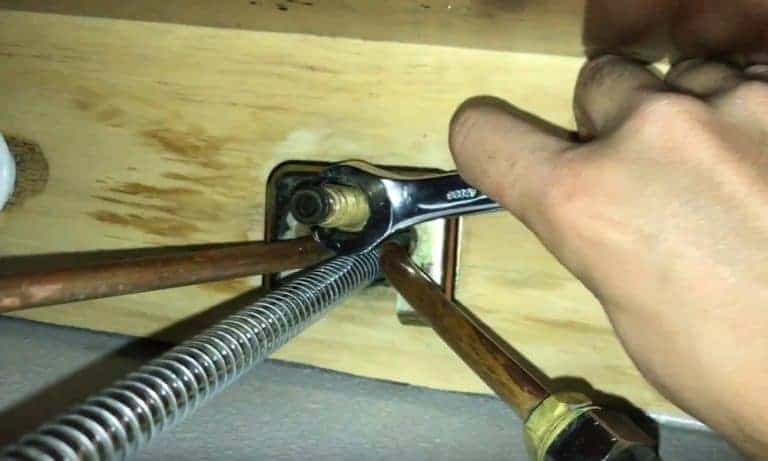
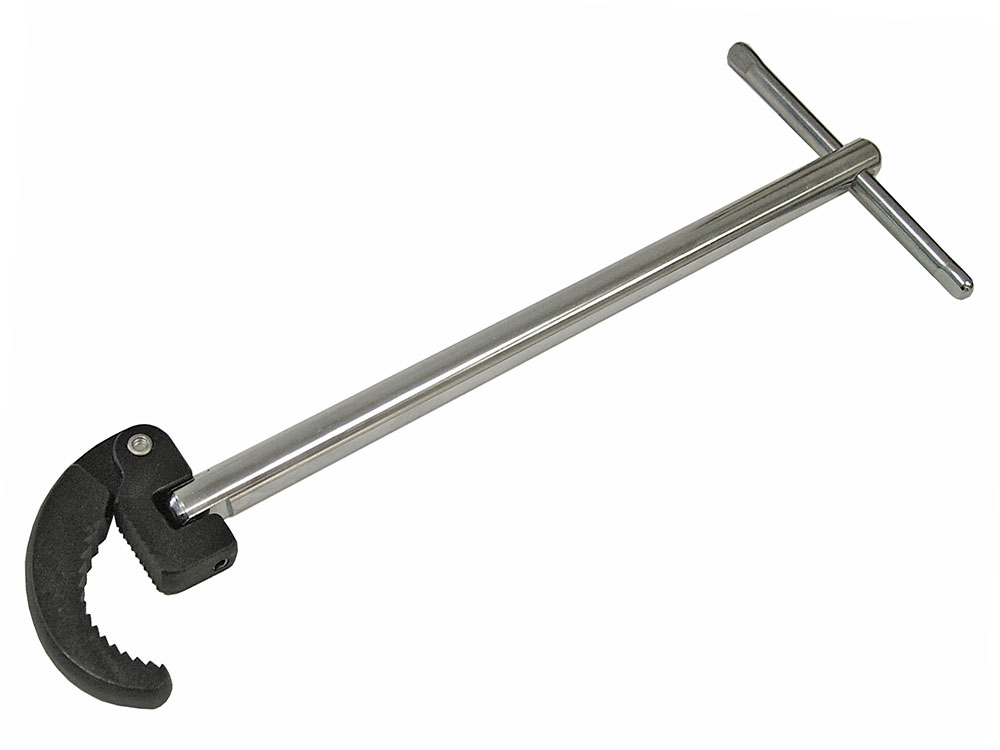
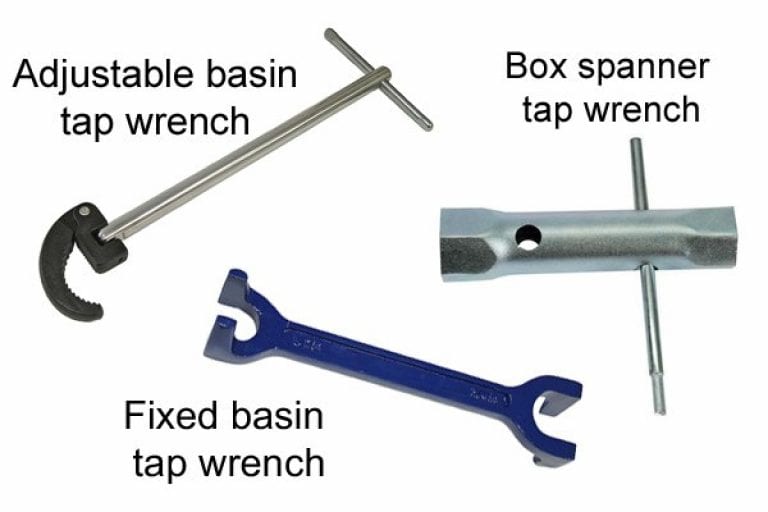
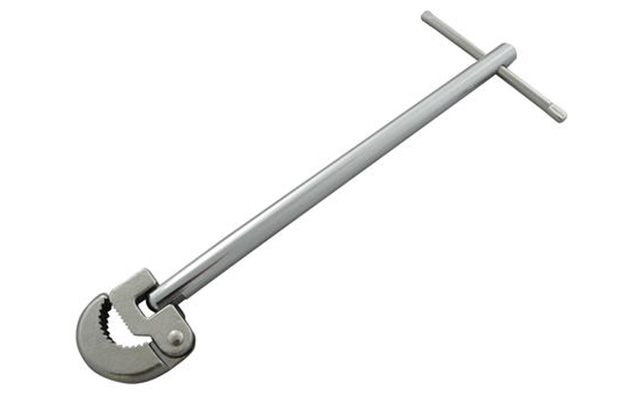
A basin wrench is a specialized tool that is designed to reach and tighten hard-to-reach areas, such as the mounting nuts of a kitchen sink faucet. This tool has an adjustable head and a long handle, making it easier to reach tight spaces. If you have difficulty reaching the mounting nuts with a regular wrench, a basin wrench may be a helpful tool to have on hand.8. Using a Basin Wrench


8. Using a Basin Wrench


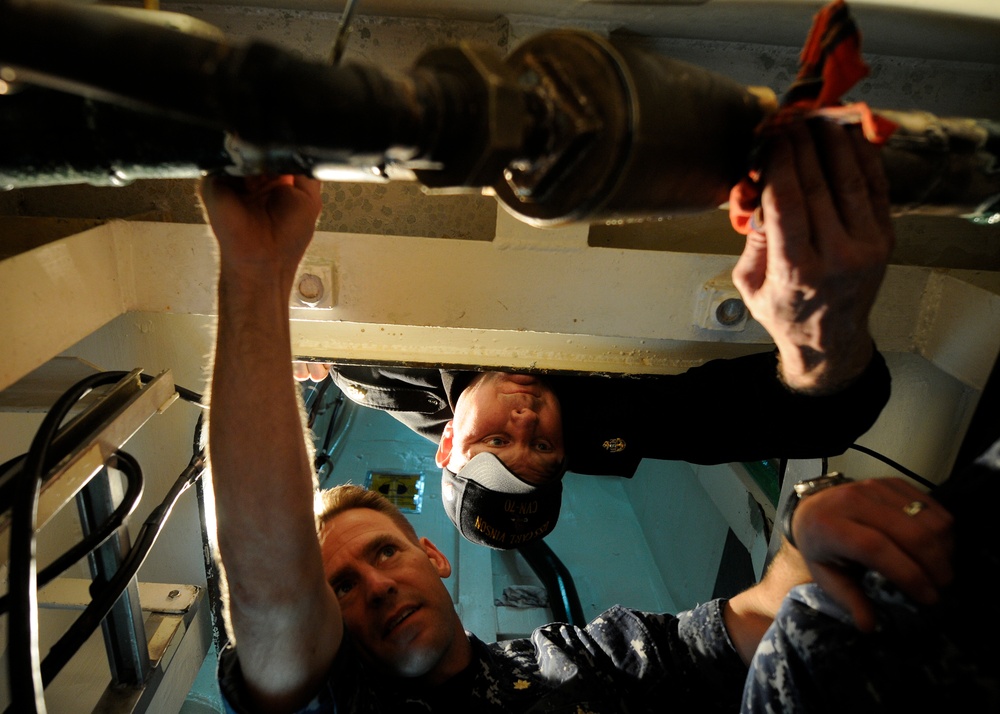
The supply lines are the hoses or pipes that connect the faucet to the water supply. Over time, these lines may become loose or damaged, causing the faucet to become loose. To tighten them, turn off the water supply and use a wrench to tighten the nuts that connect the supply lines to the faucet. You can also use pliers to tighten any connectors or joints that may be loose.9. Tightening the Supply Lines


9. Tightening the Supply Lines


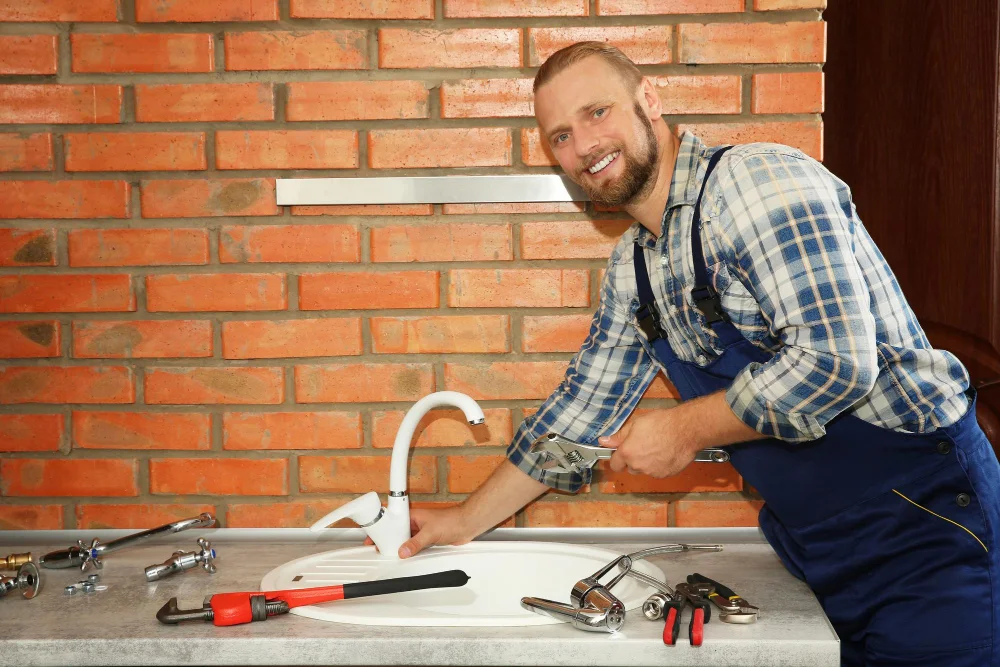
If you have tried all of the above methods and your kitchen sink faucet is still loose, it may be time to seek professional help. A plumber will have the expertise and tools to properly diagnose and fix any issues with your faucet. They can also help with any potential leaks or other plumbing issues that may be causing the faucet to become loose. In conclusion, a loose kitchen sink faucet may seem like a minor annoyance, but it can lead to bigger problems if not addressed. By following these 10 best ways to tighten a kitchen sink faucet, you can ensure a secure and functional faucet in your kitchen. Remember to regularly check and maintain your faucet to prevent any future issues. 10. Seeking Professional Help


10. Seeking Professional Help


Why Tightening Your Kitchen Sink Faucet is Essential

Prevent Leaks and Water Damage
 One of the main reasons why it is important to tighten your kitchen sink faucet is to prevent leaks and water damage. A loose faucet can cause water to seep out and create a puddle on your countertop or floor. Over time, this can lead to water damage and mold growth, which can be costly to fix. By regularly tightening your faucet, you can ensure that it is securely attached and prevent any potential leaks.
Improve Water Efficiency
 Another benefit of tightening your kitchen sink faucet is improved water efficiency. A loose faucet can cause water to drip and waste water unnecessarily. By tightening your faucet, you can ensure that it is not wasting any water and help reduce your water bill. This small and simple task can make a big impact on your household's water usage.
Extend the Lifespan of Your Faucet
 Regularly tightening your kitchen sink faucet can also help extend its lifespan. A loose faucet can put unnecessary strain on the internal components, causing them to wear out faster. By keeping your faucet securely attached, you can prevent any unnecessary wear and tear and ensure that it lasts longer.
Prevent Annoying Noises
 A loose faucet can also create annoying noises every time you use it. This can be especially frustrating if you have a sensitive household member or a sleeping baby. By tightening your faucet, you can eliminate these annoying noises and create a more peaceful and enjoyable kitchen experience.
How to Properly Tighten Your Kitchen Sink Faucet
 Now that you understand the importance of tightening your kitchen sink faucet, let's discuss the best way to do it. First, turn off the water supply to your faucet. Then, using a wrench or pliers, tighten the screws or nuts located underneath the sink. Be sure not to over-tighten, as this can cause damage to the faucet. Finally, turn the water supply back on and test your faucet to ensure it is securely attached. It is recommended to perform this task every few months to keep your faucet in top condition.
By regularly tightening your kitchen sink faucet, you can prevent leaks and water damage, improve water efficiency, extend its lifespan, and eliminate annoying noises. Follow these simple steps to properly tighten your faucet and enjoy a more functional and efficient kitchen.