Before you begin the staining process, it's important to properly prepare your kitchen table. Start by removing any existing finish or paint from the surface using a chemical stripper or sandpaper. Then, thoroughly clean the table with a mixture of warm water and mild soap to remove any dirt, grime, or oils. Once the table is clean and dry, you can move on to the next step.1. Preparing the Table


1. Preparing the Table


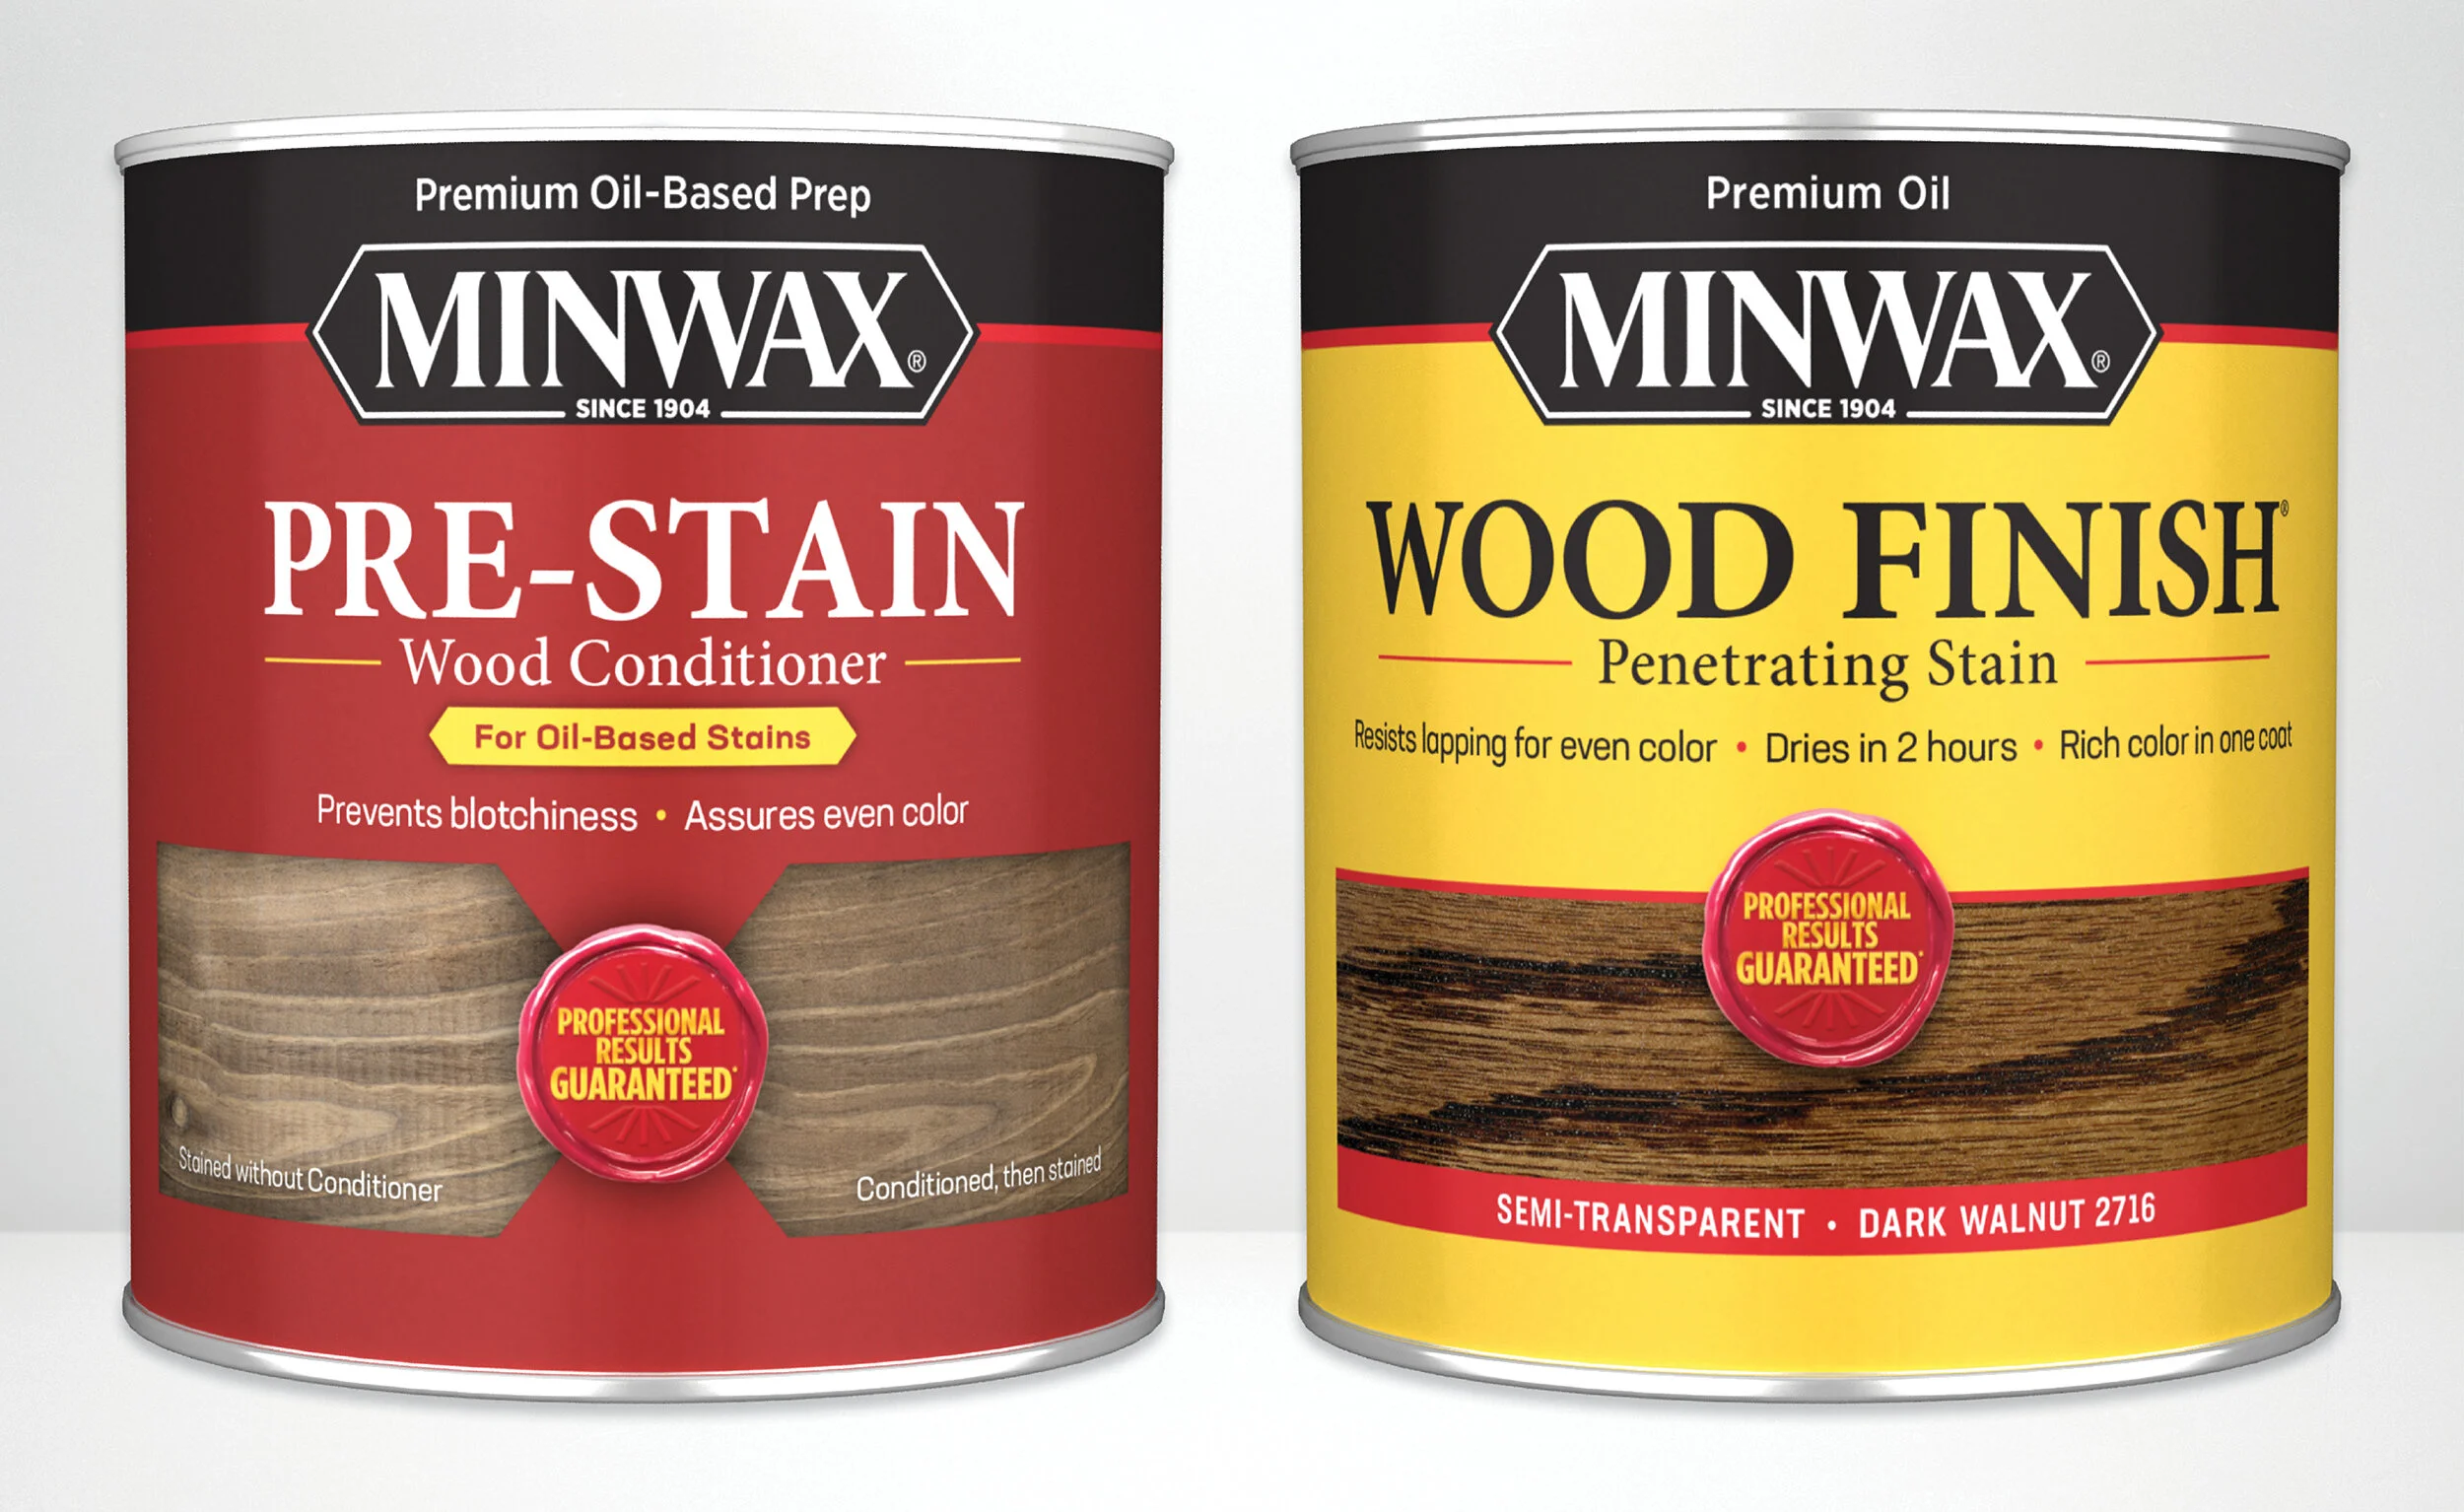
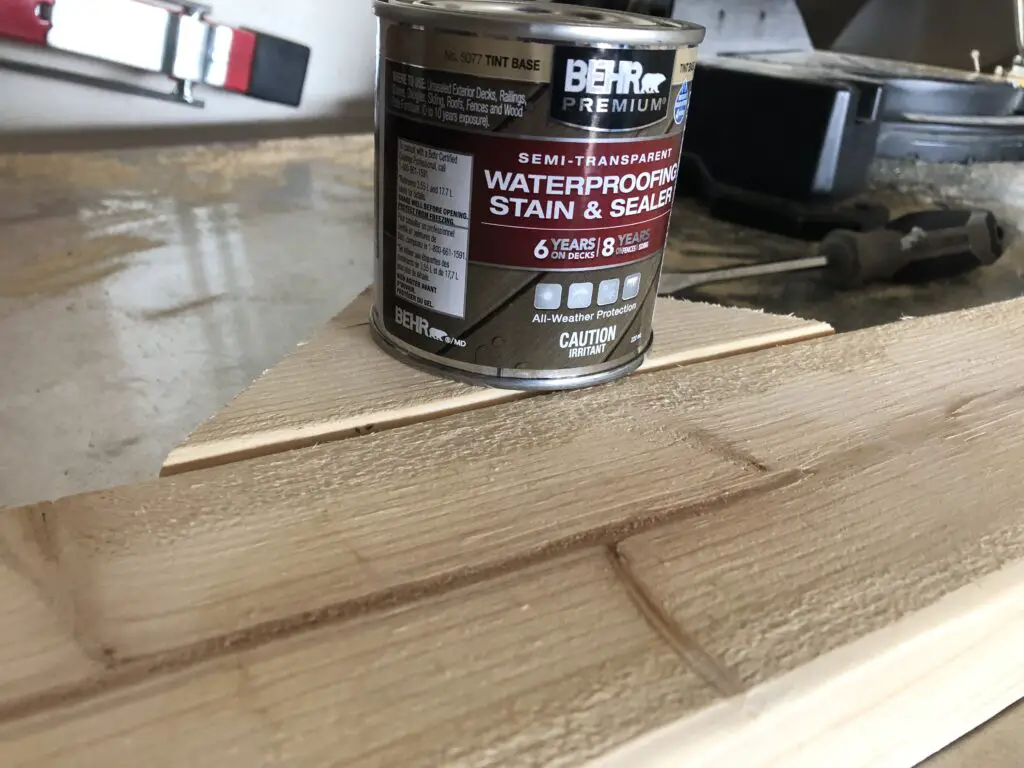
Choosing the right stain for your kitchen table is crucial in achieving the desired look and protection for your table. There are two types of stain - oil-based and water-based. Oil-based stains provide a richer and deeper color, while water-based stains are easier to clean up and have a faster drying time. Additionally, you'll want to consider the color and opacity of the stain. Dark walnut and espresso are popular options for a rich and elegant look, while golden oak and honey maple are great for a warm and inviting feel.2. Choosing the Right Stain


2. Choosing the Right Stain


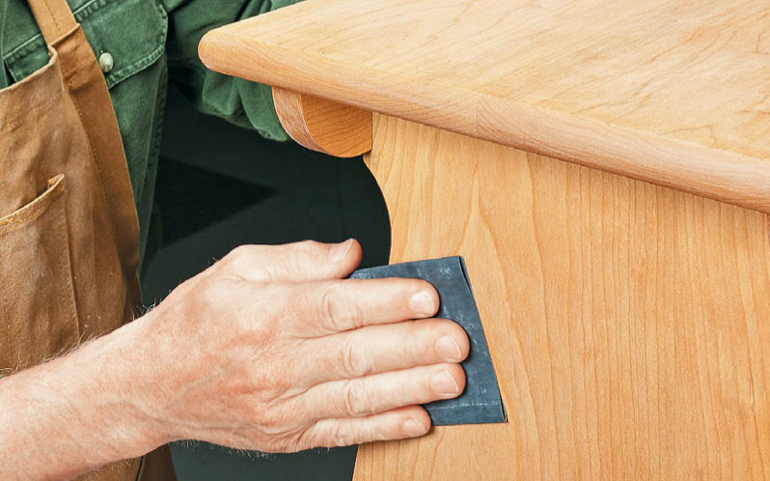
Before applying any stain, it's important to sand the table to ensure a smooth and even surface. Start with a coarse sandpaper to remove any imperfections, then switch to a finer grit to achieve a smooth finish. Make sure to sand in the direction of the wood grain to avoid any scratches or unevenness. Once you're satisfied with the smoothness of the table, wipe it clean with a tack cloth to remove any dust or debris.3. Sanding the Table


3. Sanding the Table


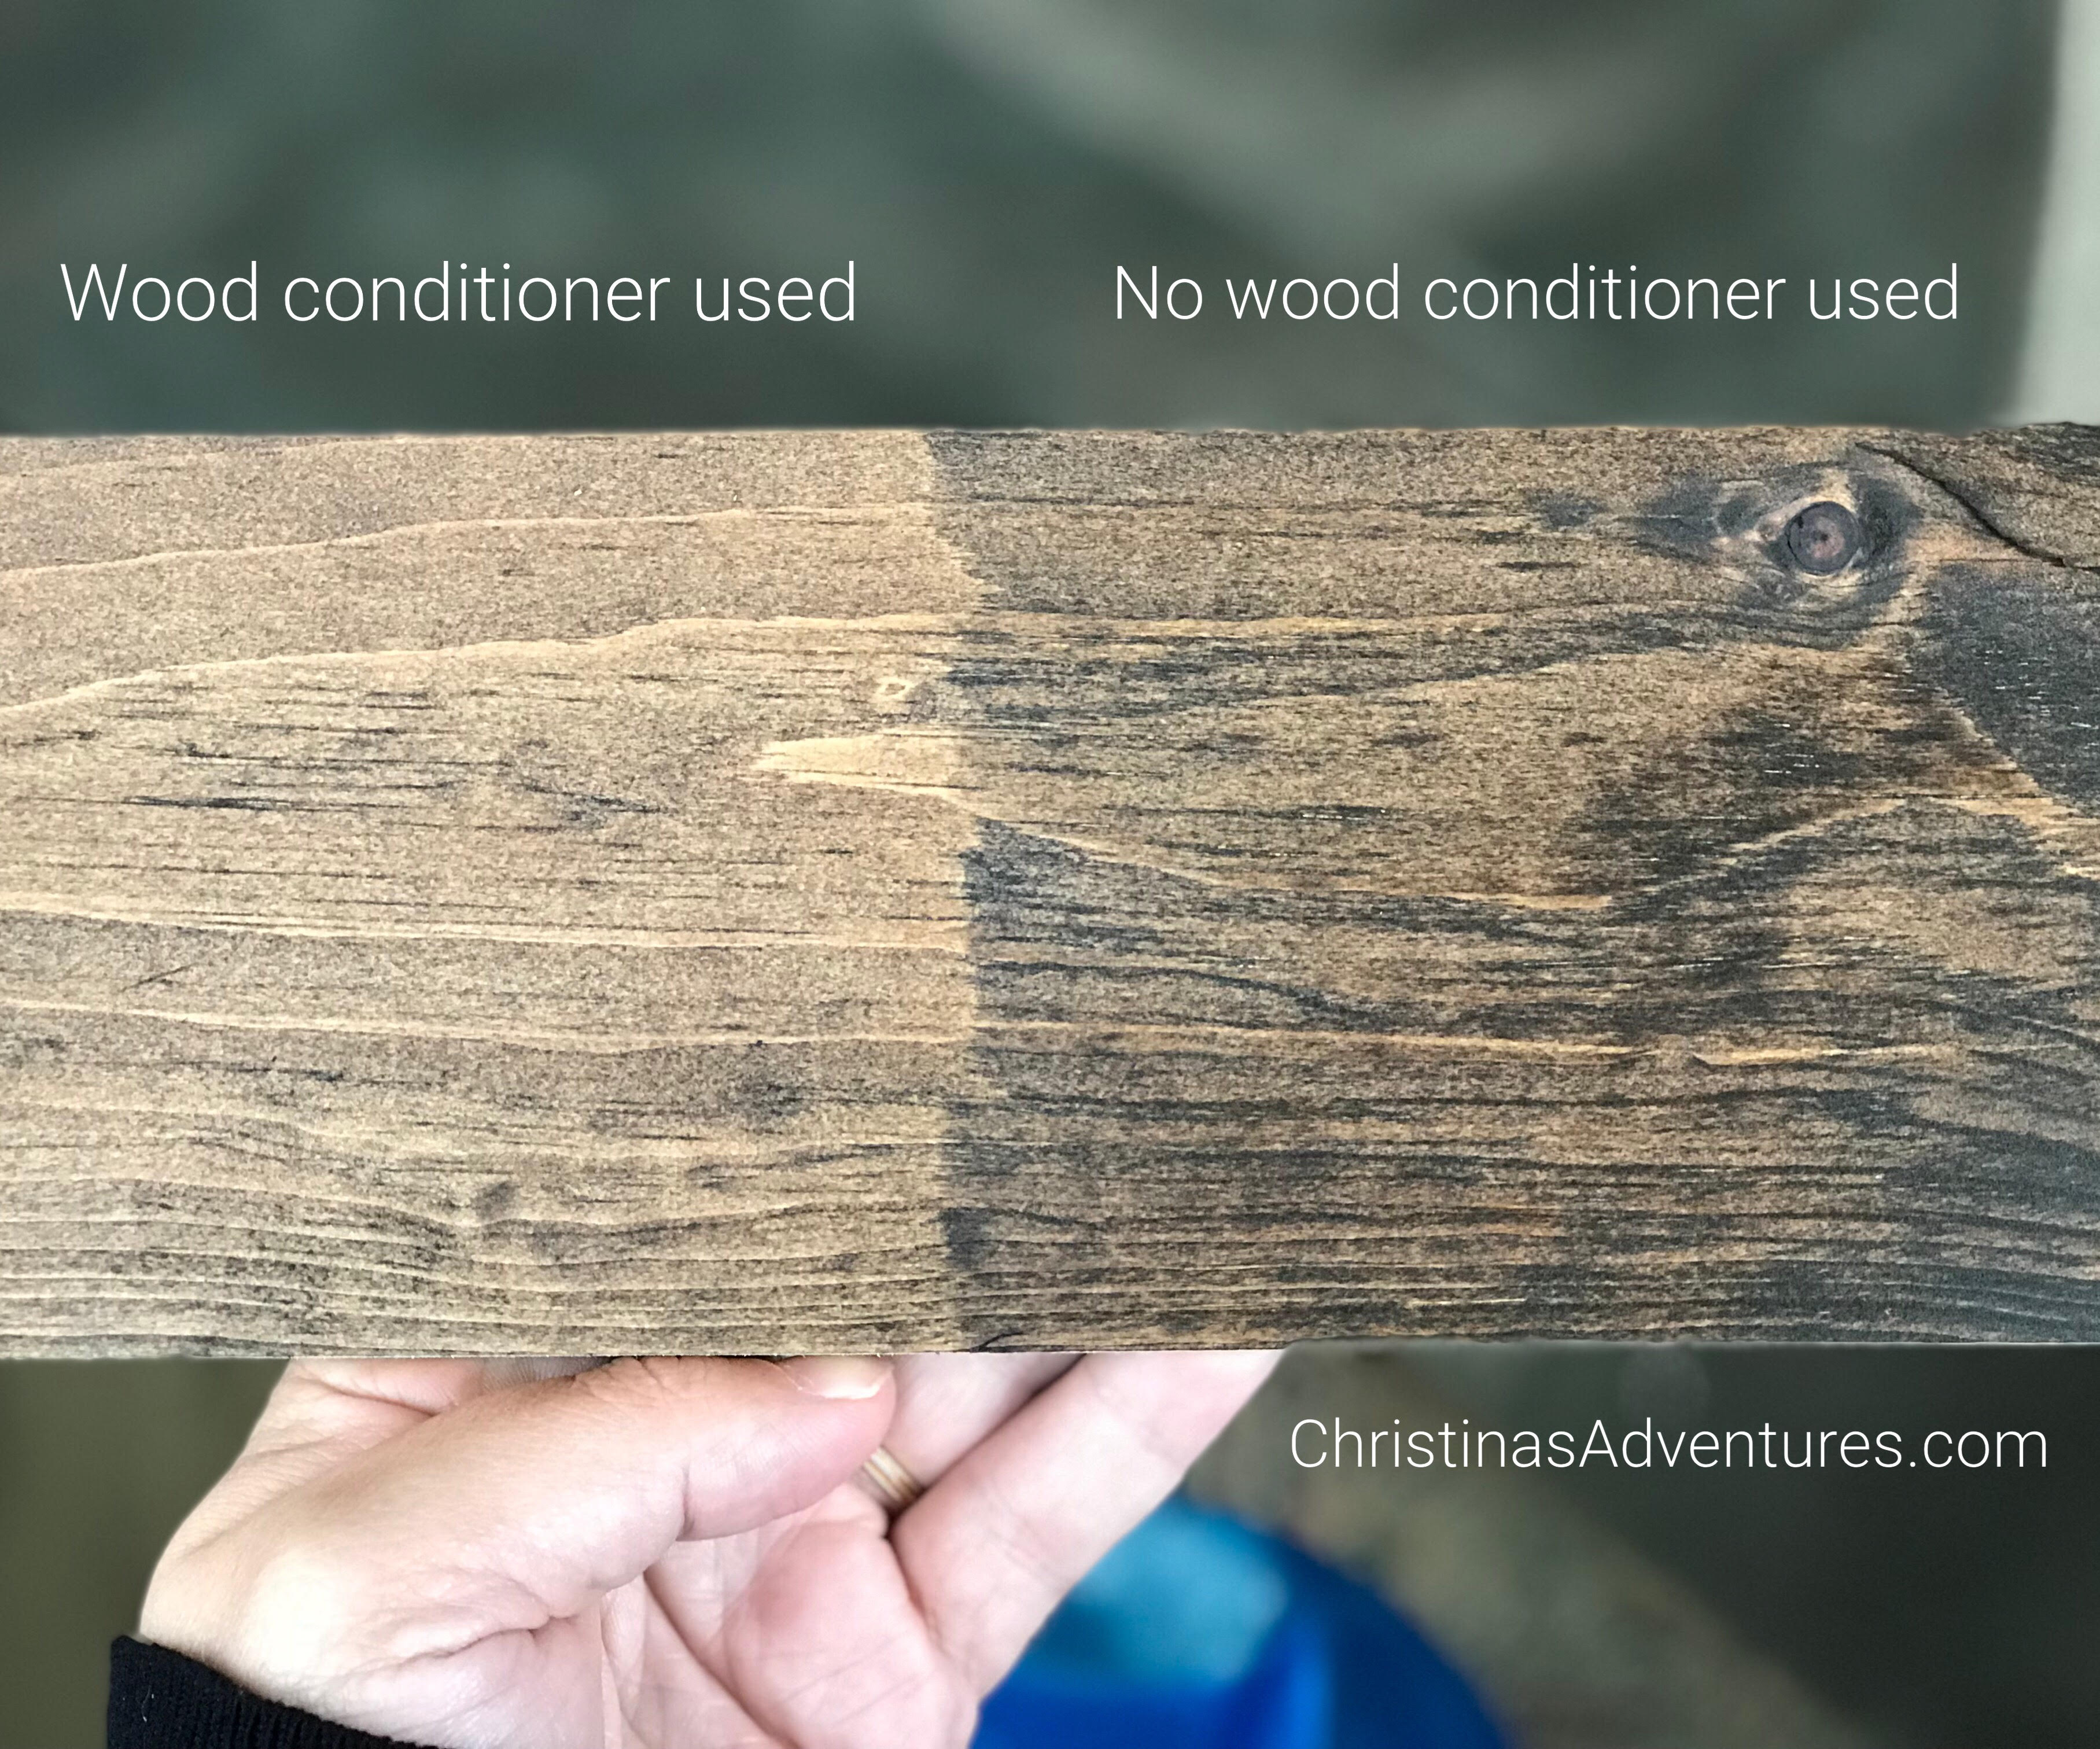
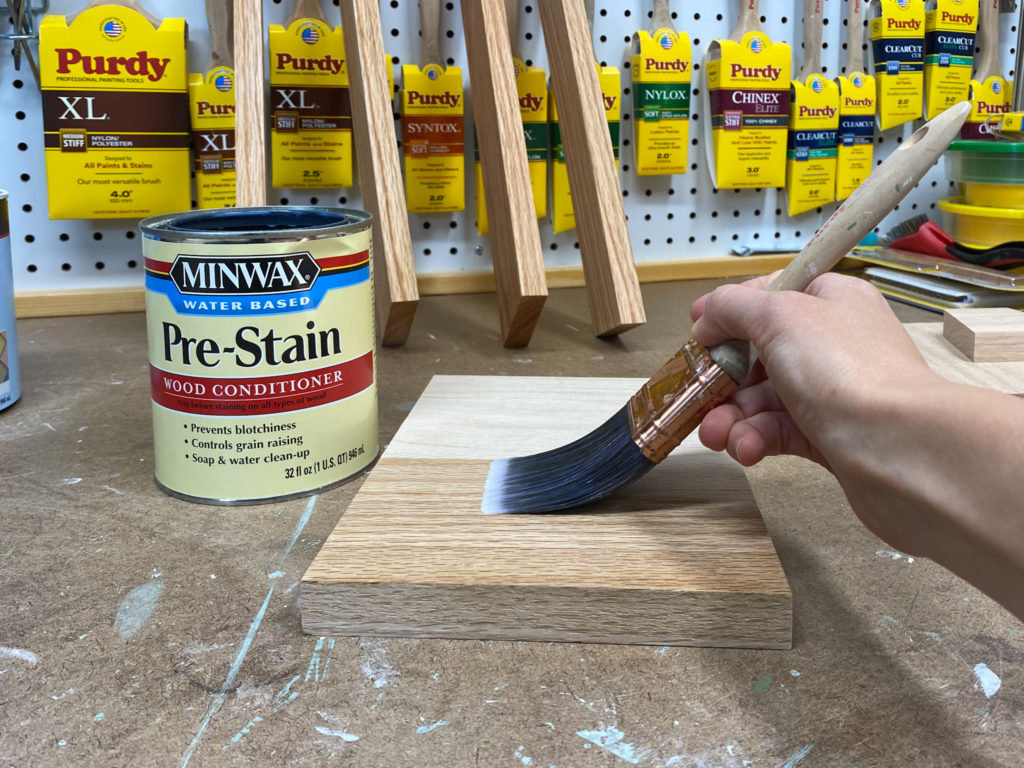
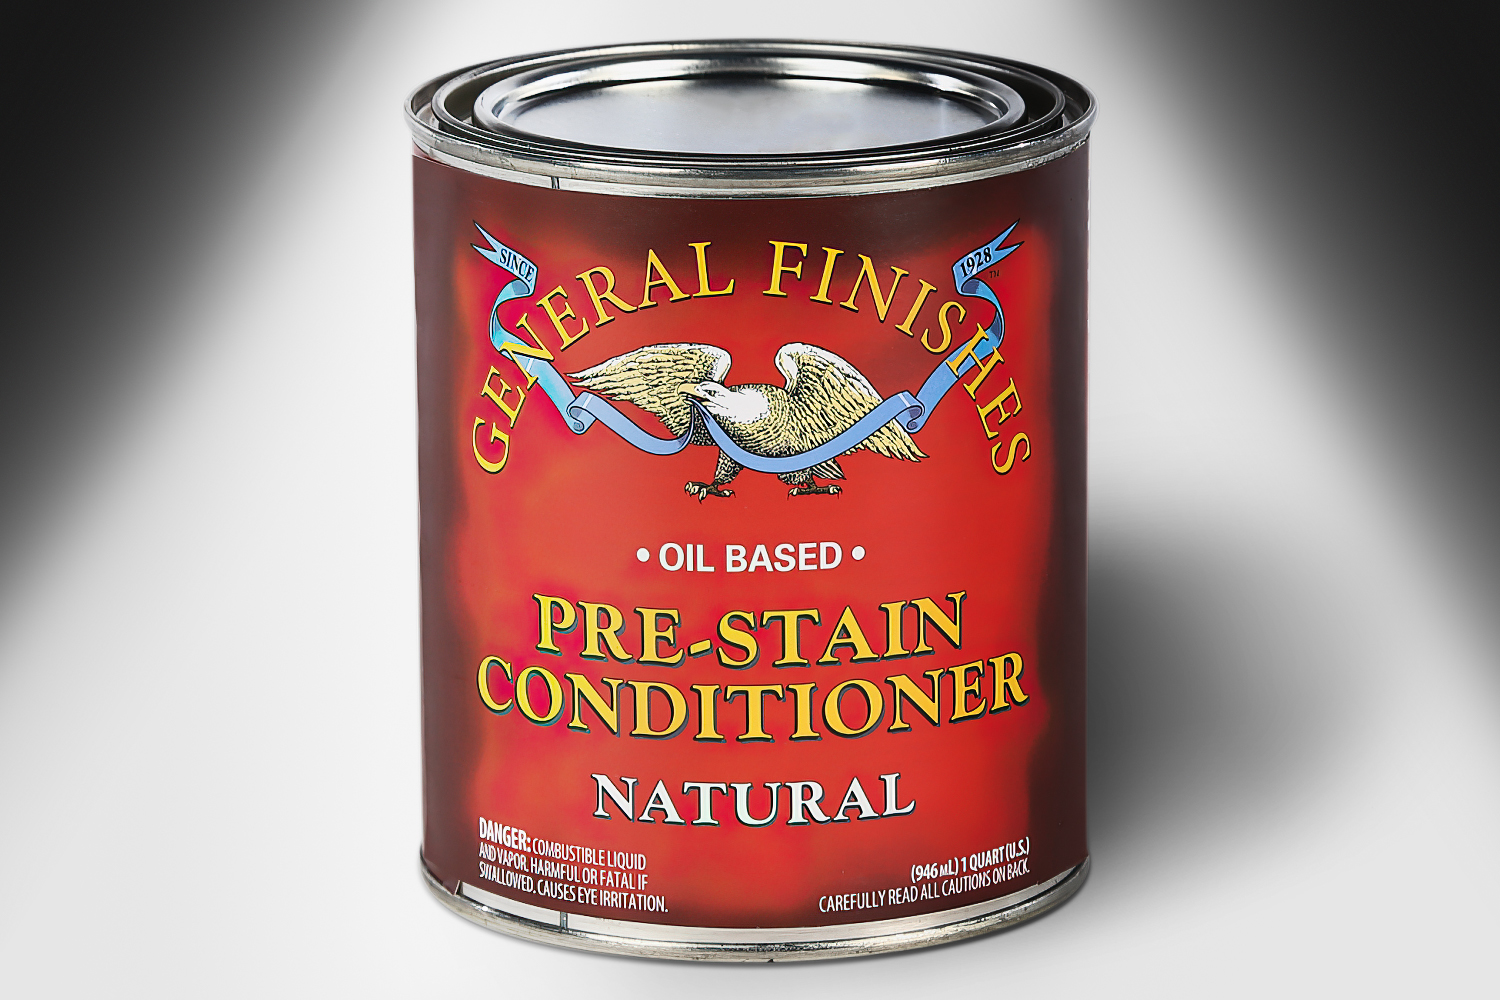
If you're working with a softwood table, it's recommended to use a pre-stain conditioner before applying the stain. This will help the wood absorb the stain more evenly and prevent any blotchiness. Simply apply the conditioner with a brush or cloth and let it sit for 15-20 minutes before wiping off any excess. If you're working with a hardwood table, you can skip this step.4. Applying Pre-Stain Conditioner

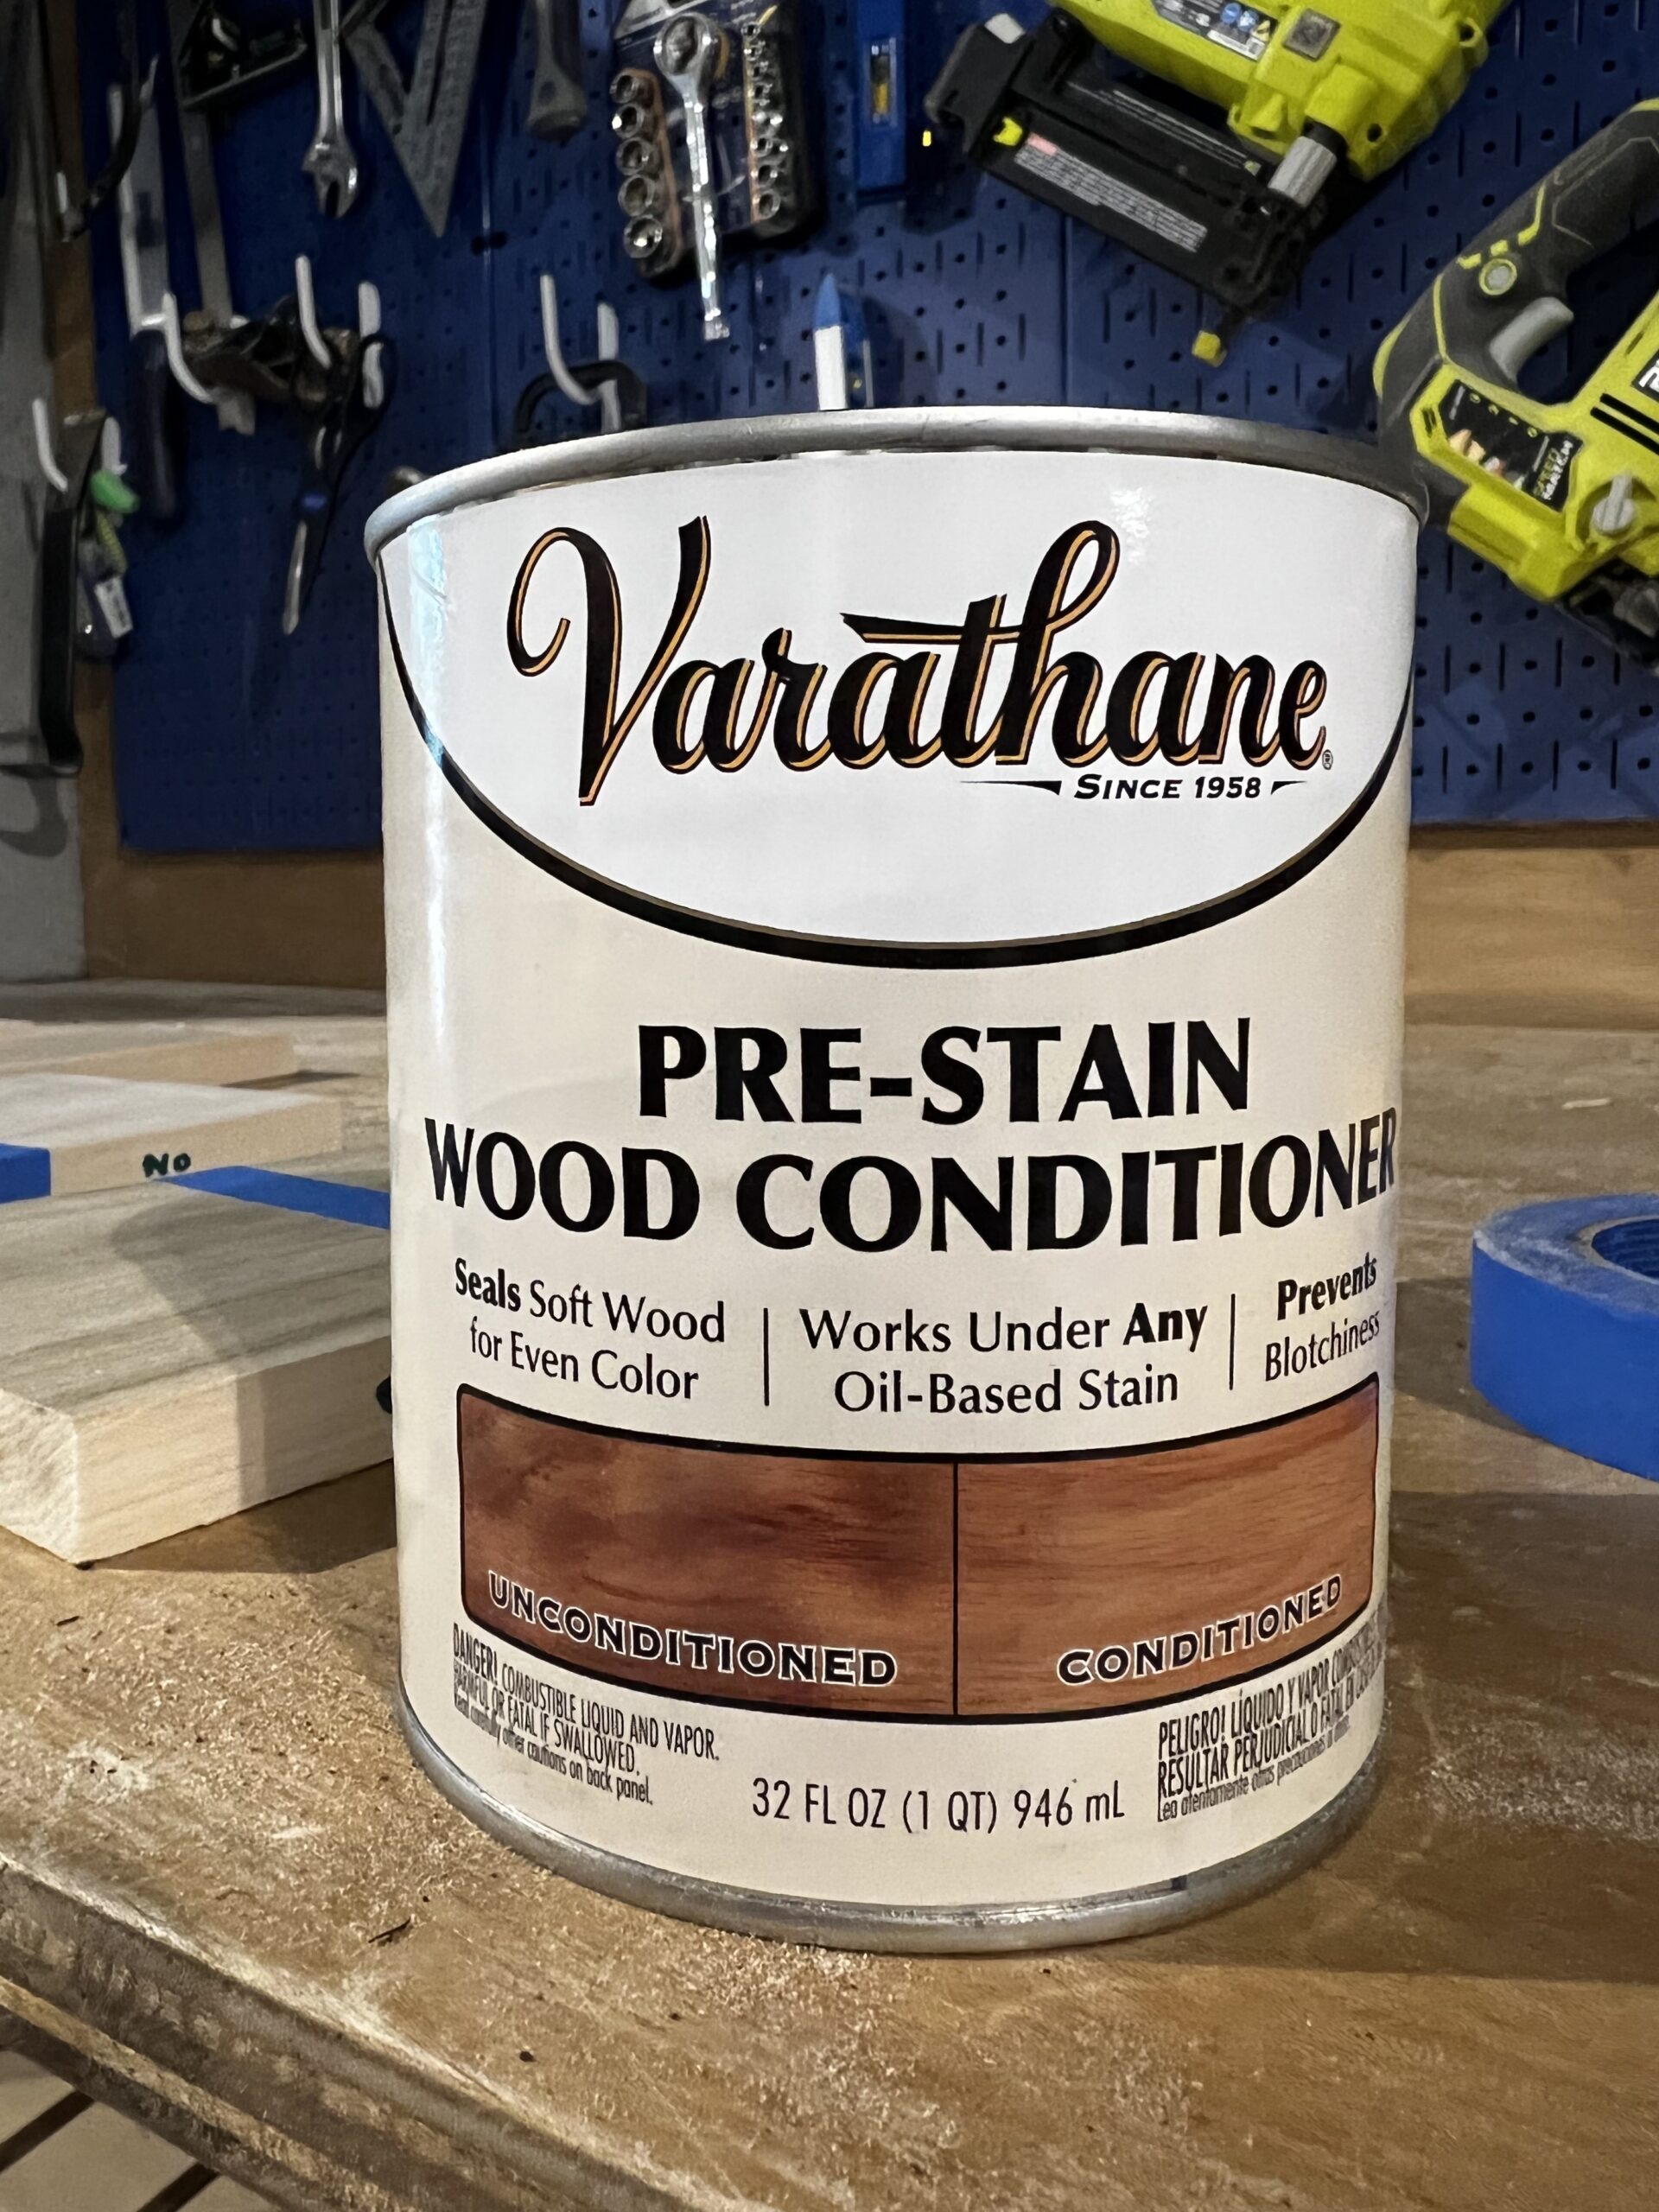
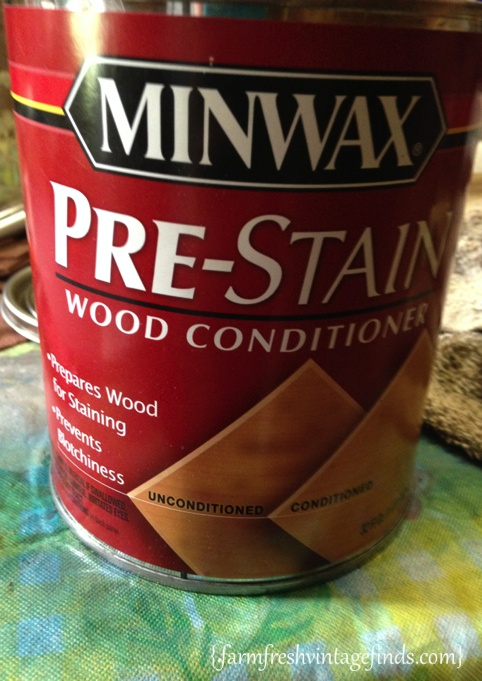
4. Applying Pre-Stain Conditioner

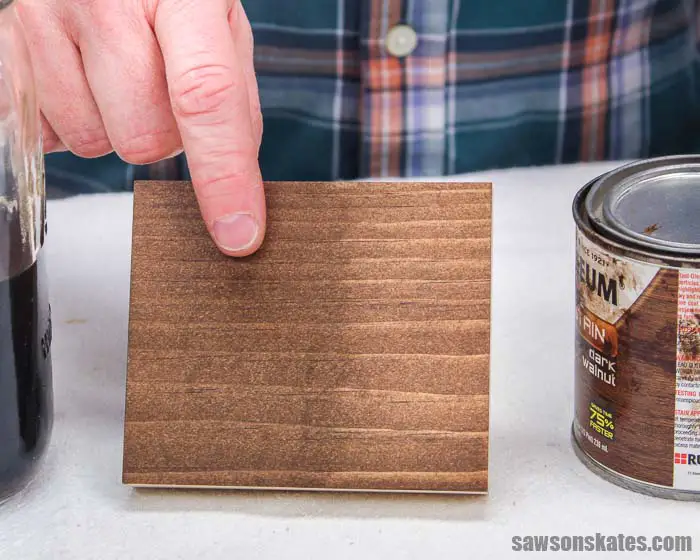
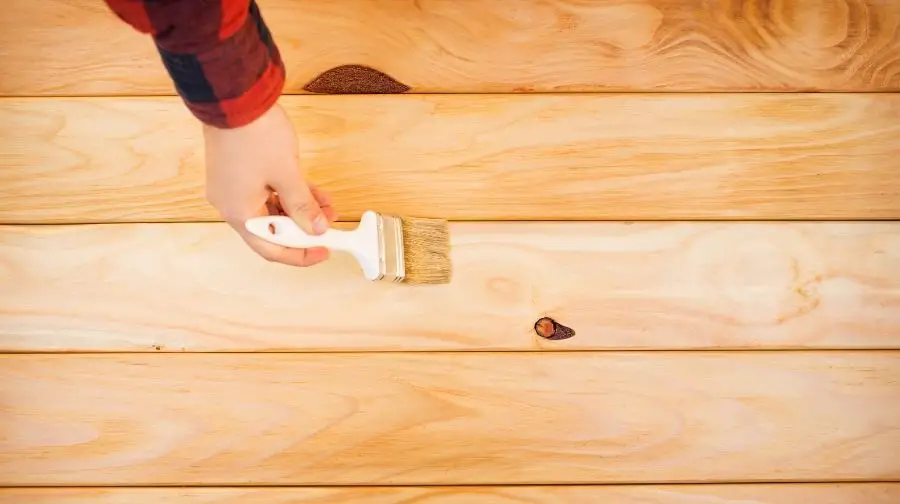


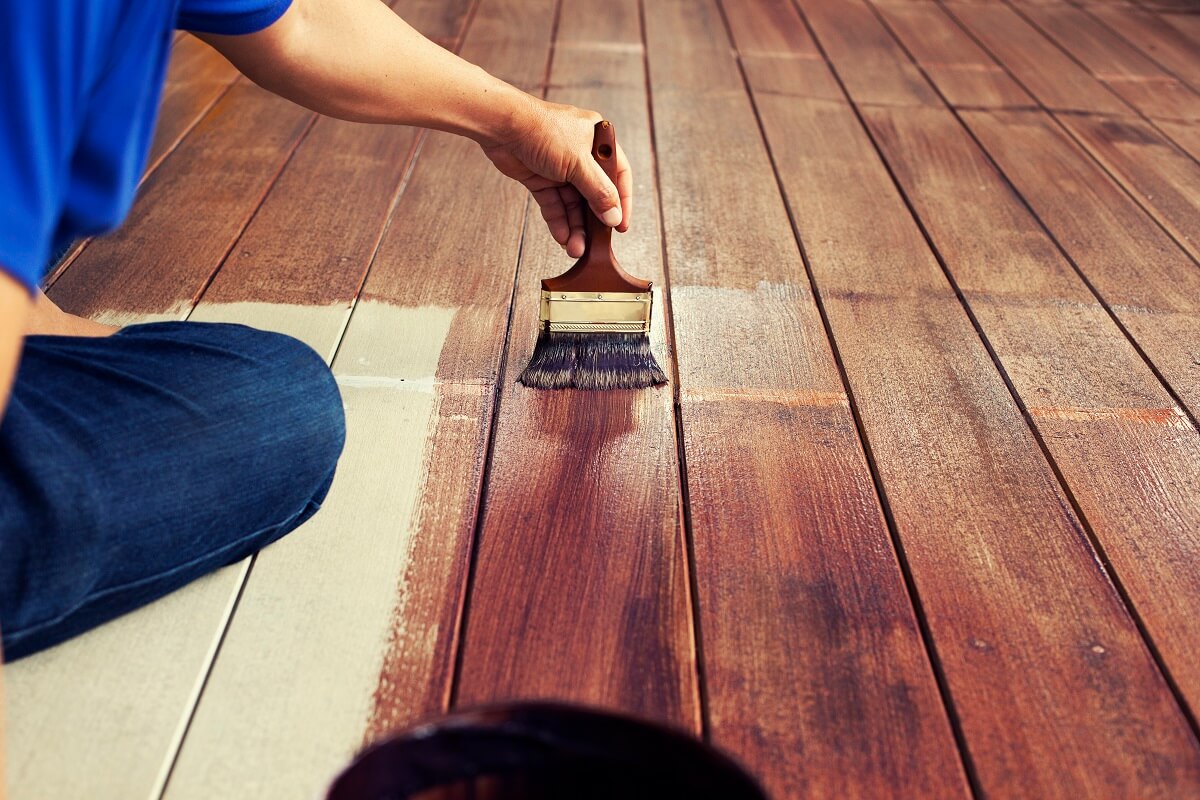
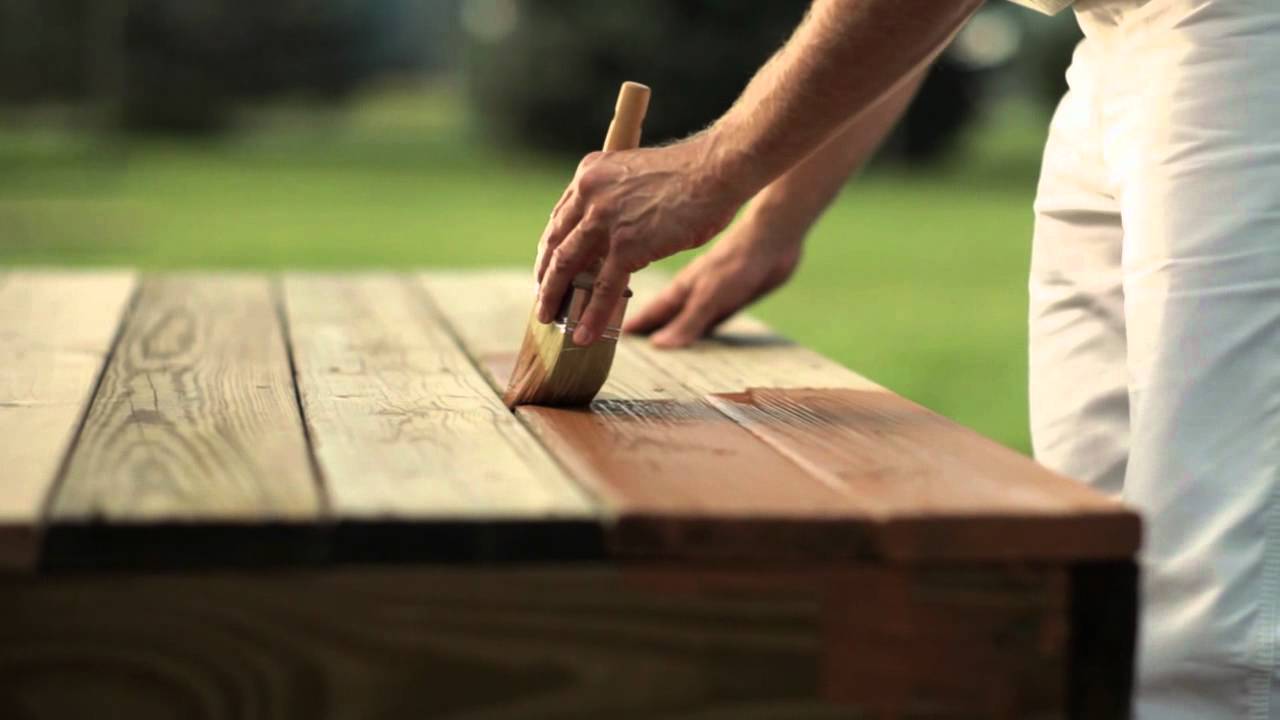
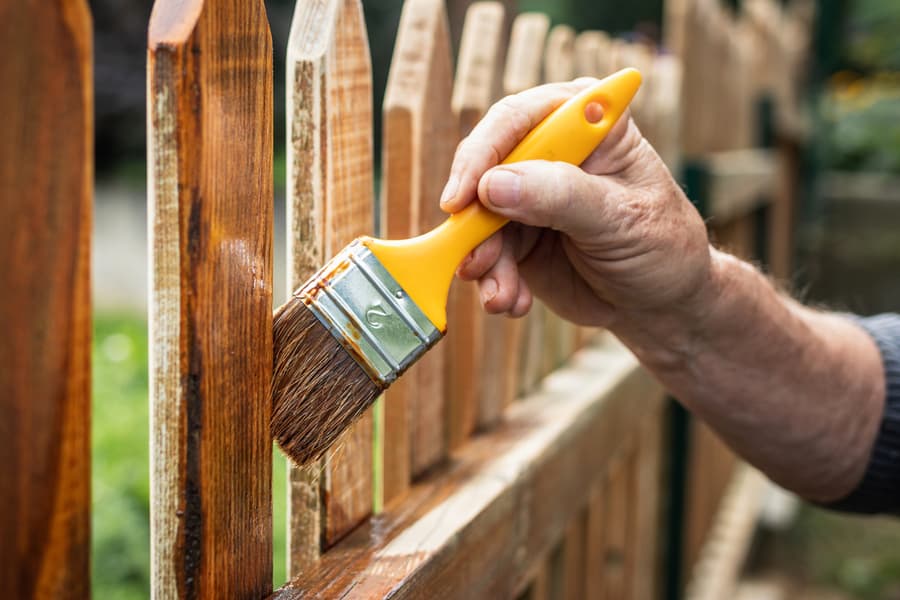
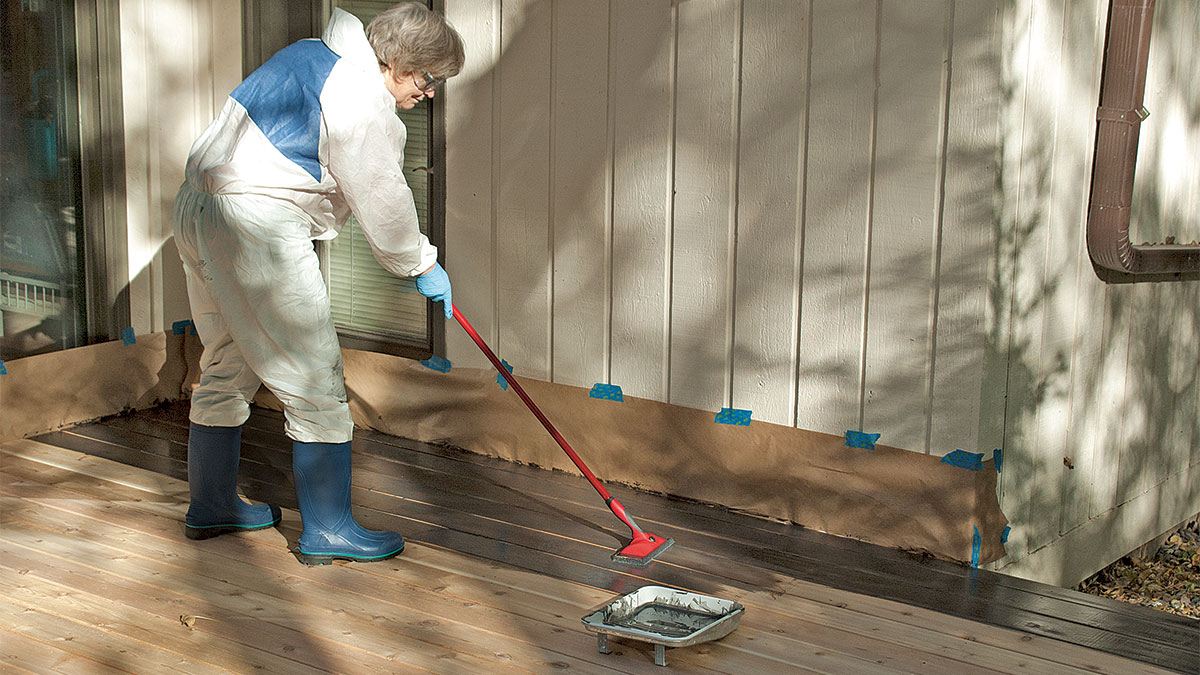
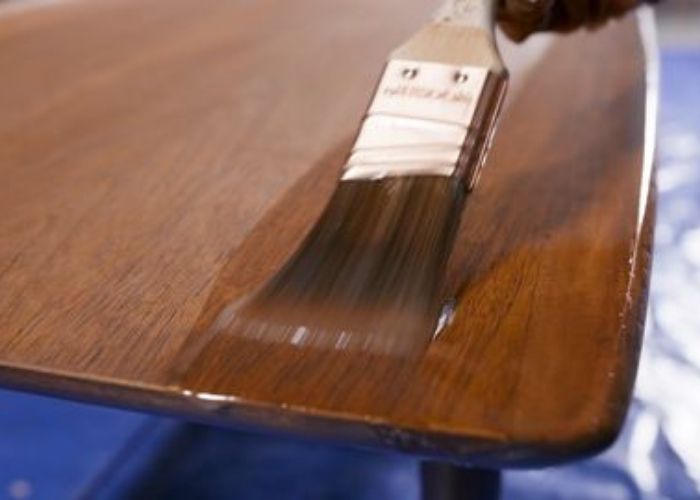
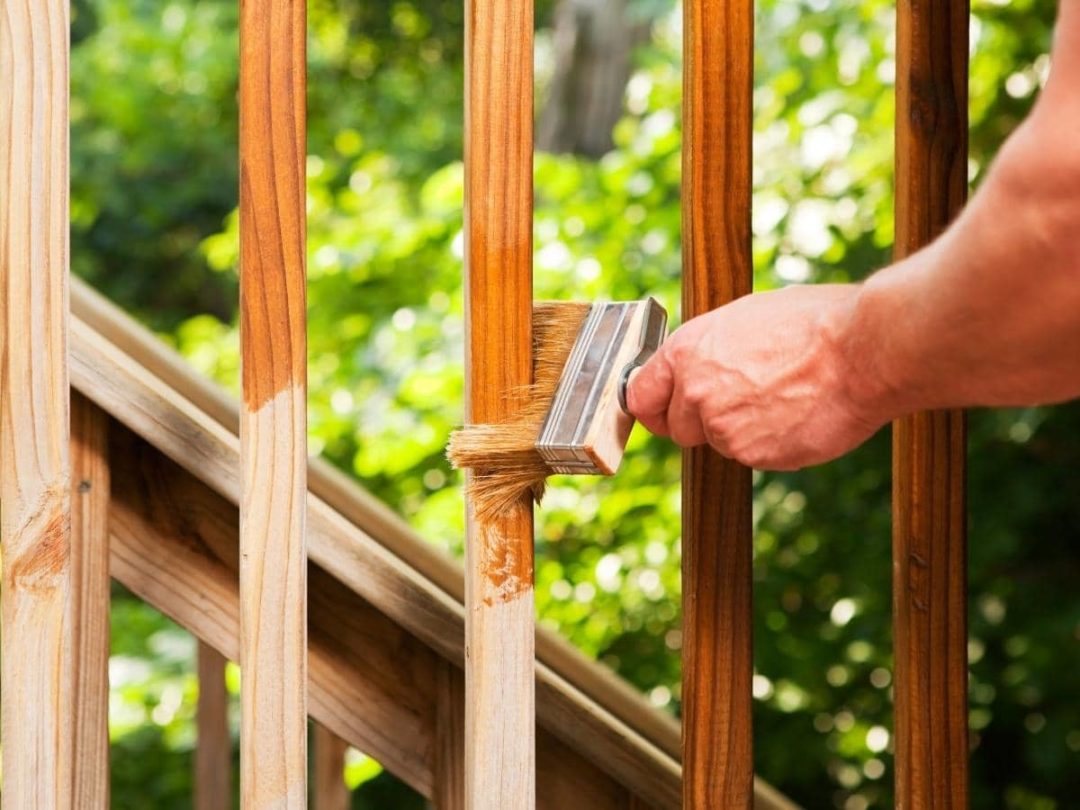
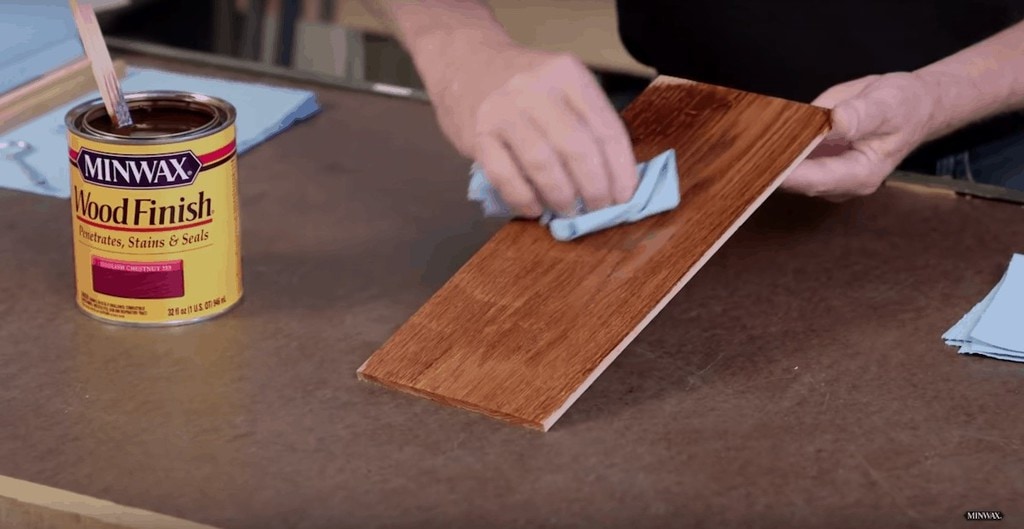
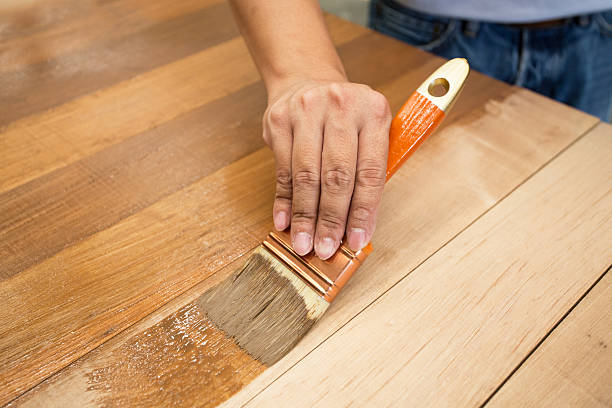
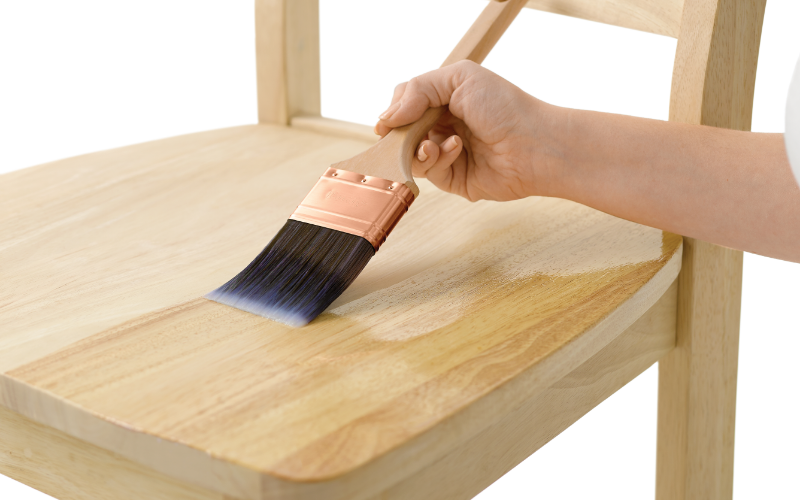
Now it's time to apply the stain to your kitchen table. You can use a brush, cloth, or sponge to apply the stain, depending on your preference. Be sure to work in the direction of the wood grain and apply an even coat. You can always add more layers for a darker color, but it's difficult to lighten the color once it's applied. Dark walnut and espresso stains typically require only one coat, while lighter stains may require multiple coats for a more vibrant color.5. Applying the Stain


5. Applying the Stain

/staining-wood-bench-113193782-57cef4ab3df78c71b64ebd87.jpg)
/applying-glaze-with-brush-on-wooden-bench-partial-view-515028873-57c9ac943df78c71b6394fb6.jpg)


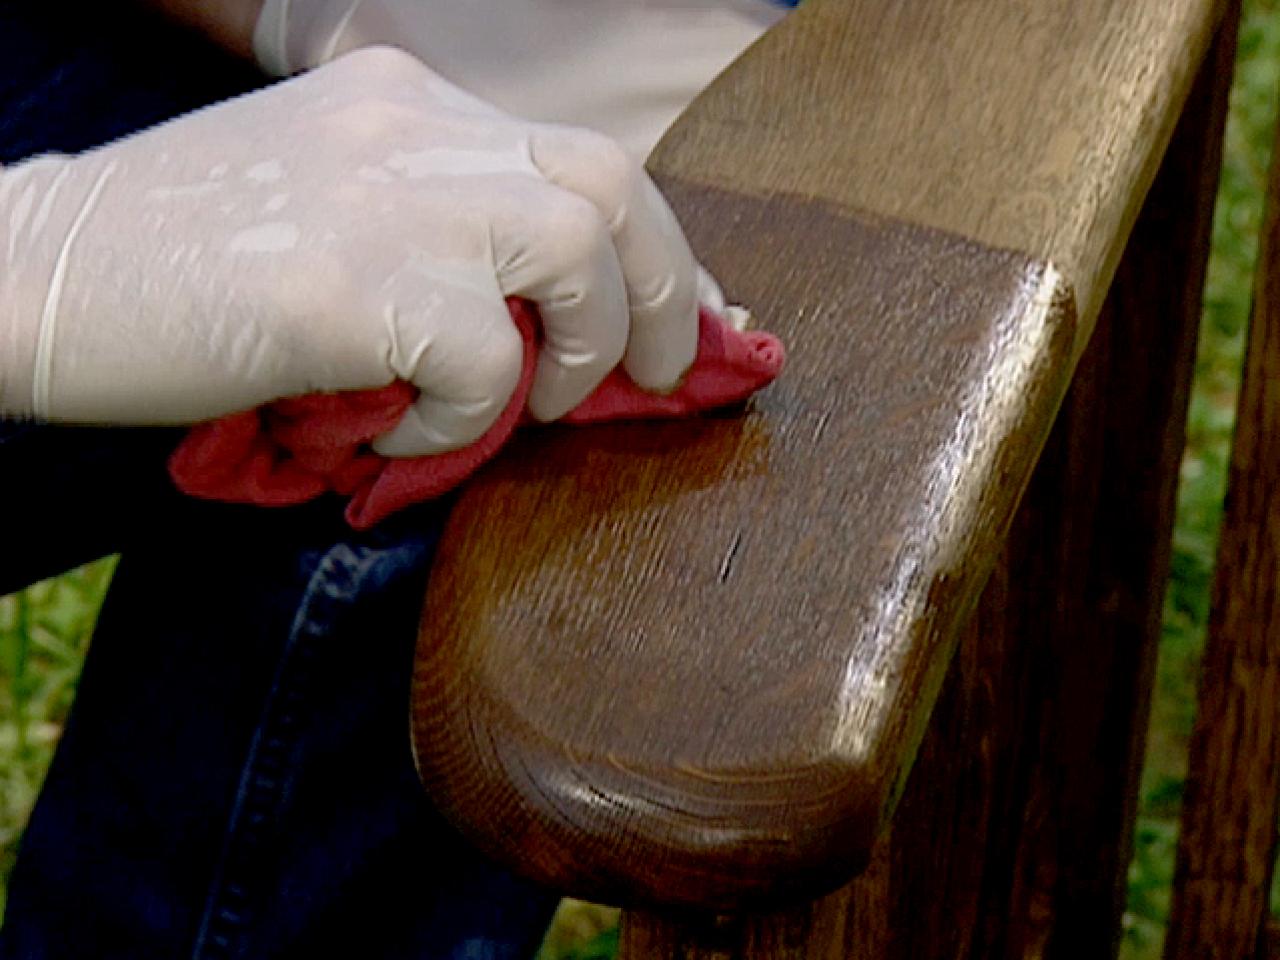
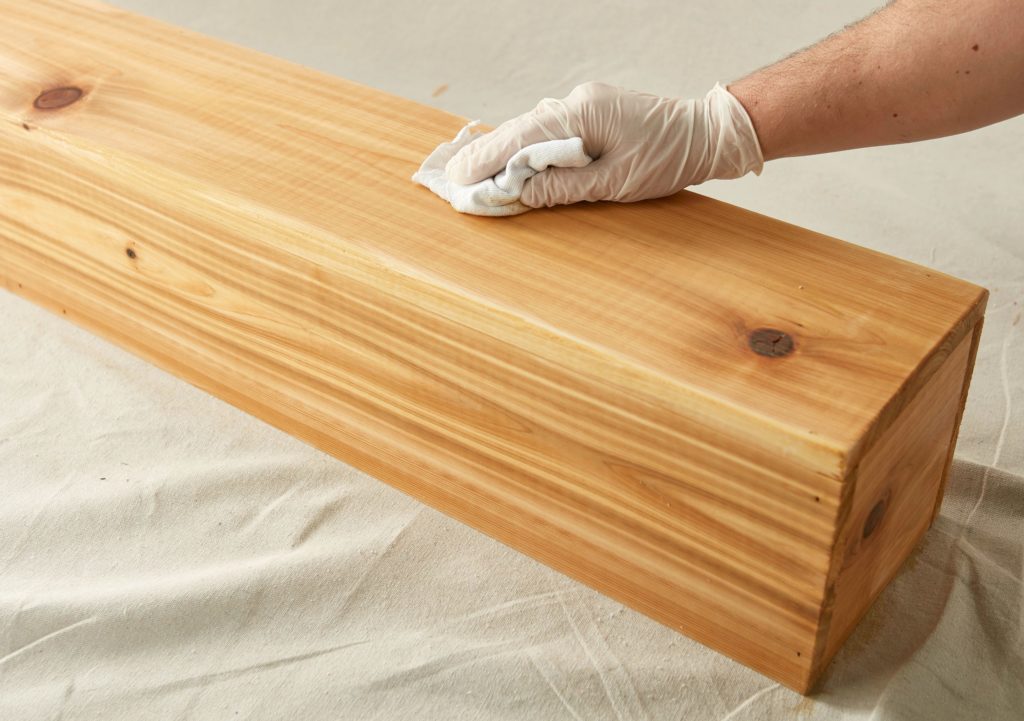
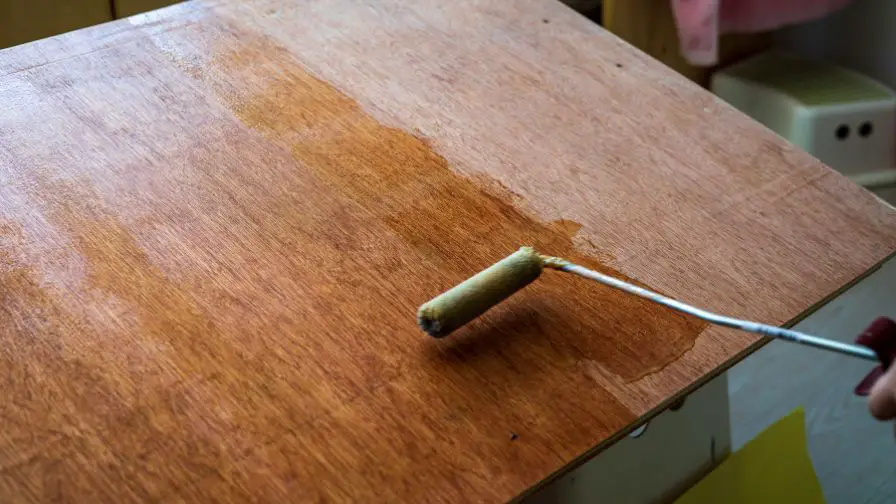
After applying the stain, let it sit for a few minutes before wiping off any excess with a clean cloth. This will prevent the stain from becoming too dark or blotchy. Make sure to wipe in the direction of the wood grain to avoid any streaks or unevenness. You can also use a dry brush to remove any excess stain in crevices or corners.6. Wiping Off Excess Stain


6. Wiping Off Excess Stain

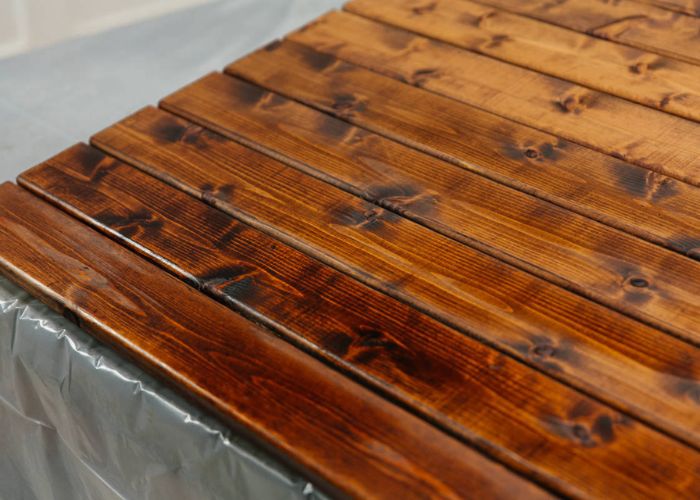


If you're looking for a deeper and richer color, you can apply a second coat of stain once the first coat is completely dry. Make sure to lightly sand the surface with a fine grit sandpaper between coats to achieve a smooth finish. Just like the first coat, make sure to wipe off any excess stain and let it dry completely before moving on to the next step.7. Applying a Second Coat (Optional)


7. Applying a Second Coat (Optional)


After applying the final coat of stain, it's important to let it dry completely before moving on to the next step. This can take anywhere from 24 hours to a few days, depending on the type and brand of stain used. Make sure the room is well-ventilated and there is no direct sunlight on the table during the drying process.8. Letting the Stain Dry


8. Letting the Stain Dry


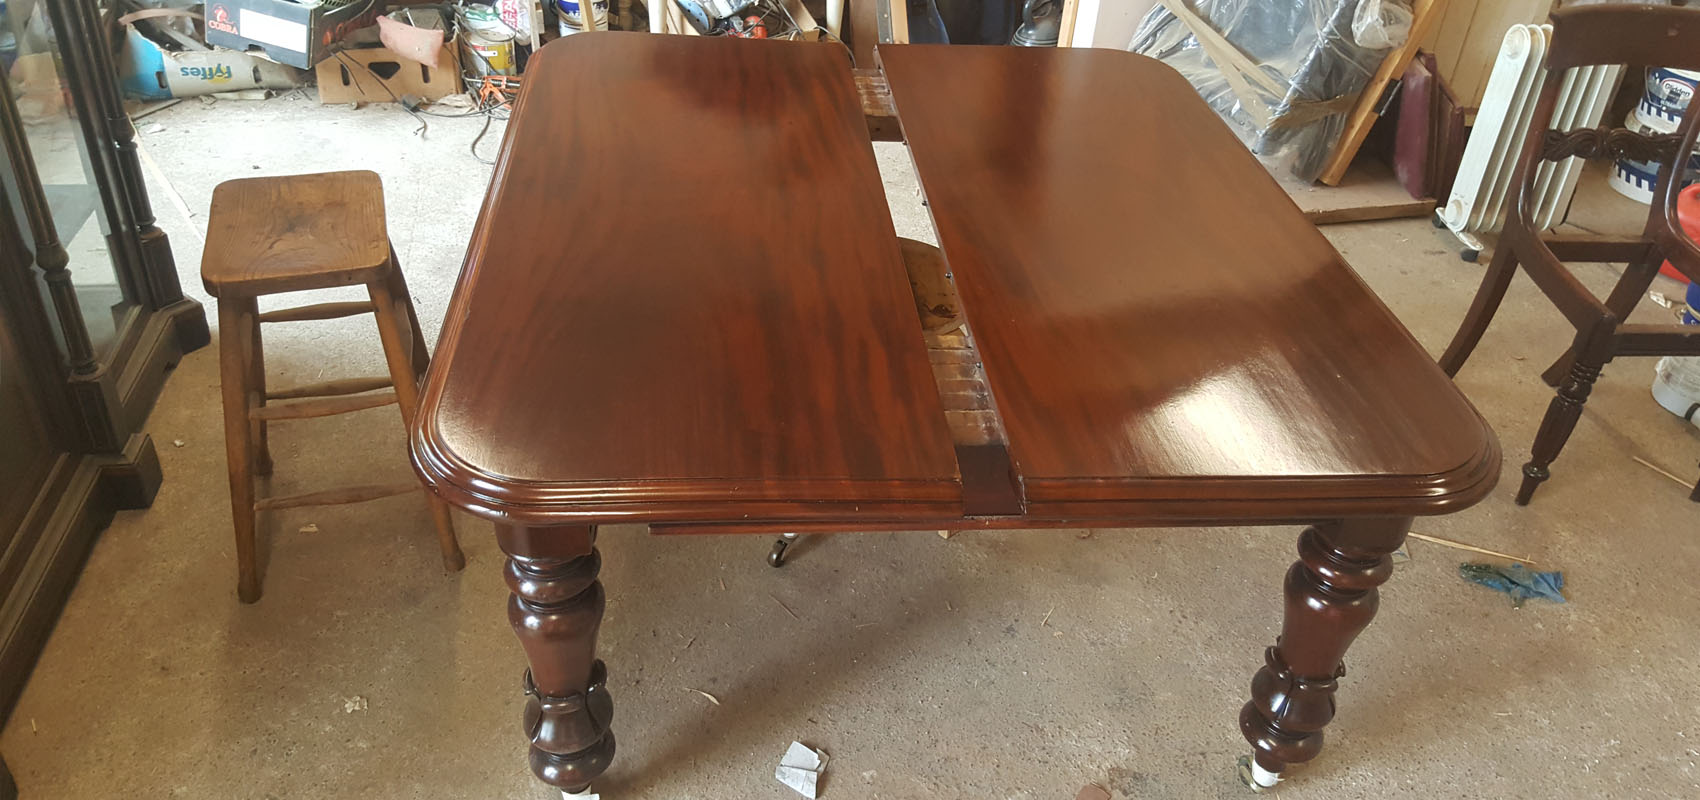
Once the stain is completely dry, it's important to protect it with a finish to prevent any damage or wear over time. You can choose between a polyurethane, varnish, or wax finish, depending on your preference. Apply the finish with a brush or cloth, making sure to cover the entire surface evenly. Let it dry completely before moving on to the final step.9. Applying a Protective Finish
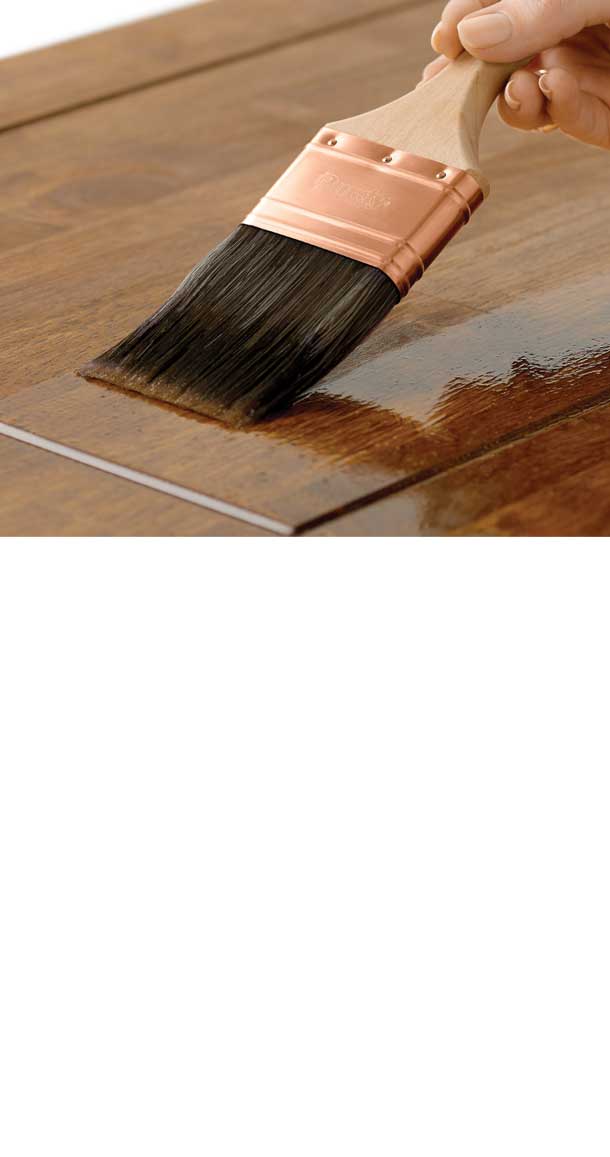


9. Applying a Protective Finish


Lastly, for a professional and polished look, you can buff and polish your kitchen table to a shine. You can use a polishing compound and a soft cloth to buff the table in the direction of the wood grain. This will help remove any small imperfections and enhance the color of the stain. Once you're satisfied with the shine, you can enjoy your newly stained kitchen table! Staining a kitchen table is a simple and cost-effective way to give your old table a new and refreshed look. With the right preparation and techniques, you can achieve a beautiful and durable finish that will last for years to come. So roll up your sleeves and get ready to transform your kitchen table into a stunning centerpiece!10. Buffing and Polishing the Table


10. Buffing and Polishing the Table


How to Achieve a Perfect Stain on Your Kitchen Table

Preparing Your Table for Staining
 Once you have chosen the
best stain for your kitchen table
, it's time to prepare the surface for application. Start by sanding down the entire table with a medium grit sandpaper. This will help to remove any existing finish and create a smooth, even surface for the stain to adhere to. Be sure to sand in the direction of the wood grain to avoid creating any scratches.
After sanding, clean the table thoroughly with a damp cloth to remove any dust or debris. This step is crucial for achieving a smooth, professional-looking finish. Any dirt or dust left on the table can affect the absorption of the stain and create an uneven finish.
Once you have chosen the
best stain for your kitchen table
, it's time to prepare the surface for application. Start by sanding down the entire table with a medium grit sandpaper. This will help to remove any existing finish and create a smooth, even surface for the stain to adhere to. Be sure to sand in the direction of the wood grain to avoid creating any scratches.
After sanding, clean the table thoroughly with a damp cloth to remove any dust or debris. This step is crucial for achieving a smooth, professional-looking finish. Any dirt or dust left on the table can affect the absorption of the stain and create an uneven finish.
Applying the Stain
 Before applying the stain, it's important to test it on a small, inconspicuous area of the table to ensure that you are happy with the color. Once you are satisfied with the test spot, use a clean cloth or brush to apply the stain in the direction of the wood grain. Be sure to work in small sections, wiping away any excess stain as you go.
For a deeper, richer color, you may need to apply multiple coats of stain. Allow each coat to dry completely before applying the next. Remember to always wipe away any excess stain to avoid a tacky or sticky finish.
Before applying the stain, it's important to test it on a small, inconspicuous area of the table to ensure that you are happy with the color. Once you are satisfied with the test spot, use a clean cloth or brush to apply the stain in the direction of the wood grain. Be sure to work in small sections, wiping away any excess stain as you go.
For a deeper, richer color, you may need to apply multiple coats of stain. Allow each coat to dry completely before applying the next. Remember to always wipe away any excess stain to avoid a tacky or sticky finish.
Finishing Touches
 Once the final coat of stain is completely dry, you can add a protective top coat to your kitchen table. This will not only protect the stain from wear and tear, but it will also give the table a beautiful, glossy finish. There are various options for a top coat, such as polyurethane, varnish, or wax. Be sure to read the instructions carefully and apply the top coat in a well-ventilated area.
In conclusion,
staining your kitchen table
is a great way to update and enhance the look of your kitchen. With these tips, you can achieve a perfect stain that will not only protect your table but also add a touch of warmth and beauty to your home. Remember to always prepare your table properly, apply the stain in the direction of the wood grain, and add a protective top coat for a professional finish. Bring new life to your kitchen table with a fresh and beautiful stain.
Once the final coat of stain is completely dry, you can add a protective top coat to your kitchen table. This will not only protect the stain from wear and tear, but it will also give the table a beautiful, glossy finish. There are various options for a top coat, such as polyurethane, varnish, or wax. Be sure to read the instructions carefully and apply the top coat in a well-ventilated area.
In conclusion,
staining your kitchen table
is a great way to update and enhance the look of your kitchen. With these tips, you can achieve a perfect stain that will not only protect your table but also add a touch of warmth and beauty to your home. Remember to always prepare your table properly, apply the stain in the direction of the wood grain, and add a protective top coat for a professional finish. Bring new life to your kitchen table with a fresh and beautiful stain.