Unscrewing a bathroom sink drain may seem like a daunting task, but it is actually a simple process that can save you time and money. Whether you are dealing with a clogged drain or need to replace your old drain, knowing how to unscrew it is an essential skill for any homeowner. In this article, we will guide you through the steps of unscrewing a bathroom sink drain and provide you with some useful tips to make the process easier.How to Unscrew a Bathroom Sink Drain


How to Unscrew a Bathroom Sink Drain


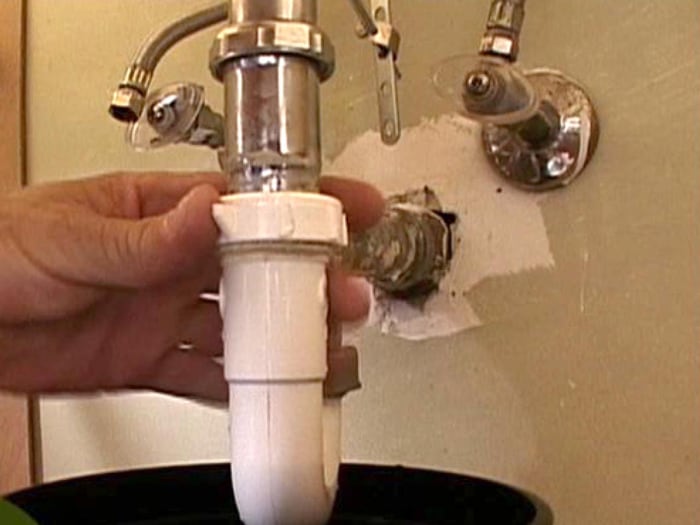
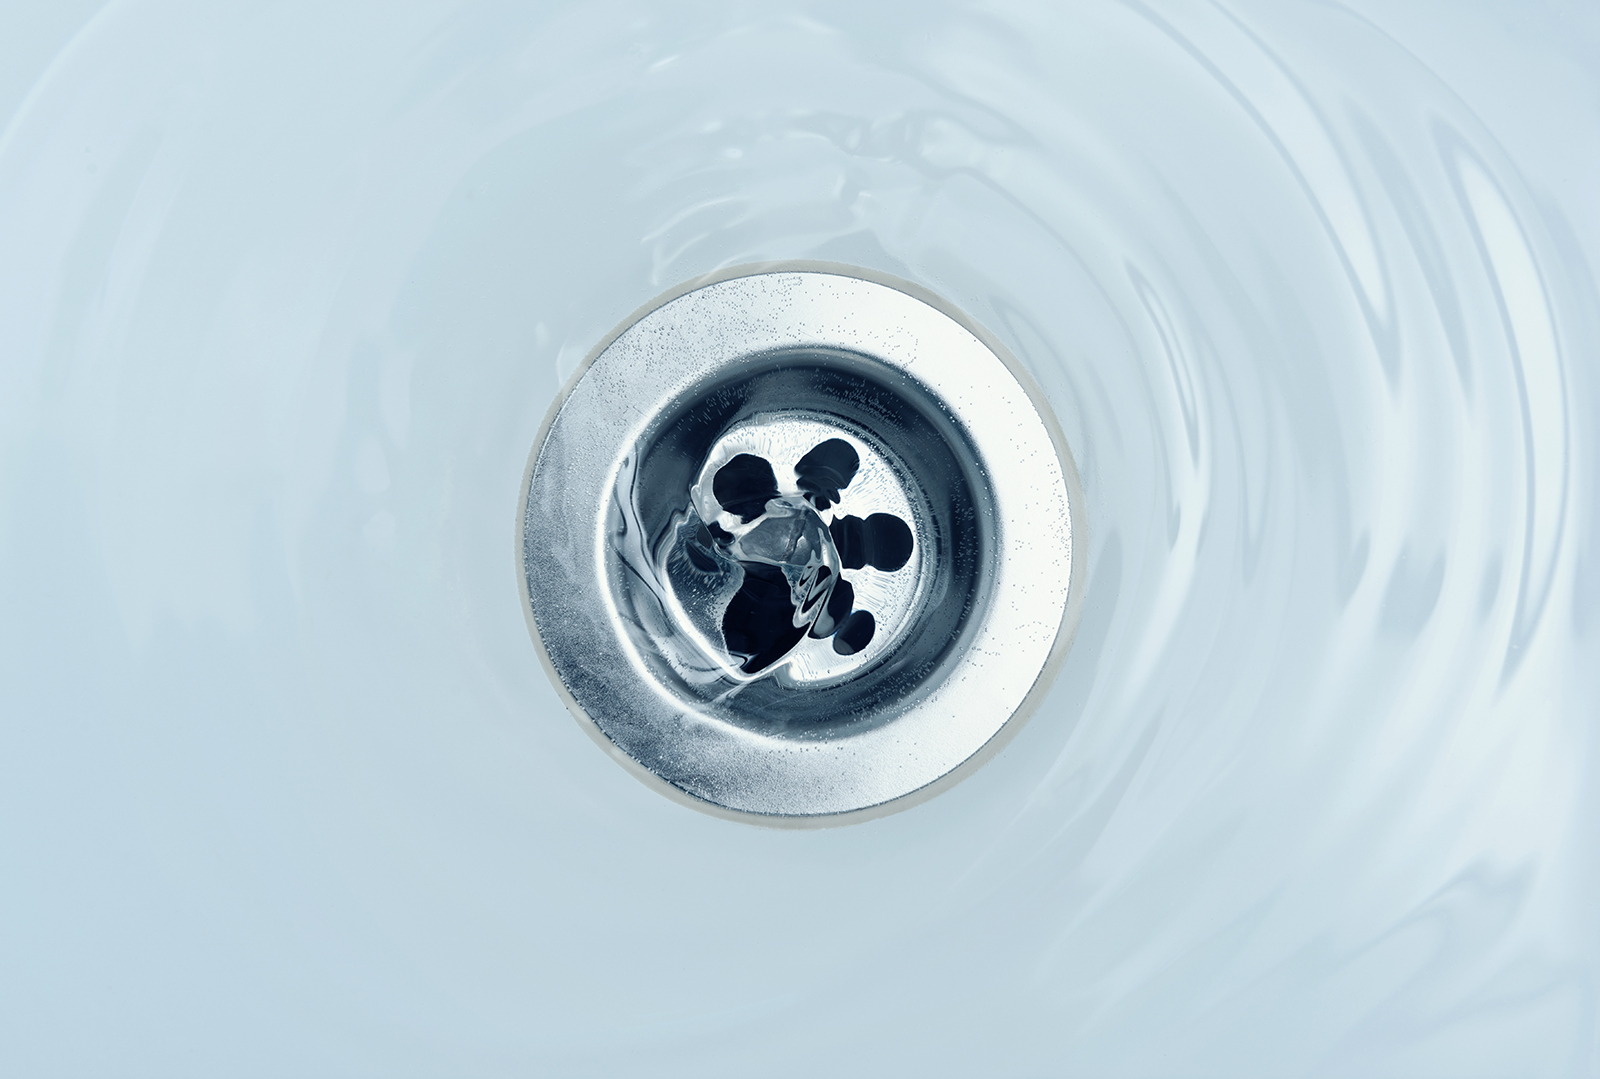
The first step in unscrewing a bathroom sink drain is to remove the drain cover. This can usually be done by twisting it counterclockwise or by using a flathead screwdriver to pry it off. Once the cover is removed, you will see the drain body, which is the part that connects to the pipes beneath the sink.How to Remove a Bathroom Sink Drain


How to Remove a Bathroom Sink Drain


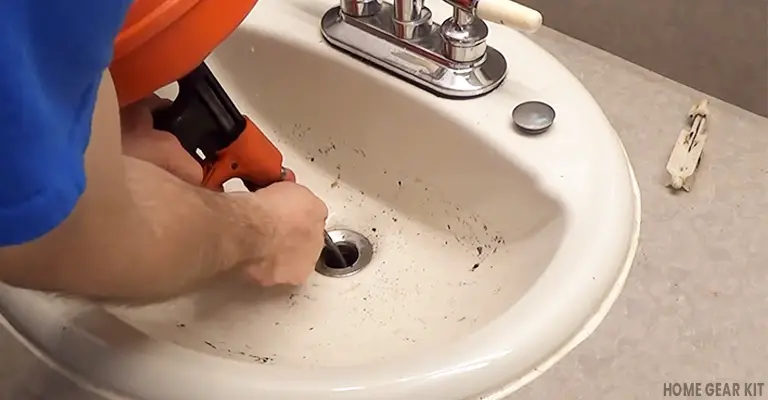
Step 1: Prepare your tools. For this task, you will need a pair of pliers, a screwdriver, and a wrench. Make sure they are all within reach before you start working. Step 2: Turn off the water supply to the sink. This is an important safety precaution to avoid any water leakage during the process. Step 3: Place a bucket or pan underneath the drain pipe to catch any excess water that may come out. Step 4: Using the pliers, grip the drain body and turn it counterclockwise. If you encounter any resistance, use the wrench for extra leverage. Step 5: Once the drain body is loosened, you can pull it out of the sink. Step 6: Use the screwdriver to remove the screws that are holding the drain body in place. These screws may be located on the side or bottom of the drain body, depending on the type of sink you have. Step 7: Once the screws are removed, you can lift the drain body out of the sink.Step-by-Step Guide for Unscrewing a Bathroom Sink Drain


Step-by-Step Guide for Unscrewing a Bathroom Sink Drain


:max_bytes(150000):strip_icc()/bathroom-sink-drain-installation-2718843-02-61e5ecbee1e949be8d8f45ac4f5a6797.jpg)


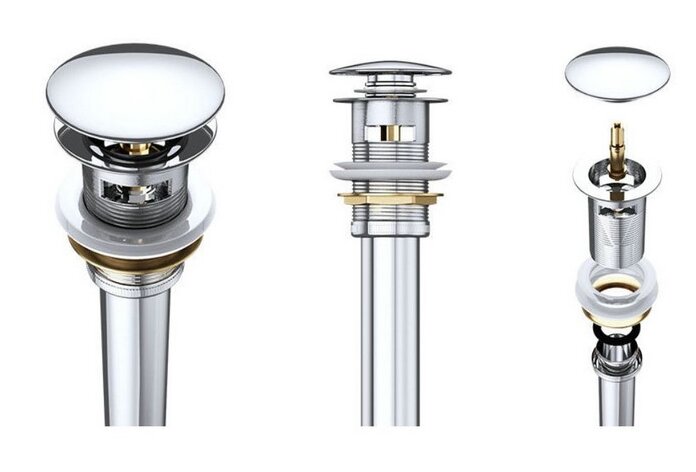
To successfully unscrew a bathroom sink drain, you will need the following tools:Tools Needed to Unscrew a Bathroom Sink Drain


Tools Needed to Unscrew a Bathroom Sink Drain
:max_bytes(150000):strip_icc()/bathroom-sink-drain-installation-2718843-11-675b59e962dd4f69b510d5c9e1fd215f.jpg)


To make the process of unscrewing a bathroom sink drain even easier, here are some helpful tips:Tips for Easily Unscrewing a Bathroom Sink Drain


Tips for Easily Unscrewing a Bathroom Sink Drain


While unscrewing a bathroom sink drain may seem simple, there are some common mistakes that can lead to complications:Common Mistakes to Avoid When Unscrewing a Bathroom Sink Drain


Common Mistakes to Avoid When Unscrewing a Bathroom Sink Drain


If you prefer visual instructions, you can also watch a video tutorial on how to unscrew a bathroom sink drain. This can be a helpful resource for those who are visual learners or need a step-by-step demonstration.Video Tutorial: How to Unscrew a Bathroom Sink Drain


Video Tutorial: How to Unscrew a Bathroom Sink Drain

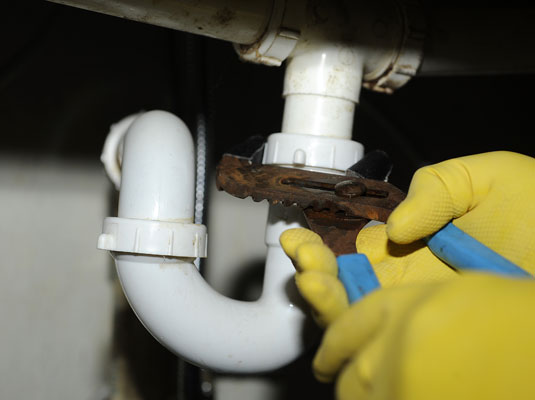
If you are unable to unscrew the drain body, there are alternative methods you can try:Alternative Methods for Removing a Bathroom Sink Drain


Alternative Methods for Removing a Bathroom Sink Drain


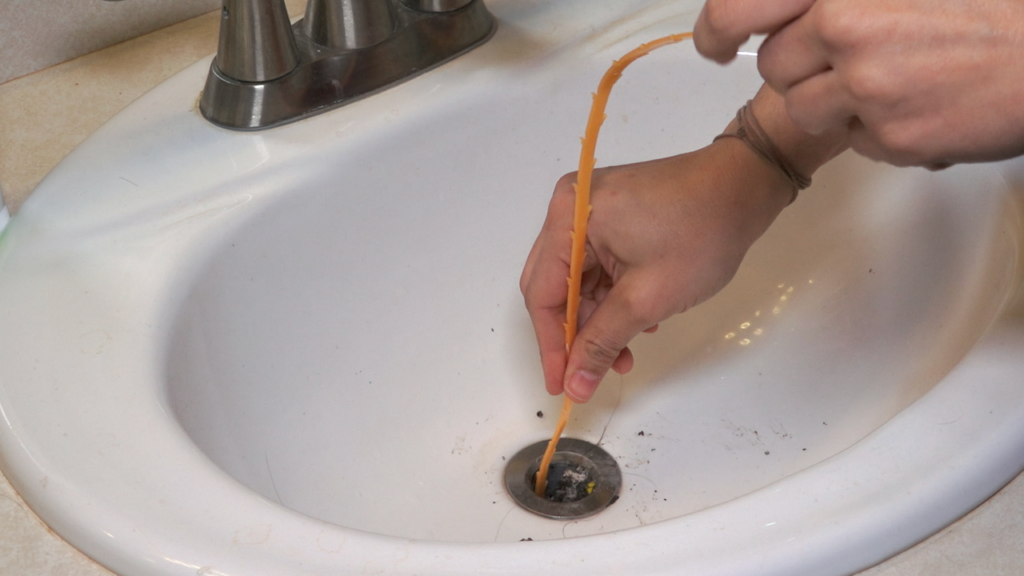
Regularly cleaning and maintaining your bathroom sink drain can prevent clogs and make it easier to unscrew in the future. Here are some tips:How to Clean and Maintain a Bathroom Sink Drain

How to Clean and Maintain a Bathroom Sink Drain
:strip_icc()/how-to-clean-a-bathroom-sink-drain-01-c728294c8bee42428afdf3e69f449279.jpg)


If you are not comfortable unscrewing a bathroom sink drain yourself or encounter any difficulties, it is best to seek professional plumbing services. A licensed plumber will have the necessary tools and expertise to successfully remove the drain and fix any underlying issues. Unscrewing a bathroom sink drain may seem like a daunting task, but with the right tools and knowledge, it can be a quick and easy process. Remember to always turn off the water supply and follow the steps outlined in this article to avoid any mishaps. With these tips, you can successfully unscrew a bathroom sink drain and keep your sink functioning properly. Professional Plumbing Services for Unscrewing a Bathroom Sink Drain


Professional Plumbing Services for Unscrewing a Bathroom Sink Drain


Unscrew Bathroom Sink Drain: A Simple Guide for DIY Enthusiasts

Introduction
 One of the most common household issues that we all face at some point is a clogged bathroom sink. It can be frustrating to deal with, especially when using a plunger or drain cleaner doesn't seem to do the trick. However, before calling a plumber and spending a significant amount of money, there is a simple solution that you can try – unscrewing the bathroom sink drain. This may sound daunting for those who are not familiar with plumbing, but with the right tools and techniques, it can be easily done. In this article, we will guide you on how to unscrew your bathroom sink drain, step by step.
Step 1: Gather the Necessary Tools
 Before starting the process, make sure you have all the essential tools on hand. You will need a pair of pliers, a pipe wrench, a screwdriver, and a bucket or container to catch any water that may spill out.
Step 2: Locate the Drain
 The first step is to locate the bathroom sink drain. It is usually located at the bottom of the sink, underneath the stopper. The stopper is the mechanism that allows you to open and close the drain.
Step 3: Remove the Stopper
 Using your pliers, unscrew the nut that is holding the stopper in place. Once the nut is loose, you can easily remove the stopper from the drain.
Step 4: Loosen the Drain Flange
 The drain flange is the metal ring that sits on top of the drain. Using your pipe wrench, loosen the drain flange by turning it counterclockwise. Be careful not to apply too much force, as this can damage the flange.
Step 5: Unscrew the Drain
 Once the drain flange is loose, you can now unscrew the drain from the sink. To do this, place the pliers on the drain and turn it counterclockwise until it is completely removed.
Step 6: Clean the Drain
 With the drain removed, you can now clean it thoroughly. Use a brush or a cloth to remove any debris or buildup that may be causing the clog.
Step 7: Reassemble the Drain
 After cleaning the drain, reassemble it by following the same steps in reverse order. Make sure everything is tightly screwed in place to prevent any leaks.
In Conclusion
 Unscrewing your bathroom sink drain may seem like a daunting task, but with the right tools and techniques, it can be easily done. By following these simple steps, you can save yourself time and money by fixing a clogged sink on your own. However, if you encounter any difficulties or are unsure about the process, it is always best to seek professional help. Remember to take necessary precautions and wear appropriate safety gear when dealing with plumbing tasks.