Replacing a bathroom sink drain may seem like a daunting task, but with the right knowledge and tools, it can be a simple and straightforward process. However, even with the best preparation, there may be some issues that arise during the replacement process. In this article, we will discuss the top 10 troubleshooting steps for replacing a bathroom sink drain. Troubleshooting a Bathroom Sink Drain Replacement


Troubleshooting a Bathroom Sink Drain Replacement


Before we dive into troubleshooting, let's quickly go over the basics of how to replace a bathroom sink drain. The first step is to turn off the water supply to the sink. Next, you will need to remove the old drain by loosening the locking nut underneath the sink and pulling out the old drain. Then, insert the new drain and tighten the locking nut. Finally, reattach the water supply and test the new drain for any leaks. How to Replace a Bathroom Sink Drain


How to Replace a Bathroom Sink Drain


While replacing a bathroom sink drain may seem like a simple task, there are a few common issues that can arise. One of the most common issues is an old or corroded drain that is difficult to remove. Another issue is a drain that is not aligned properly, causing it to leak. These issues may require additional troubleshooting steps to resolve. Common Issues with Replacing a Bathroom Sink Drain


Common Issues with Replacing a Bathroom Sink Drain


If you are attempting to replace a bathroom sink drain on your own, it's essential to be prepared for any potential issues that may arise. One key tip is to always have the necessary tools and materials on hand, such as a pipe wrench, plumber's putty, and a new drain. Additionally, make sure to thoroughly read any instructions or guides before beginning the replacement process. DIY Bathroom Sink Drain Replacement Troubleshooting


DIY Bathroom Sink Drain Replacement Troubleshooting


When troubleshooting a bathroom sink drain replacement, it's important to have a systematic approach. Here are a few tips to help you troubleshoot effectively: 1. Start with the basics: Make sure that the water supply is turned off and that you have all the necessary tools and materials. 2. Check for proper alignment: If the new drain is not aligned correctly, it can cause leaks. Make sure that the drain is centered and level before tightening the locking nut. 3. Use plumber's putty: Plumber's putty can help create a watertight seal between the sink and the drain. If you notice any leaks, try adding more putty around the drain. 4. Check for clogs: If the drain is still not working correctly, there may be a clog in the pipes. Use a drain snake or plunger to try and clear the clog. Tips for Troubleshooting a Bathroom Sink Drain Replacement


Tips for Troubleshooting a Bathroom Sink Drain Replacement


If you are experiencing issues with your bathroom sink drain replacement, here are ten troubleshooting steps to help you resolve the problem: 1. Check for leaks: The first step in troubleshooting is to check for any leaks. If you notice any water leaking from the drain, it's a sign that it is not properly aligned or sealed. 2. Adjust the drain: If the drain is not aligned, try adjusting it until it is centered and level. Then, tighten the locking nut to secure it in place. 3. Use plumber's putty: If the drain is still leaking, try adding more plumber's putty around the edges. This will help create a watertight seal. 4. Check the pop-up assembly: If the drain is still not working correctly, the issue may be with the pop-up assembly. Make sure it is properly connected and functioning. 5. Clear any clogs: If the drain is clogged, use a drain snake or plunger to try and clear the clog. This may resolve the issue. 6. Check the trap: The trap is the U-shaped pipe underneath the sink. Make sure it is not clogged or damaged, as this can cause drainage issues. 7. Replace the drain: If the drain is old or damaged, it may need to be replaced. Make sure to follow the proper steps for installation. 8. Check the water supply: If the drain is still not working, there may be an issue with the water supply. Make sure the water is turned on and properly connected to the sink. 9. Use a plunger: If you notice any slow drainage, try using a plunger to clear any obstructions in the pipes. 10. Call a professional: If you are unable to resolve the issue on your own, it may be time to call a professional plumber for assistance. Troubleshooting Steps for Replacing a Bathroom Sink Drain


Troubleshooting Steps for Replacing a Bathroom Sink Drain


While there are many potential issues that can arise when replacing a bathroom sink drain, some are more common than others. Here are a few of the most common problems and tips for resolving them: 1. Leaks: As mentioned earlier, leaks are a common issue that may arise during a drain replacement. Make sure to check for proper alignment and use plumber's putty to create a seal. 2. Clogs: If the drain is not properly draining, it may be due to a clog in the pipes. Use a drain snake or plunger to try and clear the clog. 3. Damaged drain: Over time, drains can become old and corroded, making them difficult to remove and replace. If this is the case, consider replacing the drain with a new one. Common Problems When Replacing a Bathroom Sink Drain


Common Problems When Replacing a Bathroom Sink Drain

If you are planning on replacing your bathroom sink drain, it's important to have a troubleshooting guide on hand in case any issues arise. Here are a few key steps to follow when troubleshooting: 1. Start with the basics: Make sure that the water supply is turned off and that you have all the necessary tools and materials. 2. Check for leaks: The first step in troubleshooting is to check for any leaks. If you notice any water leaking from the drain, it's a sign that it is not properly aligned or sealed. 3. Adjust the drain: If the drain is not aligned, try adjusting it until it is centered and level. Then, tighten the locking nut to secure it in place. 4. Use plumber's putty: If the drain is still leaking, try adding more plumber's putty around the edges. This will help create a watertight seal. 5. Check the pop-up assembly: If the drain is still not working correctly, the issue may be with the pop-up assembly. Make sure it is properly connected and functioning. 6. Clear any clogs: If the drain is clogged, use a drain snake or plunger to try and clear the clog. This may resolve the issue. Troubleshooting Guide for Bathroom Sink Drain Replacement


Troubleshooting Guide for Bathroom Sink Drain Replacement


If you encounter any issues while replacing your bathroom sink drain, it's important to know how to address them effectively. Here are a few key tips for fixing issues: 1. Have the right tools: Before starting the replacement process, make sure you have all the necessary tools and materials on hand. 2. Follow instructions: Make sure to thoroughly read any instructions or guides before beginning the replacement process to ensure you are following the correct steps. 3. Troubleshoot systematically: If an issue arises, make sure to troubleshoot systematically to avoid overlooking any potential solutions. How to Fix Issues When Replacing a Bathroom Sink Drain

How to Fix Issues When Replacing a Bathroom Sink Drain


Replacing a bathroom sink drain can be a straightforward process with the right preparation and troubleshooting techniques. Here are a few tips to help you achieve a smooth replacement: 1. Be prepared: Have all the necessary tools and materials on hand before starting the replacement process. 2. Read instructions carefully: Make sure to thoroughly read any instructions or guides before beginning the replacement process to ensure you are following the correct steps. 3. Take your time: Rushing through the replacement process can lead to mistakes. Take your time and troubleshoot any issues that may arise. Troubleshooting Tips for a Smooth Bathroom Sink Drain Replacement

Troubleshooting Tips for a Smooth Bathroom Sink Drain Replacement


Additional Tips for Troubleshooting and Replacing Bathroom Sink Drain

Inspect the Drain Assembly
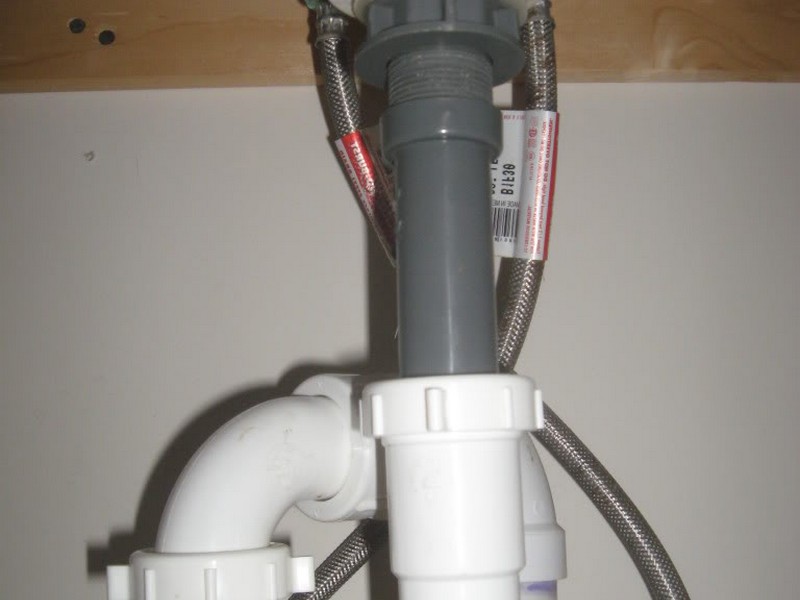
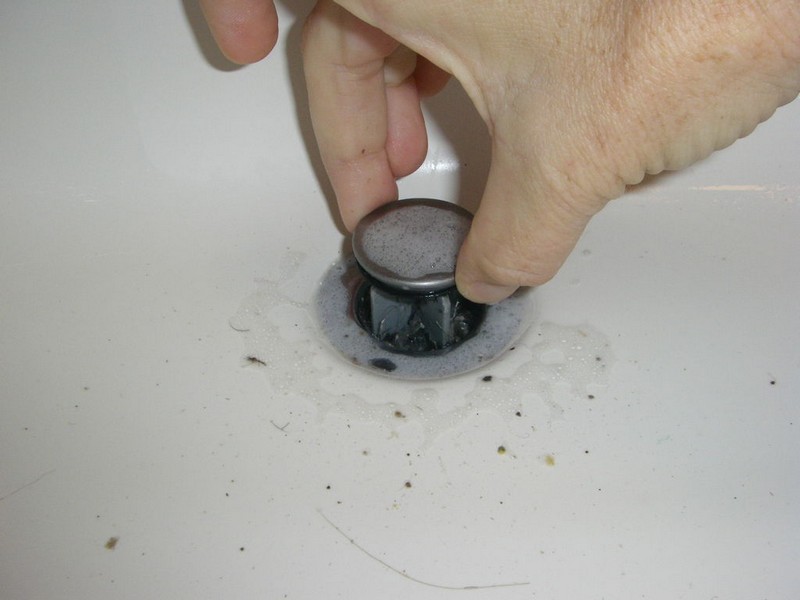
 When experiencing issues with a bathroom sink drain, the first step is to inspect the drain assembly. This includes the
drain flange
,
drain stopper
, and
drain pipes
. Look for any signs of damage or wear and tear, such as cracks or rust. If the drain stopper is not functioning properly, it may need to be adjusted or replaced. The drain pipes may also need to be cleaned or replaced if clogged.
When experiencing issues with a bathroom sink drain, the first step is to inspect the drain assembly. This includes the
drain flange
,
drain stopper
, and
drain pipes
. Look for any signs of damage or wear and tear, such as cracks or rust. If the drain stopper is not functioning properly, it may need to be adjusted or replaced. The drain pipes may also need to be cleaned or replaced if clogged.
Consider the Type of Sink
 The type of sink you have can also play a role in troubleshooting and replacing the drain. For example, if you have a
vessel sink
, the drain assembly may be different than a traditional sink. Make sure to research the specific type of sink you have and follow any specific instructions for troubleshooting and replacing the drain.
The type of sink you have can also play a role in troubleshooting and replacing the drain. For example, if you have a
vessel sink
, the drain assembly may be different than a traditional sink. Make sure to research the specific type of sink you have and follow any specific instructions for troubleshooting and replacing the drain.
Use the Right Tools
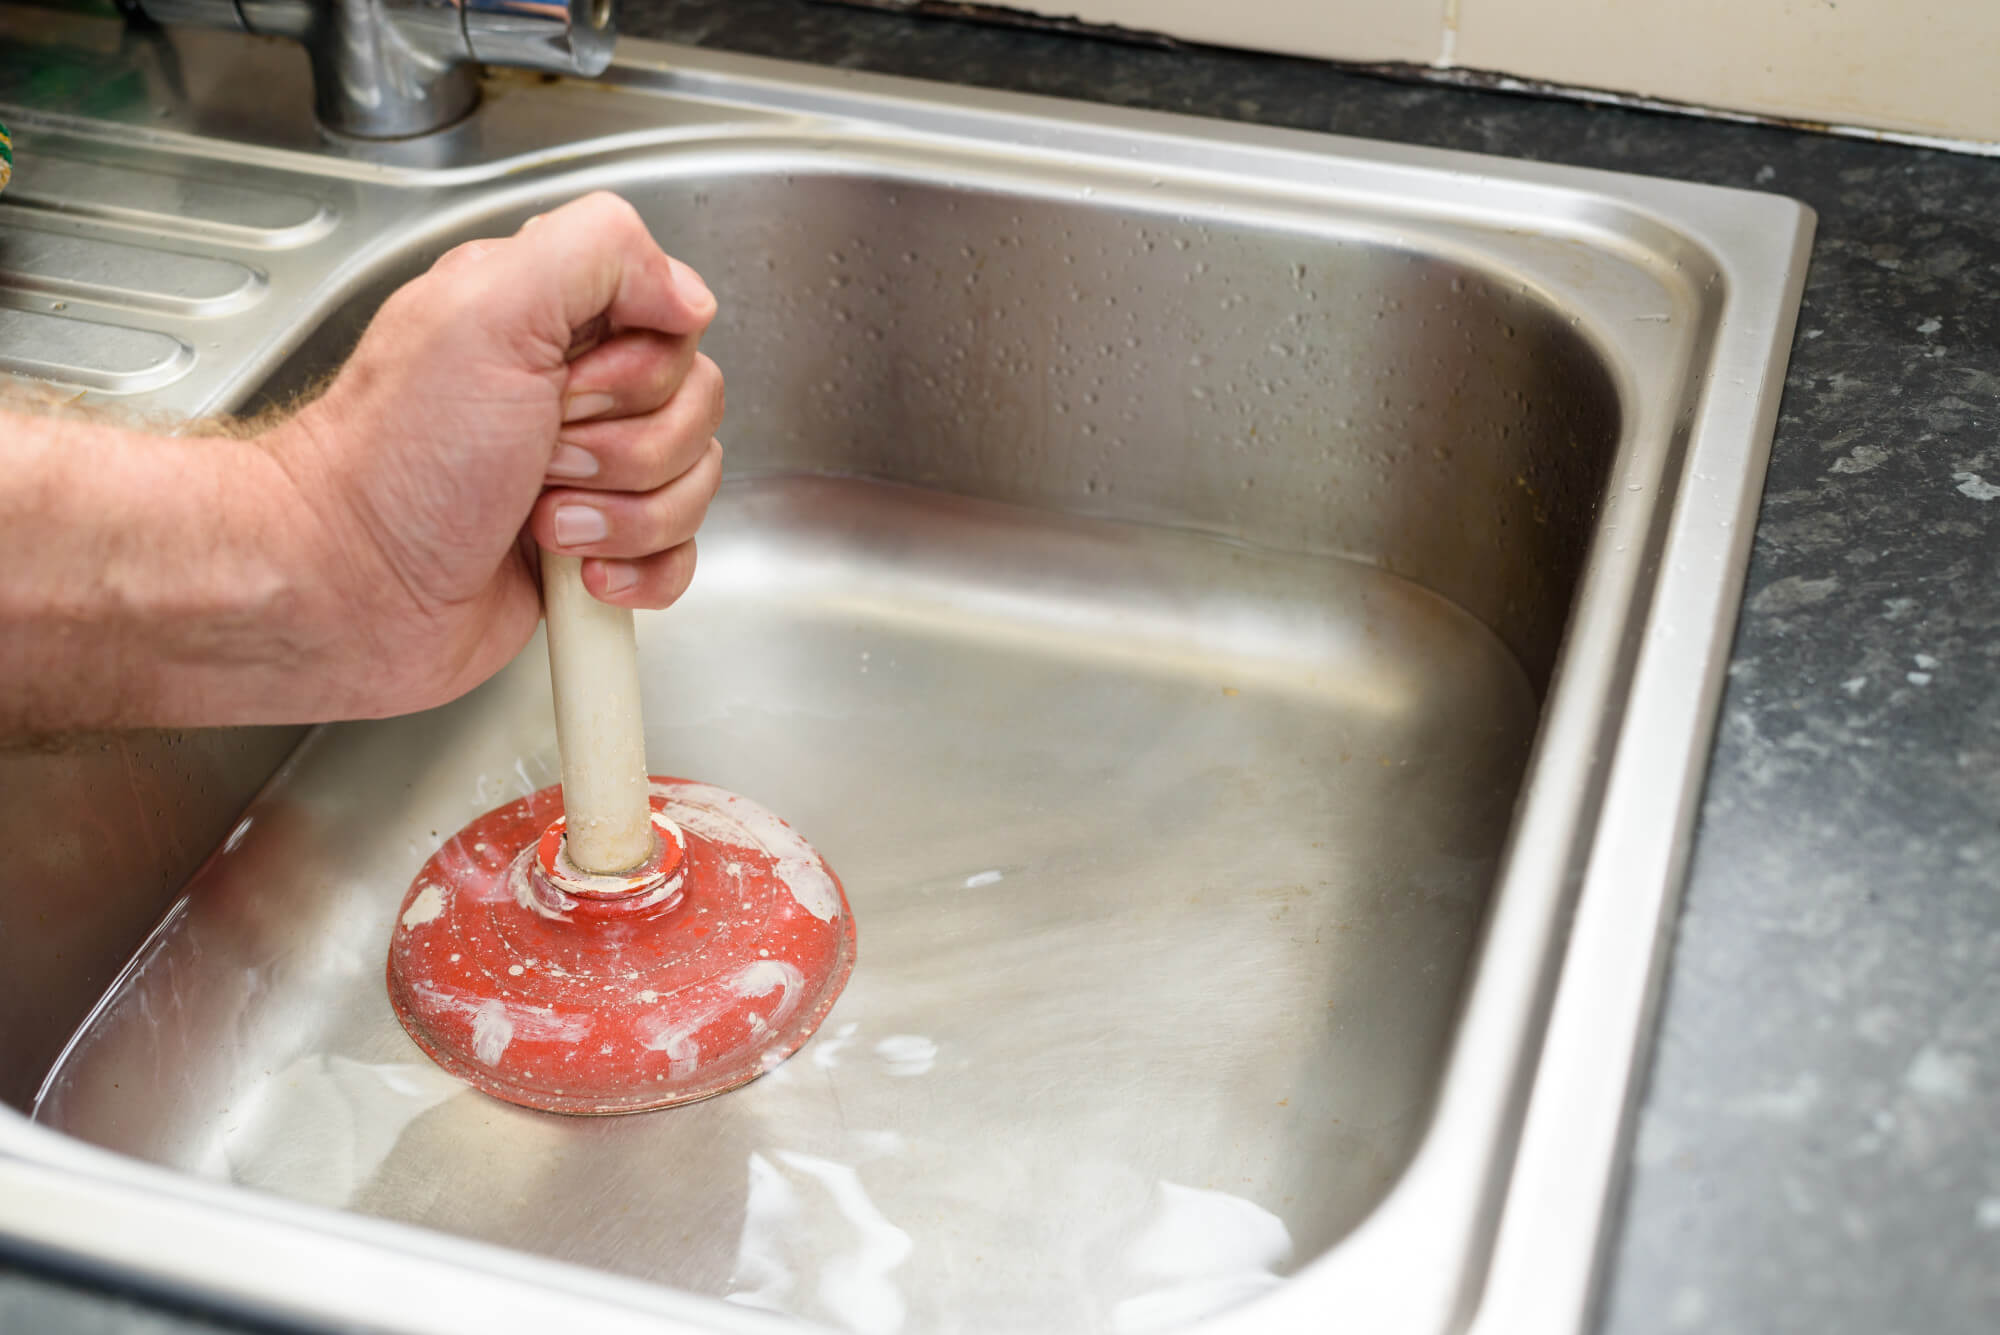
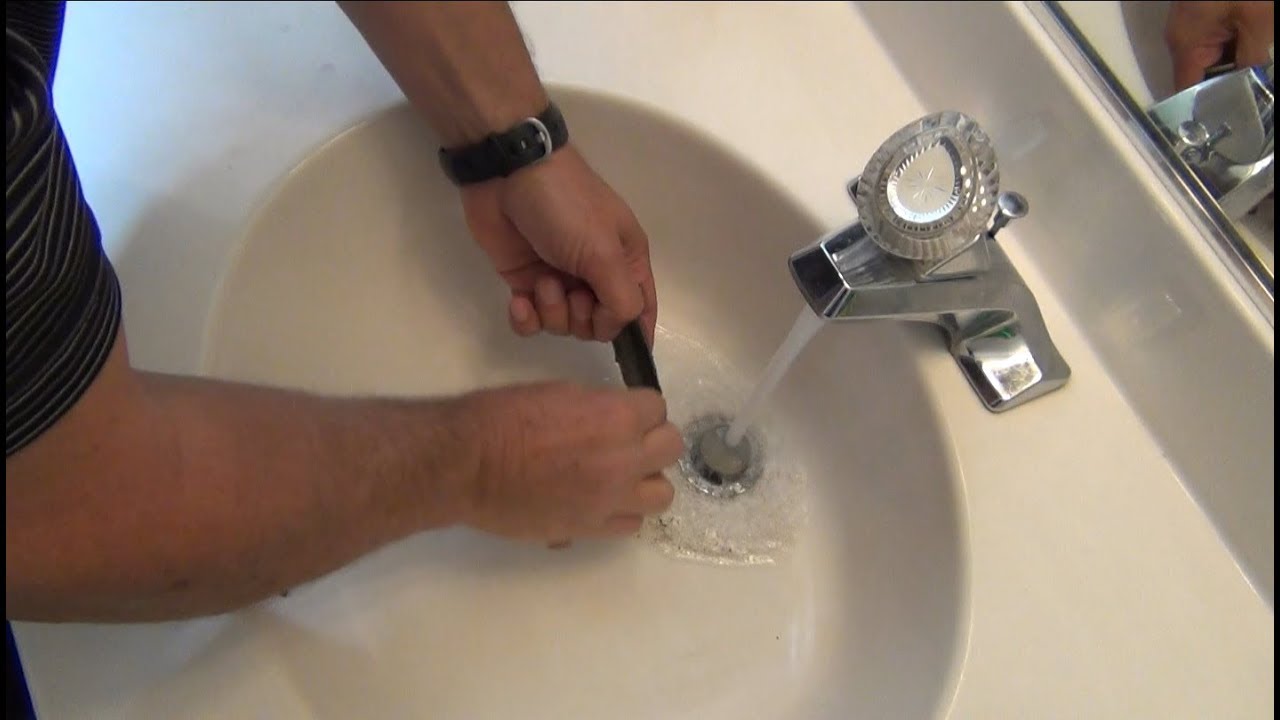
 Having the right tools can make all the difference when it comes to successfully replacing a bathroom sink drain. Some common tools you may need include a
wrench
,
plunger
,
screwdriver
, and
plumbers putty
. It's important to use the right tools for the job to avoid causing further damage or making the problem worse.
Having the right tools can make all the difference when it comes to successfully replacing a bathroom sink drain. Some common tools you may need include a
wrench
,
plunger
,
screwdriver
, and
plumbers putty
. It's important to use the right tools for the job to avoid causing further damage or making the problem worse.
Consult a Professional
 If you're not confident in your abilities to troubleshoot and replace a bathroom sink drain, it's always best to consult a professional. They have the knowledge and experience to properly diagnose and fix any issues with your sink drain. Plus, it can save you time and frustration in the long run.
Overall, troubleshooting and replacing a bathroom sink drain may seem daunting, but with the right knowledge and tools, it can be a relatively simple task. Make sure to properly inspect the drain assembly, consider the type of sink you have, use the right tools, and don't be afraid to seek professional help if needed. With these tips, you'll have your bathroom sink drain functioning properly in no time.
If you're not confident in your abilities to troubleshoot and replace a bathroom sink drain, it's always best to consult a professional. They have the knowledge and experience to properly diagnose and fix any issues with your sink drain. Plus, it can save you time and frustration in the long run.
Overall, troubleshooting and replacing a bathroom sink drain may seem daunting, but with the right knowledge and tools, it can be a relatively simple task. Make sure to properly inspect the drain assembly, consider the type of sink you have, use the right tools, and don't be afraid to seek professional help if needed. With these tips, you'll have your bathroom sink drain functioning properly in no time.