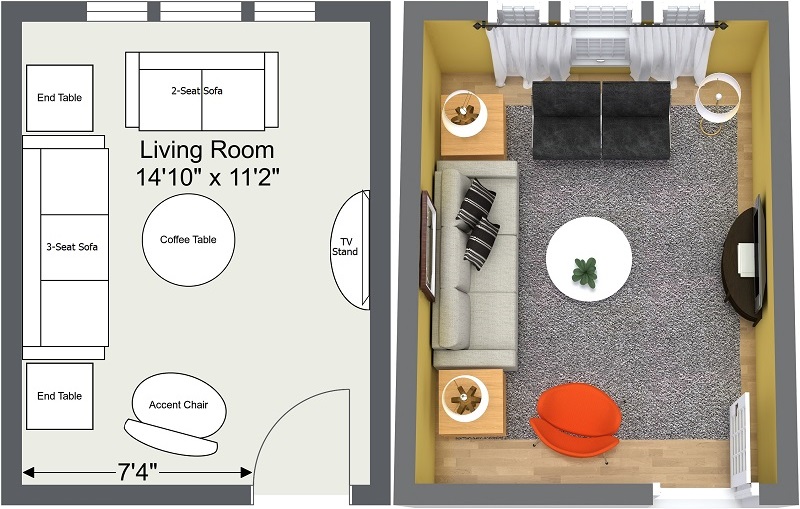
Painting a living room can seem like a daunting task, but with the right tips and tricks, it can be a fun and rewarding project. Whether you're looking to give your living room a fresh new look or just touch up the walls, these top 10 tips will help you achieve a professional finish.Painting a Living Room: Tips and Tricks


Painting a Living Room: Tips and Tricks


1. Choose the right paint color. The right paint color can make all the difference in a room. Consider the mood and atmosphere you want to create in your living room and choose a color that reflects that. Don't be afraid to use bold colors, but also keep in mind the size and natural lighting of the room. 2. Test the paint color. Before committing to a color, it's important to test it out in your living room. Paint a small patch on the wall and observe how it looks in different lighting throughout the day. This will help you determine if it's the right color for your space. 3. Prep the room and surfaces. Properly preparing your living room for painting is crucial for achieving a smooth and long-lasting finish. This includes cleaning the walls, removing any nails or screws, and filling in any holes or cracks. 4. Use high-quality tools and supplies. Investing in high-quality brushes, rollers, and paint will make a noticeable difference in the end result. It will also make the painting process easier and more enjoyable. 5. Protect your furniture and floors. Before you start painting, make sure to cover your furniture and floors with drop cloths or plastic sheets. This will prevent any accidental spills or splatters from ruining your belongings. 6. Consider using painter's tape. If you want clean and crisp lines, using painter's tape along the edges of your walls, ceiling, and trim can help achieve this. Just make sure to remove it while the paint is still wet to avoid peeling. 7. Follow a consistent painting technique. Whether you're using a brush or roller, it's important to follow a consistent painting technique throughout the room. This will ensure an even and smooth finish. 8. Know when to use a primer. If you're painting over a dark or bold color, it's recommended to use a primer first. This will help the new paint color adhere better and prevent any bleed-through. 9. Consider the finish of the paint. The finish of the paint can affect the overall look and feel of your living room. Flat paints are great for hiding imperfections, while glossy paints are more reflective and durable. 10. Don't rush the process. Painting a living room can be a time-consuming process, but it's important not to rush it. Take breaks when needed, and allow enough time for each coat of paint to fully dry before applying the next one.10 Tips for Painting a Living Room Like a Pro


10 Tips for Painting a Living Room Like a Pro

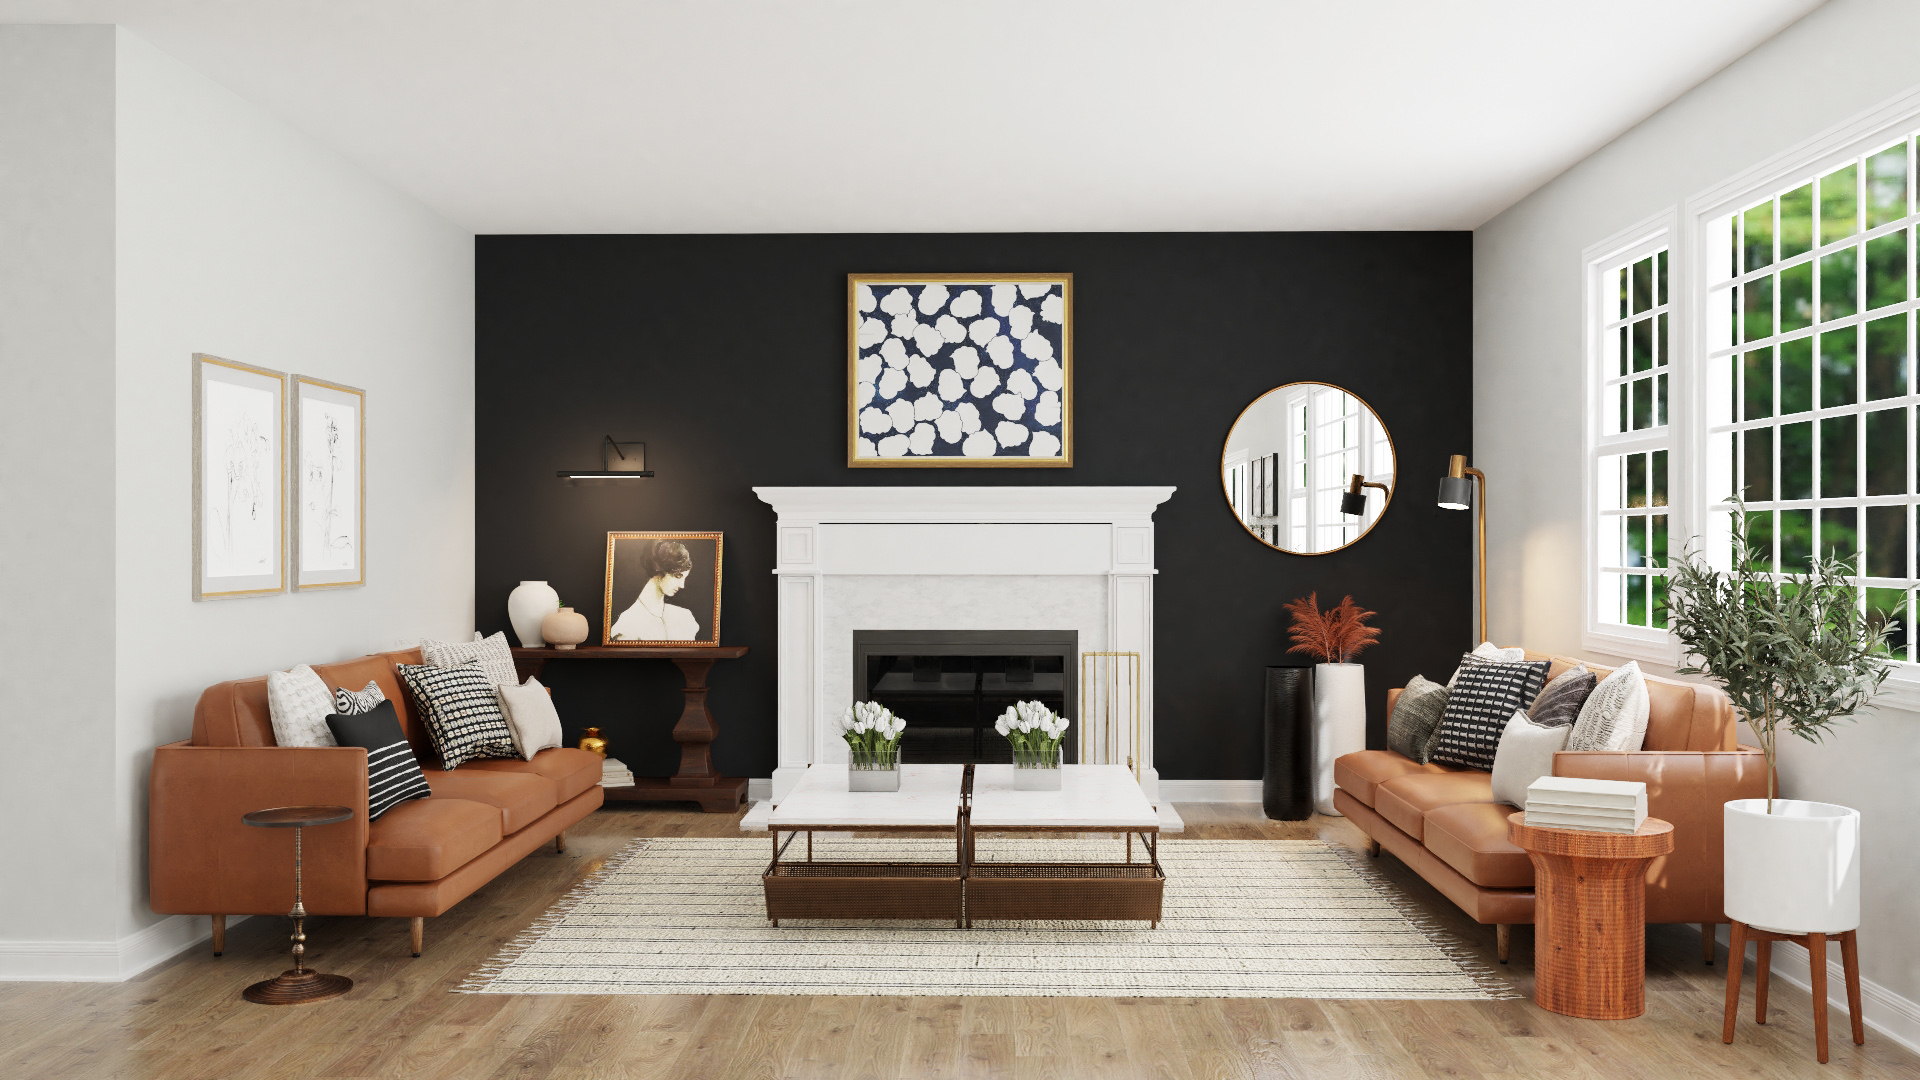


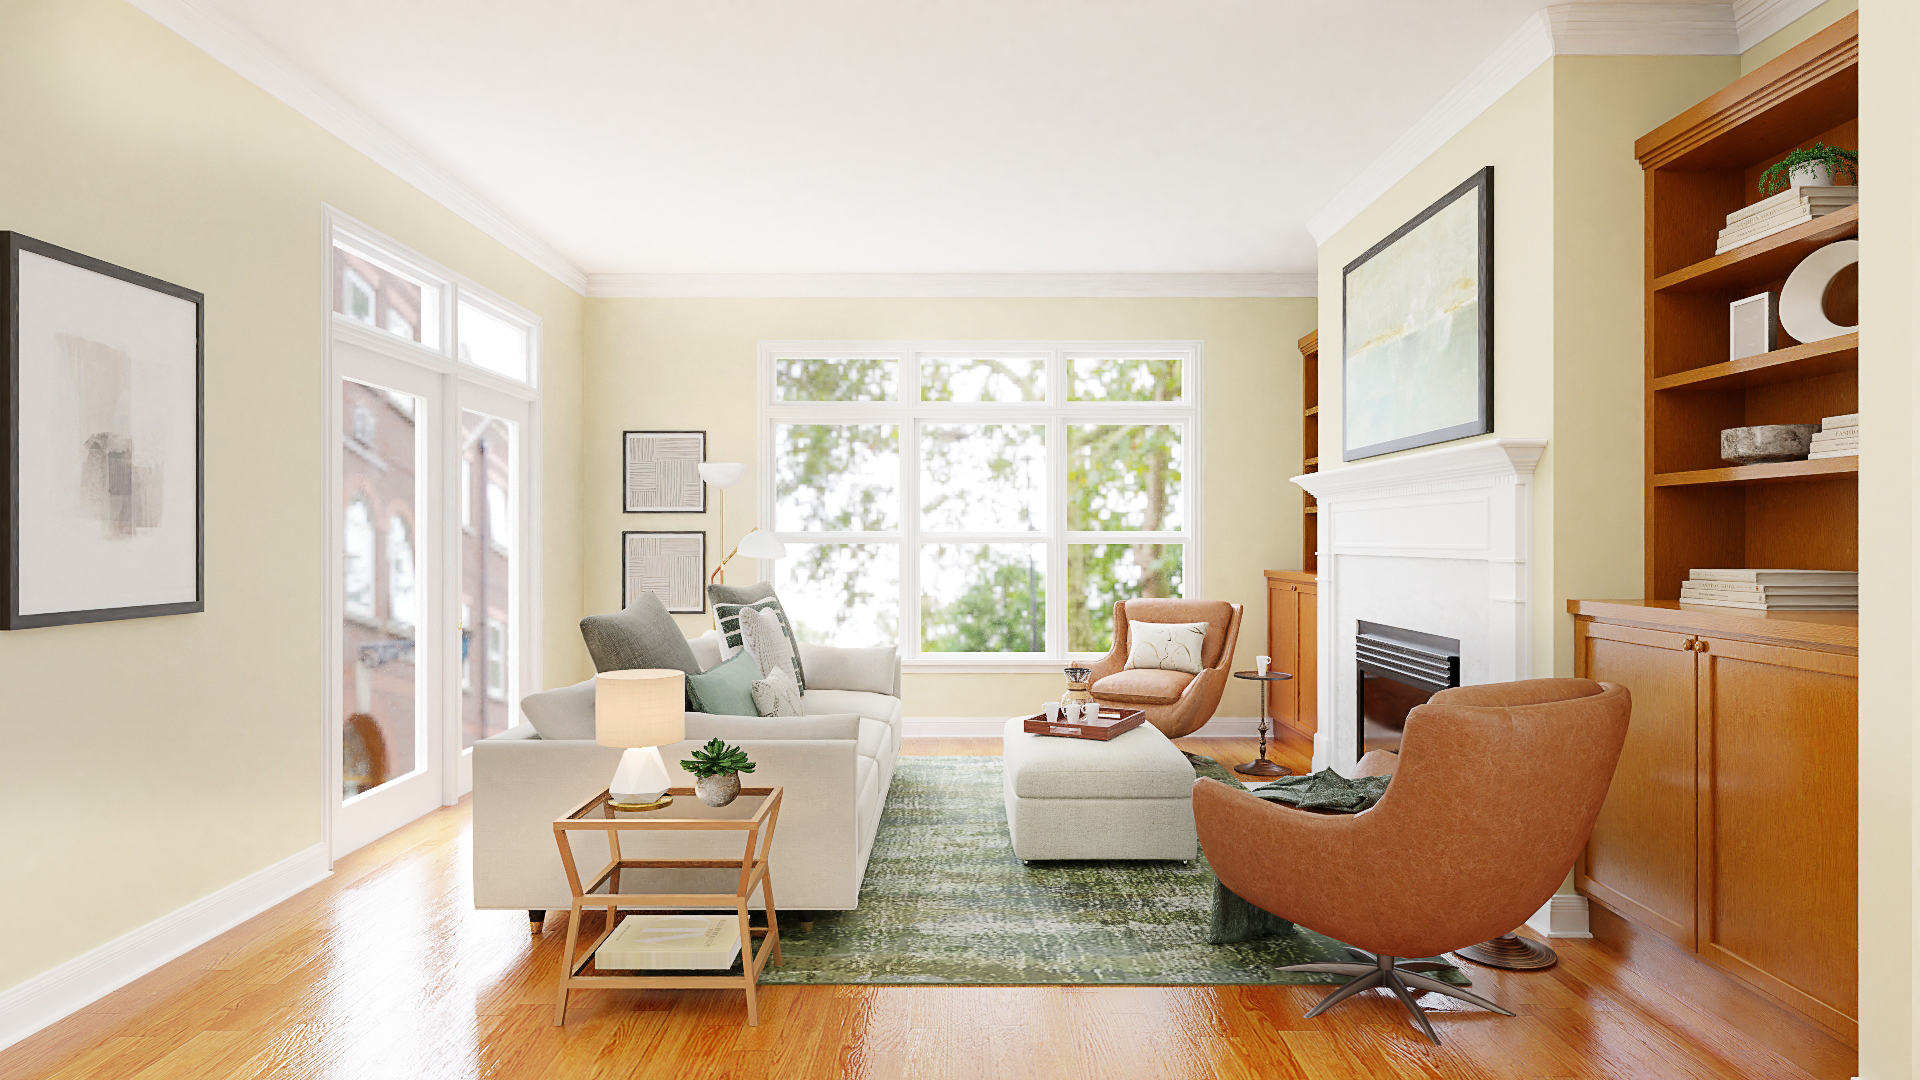
Choosing the right paint color can be overwhelming, but these expert tips can help you make the best decision for your living room. - Consider the mood and atmosphere you want to create in your living room. Warm and bright colors can make a room feel more inviting, while cool and muted colors can create a calming atmosphere. - Take into account the size and natural lighting of the room. Darker colors can make a small room feel even smaller, while lighter colors can make a large room feel more airy and spacious. - Don't be afraid to mix and match colors. You can create a cohesive and visually appealing look by using different shades of the same color or complementary colors.Expert Tips for Choosing the Right Paint Color for Your Living Room


Expert Tips for Choosing the Right Paint Color for Your Living Room
:extract_focal()/https://pocket-syndicated-images.s3.amazonaws.com/articles/5304/1596722483_at_housetours_2019-06_VivY-RhiannonSouthwell_AT_rhiannon_vivyapp-12.jpg)


:max_bytes(150000):strip_icc()/choosing-interior-paint-colors-4011484-007-b567461297e44c4f8a84f1088e1f40ea.jpg)


Painting a living room may seem straightforward, but there are some common mistakes that can easily be avoided. - Skipping the prep work. Properly cleaning and prepping the walls is crucial for achieving a professional finish. - Not using high-quality tools and supplies. Investing in good quality paint and tools will make the painting process easier and result in a better end result. - Not testing the paint color. It's important to test the paint color in your living room before committing to it to avoid any regrets. - Rushing the process. Painting takes time and patience. Don't rush and allow each coat of paint to fully dry before applying the next one. - Not protecting your furniture and floors. Make sure to cover your furniture and floors to avoid any accidental spills or splatters.5 Common Mistakes to Avoid When Painting Your Living Room

:max_bytes(150000):strip_icc()/living-room-area-rugs-1977221-e10e92b074244eb38400fecb3a77516c.png)

5 Common Mistakes to Avoid When Painting Your Living Room


Properly preparing your living room for painting is crucial for achieving a smooth and long-lasting finish. - Start by removing any furniture from the room or covering it with drop cloths or plastic sheets. - Clean the walls with a mild detergent and water to remove any dirt, dust, or grime. - Fill in any holes or cracks with spackling paste and sand it down once it's dry. - Use painter's tape to cover any trim, baseboards, or edges that you don't want to paint.How to Prep Your Living Room for Painting


How to Prep Your Living Room for Painting


Follow these steps for a successful and professional-looking paint job on your living room walls. 1. Start by painting the edges and corners of the walls with a brush. 2. Use a roller to paint the rest of the walls, working in small sections at a time. 3. Apply a second coat of paint once the first coat is dry. 4. For large walls, use a paint extender to avoid visible brush or roller marks. 5. Remove the painter's tape while the paint is still wet to avoid peeling. 6. Touch up any missed spots or imperfections with a small brush.Step-by-Step Guide: Painting Your Living Room Walls


Step-by-Step Guide: Painting Your Living Room Walls

The finish of the paint can affect the overall look and feel of your living room. Here's a breakdown of the different paint finishes and their uses. - Flat: This finish is great for hiding imperfections on walls, but it's not very durable and can be hard to clean. - Eggshell: This finish is slightly more reflective than flat and is easier to clean, making it a good choice for living rooms. - Satin: This finish has a subtle shine and is durable, making it a good choice for high-traffic areas like living rooms. - Semi-gloss: This finish has a higher shine and is very durable, making it ideal for areas prone to moisture and stains.Choosing the Best Paint Finish for Your Living Room


Choosing the Best Paint Finish for Your Living Room

/Modern-living-room-GettyImages-697535803-58ac763e5f9b58a3c93ac8f4.jpg)


/choosing-the-right-interior-paint-finish-1977100-HERO-05-99eb1fc00586453dbd9ee05fc996b816.jpg)
The ceiling is often overlooked when painting a room, but it can make a big impact on the overall look and feel of your living room. - Start by cleaning the ceiling with a mild detergent and water. - Use painter's tape to cover any light fixtures or ceiling fans. - Use a roller with an extension pole to paint the ceiling in small sections. - Apply a second coat if needed once the first coat is dry. - Remove the painter's tape while the paint is still wet to avoid peeling.How to Paint a Living Room Ceiling


How to Paint a Living Room Ceiling


Having the right tools and supplies is key to a successful and efficient painting project. Here are some essential items to have on hand. - High-quality paint in your desired color. - Brushes and rollers of different sizes for different areas of the wall. - Drop cloths or plastic sheets to protect your furniture and floors. - Painter's tape for clean and crisp lines. - Spackling paste for filling in holes and cracks. - Sandpaper for smoothing out spackling paste and rough areas on the wall. - Paint trays for easy access to paint while using a roller.Top Tools and Supplies for Painting Your Living Room


Top Tools and Supplies for Painting Your Living Room


:max_bytes(150000):strip_icc()/before-you-paint-living-room-4047917_hero-a325338c669242af969b683e6245e7f8.jpg)


Deciding whether to paint your living room yourself or hire a professional can depend on several factors. Here are some pros and cons to consider. DIY: Pros: - Can save money on labor costs. - Provides a sense of accomplishment and satisfaction. - Allows for more creative freedom and control over the project. Cons: - Requires time and effort to properly prep and paint the room. - May not have access to professional tools and supplies. - Risk of making mistakes and having to redo areas. Hiring a Professional: Pros: - Saves time and effort. - Professional results and attention to detail. - Access to high-quality tools and supplies. Cons: - Can be more expensive than DIY. - Less control over the project and final result. - May have to work around the schedule of the professional.DIY vs Hiring a Professional: Pros and Cons of Painting Your Living Room


DIY vs Hiring a Professional: Pros and Cons of Painting Your Living Room


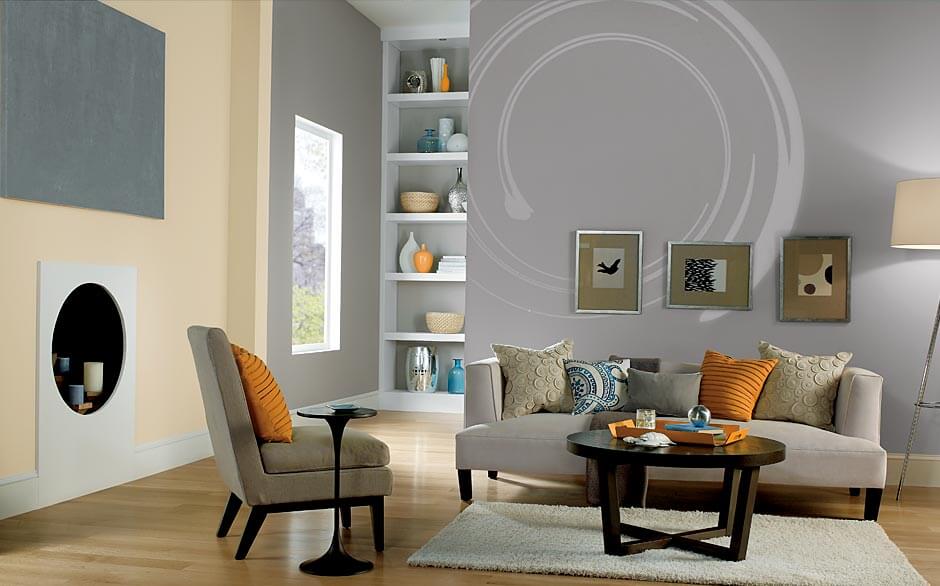
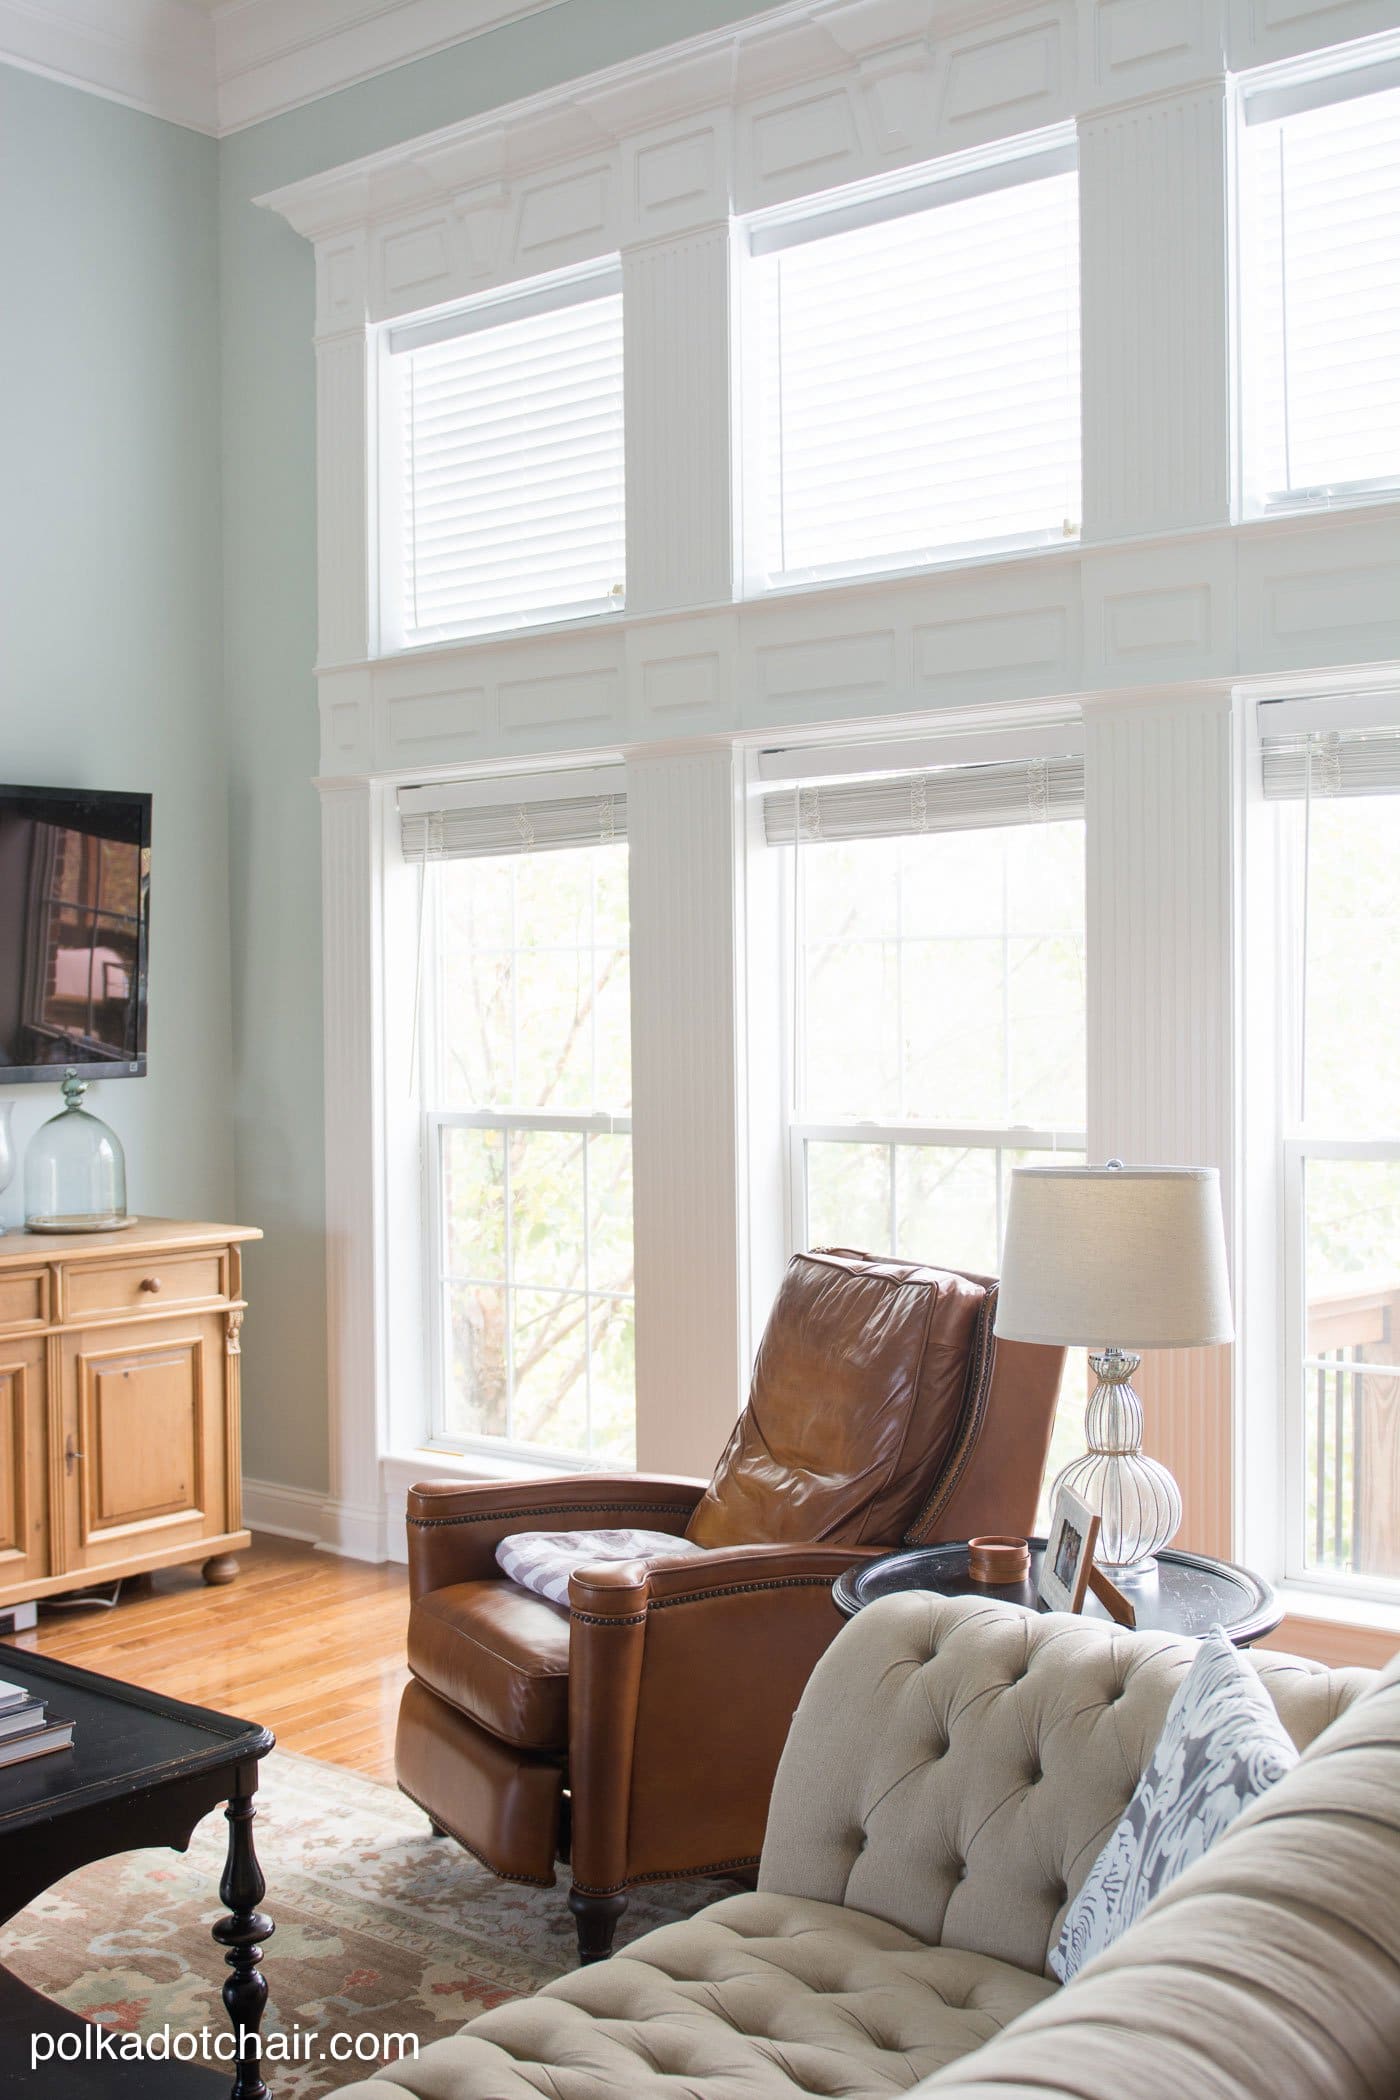
Choosing the Right Paint Color

Consider the Mood and Lighting
 Choosing the right paint color for your living room is essential in creating a welcoming and inviting space. When deciding on a color, it's important to consider the mood you want to create in the room.
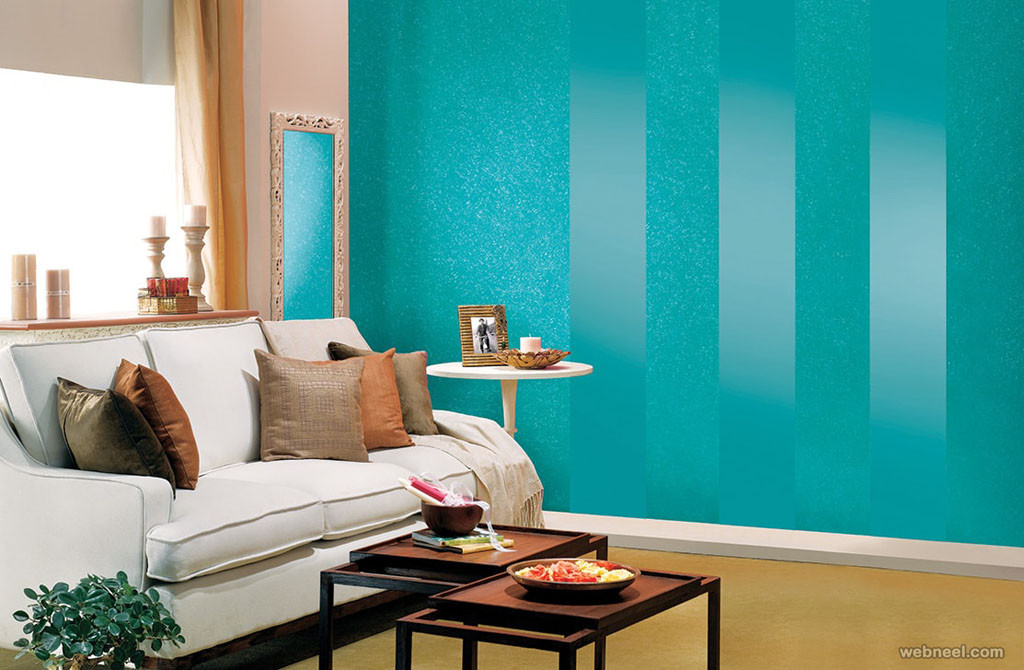
Warm colors
like yellows, oranges, and reds can create a cozy and energetic atmosphere, while
cool colors
like blues, greens, and purples can evoke a sense of calm and relaxation. Additionally, take into account the natural lighting in the room.
Lighter colors
will make the room feel brighter and more spacious, while
darker colors
can add depth and drama to the space.
Choosing the right paint color for your living room is essential in creating a welcoming and inviting space. When deciding on a color, it's important to consider the mood you want to create in the room.
Warm colors
like yellows, oranges, and reds can create a cozy and energetic atmosphere, while
cool colors
like blues, greens, and purples can evoke a sense of calm and relaxation. Additionally, take into account the natural lighting in the room.
Lighter colors
will make the room feel brighter and more spacious, while
darker colors
can add depth and drama to the space.
Test Out Samples
 Before committing to a paint color, it's important to test out samples. This will allow you to see how the color looks in different lighting and against your furniture and decor.
Paint samples
are inexpensive and can save you from making a costly mistake. It's also helpful to paint a large swatch on the wall and live with it for a few days to see if you still like the color.
Before committing to a paint color, it's important to test out samples. This will allow you to see how the color looks in different lighting and against your furniture and decor.
Paint samples
are inexpensive and can save you from making a costly mistake. It's also helpful to paint a large swatch on the wall and live with it for a few days to see if you still like the color.
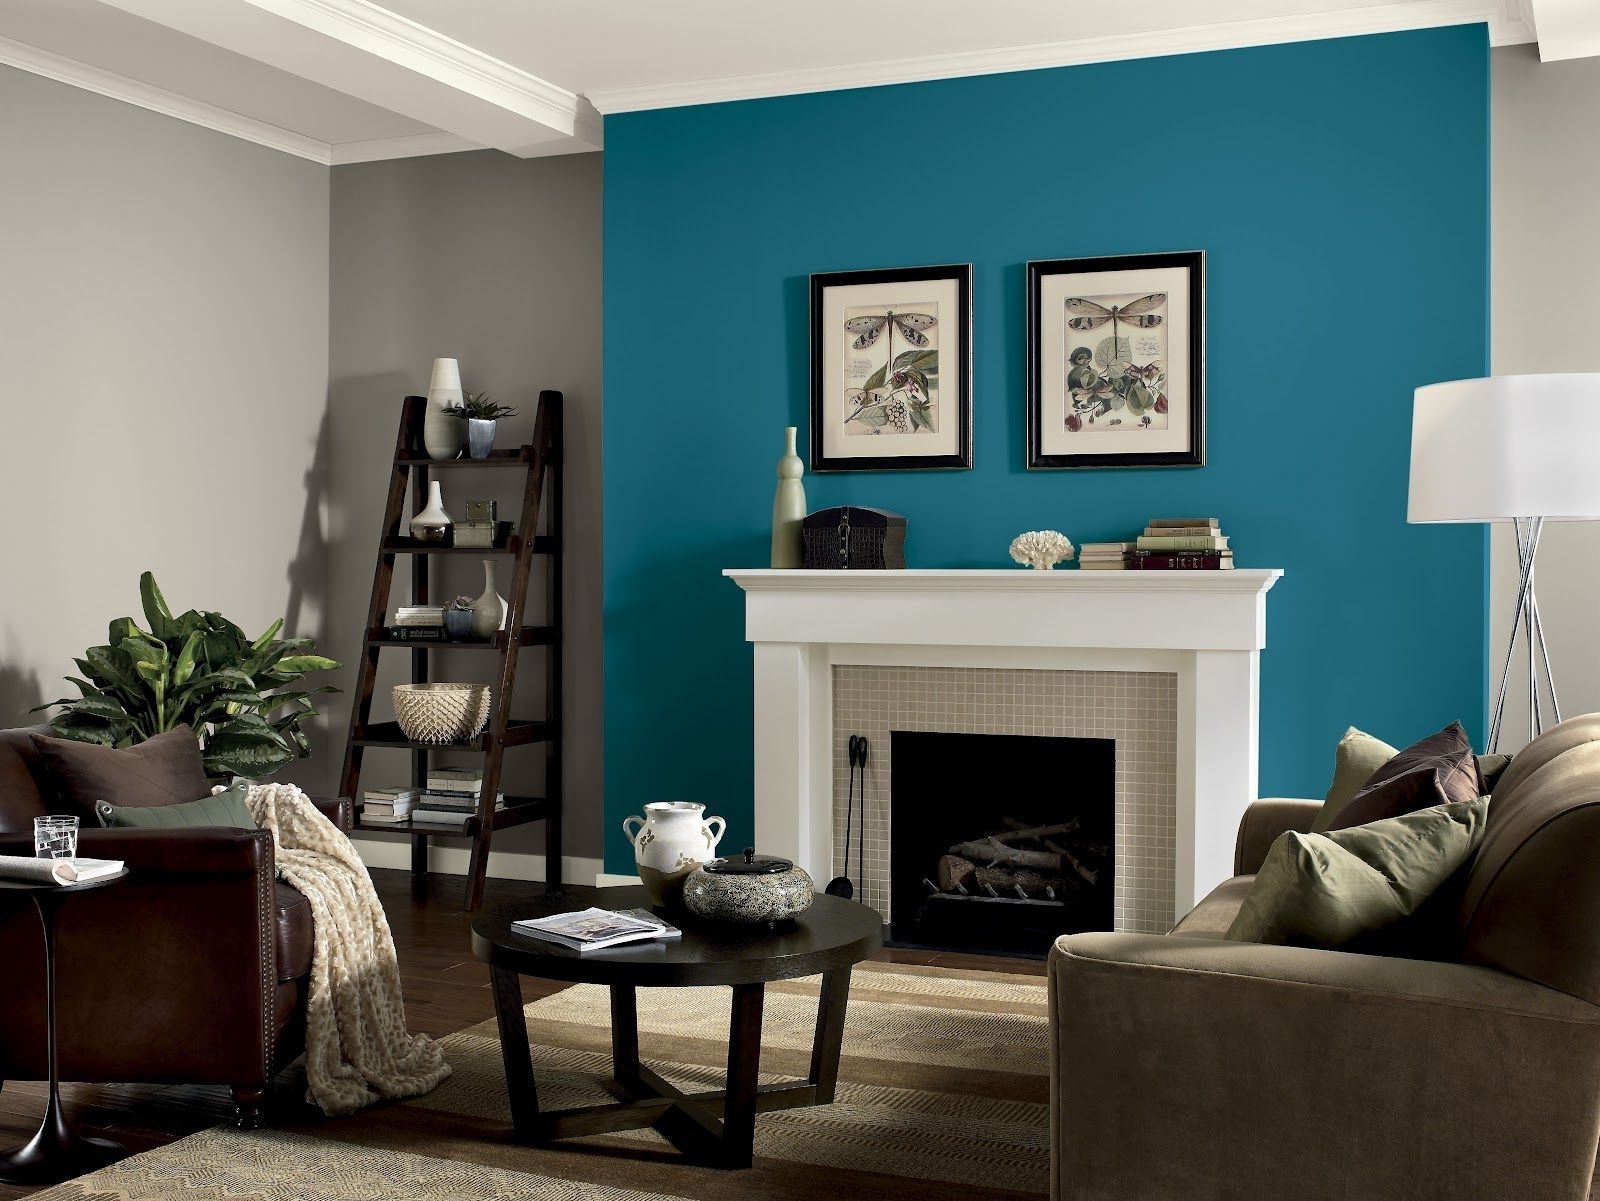
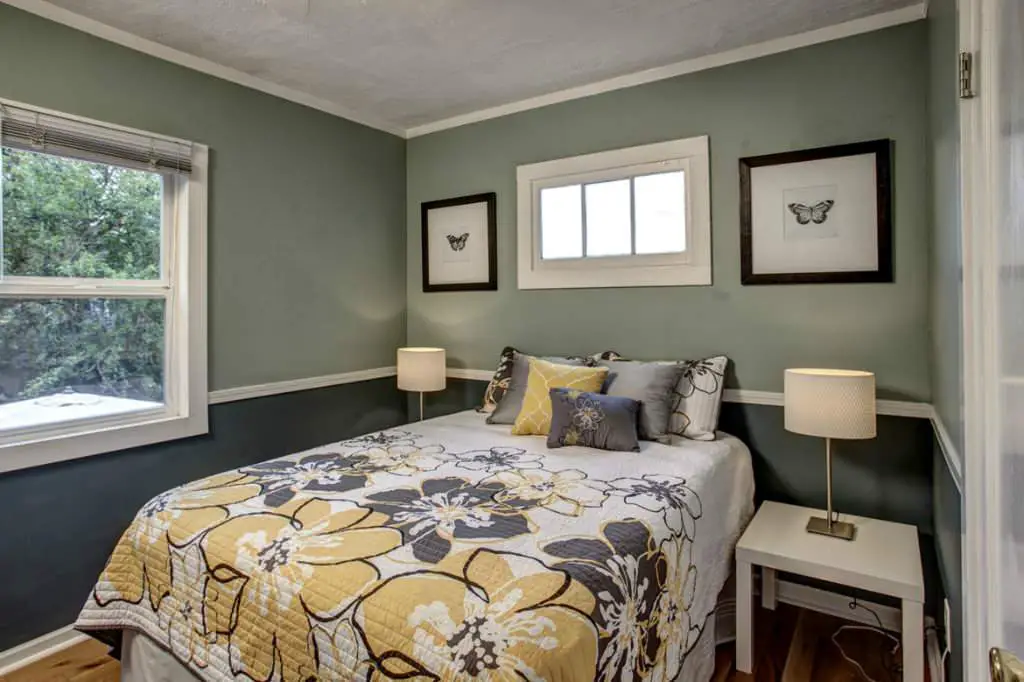
Consider the Room's Purpose
 The function of your living room should also be taken into consideration when choosing a paint color.
Neutral colors
like whites, grays, and beiges are versatile and can work well in any type of living room. However, if your living room is primarily used for entertaining and socializing, you may want to consider a
bolder color
to make a statement. On the other hand, if your living room is a place for relaxation and unwinding, sticking to
softer colors
may be more appropriate.
The function of your living room should also be taken into consideration when choosing a paint color.
Neutral colors
like whites, grays, and beiges are versatile and can work well in any type of living room. However, if your living room is primarily used for entertaining and socializing, you may want to consider a
bolder color
to make a statement. On the other hand, if your living room is a place for relaxation and unwinding, sticking to
softer colors
may be more appropriate.
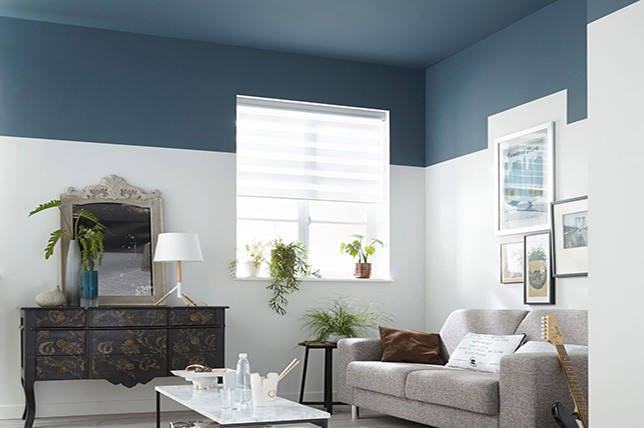
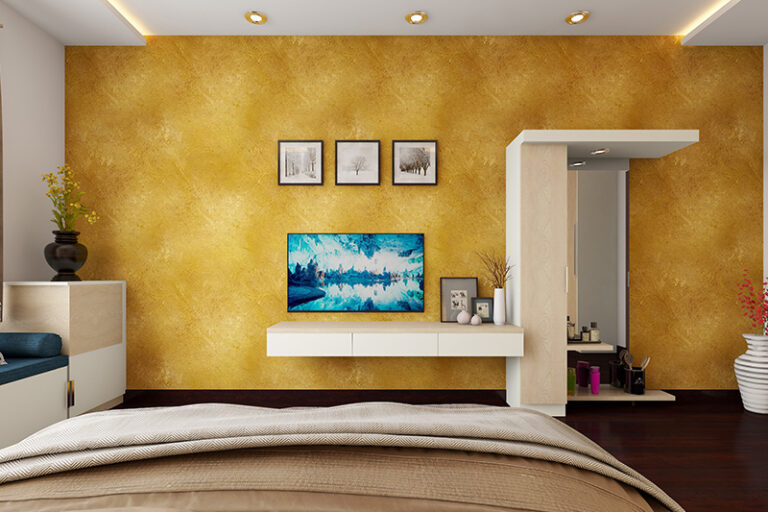
Don't Forget About the Ceiling
 When painting a living room, many people tend to solely focus on the walls, but don't forget about the ceiling.
Painting the ceiling
can add another layer of depth and character to the room. Consider painting the ceiling a lighter shade of the wall color for a cohesive look, or a
contrasting color
for a more dramatic effect.
In conclusion, when painting a living room, it's important to consider the mood, lighting, purpose, and even the ceiling. With these tips in mind, you can confidently choose the perfect paint color for your living room and create a space that reflects your personal style and enhances your overall home design.
When painting a living room, many people tend to solely focus on the walls, but don't forget about the ceiling.
Painting the ceiling
can add another layer of depth and character to the room. Consider painting the ceiling a lighter shade of the wall color for a cohesive look, or a
contrasting color
for a more dramatic effect.
In conclusion, when painting a living room, it's important to consider the mood, lighting, purpose, and even the ceiling. With these tips in mind, you can confidently choose the perfect paint color for your living room and create a space that reflects your personal style and enhances your overall home design.