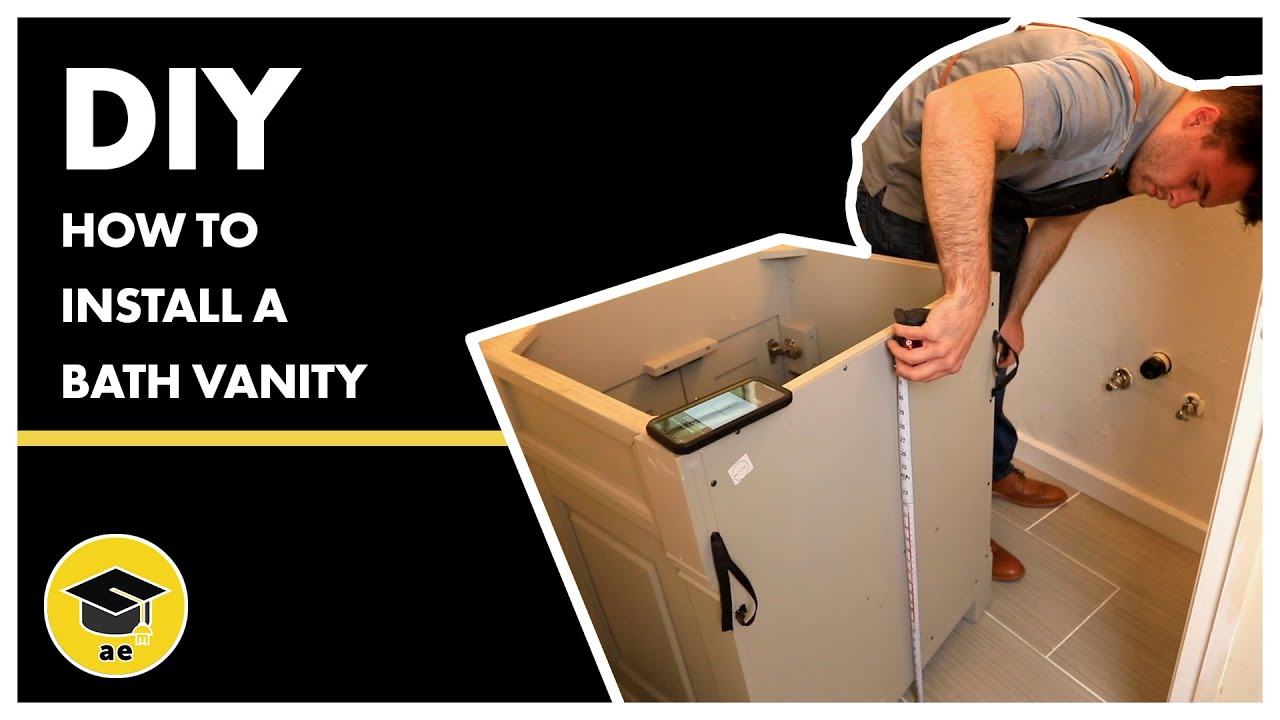
When it comes to bathroom renovations, one of the most important areas to consider is the vanity. This key component not only provides storage and functionality, but it also sets the tone for the entire bathroom design. That's why it's essential to get the tiling around your bathroom vanity just right. In this article, we will discuss the top 10 tips for tiling around your bathroom vanity to ensure a beautiful and durable finish. Tiling Around Bathroom Vanity:


Tiling Around Bathroom Vanity:

Tiling a bathroom vanity may seem like a daunting task, but with the right techniques and materials, it can be a straightforward and satisfying project. The key is to plan and prepare properly, ensuring that the tiles are installed correctly and will last for years to come. Here are the top 10 tips for tiling your bathroom vanity. Tiling Bathroom Vanity:


Tiling Bathroom Vanity


Tiling around a bathroom vanity requires attention to detail and precision. It's essential to take the time to properly measure and plan out the layout of your tiles before starting the installation. This will ensure a seamless and professional result. Here are some tips for tiling your bathroom vanity area. Bathroom Vanity Tiling:


Bathroom Vanity Tiling


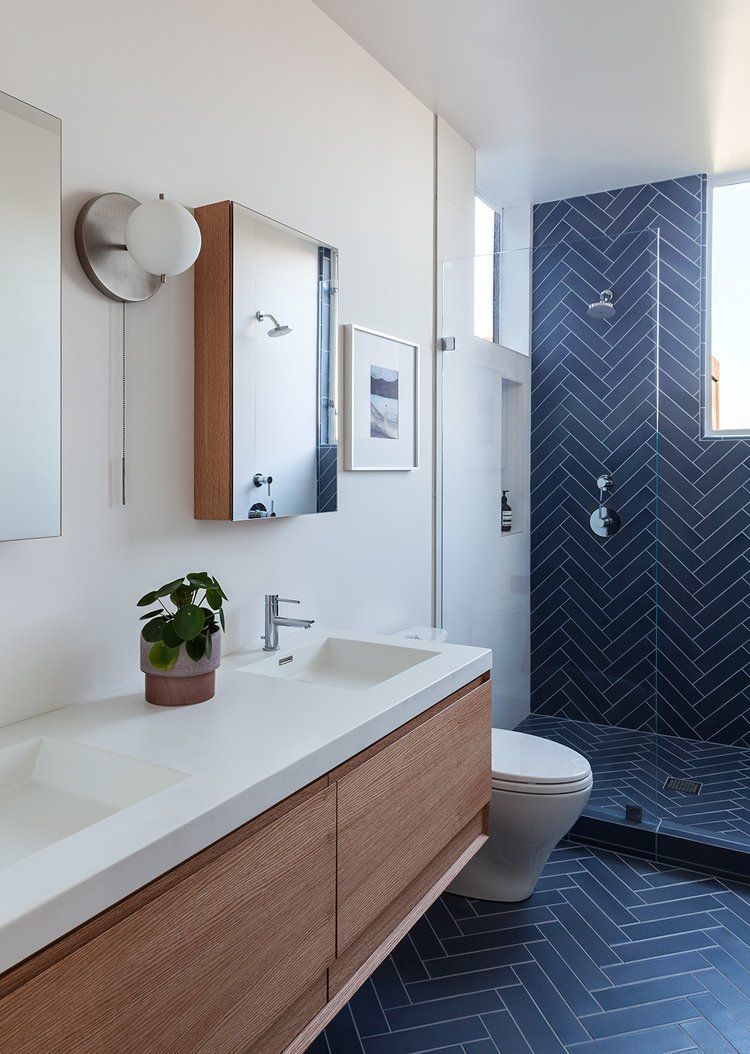
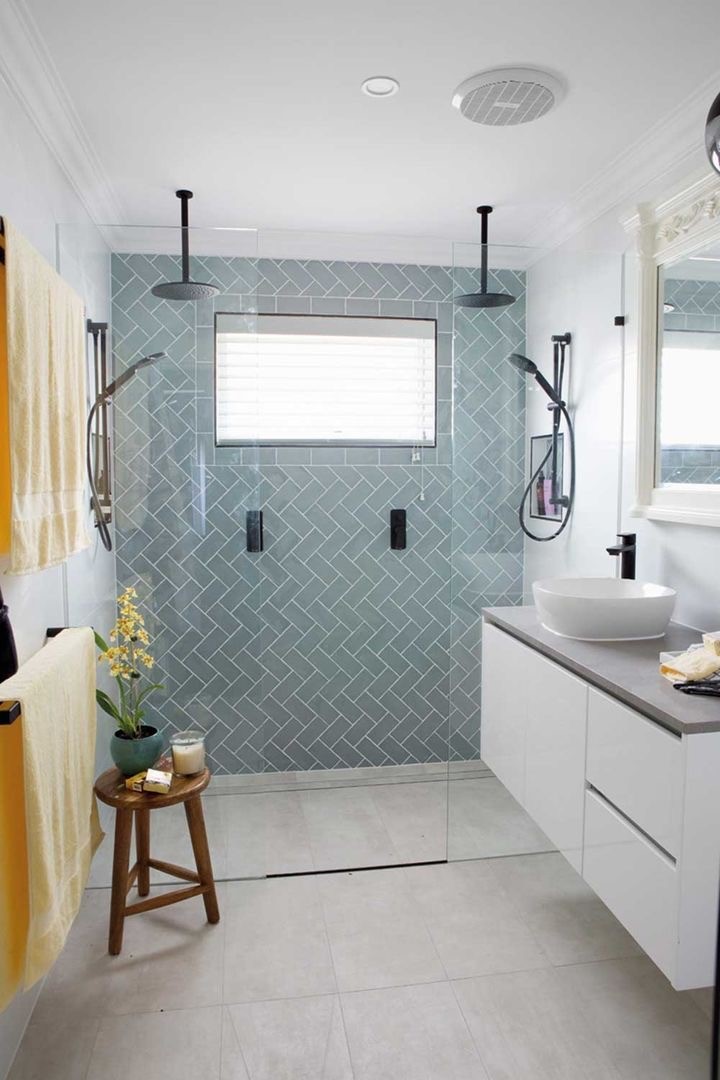
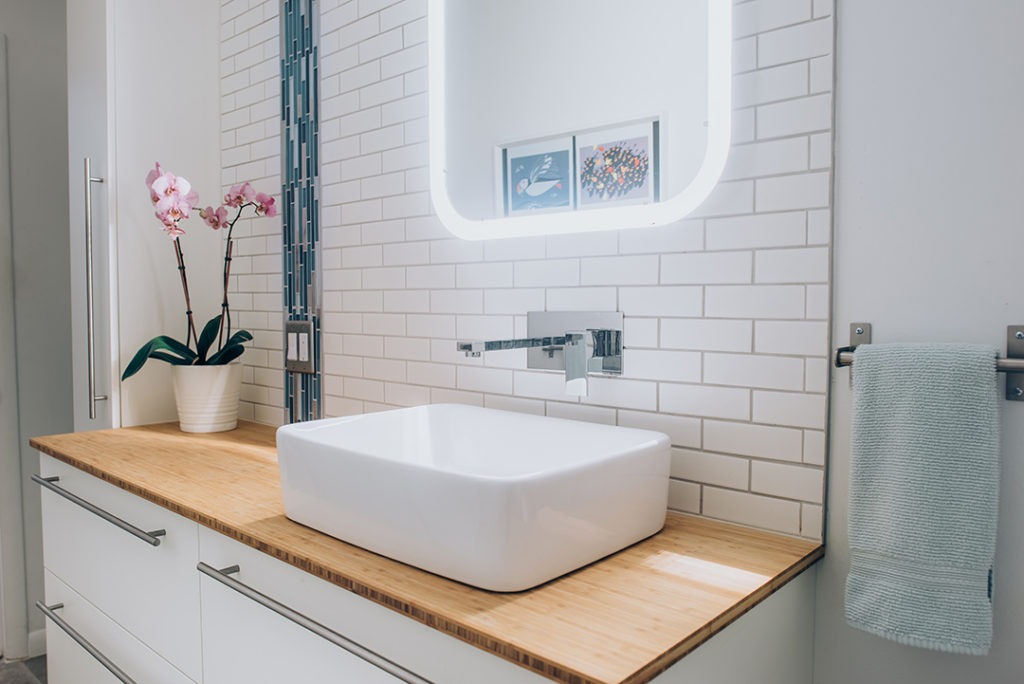
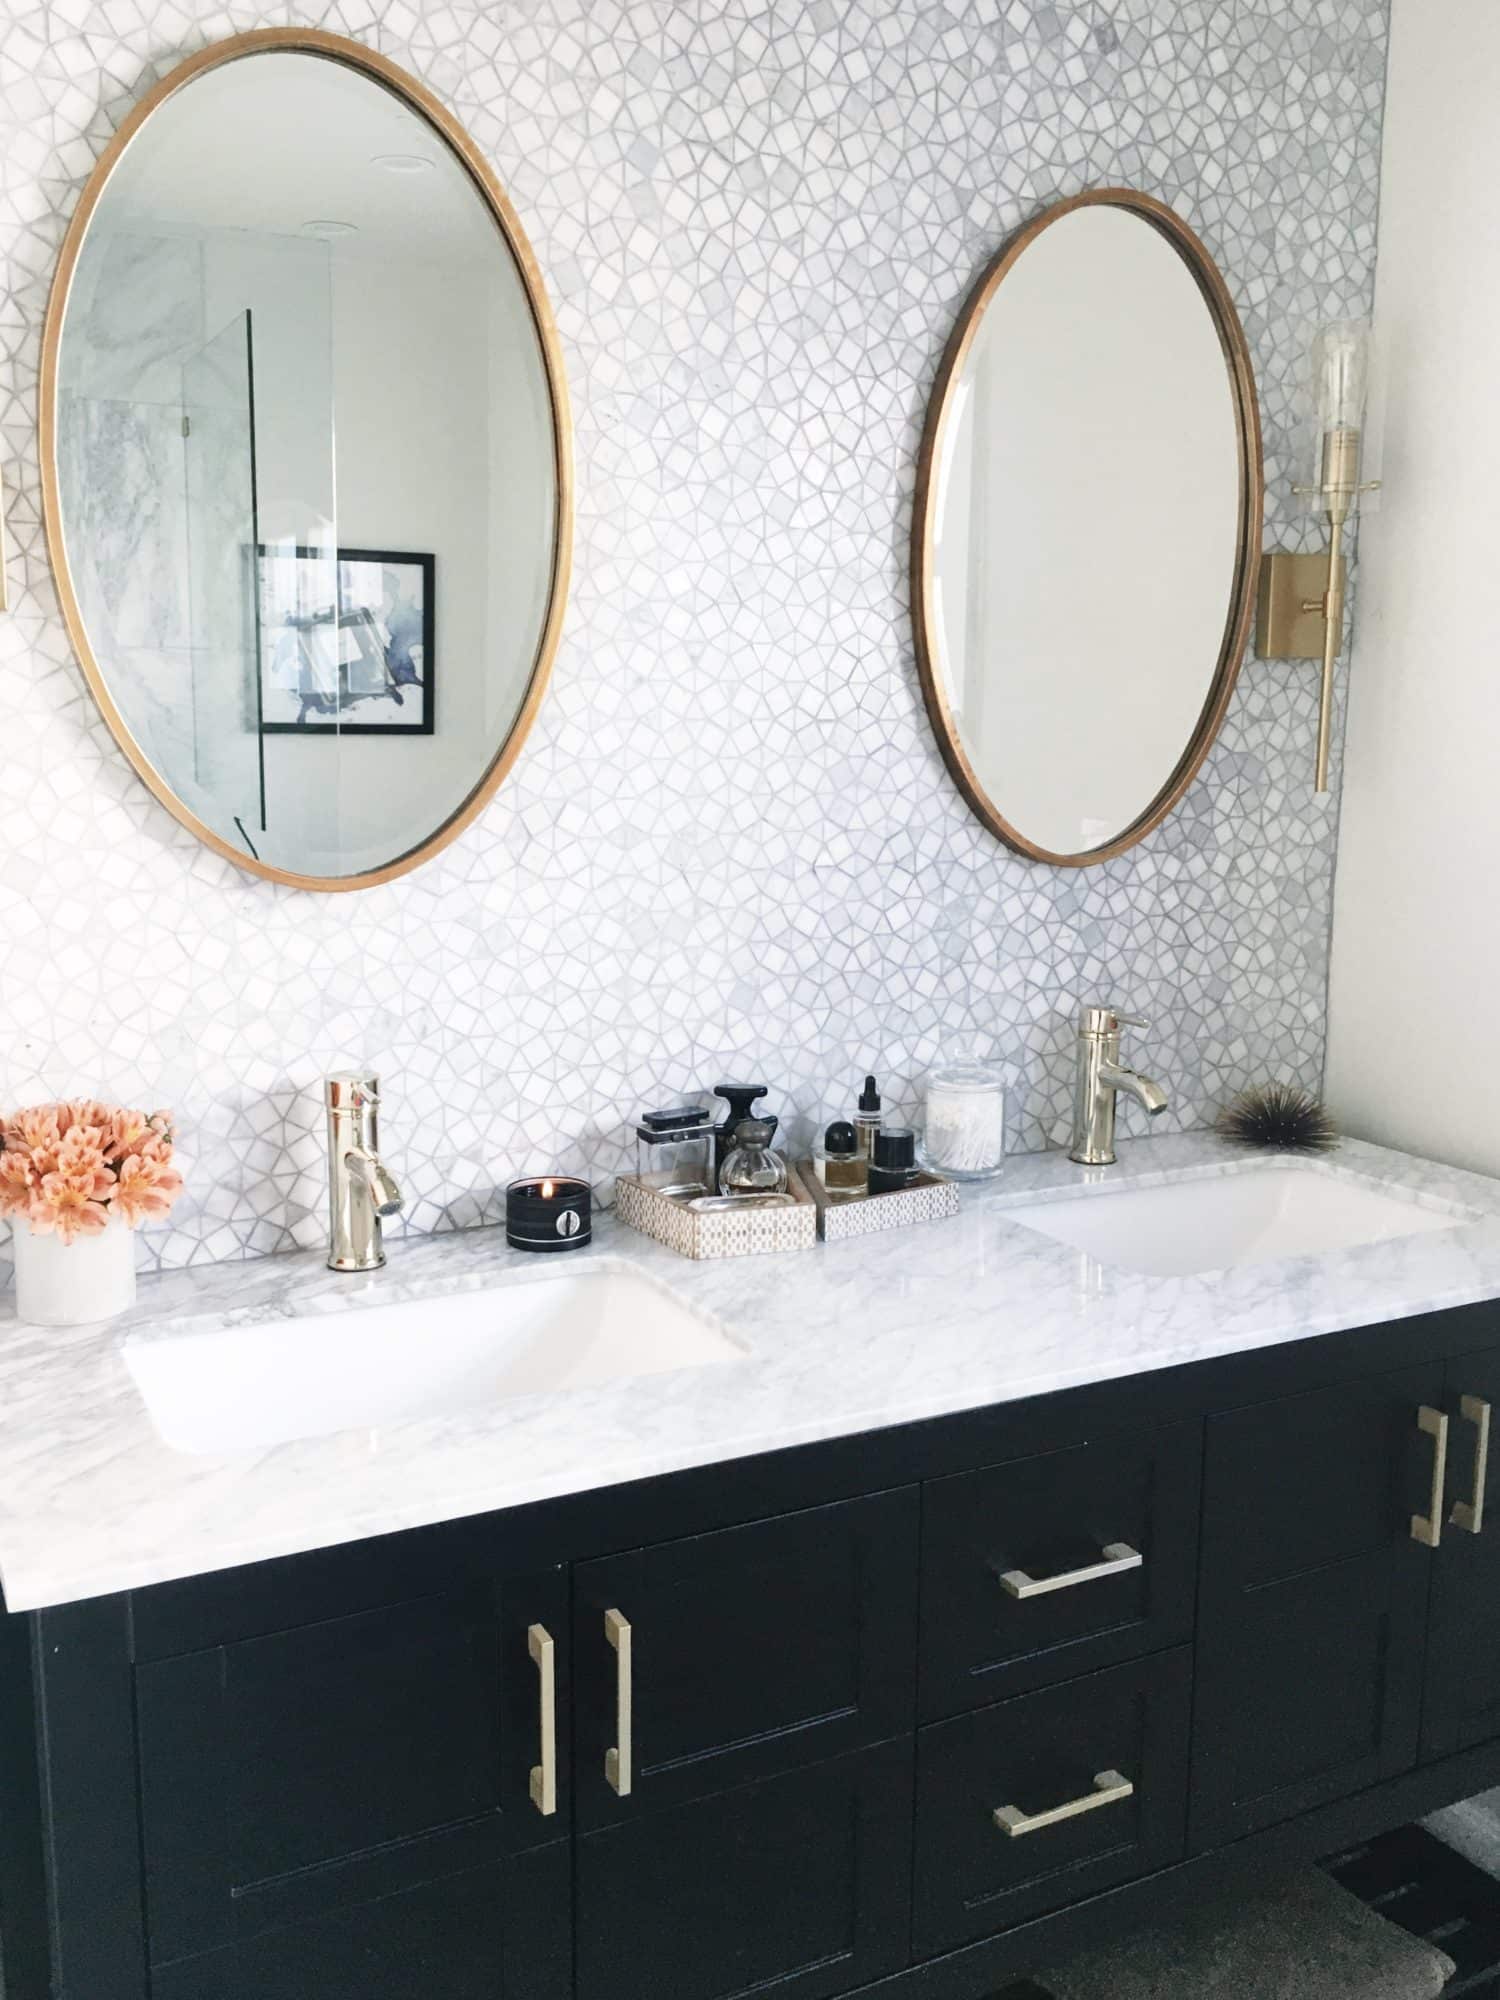
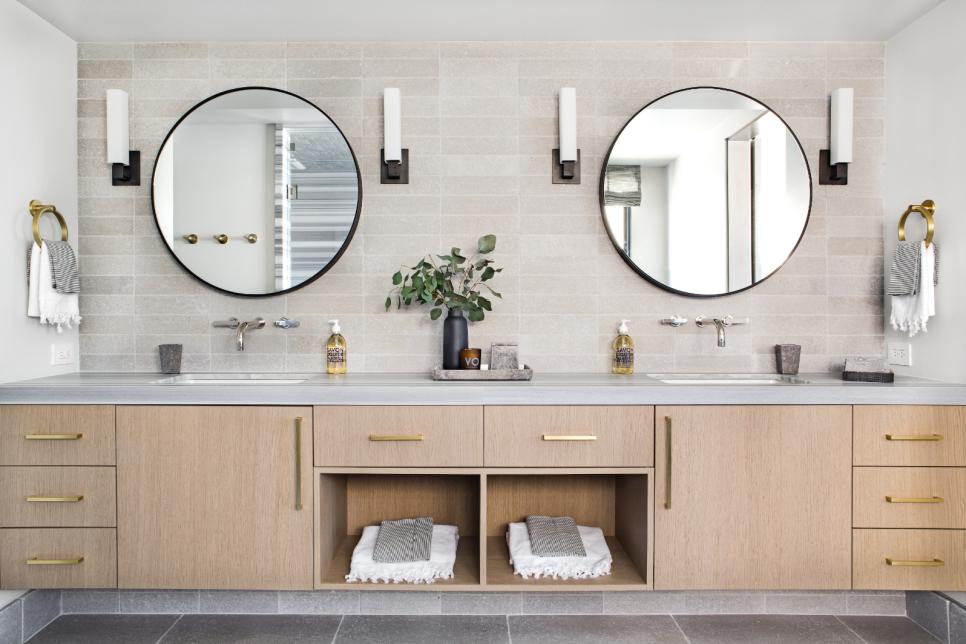
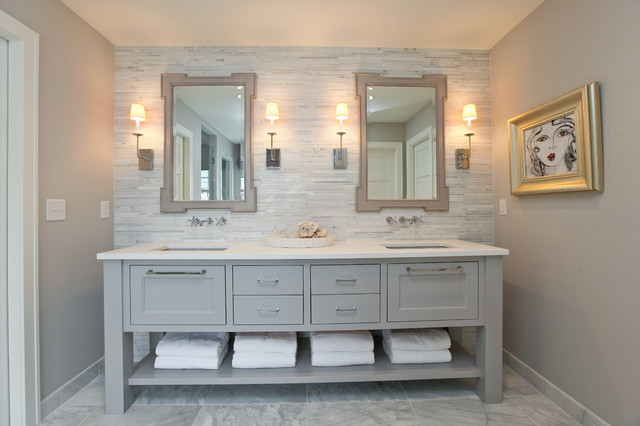
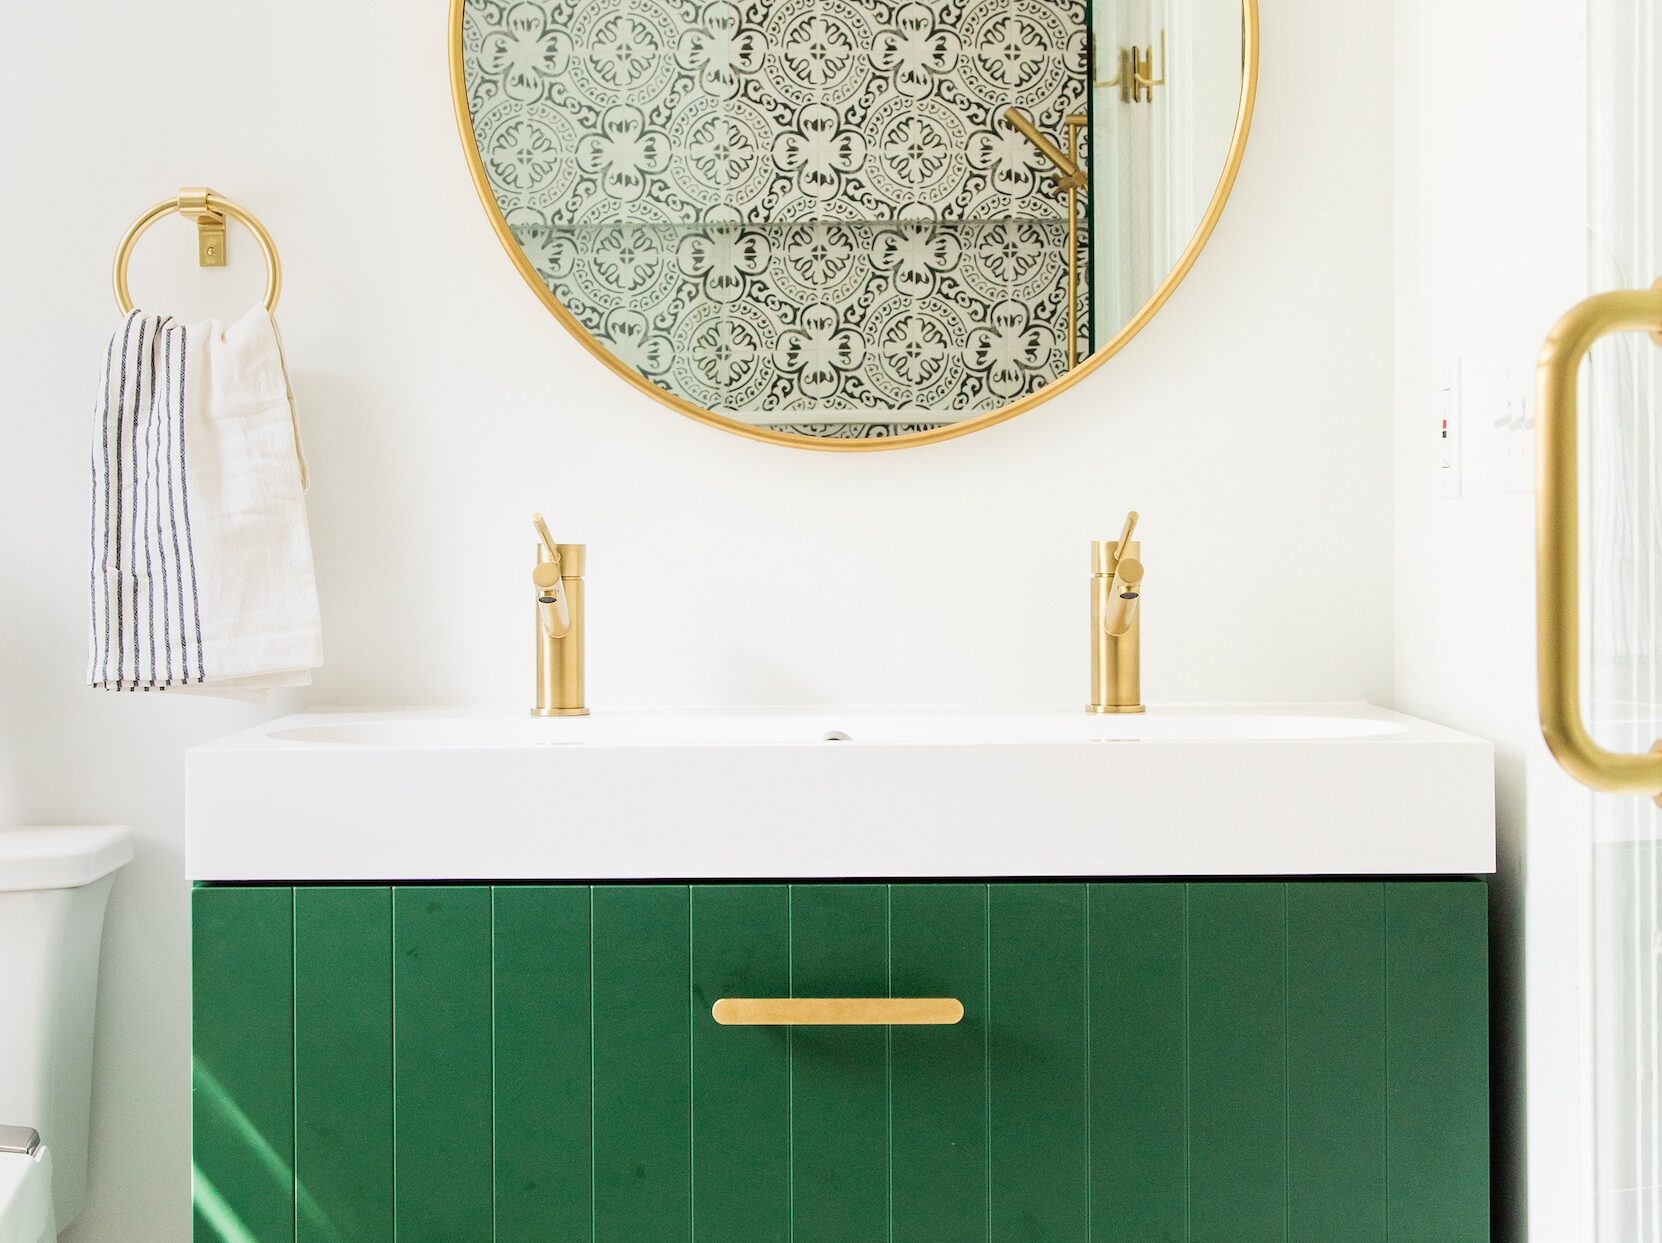
The first step in tiling your bathroom vanity is to select the right tiles for the job. While there are various options available, it's crucial to choose a tile that is suitable for a wet environment and will complement the style of your bathroom. Consider using bold mosaic tiles or subway tiles for a modern look, or marble or ceramic tiles for a classic and elegant feel. Vanity Tiling:


Vanity Tiling


Once you have chosen your tiles, it's time to start the tiling process. Begin by measuring the area around your vanity and marking the layout on the wall with a pencil. Then, apply a thin layer of tile adhesive to the wall using a notched trowel. This will ensure that the tiles adhere properly and create a strong bond. Tiling Vanity:


Tiling Vanity


As you start laying the tiles, it's crucial to use tile spacers to ensure that the gaps between each tile are consistent. This will create a professional and polished finish. Remember to also use a level to ensure that the tiles are straight and even. If any tiles need to be trimmed to fit around pipes or corners, use a wet saw or tub tile cutter for precision cuts. Bathroom Vanity Tile:


Bathroom Vanity Tile


As you continue tiling, periodically step back and check that the tiles are lining up correctly and that there are no gaps or uneven lines. It's also crucial to wipe away any excess adhesive that may have squeezed out from under the tiles. This will prevent it from drying and becoming difficult to remove later on. Vanity Tile:


Vanity Tile


When you reach the edges of the vanity, it's essential to use bullnose tiles or trim pieces to create a clean and finished look. These tiles have a rounded edge that will cover the exposed edges of the tiles, creating a smooth transition. Apply these tiles using the same adhesive and grout as the rest of the tiles. Tile Around Bathroom Vanity:

Tile Around Bathroom Vanity


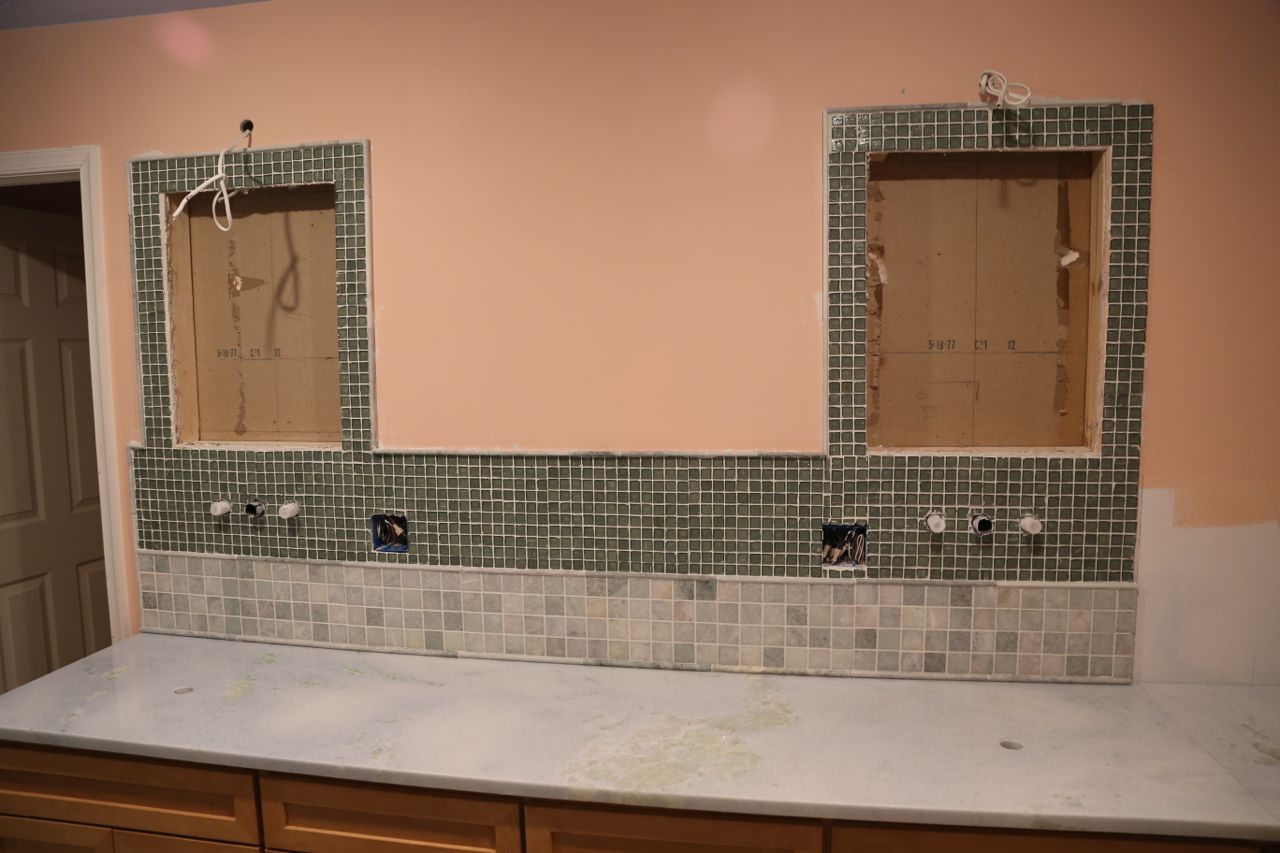
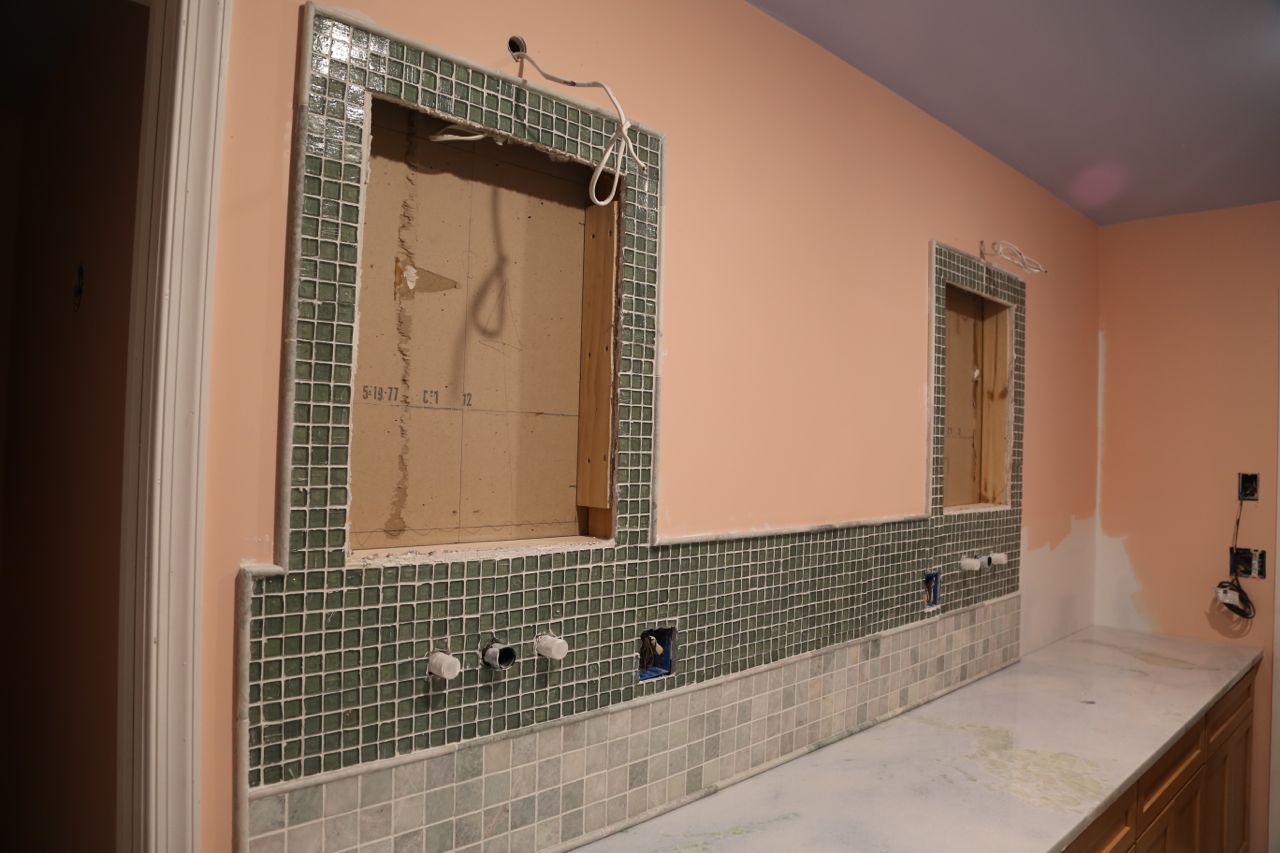
Once all the tiles are in place, it's time to let the adhesive dry completely. This can take anywhere from 24-48 hours, depending on the type of adhesive used. Once dry, it's time to grout the tiles. Use a grout float to apply the grout in between the tiles, making sure to work it into the gaps. Wipe away any excess grout with a damp sponge, and let it dry for another 24 hours. Bathroom Vanity Tile Installation:


/7_IMG_3765-56a4a2743df78cf772835b6f.JPG)
Bathroom Vanity Tile Installation
:max_bytes(150000):strip_icc()/8_IMG_3767-56a4a2753df78cf772835b72.JPG)


The final step in tiling your bathroom vanity area is to seal the grout. This will protect it from water damage and make it easier to clean. Use a grout sealer and apply it according to the manufacturer's instructions. Once dry, you can finally step back and admire your beautifully tiled bathroom vanity. Tiling Bathroom Vanity Area:


Tiling Bathroom Vanity Area


Tiling Around Bathroom Vanity: A Step-by-Step Guide

Introduction
 When it comes to designing a bathroom, one of the most important elements to consider is the vanity. Not only does it serve as a functional space for storage and getting ready, but it can also add a touch of style and personality to the room. However, the process of tiling around a bathroom vanity can seem daunting and overwhelming for many homeowners. But fear not, with the right tools and techniques, tiling around a bathroom vanity can be a relatively simple and rewarding DIY project. In this article, we will guide you through the steps of tiling around a bathroom vanity, so you can achieve a professional and seamless look in your bathroom.
Gather Your Materials
 Before you begin tiling, it is essential to gather all the necessary materials. This includes
tile adhesive, tile spacers, grout, a notched trowel, a tile cutter, a spirit level, and of course, your choice of tiles
. It is crucial to choose tiles that are suitable for bathroom use, as they are more resistant to water and moisture. It is also recommended to purchase extra tiles in case of any mistakes or breakages.
Before you begin tiling, it is essential to gather all the necessary materials. This includes
tile adhesive, tile spacers, grout, a notched trowel, a tile cutter, a spirit level, and of course, your choice of tiles
. It is crucial to choose tiles that are suitable for bathroom use, as they are more resistant to water and moisture. It is also recommended to purchase extra tiles in case of any mistakes or breakages.
Prepare the Surface
 The first step in tiling around a bathroom vanity is to prepare the surface. Begin by removing any old tiles or adhesive and cleaning the area thoroughly. It is essential to have a clean and flat surface to ensure the tiles stick properly. If the vanity has a countertop, you may need to remove it to tile underneath.
Make sure to measure and mark where the vanity will sit, so you know where to stop tiling.
Next, apply a layer of primer, especially if the surface is not water-resistant, to ensure the adhesive sticks properly.
The first step in tiling around a bathroom vanity is to prepare the surface. Begin by removing any old tiles or adhesive and cleaning the area thoroughly. It is essential to have a clean and flat surface to ensure the tiles stick properly. If the vanity has a countertop, you may need to remove it to tile underneath.
Make sure to measure and mark where the vanity will sit, so you know where to stop tiling.
Next, apply a layer of primer, especially if the surface is not water-resistant, to ensure the adhesive sticks properly.
Apply the Adhesive
 Once the surface is prepped, it's time to apply the adhesive. Using a notched trowel, spread the adhesive evenly on the surface.
Make sure to only cover a small area at a time, as the adhesive can dry quickly.
Use the notches on the trowel to create ridges in the adhesive, which will help the tiles stick better. Be sure to follow the manufacturer's instructions for the correct adhesive to water ratio.
Once the surface is prepped, it's time to apply the adhesive. Using a notched trowel, spread the adhesive evenly on the surface.
Make sure to only cover a small area at a time, as the adhesive can dry quickly.
Use the notches on the trowel to create ridges in the adhesive, which will help the tiles stick better. Be sure to follow the manufacturer's instructions for the correct adhesive to water ratio.
Lay the Tiles
 Now comes the fun part - laying the tiles. Begin at the center of the vanity and work your way outwards.
Use tile spacers to create even gaps between the tiles
, and use a spirit level to ensure the tiles are straight. If you need to make any cuts, use a tile cutter or a wet saw to achieve precise and clean edges.
It is essential to work quickly and efficiently, as the adhesive will start to dry.
Once all the tiles are in place, allow the adhesive to dry for at least 24 hours.
Now comes the fun part - laying the tiles. Begin at the center of the vanity and work your way outwards.
Use tile spacers to create even gaps between the tiles
, and use a spirit level to ensure the tiles are straight. If you need to make any cuts, use a tile cutter or a wet saw to achieve precise and clean edges.
It is essential to work quickly and efficiently, as the adhesive will start to dry.
Once all the tiles are in place, allow the adhesive to dry for at least 24 hours.
Grout and Seal
 After the adhesive has dried, it's time to grout. Use a grout float to push the grout into the gaps between the tiles, making sure to remove any excess.
Be sure to choose a grout color that complements your tiles and vanity.
Once the grout has dried, use a grout sealer to protect it from moisture and stains.
After the adhesive has dried, it's time to grout. Use a grout float to push the grout into the gaps between the tiles, making sure to remove any excess.
Be sure to choose a grout color that complements your tiles and vanity.
Once the grout has dried, use a grout sealer to protect it from moisture and stains.
Reattach the Vanity
 Once the grout has dried and sealed, you can reattach the vanity to the wall.
Make sure to use appropriate screws and anchors to secure it in place.
If you removed the countertop, be sure to reattach it using a waterproof adhesive.
Once the grout has dried and sealed, you can reattach the vanity to the wall.
Make sure to use appropriate screws and anchors to secure it in place.
If you removed the countertop, be sure to reattach it using a waterproof adhesive.
Enjoy Your Newly Tiled Bathroom
 Congratulations, you have successfully tiled around your bathroom vanity! Now it's time to step back and admire your handiwork. Tiling around a bathroom vanity may seem daunting at first, but with the right tools and techniques, it can be a simple and rewarding DIY project.
Be sure to maintain your tiles and grout regularly to keep your bathroom looking beautiful for years to come.
Congratulations, you have successfully tiled around your bathroom vanity! Now it's time to step back and admire your handiwork. Tiling around a bathroom vanity may seem daunting at first, but with the right tools and techniques, it can be a simple and rewarding DIY project.
Be sure to maintain your tiles and grout regularly to keep your bathroom looking beautiful for years to come.