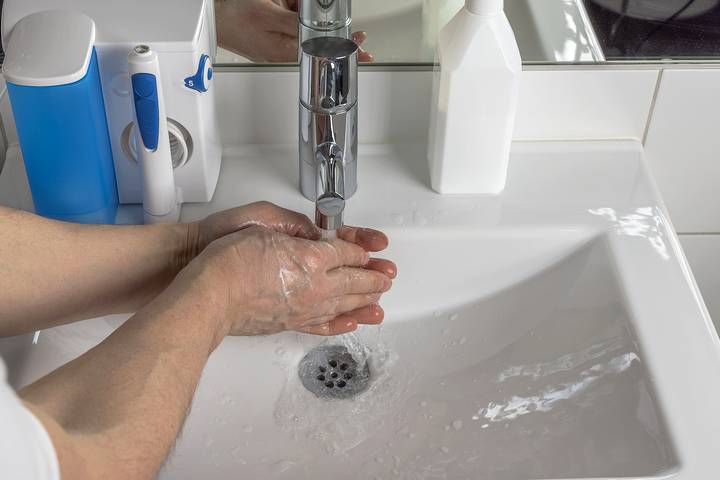
Siliconing a bathroom sink is an essential step in keeping your bathroom clean and well-maintained. Whether you're installing a new sink or resealing an old one, proper siliconing can prevent leaks and water damage, as well as give your sink a polished and professional look. Here's a step-by-step guide on how to silicon a bathroom sink like a pro. How to Silicon a Bathroom Sink


How to Silicon a Bathroom Sink


Step 1: Gather your supplies - Before starting the siliconing process, make sure you have all the necessary supplies. This includes a tube of bathroom-grade silicone, a caulk gun, a utility knife, a putty knife, and some rubbing alcohol. Step 2: Clean the surface - Use a mixture of equal parts water and rubbing alcohol to clean the sink and surrounding area. This will remove any dirt, grime, or old silicone residue that could interfere with the new silicone bond. Make sure the surface is completely dry before moving on to the next step. Step 3: Cut the tip of the silicone tube - Use a utility knife to cut the tip of the silicone tube at a 45-degree angle. The size of the hole will determine the thickness of the silicone bead, so start with a small hole and cut more if needed. Step 4: Load the silicone into the caulk gun - Insert the silicone tube into the caulk gun and make sure it is securely in place. Then, squeeze the trigger until the silicone begins to come out of the tube. Step 5: Apply the silicone - Starting at one corner of the sink, slowly and evenly apply the silicone in a continuous bead along the edges. Use the putty knife to smooth out the silicone and create a clean edge. Make sure the silicone is evenly spread and there are no gaps or bubbles. Step 6: Wipe away excess silicone - Use a damp cloth or paper towel to wipe away any excess silicone that may have spread beyond the edges of the sink. This will give your sink a clean and professional finish. Step 7: Let it dry - Allow the silicone to dry for at least 24 hours before using the sink. This will ensure that the silicone has fully bonded and will provide a strong seal. Step-by-Step Guide for Siliconing a Bathroom Sink


Step-by-Step Guide for Siliconing a Bathroom Sink


Tip 1: Use the right type of silicone - It's important to use a bathroom-grade silicone for this project. Regular silicone may not hold up to the moisture and humidity in a bathroom, leading to mold and mildew growth. Tip 2: Use masking tape for clean edges - If you want a perfectly straight and clean edge, use masking tape to create a guide for the silicone bead. Simply apply the tape along the edges of the sink, leaving a small gap for the silicone, and then remove the tape after smoothing the silicone with the putty knife. Tip 3: Don't skimp on the drying time - It may be tempting to use your sink right away, but it's important to let the silicone fully dry before using the sink to prevent damage to the seal. Tips for a Successful Siliconing of a Bathroom Sink


Tips for a Successful Siliconing of a Bathroom Sink


Mistake 1: Not cleaning the surface properly - As mentioned before, it's crucial to thoroughly clean the sink and surrounding area before applying silicone. Any dirt or residue can affect the bond and lead to leaks. Mistake 2: Overfilling the gap - It's important to apply a thin and even bead of silicone, as overfilling can cause the silicone to bulge out and create an unsightly finish. Mistake 3: Rushing the drying process - It's important to let the silicone fully dry before using the sink. Rushing this step can result in a weak seal and the need for reapplication. Common Mistakes to Avoid When Siliconing a Bathroom Sink


Common Mistakes to Avoid When Siliconing a Bathroom Sink


Product 1: GE Sealants & Adhesives Kitchen & Bath Silicone - This silicone is specifically designed for bathroom and kitchen use, providing a strong and durable seal. Product 2: Dap Kwik Seal Plus Premium Kitchen & Bath Adhesive Caulk - This caulk offers both adhesive and sealing properties, making it ideal for bathroom sinks. It also dries quickly, reducing the waiting time. Product 3: Loctite Polyseamseal Tub & Tile Adhesive Caulk - This adhesive caulk is waterproof and mold resistant, perfect for bathroom sink applications. It also comes in a variety of colors to match your sink. Best Products for Siliconing a Bathroom Sink


Best Products for Siliconing a Bathroom Sink


It's recommended to re-silicone your bathroom sink every 1-2 years, depending on usage and wear. This will ensure a strong and durable seal, preventing any potential leaks and water damage. How Often Should You Silicon a Bathroom Sink?


How Often Should You Silicon a Bathroom Sink?


Benefit 1: Prevents leaks - Siliconing your bathroom sink creates a watertight seal, preventing any leaks that could lead to water damage and mold growth. Benefit 2: Aesthetically pleasing - A neatly siliconed sink can enhance the overall look of your bathroom, giving it a clean and polished finish. Benefit 3: Easy to maintain - A properly siliconed sink is easy to clean and maintain, making it a hassle-free addition to your bathroom routine. The Benefits of Siliconing a Bathroom Sink


The Benefits of Siliconing a Bathroom Sink


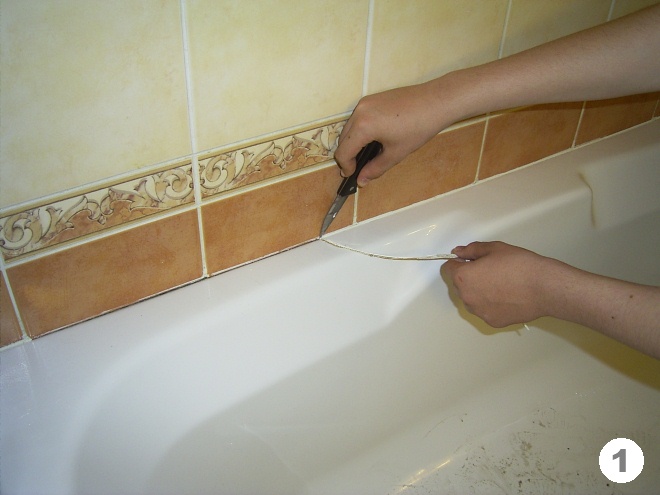
Step 1: Soften the silicone - Use a silicone softener or a mixture of equal parts water and vinegar to soften the old silicone. Let it sit for a few hours. Step 2: Scrape away the silicone - Use a utility knife or plastic scraper to carefully remove the softened silicone. Be careful not to scratch the sink surface. Step 3: Clean the surface - Use rubbing alcohol to clean any remaining residue and prepare the surface for new silicone. Step 4: Proceed with siliconing - Follow the steps mentioned earlier to apply new silicone to your sink. How to Remove Old Silicon from a Bathroom Sink


How to Remove Old Silicon from a Bathroom Sink


Issue 1: Silicone not sticking - If the silicone is not adhering to the sink surface, it could be due to an unclean surface or the wrong type of silicone. Make sure to clean the surface properly and use a bathroom-grade silicone. Issue 2: Uneven or bumpy finish - This could be due to excess silicone or not enough smoothing with a putty knife. Wipe away any excess silicone and smooth out the remaining bead with the putty knife. Issue 3: Silicone not drying - If the silicone is not drying after 24 hours, it could be due to high humidity or a low-quality silicone. Make sure the room is well-ventilated and consider using a better quality silicone. Troubleshooting Common Issues with Siliconing a Bathroom Sink

Troubleshooting Common Issues with Siliconing a Bathroom Sink


While it is possible to silicon a bathroom sink yourself, hiring a professional can ensure a perfect and long-lasting seal. Professionals have the necessary tools and experience to tackle any potential issues and provide a seamless finish. However, if you're confident in your DIY skills, siliconing a bathroom sink can be a cost-effective and rewarding task. Professional vs DIY: Siliconing a Bathroom Sink


Professional vs DIY: Siliconing a Bathroom Sink


:max_bytes(150000):strip_icc()/steam-cleaning-professional-vs-diy-2908776-hero-24ffd77737924bca908036dabcdcbbad.jpg)


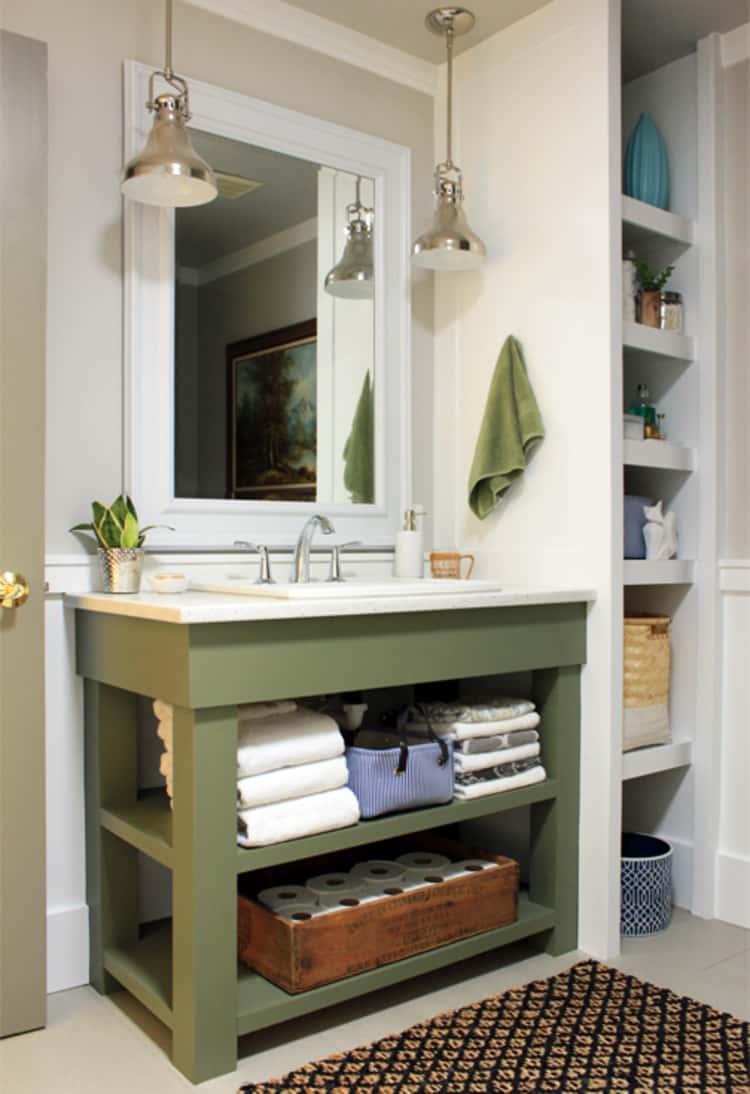
Siliconing a Bathroom Sink: The Final Touch for a Perfect Bathroom Design

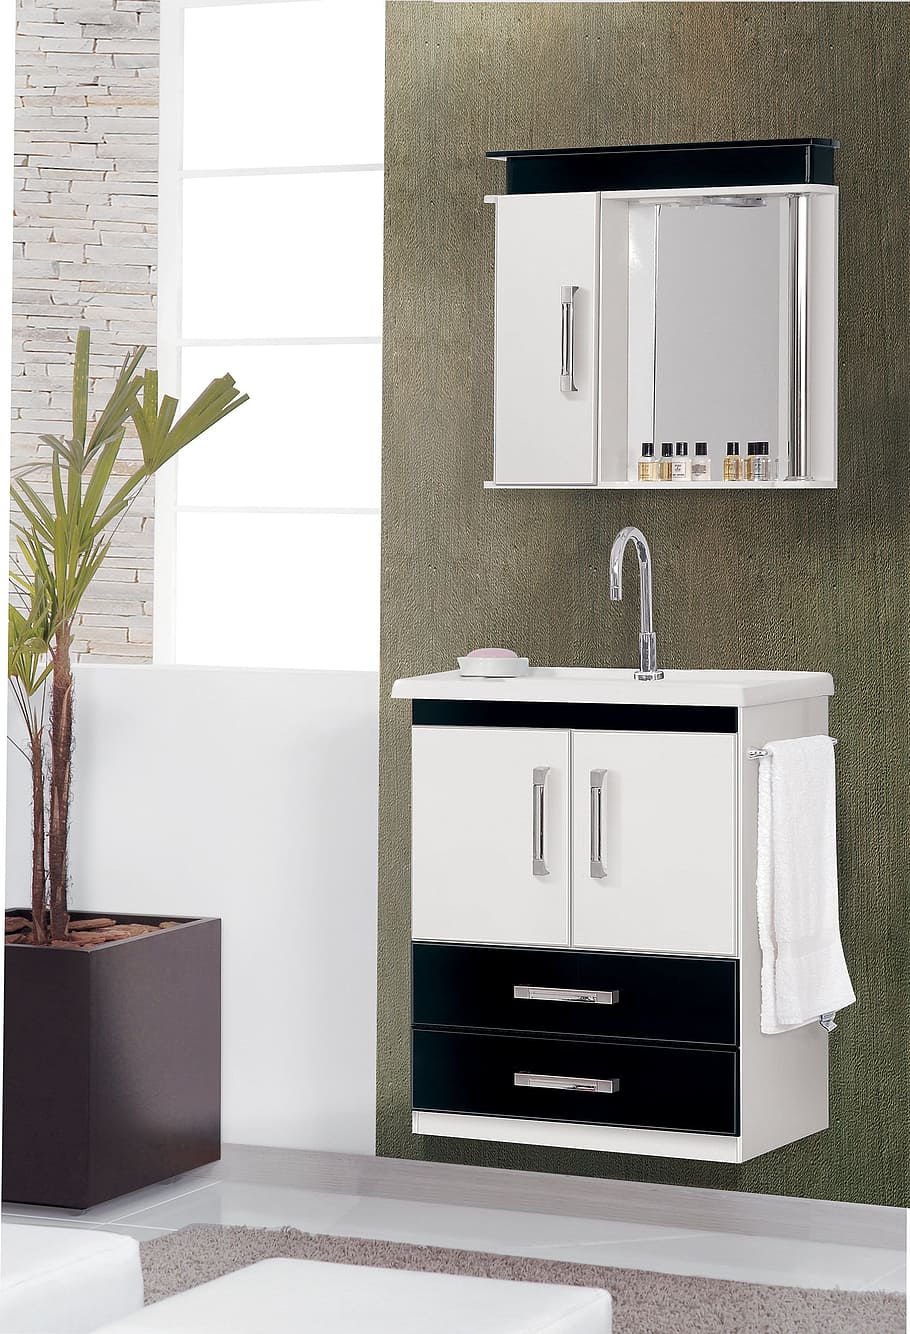
When it comes to house design, the bathroom is often one of the most overlooked spaces. However, a well-designed bathroom can greatly enhance the overall look and feel of your home. From choosing the right tiles to selecting the perfect fixtures, every detail counts. And one of the most important finishing touches for a bathroom is siliconing the sink . In this article, we will discuss the importance of siliconing a bathroom sink and how to do it properly.
The Importance of Siliconing a Bathroom Sink

Before we dive into the process of siliconing a bathroom sink, let's first understand why it is important. Silicone sealant is a waterproof and flexible material that is used to seal gaps and joints. In a bathroom, this is crucial as it prevents water from seeping into the walls or floors, which can lead to mold and mildew growth. It also helps to keep the sink securely in place and gives a clean and finished look to the area.
The Process of Siliconing a Bathroom Sink

Now that we understand the importance of siliconing a bathroom sink, let's look at the steps involved in the process.
Step 1: Prepare the area by thoroughly cleaning the sink and surrounding counter. Remove any old silicone using a scraper or razor blade.
Step 2: Choose the right silicone sealant for your bathroom. Look for one that is specifically designed for wet areas and has mold and mildew resistance.
Step 3: Cut the tip of the silicone tube at a 45-degree angle and insert it into a caulking gun.
Step 4: Apply a thin and even layer of silicone along the edge of the sink, making sure to fill any gaps or joints. Use a wet finger or a silicone smoothing tool to create a smooth finish.
Step 5: Wipe away any excess silicone with a damp cloth before it dries.
Step 6: Allow the silicone to dry completely, according to the manufacturer's instructions.
Step 7: Once the silicone is dry, you can use a mildew-resistant caulk to seal any remaining gaps or joints.
Final Thoughts

As you can see, siliconing a bathroom sink is a simple yet important final touch for a perfect bathroom design. It not only provides a clean and finished look but also helps to prevent any water damage. So, the next time you are giving your bathroom a makeover, don't forget to include this crucial step.