Sealing your kitchen sink to the countertop is an essential step to prevent leaks and keep your kitchen looking clean and tidy. It may seem like a daunting task, but with the right tools and techniques, you can easily seal your kitchen sink to the countertop in no time.1. How to Seal a Kitchen Sink to a Countertop


1. How to Seal a Kitchen Sink to a Countertop


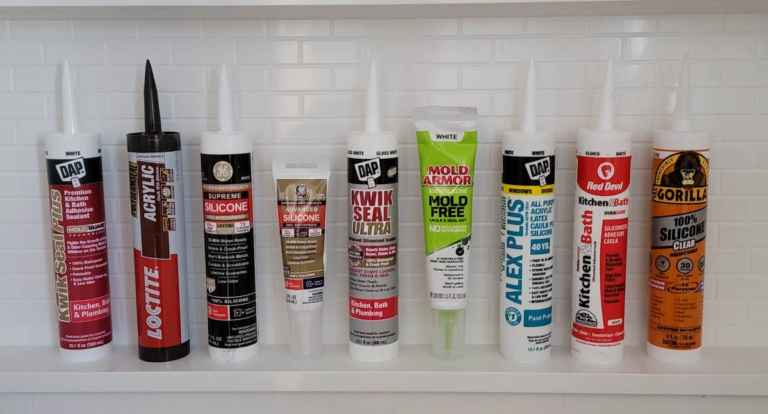
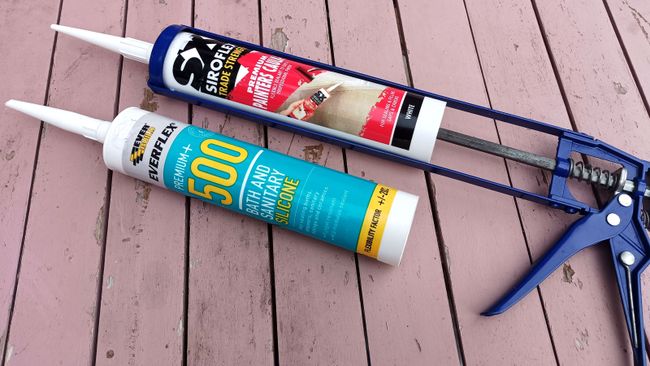
When it comes to choosing the best sealant for your kitchen sink to countertop, there are a few options to consider. The most common sealants are silicone and caulk, both of which have their pros and cons. Silicone is more flexible and has a longer lifespan, while caulk is more affordable and easier to apply. Ultimately, the best sealant for your kitchen sink to countertop will depend on your personal preferences and needs.2. Best Sealant for Kitchen Sink to Countertop


2. Best Sealant for Kitchen Sink to Countertop
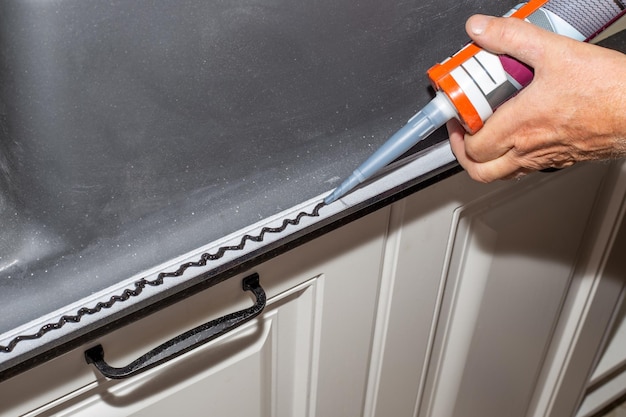

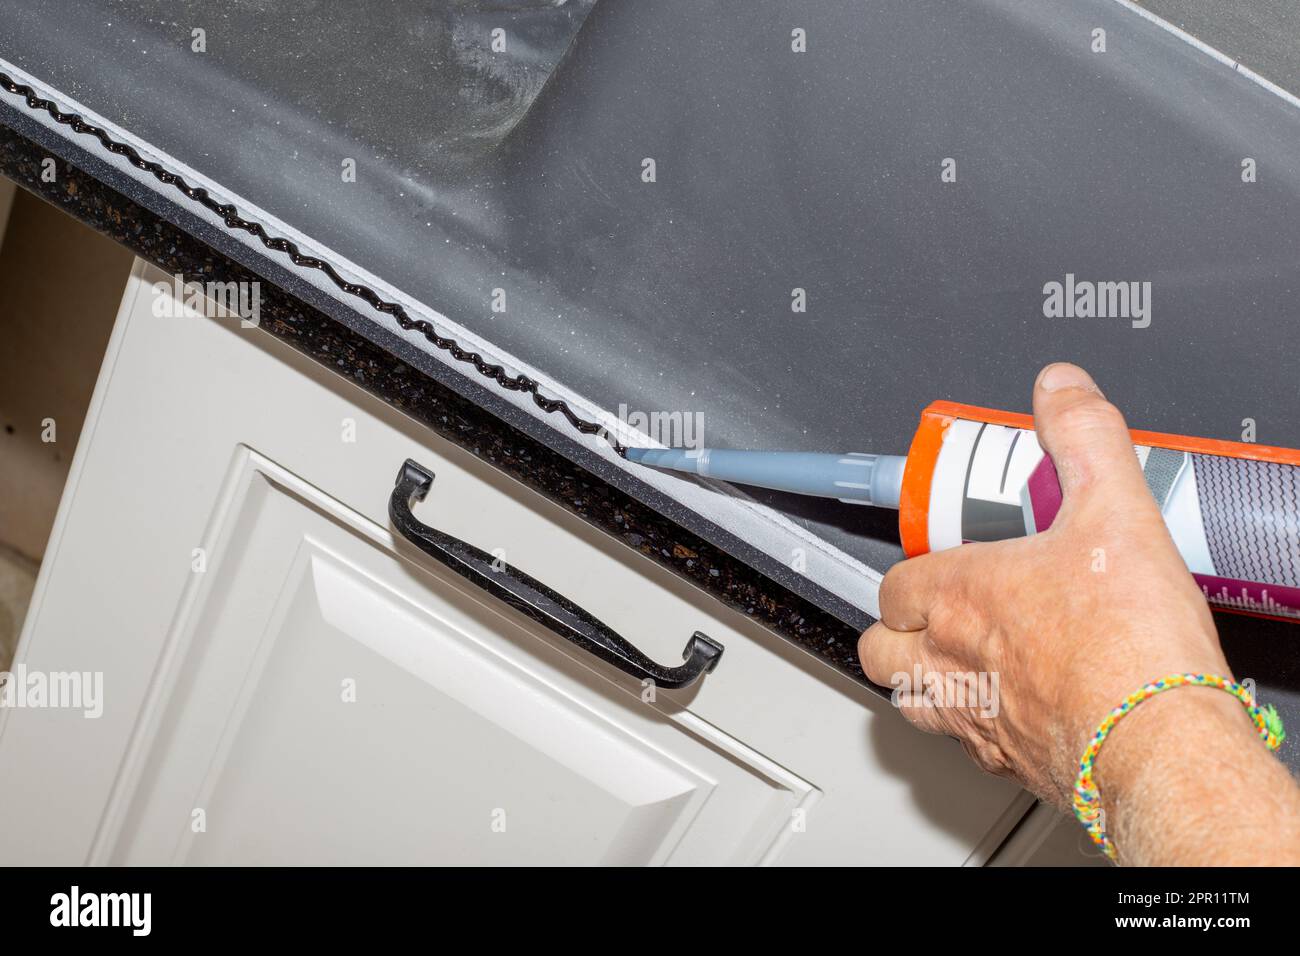


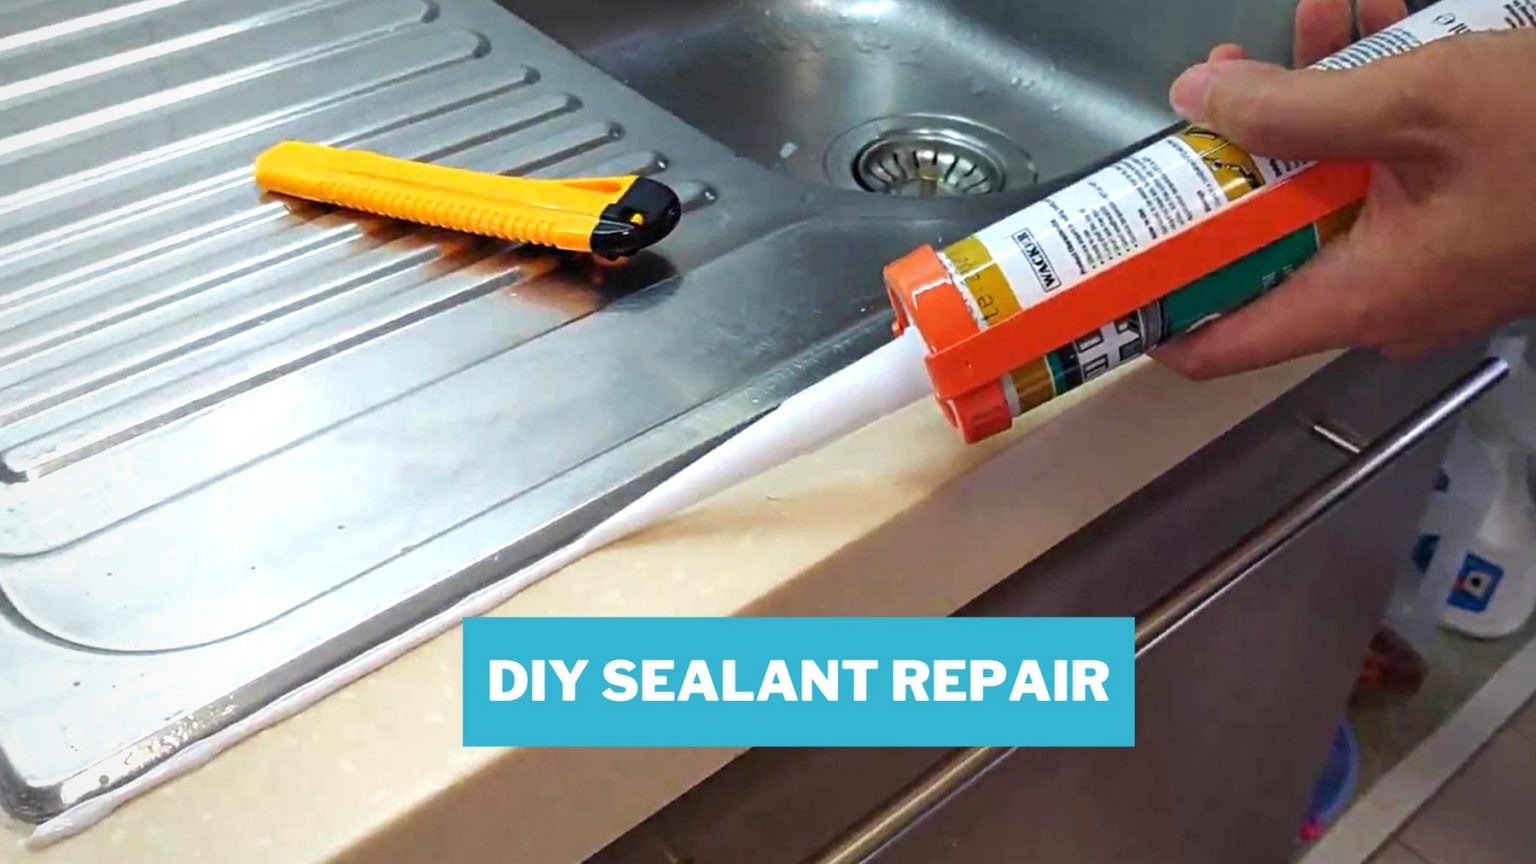
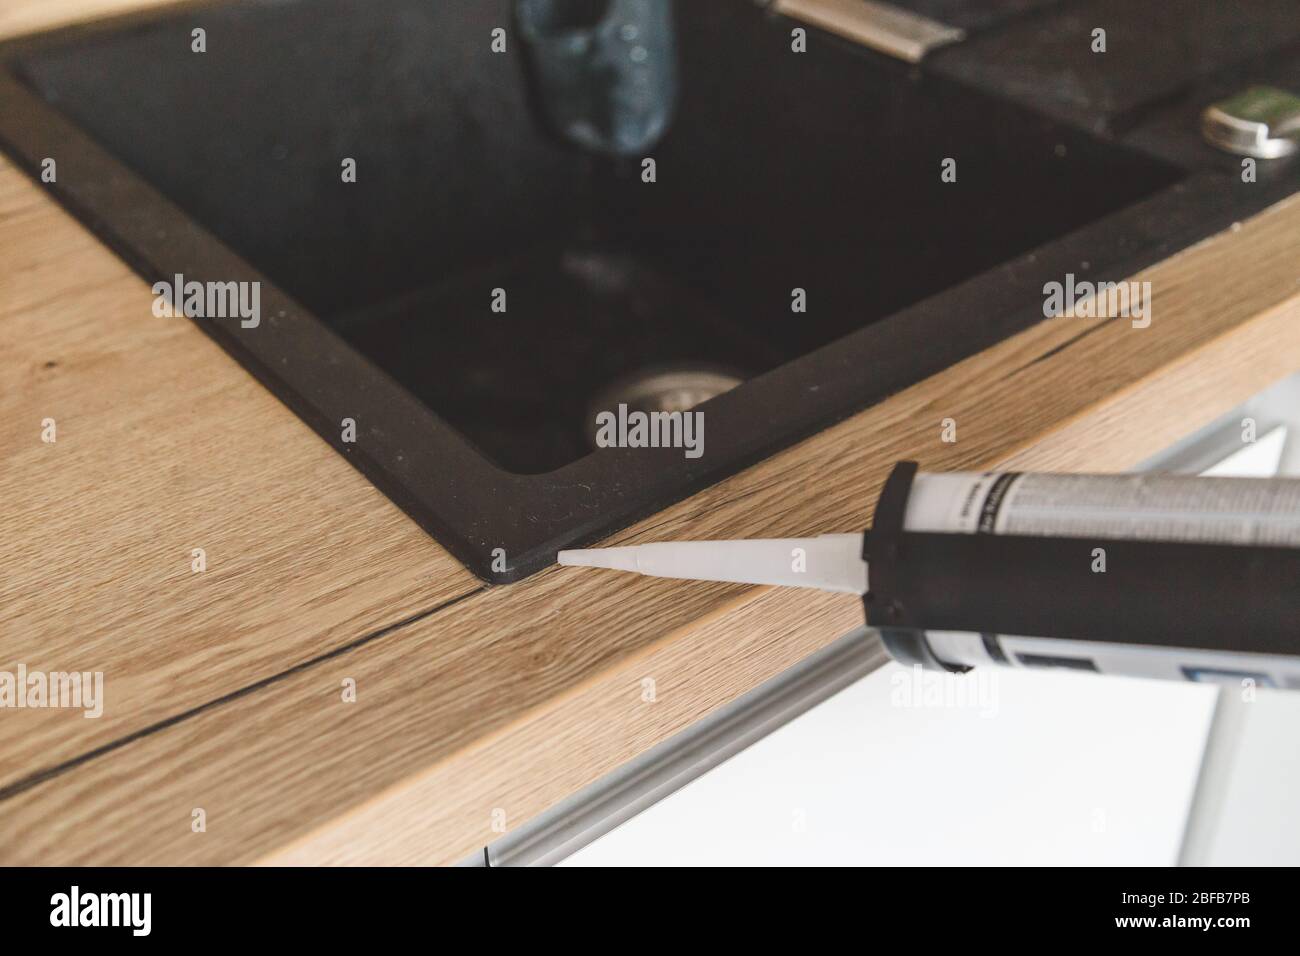
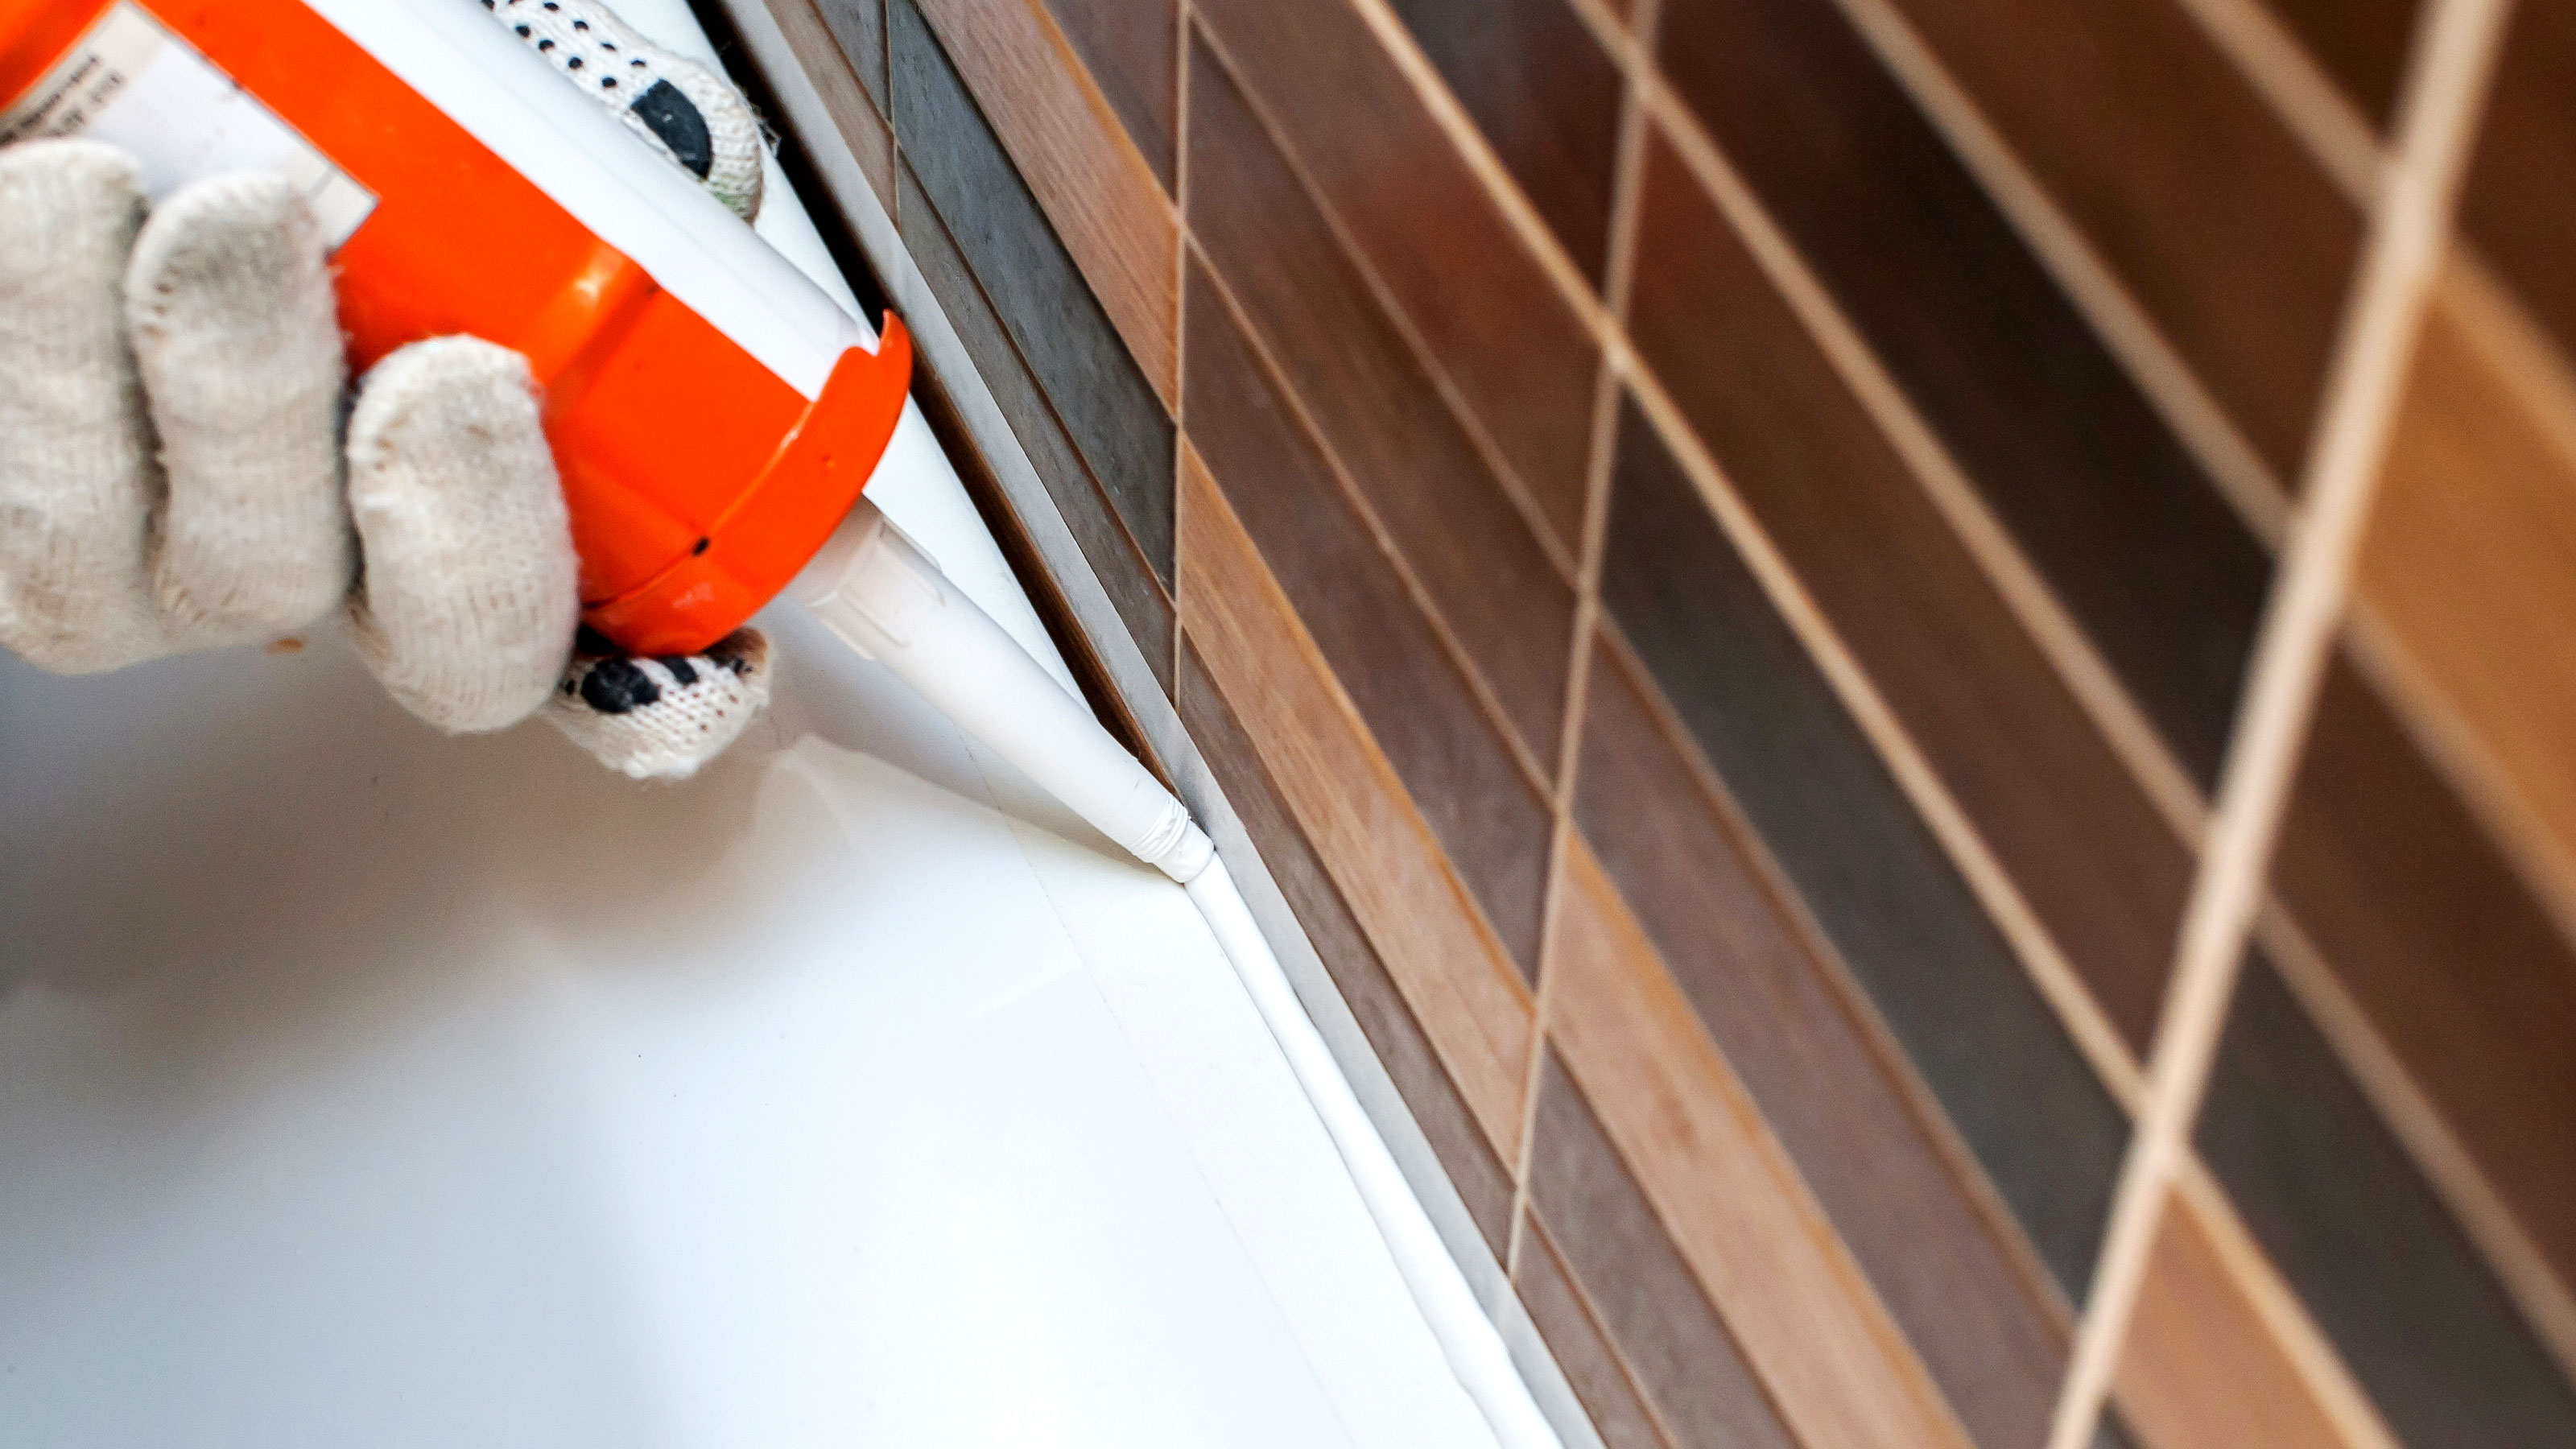
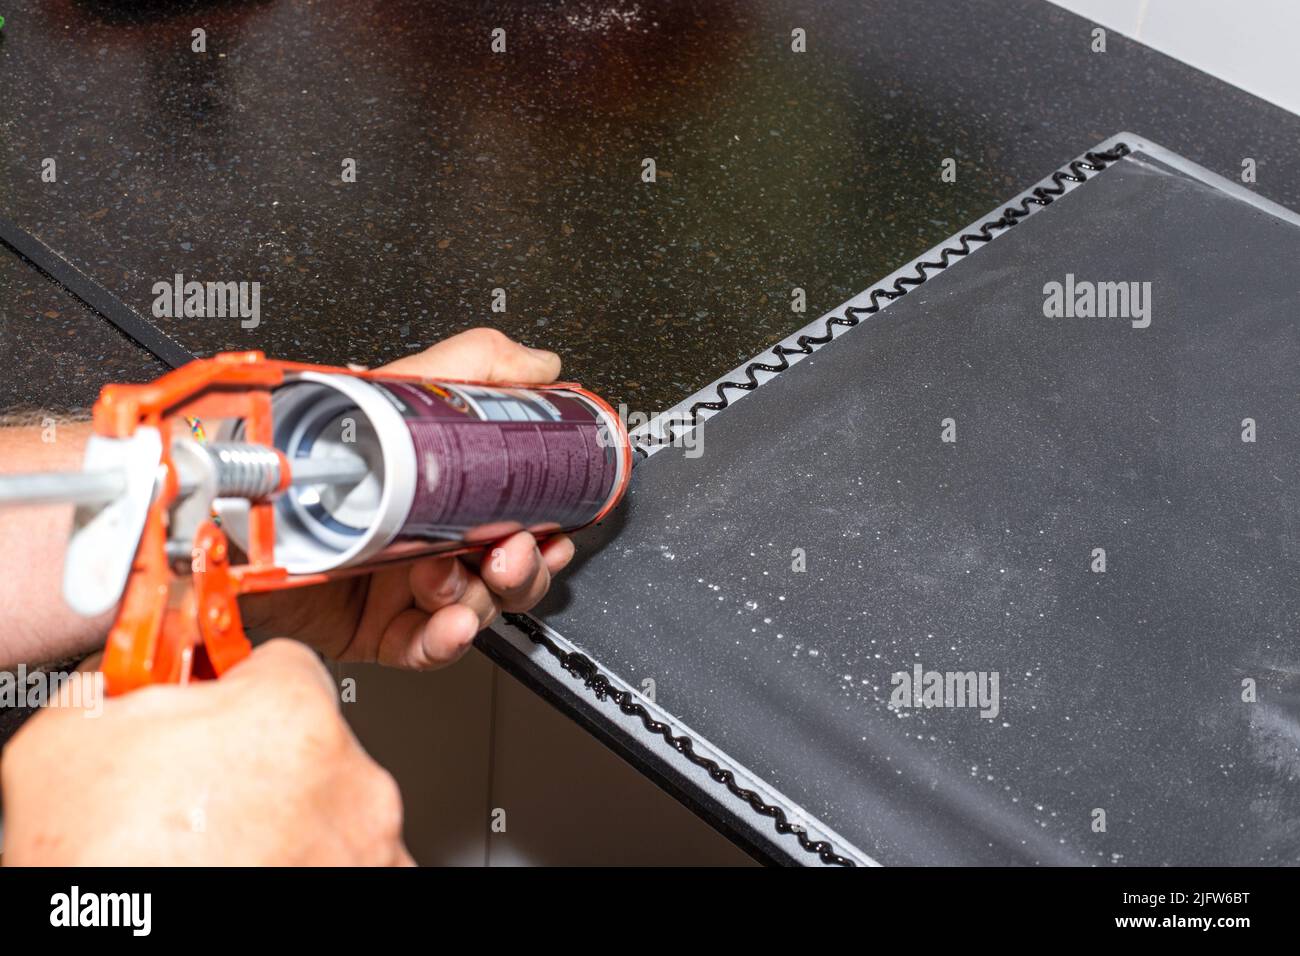
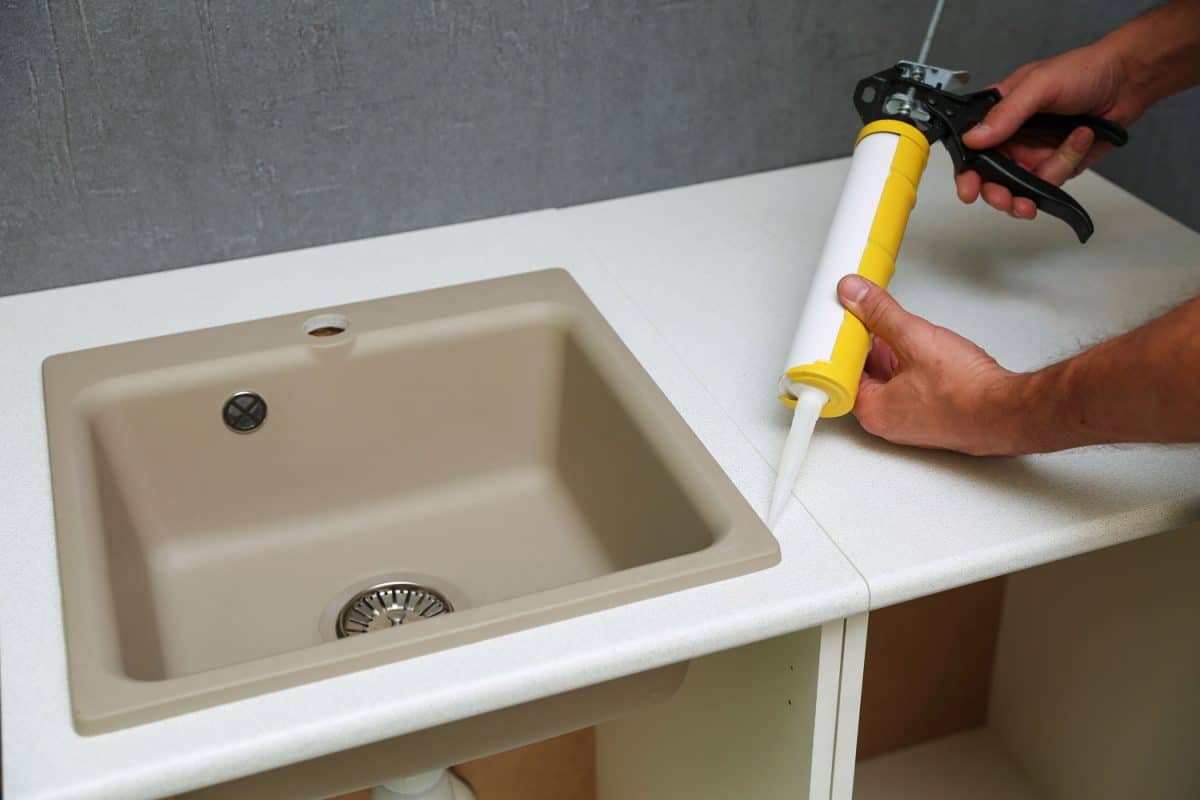
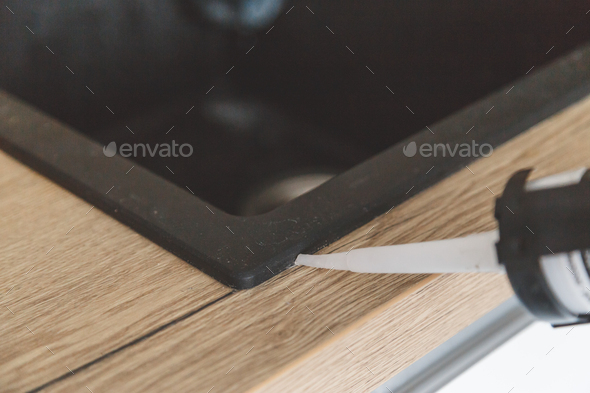
If you're ready to tackle the task of sealing your kitchen sink to the countertop, here is a step-by-step guide to help you through the process: Step 1: Clean the area around your sink and countertop with a mild cleaner and let it dry completely. Step 2: Apply a small amount of sealant on the edge of the sink where it meets the countertop. Step 3: Smooth out the sealant with your finger or a caulk smoothing tool to create a tight seal. Step 4: Wipe off any excess sealant with a damp cloth. Step 5: Let the sealant dry according to the manufacturer's instructions before using your sink.3. Step-by-Step Guide for Sealing Kitchen Sink to Countertop


3. Step-by-Step Guide for Sealing Kitchen Sink to Countertop


To ensure a tight seal between your kitchen sink and countertop, here are some helpful tips: - Use painter's tape: Placing painter's tape along the edge of your sink and countertop can help create a clean, straight line when applying the sealant. - Don't use too much sealant: Using too much sealant can create a messy and uneven seal. It's best to start with a small amount and add more if needed. - Use a caulk smoothing tool: A caulk smoothing tool can help create a smooth and even seal between your sink and countertop. - Let the sealant dry completely: It's important to let the sealant dry completely before using your sink to ensure a tight and long-lasting seal.4. Tips for a Tight Seal Between Kitchen Sink and Countertop


4. Tips for a Tight Seal Between Kitchen Sink and Countertop
:max_bytes(150000):strip_icc()/GettyImages-174841379-5a85d100ba61770036d9f06c.jpg)


Even with the best intentions, mistakes can happen when sealing your kitchen sink to the countertop. Here are some common mistakes to avoid: - Not cleaning the area properly: Skipping the step of cleaning the area around your sink and countertop can lead to a poor seal. - Using the wrong sealant: Choosing the wrong type of sealant can result in an ineffective seal or damage to your sink or countertop. - Rushing the process: Taking your time and following each step carefully is crucial for a successful seal. - Not letting the sealant dry completely: Rushing to use your sink before the sealant has dried can compromise the effectiveness of the seal.5. Common Mistakes When Sealing Kitchen Sink to Countertop


5. Common Mistakes When Sealing Kitchen Sink to Countertop


As mentioned earlier, silicone and caulk are both commonly used sealants for kitchen sinks to countertops. So which one is better? It ultimately depends on your personal preferences and needs. Silicone is more flexible and has a longer lifespan, making it a popular choice for sealing kitchen sinks. However, caulk is more affordable and easier to apply. Consider your budget, level of experience, and desired flexibility when deciding between silicone and caulk for your sealant.6. Silicone vs. Caulk: Which is Better for Sealing Kitchen Sink to Countertop?


6. Silicone vs. Caulk: Which is Better for Sealing Kitchen Sink to Countertop?


As with any seal, it will eventually wear out and need to be replaced. How often you need to re-seal your kitchen sink to countertop will depend on the type of sealant used, the amount of wear and tear, and personal preference. On average, it's recommended to re-seal your kitchen sink every 1-2 years to maintain a tight seal and prevent leaks.7. How Often Should You Re-Seal Your Kitchen Sink to Countertop?

7. How Often Should You Re-Seal Your Kitchen Sink to Countertop?


Waterproofing your kitchen sink to countertop seal is crucial to prevent leaks and water damage. To ensure maximum waterproofing, make sure to use a high-quality sealant and follow the manufacturer's instructions carefully. You can also consider adding a layer of waterproofing sealant on top of the initial seal for added protection.8. Waterproofing Your Kitchen Sink to Countertop Seal


8. Waterproofing Your Kitchen Sink to Countertop Seal


If you need to re-seal your kitchen sink to countertop, you will first need to remove the old sealant. Here's how: Step 1: Use a putty knife or razor blade to scrape off as much of the old sealant as possible. Step 2: Apply a sealant remover to the remaining sealant and let it sit for the recommended amount of time. Step 3: Use a scrub brush or old toothbrush to scrub away the sealant. Step 4: Wipe away any residue with a damp cloth. Step 5: Let the area dry completely before applying new sealant.9. How to Remove Old Sealant from Kitchen Sink to Countertop

:strip_icc()/built-in-island-sink-tall-faucet-6ce4c54f-4fa351fcd9ea4a649b351e6981a56585.jpg)

9. How to Remove Old Sealant from Kitchen Sink to Countertop


Sealing your kitchen sink to the countertop can be a DIY project for those with some experience in home improvement. However, if you're not confident in your skills or want a professional finish, it's best to hire a professional. A professional can ensure a tight and long-lasting seal, and save you the hassle and potential mistakes of a DIY project. Sealing your kitchen sink to the countertop may seem like a small task, but it plays a crucial role in the functionality and appearance of your kitchen. With the right tools and techniques, you can easily seal your kitchen sink to the countertop and enjoy a leak-free and beautiful kitchen for years to come.10. DIY vs. Professional: Sealing Kitchen Sink to Countertop

10. DIY vs. Professional: Sealing Kitchen Sink to Countertop

Why Sealing Your Kitchen Sink to Countertop Is Essential for a Well-Designed Kitchen

The Importance of a Properly Sealed Kitchen Sink
 When it comes to designing a functional and aesthetically pleasing kitchen, every detail matters. This includes the
kitchen sink
, which is an essential element of any kitchen. However, many homeowners overlook the importance of
sealing their kitchen sink to the countertop
. This simple yet crucial step can make a significant difference in the overall look and functionality of your kitchen.
When it comes to designing a functional and aesthetically pleasing kitchen, every detail matters. This includes the
kitchen sink
, which is an essential element of any kitchen. However, many homeowners overlook the importance of
sealing their kitchen sink to the countertop
. This simple yet crucial step can make a significant difference in the overall look and functionality of your kitchen.
Preventing Water Damage and Mold Growth
 One of the main reasons for sealing your kitchen sink to the countertop is to prevent water from seeping in between the two surfaces. Over time, water can cause damage to both the sink and the countertop, leading to costly repairs. Additionally, trapped water can create a breeding ground for mold and mildew, which can be hazardous to your health. By
sealing the sink to the countertop
, you are creating a barrier that prevents water from seeping through and causing damage.
One of the main reasons for sealing your kitchen sink to the countertop is to prevent water from seeping in between the two surfaces. Over time, water can cause damage to both the sink and the countertop, leading to costly repairs. Additionally, trapped water can create a breeding ground for mold and mildew, which can be hazardous to your health. By
sealing the sink to the countertop
, you are creating a barrier that prevents water from seeping through and causing damage.
Enhancing the Aesthetics of Your Kitchen
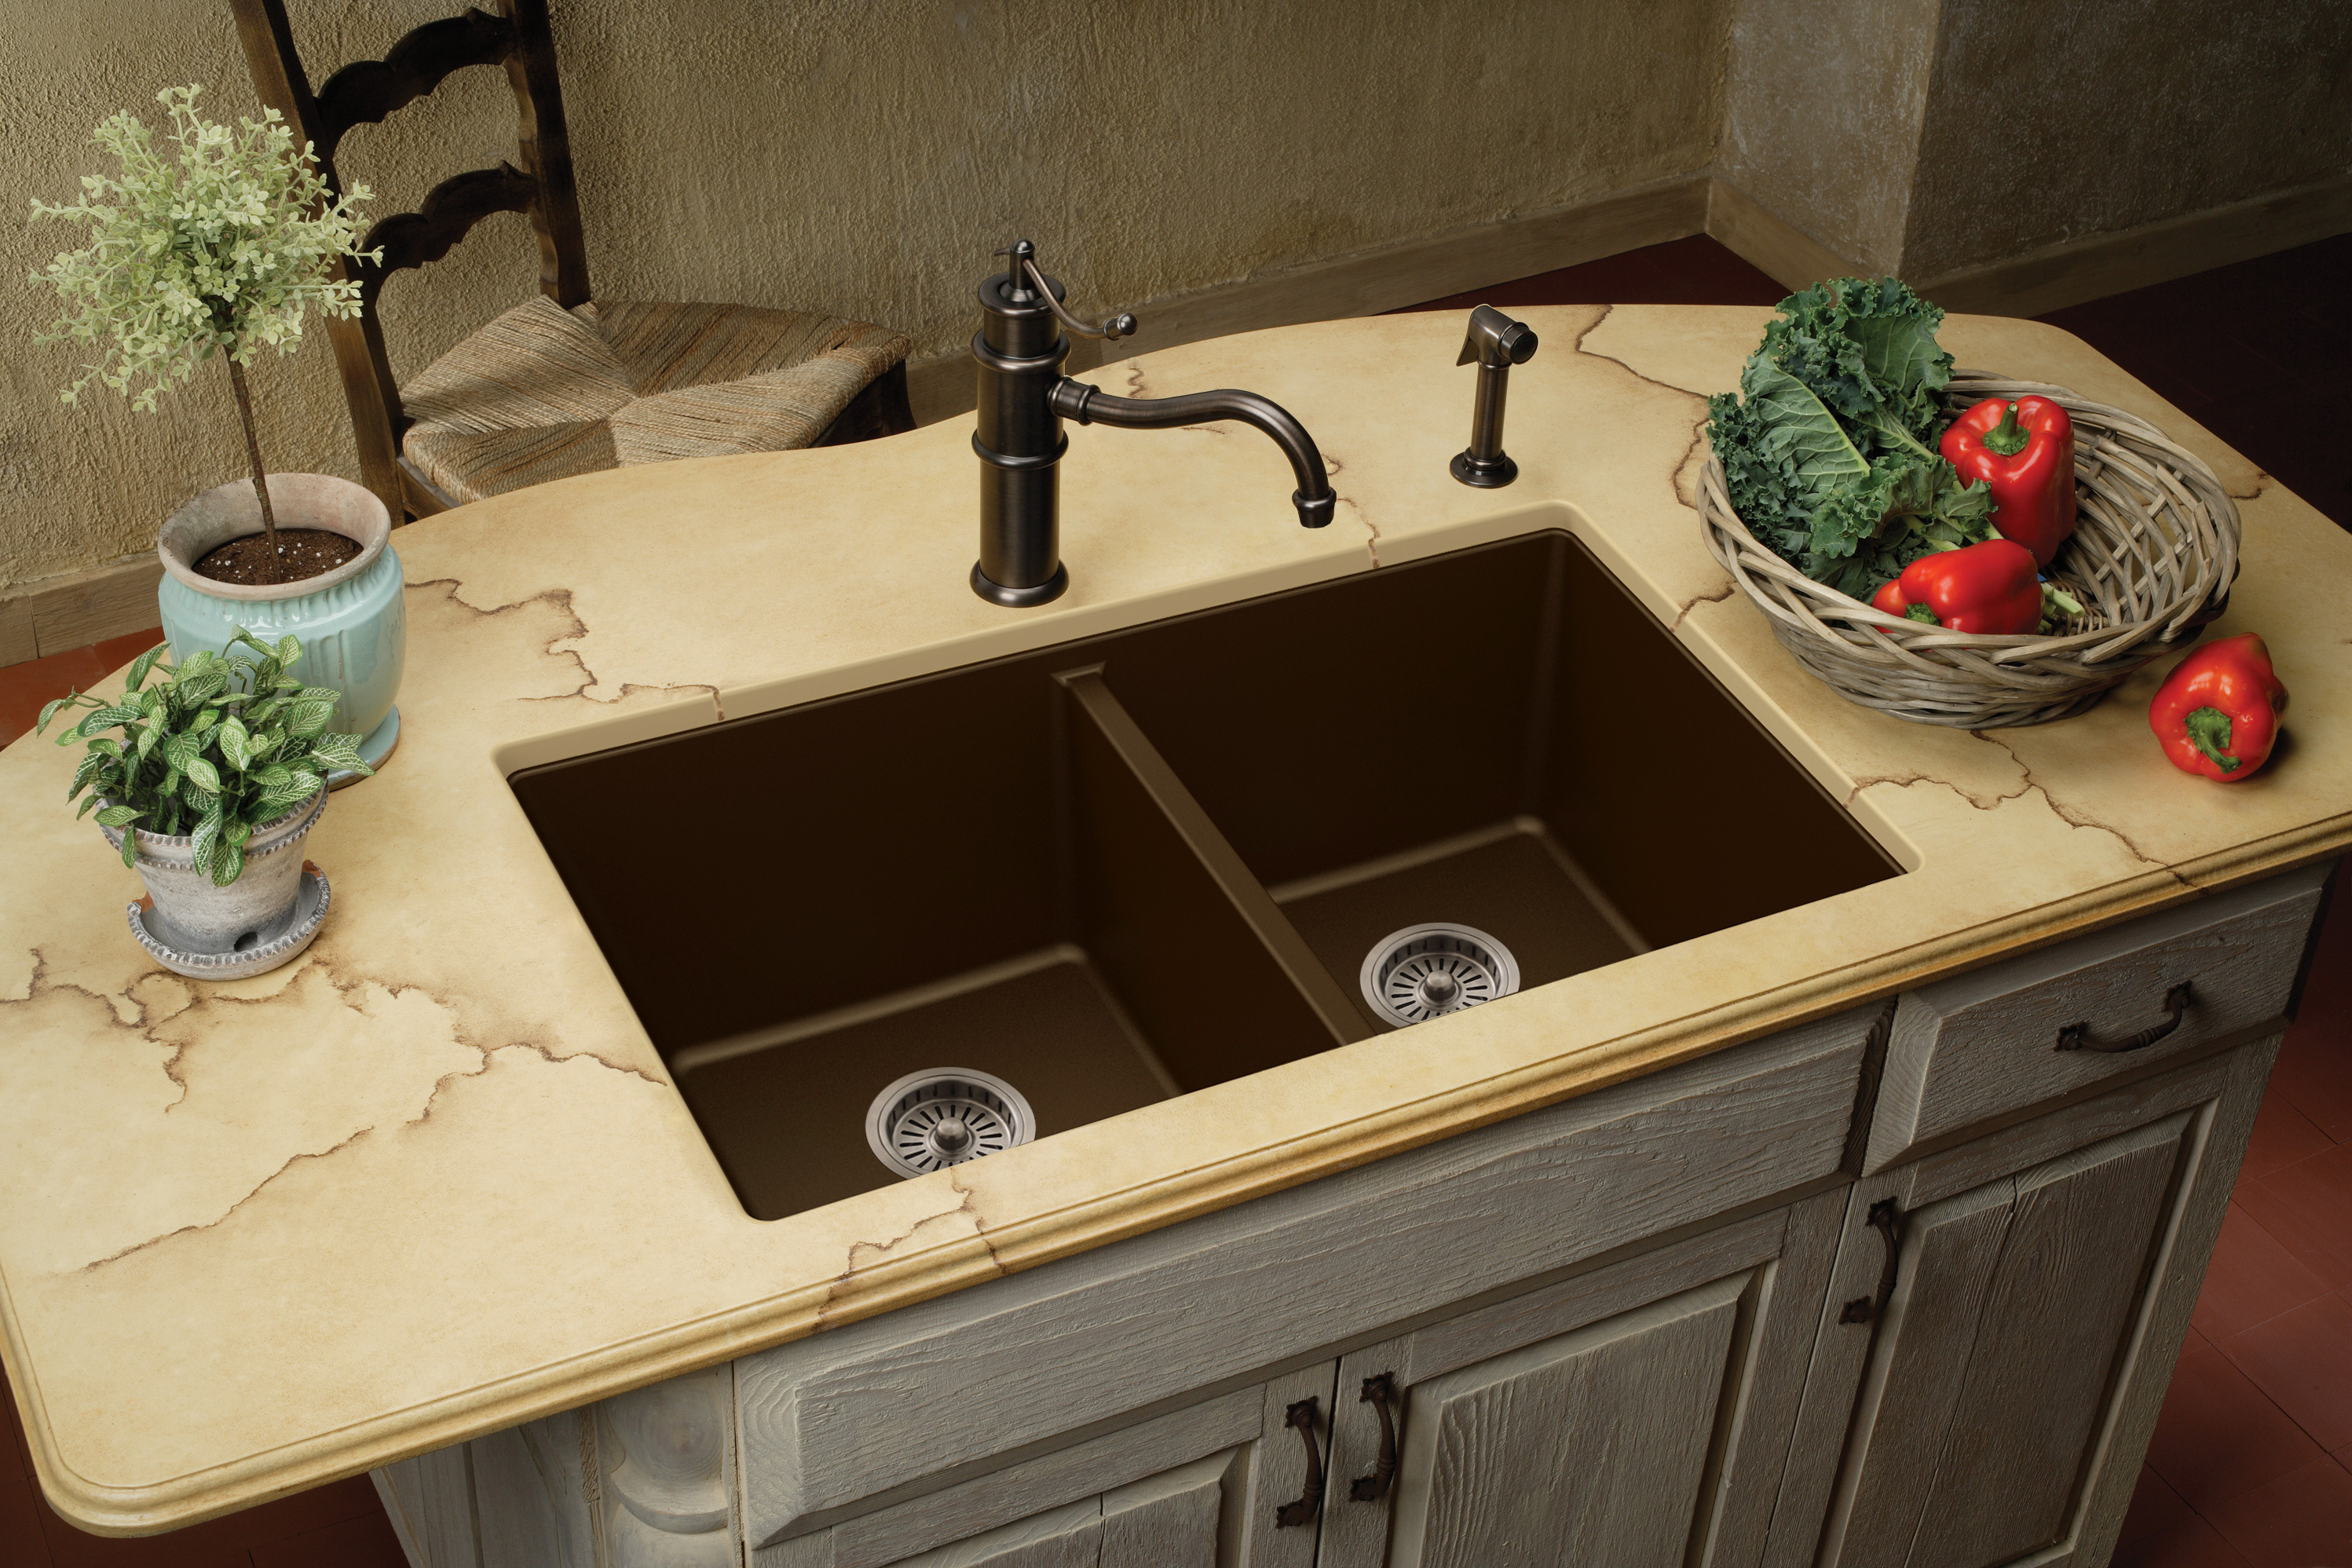
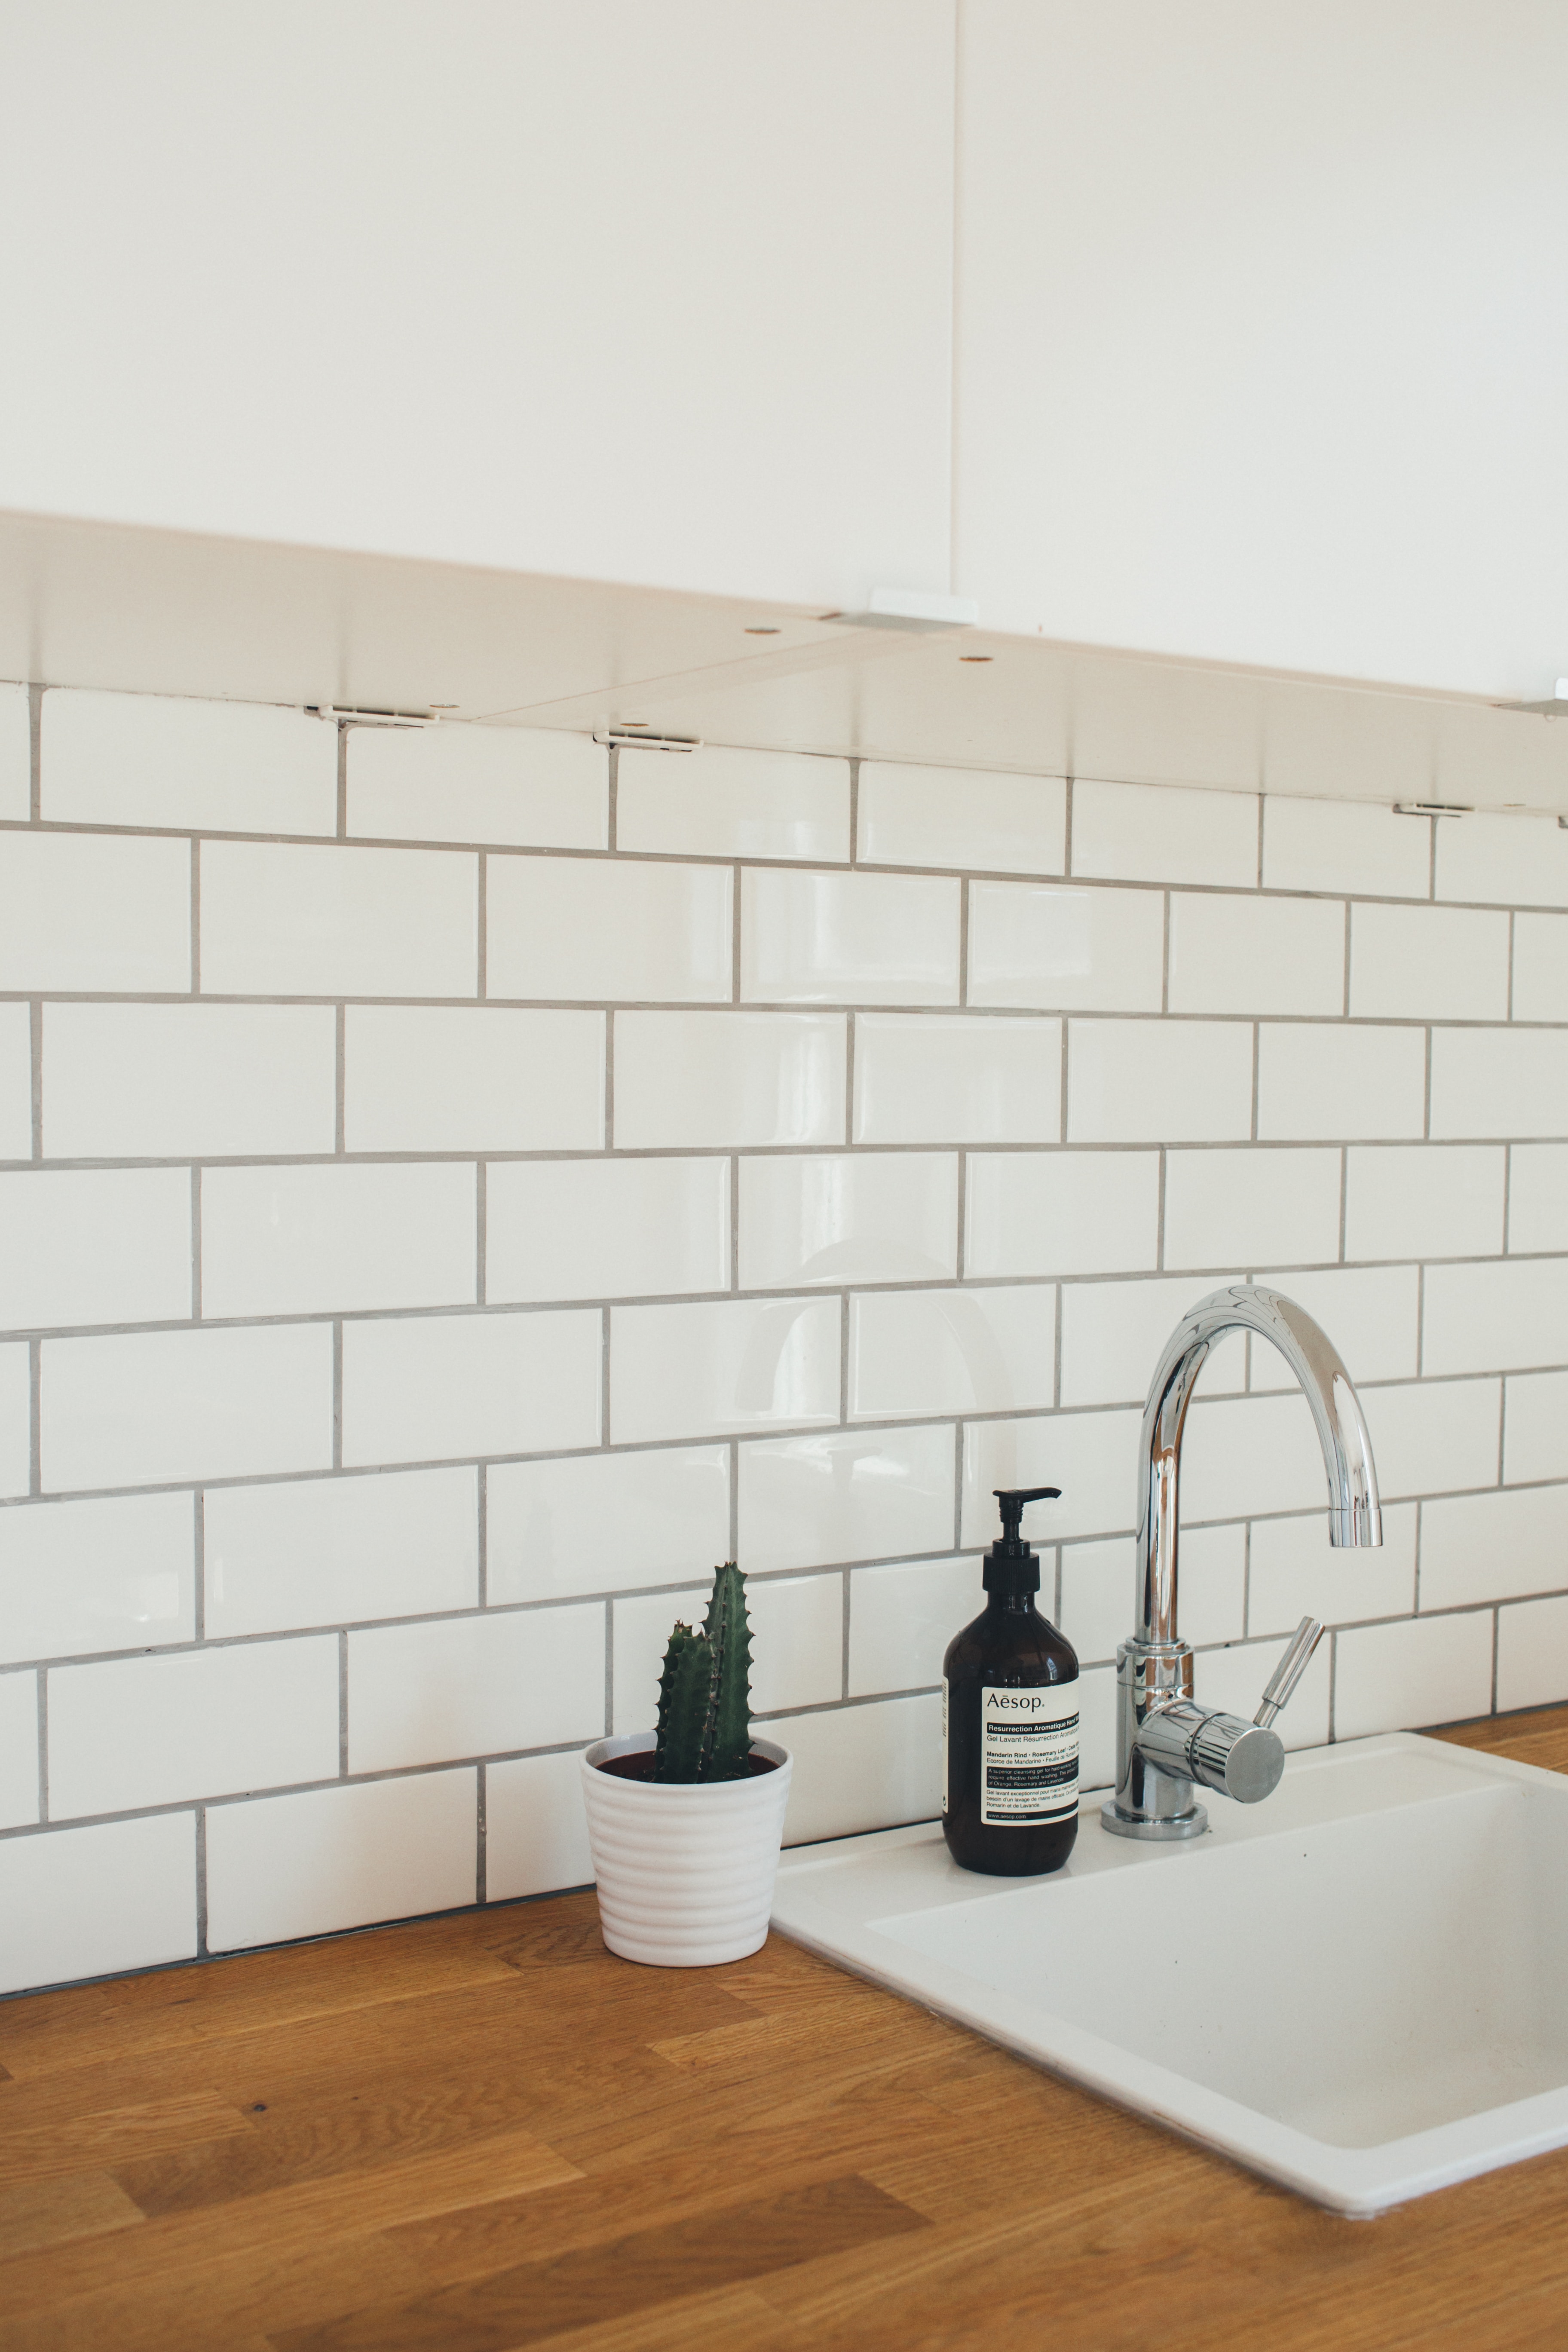
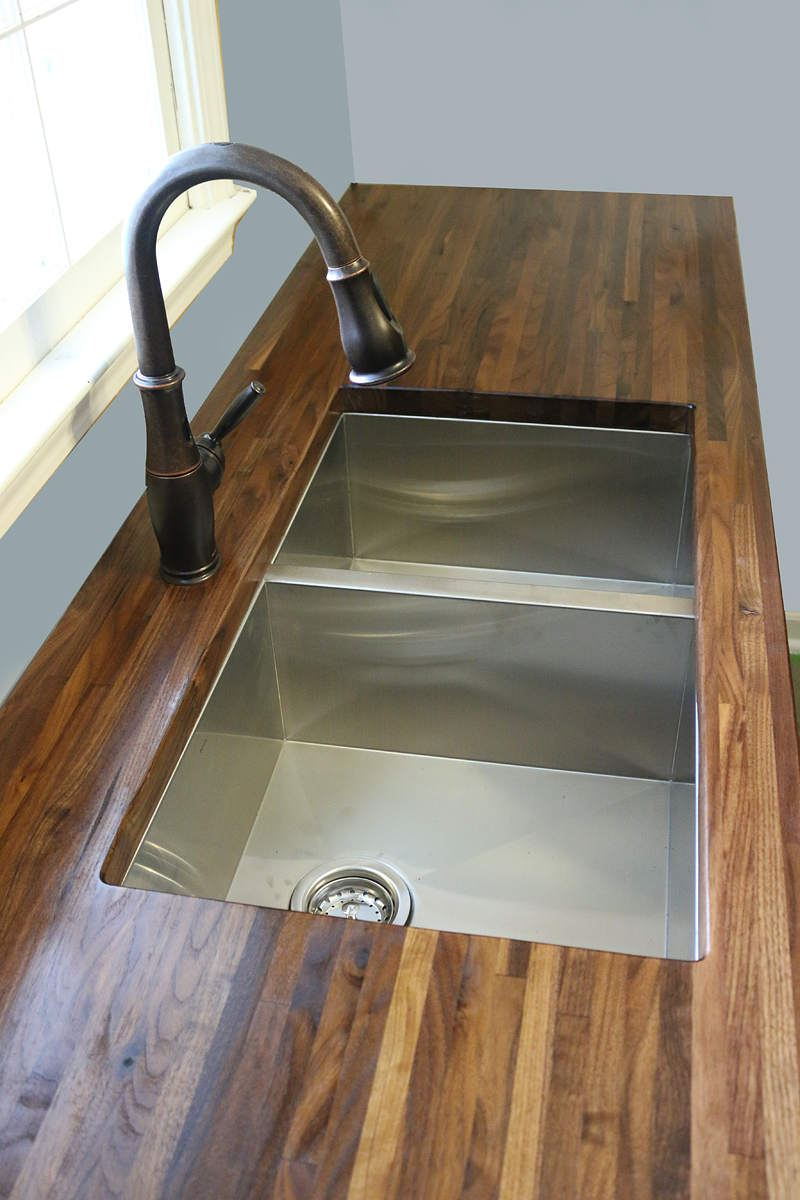
 A properly sealed kitchen sink also adds to the overall appearance of your kitchen. An unsealed sink can create an unsightly gap between the sink and the countertop, disrupting the flow of the design. This can be especially noticeable if you have a
undermount sink
, where the top edge of the sink is hidden by the countertop. Sealing the sink to the countertop creates a seamless and clean look that adds to the overall appeal of your kitchen.
A properly sealed kitchen sink also adds to the overall appearance of your kitchen. An unsealed sink can create an unsightly gap between the sink and the countertop, disrupting the flow of the design. This can be especially noticeable if you have a
undermount sink
, where the top edge of the sink is hidden by the countertop. Sealing the sink to the countertop creates a seamless and clean look that adds to the overall appeal of your kitchen.
Improving the Durability and Longevity of Your Countertop
 Countertops are a significant investment in any kitchen remodel, and you want them to last for years to come. By
sealing your kitchen sink to the countertop
, you are protecting the edges of your countertop from water damage, which can cause swelling and warping. This can extend the life of your countertop and save you money in the long run.
Countertops are a significant investment in any kitchen remodel, and you want them to last for years to come. By
sealing your kitchen sink to the countertop
, you are protecting the edges of your countertop from water damage, which can cause swelling and warping. This can extend the life of your countertop and save you money in the long run.
Properly Sealing Your Kitchen Sink to Countertop
 Now that you understand the importance of
sealing your kitchen sink to the countertop
, you may be wondering how to go about it. First, you need to choose the right sealant for your sink and countertop materials. Be sure to thoroughly clean and dry the surfaces before applying the sealant. Carefully follow the instructions on the sealant and allow it to dry completely before using your sink.
In conclusion,
sealing your kitchen sink to the countertop
is a crucial step in creating a well-designed and functional kitchen. It not only protects your kitchen from water damage and mold growth but also enhances its aesthetics and durability. Don't overlook this simple yet essential task when designing or remodeling your kitchen.
Now that you understand the importance of
sealing your kitchen sink to the countertop
, you may be wondering how to go about it. First, you need to choose the right sealant for your sink and countertop materials. Be sure to thoroughly clean and dry the surfaces before applying the sealant. Carefully follow the instructions on the sealant and allow it to dry completely before using your sink.
In conclusion,
sealing your kitchen sink to the countertop
is a crucial step in creating a well-designed and functional kitchen. It not only protects your kitchen from water damage and mold growth but also enhances its aesthetics and durability. Don't overlook this simple yet essential task when designing or remodeling your kitchen.