If you're looking to give your dining room table a fresh new look, sanding is a crucial step in the refinishing process. Sanding not only removes old stains and imperfections but also prepares the surface for a new finish. Follow our guide to learn how to sand a dining room table like a pro!How to Sand a Dining Room Table


How to Sand a Dining Room Table


Sanding a dining room table may seem like a daunting task, but with the right tools and techniques, it can easily be done as a DIY project. Not only will you save money by doing it yourself, but you'll also have the satisfaction of knowing you did it all on your own.DIY Dining Room Table Sanding


DIY Dining Room Table Sanding


Before you begin sanding, it's important to choose the right sandpaper grit for your table. For initial sanding, start with a coarse grit (around 60 or 80 grit) to remove any old finish or deep scratches. As you progress, move to a finer grit (around 120 or 150 grit) to smooth out the surface. Finally, use a very fine grit (around 220 or 240 grit) for a smooth and polished finish.Sanding Techniques for Dining Room Tables


Sanding Techniques for Dining Room Tables
Sanding is a crucial step in the refinishing process for a dining room table. After removing the old finish with a coarse grit sandpaper, you can move on to using a fine grit sandpaper to smooth out any imperfections. This will create a clean and even surface for a new finish to be applied.Refinishing a Dining Room Table with Sanding


Refinishing a Dining Room Table with Sanding


If you're planning to stain your dining room table, sanding is especially important to ensure the stain is evenly absorbed and the color is consistent. After sanding, make sure to wipe down the table with a tack cloth to remove any dust before applying the stain. This will result in a beautiful and professional-looking finish.Sanding and Staining a Dining Room Table


Sanding and Staining a Dining Room Table


The best sandpaper for a dining room table will depend on the type of wood and condition of the table. As mentioned, start with a coarse grit sandpaper and gradually move to a finer grit for a smooth finish. It's also important to use high-quality sandpaper to avoid tearing or clogging.Best Sandpaper for Dining Room Table


Best Sandpaper for Dining Room Table


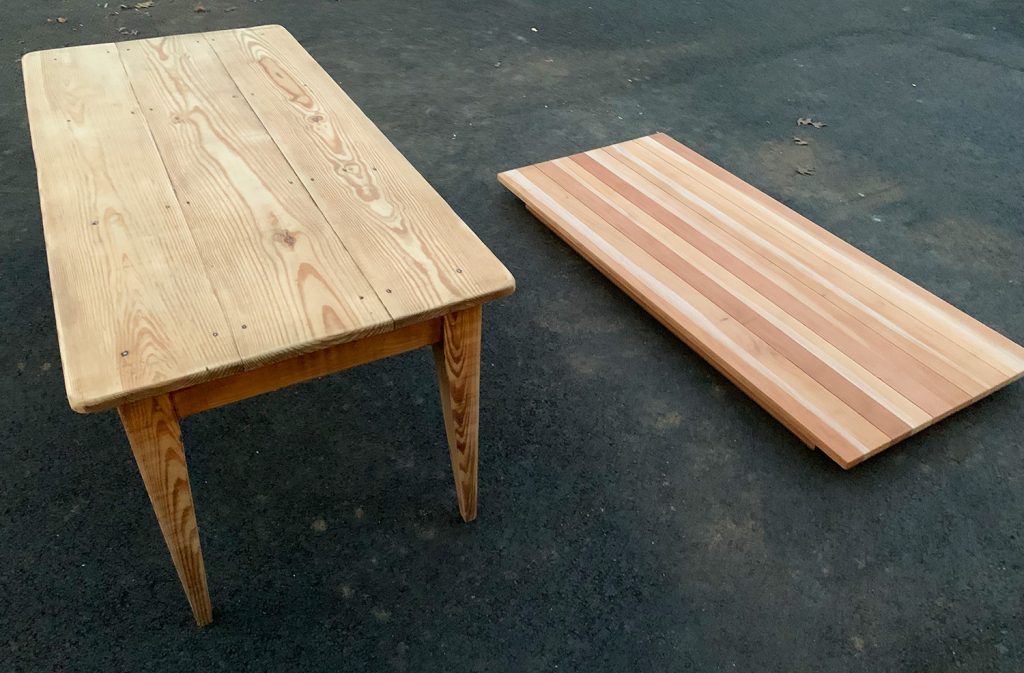
Wooden dining room tables are a popular choice for their durability and classic look. When sanding a wooden table, it's important to follow the direction of the wood grain to avoid any scratches or damage. Take your time and be gentle when sanding to achieve the best results.Sanding a Wooden Dining Room Table

Sanding a Wooden Dining Room Table


Now that you know the basics of sanding a dining room table, here's a step-by-step guide to follow:Step-by-Step Guide to Sanding a Dining Room Table


Step-by-Step Guide to Sanding a Dining Room Table


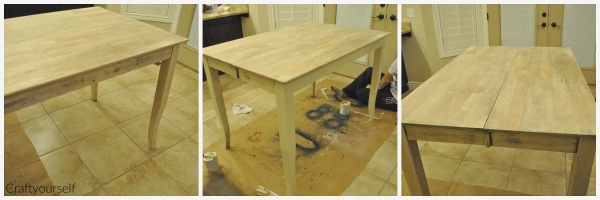
Before you begin sanding, it's important to properly prep your dining room table. This includes removing any hardware, such as knobs or handles, and protecting the surrounding area with drop cloths. It's also a good idea to clean the table with a mild soap and water solution to remove any dirt or residue.How to Prep a Dining Room Table for Sanding


How to Prep a Dining Room Table for Sanding

Some may wonder if sanding or stripping is the better option for refinishing a dining room table. While both methods can effectively remove old finishes and prepare the surface for a new one, sanding is generally the preferred choice. Sanding is less harsh on the wood and allows for a more even and controlled removal of the old finish. With these tips and techniques, you now have the knowledge to sand a dining room table like a pro. Remember to take your time and follow the steps carefully for the best results. Your dining room table will have a fresh new look in no time!Sanding vs Stripping a Dining Room Table


Sanding vs Stripping a Dining Room Table


Preparing for Sanding

Gather the Necessary Materials
 Before beginning the process of sanding your dining room table, it is important to have all the necessary materials on hand. These materials include sandpaper, a sanding block, a tack cloth, wood filler, and a paintbrush. It is important to use the appropriate grade of sandpaper for your specific table. For example, if your dining room table has a thick coating of varnish, you will need a coarser grit sandpaper.
Protect the Surrounding Area
 Sanding can create a lot of dust and debris, so it is important to protect the surrounding area of your dining room. Cover the floors and any nearby furniture with a drop cloth to prevent any damage. You may also want to cover any outlets or light fixtures to avoid getting dust inside them.
Prepare the Table
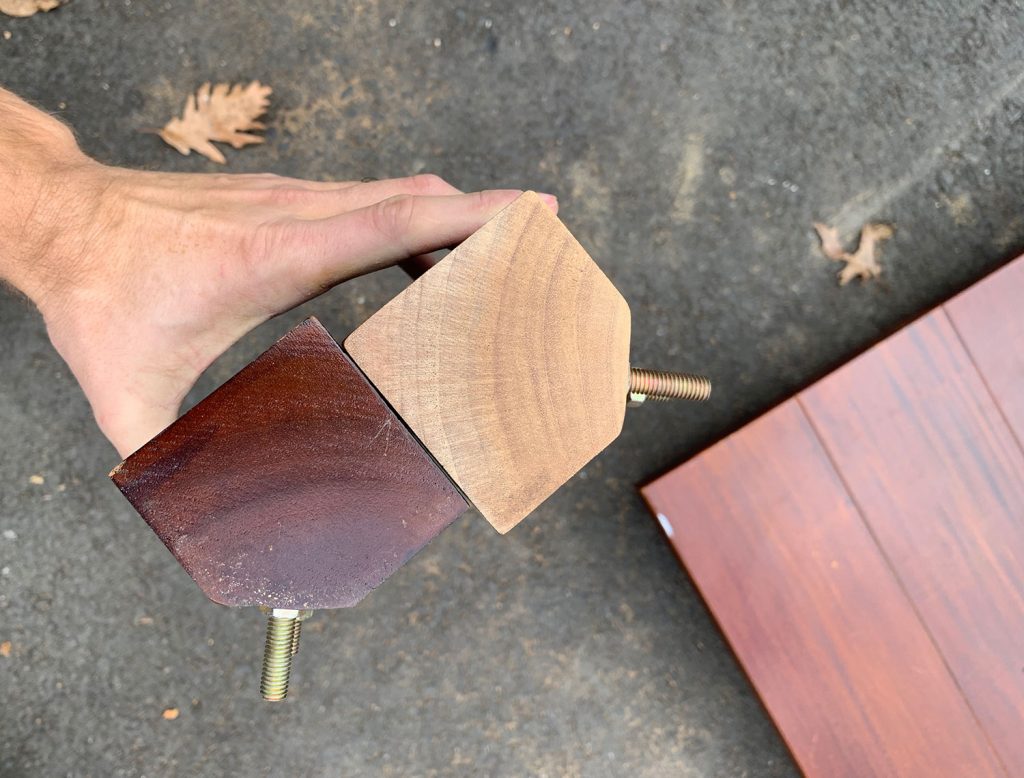
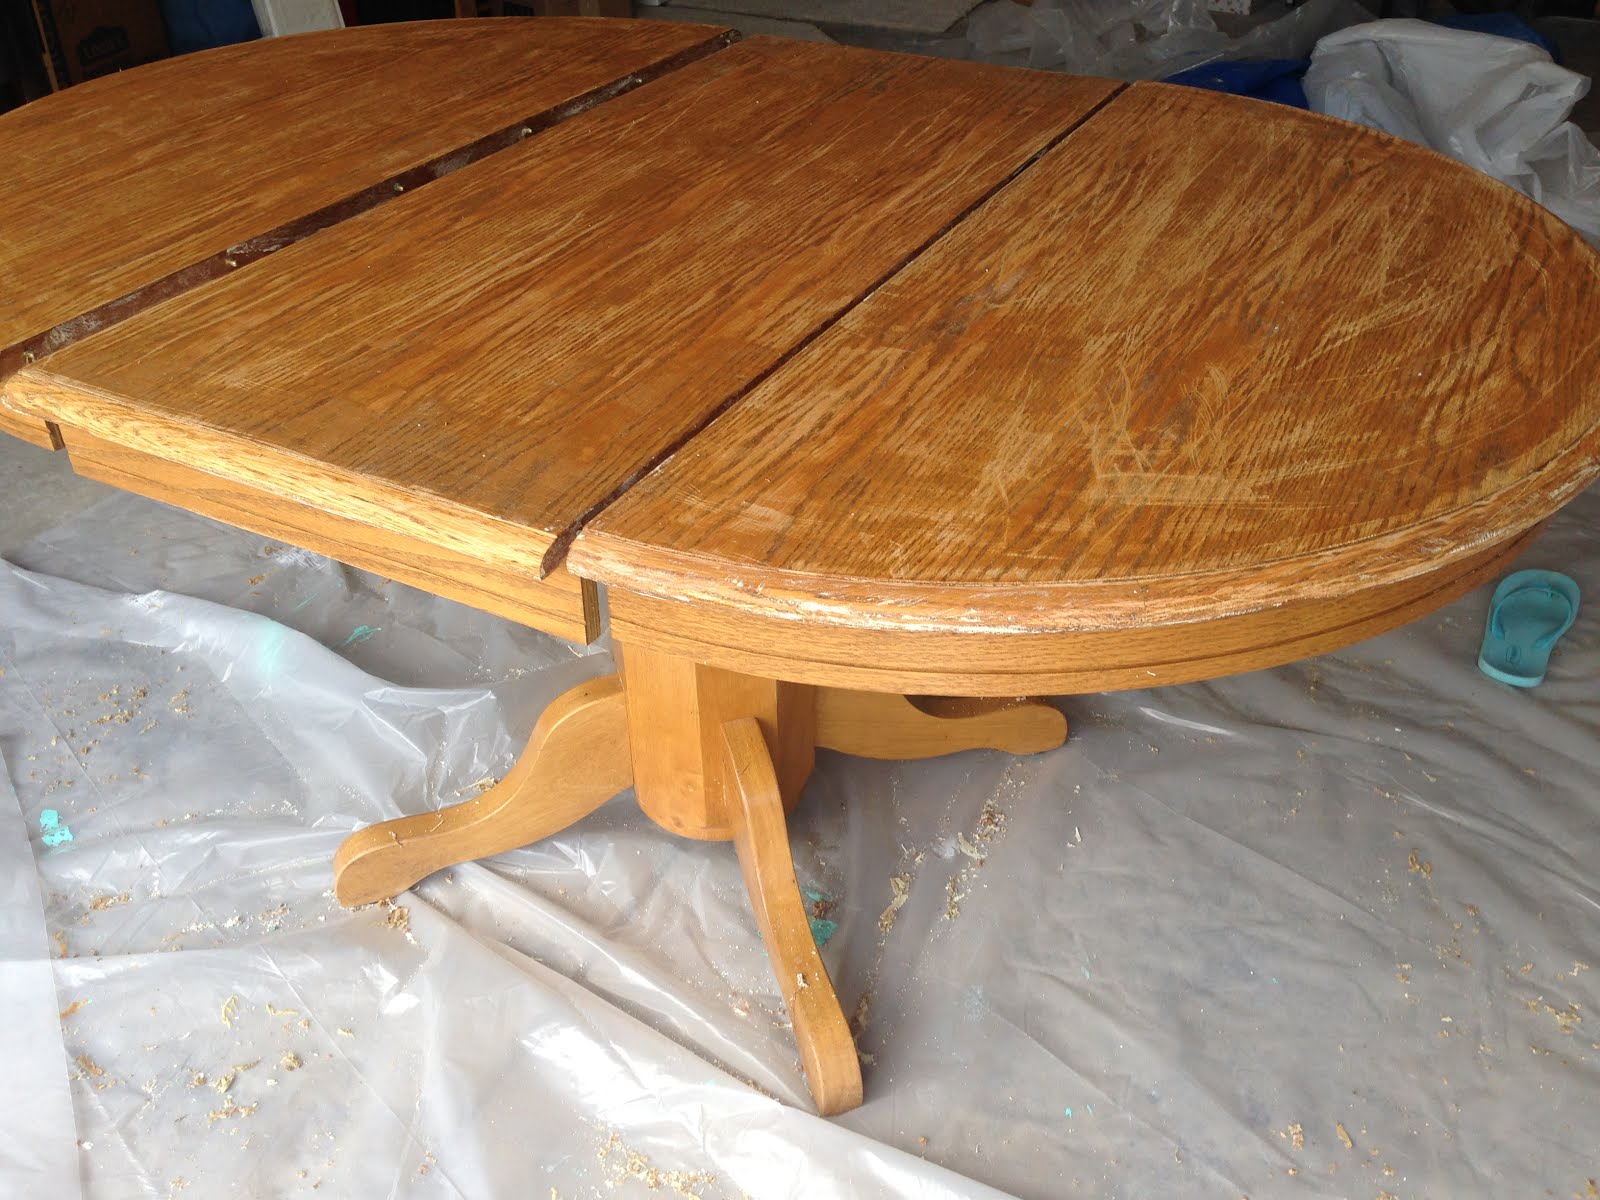
 Before you start sanding, it is important to prepare the table. Remove any hardware or accessories from the table, such as drawer handles or table legs. This will make the sanding process easier and prevent any damage to these items. If your table has any deep scratches or gouges, you can fill them in with wood filler. Make sure to let the filler dry completely before sanding.
The Sanding Process

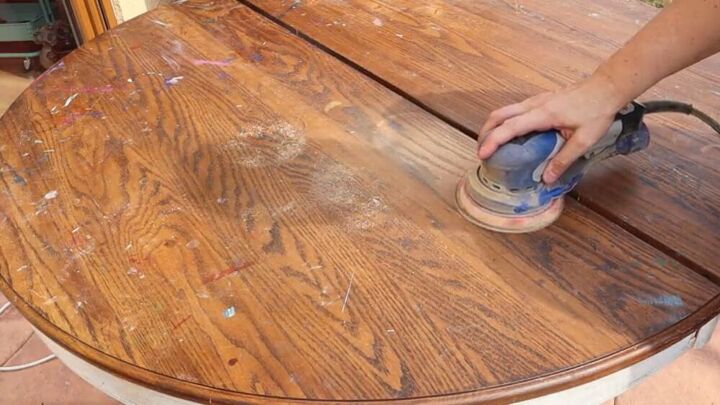
Start with Coarse Grit Sandpaper
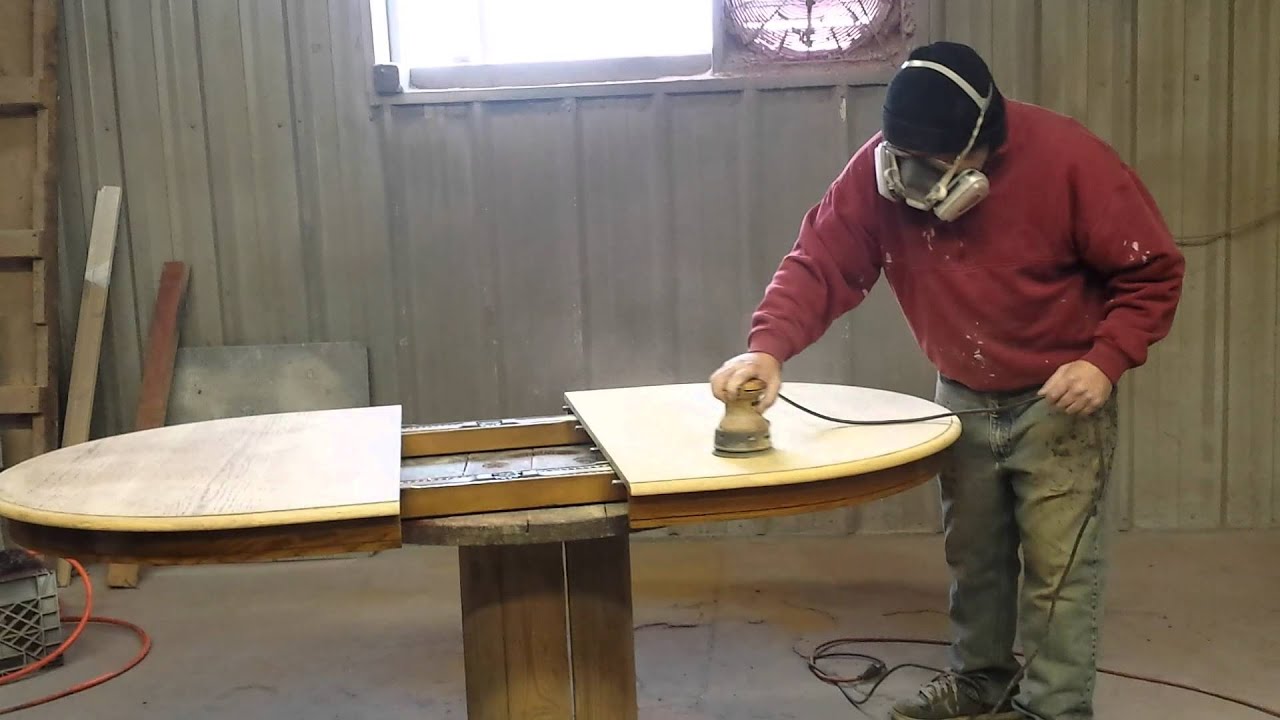
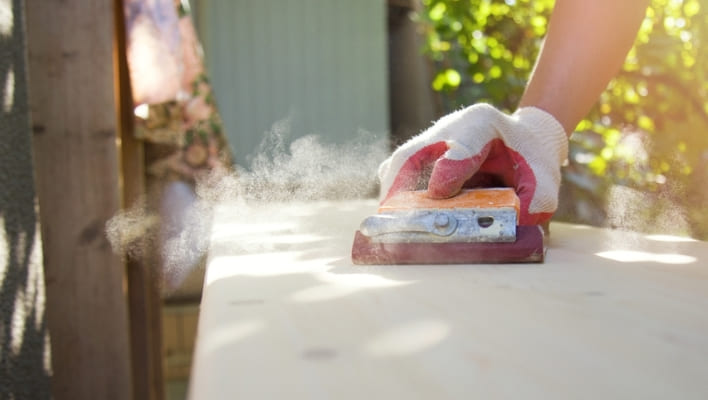
 Begin sanding your dining room table with a coarse grit sandpaper, such as 80 or 100 grit. This will help to remove any old finishes or imperfections on the surface of the table. Sand in the direction of the grain of the wood and use a sanding block to keep the sandpaper flat and even.
Switch to Finer Grit Sandpaper
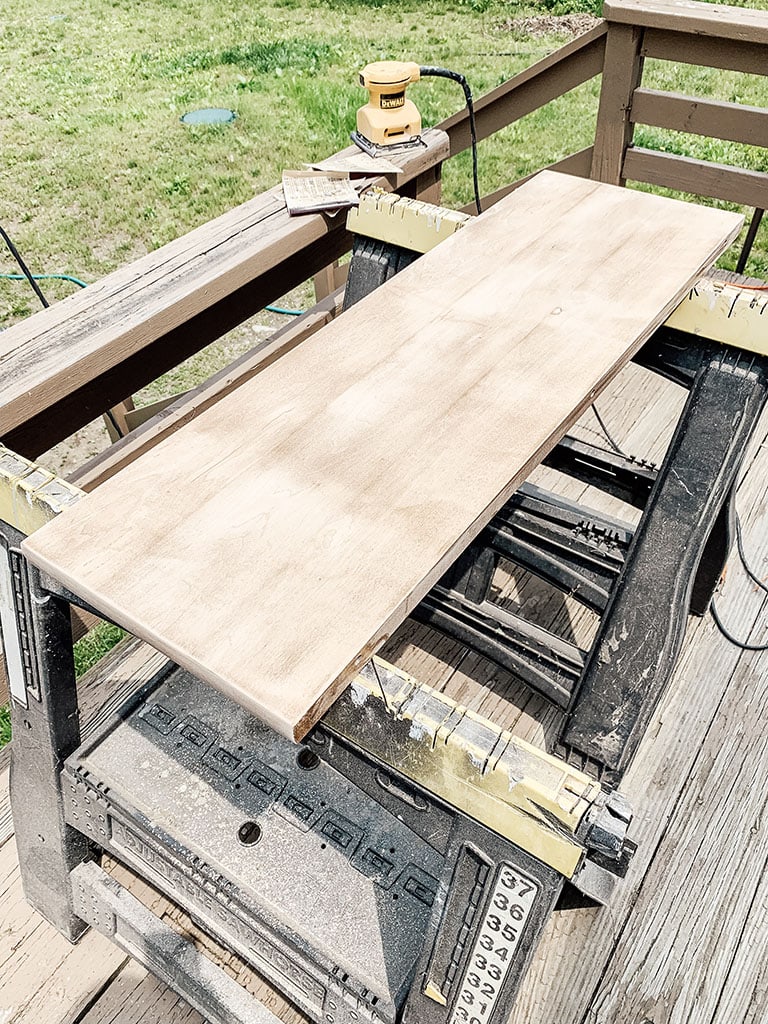
 Once you have sanded the entire table with the coarse grit sandpaper, switch to a finer grit, such as 150 or 180. This will help to smooth out the surface and prepare it for staining or painting. Again, sand in the direction of the grain and use a sanding block for a consistent finish.
Remove Dust and Debris
 After sanding, use a tack cloth to remove any dust and debris from the table. This will ensure a clean surface for staining or painting. If there are any areas that still feel rough, you can go back and sand them again with the finer grit sandpaper.
Finishing Touches

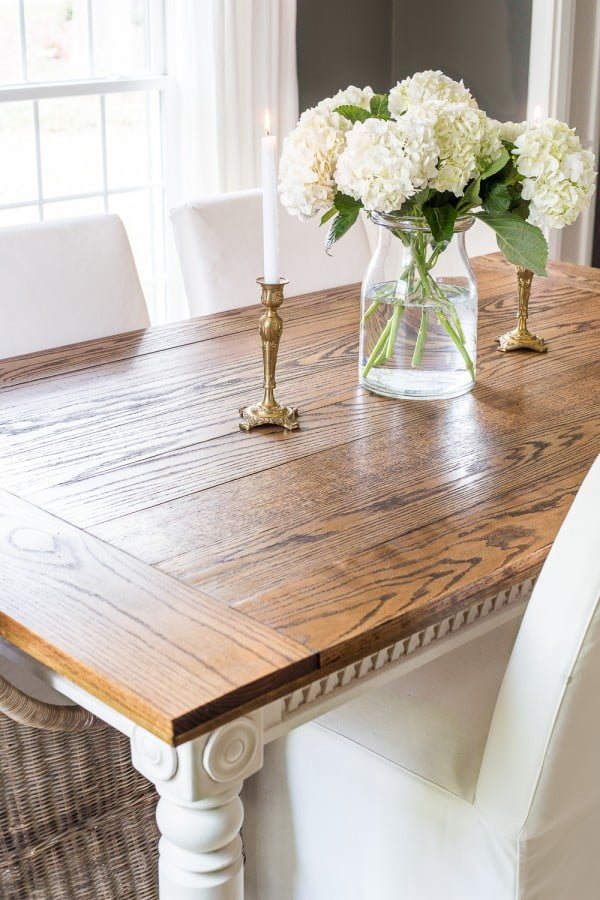
Stain or Paint
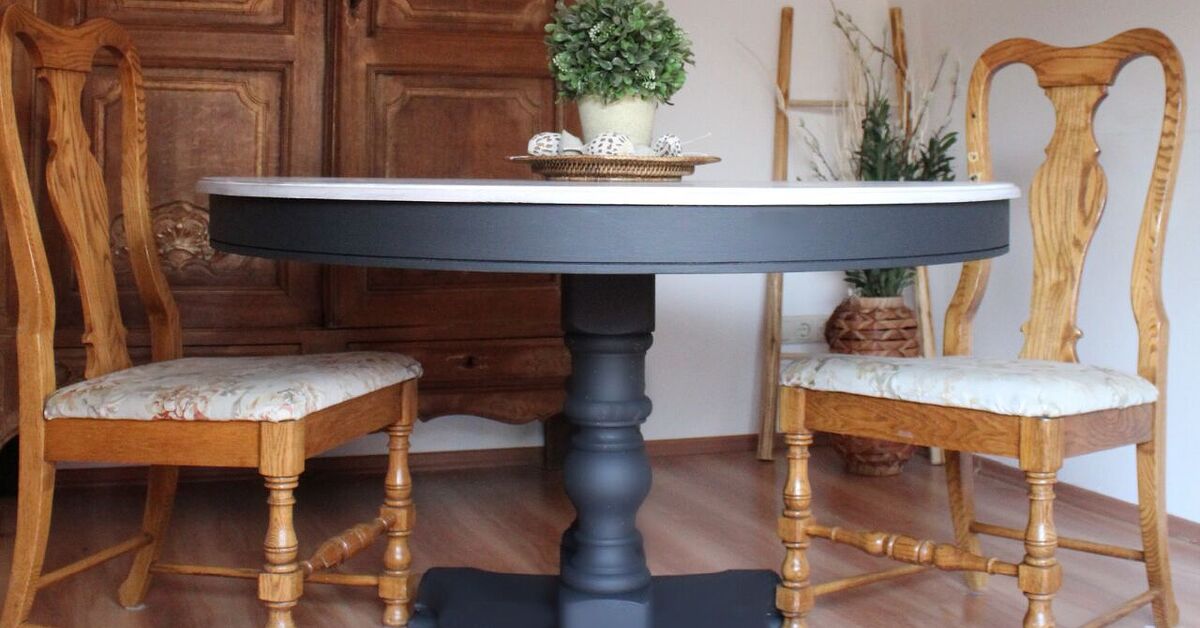
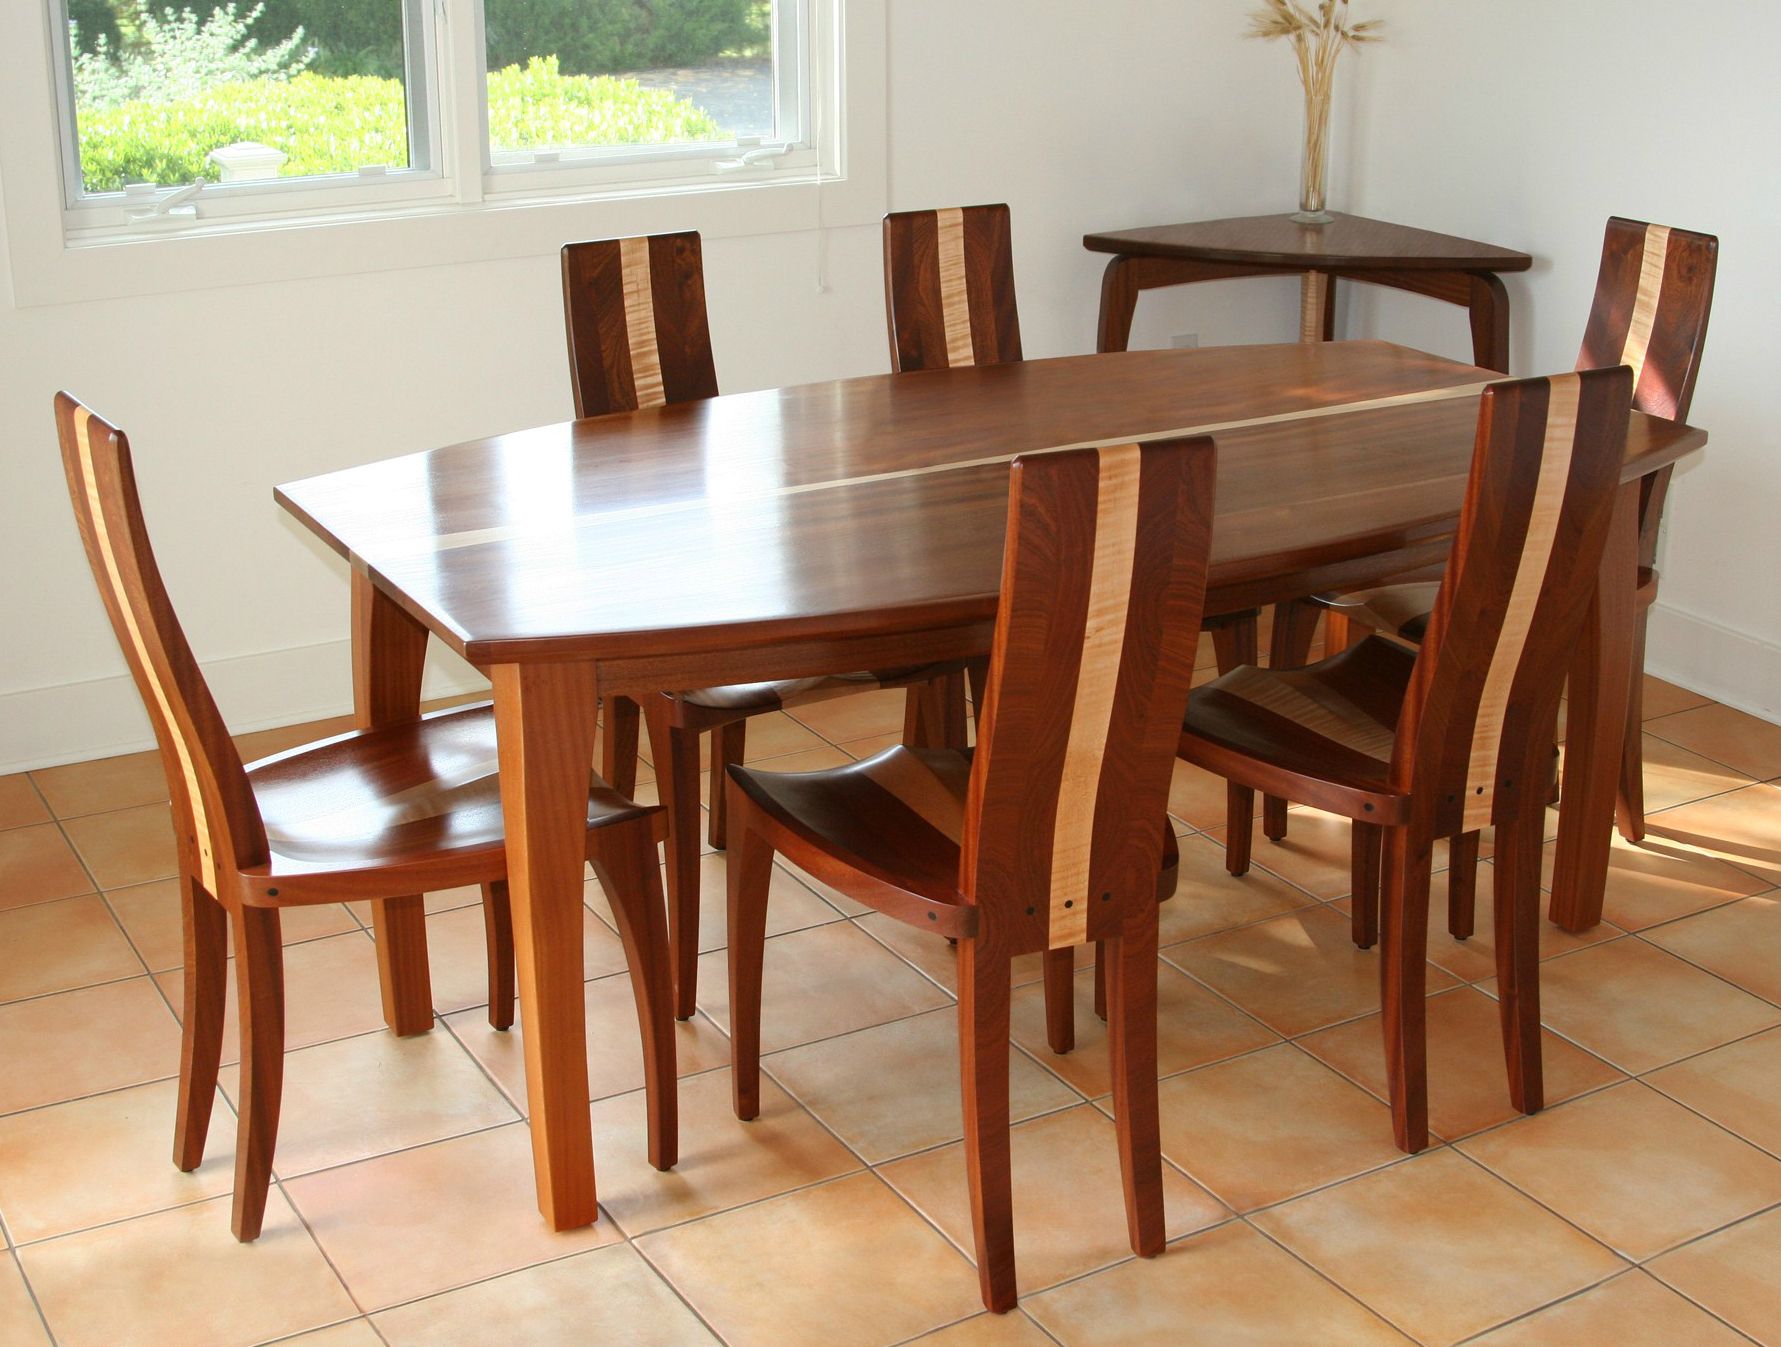
 After sanding, you can choose to either stain or paint your dining room table. Staining will enhance the natural beauty of the wood, while painting will give it a new look. Make sure to follow the manufacturer's instructions for the best results.
Apply a Protective Finish
Once the stain or paint has dried, it is important to apply a protective finish to your dining room table. This will help to protect the wood from scratches and spills. You can choose from a variety of finishes, such as polyurethane or wax. Apply multiple coats for added protection.
Reattach Hardware and Accessories
Once the protective finish has dried, you can reattach any hardware or accessories that were removed before sanding. This will complete the transformation of your dining room table and give it a fresh new look.
Now that you have completed the process of sanding your dining room table, you can enjoy a beautifully restored piece of furniture in your home. With proper maintenance and care, your table will continue to look stunning for years to come.