When it comes to installing a new kitchen sink, one of the most important steps is roughing in the water supply lines. These lines are responsible for delivering clean water to your sink for drinking, cooking, and cleaning. In this guide, we'll cover the top 10 main rough in water lines for kitchen sink, so you can have a better understanding of what's involved in this process and how to do it correctly.Water Supply Lines for Kitchen Sink


Water Supply Lines for Kitchen Sink
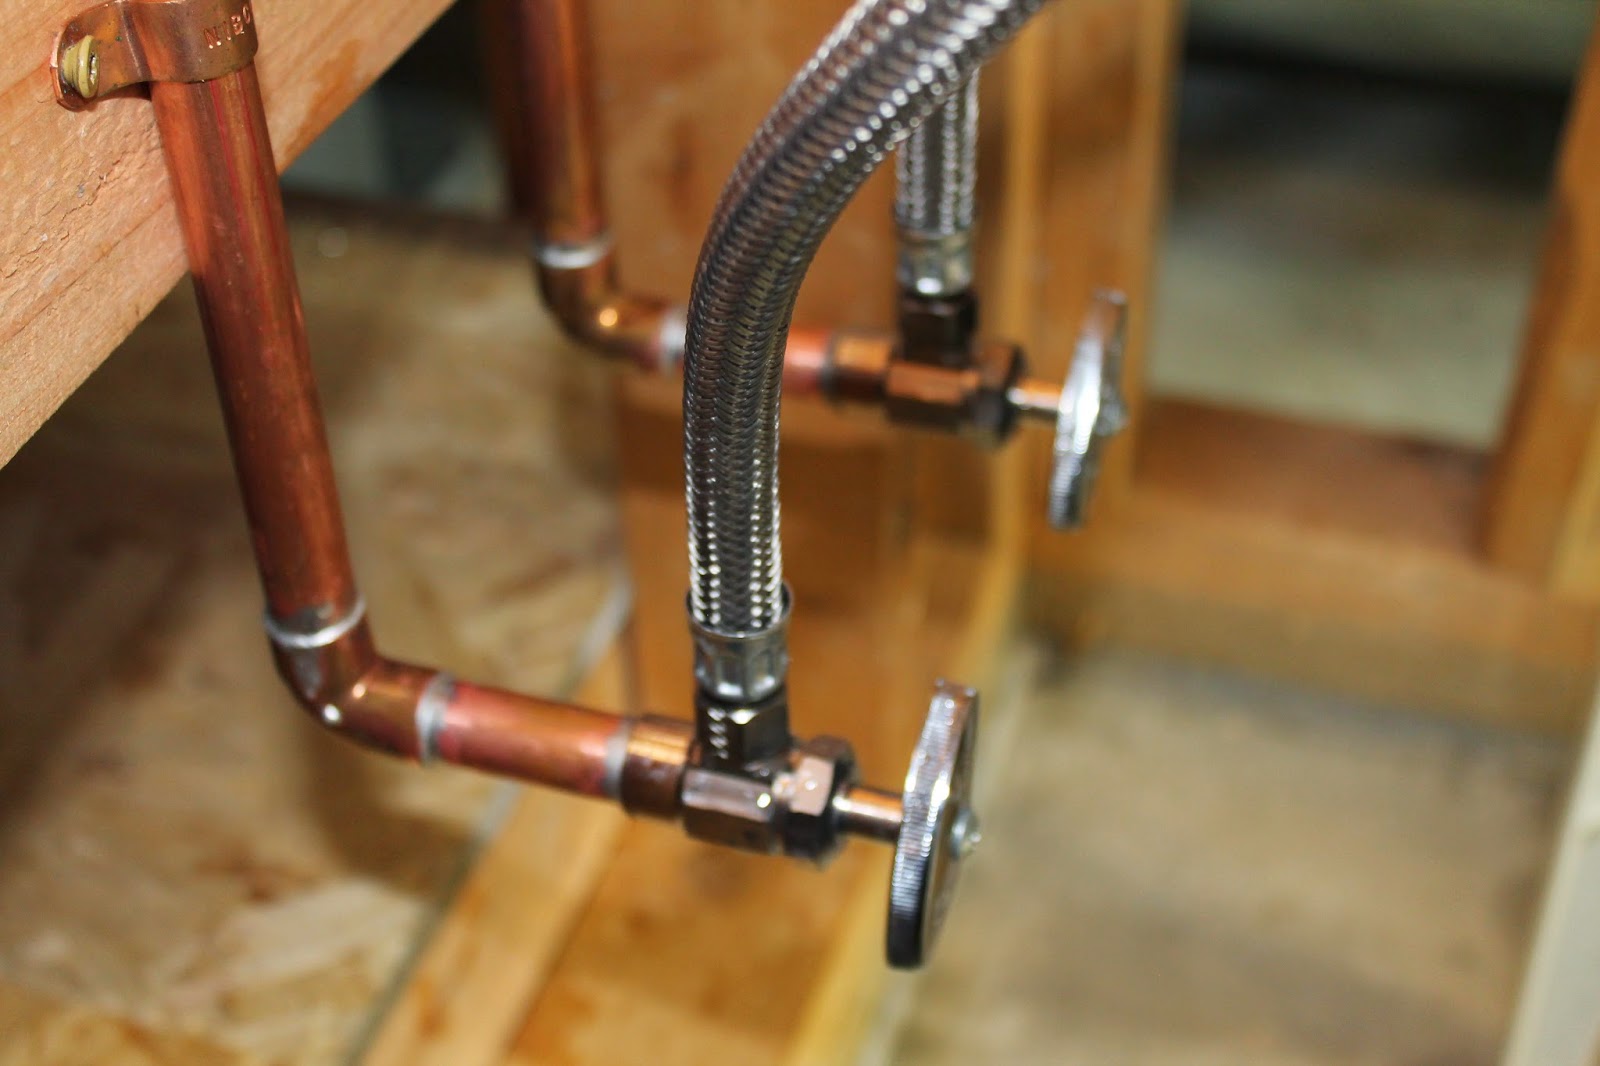


Before you begin roughing in the water lines for your kitchen sink, it's important to have a plan in place. This includes knowing the layout and measurements of your sink, as well as the location of your water supply lines. You'll also need to gather the necessary tools and materials, such as a pipe cutter, PEX tubing, and fittings. Start by shutting off the main water supply to your home and draining any remaining water from the existing pipes. Next, you'll need to determine the best route for your water supply lines to reach your kitchen sink. This may involve drilling holes in the walls or floors, so make sure to check for any potential obstacles before proceeding. Once you have a clear path for your water lines, you can begin roughing in the lines. This involves cutting the PEX tubing to the appropriate lengths and connecting them to your existing water supply lines using fittings. Make sure to use the correct size and type of fittings for your specific setup. After the lines are connected, you'll need to secure them in place using pipe straps or other suitable supports. This will prevent the lines from shifting or sagging over time. Finally, you can install shut-off valves at the end of each line, as well as a tee fitting for the sink's faucet.How to Rough In Water Lines for a Kitchen Sink


How to Rough In Water Lines for a Kitchen Sink


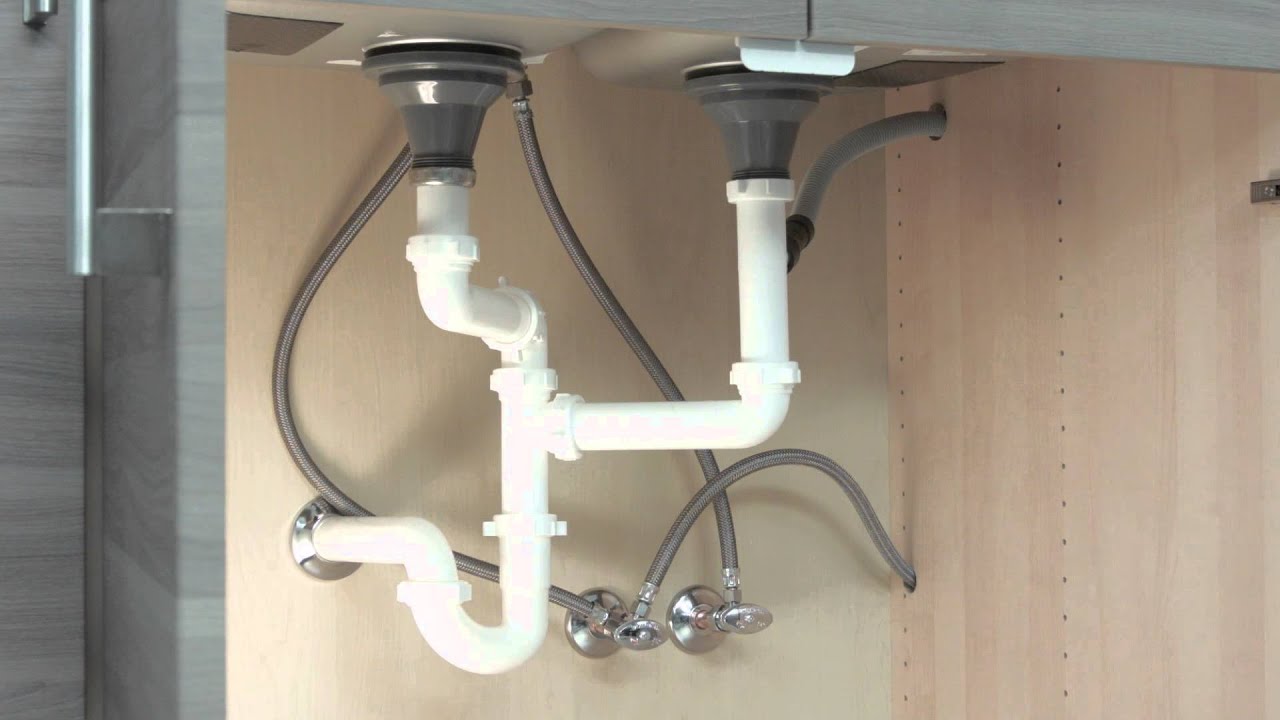
When installing water lines for a kitchen sink, it's important to use the right materials and techniques to ensure a proper and long-lasting installation. PEX tubing is a popular choice for water supply lines due to its flexibility, durability, and resistance to corrosion and freezing. It's also relatively easy to work with, making it a great option for DIY projects. When installing PEX tubing, it's important to use the appropriate tools, such as a pipe cutter and crimping tool. These will ensure clean and secure cuts and connections. It's also important to follow the manufacturer's instructions and guidelines for the specific type of PEX tubing you're using. In addition to the water supply lines, you'll also need to install a drain line for your kitchen sink. This is typically a separate process from roughing in the water lines, but it's important to plan for it in your overall installation. You may need to make adjustments to the layout of your water lines to accommodate the drain line.Installing Water Lines for Kitchen Sink


Installing Water Lines for Kitchen Sink


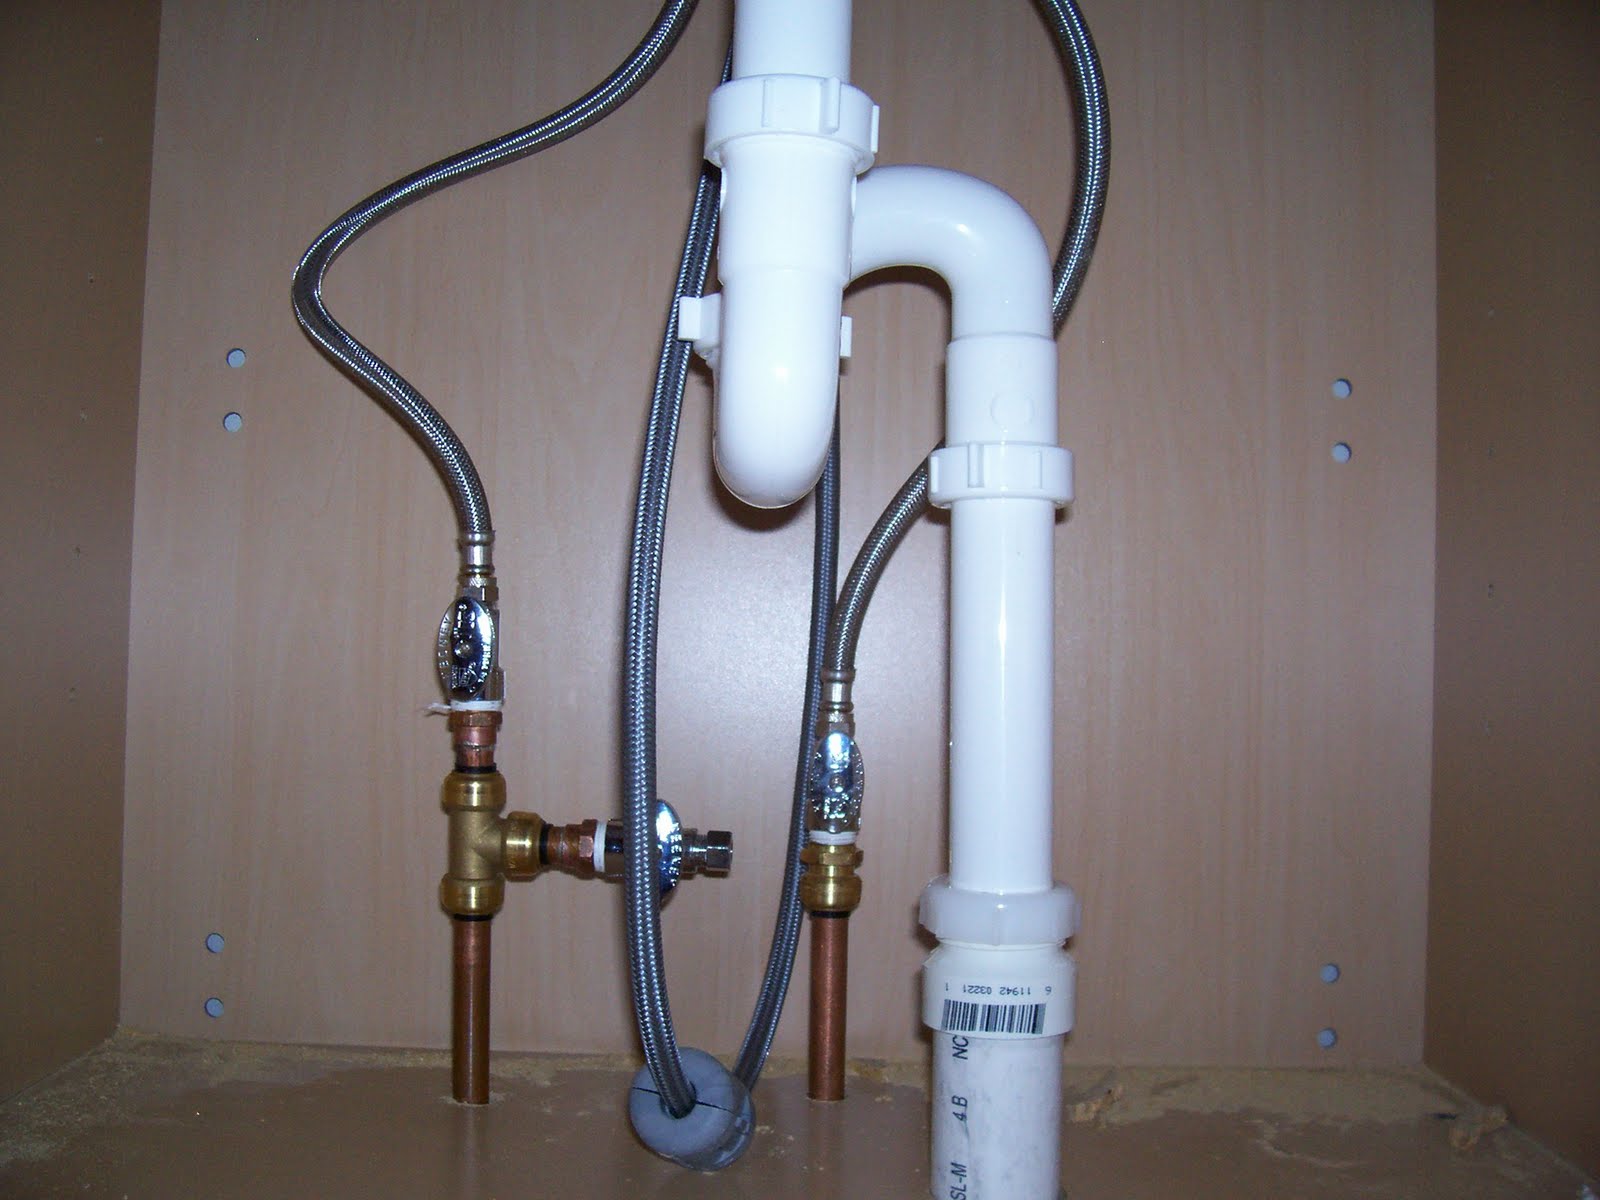
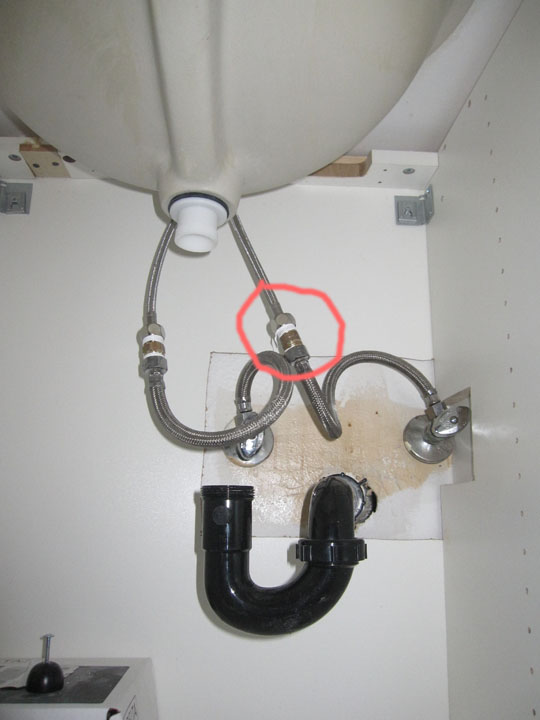
When it comes to installing water lines for a kitchen sink, there are a few key tips to keep in mind to ensure a successful and efficient installation. First, make sure to properly measure and cut the PEX tubing to the appropriate lengths. This will help prevent any unnecessary waste or mistakes. Next, make sure to use the correct fittings and connections for your specific setup. This may include using elbow fittings for corners or tee fittings for branching off to multiple fixtures. It's also important to use the appropriate crimping tool to secure the connections and prevent leaks. During the installation process, it's important to regularly check for any potential leaks or issues. This will allow you to make any necessary adjustments before the lines are permanently in place. It's also a good idea to have a professional plumber inspect your work before turning on the main water supply.Kitchen Sink Water Line Installation


Kitchen Sink Water Line Installation


Roughing in the water lines for a kitchen sink can be a DIY project for those with some plumbing experience and the necessary tools. However, if you're unsure of your abilities or are dealing with a more complex setup, it's always best to hire a professional plumber. They have the experience and knowledge to handle any challenges that may arise during the installation process. If you do decide to tackle this project on your own, make sure to do your research and follow all safety precautions. It's also important to have a detailed plan in place and to take your time during the installation process. Rushing through it can lead to mistakes and potential issues down the line.DIY Kitchen Sink Water Line Rough In


DIY Kitchen Sink Water Line Rough In


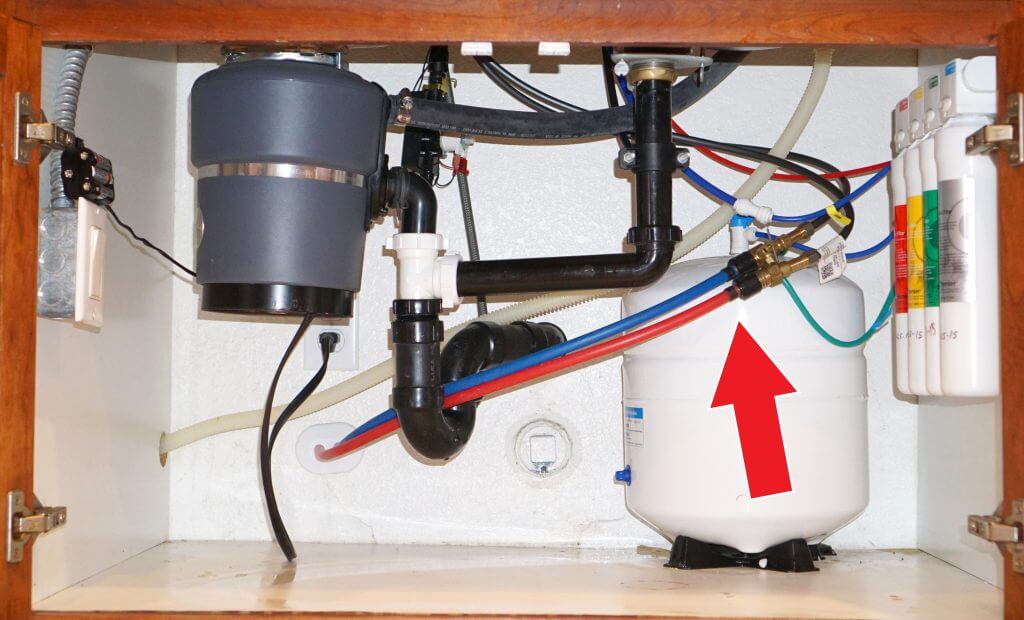
The rough in process for water lines in a kitchen sink may vary slightly depending on the type of sink and setup you have. For example, if you're installing a new garbage disposal, you'll need to consider the location of the drain line and make any necessary adjustments to the water supply lines to accommodate it. It's also important to check your local building codes and regulations before starting the rough in process. This will ensure that your installation is up to code and safe for use. If you're unsure of any requirements, it's best to consult with a professional plumber or your local building department.Water Line Rough In for Kitchen Sink

Water Line Rough In for Kitchen Sink

Proper plumbing for your kitchen sink water lines is crucial for the overall function and efficiency of your sink. This includes not only the rough in process, but also the installation of the faucet, as well as any additional fixtures, such as a dishwasher or ice maker. When it comes to plumbing, it's always best to hire a licensed professional. They have the necessary knowledge and experience to handle any potential challenges and can ensure that your water lines are installed correctly and up to code.Kitchen Sink Water Line Plumbing


Kitchen Sink Water Line Plumbing


Roughing in water lines for a kitchen sink may seem like a daunting task, but with the right tools, materials, and plan in place, it can be a manageable project. Make sure to take your time, follow all safety precautions, and regularly check for any potential issues during the installation process. If you're unsure of your abilities or are dealing with a more complex setup, it's always best to hire a professional plumber. They can ensure that your water lines are installed correctly and can handle any challenges that may arise.Roughing In Water Lines for Kitchen Sink


Roughing In Water Lines for Kitchen Sink


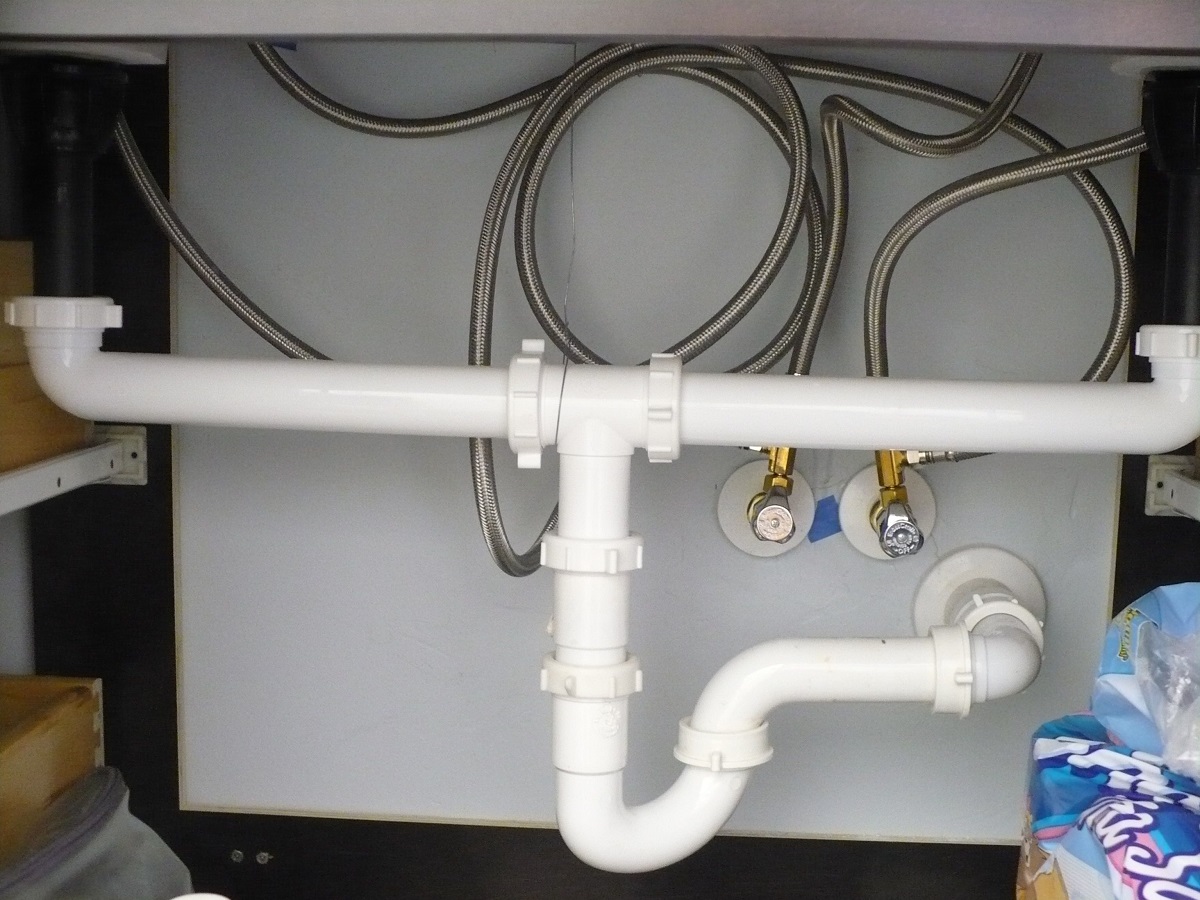
After roughing in the water lines for your kitchen sink, the final step is the actual installation of the sink itself. This involves connecting the supply lines to the faucet and any additional fixtures, as well as installing the drain line. Make sure to carefully follow the manufacturer's instructions for your specific sink and faucet. This will ensure a proper and secure installation. It's also important to regularly check for any leaks or issues during the installation process.Water Line Installation for Kitchen Sink


Water Line Installation for Kitchen Sink
:max_bytes(150000):strip_icc()/water-overflowing-in-kitchen-sink-200553937-001-5797e6335f9b58461f5a6736.jpg)


This guide has covered the top 10 main rough in water lines for kitchen sink, as well as the necessary steps and tips to ensure a successful installation. Remember, if you're unsure of your abilities or are dealing with a more complex setup, it's always best to hire a professional plumber.Kitchen Sink Water Line Rough In Guide


Kitchen Sink Water Line Rough In Guide
:max_bytes(150000):strip_icc()/Plumbing-rough-in-dimensions-guide-1822483-illo-2-v1-29442c1ccb674835bcb337f6cf13431b.png)

:max_bytes(150000):strip_icc()/how-to-install-a-sink-drain-2718789-hero-24e898006ed94c9593a2a268b57989a3.jpg)
How to Rough In Water Lines for a Kitchen Sink: A Guide for House Design
When designing a new house or renovating an existing one, one of the most important elements to consider is the plumbing system. In particular, the water lines for the kitchen sink are crucial to ensure proper functionality and efficiency. In this article, we will discuss how to rough in water lines for a kitchen sink, providing you with a step-by-step guide and important considerations to keep in mind.
Step 1: Plan and Measure
The first step in roughing in water lines for a kitchen sink is to carefully plan and measure the layout. This includes determining the location of the sink, as well as the hot and cold water supply lines. It is important to consider the placement of other fixtures and appliances in the kitchen to ensure proper water flow and avoid any potential conflicts.
Keywords: kitchen sink, hot and cold water supply lines, water flow, potential conflicts.
Step 2: Gather Materials and Tools
Once you have a clear plan in place, it's time to gather all the necessary materials and tools. This may include copper or PEX pipes, fittings, valves, and a pipe cutter. It's important to choose high-quality materials to ensure the longevity and functionality of your plumbing system.
Keywords: copper or PEX pipes, fittings, valves, pipe cutter, high-quality materials.
Step 3: Install the Drain and Vent System

Before installing the water supply lines, it's important to first rough in the drain and vent system for the kitchen sink. This includes connecting the drain pipes and installing a vent pipe to prevent any potential clogs or odors. It's crucial to follow local building codes and regulations when installing the drain and vent system.
Keywords: drain and vent system, connecting drain pipes, vent pipe, building codes, regulations.
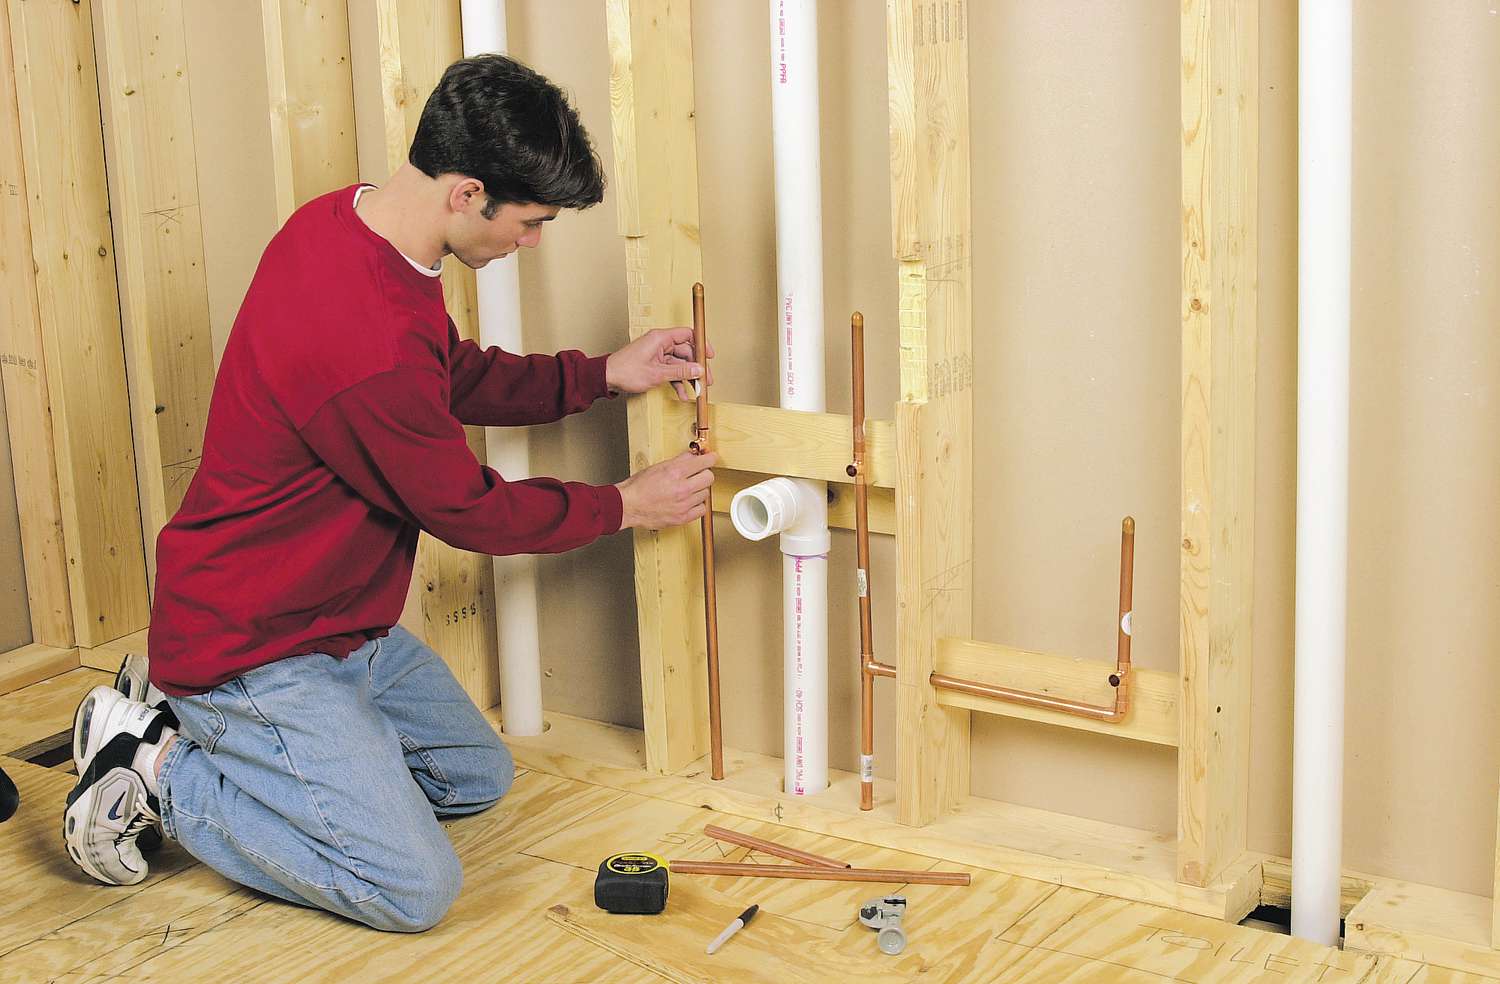
Step 4: Install the Water Supply Lines

With the drain and vent system in place, you can now turn your attention to the water supply lines. Using the measurements and plan you created in step one, carefully cut and install the pipes and fittings for the hot and cold water supply. Be sure to use the appropriate connectors and follow the manufacturer's instructions for a secure and leak-free installation.
Keywords: water supply lines, pipes, fittings, hot and cold water supply, connectors, manufacturer's instructions, leak-free installation.
Step 5: Test and Make Adjustments

Once all the water lines are installed, it's important to thoroughly test the system for any leaks or issues. Turn on the water supply and check for any leaks in the pipes or fittings. If necessary, make adjustments and tighten any loose connections. It's also a good idea to test the water flow and pressure to ensure everything is functioning properly.
Keywords: test, leaks, issues, water supply, adjustments, tighten, water flow, pressure.
Step 6: Seek Professional Help if Needed

If you are unfamiliar or uncomfortable with roughing in water lines for a kitchen sink, it's always best to seek professional help. A licensed plumber can ensure that the installation is done correctly and up to code, saving you time, money, and potential headaches in the long run.
Keywords: professional help, unfamiliar, uncomfortable, licensed plumber, up to code.
By following these steps and keeping these important considerations in mind, you can successfully rough in water lines for a kitchen sink in your house design. Remember to always use high-quality materials and seek professional help if needed to ensure a functional and efficient plumbing system.