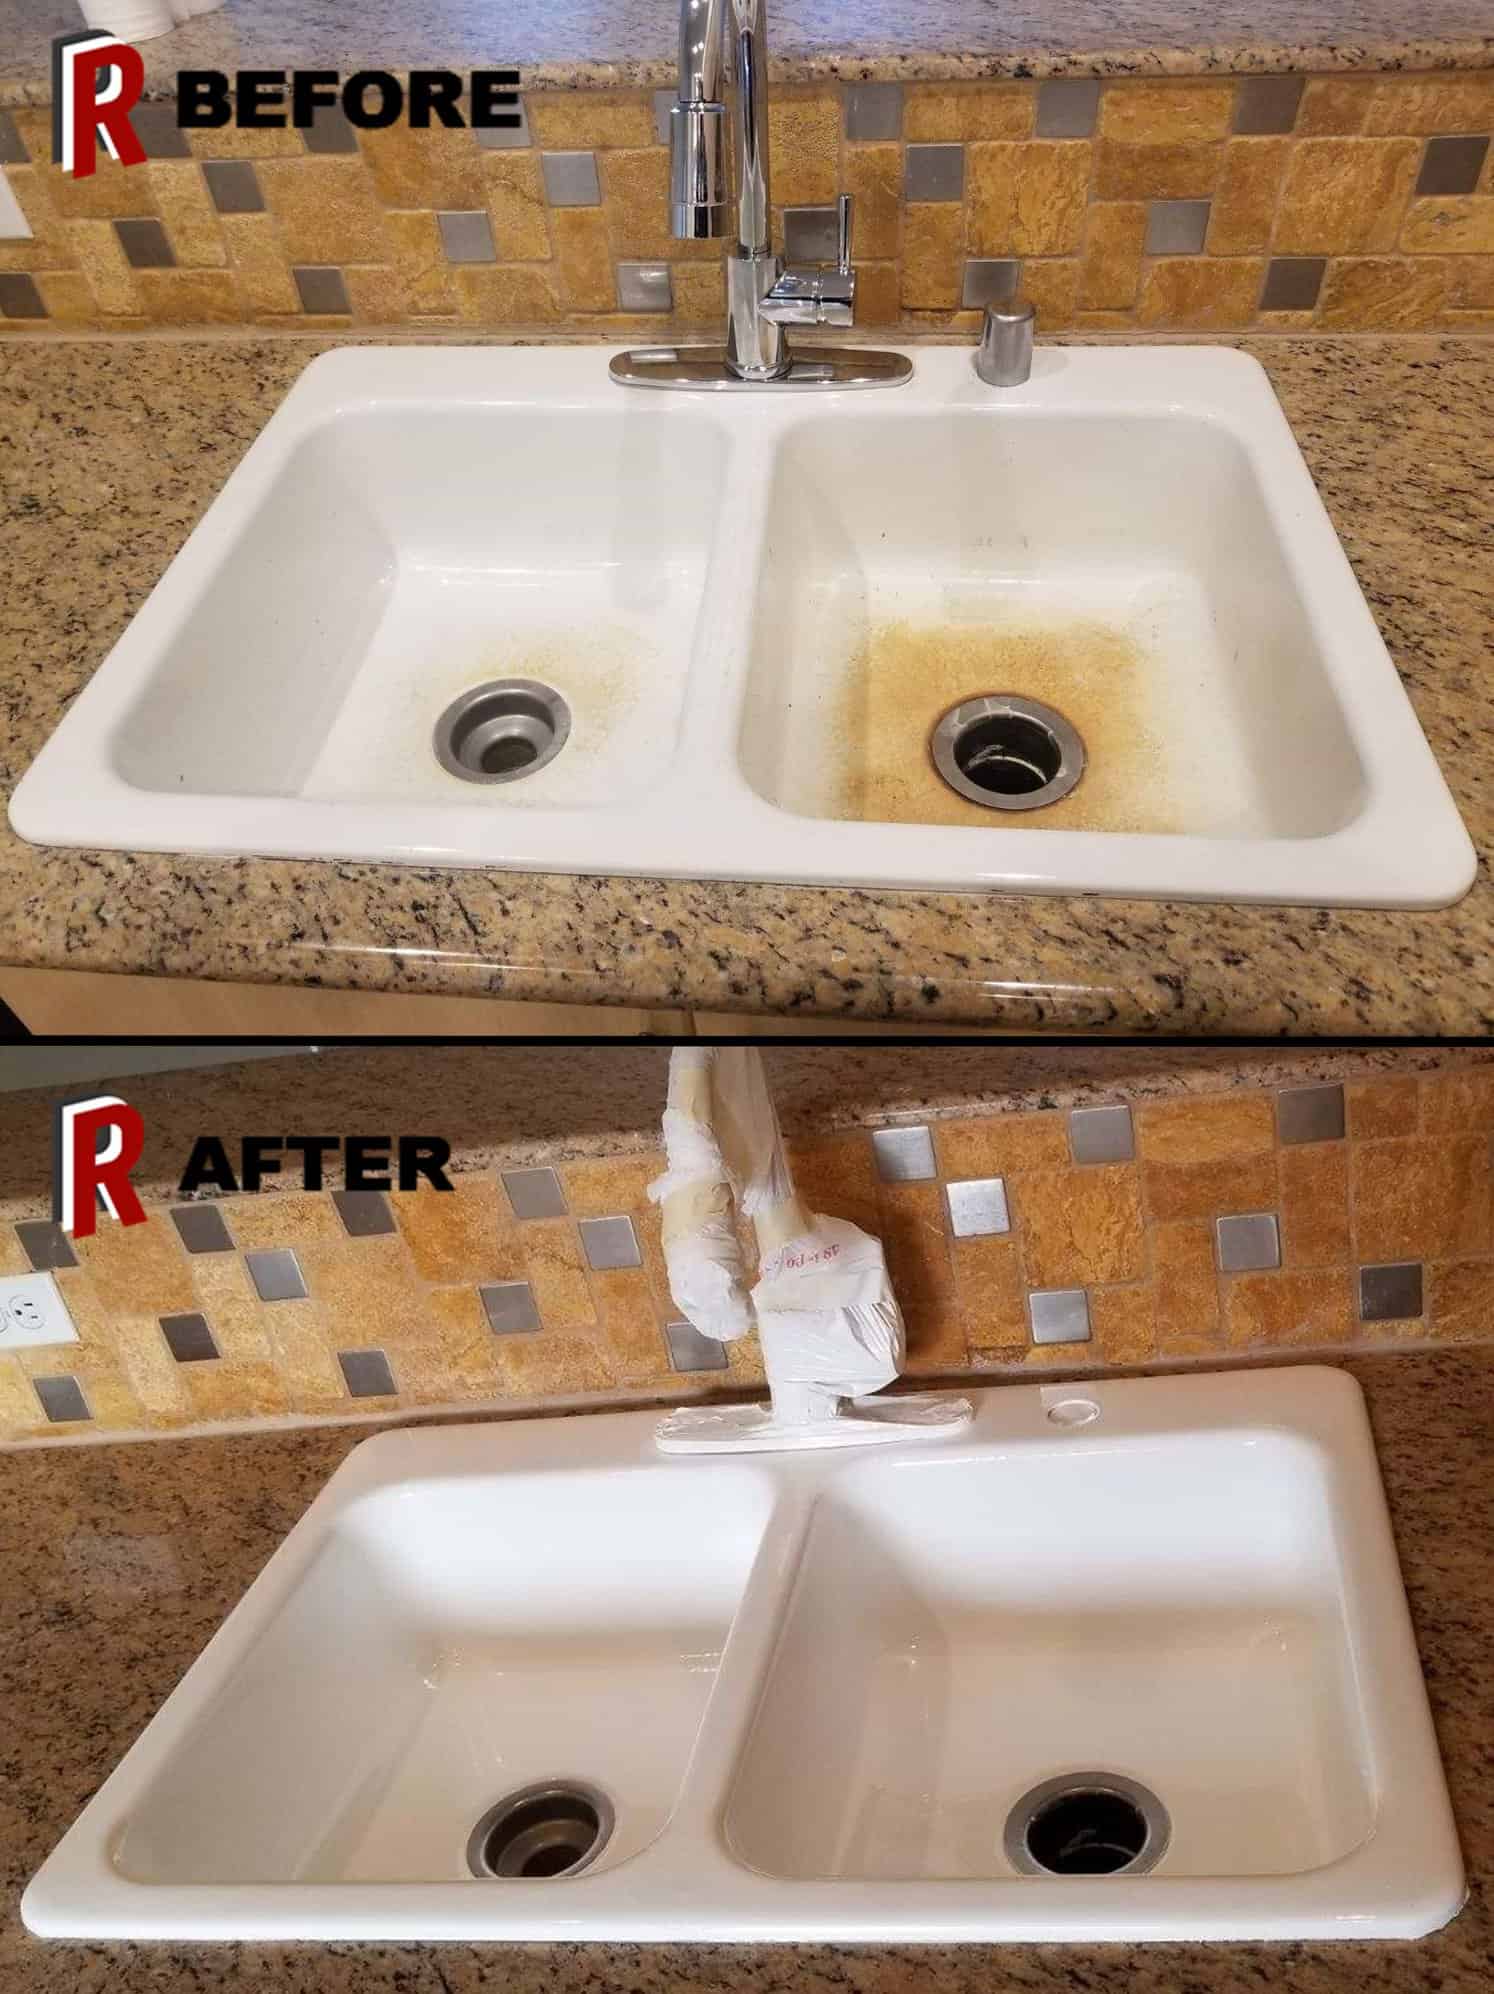
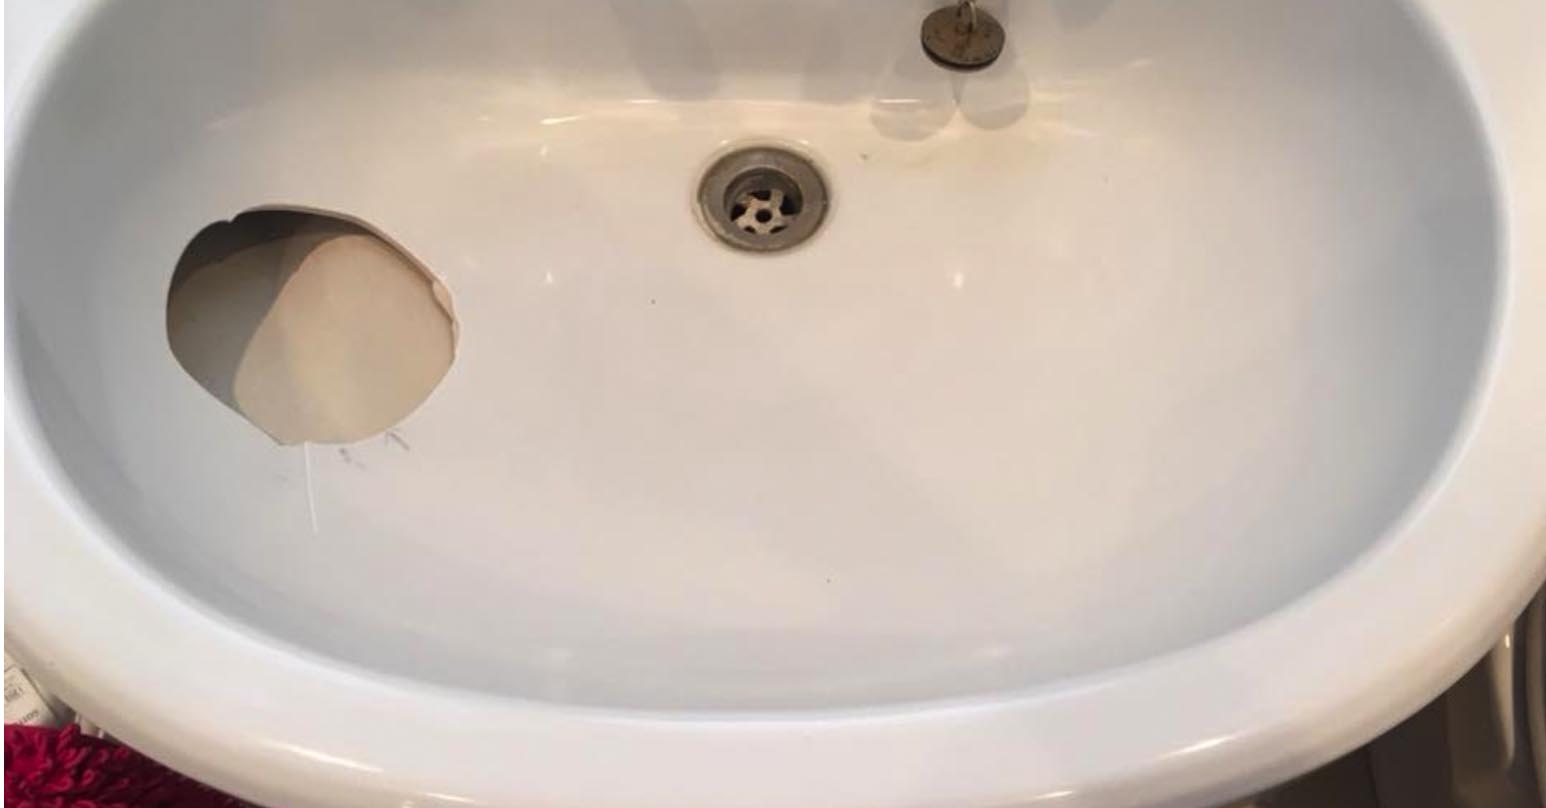
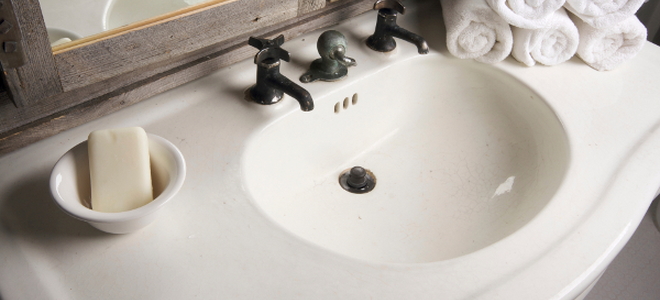
Is your bathroom sink starting to show signs of wear and tear? Cracks and chips can not only be unsightly, but they can also cause bigger problems if left untreated. Before you start thinking about replacing your entire sink, consider resurfacing it instead. Resurfacing a bathroom sink is a cost-effective and efficient way to give your sink a brand new look without the hassle of a full replacement. Let’s take a look at how you can fix cracks and chips in your bathroom sink with resurfacing. Resurface Bathroom Sink: How to Fix Cracks and Chips


Resurface Bathroom Sink: How to Fix Cracks and Chips


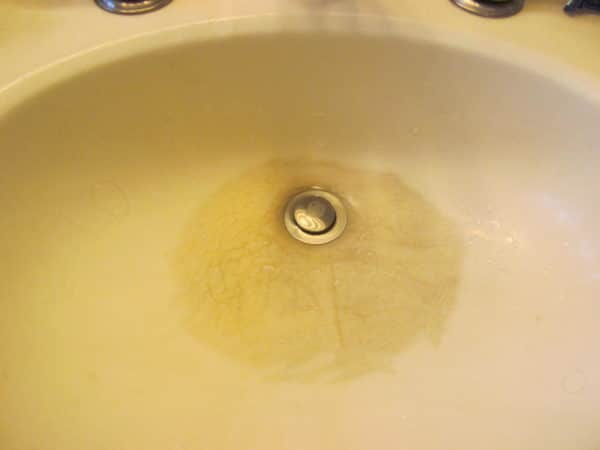


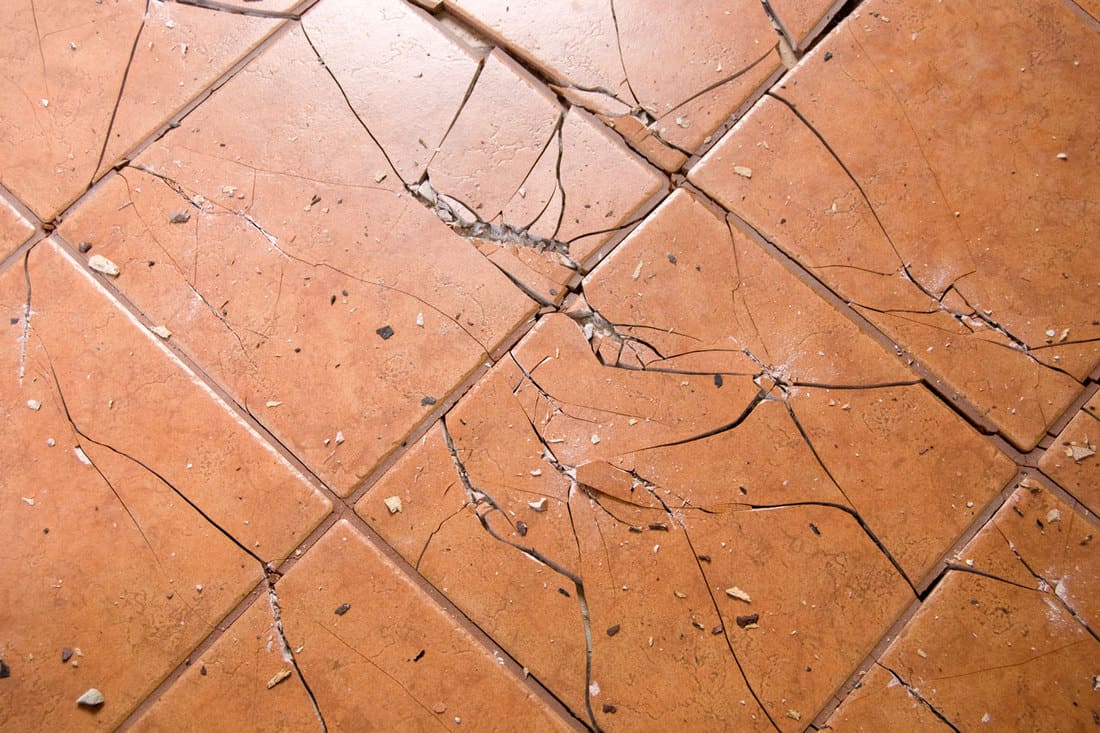
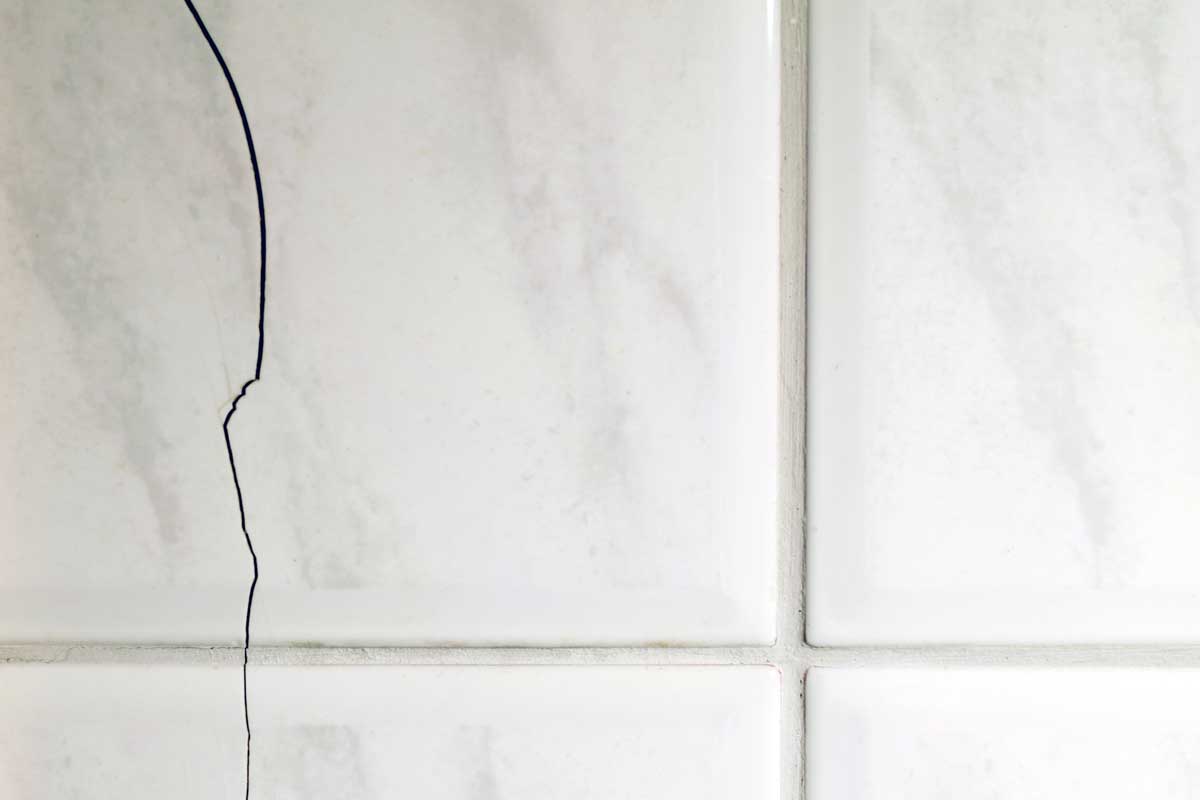
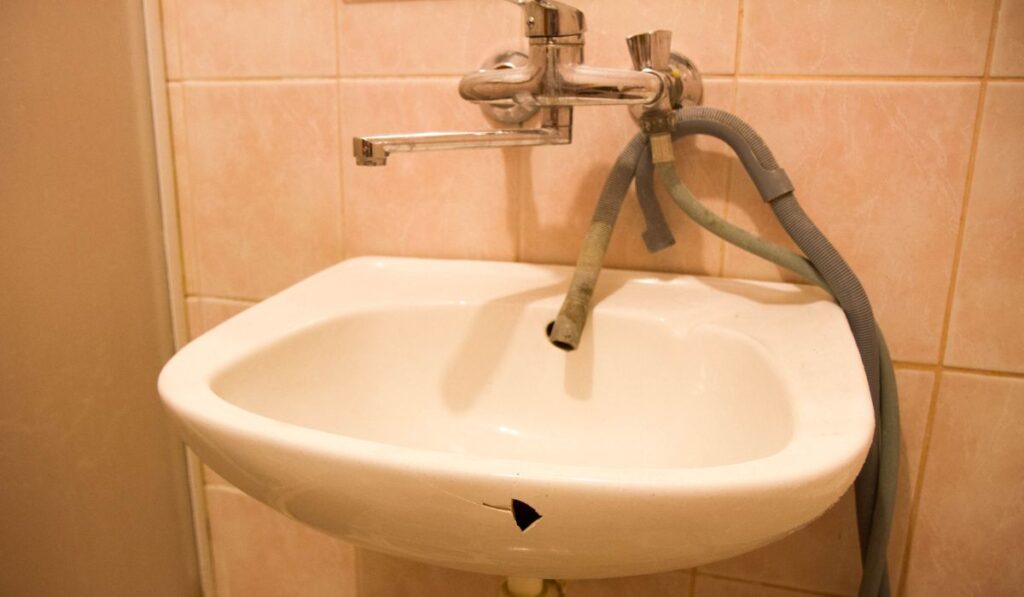
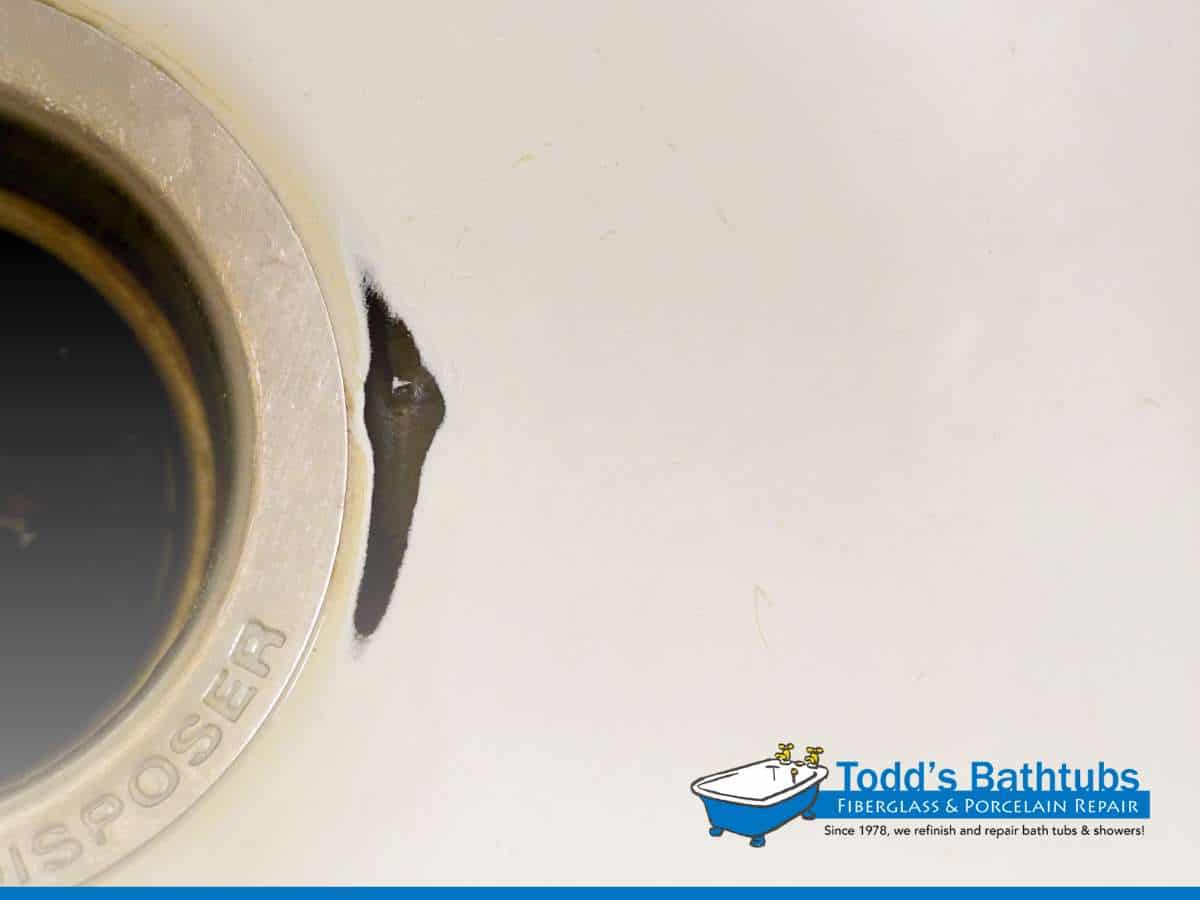
If you have a ceramic bathroom sink, you may have noticed cracks forming over time. These cracks can be caused by a number of factors, such as heavy impacts, temperature changes, and even just everyday use. The good news is that you can repair these cracks with a resurfacing kit specifically designed for ceramic sinks. These kits usually come with everything you need to repair and resurface your sink, including a bonding agent, filler, and finishing coat. With a little bit of time and effort, you can have your cracked ceramic sink looking as good as new. How to Repair a Cracked Ceramic Bathroom Sink


How to Repair a Cracked Ceramic Bathroom Sink


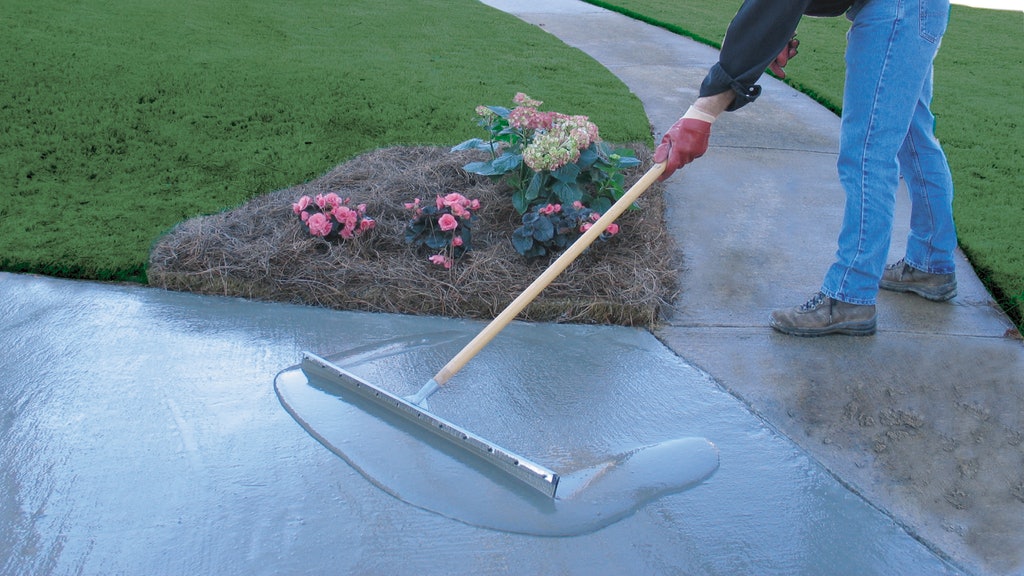
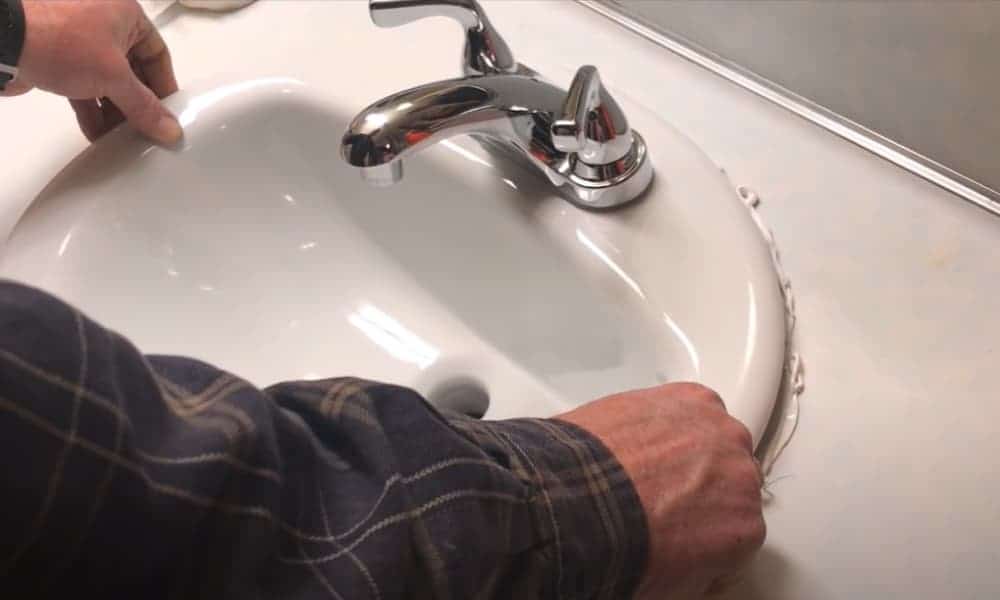
If you’re a DIY enthusiast, you may be wondering if you can tackle resurfacing your bathroom sink on your own. The answer is yes! Resurfacing a bathroom sink is a fairly simple process that can be done by anyone with basic DIY skills. The first step is to thoroughly clean your sink and remove any old caulk or sealant. Then, using a sandpaper or sanding block, gently sand the surface of the sink to create a rough texture. Next, mix the bonding agent and filler according to the instructions and apply it to the cracks and chips. Once it has dried, sand the surface again to smooth out any bumps. Finally, apply the finishing coat and let it dry completely before using your sink again. DIY Guide: How to Resurface a Bathroom Sink


DIY Guide: How to Resurface a Bathroom Sink


When it comes to resurfacing a bathroom sink, there are many products on the market to choose from. Some of the best products include resurfacing kits specifically designed for bathroom sinks, as well as epoxy or acrylic-based resurfacing products. These products are durable, easy to use, and come in a variety of colors to match your sink. It’s important to choose a high-quality product to ensure a long-lasting finish on your sink. Best Products for Resurfacing a Bathroom Sink


Best Products for Resurfacing a Bathroom Sink


If you’re still unsure about how to resurface your bathroom sink, here’s a step-by-step tutorial to guide you through the process: Step-by-Step Tutorial: Resurfacing a Bathroom Sink


Step-by-Step Tutorial: Resurfacing a Bathroom Sink


To prevent cracks and chips from forming in your bathroom sink, it’s important to understand the common causes. Heavy impacts, extreme temperature changes, and corrosive cleaners can all cause damage to your sink over time. To prevent these issues, avoid dropping heavy objects in your sink, use a drain protector to prevent scratches, and use gentle, non-abrasive cleaners when cleaning your sink. Additionally, consider using a cutting board or trivet to protect your sink from hot pots and pans. Common Causes of Bathroom Sink Cracks and How to Prevent Them


Common Causes of Bathroom Sink Cracks and How to Prevent Them


While resurfacing your bathroom sink yourself can save you money, it may not always be the best option. If your sink has major cracks or damage, it’s best to leave the job to a professional. They have the tools and expertise to properly repair and resurface your sink, ensuring a long-lasting finish. However, if your sink only has minor cracks and chips, a DIY resurfacing project can be a cost-effective solution. Professional vs. DIY: Which is Better for Resurfacing a Bathroom Sink?


Professional vs. DIY: Which is Better for Resurfacing a Bathroom Sink?


:max_bytes(150000):strip_icc()/steam-cleaning-professional-vs-diy-2908776-hero-24ffd77737924bca908036dabcdcbbad.jpg)


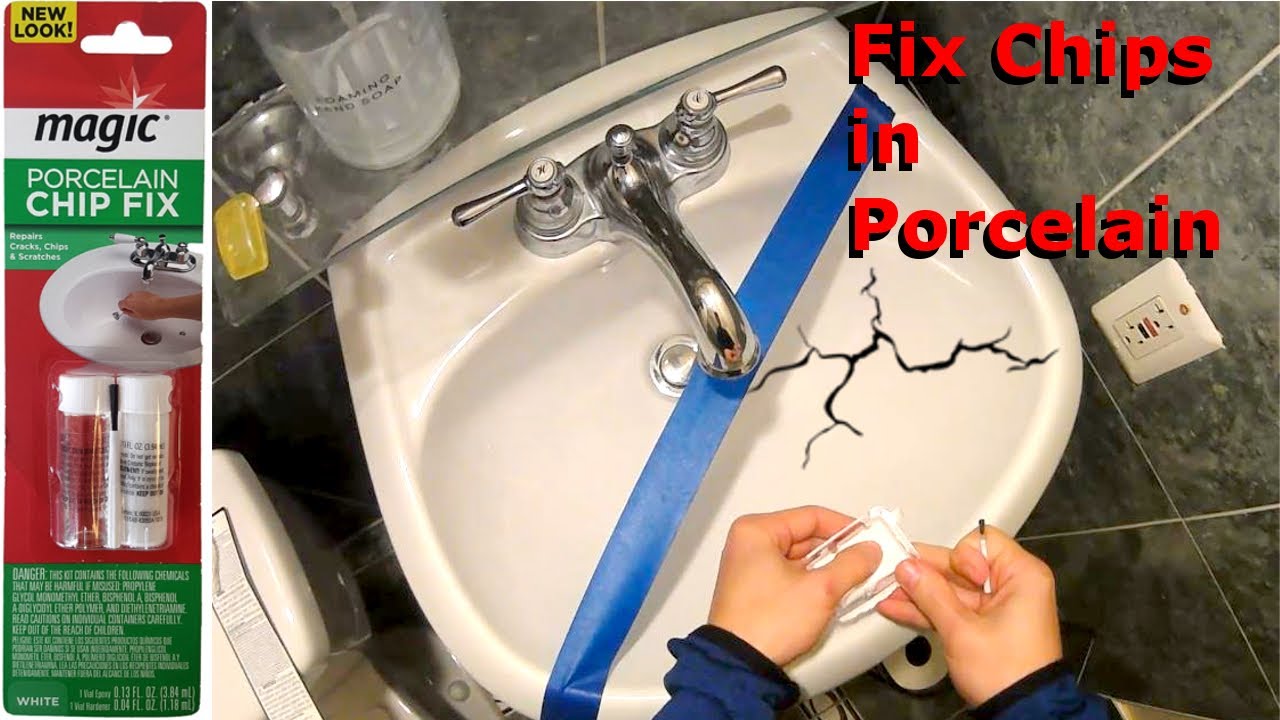
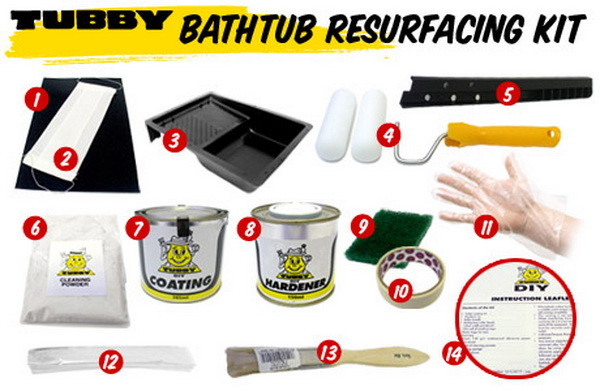
With so many resurfacing kits on the market, it can be overwhelming trying to choose the right one for your bathroom sink. When shopping for a kit, look for one that is specifically designed for bathroom sinks and is compatible with your sink material. You should also consider the color options available and read reviews from other customers to ensure you’re getting a high-quality product. How to Choose the Right Resurfacing Kit for Your Bathroom Sink


How to Choose the Right Resurfacing Kit for Your Bathroom Sink


Once you’ve successfully resurfaced your bathroom sink, you’ll want to make sure it stays in good condition for as long as possible. To maintain your resurfaced sink, avoid using abrasive cleaners or scrubbers, as these can damage the finish. Instead, stick to gentle, non-abrasive cleaners and a soft cloth for regular cleaning. You should also avoid placing heavy or sharp objects directly on the sink to prevent scratches and chips. Tips for Maintaining a Resurfaced Bathroom Sink


Tips for Maintaining a Resurfaced Bathroom Sink


One of the main benefits of resurfacing a bathroom sink is the cost savings compared to a full replacement. On average, resurfacing a sink can cost anywhere from $150 to $500, depending on the size and type of sink. In comparison, replacing a sink can cost upwards of $1,000. Additionally, resurfacing a sink takes significantly less time and effort than a full replacement, making it a more convenient option. Resurfacing a bathroom sink is a great way to give your sink a fresh new look without breaking the bank. With the right products and techniques, you can easily repair cracks and chips and maintain a beautiful, durable finish on your sink for years to come. Cost Comparison: Resurfacing vs. Replacing a Bathroom Sink


Cost Comparison: Resurfacing vs. Replacing a Bathroom Sink


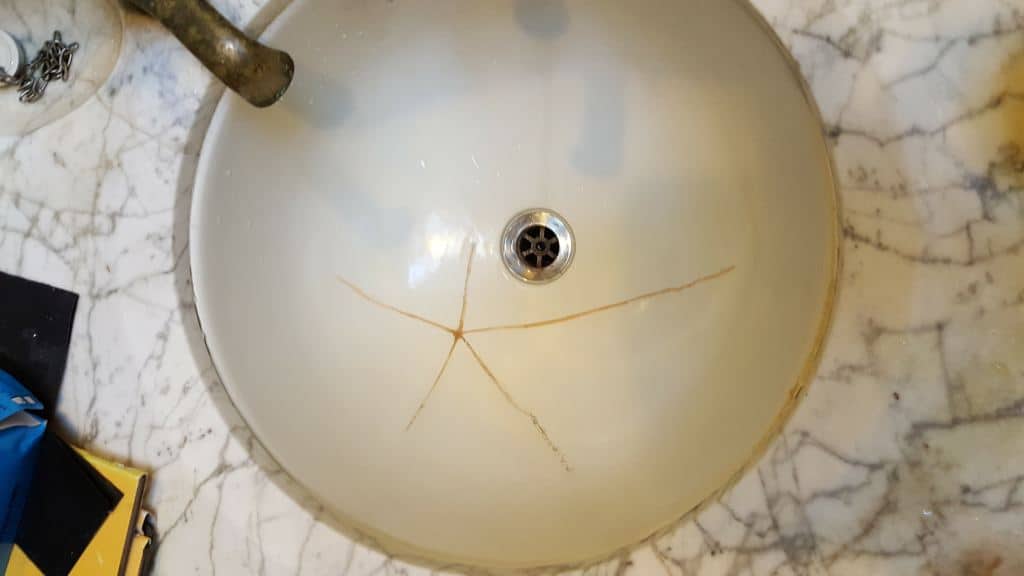
How to Resurface a Cracking Bathroom Sink

Understanding the Problem
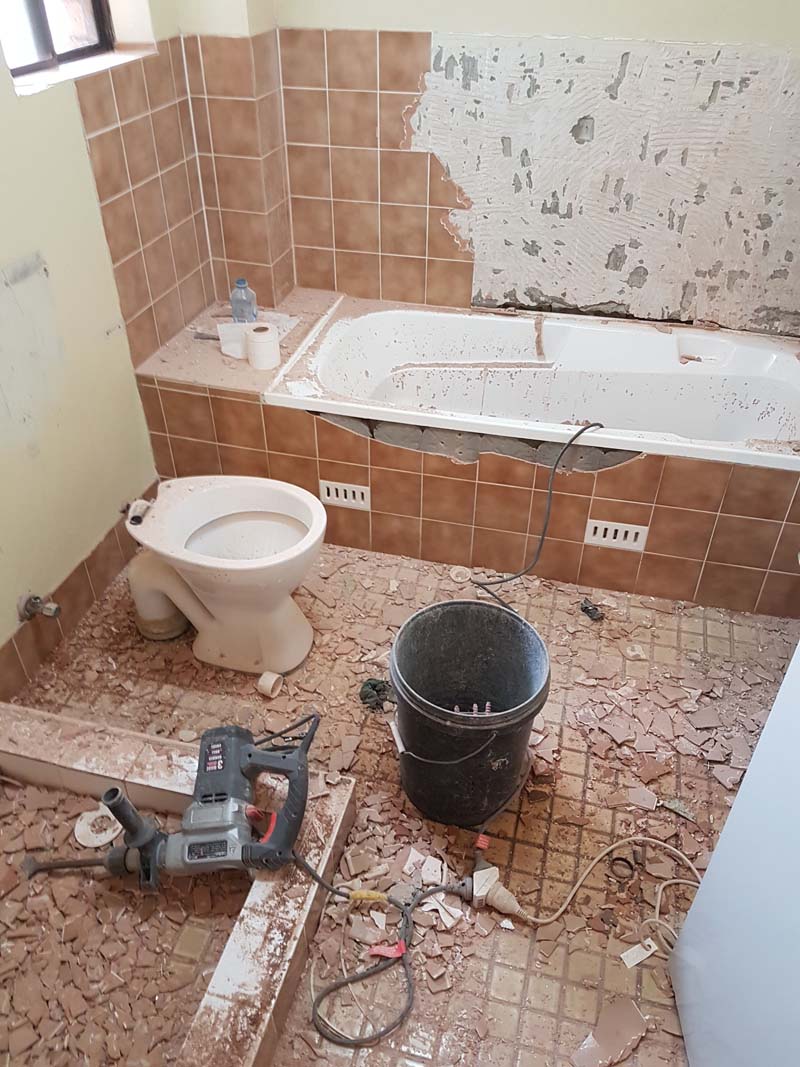
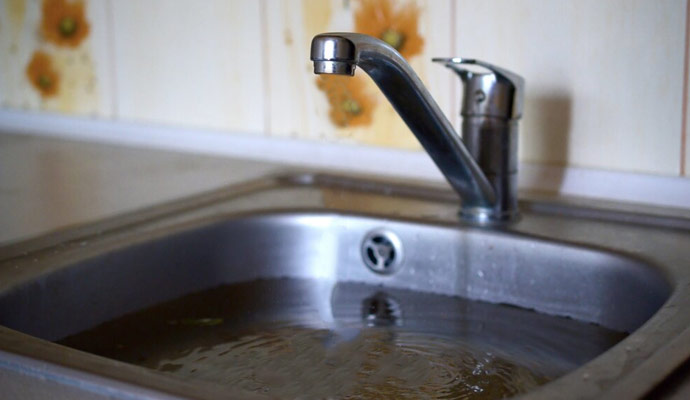
 The bathroom sink is one of the most frequently used fixtures in any house. From brushing our teeth to washing our face, it endures a lot of wear and tear on a daily basis. Over time, this can lead to cracks and chips in the surface of the sink, making it both unsightly and potentially unhygienic. If your bathroom sink is starting to show signs of cracking, don't panic. There are simple and cost-effective ways to resurface it and restore its beauty.
The Resurfacing Process
 One of the most common methods for resurfacing a bathroom sink is using a resurfacing kit. These kits typically come with all the necessary materials and instructions to make the process easy and efficient. First, clean the sink thoroughly with a mild cleaner, making sure to remove any soap scum or mineral deposits. Then, use the provided sandpaper to lightly sand the surface of the sink, creating a rough texture for the new surface to adhere to. Next, apply the
resurfacing compound
with a putty knife, making sure to cover all cracks and chips. Allow the compound to dry completely before applying a second coat. Once the second coat is dry, use the sandpaper again to smooth out any rough edges. Finally, apply the
topcoat
to seal and protect the new surface. Allow the topcoat to dry for at least 24 hours before using the sink again.
One of the most common methods for resurfacing a bathroom sink is using a resurfacing kit. These kits typically come with all the necessary materials and instructions to make the process easy and efficient. First, clean the sink thoroughly with a mild cleaner, making sure to remove any soap scum or mineral deposits. Then, use the provided sandpaper to lightly sand the surface of the sink, creating a rough texture for the new surface to adhere to. Next, apply the
resurfacing compound
with a putty knife, making sure to cover all cracks and chips. Allow the compound to dry completely before applying a second coat. Once the second coat is dry, use the sandpaper again to smooth out any rough edges. Finally, apply the
topcoat
to seal and protect the new surface. Allow the topcoat to dry for at least 24 hours before using the sink again.
Benefits of Resurfacing
 Resurfacing a bathroom sink not only restores its appearance, but it also has many other benefits. First and foremost, it is a cost-effective alternative to replacing the entire sink, which can be a costly and time-consuming process. Additionally, resurfacing allows you to change the color and finish of your sink, giving your bathroom a whole new look without the expense of a full renovation. It also helps to prevent further damage and extends the lifespan of your sink, making it a practical and efficient solution.
Preventing Future Damage
 To keep your newly resurfaced bathroom sink in good condition, it's important to take preventative measures. Avoid using harsh chemicals or abrasive cleaners, as these can damage the surface. Instead, opt for mild cleaners and soft cloths to clean your sink. Also, be sure to use a
rubber mat
in your sink when washing dishes or other items to avoid scratches or chips. Regularly inspect your sink for any signs of wear and tear and address them promptly to prevent further damage.
In conclusion, resurfacing a cracking bathroom sink is a simple and cost-effective solution that can restore its beauty and extend its lifespan. With the right materials and techniques, you can have a like-new sink in no time. Remember to follow the proper steps and take preventative measures to keep your sink looking its best for years to come.
To keep your newly resurfaced bathroom sink in good condition, it's important to take preventative measures. Avoid using harsh chemicals or abrasive cleaners, as these can damage the surface. Instead, opt for mild cleaners and soft cloths to clean your sink. Also, be sure to use a
rubber mat
in your sink when washing dishes or other items to avoid scratches or chips. Regularly inspect your sink for any signs of wear and tear and address them promptly to prevent further damage.
In conclusion, resurfacing a cracking bathroom sink is a simple and cost-effective solution that can restore its beauty and extend its lifespan. With the right materials and techniques, you can have a like-new sink in no time. Remember to follow the proper steps and take preventative measures to keep your sink looking its best for years to come.