Restoring a kitchen table can be a fun and rewarding DIY project. Whether you have an old family heirloom or a thrift store find, giving new life to a kitchen table can completely transform the look of your space. However, the process can be a bit daunting if you've never done it before. That's why we've put together this step-by-step guide to help you restore your kitchen table and bring it back to its former glory.How to Restore a Kitchen Table


How to Restore a Kitchen Table

-(1).jpg?0.33023809487393097)


Before you begin the restoration process, it's important to assess the current condition of your kitchen table. Is it just a bit worn and in need of a fresh coat of paint, or is it in need of more extensive repairs? Once you know the extent of the work needed, you can follow these steps to restore your kitchen table: Step 1: Gather your supplies. To restore a kitchen table, you'll need sandpaper, paint or stain, a paintbrush, wood filler, and a screwdriver (if your table has screws). Step 2: Prep the table. Remove any hardware or screws from the table and set them aside. If your table has any loose or wobbly parts, tighten them with a screwdriver or add wood glue to secure them. Step 3: Sand the table. Use a coarse-grit sandpaper to remove any existing finish and rough up the surface of the table. Then, use a finer grit sandpaper to smooth out the surface. Step 4: Fill in any imperfections. If your table has scratches, dings, or other imperfections, use wood filler to fill them in. Once dry, sand the surface again to create a smooth, even surface. Step 5: Choose your finish. Decide whether you want to paint or stain your kitchen table. Both options have their pros and cons, so choose the one that best fits your needs and style. Step 6: Apply the finish. Use a paintbrush to apply either the paint or stain to your table, following the manufacturer's instructions. Apply multiple coats for a more durable finish. Step 7: Let it dry. Allow the finish to dry completely before moving on to the next step. Step 8: Reattach hardware. Once the finish is dry, reattach any hardware or screws that you removed earlier. Step 9: Add protective coating. For an extra layer of protection, consider adding a clear protective coating over the paint or stain. This will help prevent scratches and stains on your newly restored table. Step 10: Enjoy your restored kitchen table! Your kitchen table is now ready for use. Admire your hard work and enjoy a meal or two at your newly restored table.Restoring a Kitchen Table: A Step-by-Step Guide


Restoring a Kitchen Table: A Step-by-Step Guide


Restoring a kitchen table can be a bit intimidating, especially if you're not familiar with DIY projects. But fear not, here are some tips and tricks to help make the process smoother: Choose the right finish. As mentioned earlier, you can either paint or stain your kitchen table. Paint is a great option for covering up imperfections and adding a pop of color to your space. Stain, on the other hand, allows the natural beauty of the wood to shine through. Consider your personal style and the condition of your table when choosing the finish. Don't skip the sanding. Sanding is a crucial step in the restoration process. It not only removes any existing finish but also creates a smooth surface for the new finish to adhere to. Don't be tempted to skip this step, as it can make a huge difference in the final result. Be patient. Restoring a kitchen table takes time, so don't rush the process. Allow each coat of paint or stain to dry completely before applying the next one. This will ensure a more professional-looking finish. Protect your work area. Before you start, make sure to cover your work area with a drop cloth or old sheets to prevent any spills or drips from damaging your floors or furniture.DIY Kitchen Table Restoration: Tips and Tricks


DIY Kitchen Table Restoration: Tips and Tricks


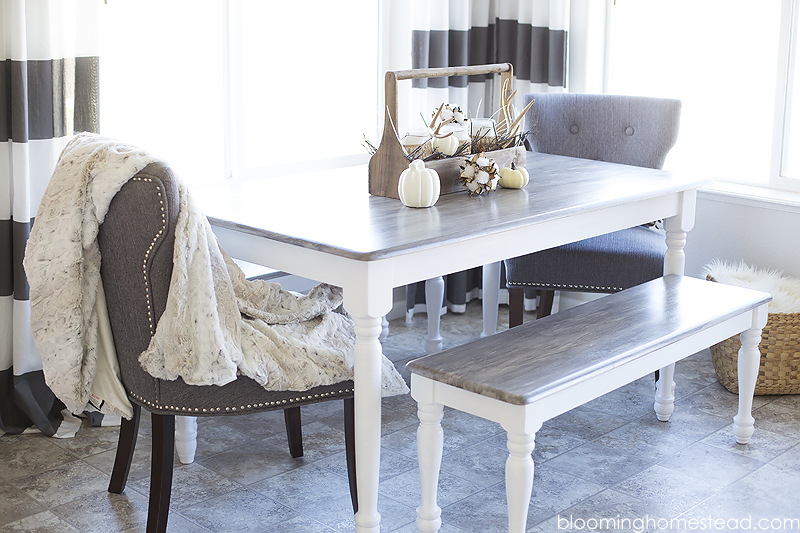


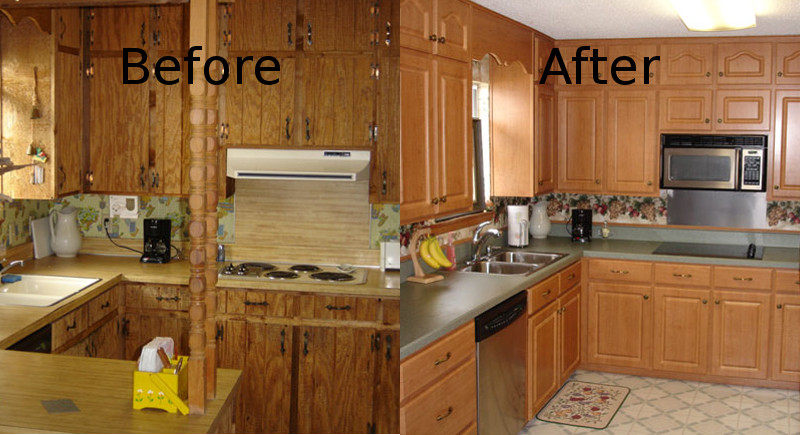
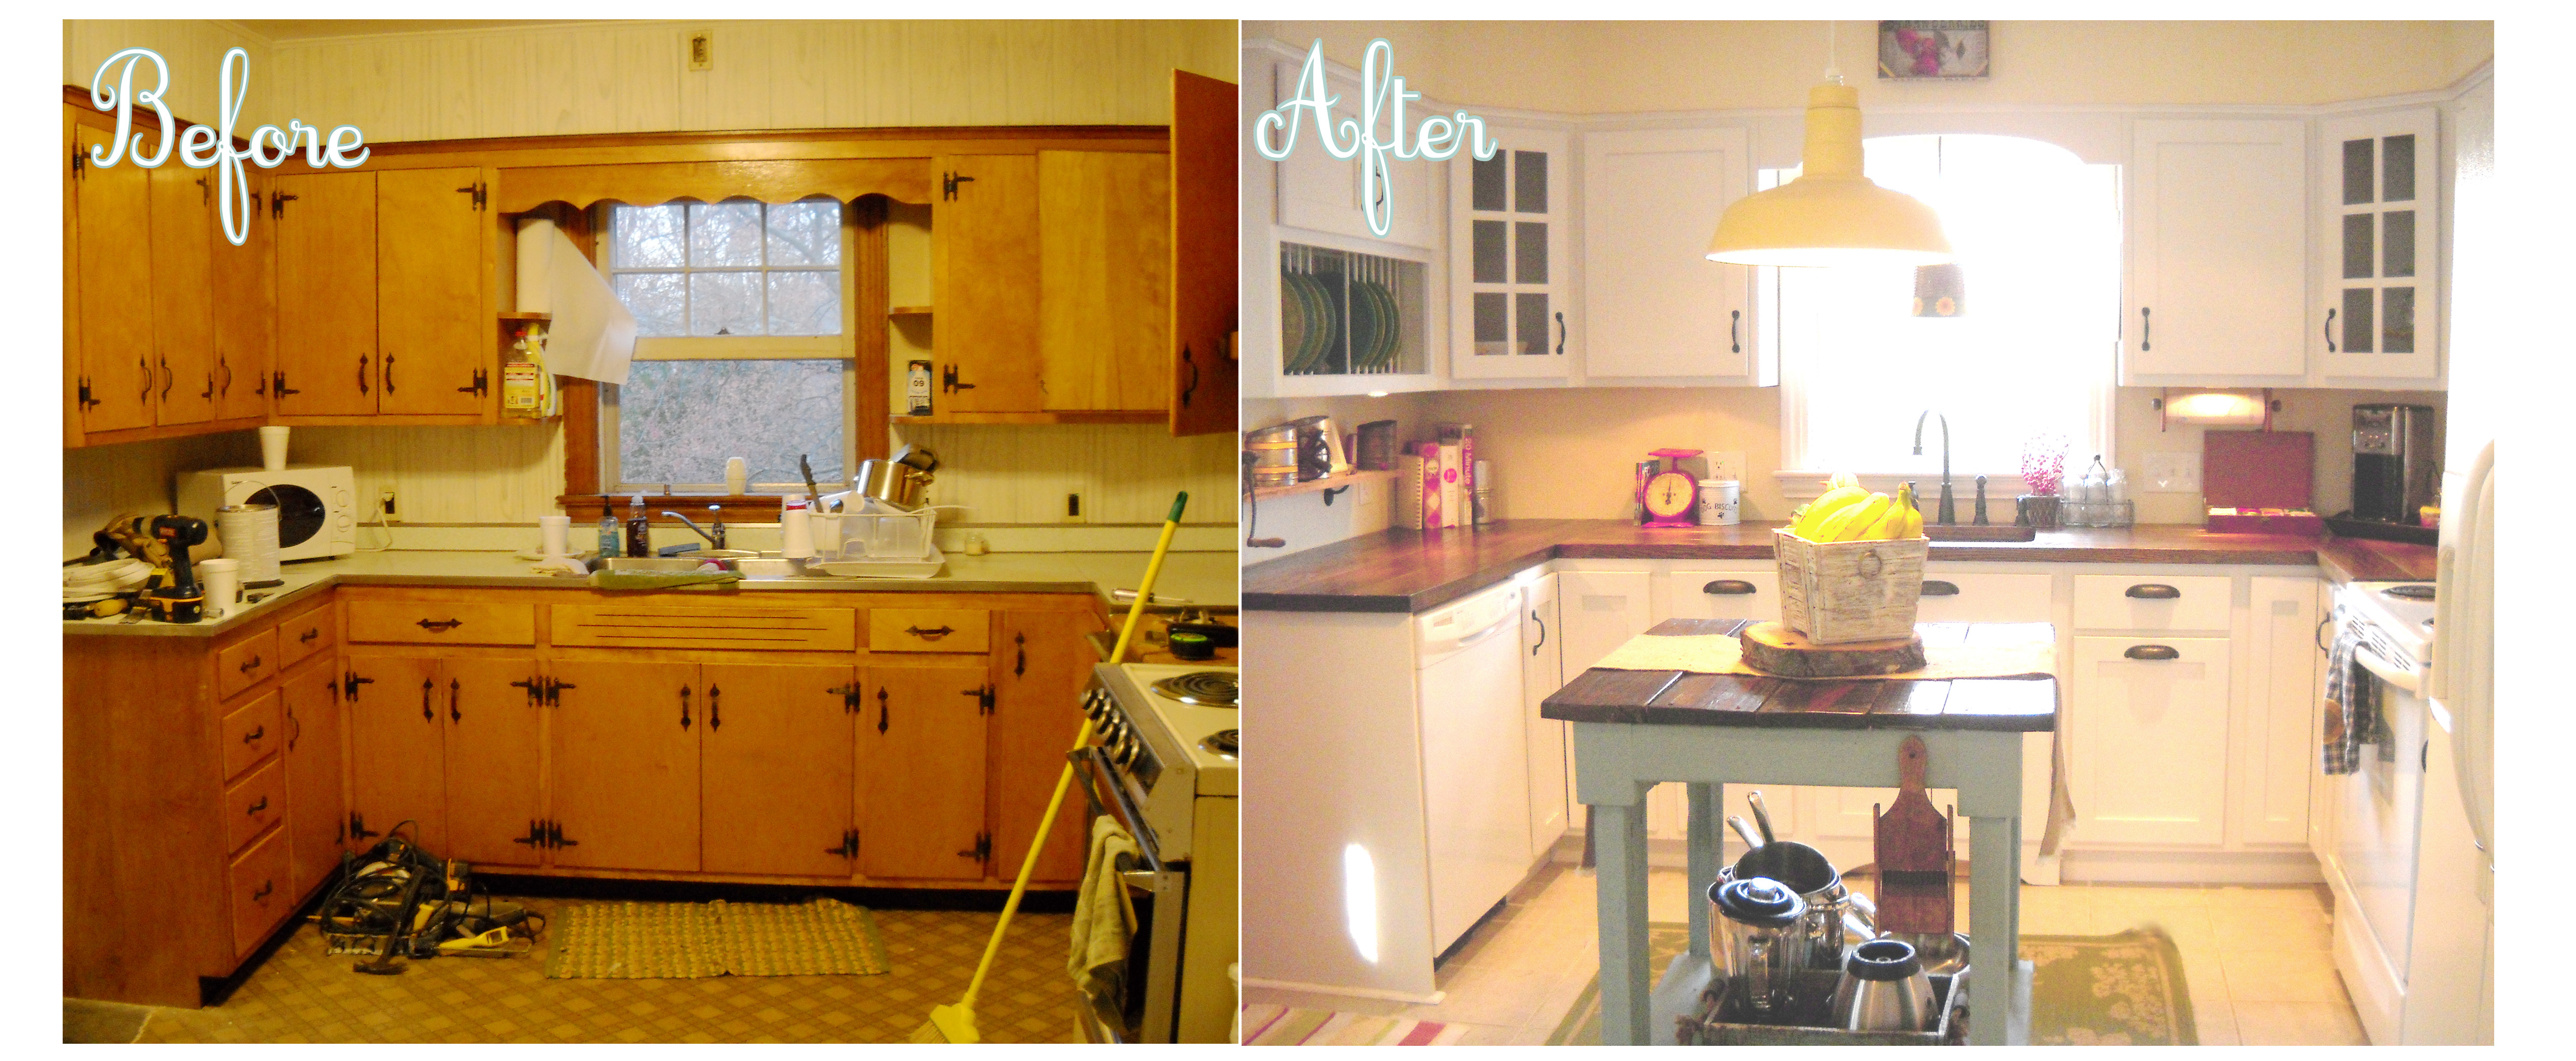
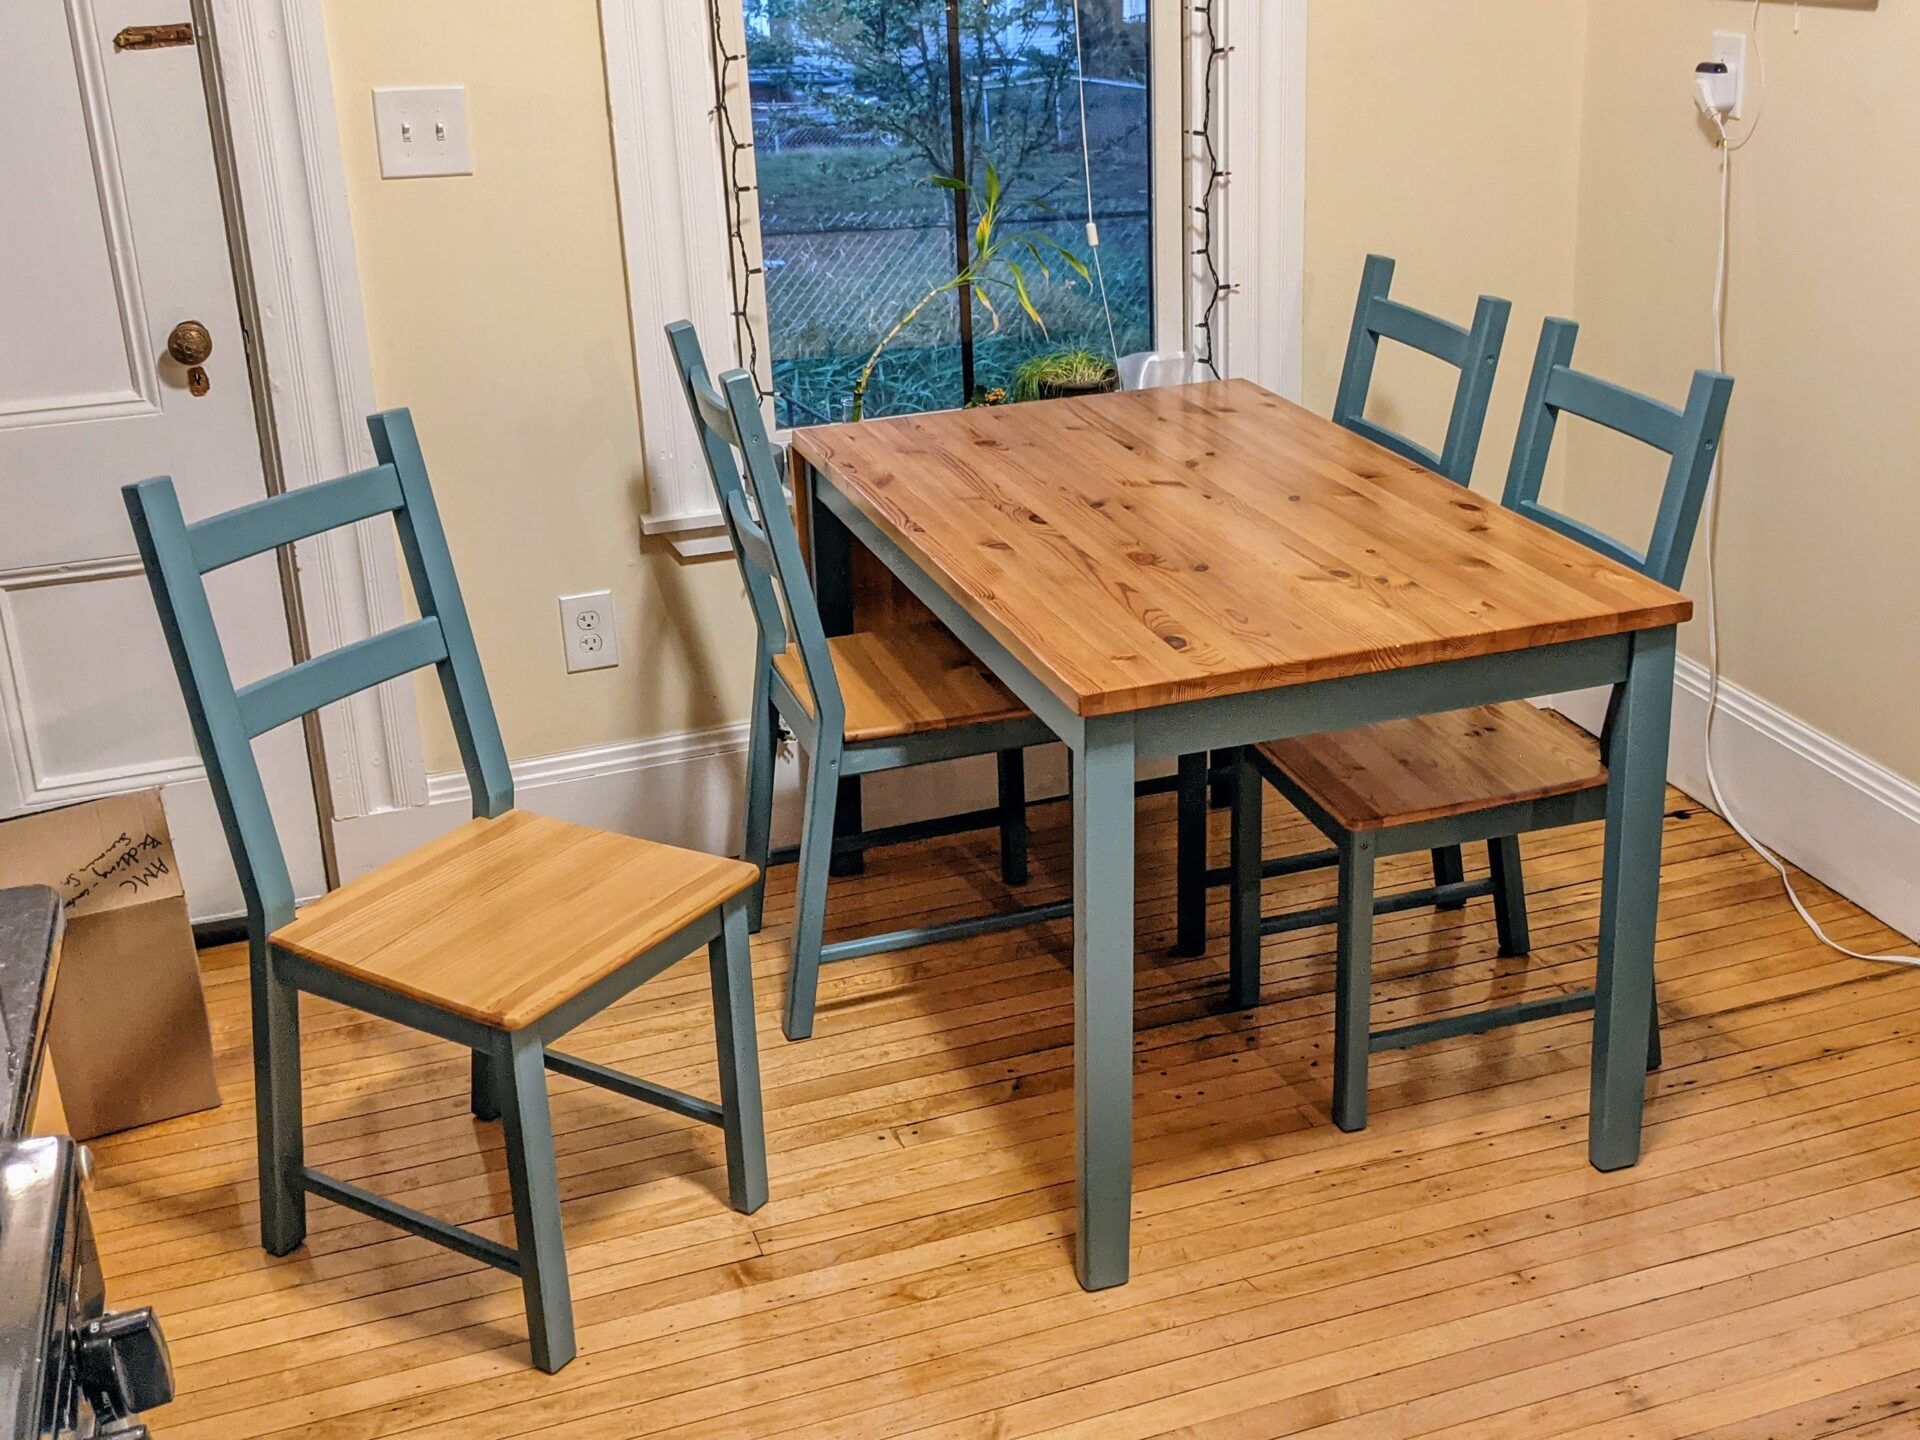
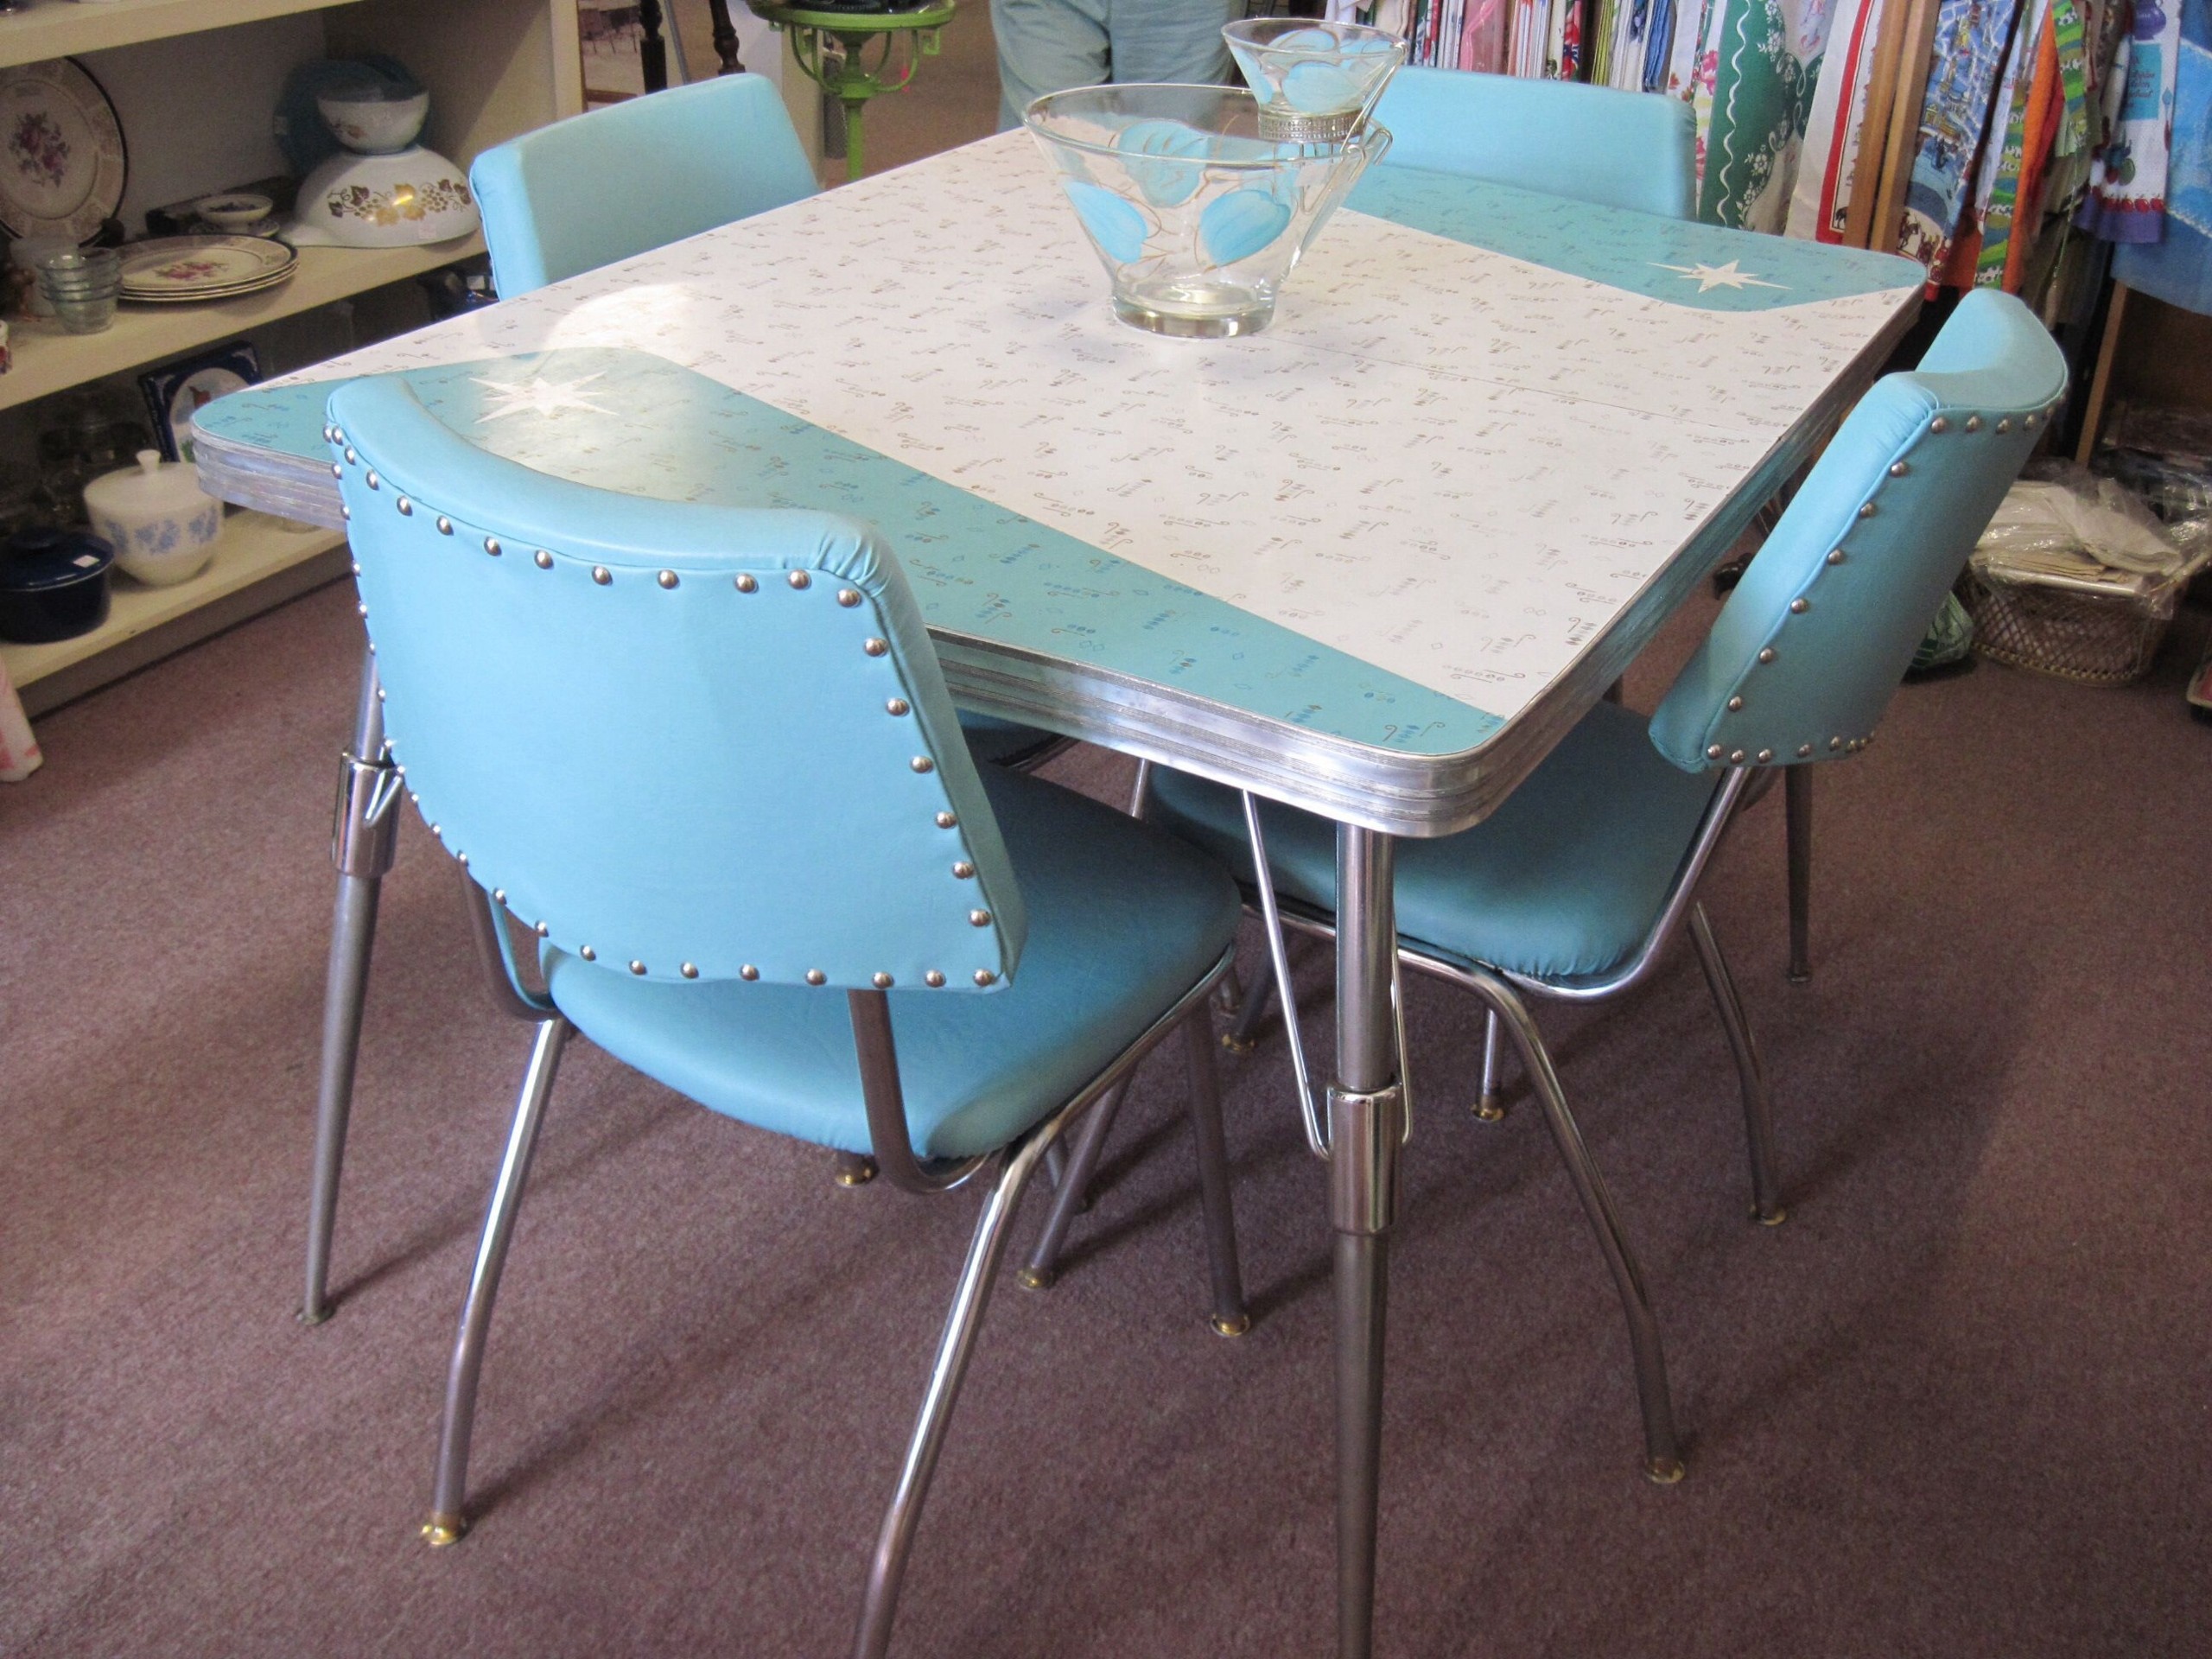
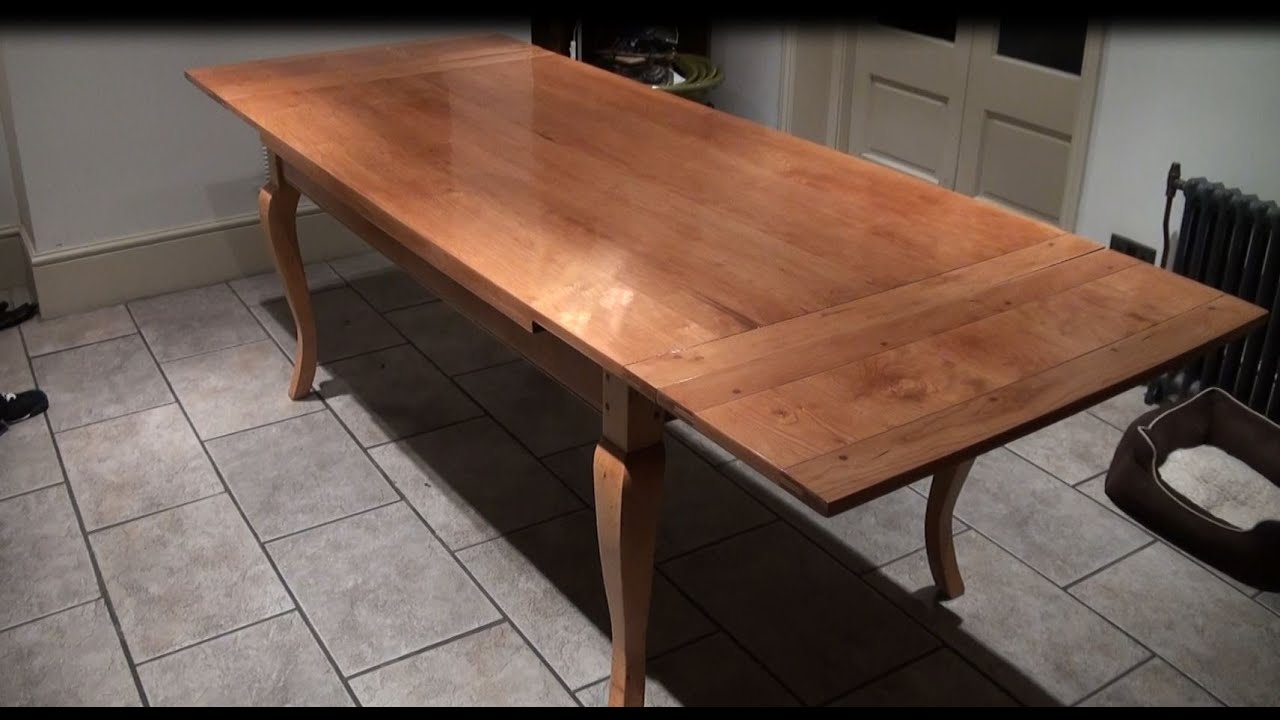
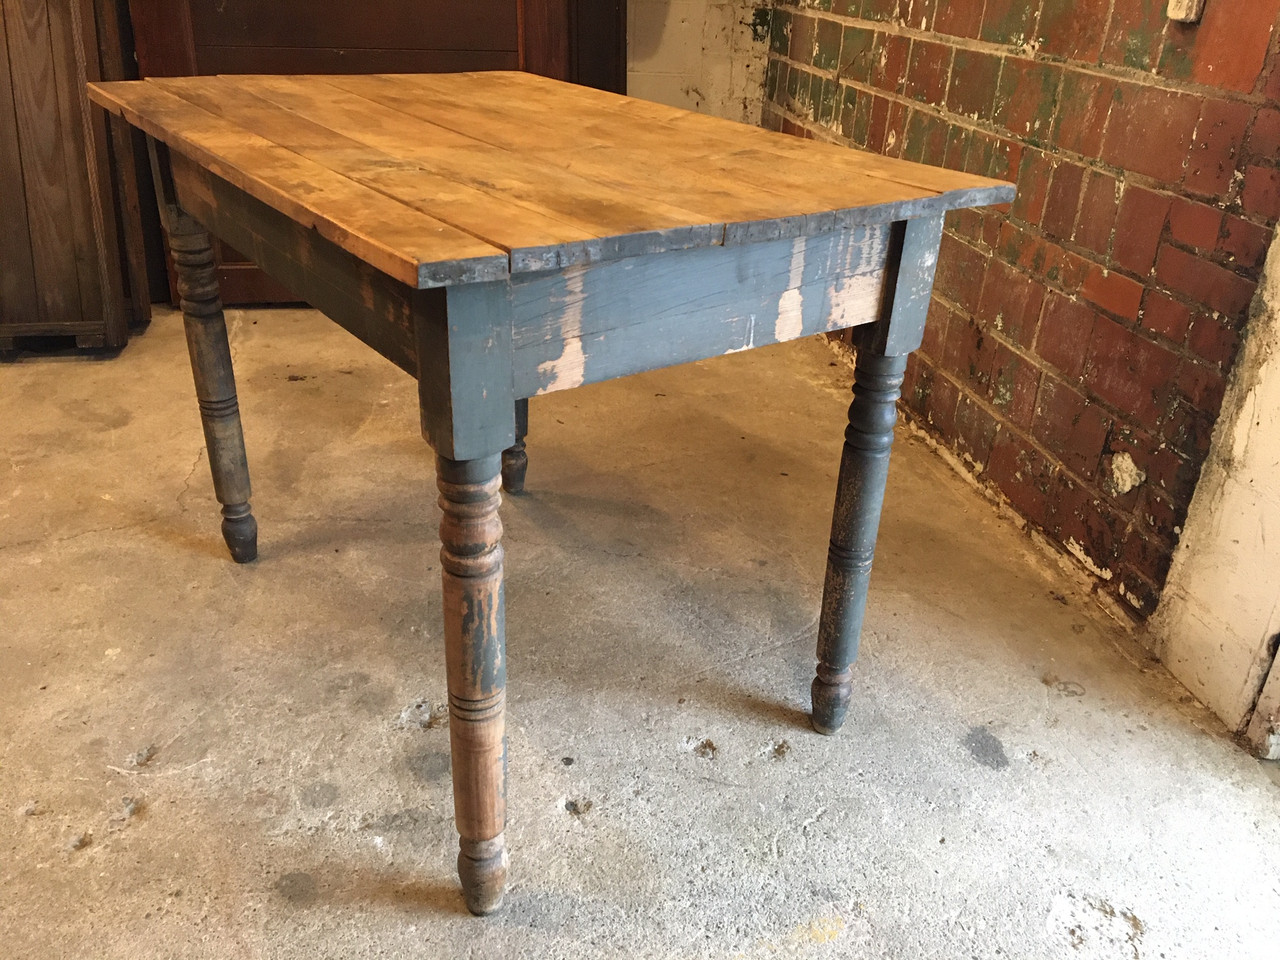
Still not convinced that restoring a kitchen table is worth the effort? Take a look at these before and after photos and see the transformation for yourself: Insert before and after photos of a worn-out kitchen table transformed into a beautiful, restored piece of furniture As you can see, restoring an old kitchen table can make a huge difference in your space. Not only will it look better, but it can also save you money compared to buying a new table.Restoring an Old Kitchen Table: Before and After


Restoring an Old Kitchen Table: Before and After


If you've decided to refinish your kitchen table, there are a few things you should know before starting the process: Consider the type of wood. Different types of wood require different approaches to refinishing. For example, softer woods like pine may require more sanding, while hardwoods like oak may need less. Do some research to determine the best approach for the type of wood your table is made of. Test the stain. Before applying the stain to your entire table, test it on a small, inconspicuous area to make sure you are happy with the color. This will help avoid any surprises or regrets later on. Follow the grain. When applying the finish, make sure to go with the grain of the wood for a more even and professional-looking result.Refinishing a Kitchen Table: What You Need to Know


Refinishing a Kitchen Table: What You Need to Know


Restoring a wooden kitchen table is a great way to bring back its natural beauty and extend its lifespan. Here are some extra tips to help you achieve the best possible results: Repair any damage. If your table has any structural damage, such as loose legs or joints, make sure to address that before moving on to the refinishing process. This will ensure your table is sturdy and safe to use. Use a high-quality finish. Investing in a high-quality finish will not only provide better protection for your table but also give it a more professional and long-lasting finish. Protect the surface. To avoid scratches and water damage, make sure to use coasters and placemats when using your restored kitchen table. This will help maintain its beauty for years to come.Restoring a Wooden Kitchen Table: The Ultimate Guide


Restoring a Wooden Kitchen Table: The Ultimate Guide


Restoring a vintage kitchen table can be a bit trickier than a newer one, as it may require more delicate handling. Here are some techniques and ideas to consider when restoring a vintage kitchen table: Reuse original hardware. If your vintage table has unique or intricate hardware, consider reusing it instead of replacing it. This will add to the authenticity and charm of your restored table. Embrace imperfections. Vintage furniture often comes with imperfections that add character and tell a story. Don't be afraid to embrace these imperfections and let them shine through in your restored table. Add a distressed look. If you want to give your vintage table a more distressed or aged look, you can use sandpaper or a wire brush to create small scratches and dents. This will add to the vintage feel of your restored table.Restoring a Vintage Kitchen Table: Techniques and Ideas


Restoring a Vintage Kitchen Table: Techniques and Ideas


If your kitchen table has a thick layer of paint or stain that you want to completely remove before refinishing, you'll need to strip it first. Here's how to do it: Step 1: Gather your supplies. To strip a kitchen table, you'll need a paint stripper, scraper, steel wool, and gloves for protection. Step 2: Prep the area. As with refinishing, make sure to cover your work area with a drop cloth or old sheets to protect your floors and furniture. Step 3: Apply the stripper. Follow the manufacturer's instructions to apply the paint stripper to your table. Make sure to work in a well-ventilated area and wear gloves for protection. Step 4: Scrape off the paint or stain. Once the stripper has loosened the paint or stain, use a scraper to remove it. You may need to use steel wool to remove any remaining stubborn spots. Step 5: Clean the surface. Use a clean cloth and mineral spirits to wipe down the surface and remove any residue from the stripper. Step 6: Let it dry. Allow the table to dry completely before moving on to the refinishing process.How to Strip and Refinish a Kitchen Table


How to Strip and Refinish a Kitchen Table


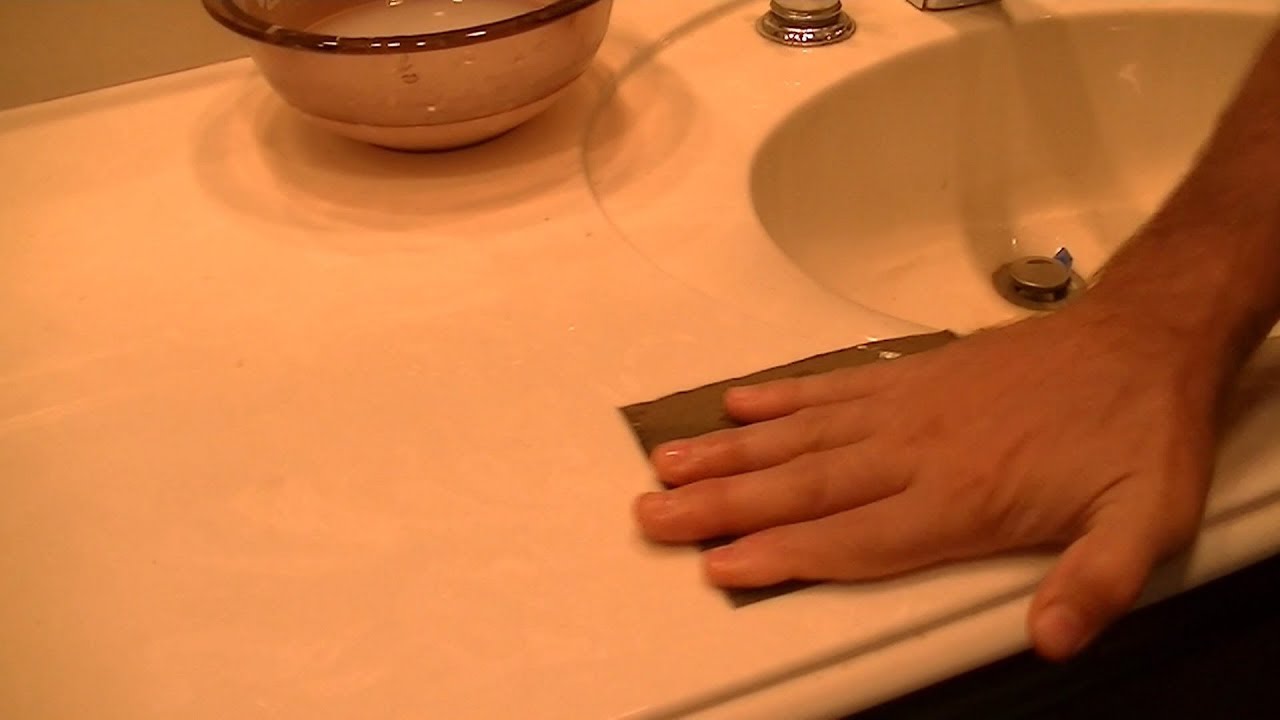
If your kitchen table has scratches and other minor damage on the tabletop, here's a quick and easy way to restore it: Step 1: Gather your supplies. You'll need sandpaper, wood filler, a putty knife, and a sanding block. Step 2: Sand the tabletop. Use sandpaper to sand the surface of the tabletop, focusing on the areas with scratches or imperfections. Step 3: Fill in the scratches. Use wood filler to fill in the scratches. Use a putty knife to smooth out the filler and let it dry completely. Step 4: Sand again. Once the filler is dry, use sandpaper to smooth out the surface of the tabletop. Step 5: Apply the finish. Follow the instructions for refinishing the rest of the table to apply a new coat of paint or stain to the tabletop.Restoring a Kitchen Tabletop: From Scratches to Shine


Restoring a Kitchen Tabletop: From Scratches to Shine


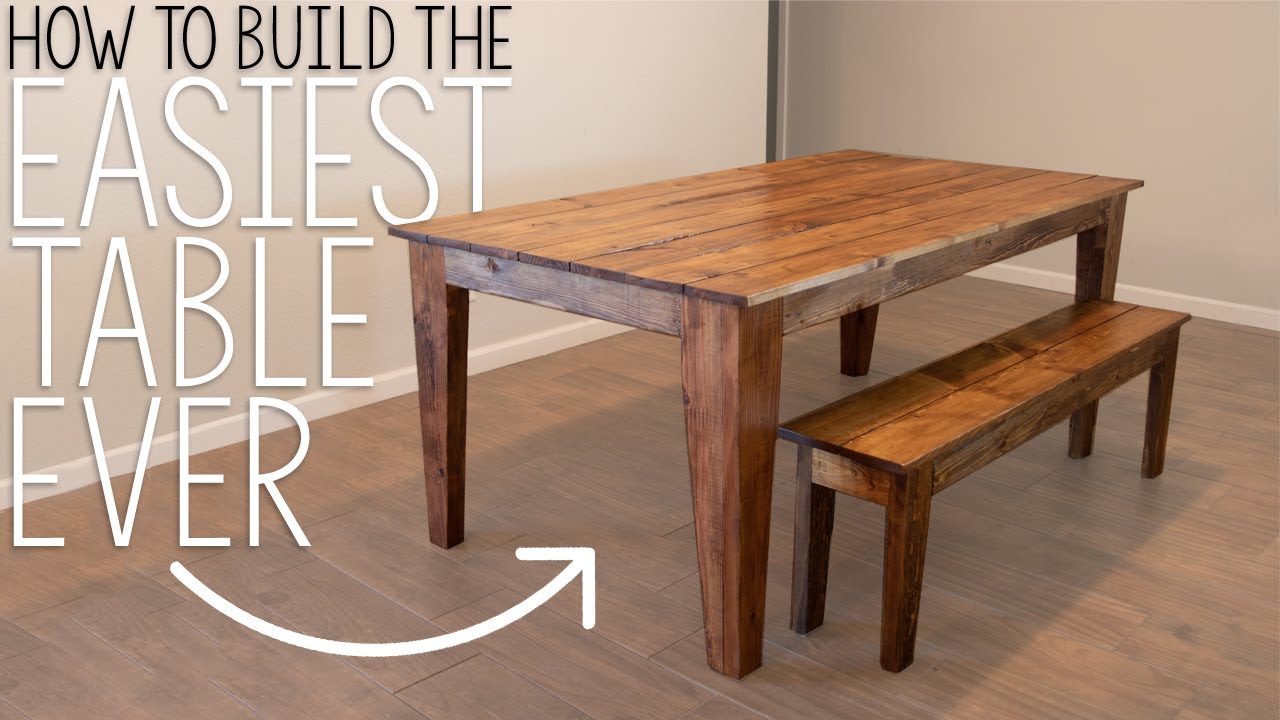
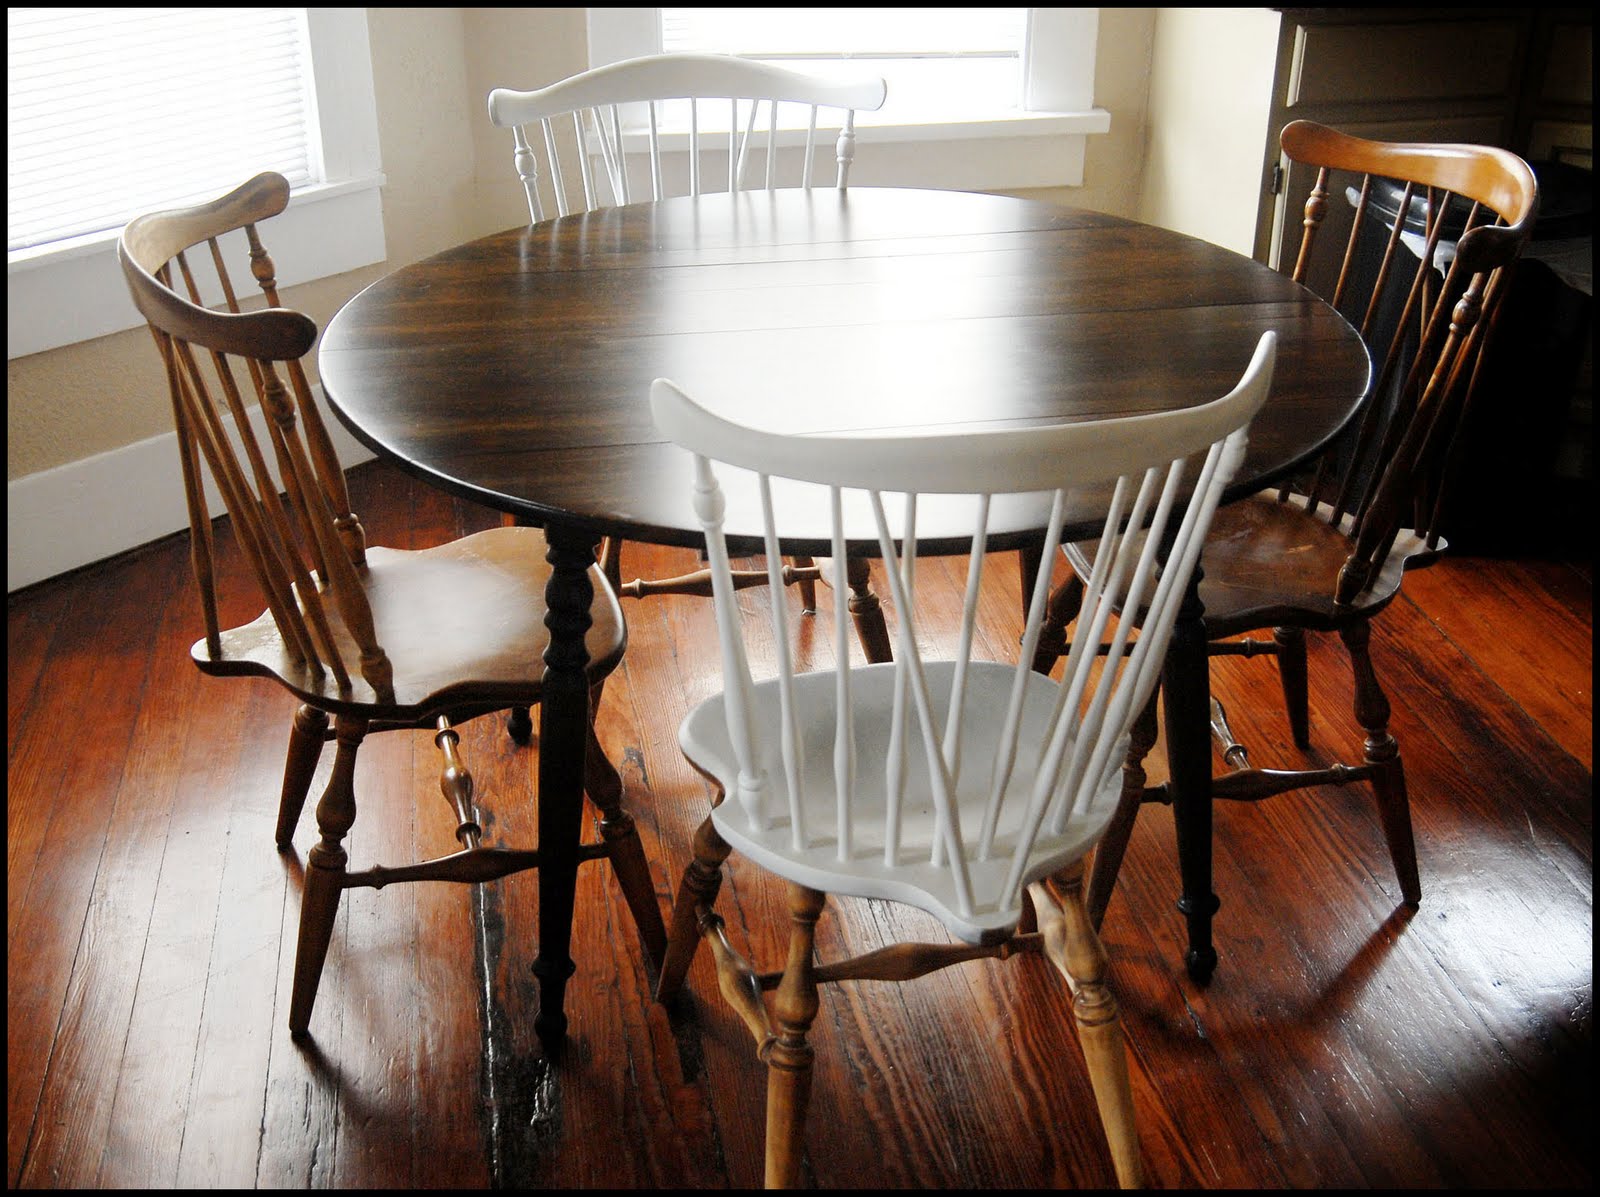
Farmhouse-style furniture is a popular choice for many homeowners, and restoring a farmhouse kitchen table can give your space a cozy and rustic feel. Here are some tips and ideas to inspire your farmhouse kitchen table restoration: Use distressed finishes. As mentioned earlier, using sandpaper or a wire brush to create a distressed look can add to the farmhouse feel of your table. Add a weathered look. You can also use a vinegar and steel wool solution to create a weathered look on your table. This will give it an aged and rustic feel. Choose the right hardware. To complete the farmhouse look, consider using vintage or antique hardware on your kitchen table. Consider a two-tone finish. Farmhouse tables often have a two-tone finish, with a darker stain on the tabletop and a lighter paint or stain on the base. This adds dimension and visual interest to the table. Restoring a kitchen table may seem like a daunting task, but with the right tools and techniques, it can be a fun and rewarding project. And with these tips and ideas, you'll have a beautifully restored kitchen table that you can enjoy for years to come.Restoring a Farmhouse Kitchen Table: Inspiration and Tips


Restoring a Farmhouse Kitchen Table: Inspiration and Tips


Restoring a Kitchen Table: A Guide to Revamping Your Dining Space
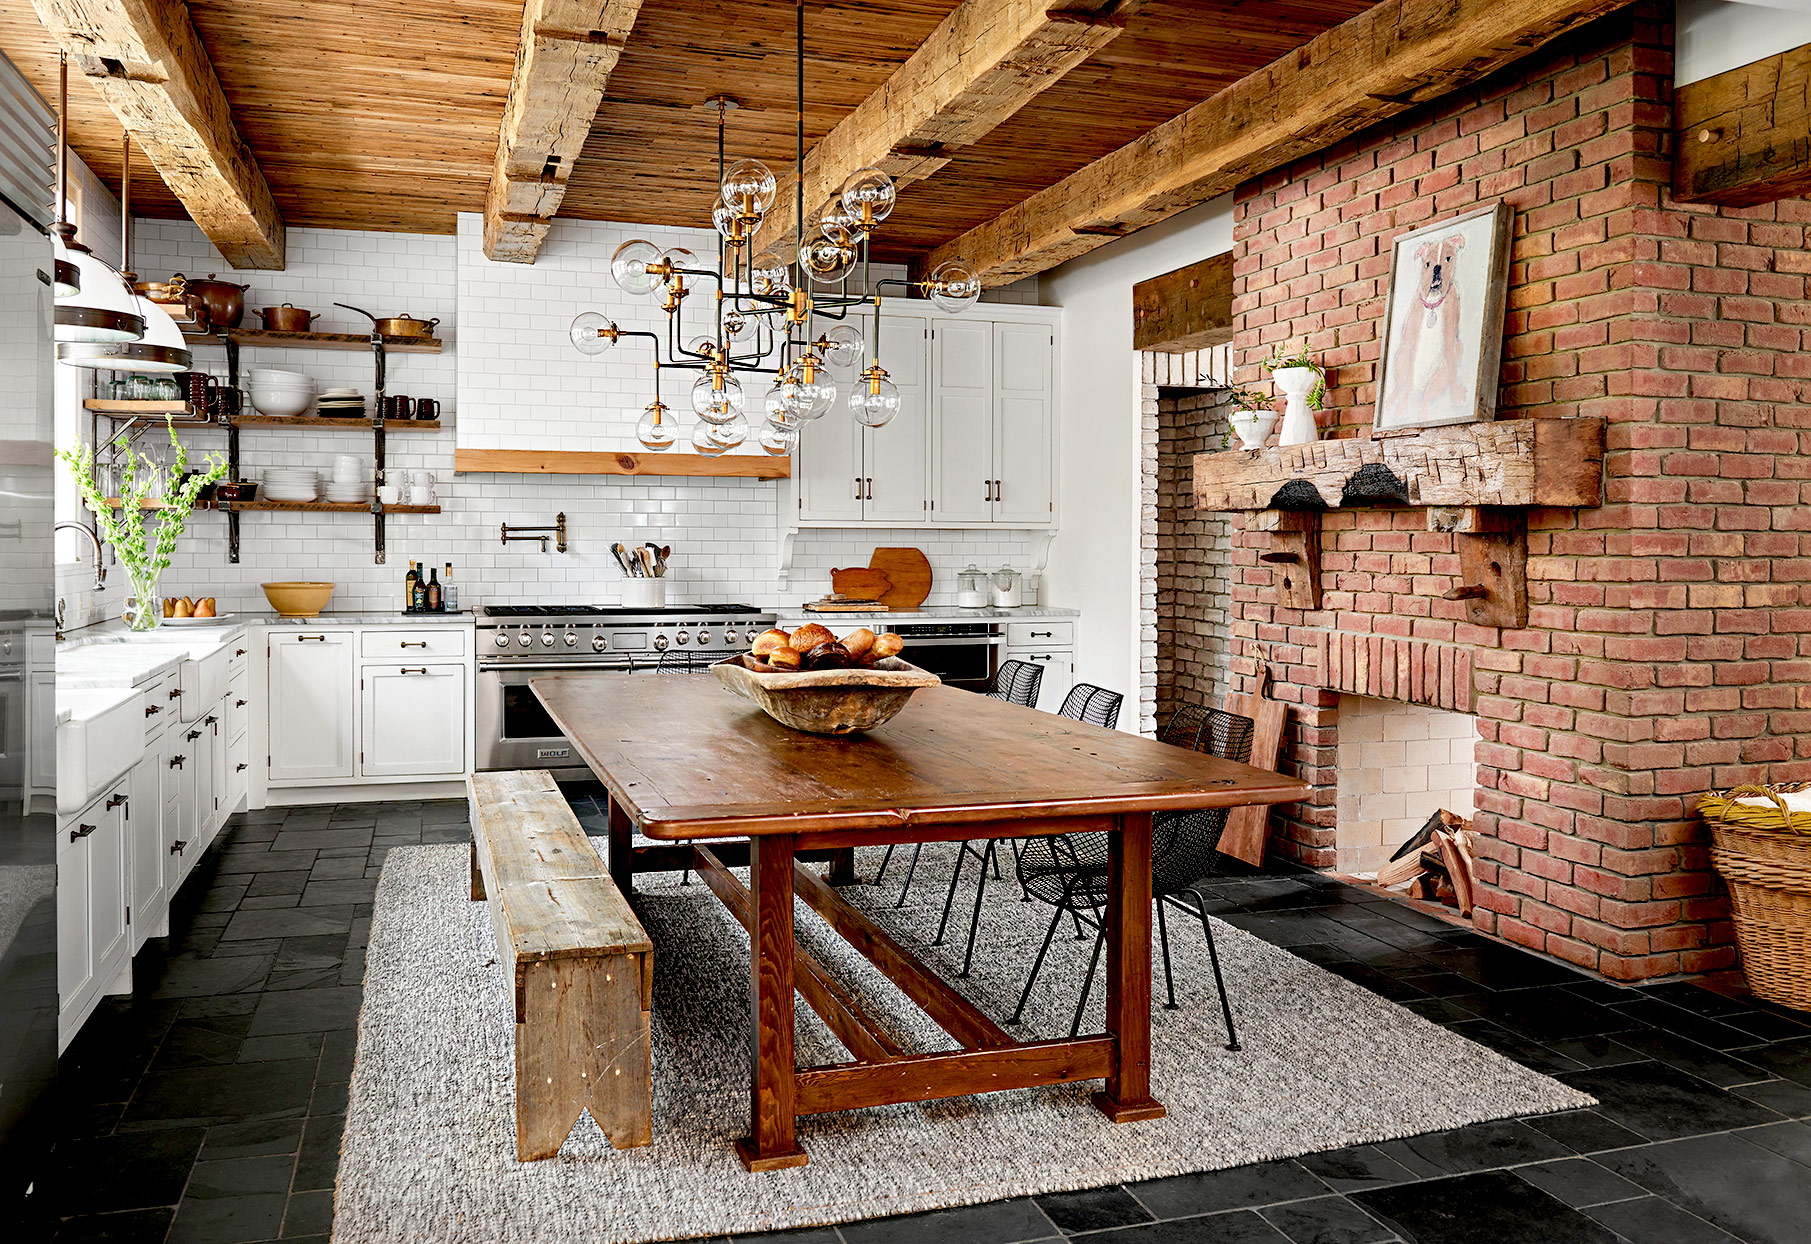
The kitchen table is more than just a piece of furniture - it's the heart of the home. It's where families gather to share meals, where friends catch up over coffee, and where memories are made. But over time, even the sturdiest of kitchen tables can start to show signs of wear and tear. Scratches, stains, and chipped paint can make your once beautiful table look dull and outdated. Instead of replacing it, why not consider restoring it? With some time, effort, and a few basic tools, you can transform your worn out kitchen table into a stunning centerpiece for your dining space.
Assess the Damage

The first step in restoring your kitchen table is to assess the damage. Take a close look at the surface of your table and make note of any scratches, dents, or chips. If the surface is rough or uneven, it may need to be sanded down. Also, check the stability of the legs and joints - if they are wobbly or loose, they will need to be repaired before moving on to the refinishing process.
Choose the Right Supplies

Before diving into the restoration process, it's important to have all the necessary supplies on hand. This includes sandpaper, wood filler, wood stain or paint, brushes, and a polyurethane finish. It's important to choose high-quality products to ensure a professional-looking finish. Sandpaper comes in different grits, so choose a coarser grit for removing deep scratches and a finer grit for smoothing out the surface. Wood filler is essential for filling in any gaps, scratches, or holes in the wood. Wood stain or paint will give your table a fresh new look, while a polyurethane finish will protect the surface from future damage.
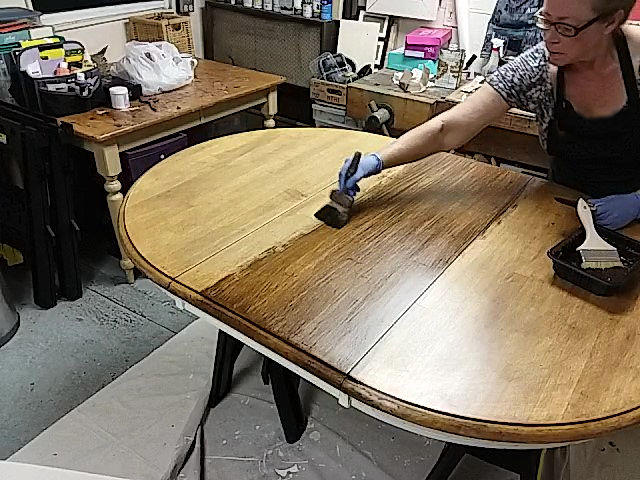
Begin the Restoration Process
Start by removing any hardware, such as screws or handles, from the table. Next, use a coarse grit sandpaper to remove any old finish or imperfections on the surface. Be sure to sand with the grain of the wood for the best results. Once the surface is smooth, switch to a finer grit sandpaper to achieve a smooth finish. Use wood filler to fill in any gaps or scratches, and allow it to dry completely before sanding it down. Now it's time to apply the stain or paint of your choice. Use a brush to evenly apply the stain or paint, and allow it to dry completely before applying a second coat. Once the final coat has dried, apply a layer of polyurethane to protect the surface. Allow the table to dry completely before reattaching any hardware and placing it back in your dining space.
Restoring a kitchen table may seem like a daunting task, but the end result will be worth the effort. Not only will you have a beautiful new piece of furniture, but you'll also have the satisfaction of knowing you gave it a new lease on life. So roll up your sleeves and get ready to restore your kitchen table to its former glory. Your dining space will thank you.