If you notice a leak coming from your bathroom sink, it may be time to replace the pivot rod. This important piece connects the sink stopper to the lift rod, allowing you to control the flow of water down the drain. Over time, pivot rods can wear out or become damaged, leading to leaks and other issues. But don't worry – replacing a pivot rod is a simple DIY project that you can easily tackle on your own. Here's a step-by-step guide to help you get started.How to Replace a Pivot Rod in a Bathroom Sink

How to Replace a Pivot Rod in a Bathroom Sink


Before you begin, make sure to gather all the necessary tools and materials. You will need a new pivot rod, adjustable pliers, a screwdriver, plumber's putty, and a rag or towel. It's also a good idea to have a bucket handy to catch any excess water that may spill out during the process.Replacing a Bathroom Sink Pivot Rod


Replacing a Bathroom Sink Pivot Rod


Step 1: Start by turning off the water supply to your sink. This can usually be done by turning the shut-off valves located underneath the sink clockwise. Step 2: Next, place the bucket underneath the sink to catch any water that may drip out. Then, use the adjustable pliers to loosen and remove the nut that connects the pivot rod to the sink's drain pipe. Step 3: Once the nut is removed, carefully pull out the old pivot rod and set it aside. Step 4: Clean the area around the drain hole and the drain pipe with a rag or towel. This will ensure a secure fit for the new pivot rod. Step 5: Take your new pivot rod and apply a thin layer of plumber's putty to the base of the flange. This will help create a watertight seal. Step 6: Insert the new pivot rod into the drain hole, making sure it is centered and securely in place. Step 7: Attach the nut to the bottom of the pivot rod and tighten it with the adjustable pliers. Make sure it is snug, but be careful not to overtighten it. Step 8: Reconnect the pivot rod to the lift rod by inserting it into the hole and securing it with the screw. Step 9: Turn the water supply back on and test the new pivot rod by pulling up and down on the lift rod. The sink stopper should open and close smoothly without any leaks. Step 10: If everything is working properly, clean up any excess plumber's putty and water, and you're all done!Step-by-Step Guide for Replacing a Pivot Rod in a Bathroom Sink


Step-by-Step Guide for Replacing a Pivot Rod in a Bathroom Sink


Replacing a pivot rod in your bathroom sink is a simple DIY project that can save you time and money. By following these steps, you can easily replace a worn or damaged pivot rod and prevent any future leaks or issues with your sink. It's always a good idea to regularly check and maintain your sink's pivot rod to ensure it is functioning properly.DIY: Replacing a Bathroom Sink Pivot Rod

DIY: Replacing a Bathroom Sink Pivot Rod


When purchasing a new pivot rod, make sure to match it to the same size and style as your old one. This will ensure a proper fit and function. Additionally, when applying plumber's putty, make sure to only use a thin layer to avoid any excess that may cause a messy cleanup.Replacing a Bathroom Sink Pivot Rod: Tips and Tricks


Replacing a Bathroom Sink Pivot Rod: Tips and Tricks

Replacing a pivot rod in your bathroom sink can be done in just a few simple steps. With the right tools and materials, you can easily tackle this DIY project and have your sink functioning like new again in no time.Quick and Easy Guide to Replacing a Pivot Rod in a Bathroom Sink

Quick and Easy Guide to Replacing a Pivot Rod in a Bathroom Sink

One common mistake when replacing a pivot rod is overtightening the nut that connects it to the sink's drain pipe. This can cause damage to the pivot rod or the sink itself. Another mistake to avoid is using too much plumber's putty, which can create a messy cleanup process.Replacing a Bathroom Sink Pivot Rod: Common Mistakes to Avoid

Replacing a Bathroom Sink Pivot Rod: Common Mistakes to Avoid
Having the right tools is essential for any DIY project. When replacing a pivot rod in your bathroom sink, make sure to have adjustable pliers, a screwdriver, and plumber's putty on hand. These tools will make the process much easier and more efficient.Essential Tools for Replacing a Pivot Rod in a Bathroom Sink


Essential Tools for Replacing a Pivot Rod in a Bathroom Sink

If you encounter any issues during the replacement process, such as a difficult-to-remove nut or a leaky connection, don't hesitate to reach out to a professional plumber for assistance. They will have the necessary expertise and tools to help solve any problems.Replacing a Bathroom Sink Pivot Rod: Troubleshooting Common Issues
Replacing a Bathroom Sink Pivot Rod: Troubleshooting Common Issues
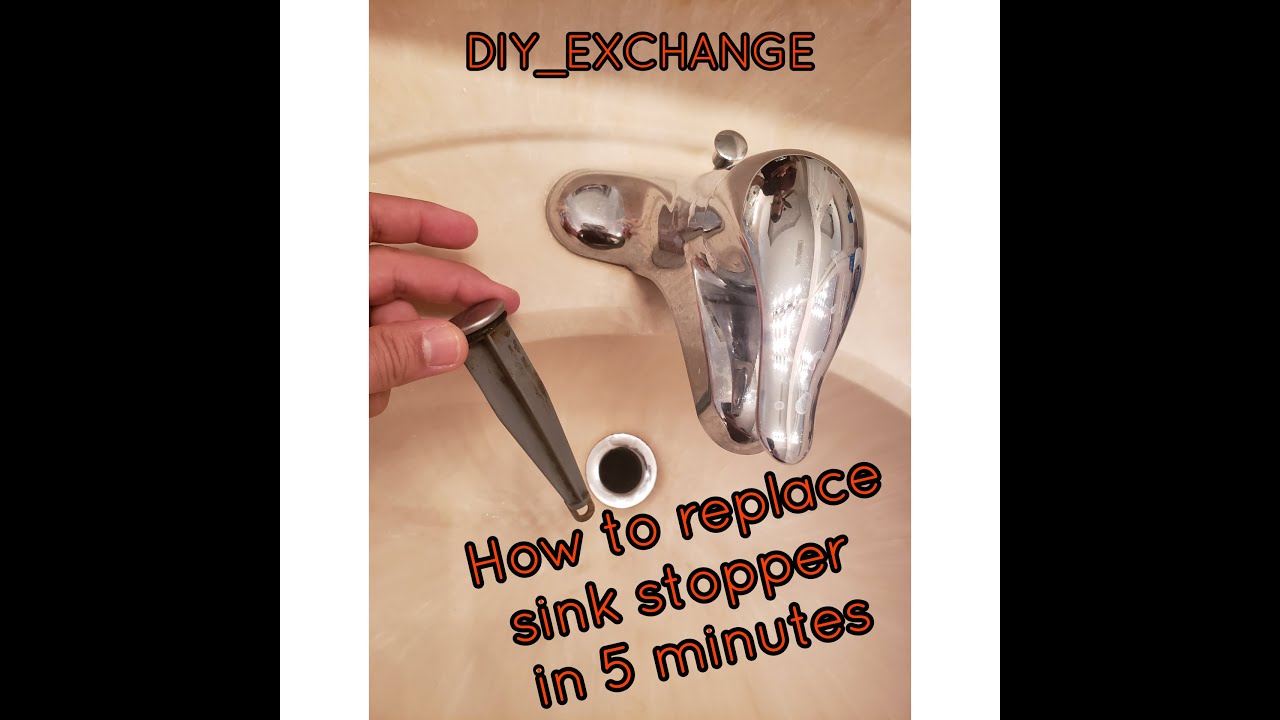
If you're a visual learner, check out online tutorials or videos that can guide you through the process of replacing a pivot rod in a bathroom sink. This can be a helpful resource to ensure you are following the correct steps and techniques.Step-by-Step Video Tutorial for Replacing a Pivot Rod in a Bathroom Sink


Step-by-Step Video Tutorial for Replacing a Pivot Rod in a Bathroom Sink


Replacing the Pivot Rod in Your Bathroom Sink: A Step-by-Step Guide

What is a pivot rod?
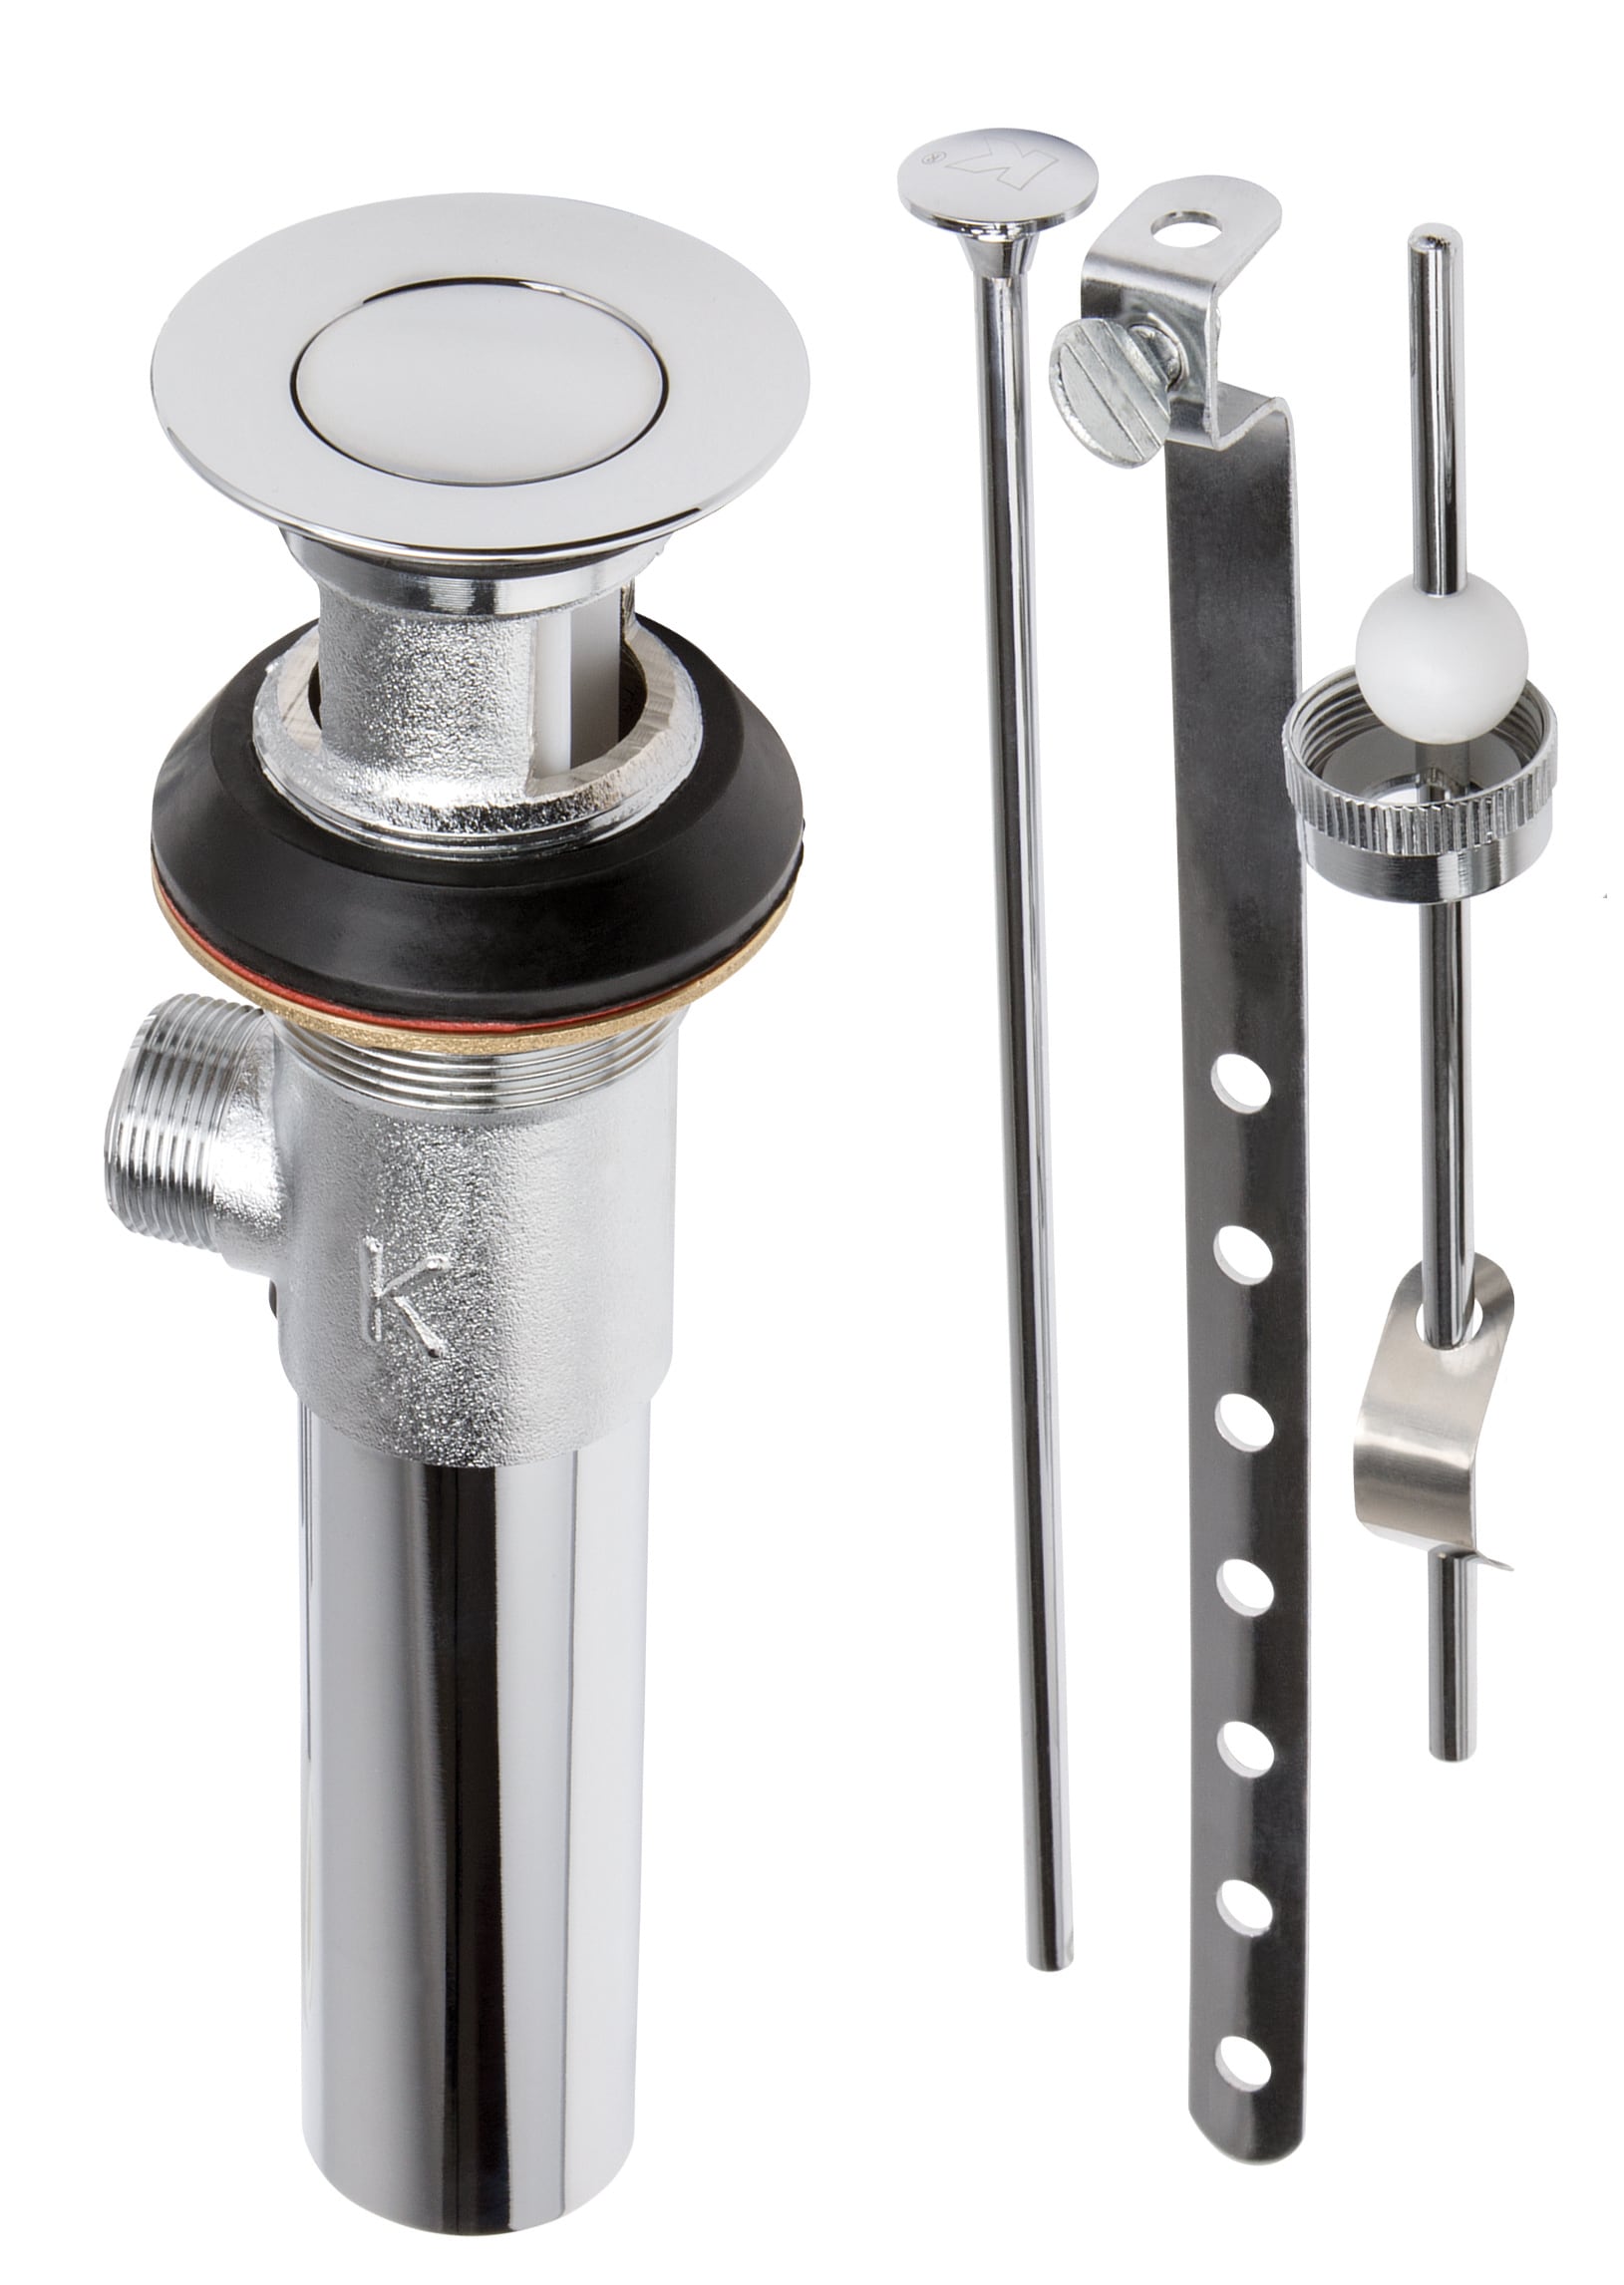
 The pivot rod is a crucial component of your bathroom sink, responsible for connecting the sink stopper to the lift rod. This mechanism allows you to control the flow of water in your sink by lifting or lowering the stopper. Over time, the pivot rod can become worn or corroded, leading to leaks and a malfunctioning sink stopper. Replacing the pivot rod is a simple and affordable fix that can save you from costly plumbing repairs down the line.
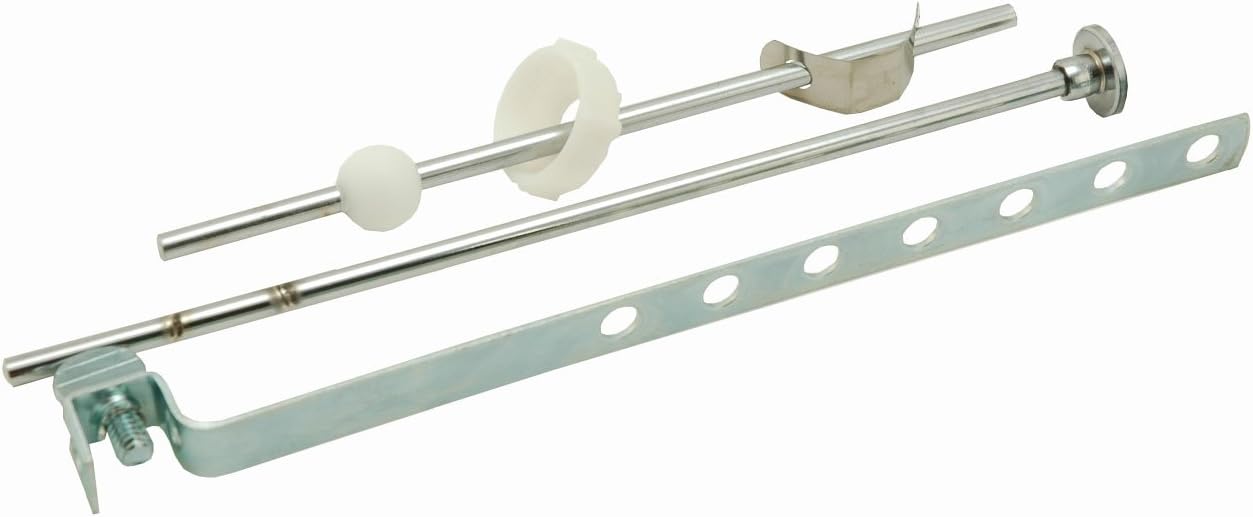
Step 1: Gather Your Materials
 Before you begin, make sure you have all the necessary tools and materials on hand. This includes a new pivot rod, pliers, an adjustable wrench, plumber's putty, and a bucket or towel to catch any water that may spill out during the process.
Step 2: Prepare the Sink Area
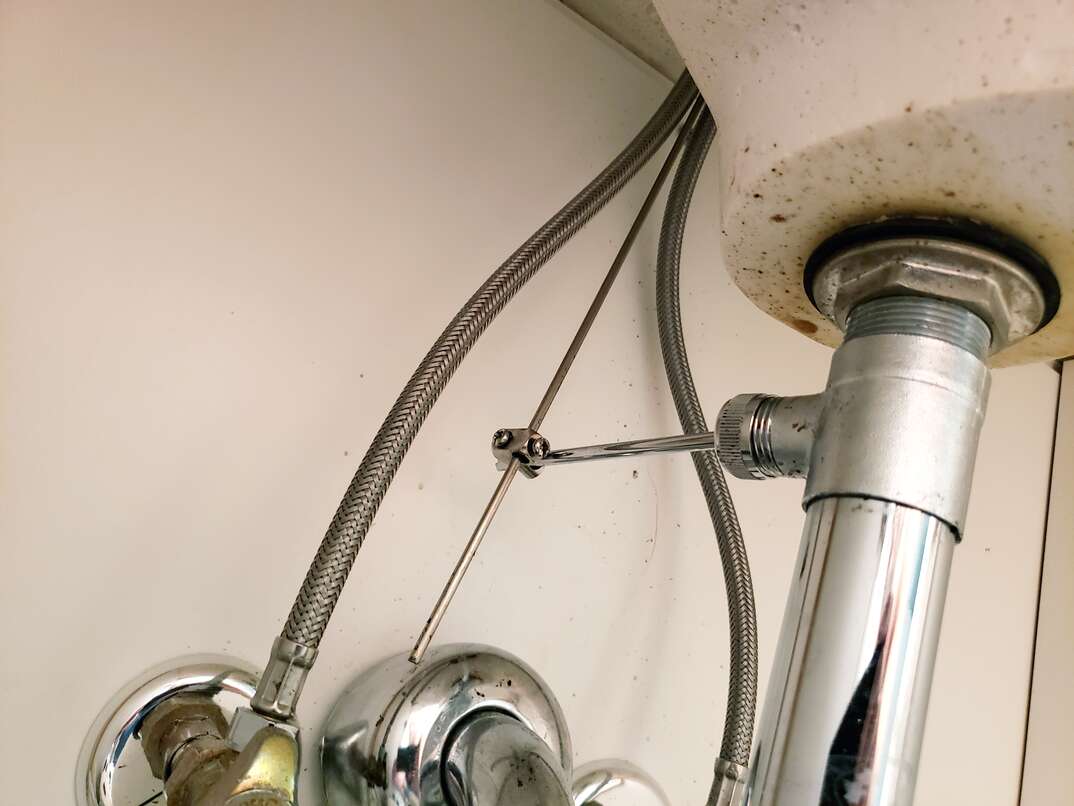 Start by clearing out the area under your sink and removing any items that may get in the way. Place a bucket or towel underneath the sink to catch any water that may come out.
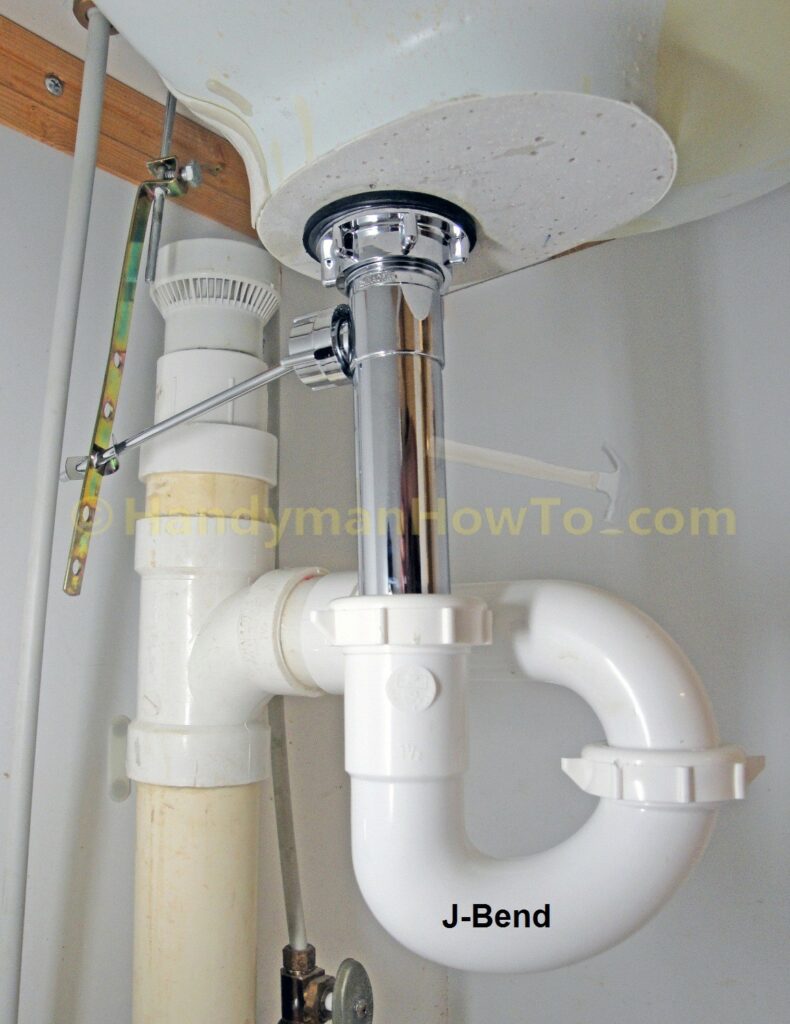
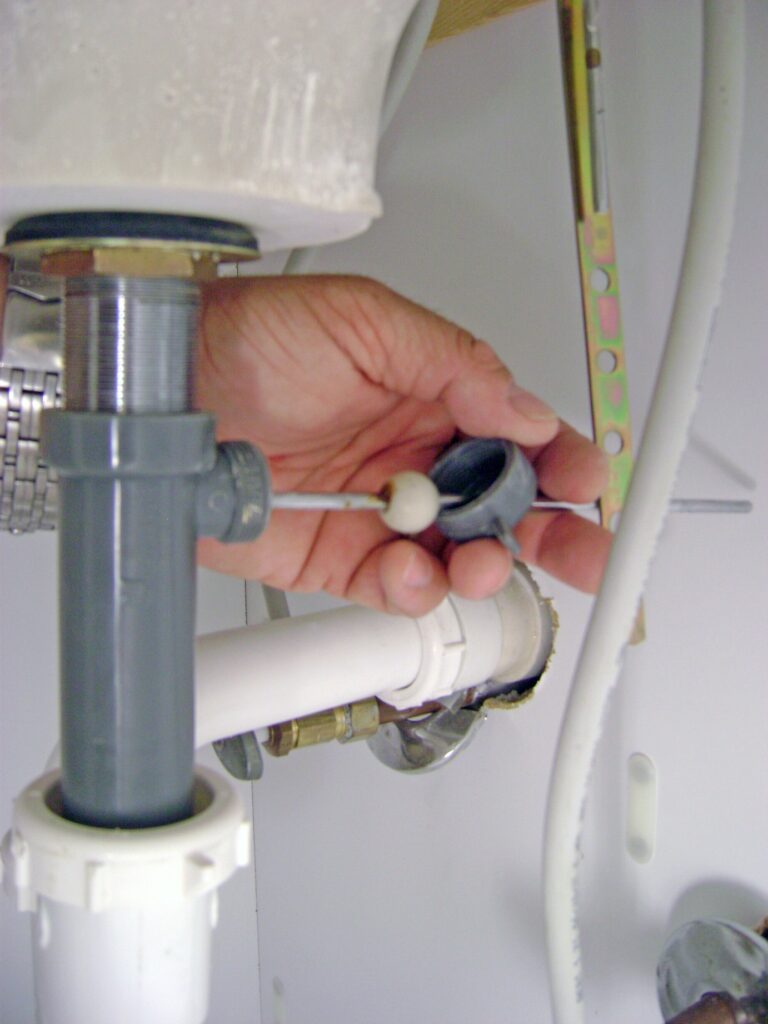
Step 3: Disconnect the Pivot Rod
 Locate the pivot rod and loosen the nut holding it in place using pliers or an adjustable wrench. Once the nut is loosened, carefully pull the pivot rod out of the drain assembly.
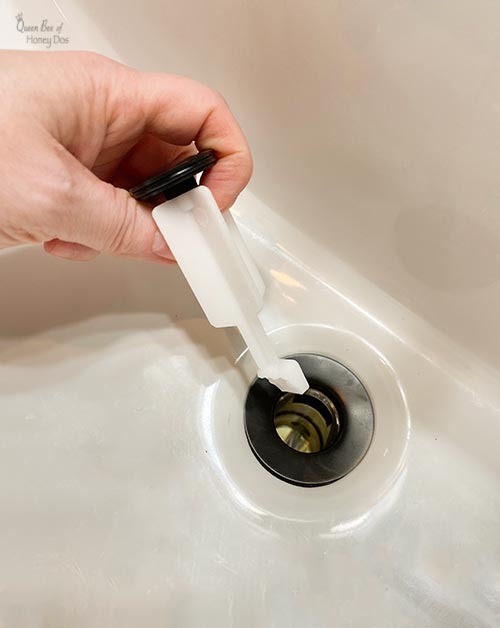
Step 4: Remove Old Pivot Rod
 Inspect the old pivot rod for any signs of wear or damage. If it looks worn or corroded, it's time to replace it. Use pliers to remove the old pivot rod from the sink stopper and the lift rod.
Step 5: Install the New Pivot Rod
 Take your new pivot rod and slide it into place, connecting it to the sink stopper and lift rod. Secure the nut in place using pliers or an adjustable wrench, making sure it is tight enough to prevent any leaks.
Step 6: Apply Plumber's Putty
 To ensure a watertight seal, apply a small amount of plumber's putty around the base of the drain assembly where it meets the sink. This will prevent any water from leaking out.
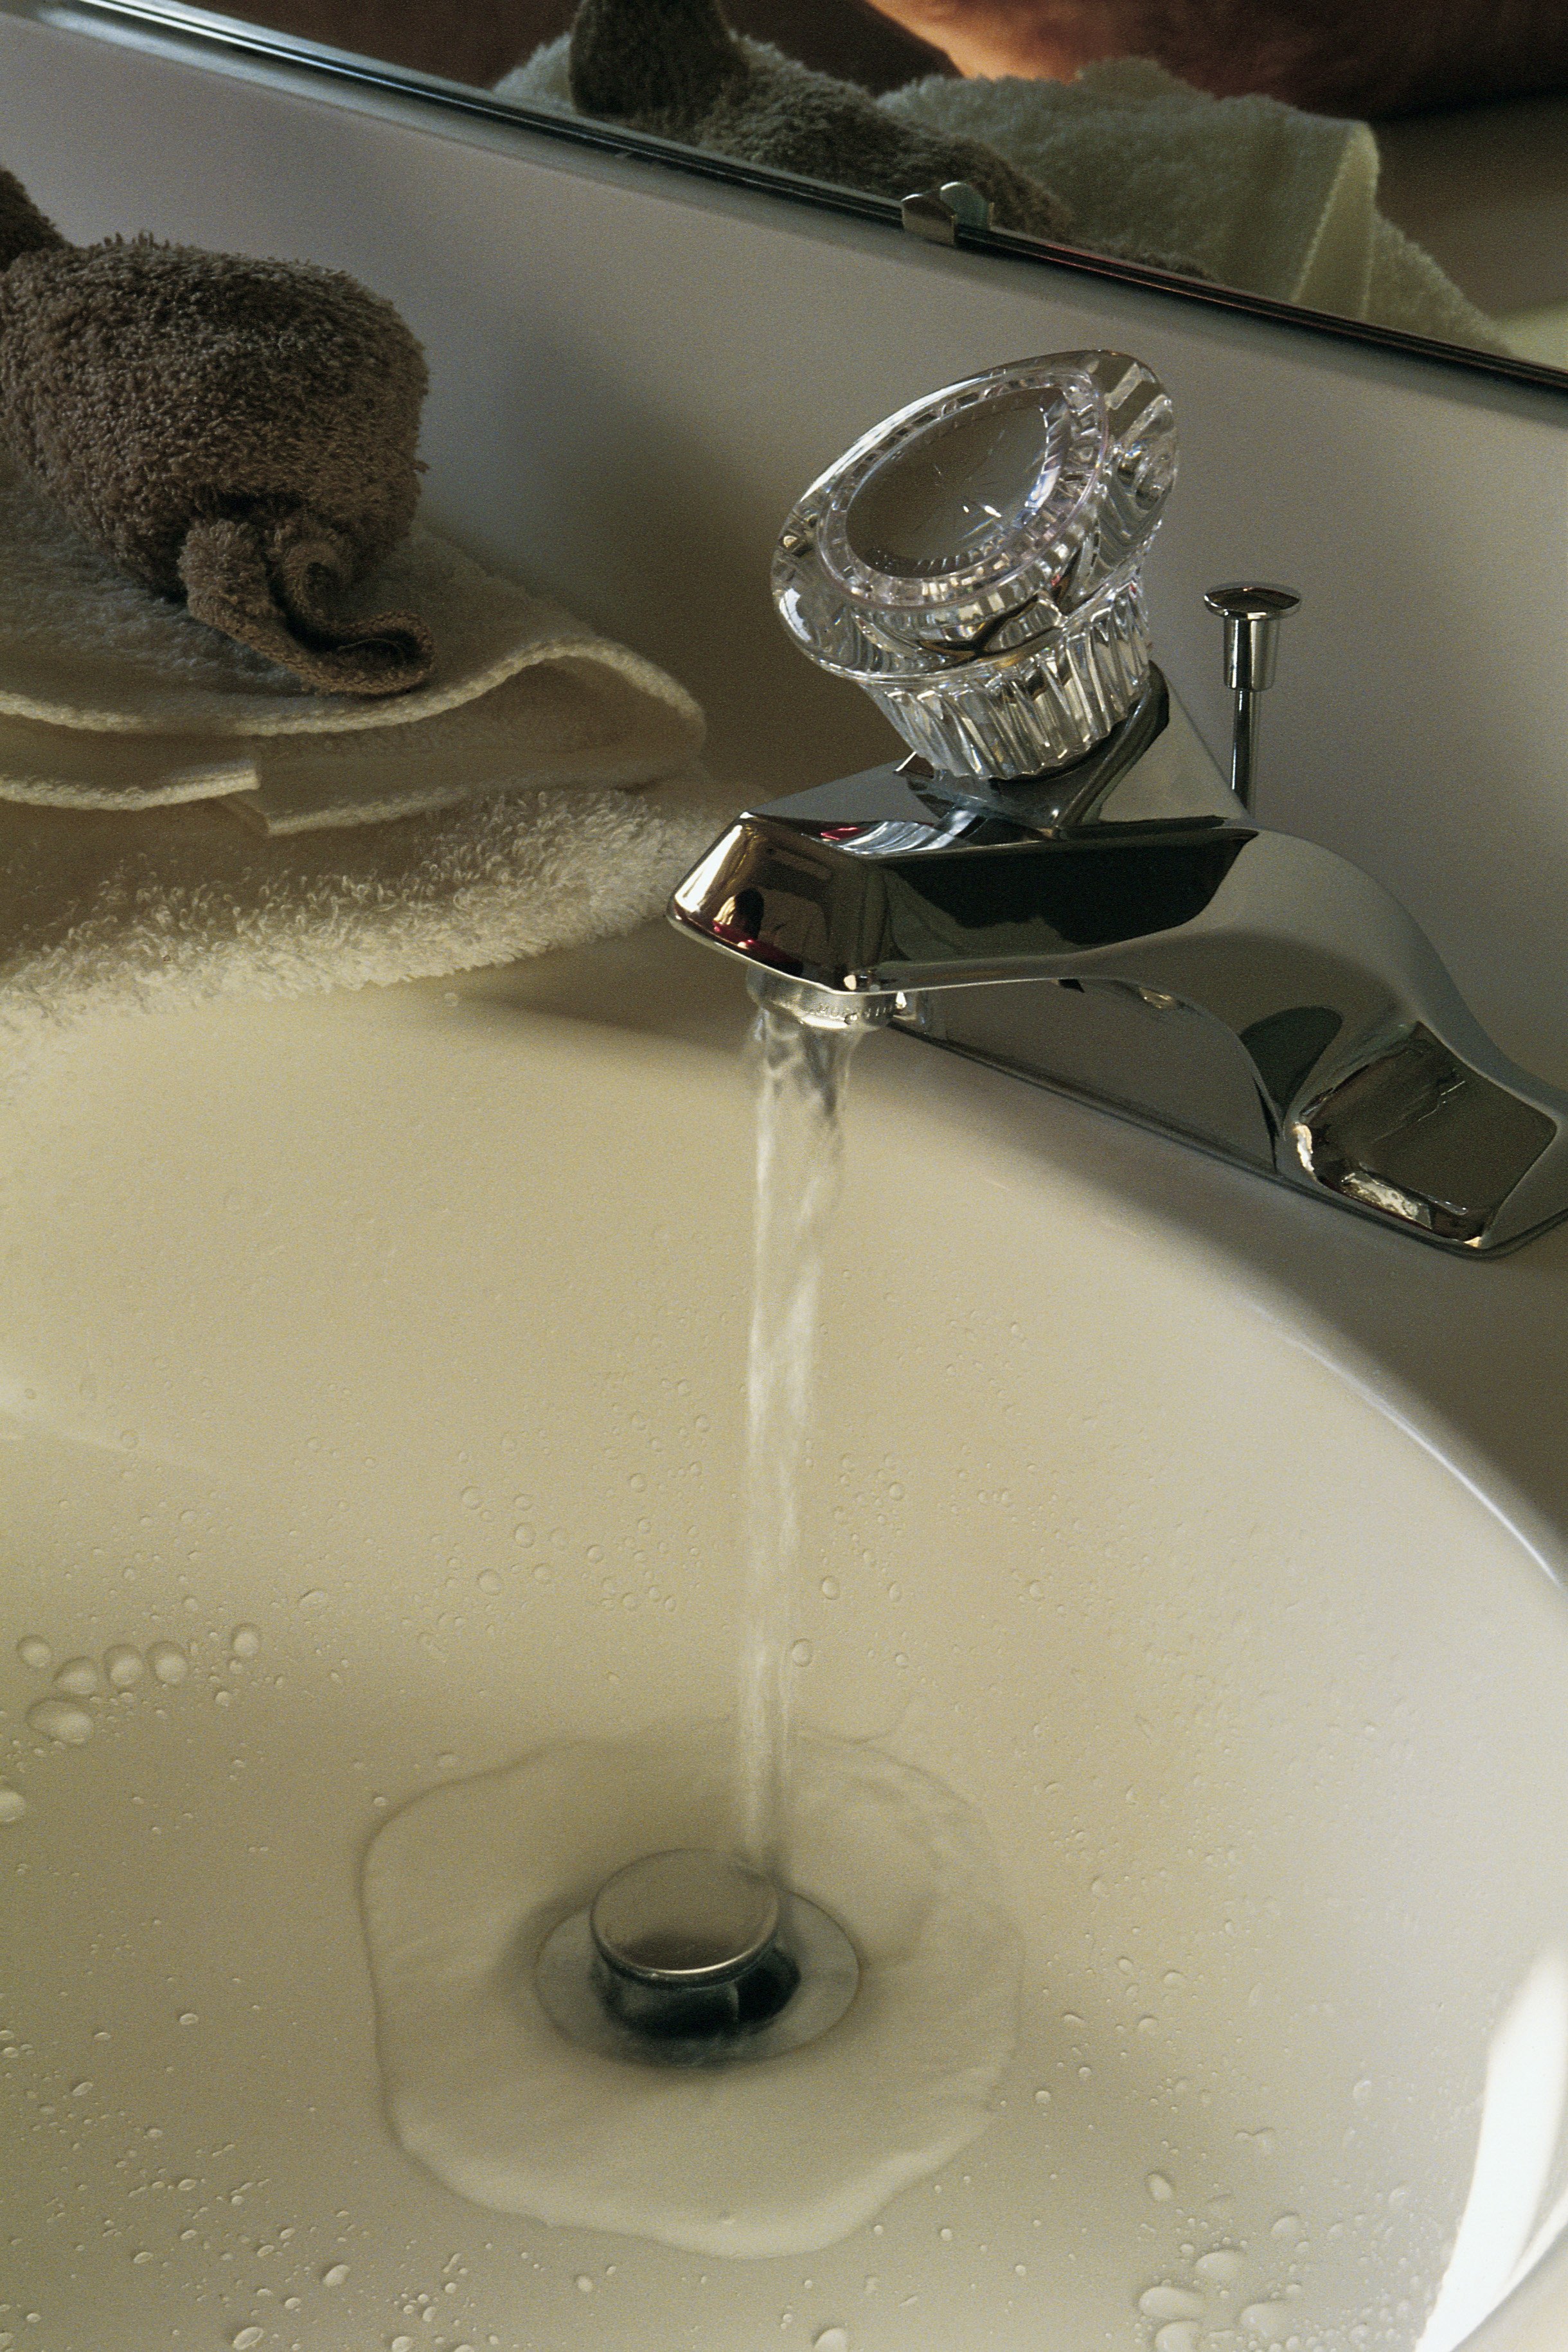
Step 7: Test the Sink Stopper
 Once the new pivot rod is installed and secured, test the sink stopper by lifting and lowering it to ensure it is working properly. If there are any issues, double check that the pivot rod is installed correctly and the nut is tightened.
Step 8: Clean Up
 Once you are satisfied with the functionality of your sink stopper, clean up any remaining putty or debris and return any items to their place under the sink.
Congratulations, you have successfully replaced the pivot rod in your bathroom sink!