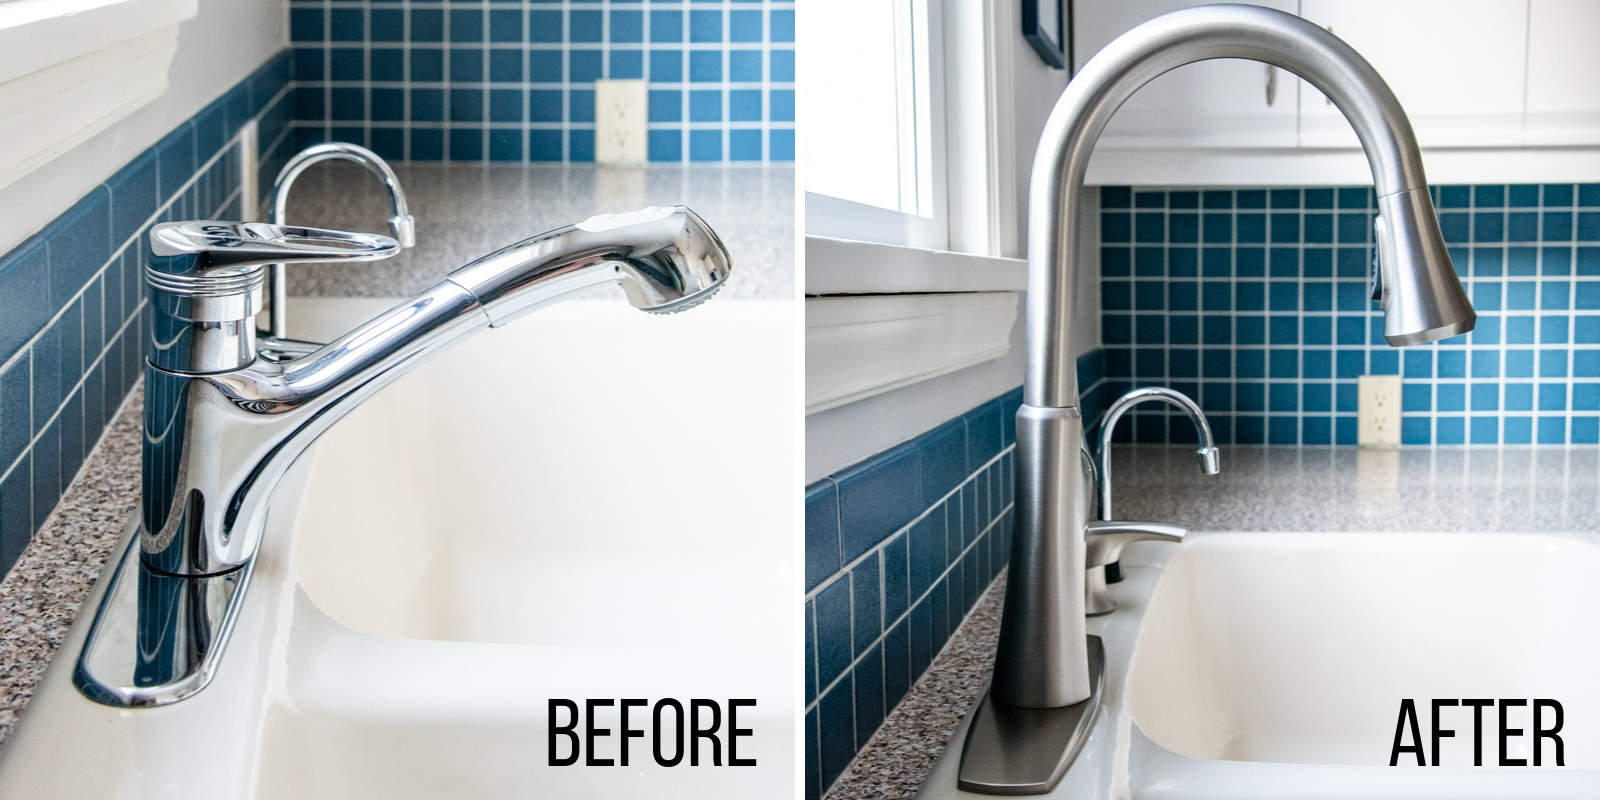
Replacing a kitchen sink faucet may seem like a daunting task, but with the right tools and knowledge, it can be a simple and straightforward process. Whether you're looking to update the look of your kitchen or your faucet is leaking and needs to be replaced, this guide will walk you through the steps of replacing a one handle kitchen sink faucet.How to Replace a Kitchen Sink Faucet


How to Replace a Kitchen Sink Faucet


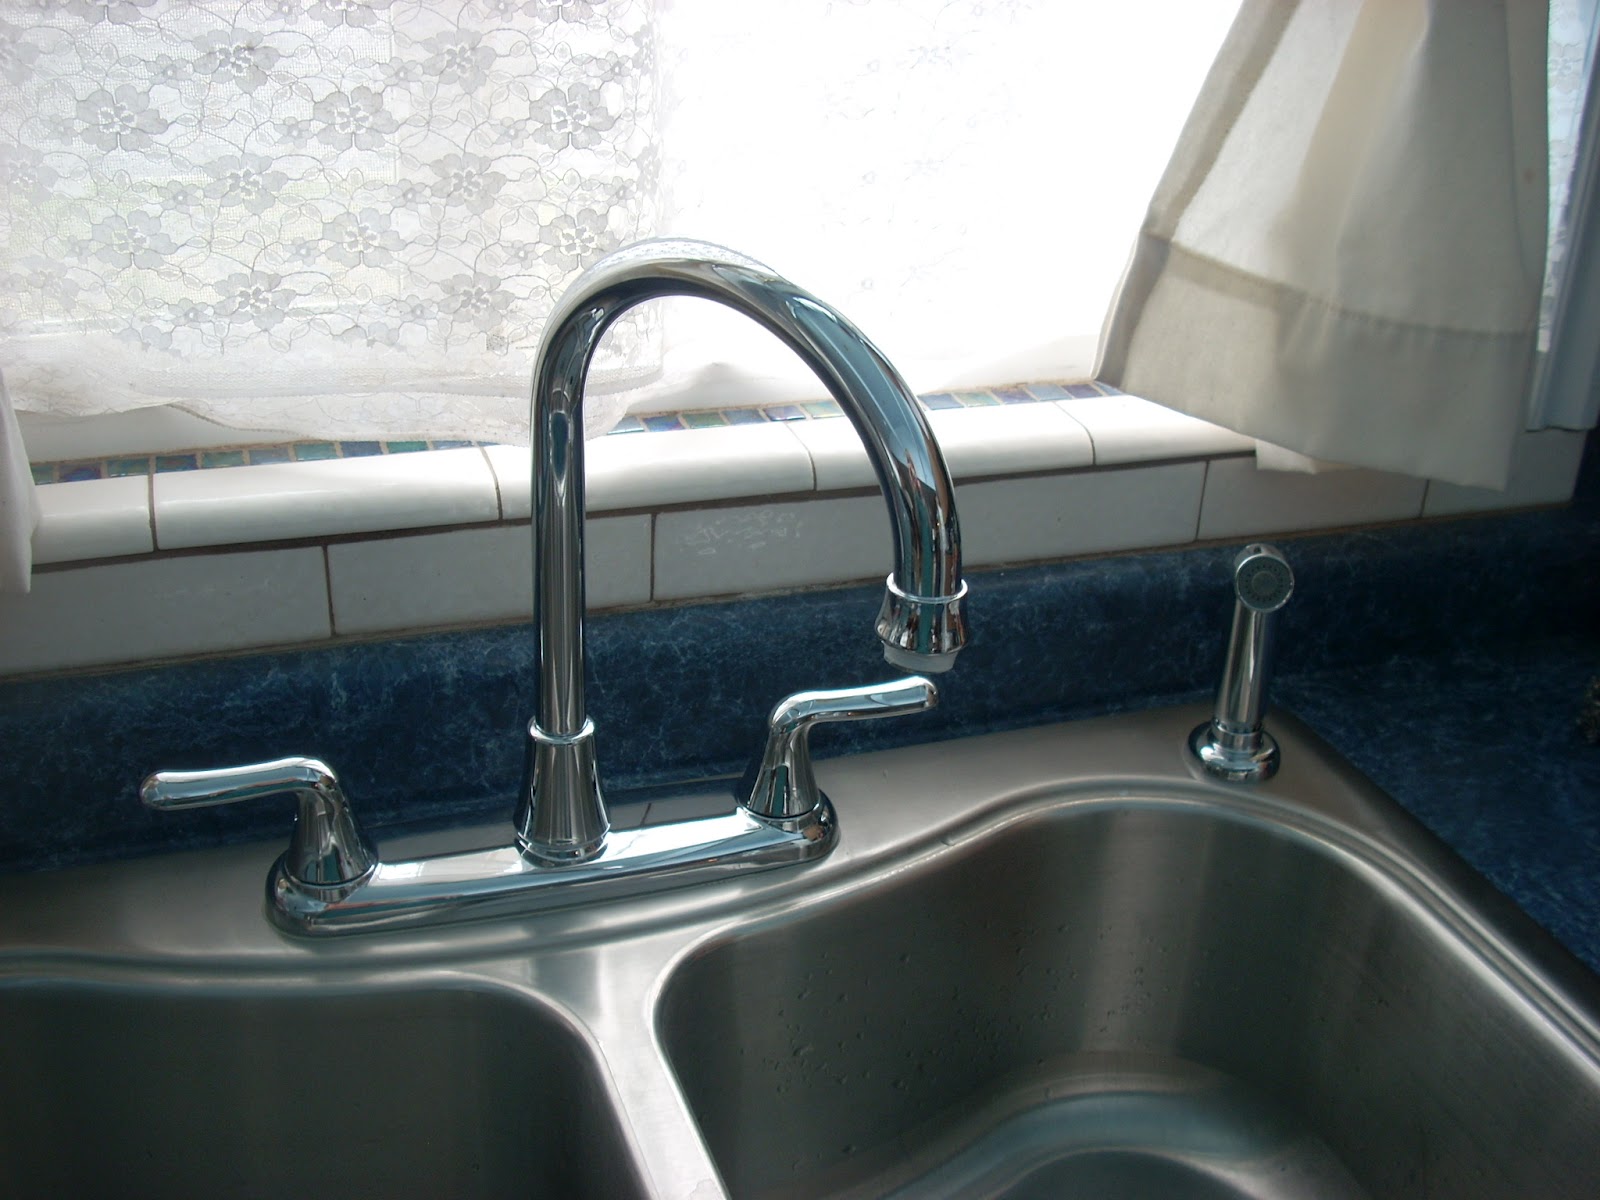
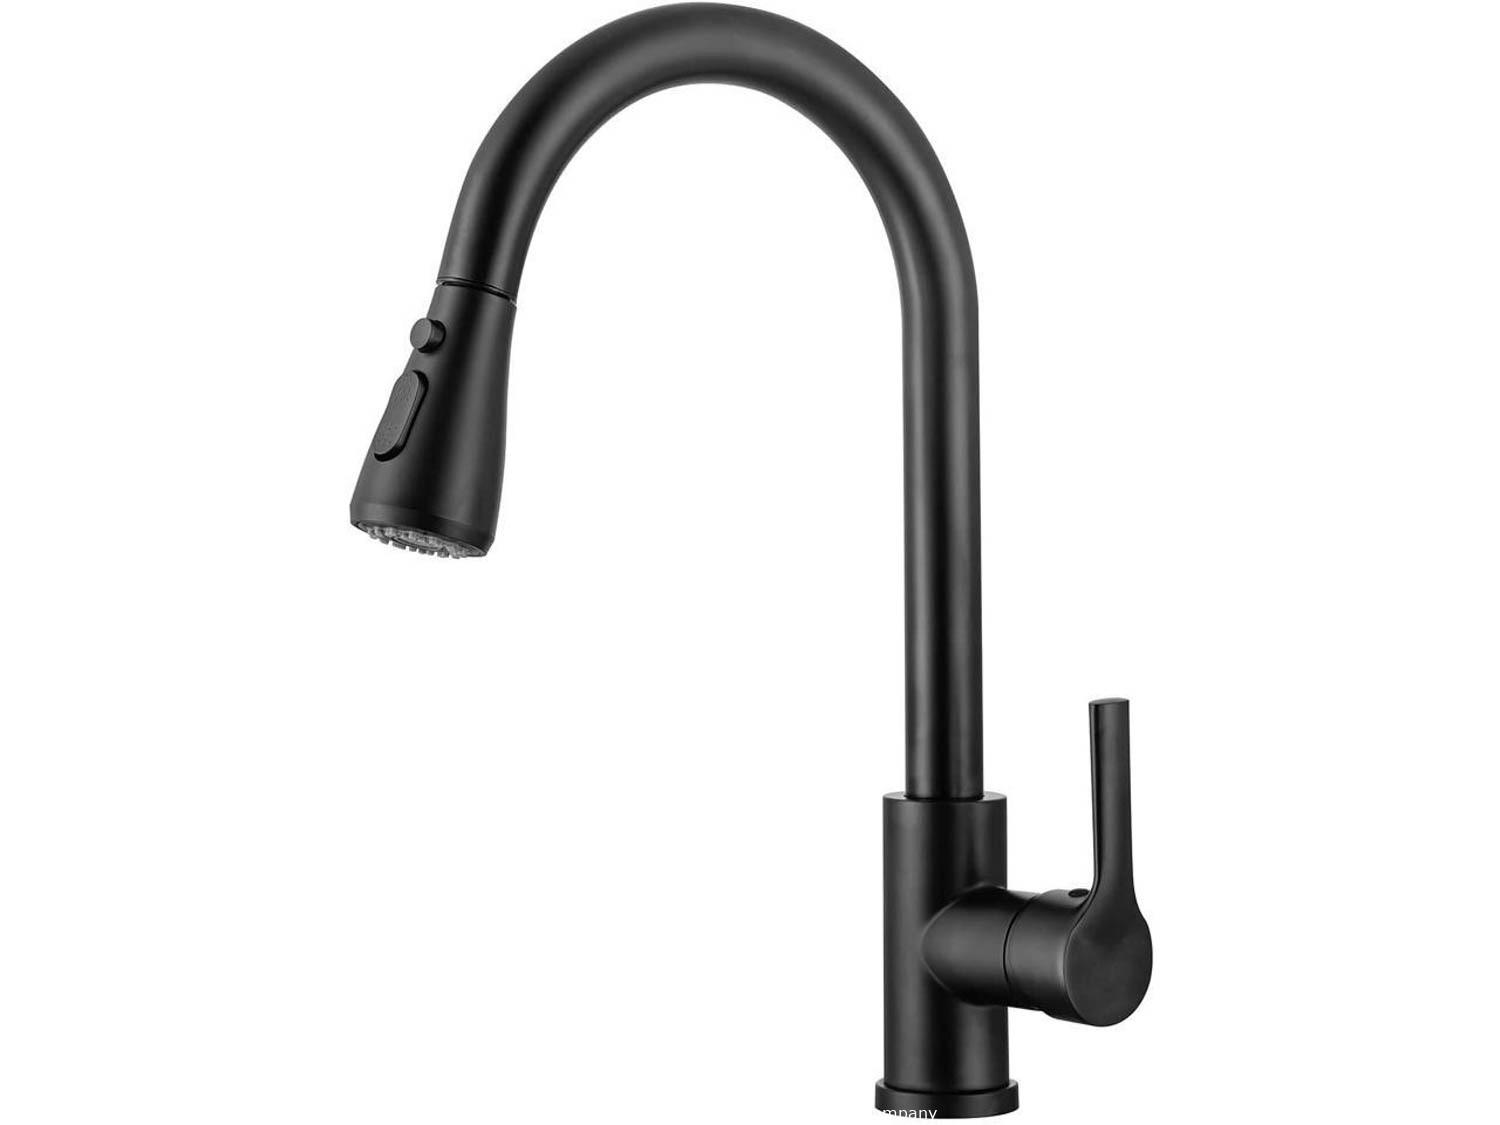
Single handle kitchen faucets are the most common type found in homes today. They are typically easier to use and maintain compared to two handle faucets. If you have a single handle kitchen faucet that needs to be replaced, follow these steps:Replacing a Single Handle Kitchen Faucet


Replacing a Single Handle Kitchen Faucet


If you're more of a visual learner, you may find it helpful to follow a step-by-step guide when replacing your kitchen faucet. Here's a brief overview of the process:Step-by-Step Guide to Replacing a Kitchen Faucet


Step-by-Step Guide to Replacing a Kitchen Faucet


With the rise of DIY projects, many homeowners are opting to replace their kitchen sink faucets themselves. While it can save you money, it's important to know your limits and when it's best to call a professional. Here are some tips for a successful DIY kitchen sink faucet replacement:DIY Kitchen Sink Faucet Replacement


DIY Kitchen Sink Faucet Replacement


Replacing a one handle kitchen sink faucet may seem like a daunting task, but with the right tools and knowledge, it can be a simple and easy process. By following the steps outlined above and taking your time, you can successfully replace your kitchen faucet without any hassle.Replacing a One Handle Kitchen Sink Faucet Made Easy


Replacing a One Handle Kitchen Sink Faucet Made Easy


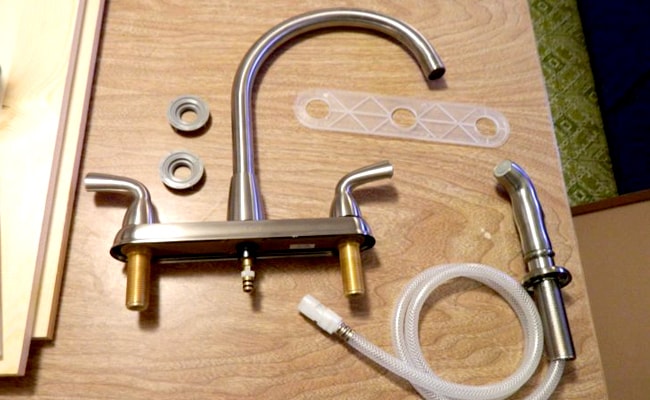
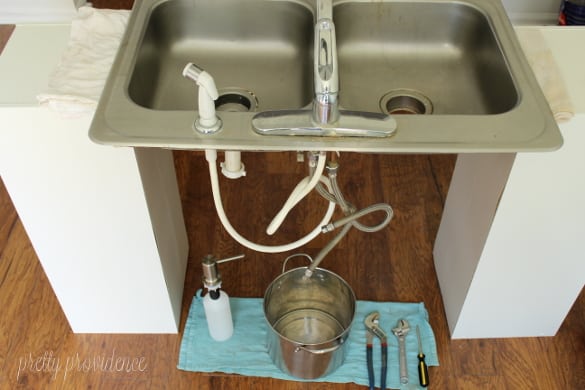
Before starting the replacement process, make sure you have all the necessary tools and materials. This may include:Tools and Materials Needed for Replacing a Kitchen Sink Faucet


Tools and Materials Needed for Replacing a Kitchen Sink Faucet


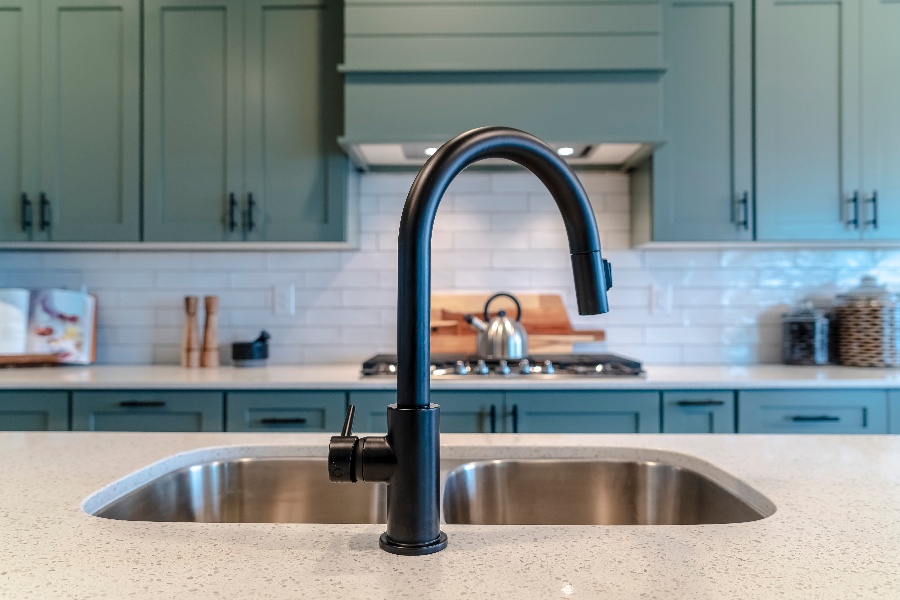
When it comes to choosing a replacement kitchen faucet, there are a few things to consider:Tips for Choosing the Right Replacement Kitchen Faucet


Tips for Choosing the Right Replacement Kitchen Faucet


Replacing a kitchen sink faucet may come with some challenges. Here are some common problems and solutions to help you overcome them:Common Problems and Solutions for Replacing a Kitchen Sink Faucet


Common Problems and Solutions for Replacing a Kitchen Sink Faucet


If you prefer visual instructions, you can find many helpful video tutorials online that will guide you through the process of replacing a one handle kitchen sink faucet. Make sure to follow the steps carefully and pause the video as needed.Video Tutorial: How to Replace a One Handle Kitchen Sink Faucet


Video Tutorial: How to Replace a One Handle Kitchen Sink Faucet
Deciding whether to hire a professional or do it yourself will depend on your skills, budget, and the complexity of the project. If you're confident in your abilities and have the necessary tools, DIY may be a good option. However, if you're unsure or the project seems too difficult, it's best to hire a professional plumber to ensure a successful and safe replacement.Professional vs. DIY: Which is the Best Option for Replacing a Kitchen Sink Faucet?

Professional vs. DIY: Which is the Best Option for Replacing a Kitchen Sink Faucet?


Replacing Your Kitchen Sink Faucet: A Simple and Affordable Upgrade for Your Home

Introduction
 When it comes to home design, the kitchen is often considered the heart of the house. It's a place where meals are prepared, memories are made, and families gather. That's why it's important to keep your kitchen in top shape and make any necessary upgrades along the way. One simple but impactful upgrade that can enhance the overall look and functionality of your kitchen is replacing your kitchen sink faucet. Not only does it provide a fresh new look, but it can also improve water flow and conserve water usage. In this article, we'll walk you through the steps of replacing your kitchen sink faucet, so you can give your kitchen a much-needed update.
Step 1: Gather Your Tools and Materials
 Before you begin the process of replacing your kitchen sink faucet, it's important to have all the necessary tools and materials on hand. This will make the process smoother and prevent any delays. You will need a new kitchen sink faucet, a basin wrench, an adjustable wrench, Teflon tape, and a bucket or towel to catch any excess water.
Step 2: Turn Off the Water Supply
 Before you start removing the old faucet, make sure to turn off the water supply to your kitchen sink. This can usually be done by turning off the water valves under the sink. If you cannot find the valves, you may need to turn off the main water supply to your home. This will prevent any water from flowing while you are working on the faucet.
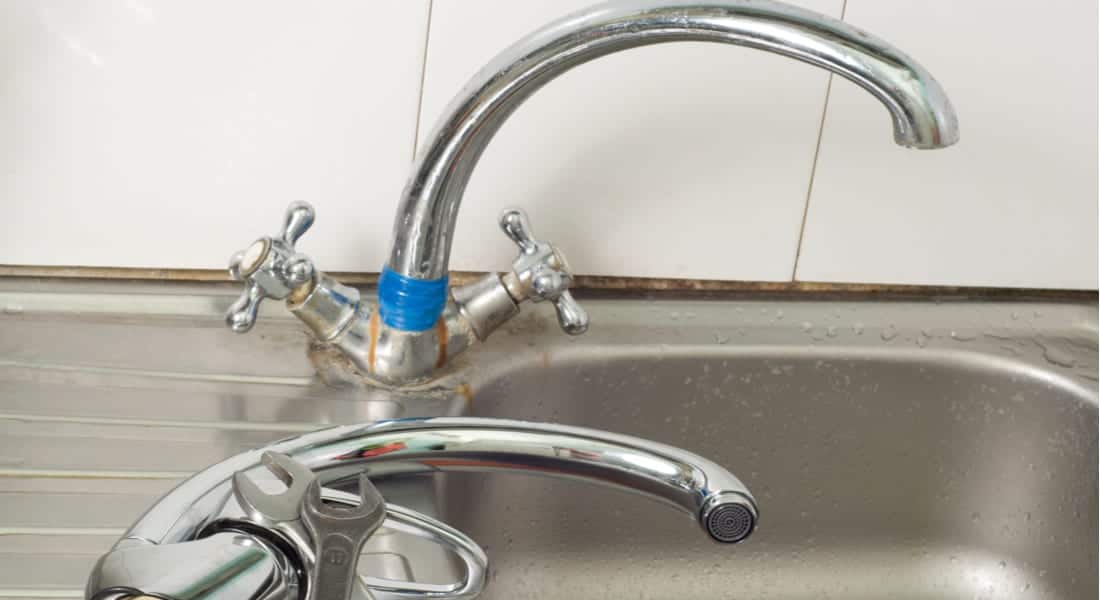
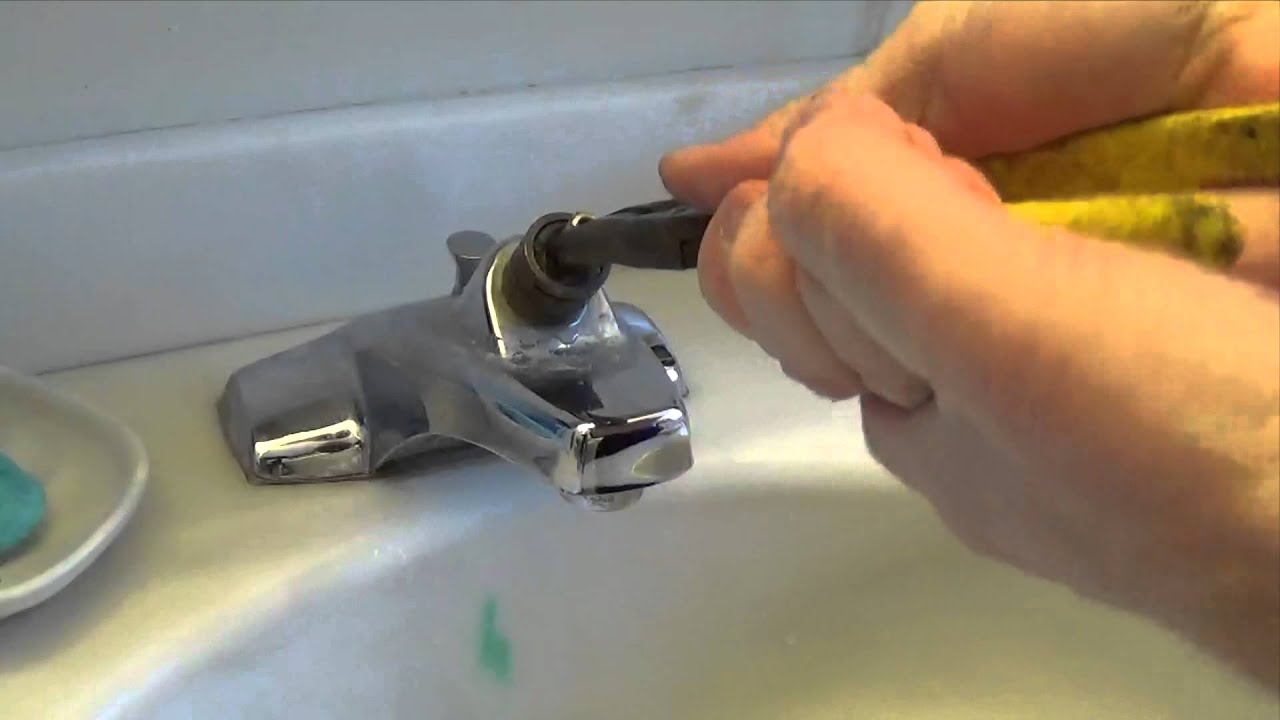
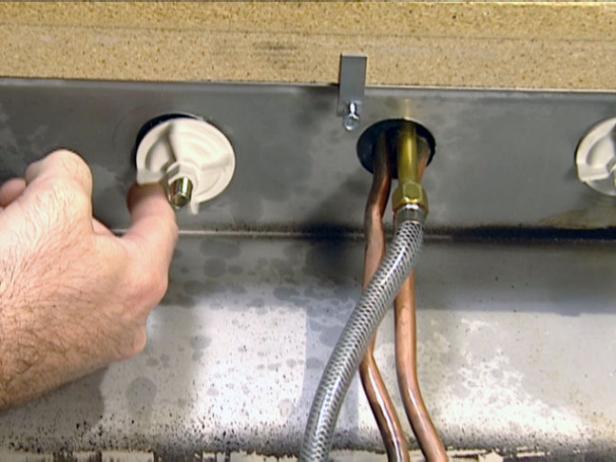
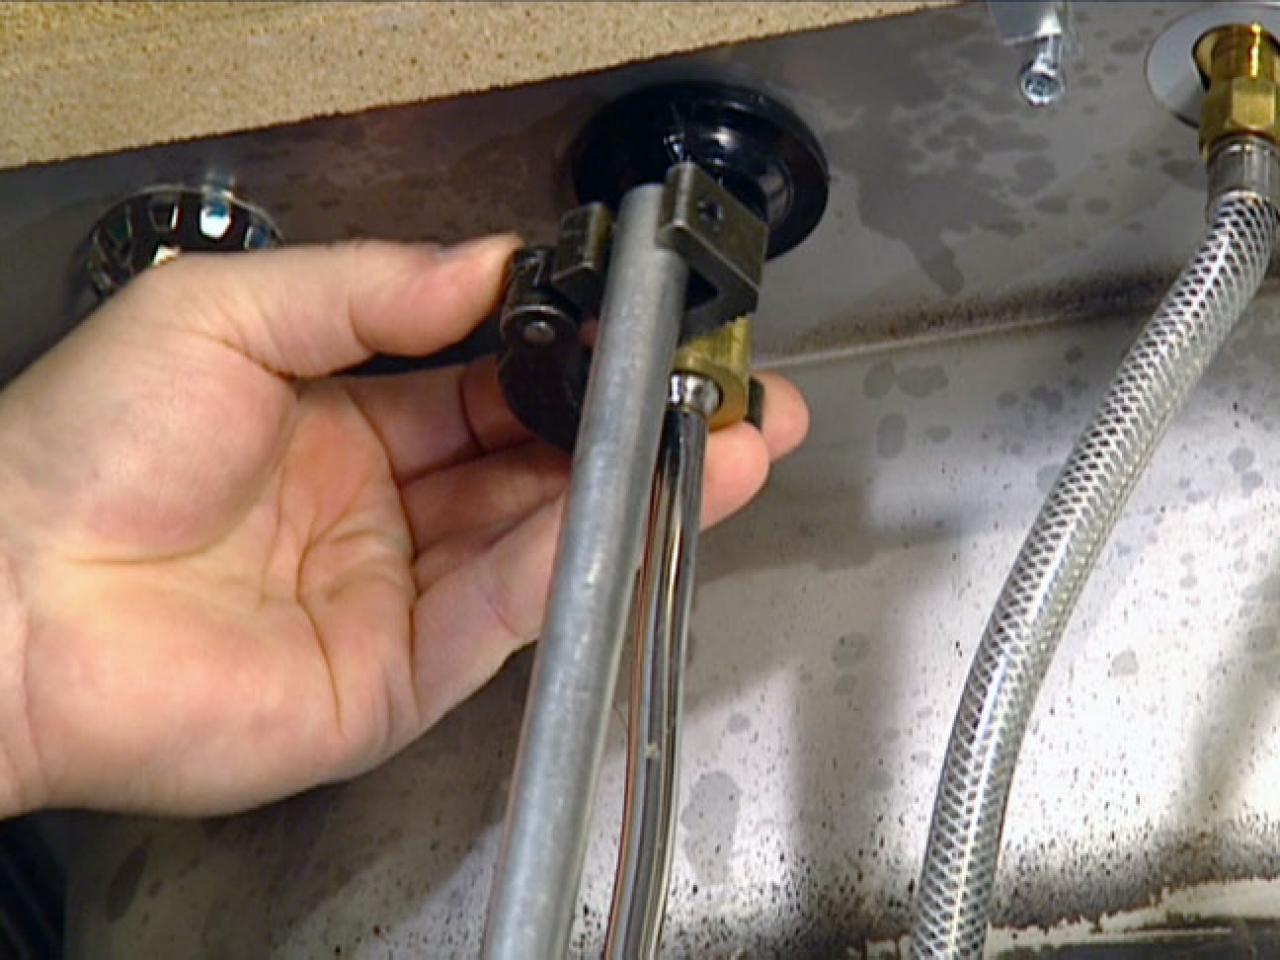
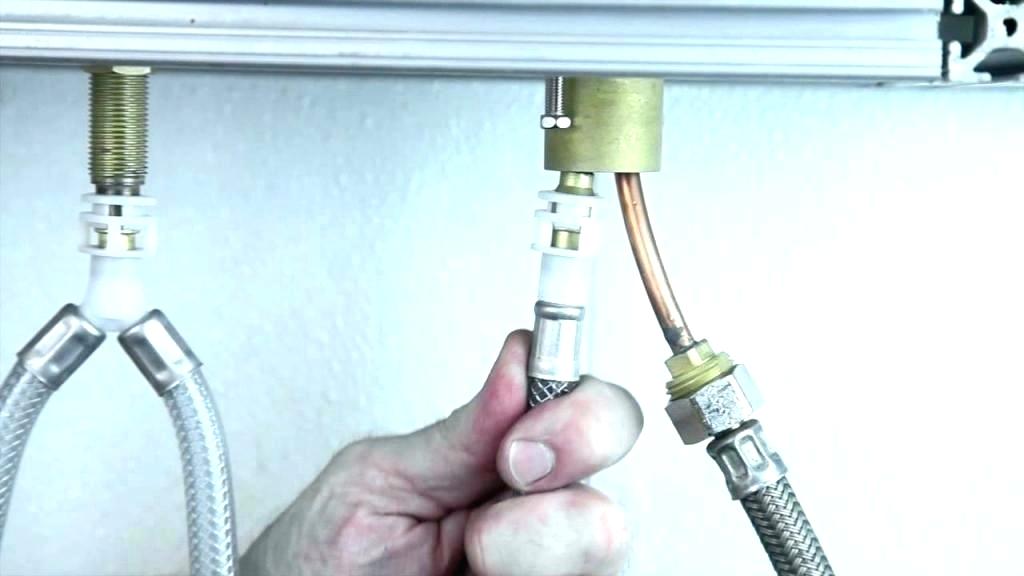
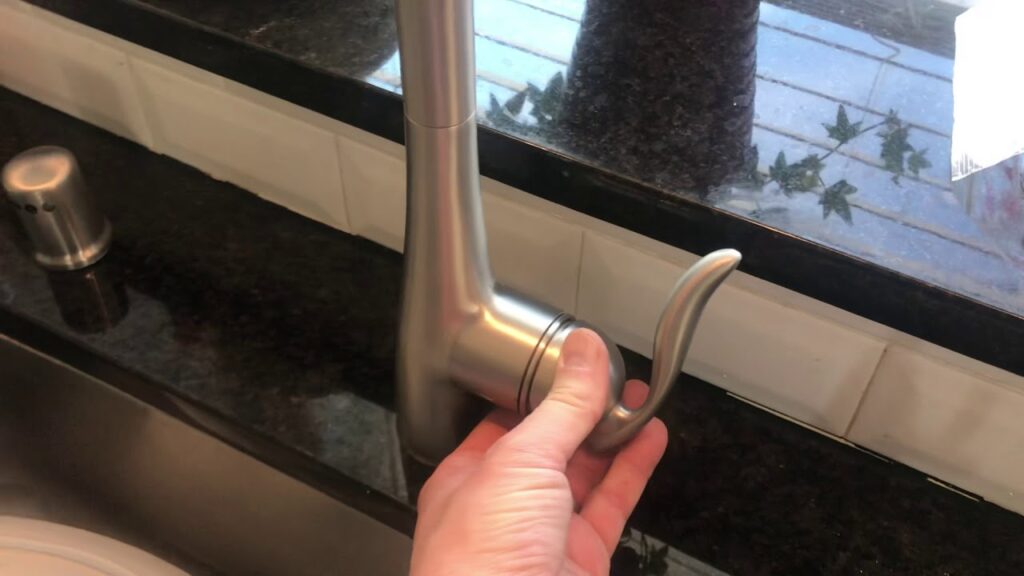
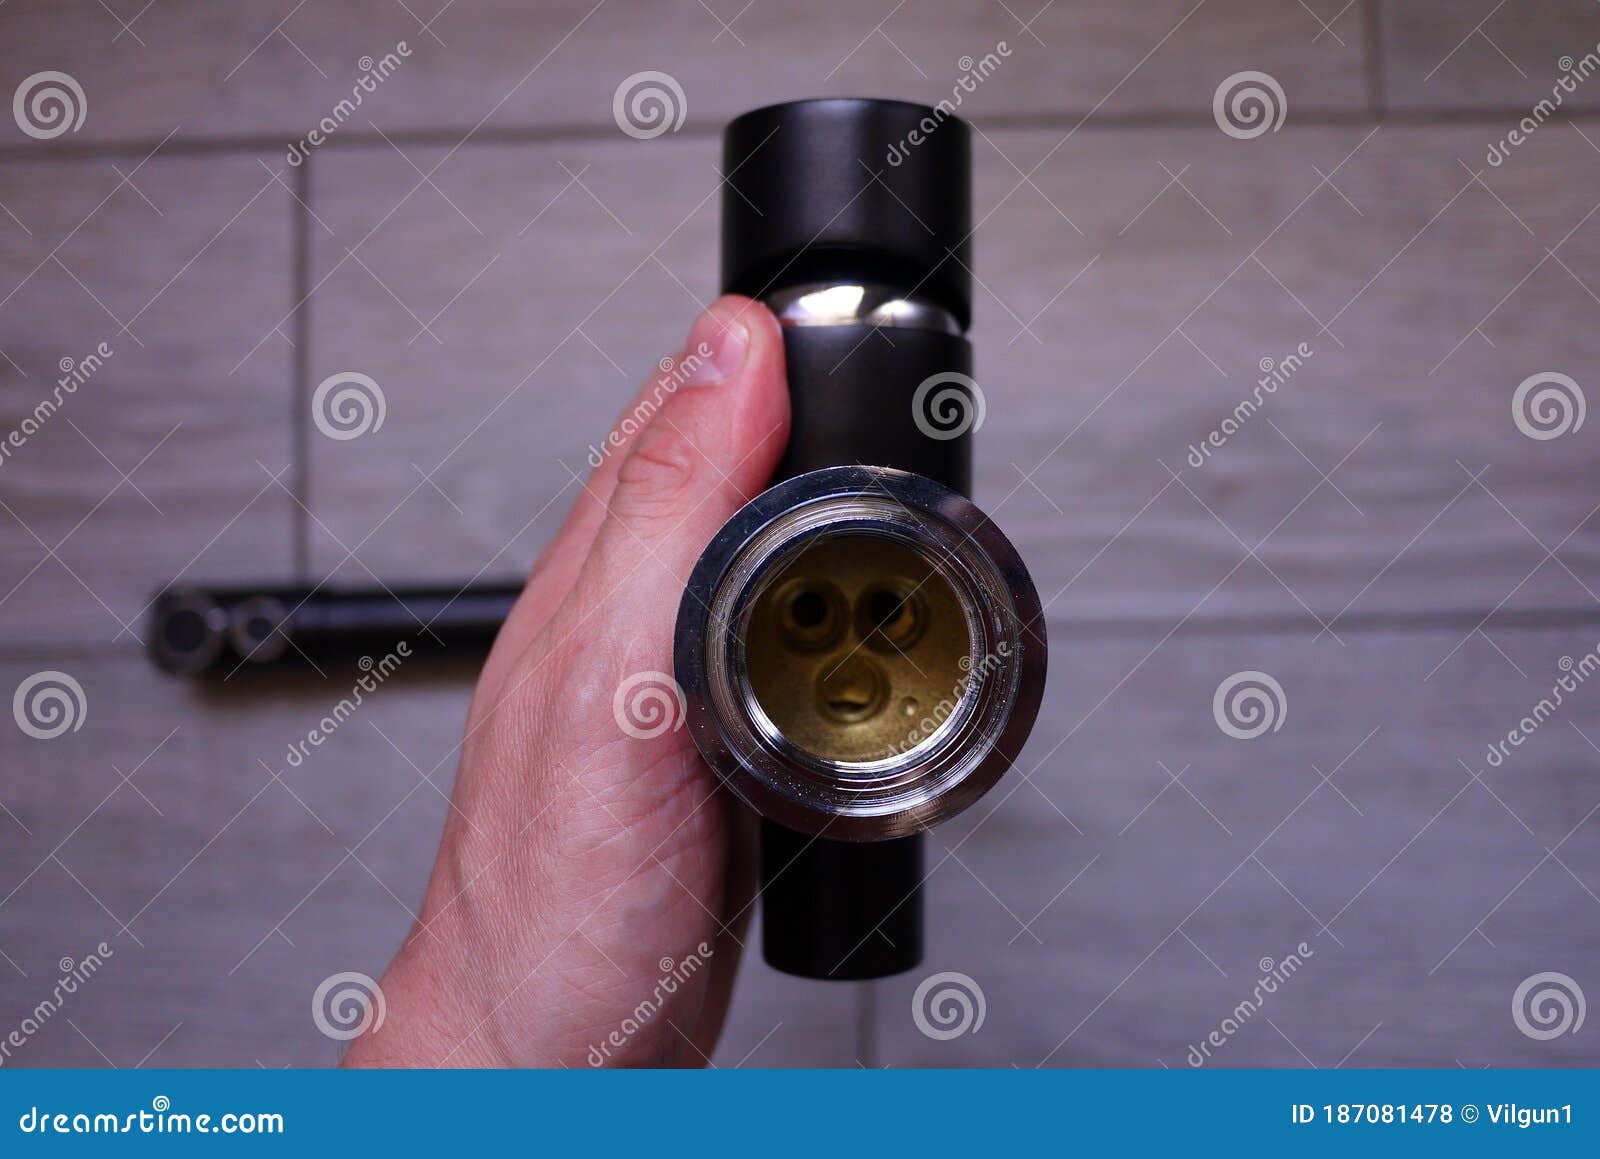
Step 3: Remove the Old Faucet
 Using your basin wrench, loosen and remove the nuts and bolts that hold the old faucet in place. Once the nuts and bolts are removed, you can lift the old faucet out of the sink. Make sure to also remove any old putty or caulk from the sink surface where the faucet was installed.
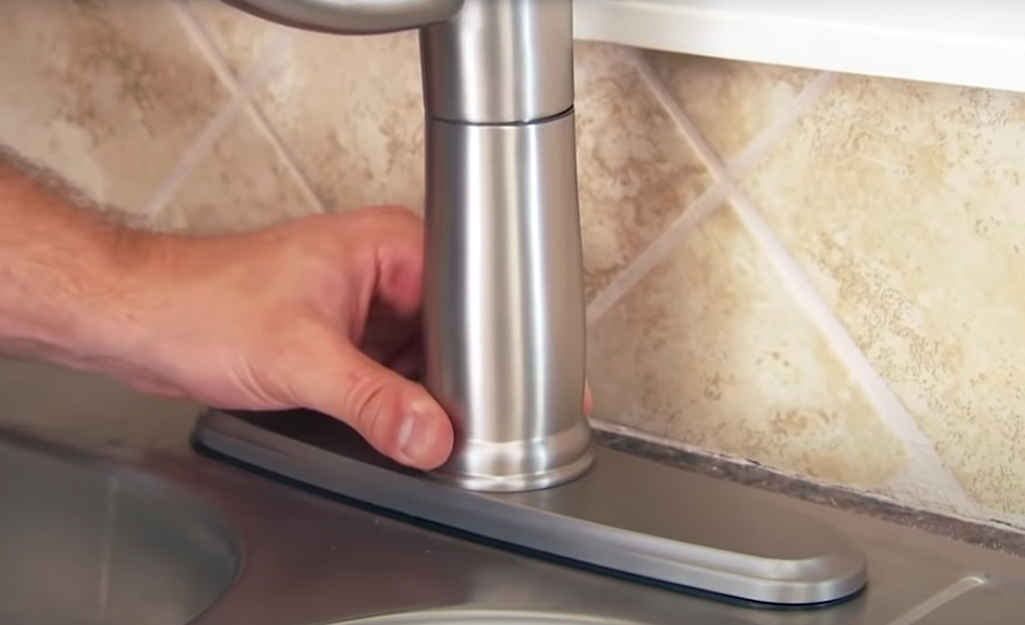
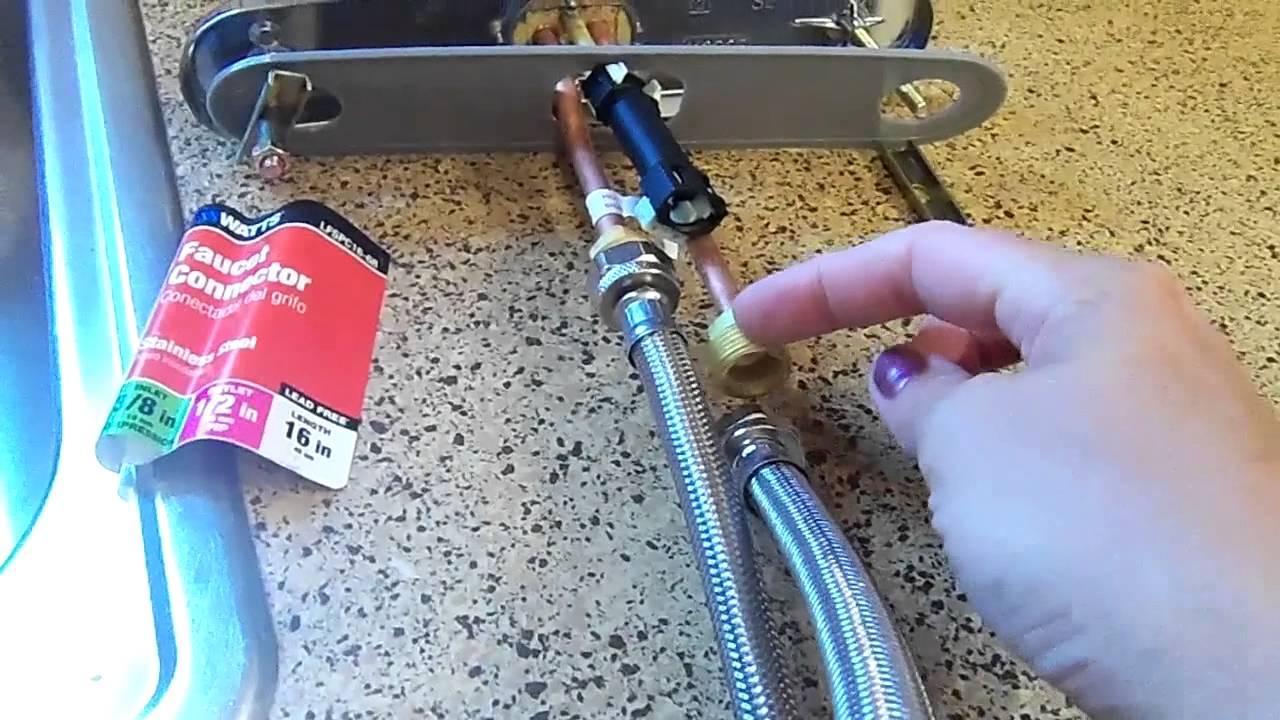
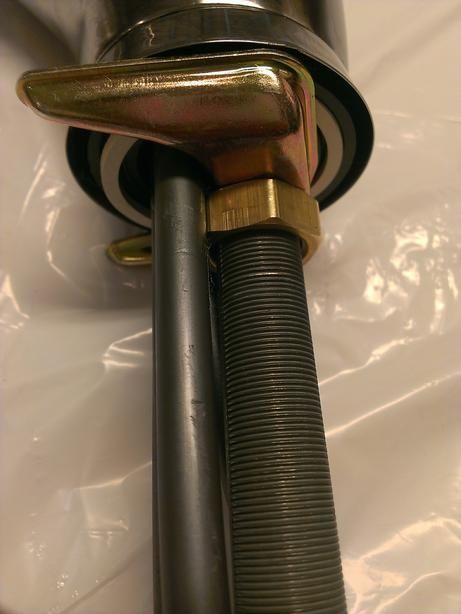
Step 4: Install the New Faucet
 Now it's time to install your new kitchen sink faucet. Follow the manufacturer's instructions for installation, but in general, you will need to place the faucet through the holes in the sink and secure it with the mounting hardware provided. Use your basin wrench and adjustable wrench to tighten the nuts and bolts. Make sure to also apply Teflon tape to the threads of the water supply lines before connecting them to the faucet.
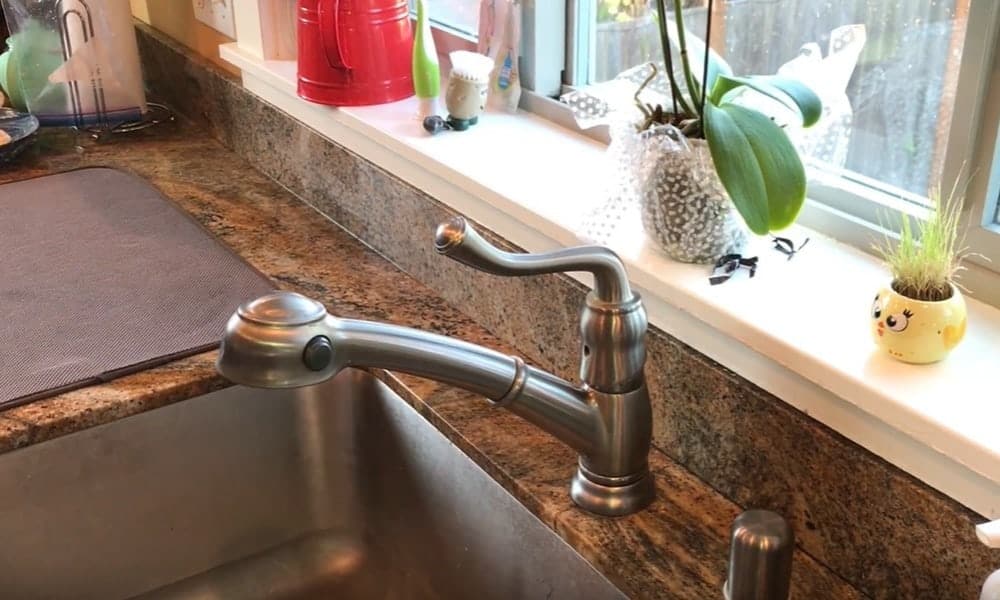
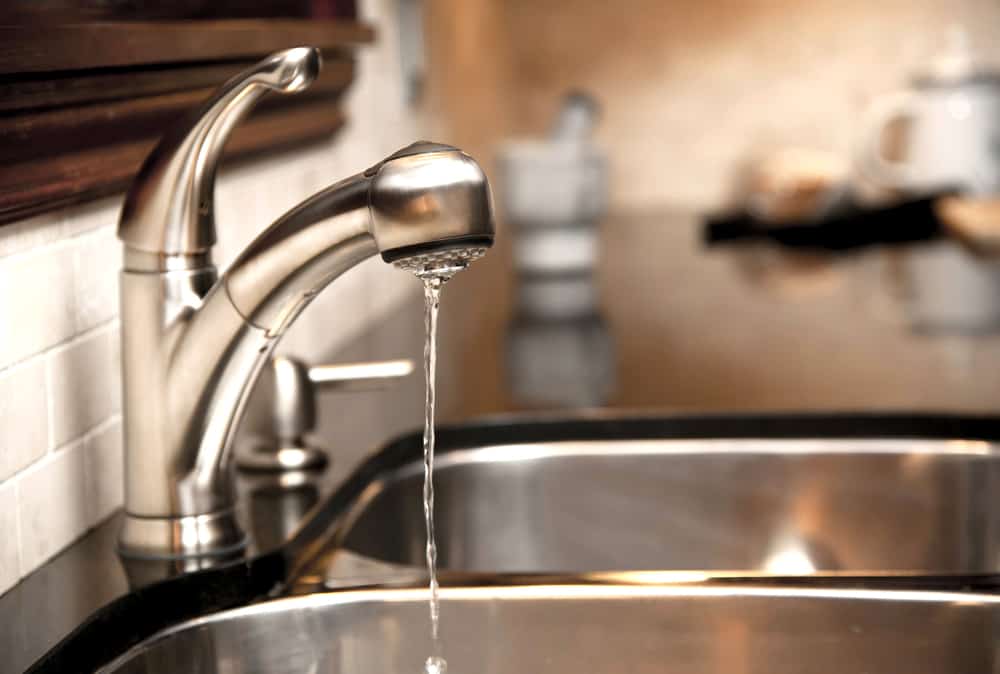
Step 5: Turn on the Water and Test the Faucet
 Once the new faucet is securely in place, turn the water supply back on and check for any leaks. If everything looks good, turn on the faucet and test the water flow. If the water flow is too strong or too weak, you can adjust it using the faucet's aerator.
Conclusion
 Replacing your kitchen sink faucet is a simple and affordable way to upgrade your home's kitchen. With the right tools and materials, you can easily complete this project in just a few hours. Not only will it give your kitchen a fresh new look, but it can also improve water flow and efficiency. So why wait? Get started on replacing your kitchen sink faucet and take the first step towards a more beautiful and functional kitchen.