Are you tired of looking at that old, outdated bathroom sink in your motorhome? Or maybe it's damaged and needs to be replaced. Whatever the reason, replacing your motorhome bathroom sink is a great way to give your RV a fresh new look. In this article, we will discuss the top 10 ways to replace your motorhome bathroom sink.Replacing Motorhome Bathroom Sink


Replacing Motorhome Bathroom Sink


Replacing your motorhome bathroom sink may seem like a daunting task, but with the right tools and knowledge, it can be done easily. Before you begin, make sure to have a new sink that fits the measurements of your current one. Let's dive into the steps of replacing your motorhome bathroom sink.Motorhome Bathroom Sink Replacement


Motorhome Bathroom Sink Replacement


If you have an RV, you know how important it is to have a functional and aesthetically pleasing bathroom. If your current sink is not meeting your needs, it may be time for a replacement. With the right tools and steps, you can easily replace your RV bathroom sink and give your bathroom the upgrade it deserves.RV Bathroom Sink Replacement


RV Bathroom Sink Replacement


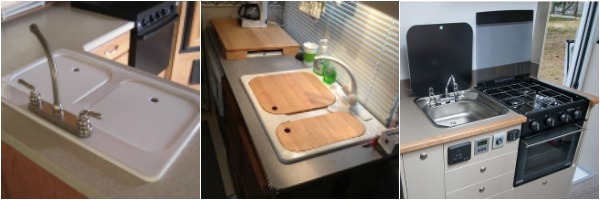
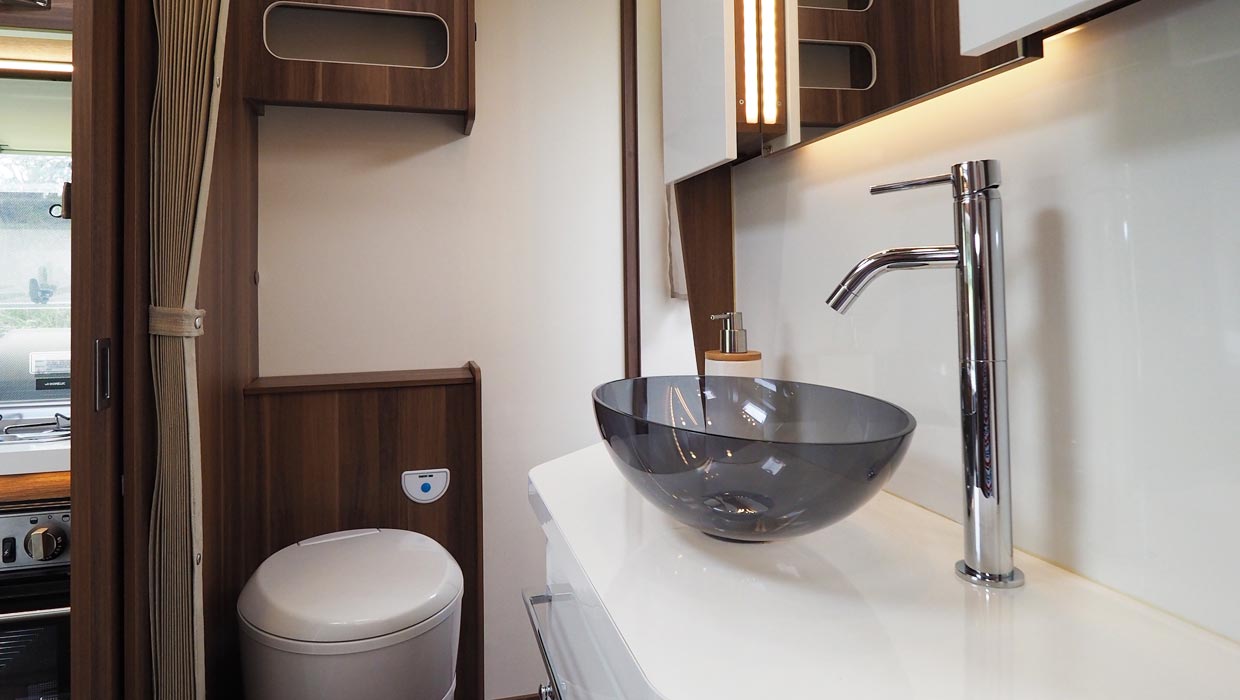
Replacing your motorhome bathroom sink is not only for functional purposes, it can also be a great way to upgrade the look of your bathroom. With so many different styles and designs available, you can choose a sink that fits your personal style and adds a touch of elegance to your motorhome bathroom.Motorhome Sink Upgrade


Motorhome Sink Upgrade


Whether you have a motorhome or a traditional RV, the process of replacing the bathroom sink is similar. The first step is to turn off the water supply and remove the old sink. Make sure to clean the area before installing the new sink. You can then follow the manufacturer's instructions to install the new sink and reconnect the water supply.Replacing RV Sink


Replacing RV Sink


If your current sink is still in good condition but has minor damages, you may not need to replace it entirely. You can opt for a sink repair kit, which usually includes a patch or filler to cover any cracks or chips. This is a cost-effective option that can make your sink look like new again.Motorhome Sink Repair


Motorhome Sink Repair


If you're on a budget or just enjoy DIY projects, replacing your motorhome bathroom sink is something you can do yourself. With the right tools and instructions, you can save money by not hiring a professional. Just make sure to research and follow the steps carefully to ensure a successful replacement.DIY Motorhome Sink Replacement


DIY Motorhome Sink Replacement


Before you can install the new sink, you need to remove the old one. This process may vary depending on the type of sink you have, but generally, it involves disconnecting the water supply and removing any caulk or adhesive holding the sink in place. Make sure to have a clean and level surface before installing the new sink.Motorhome Sink Removal


Motorhome Sink Removal


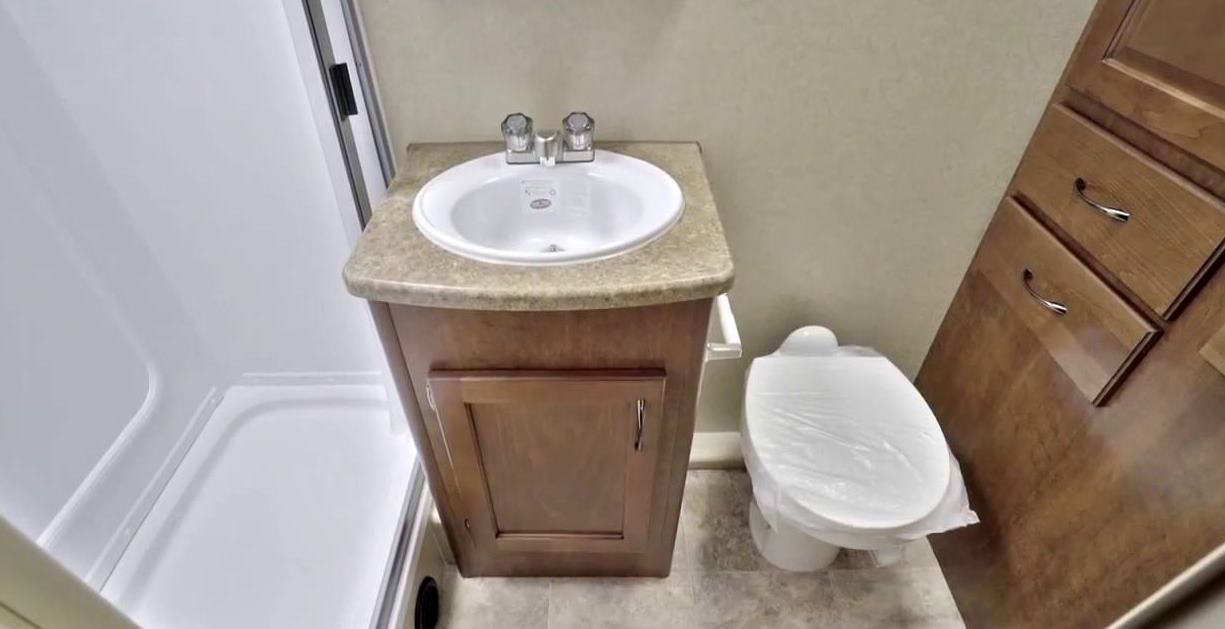
If you have a motorhome with a vanity sink, the process of replacement may be slightly different. You may need to remove the vanity top and sink as one piece, or you may be able to remove just the sink. It's important to measure the new sink to ensure it fits the vanity top properly before installation.Replacing Motorhome Vanity Sink


Replacing Motorhome Vanity Sink


Once you have removed the old sink and cleaned the area, it's time to install the new sink. Follow the manufacturer's instructions carefully to ensure the sink is installed correctly. This may include attaching mounting brackets, sealing the sink with caulk, and connecting the water supply. Once everything is in place, turn on the water supply and check for any leaks. Replacing your motorhome bathroom sink may seem like a daunting task, but with the right information and tools, it can be done easily. Whether you're looking for a functional upgrade or a new look, replacing your sink is a great way to add value and style to your motorhome. Follow these top 10 tips and enjoy your new and improved motorhome bathroom sink.Motorhome Sink Installation

Motorhome Sink Installation


Replacing Your Motorhome Bathroom Sink: A Guide to Upgrading Your RV's Design
Why Consider Replacing Your Motorhome Bathroom Sink?
 Replacing your motorhome bathroom sink may not be at the top of your list when it comes to RV renovations, but it can make a big difference in the overall look and functionality of your living space. A worn-out or outdated sink can bring down the entire design of your motorhome, while a new, modern sink can elevate it to a whole new level. Not to mention, a malfunctioning sink can be a major inconvenience during your travels. So, if you're ready for a bathroom upgrade, let's dive into the process of replacing your motorhome bathroom sink.
Steps to Replacing Your Motorhome Bathroom Sink
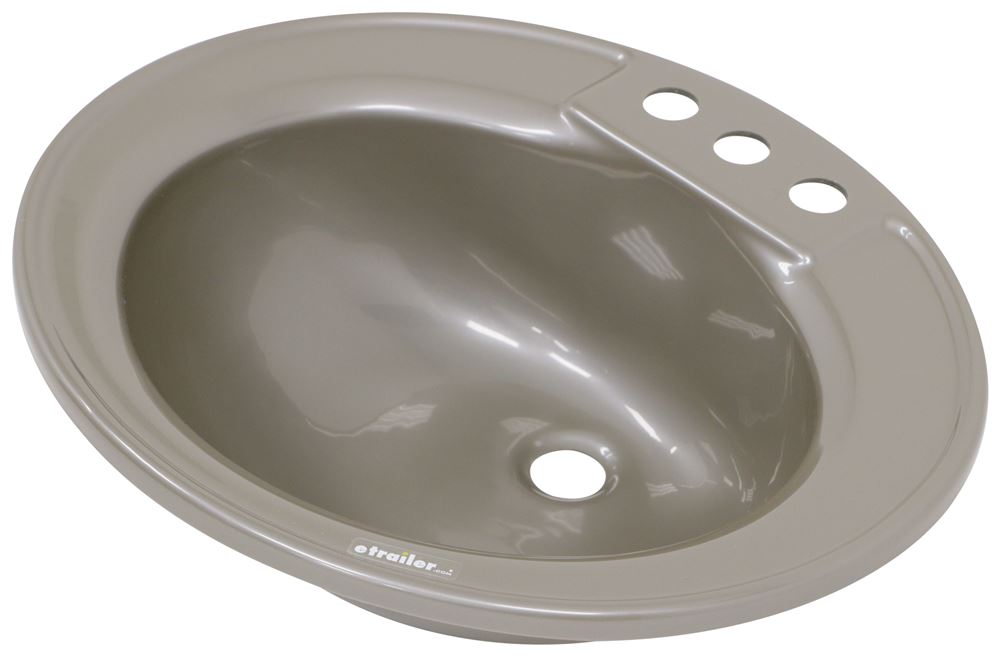 Step 1: Measure and Choose Your New Sink
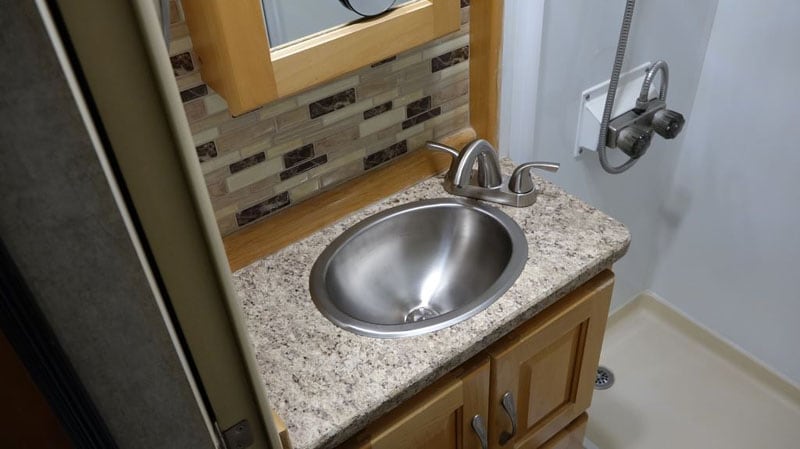
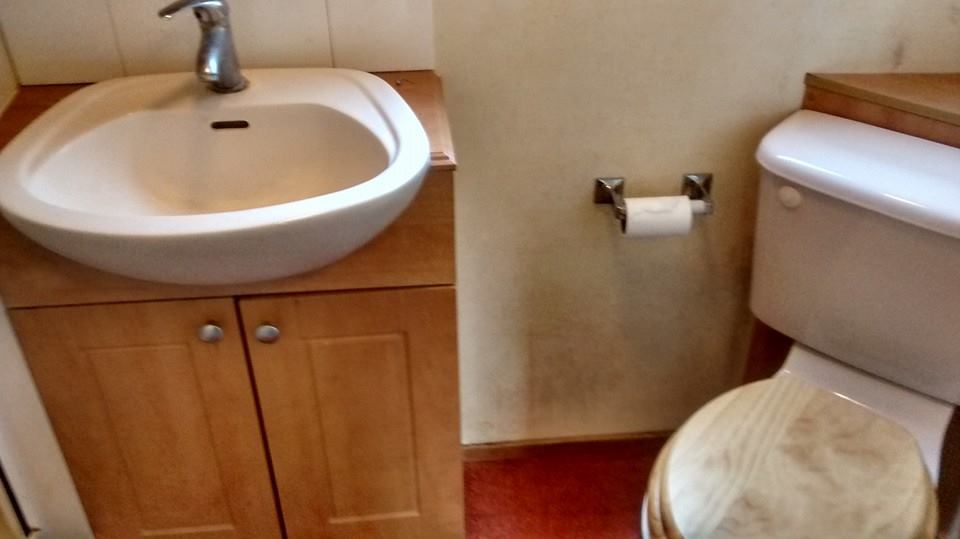
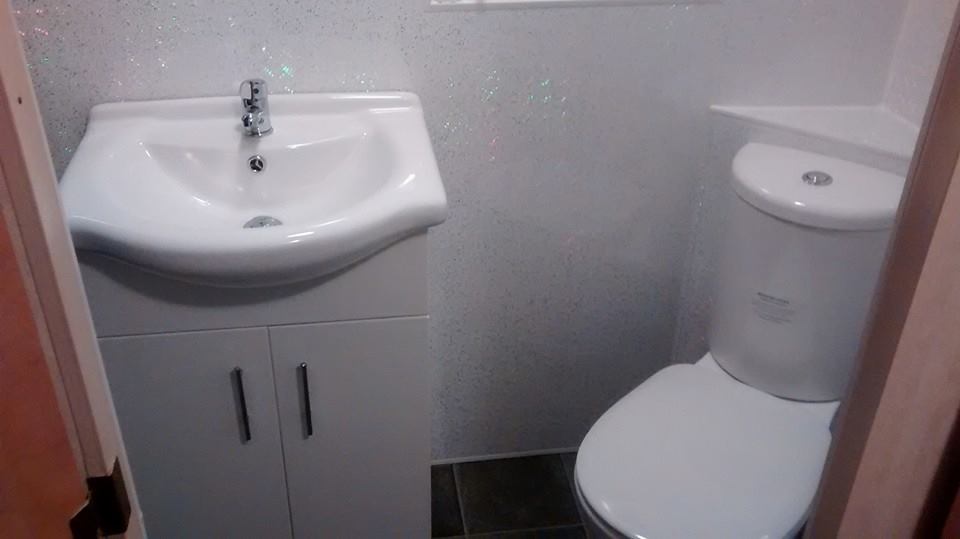
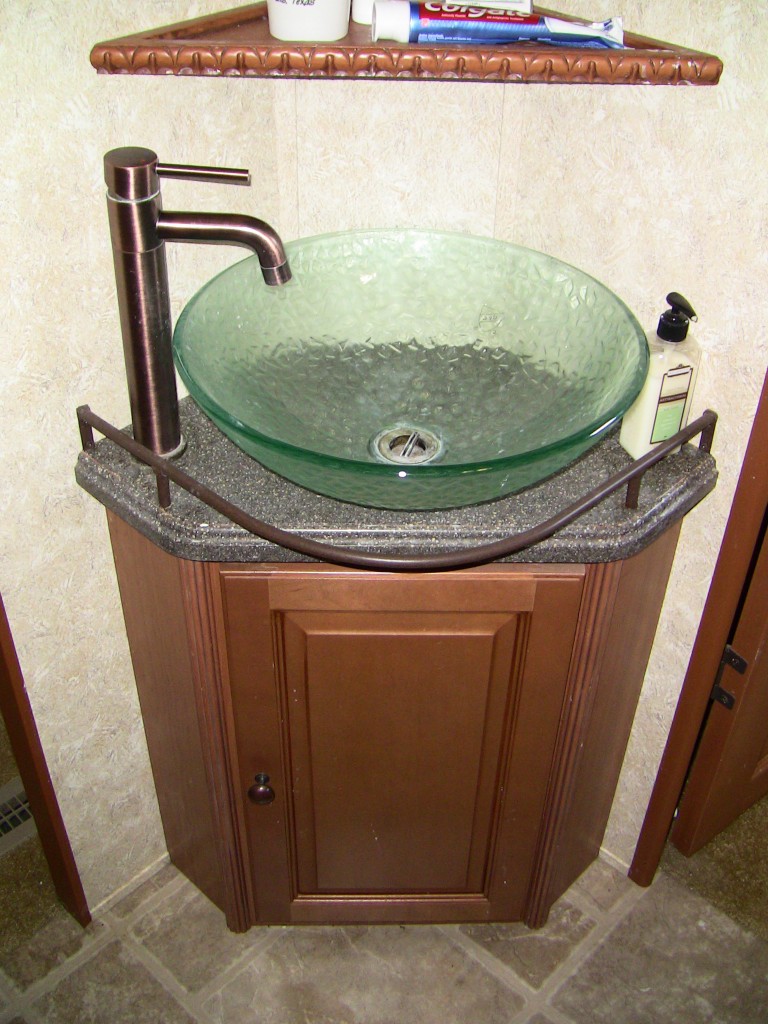
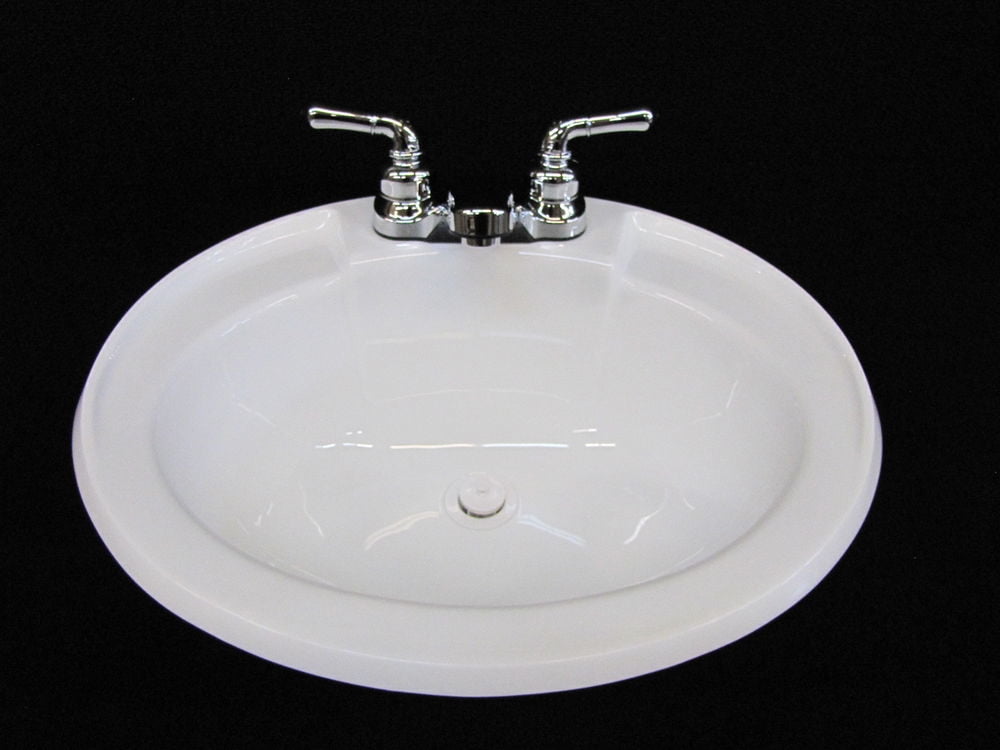
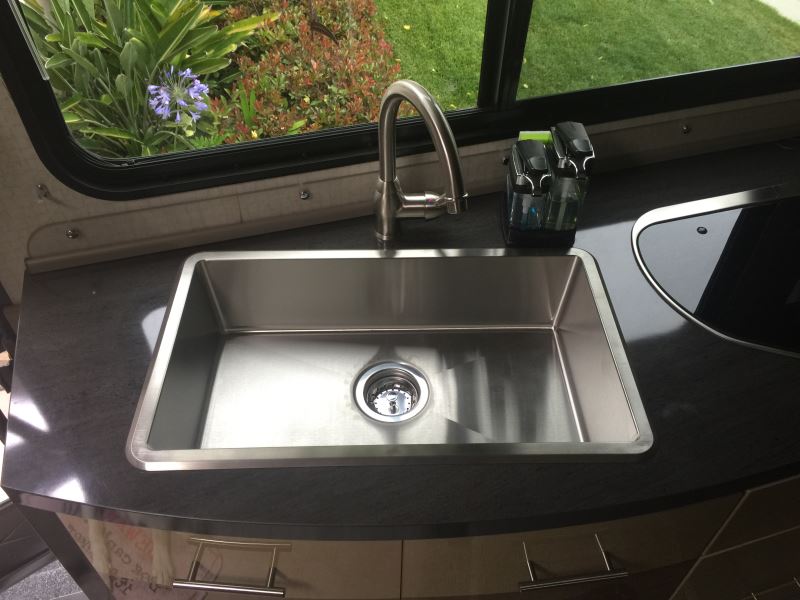
The first step in replacing your motorhome bathroom sink is to measure the dimensions of your current sink and choose a new one that will fit in the same space. This will save you from having to make any major alterations to your RV's plumbing or countertop. There are a variety of sink options available, including drop-in, undermount, and vessel sinks, so choose one that fits your style and budget.
Step 2: Gather Your Tools and Materials
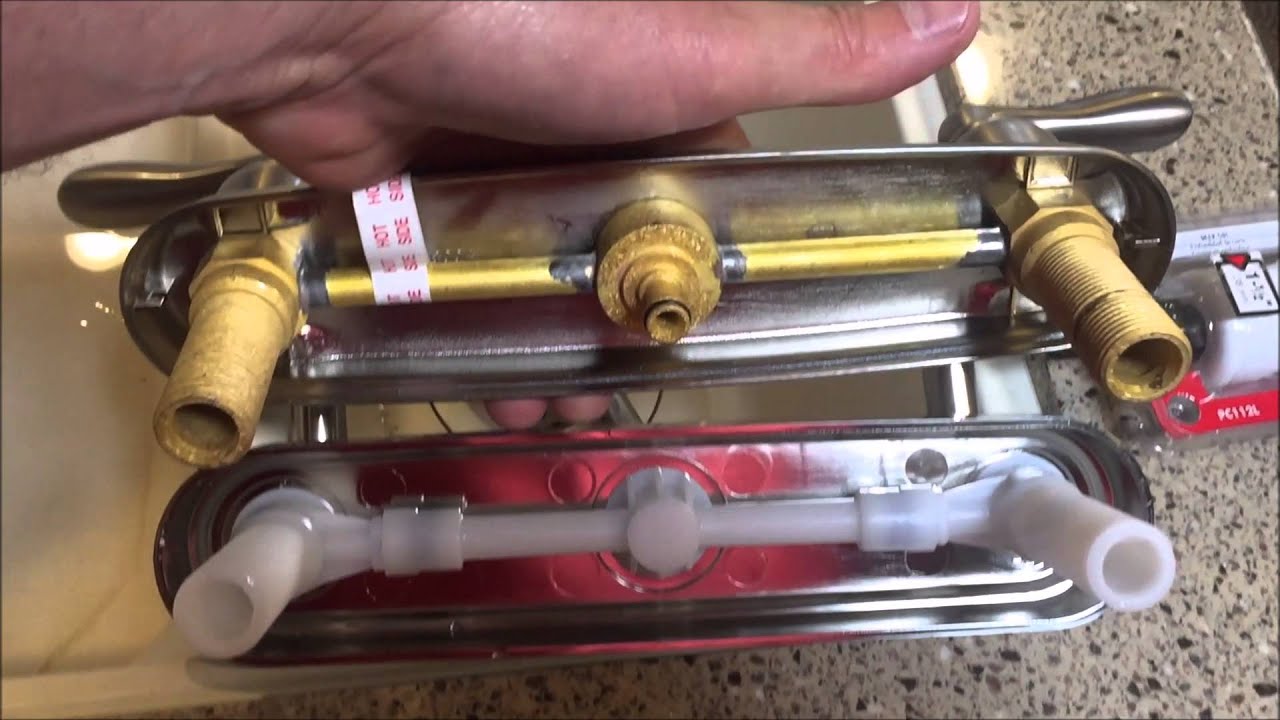
Before beginning the installation process, make sure you have all the necessary tools and materials on hand. This may include a wrench, plumber's putty, silicone sealant, and a new drain assembly. It's also a good idea to have a drop cloth or towels to protect your RV's flooring from any spills or messes.
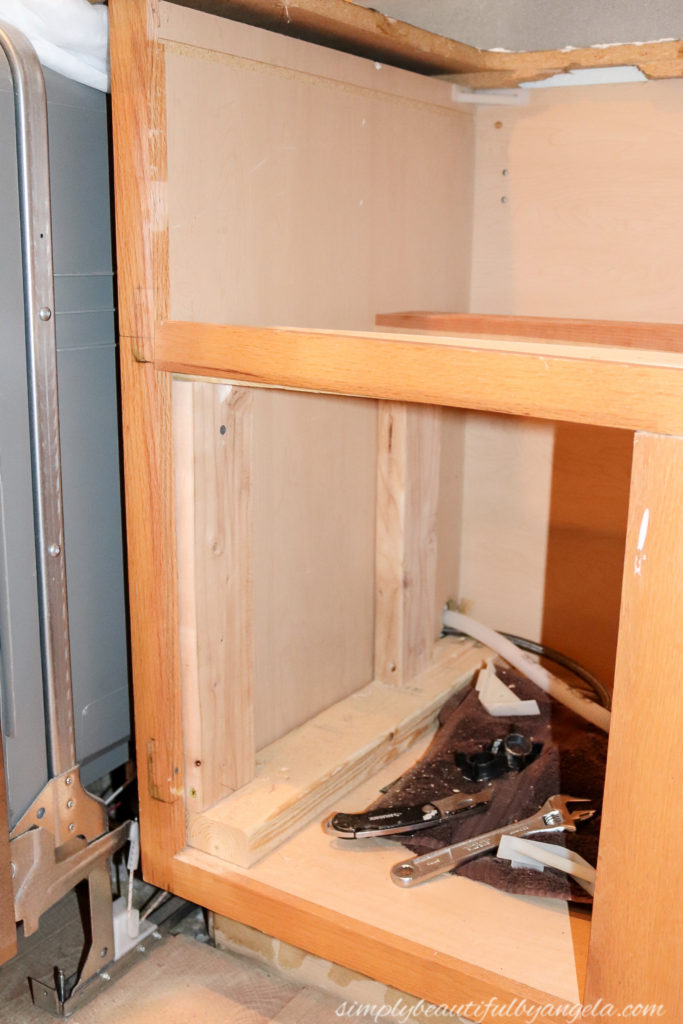
Step 3: Disconnect and Remove Old Sink
Shut off the water supply to your motorhome's bathroom and disconnect the water lines from the sink. Next, remove the sink from the countertop by unscrewing any mounting brackets or clips. Be sure to also disconnect the drain assembly and remove any excess putty or silicone from the countertop surface.
Step 4: Install New Sink
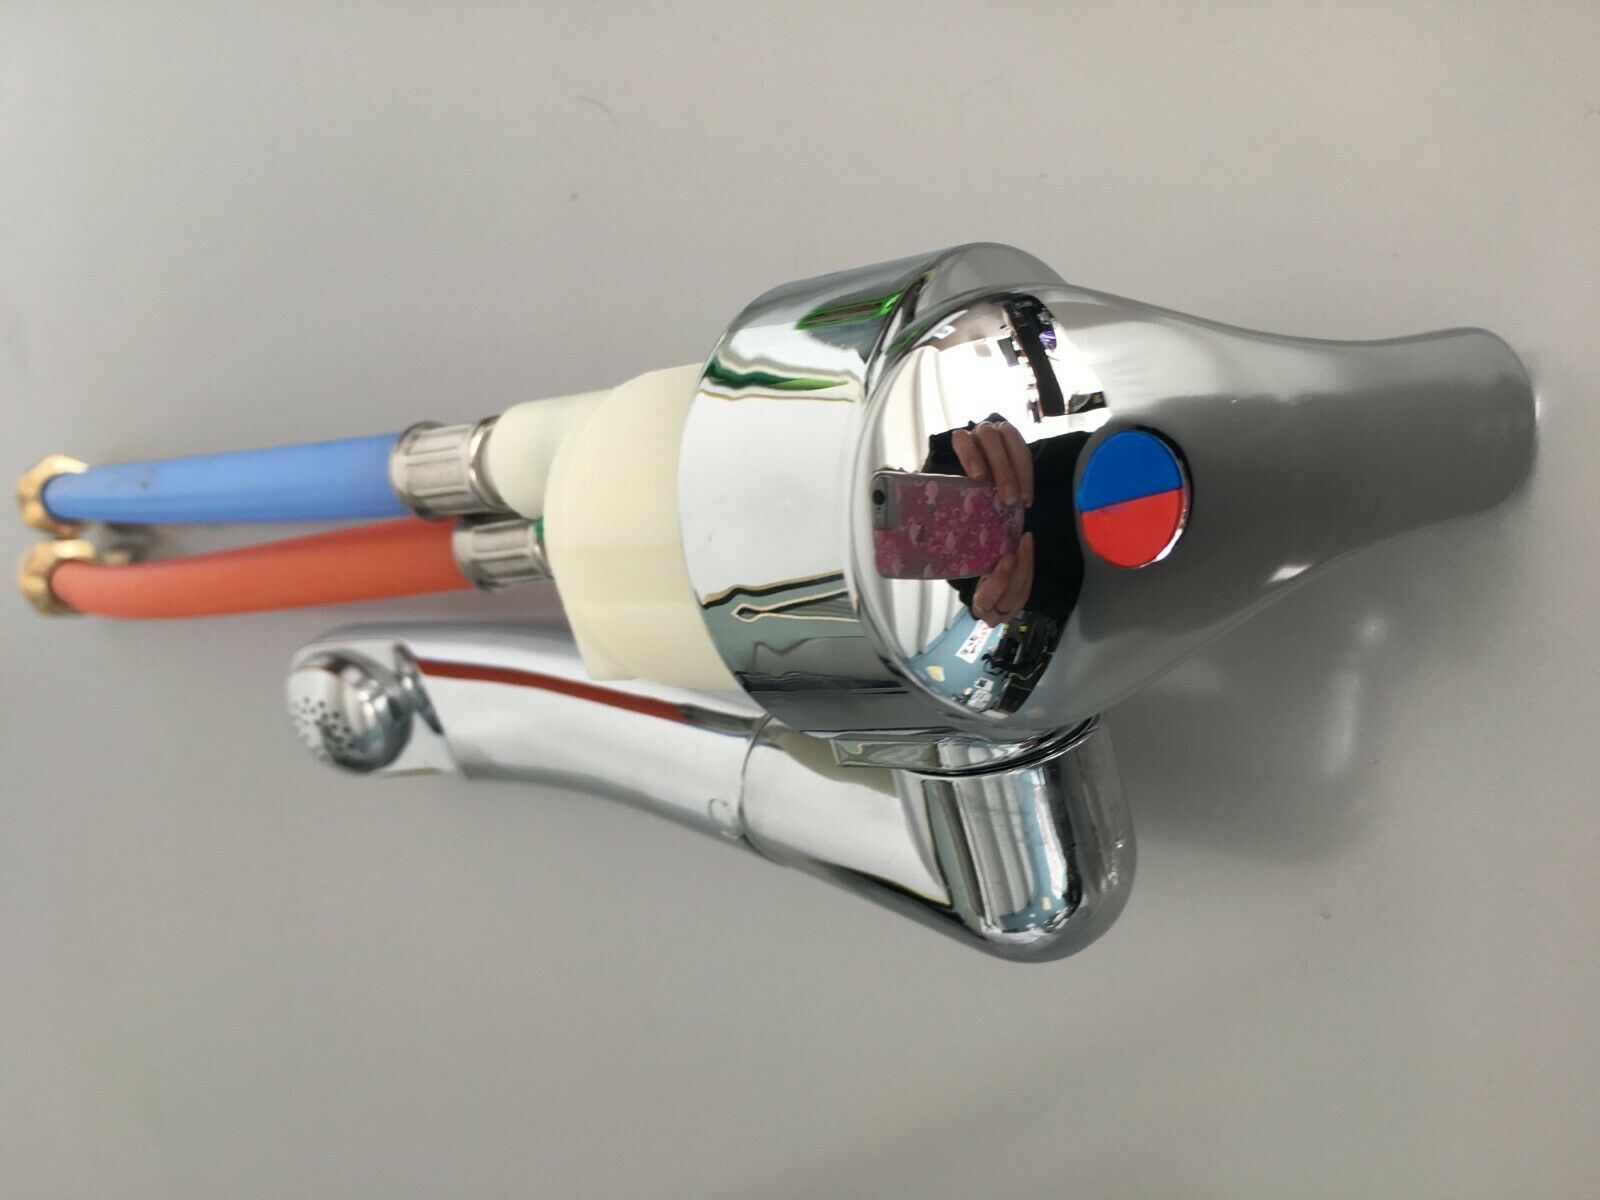
Follow the manufacturer's instructions for installing your new sink. This may involve attaching mounting brackets or clips to secure the sink in place and connecting the water lines and drain assembly. Use plumber's putty or silicone sealant to create a watertight seal around the sink's edges.
Step 5: Reconnect Water Supply and Test
Once your new sink is securely in place, reconnect the water supply and turn it on to test for any leaks. If everything looks good, you're all set to start enjoying your upgraded motorhome bathroom sink.
Step 1: Measure and Choose Your New Sink
The first step in replacing your motorhome bathroom sink is to measure the dimensions of your current sink and choose a new one that will fit in the same space. This will save you from having to make any major alterations to your RV's plumbing or countertop. There are a variety of sink options available, including drop-in, undermount, and vessel sinks, so choose one that fits your style and budget.
Step 2: Gather Your Tools and Materials
Before beginning the installation process, make sure you have all the necessary tools and materials on hand. This may include a wrench, plumber's putty, silicone sealant, and a new drain assembly. It's also a good idea to have a drop cloth or towels to protect your RV's flooring from any spills or messes.
Step 3: Disconnect and Remove Old Sink
Shut off the water supply to your motorhome's bathroom and disconnect the water lines from the sink. Next, remove the sink from the countertop by unscrewing any mounting brackets or clips. Be sure to also disconnect the drain assembly and remove any excess putty or silicone from the countertop surface.
Step 4: Install New Sink
Follow the manufacturer's instructions for installing your new sink. This may involve attaching mounting brackets or clips to secure the sink in place and connecting the water lines and drain assembly. Use plumber's putty or silicone sealant to create a watertight seal around the sink's edges.
Step 5: Reconnect Water Supply and Test
Once your new sink is securely in place, reconnect the water supply and turn it on to test for any leaks. If everything looks good, you're all set to start enjoying your upgraded motorhome bathroom sink.
Upgrade Your Motorhome's Design with a New Bathroom Sink
 Replacing your motorhome bathroom sink is a simple and cost-effective way to upgrade the design and functionality of your RV's living space. With the right tools and materials, you can easily complete this project on your own and create a modern, stylish bathroom in your motorhome. So, don't overlook the importance of a well-designed bathroom in your RV and consider replacing your motorhome bathroom sink for an instant upgrade.