Replacing a kitchen sink faucet stem may seem like a daunting task, but with the right tools and knowledge, it can be a simple DIY project. Whether your faucet is leaking or just needs an upgrade, replacing the stem can save you money and improve the functionality of your kitchen sink. In this guide, we will walk you through the steps to successfully replace a kitchen sink faucet stem.How to Replace a Kitchen Sink Faucet Stem


How to Replace a Kitchen Sink Faucet Stem


Before starting the process, it's important to gather all the necessary tools and materials. You will need a pair of pliers, an adjustable wrench, a screwdriver, plumber's tape, and a new faucet stem. Once you have everything ready, follow these steps: Step 1: Turn off the water supply. Look under your sink for the water shut-off valve and turn it clockwise to shut off the water supply. Then, turn on the faucet to release any remaining water pressure. Step 2: Remove the old faucet stem. Use your pliers to loosen and remove the locking nut that holds the faucet stem in place. Then, use your adjustable wrench to unscrew the stem from the faucet base. Once it's loose, remove the stem from the faucet. Step 3: Clean the faucet base. Use a cloth to wipe away any dirt or debris from the base of the faucet. This will ensure a clean surface for the new stem to be installed. Step 4: Install the new faucet stem. Apply a layer of plumber's tape to the threads of the new stem to create a tight seal. Then, screw the new stem into the faucet base using your adjustable wrench. Use your pliers to tighten the locking nut back in place. Step 5: Turn on the water supply. Once the new stem is securely in place, turn the water supply back on and test the faucet for any leaks. If there are no leaks, you're good to go!Replacing a Kitchen Sink Faucet Stem: A Step-by-Step Guide

Replacing a Kitchen Sink Faucet Stem: A Step-by-Step Guide


Nowadays, many homeowners are opting to do home improvement projects themselves, and replacing a kitchen sink faucet stem is no exception. Not only does it save money, but it also gives you a sense of accomplishment. Plus, with the step-by-step guide above, it's a relatively easy project to tackle on your own.DIY: Replacing a Kitchen Sink Faucet Stem


DIY: Replacing a Kitchen Sink Faucet Stem


Here are a few tips and tricks to keep in mind when replacing a kitchen sink faucet stem: - Consider replacing the entire faucet instead of just the stem if it's outdated or worn out. - Take a photo of the old stem before removing it to make it easier to install the new one. - If your faucet has multiple handles, replace the stems for all of them at the same time to ensure uniformity. - Always turn off the water supply before starting the process to avoid any accidents.Replacing a Kitchen Sink Faucet Stem: Tips and Tricks


Replacing a Kitchen Sink Faucet Stem: Tips and Tricks

:max_bytes(150000):strip_icc()/utility-sink-faucet-2718831-hero-85feab9ab9fc4c8498483e418fd8c82c.jpg)
It's important to replace a kitchen sink faucet stem as soon as you notice any issues. A faulty stem can lead to leaks, reduced water pressure, and even more severe plumbing problems. By replacing the stem, you can prevent costly repairs and maintain the functionality of your kitchen sink.The Importance of Replacing a Kitchen Sink Faucet Stem


The Importance of Replacing a Kitchen Sink Faucet Stem

While replacing a kitchen sink faucet stem may seem like a simple task, there are a few common mistakes that homeowners make. These include: - Not turning off the water supply before starting the process. - Forgetting to apply plumber's tape to the threads of the new stem. - Using the wrong size tools, which can strip the threads of the stem or cause damage to the faucet. - Not tightening the locking nut enough, which can lead to leaks.Replacing a Kitchen Sink Faucet Stem: Common Mistakes to Avoid

Replacing a Kitchen Sink Faucet Stem: Common Mistakes to Avoid

As mentioned earlier, you will need a few tools to successfully replace a kitchen sink faucet stem. These include: - Pliers - Adjustable wrench - Screwdriver - Plumber's tape - New faucet stemTools You'll Need for Replacing a Kitchen Sink Faucet Stem


Tools You'll Need for Replacing a Kitchen Sink Faucet Stem


If you encounter any issues during the replacement process, here are a few troubleshooting tips: - If the stem is stuck, try using a penetrating oil to loosen it. - If the faucet continues to leak after replacing the stem, check for any cracks or damage in the faucet base and replace it if necessary. - If the water pressure is still low after replacing the stem, check for any clogs in the supply lines or aerator and clean them out.Replacing a Kitchen Sink Faucet Stem: Troubleshooting Common Issues

Replacing a Kitchen Sink Faucet Stem: Troubleshooting Common Issues


If you're a visual learner, watching a video tutorial can be helpful in understanding the process of replacing a kitchen sink faucet stem. There are many tutorials available online, so find one that suits your needs and follow along.Step-by-Step Video Tutorial: Replacing a Kitchen Sink Faucet Stem

Step-by-Step Video Tutorial: Replacing a Kitchen Sink Faucet Stem


While replacing a kitchen sink faucet stem can be a DIY project, some homeowners may prefer to hire a professional plumber. It ultimately depends on your comfort level and experience with home improvement projects. If you're unsure, it's always best to seek professional help to ensure the job is done correctly. Overall, replacing a kitchen sink faucet stem is a simple and cost-effective way to upgrade your kitchen sink. With the right tools and knowledge, you can successfully complete this project and improve the functionality of your kitchen. So, why wait? Follow our guide and start your DIY project today!Replacing a Kitchen Sink Faucet Stem: Professional vs. DIY

Replacing a Kitchen Sink Faucet Stem: Professional vs. DIY
Replacing a Kitchen Sink Faucet Stem: A Step-by-Step Guide

Why Replace Your Kitchen Sink Faucet Stem?
 If you're experiencing a leaky or malfunctioning kitchen sink faucet, it may be time to replace the faucet stem. The faucet stem is responsible for controlling the flow of water and can wear out over time due to regular use and exposure to water. Replacing the faucet stem can not only fix any current issues, but also prevent future problems and improve the functionality and appearance of your kitchen sink.
Gather Your Tools
 Before you begin, make sure you have all the necessary tools for the job. This includes a
screwdriver, adjustable wrench, plumber's tape, and a new faucet stem
that is compatible with your sink. It may also be helpful to have a towel or rag nearby to clean up any excess water.
Before you begin, make sure you have all the necessary tools for the job. This includes a
screwdriver, adjustable wrench, plumber's tape, and a new faucet stem
that is compatible with your sink. It may also be helpful to have a towel or rag nearby to clean up any excess water.
Shut Off the Water Supply
 Before you start working on the faucet, turn off the water supply to your kitchen sink. This can usually be done by turning off the water valves located under the sink. If you cannot find the valves, you may need to turn off the main water supply to your house.
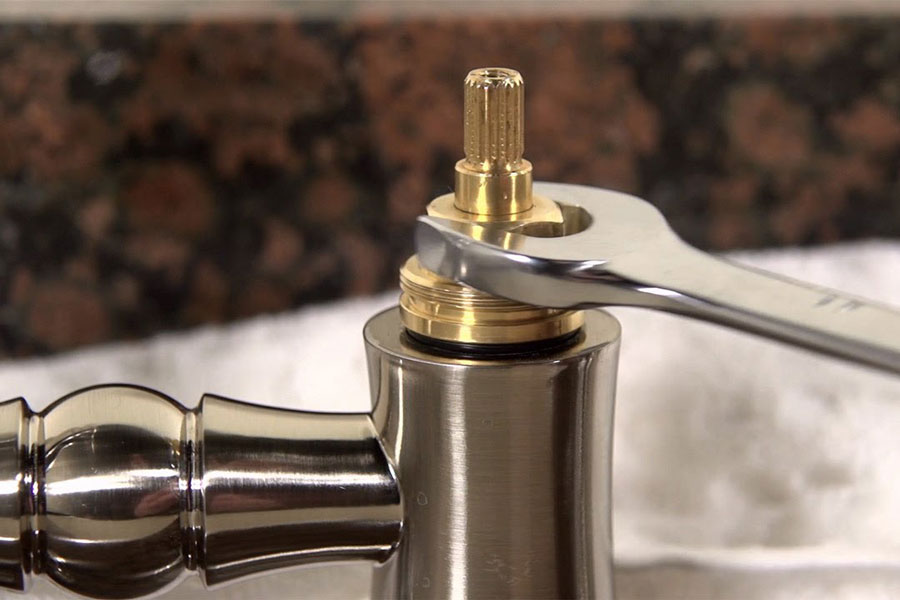
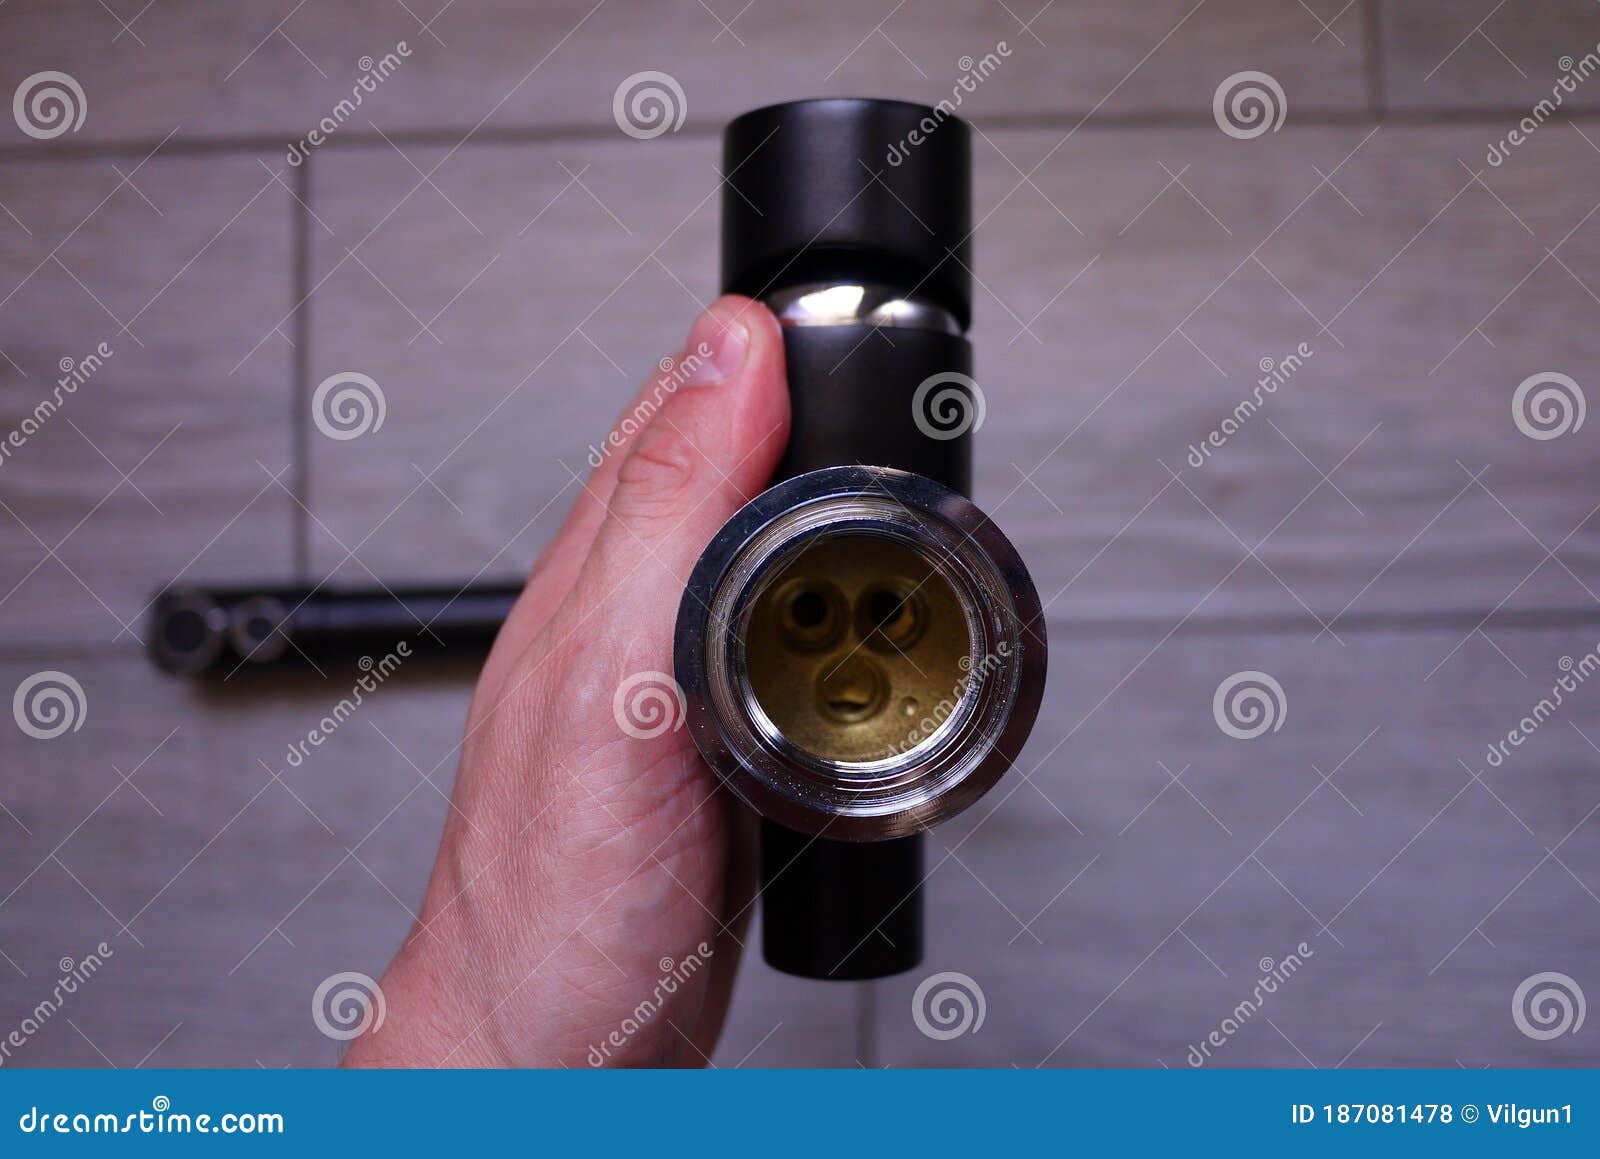
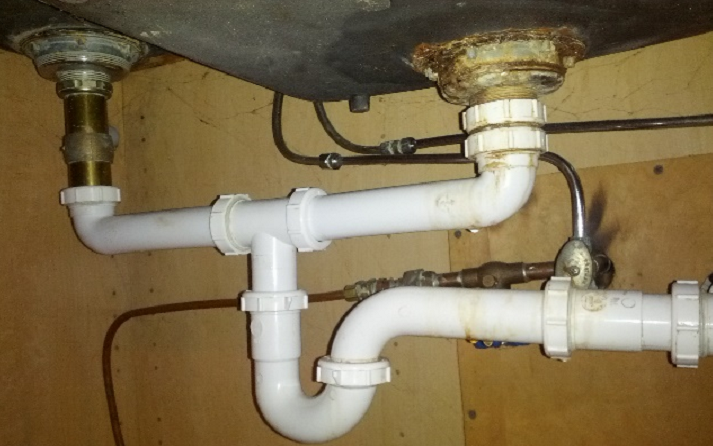
Remove the Old Faucet Stem
 Using your screwdriver, remove any decorative caps or handles covering the faucet stem. Then, use your wrench to unscrew the retaining nut holding the stem in place. Once the nut is removed, you can pull out the old faucet stem.
Install the New Faucet Stem
 Take your new faucet stem and insert it into the opening where the old one was removed. Make sure it is properly aligned and then secure it with the retaining nut. Use your wrench to tighten the nut, but be careful not to over-tighten as this can cause damage.
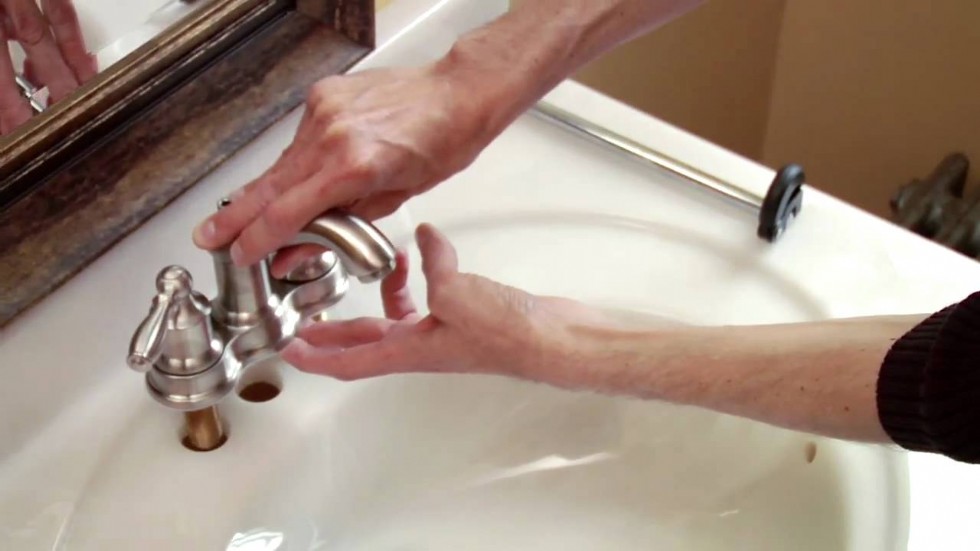
Turn the Water Supply Back On
 Once the new faucet stem is securely in place, turn the water supply back on and test the faucet. If you notice any leaks, try tightening the retaining nut or using plumber's tape to seal any gaps.
Enjoy Your New Faucet
 Congratulations, you have successfully replaced your kitchen sink faucet stem! With proper maintenance and care, your new faucet should provide reliable and efficient use for years to come. Remember to periodically check for any leaks or issues and address them promptly to ensure your faucet continues to function properly.
In Conclusion
 Replacing a kitchen sink faucet stem may seem like a daunting task, but with the right tools and steps, it can be easily accomplished. By following this guide and taking proper care of your faucet, you can keep your kitchen sink looking and functioning its best. Don't hesitate to seek professional help if you encounter any difficulties or have any questions. Happy DIY-ing!