If your kitchen sink is constantly clogging and you’ve tried everything from plungers to chemical drain cleaners, it might be time to replace your kitchen sink drain strainer. The drain strainer is an essential component of your sink, helping to filter out debris and prevent clogs. Over time, it can become worn out or damaged, leading to drainage issues. Luckily, replacing a kitchen sink drain strainer is a relatively simple DIY project that can save you time and money. In this guide, we’ll walk you through the steps of replacing a kitchen sink drain strainer.How to Replace a Kitchen Sink Drain Strainer


How to Replace a Kitchen Sink Drain Strainer


Before jumping into the installation process, it’s important to gather all the necessary tools and materials. You’ll need a new kitchen sink drain strainer, a pair of pliers, a screwdriver, plumber’s putty, and a bucket or towel to catch any water that may spill out during the process. Start by removing the old strainer. Depending on the type of sink you have, you may have to unscrew it from the bottom or unscrew the locknut from the top. Use pliers or a screwdriver to loosen and remove the old strainer. Next, clean the area around the drain hole and remove any old plumber’s putty. Roll a small amount of plumber’s putty into a thin, even snake and place it around the underside of the new drain strainer. Carefully place the strainer into the drain hole, making sure it is centered and flush with the sink. From underneath the sink, place the rubber gasket and the cardboard friction ring onto the threaded portion of the drain strainer. Secure it in place with the locknut, tightening it with pliers. You can also use plumber’s tape to ensure a secure fit. Finally, wipe away any excess plumber’s putty from around the strainer and run water to test for any leaks. If there are no leaks, you’re all set! If there are leaks, try tightening the locknut a bit more or adding more plumber’s putty.How to Install a Kitchen Sink Drain Strainer


How to Install a Kitchen Sink Drain Strainer
:max_bytes(150000):strip_icc()/how-to-install-a-sink-drain-2718789-hero-24e898006ed94c9593a2a268b57989a3.jpg)


Replacing a kitchen sink drain strainer is a DIY project that can save you time and money compared to hiring a professional. However, it’s important to know your limits and when it’s time to call in an expert. If you encounter any unexpected complications or are unsure about the process, it’s best to seek professional help to avoid any costly mistakes. But if you’re up for the challenge, replacing a kitchen sink drain strainer can be a rewarding and satisfying project. Not only will you save money, but you’ll also have the satisfaction of knowing you fixed a common household issue on your own.DIY Kitchen Sink Drain Strainer Replacement


DIY Kitchen Sink Drain Strainer Replacement


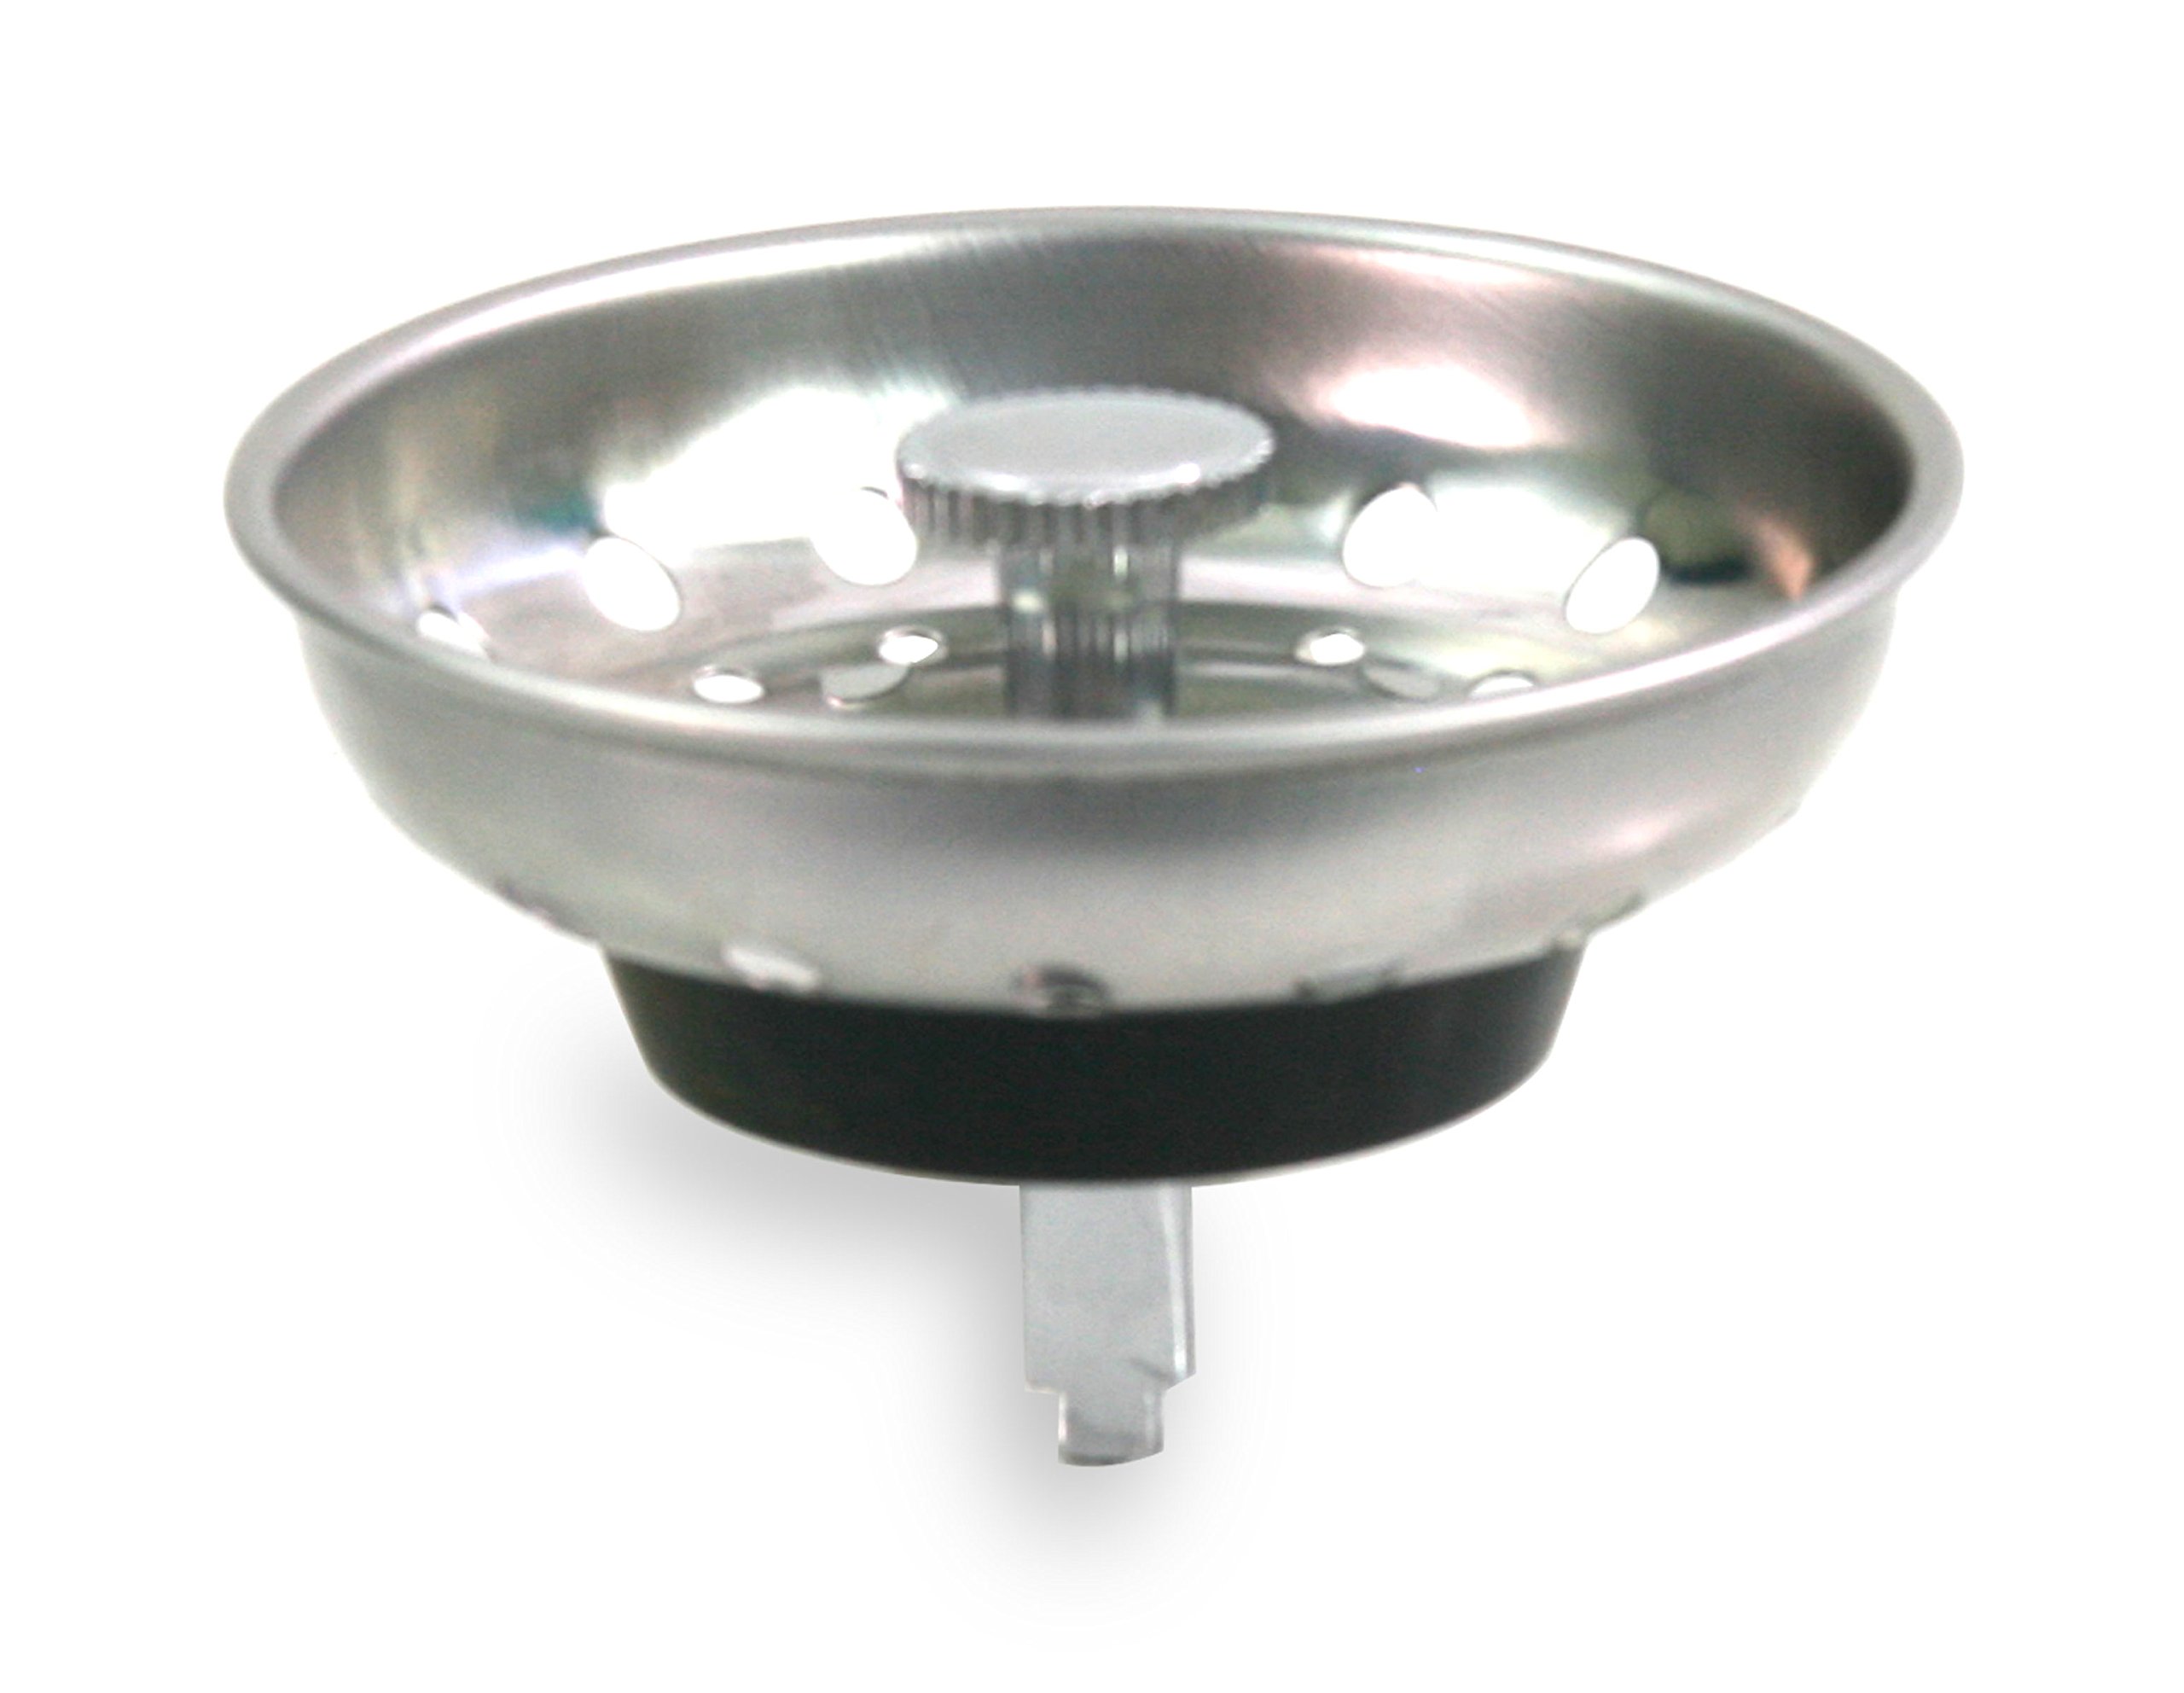


To make the process of replacing a kitchen sink drain strainer even easier, we’ve broken it down into a step-by-step guide: Step 1: Gather all necessary tools and materials. Step 2: Remove the old strainer. Step 3: Clean the area around the drain hole and remove any old plumber’s putty. Step 4: Roll a small amount of plumber’s putty into a thin, even snake and place it around the underside of the new drain strainer. Step 5: Carefully place the new strainer into the drain hole, making sure it is centered and flush with the sink. Step 6: From underneath the sink, place the rubber gasket and the cardboard friction ring onto the threaded portion of the drain strainer. Step 7: Secure the strainer in place with the locknut, tightening it with pliers. Step 8: Wipe away any excess plumber’s putty and test for leaks by running water.Step-by-Step Guide for Replacing a Kitchen Sink Drain Strainer


Step-by-Step Guide for Replacing a Kitchen Sink Drain Strainer


Replacing a kitchen sink drain strainer may seem like a straightforward task, but there are a few tips and tricks that can make the process even smoother: Tip 1: Before purchasing a new drain strainer, make sure to measure the size and type of your current one to ensure a proper fit. Tip 2: If the locknut is difficult to remove, try using a pair of pliers with a cloth or tape wrapped around the jaws to prevent scratching the surface. Tip 3: Use a bucket or towel to catch any water that may spill out during the process. Tip 4: If your sink has a garbage disposal, make sure to disconnect it before starting the replacement process.Replacing a Kitchen Sink Drain Strainer: Tips and Tricks

Replacing a Kitchen Sink Drain Strainer: Tips and Tricks


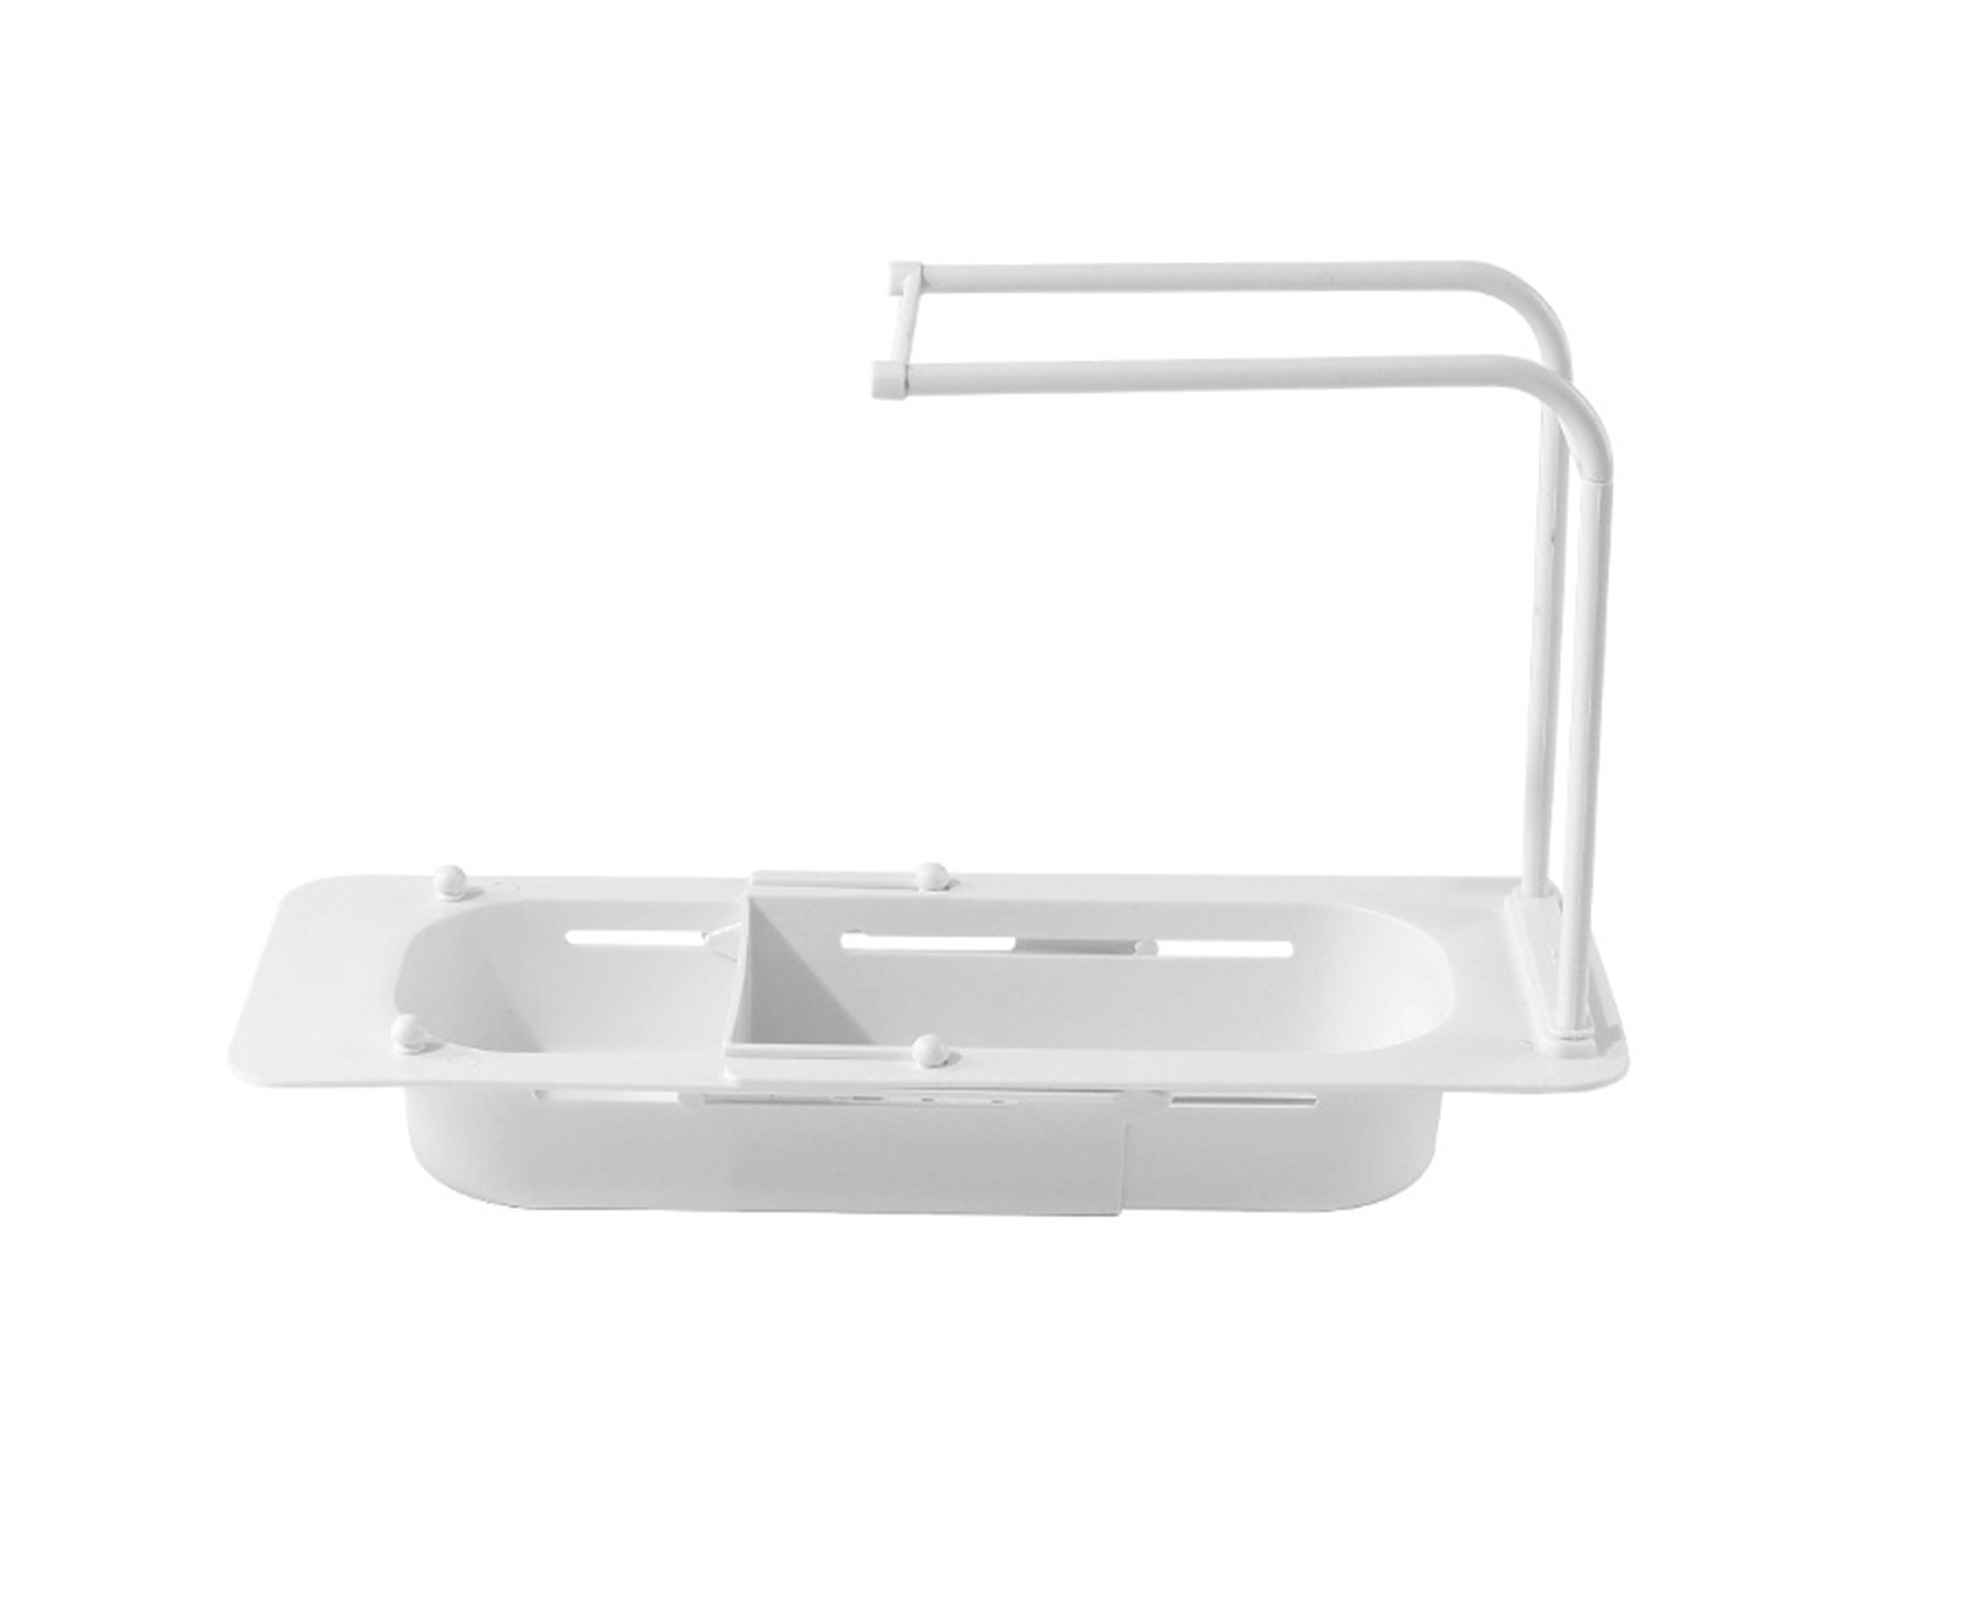
To make sure you have everything you need for a successful replacement, here’s a list of tools you’ll need: Plumbers putty Adjustable pliers Screwdriver Bucket or towel New drain strainerTools You'll Need for Replacing a Kitchen Sink Drain Strainer


Tools You'll Need for Replacing a Kitchen Sink Drain Strainer


While replacing a kitchen sink drain strainer is a relatively simple task, there are a few common mistakes that can be easily avoided: Mistake: Not measuring the size and type of your current drain strainer before purchasing a new one. How to avoid: Take the time to properly measure your current drain strainer to ensure a proper fit for the replacement. Mistake: Not using enough plumber’s putty or tightening the locknut properly. How to avoid: Use enough plumber’s putty to create a secure seal and make sure to properly tighten the locknut to prevent leaks. Mistake: Not disconnecting the garbage disposal before starting the replacement process. How to avoid: Make sure to disconnect the garbage disposal and follow proper safety precautions before starting the replacement process.Common Mistakes to Avoid When Replacing a Kitchen Sink Drain Strainer

Common Mistakes to Avoid When Replacing a Kitchen Sink Drain Strainer

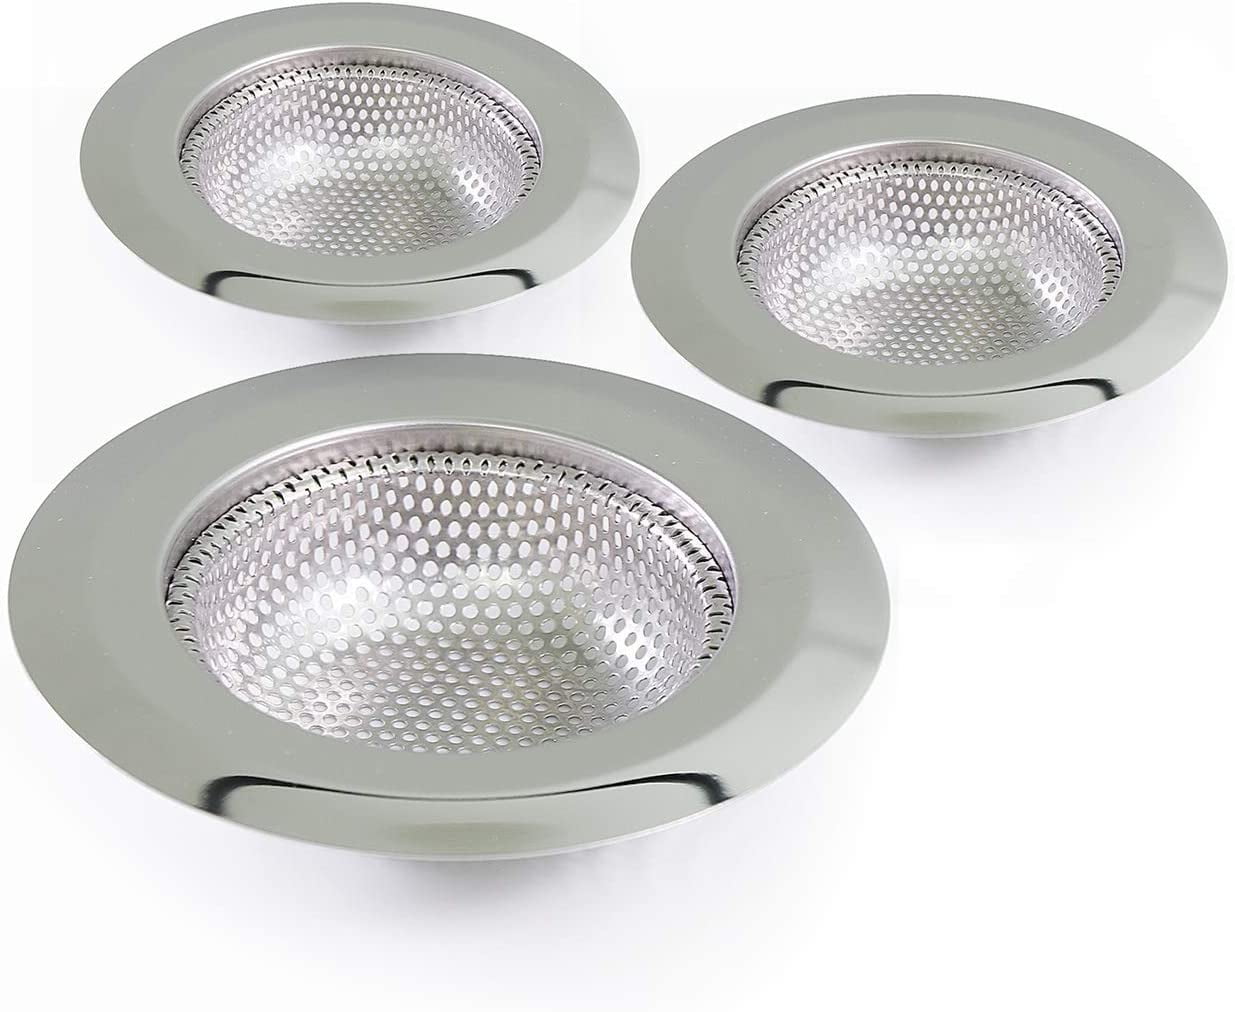
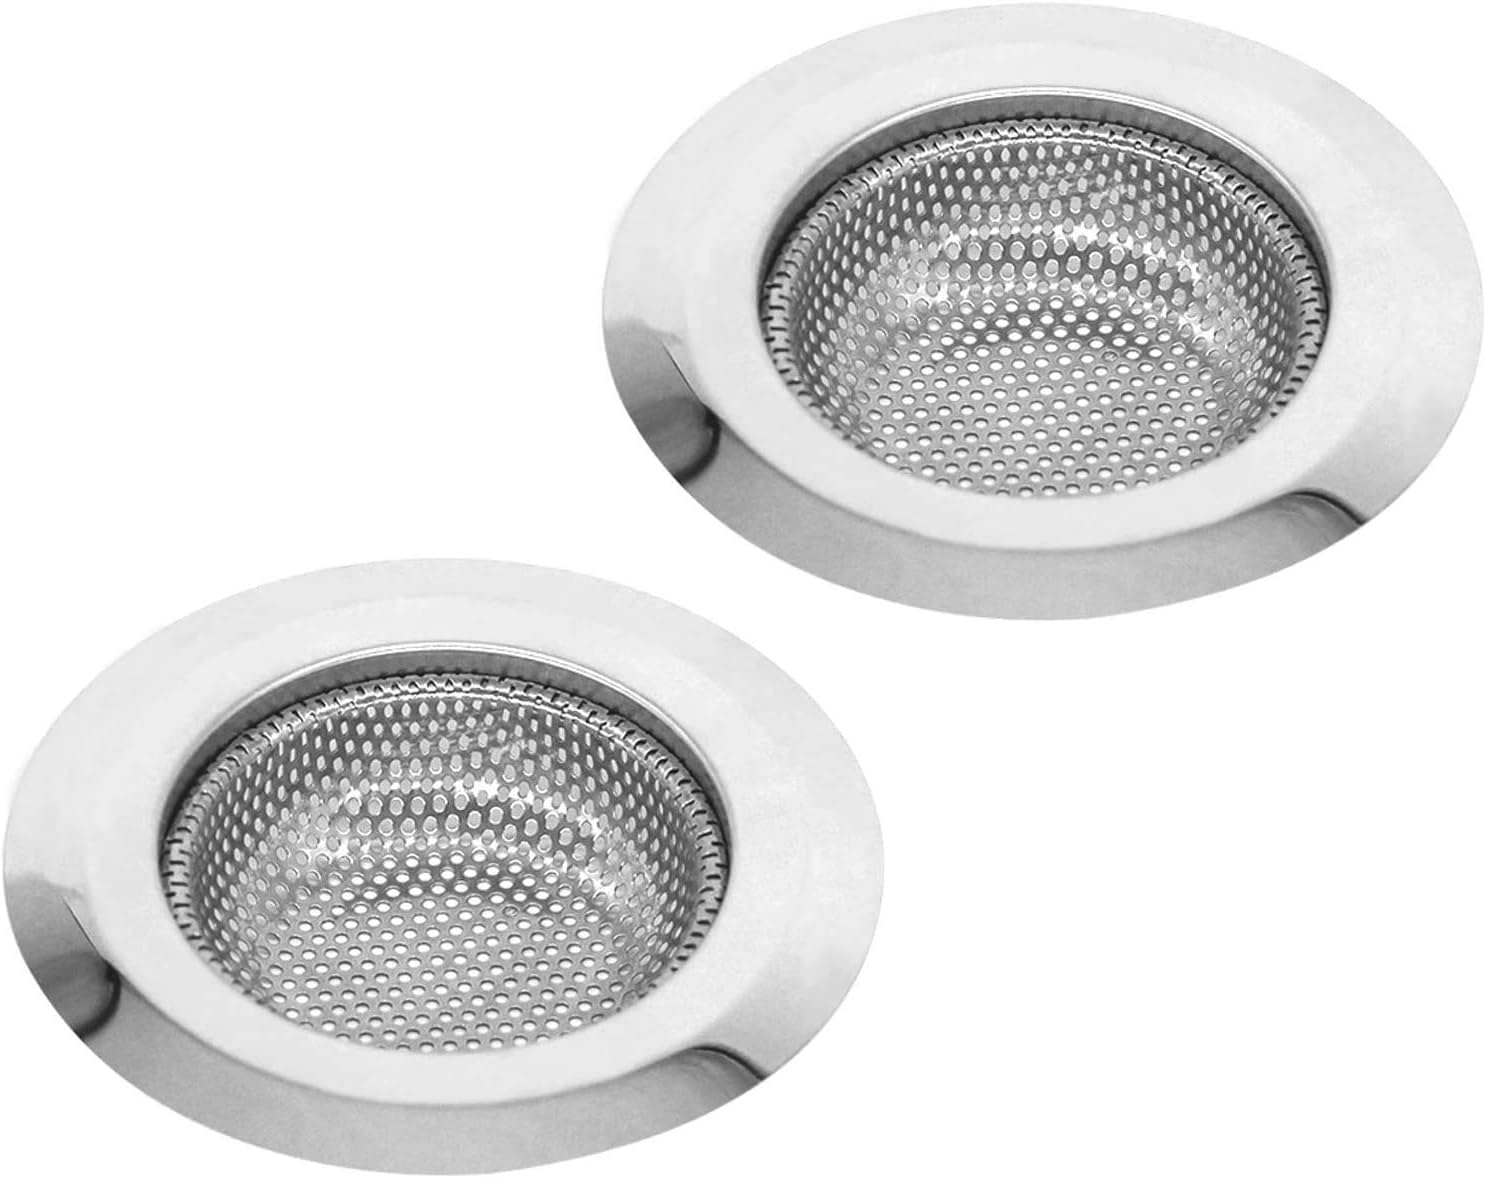
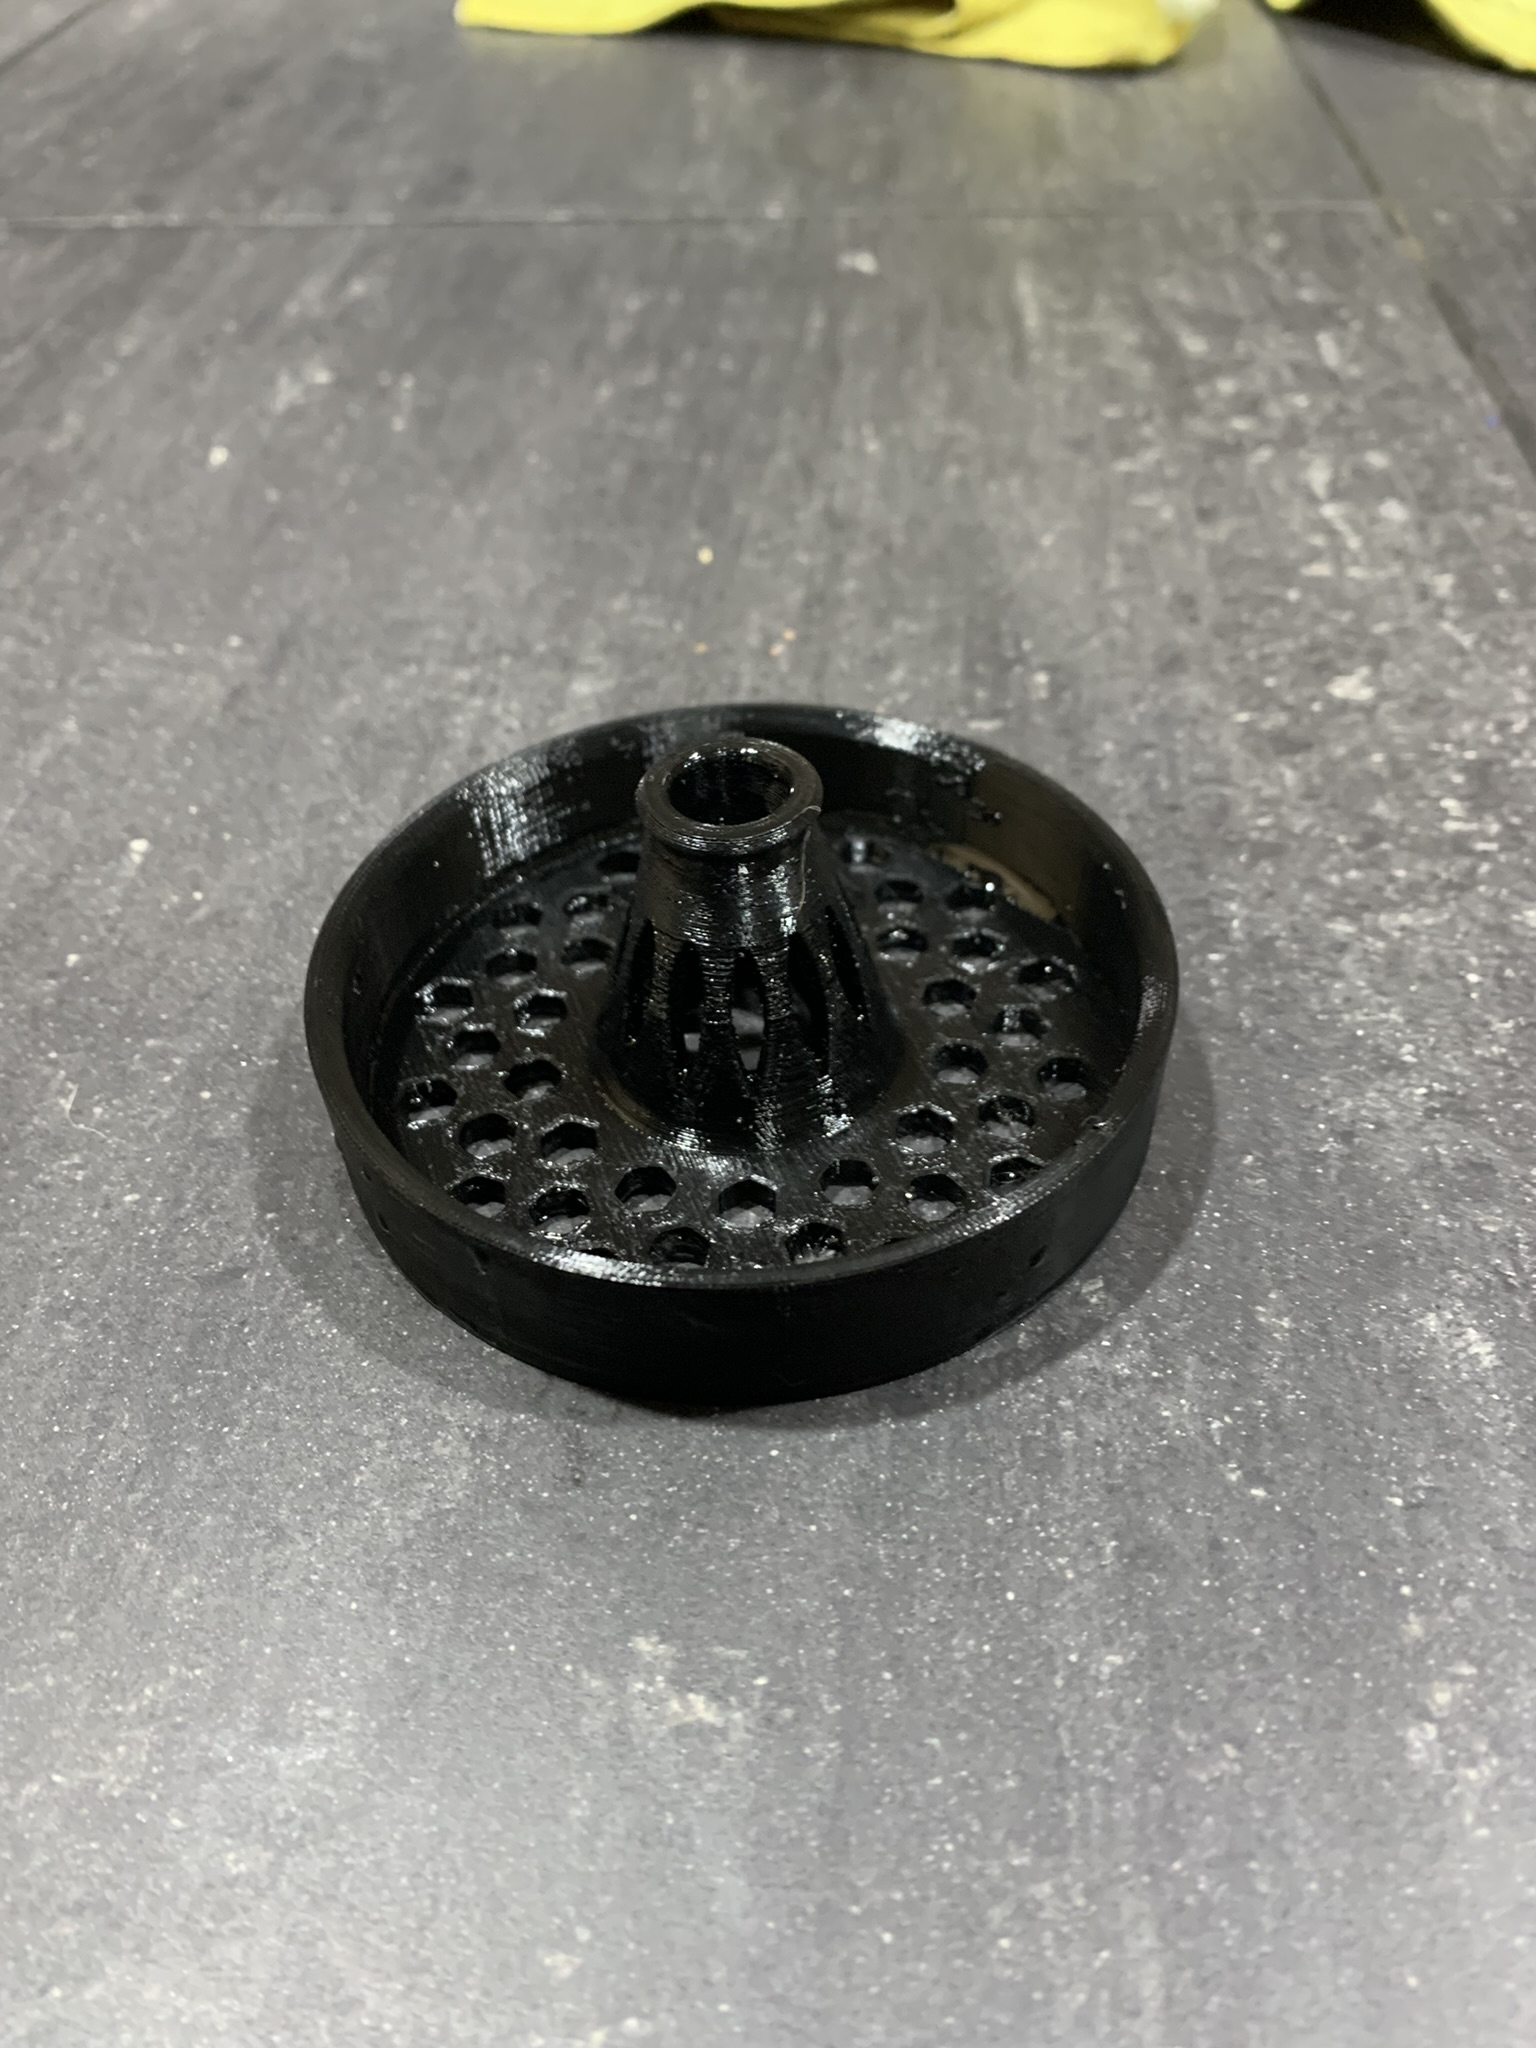
When it comes to choosing a new kitchen sink drain strainer, there are a few factors to consider: Material: Kitchen sink drain strainers are available in a variety of materials, including stainless steel, brass, and plastic. Consider the style of your sink and the durability of the material before making a decision. Type: Strainers can be basket style or flat style. Basket style strainers are better at catching debris, while flat style strainers have a sleeker appearance. Size: Make sure to measure the diameter and depth of your sink’s drain hole to ensure a proper fit for the new strainer.How to Choose the Right Kitchen Sink Drain Strainer for Your Sink


How to Choose the Right Kitchen Sink Drain Strainer for Your Sink


Replacing a kitchen sink drain strainer may seem like a daunting task, but with the right tools and preparation, it can be a relatively simple DIY project. By following the steps outlined in this guide, you can expect to successfully replace your kitchen sink drain strainer and improve the functionality of your sink.Replacing a Kitchen Sink Drain Strainer: What to Expect
Replacing a Kitchen Sink Drain Strainer: What to Expect


While replacing a kitchen sink drain strainer is a DIY project that can save you time and money, there are certain situations where it’s best to call in a professional: Complicated plumbing: If your sink has a complicated plumbing system or you encounter unexpected issues during the replacement process, it’s best to seek professional help to avoid any costly mistakes. Limited experience: If you have little to no experience with DIY projects or plumbing, it’s best to leave the task to a professional to ensure a proper and safe installation. Time constraints: If you don’t have the time or patience to complete the replacement process, it’s best to hire a professional who can do it quickly and efficiently.When to Call a Professional for Replacing a Kitchen Sink Drain Strainer


When to Call a Professional for Replacing a Kitchen Sink Drain Strainer

Choosing the Right Kitchen Sink Drain Strainer

Factors to Consider
 When it comes to replacing a kitchen sink drain strainer, there are a few important factors to consider. The first is the material of the strainer.
Stainless steel
is a popular choice as it is durable and resistant to corrosion. It also has a sleek and modern look that can complement any kitchen design. Other options include
plastic
and
brass
, which may be more budget-friendly but may not hold up as well over time.
Another important consideration is the size and shape of the strainer. Most kitchen sinks have a standard drain opening of 3.5 inches, but it's always a good idea to measure to ensure a proper fit.
Round
and
square
strainers are the most common shapes, but there are also
rectangular
and
triangular
options available. Consider the design and shape of your sink when choosing the right strainer.
When it comes to replacing a kitchen sink drain strainer, there are a few important factors to consider. The first is the material of the strainer.
Stainless steel
is a popular choice as it is durable and resistant to corrosion. It also has a sleek and modern look that can complement any kitchen design. Other options include
plastic
and
brass
, which may be more budget-friendly but may not hold up as well over time.
Another important consideration is the size and shape of the strainer. Most kitchen sinks have a standard drain opening of 3.5 inches, but it's always a good idea to measure to ensure a proper fit.
Round
and
square
strainers are the most common shapes, but there are also
rectangular
and
triangular
options available. Consider the design and shape of your sink when choosing the right strainer.
Types of Strainers
 There are two main types of kitchen sink drain strainers:
drop-in
and
basket
. Drop-in strainers sit on top of the drain and are easy to install, making them a popular choice for homeowners. However, they can be more prone to clogging and may not have a tight seal. Basket strainers, on the other hand, are inserted into the drain and have a basket or basket-like feature that catches debris. They provide a better seal and are less likely to clog, but may be more difficult to install.
There are two main types of kitchen sink drain strainers:
drop-in
and
basket
. Drop-in strainers sit on top of the drain and are easy to install, making them a popular choice for homeowners. However, they can be more prone to clogging and may not have a tight seal. Basket strainers, on the other hand, are inserted into the drain and have a basket or basket-like feature that catches debris. They provide a better seal and are less likely to clog, but may be more difficult to install.
Additional Features
 Some kitchen sink drain strainers come with additional features that can make your sink more functional.
Removable
strainers allow for easy cleaning and maintenance, while
built-in stoppers
can be useful for holding water in the sink.
Adjustable
strainers can fit a variety of sink depths, while
decorative
strainers can add a touch of style to your kitchen.
Some kitchen sink drain strainers come with additional features that can make your sink more functional.
Removable
strainers allow for easy cleaning and maintenance, while
built-in stoppers
can be useful for holding water in the sink.
Adjustable
strainers can fit a variety of sink depths, while
decorative
strainers can add a touch of style to your kitchen.
Conclusion
/how-to-install-a-sink-drain-2718789-hero-b5b99f72b5a24bb2ae8364e60539cece.jpg) Replacing a kitchen sink drain strainer may seem like a small task, but choosing the right one can make a big difference in the functionality and design of your kitchen. Consider the material, size and shape, type, and additional features when making your decision. And remember, always properly measure and install your new strainer for the best results.
Replacing a kitchen sink drain strainer may seem like a small task, but choosing the right one can make a big difference in the functionality and design of your kitchen. Consider the material, size and shape, type, and additional features when making your decision. And remember, always properly measure and install your new strainer for the best results.