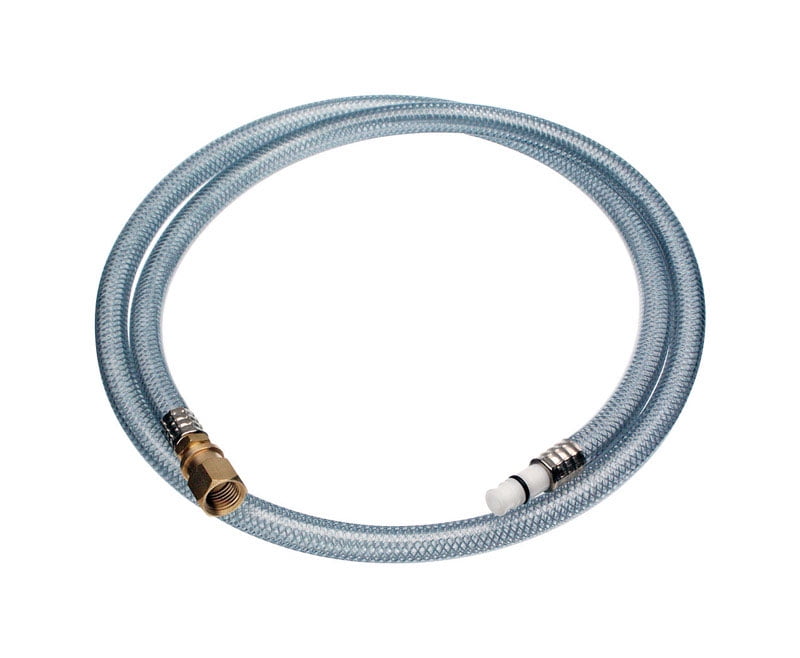
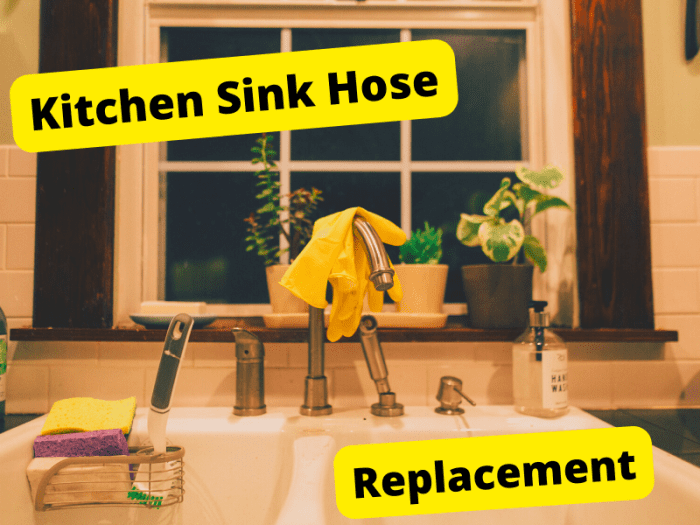
Replacing a kitchen sink spray hose may seem like a daunting task, but with the right tools and knowledge, it can be a simple DIY project. Whether your current hose is leaking, damaged, or just in need of an upgrade, replacing it can improve the functionality and aesthetics of your kitchen sink. In this guide, we will walk you through the steps of replacing a kitchen sink spray hose.How to Replace a Kitchen Sink Spray Hose


How to Replace a Kitchen Sink Spray Hose


:max_bytes(150000):strip_icc()/installing-a-kitchen-sink-sprayer-2718817-03-514088ddb922466eb3d4cd73f3aa85f4.jpg)
/25089301983_c5145fe85d_o-58418ef15f9b5851e5f392b5.jpg)


The first step in replacing a kitchen sink spray hose is to gather all the necessary tools and materials. You will need an adjustable wrench, pliers, a new hose, and plumber's tape. It is also helpful to have a bucket or towel nearby to catch any water that may leak during the process.How to Replace a Kitchen Sink Sprayer Hose


How to Replace a Kitchen Sink Sprayer Hose

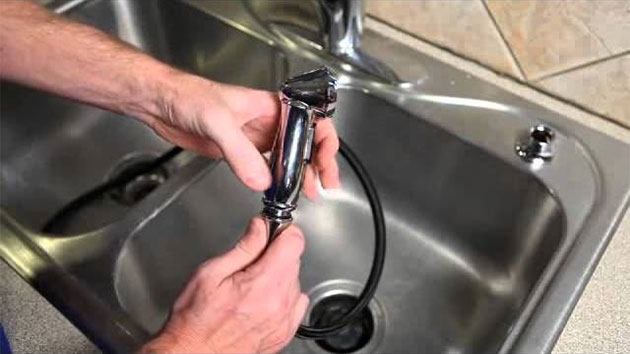
The next step is to turn off the water supply to the sink. This can usually be done by turning off the shut-off valves located under the sink. Once the water is off, detach the old spray hose from the faucet by unscrewing the coupling nut with an adjustable wrench. After disconnecting the old hose from the faucet, you will need to remove it from the sprayer head. This can be done by unscrewing the coupling nut with pliers. Make sure to place a bucket or towel under the sprayer head to catch any water that may come out. Now that the old hose is removed, it's time to install the new one. Start by attaching the new hose to the sprayer head and securing it with the coupling nut and pliers. Then, connect the other end of the hose to the faucet and tighten the coupling nut with an adjustable wrench. Once the hose is securely attached to both the sprayer head and faucet, turn the water supply back on and test the new hose. Check for any leaks and adjust the connections if necessary. If there are no leaks, you can now enjoy your new and improved kitchen sink spray hose!Replacing a Kitchen Sink Spray Hose: A Step-by-Step Guide


Replacing a Kitchen Sink Spray Hose: A Step-by-Step Guide


Replacing a kitchen sink spray hose is a simple DIY project that can save you time and money. By following the steps outlined in this guide, you can easily replace your old or damaged hose and improve the functionality of your kitchen sink.DIY: Replacing a Kitchen Sink Spray Hose


DIY: Replacing a Kitchen Sink Spray Hose


When replacing a kitchen sink spray hose, there are a few tips and tricks to keep in mind. Make sure to turn off the water supply before starting the process and to have a bucket or towel nearby to catch any water that may leak. It's also helpful to have a friend or family member assist you with holding the sprayer head while you attach the new hose.Replacing a Kitchen Sink Spray Hose: Tips and Tricks

Replacing a Kitchen Sink Spray Hose: Tips and Tricks

Replacing a kitchen sink spray hose is not only important for improving the functionality of your sink, but it can also prevent potential water damage and mold growth. Over time, old or damaged hoses can leak and cause water to accumulate under your sink, leading to costly repairs. By replacing the hose when needed, you can avoid these issues and maintain a clean and functional sink.The Importance of Replacing a Kitchen Sink Spray Hose


The Importance of Replacing a Kitchen Sink Spray Hose

One common mistake when replacing a kitchen sink spray hose is not using plumber's tape. Plumber's tape helps create a watertight seal between the connections and prevents leaks. Make sure to use plumber's tape when attaching the new hose to the faucet and sprayer head. Another mistake to avoid is overtightening the coupling nuts. This can cause damage to the connections and may lead to leaks. Use only the necessary force to tighten the nuts and check for leaks before using the sink.Replacing a Kitchen Sink Spray Hose: Common Mistakes to Avoid

Replacing a Kitchen Sink Spray Hose: Common Mistakes to Avoid

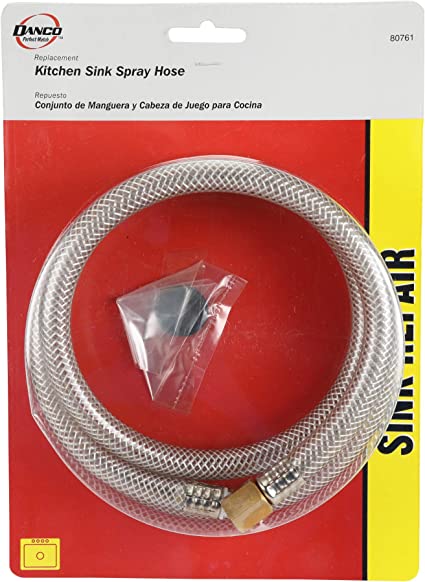
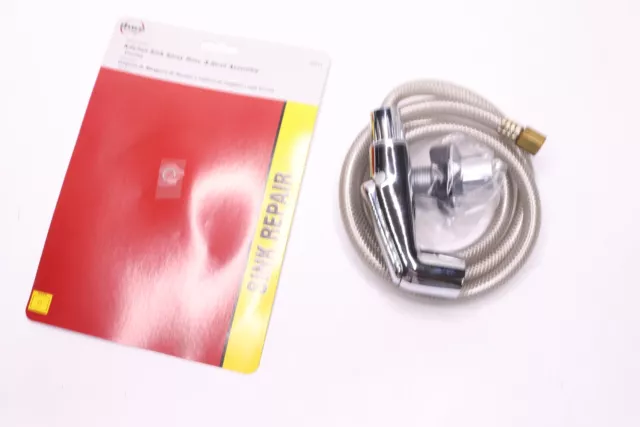
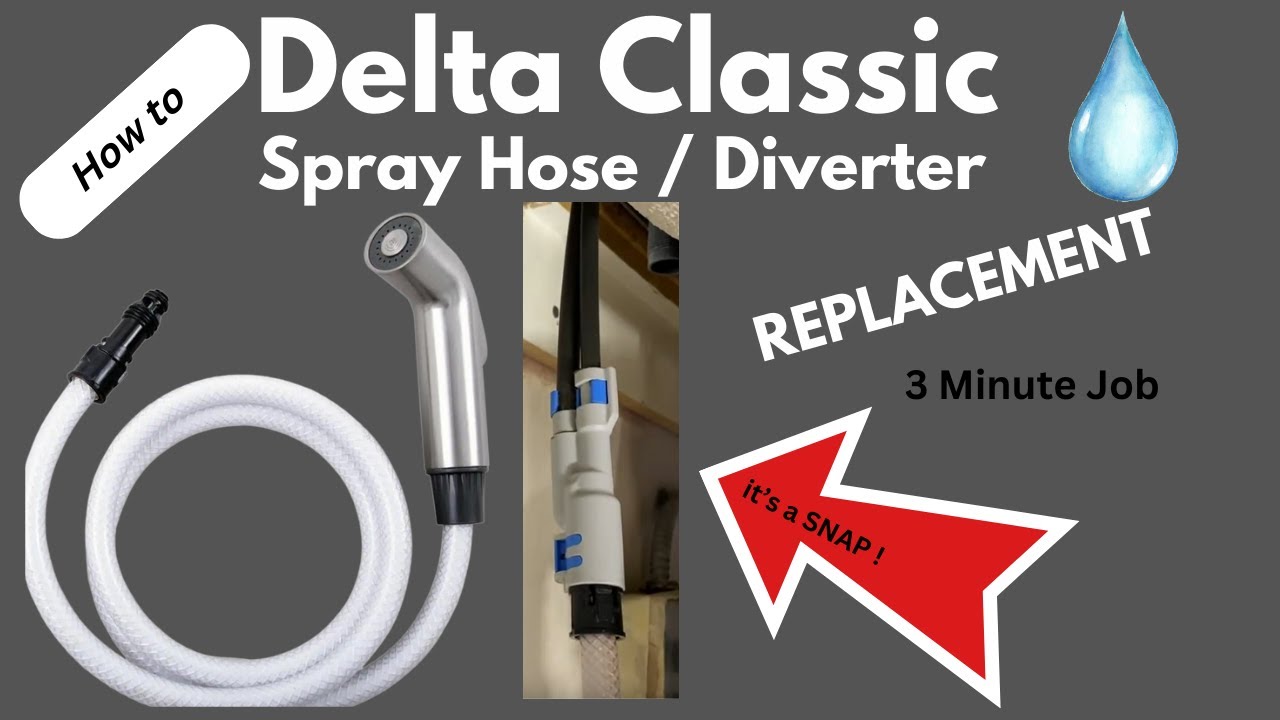
As mentioned earlier, the tools you will need for replacing a kitchen sink spray hose include an adjustable wrench, pliers, a new hose, and plumber's tape. These tools are readily available at most hardware stores and are essential for a successful replacement.Tools You'll Need for Replacing a Kitchen Sink Spray Hose

Tools You'll Need for Replacing a Kitchen Sink Spray Hose

:max_bytes(150000):strip_icc()/installing-a-kitchen-sink-sprayer-2718817-hero-2b7047468d594da6be2494ba0eebb480.jpg)
:max_bytes(150000):strip_icc()/installing-a-kitchen-sink-sprayer-2718817-05-36c4e6f6c5f34c7abed7277ee47c70c2.jpg)
:max_bytes(150000):strip_icc()/installing-a-kitchen-sink-sprayer-2718817-07-362bee47568f48bab7f3bdff600e4092.jpg)


If you encounter any issues during the replacement process, such as leaks or difficulty attaching the hose, there are a few troubleshooting steps you can take. Make sure the connections are securely tightened and that the hose is not damaged. If the issue persists, it may be helpful to consult a professional plumber.Replacing a Kitchen Sink Spray Hose: Troubleshooting Common Issues


Replacing a Kitchen Sink Spray Hose: Troubleshooting Common Issues


It's important to keep an eye out for signs that your kitchen sink spray hose may need to be replaced. These signs include leaks, cracks, and reduced water flow. If you notice any of these issues, it may be time to replace your hose to prevent further damage and improve the functionality of your sink. In conclusion, replacing a kitchen sink spray hose is a simple DIY project that can greatly improve the functionality and aesthetics of your sink. By following the steps and tips outlined in this guide, you can easily replace your old or damaged hose and enjoy a clean and functional kitchen sink. Remember to always turn off the water supply before starting the replacement process and to use the necessary tools and materials for a successful replacement. When to Replace a Kitchen Sink Spray Hose: Signs to Look Out For


When to Replace a Kitchen Sink Spray Hose: Signs to Look Out For

Replacing a Kitchen Sink Spray Hose: An Essential Step in Upgrading Your Kitchen Design

Why Replace Your Kitchen Sink Spray Hose?
 When it comes to kitchen design, every detail matters. From the color of the cabinets to the type of countertops, each element plays a role in creating the overall aesthetic of your kitchen. That's why when your kitchen sink spray hose starts to show signs of wear and tear, it's important to replace it as soon as possible.
Kitchen sink spray hoses
are an essential part of any modern kitchen. They provide convenience and flexibility when it comes to washing dishes and cleaning the sink. However, with constant use, these hoses can become clogged, leaky, or even break, making them less effective and unsightly. This can not only affect the functionality of your sink but also take away from the overall look of your kitchen.
When it comes to kitchen design, every detail matters. From the color of the cabinets to the type of countertops, each element plays a role in creating the overall aesthetic of your kitchen. That's why when your kitchen sink spray hose starts to show signs of wear and tear, it's important to replace it as soon as possible.
Kitchen sink spray hoses
are an essential part of any modern kitchen. They provide convenience and flexibility when it comes to washing dishes and cleaning the sink. However, with constant use, these hoses can become clogged, leaky, or even break, making them less effective and unsightly. This can not only affect the functionality of your sink but also take away from the overall look of your kitchen.
Step-by-Step Guide to Replacing Your Kitchen Sink Spray Hose
 Fortunately, replacing a kitchen sink spray hose is a simple and straightforward process that can be done in just a few easy steps. Here's a step-by-step guide on how to replace your kitchen sink spray hose:
Step 1: Gather Your Tools
Before beginning the replacement process, make sure you have all the necessary tools on hand. This includes a new spray hose, a basin wrench, adjustable pliers, and Teflon tape.
Step 2: Turn off the Water Supply
The first step is to turn off the water supply to your kitchen sink. This can usually be done by turning off the hot and cold water valves under the sink.
Step 3: Remove the Old Hose
Using a basin wrench, loosen the nut that connects the old spray hose to the faucet. Once it's loose, use your hands to remove the hose completely. Then, disconnect the other end of the hose from the spray head using adjustable pliers.
Step 4: Install the New Hose
Next, take your new spray hose and attach it to the faucet by tightening the nut with your hands. Then, attach the other end of the hose to the spray head and tighten it with adjustable pliers.
Step 5: Test the New Hose
Once the new hose is securely attached, turn the water supply back on and test the functionality of the new spray hose. Make sure there are no leaks and that the water flow is smooth and consistent.
Fortunately, replacing a kitchen sink spray hose is a simple and straightforward process that can be done in just a few easy steps. Here's a step-by-step guide on how to replace your kitchen sink spray hose:
Step 1: Gather Your Tools
Before beginning the replacement process, make sure you have all the necessary tools on hand. This includes a new spray hose, a basin wrench, adjustable pliers, and Teflon tape.
Step 2: Turn off the Water Supply
The first step is to turn off the water supply to your kitchen sink. This can usually be done by turning off the hot and cold water valves under the sink.
Step 3: Remove the Old Hose
Using a basin wrench, loosen the nut that connects the old spray hose to the faucet. Once it's loose, use your hands to remove the hose completely. Then, disconnect the other end of the hose from the spray head using adjustable pliers.
Step 4: Install the New Hose
Next, take your new spray hose and attach it to the faucet by tightening the nut with your hands. Then, attach the other end of the hose to the spray head and tighten it with adjustable pliers.
Step 5: Test the New Hose
Once the new hose is securely attached, turn the water supply back on and test the functionality of the new spray hose. Make sure there are no leaks and that the water flow is smooth and consistent.
Upgrade Your Kitchen Design with a New Kitchen Sink Spray Hose
 Replacing a kitchen sink spray hose may seem like a small task, but it can make a big impact on the overall design of your kitchen. By following these simple steps, you can easily upgrade your kitchen's functionality and aesthetics. So don't wait until your old hose breaks, take the time to replace it and enjoy a beautiful and fully functional kitchen.