Dealing with a rotten bottom in your kitchen sink cabinet may seem like a daunting task, but with the right tools and knowledge, it can be a simple DIY project. Not only will it improve the overall appearance of your kitchen, but it will also prevent further damage to your cabinet and potentially save you from having to replace the entire thing. In this article, we will guide you through the steps of replacing a rotten bottom in your kitchen sink cabinet so you can easily tackle this project on your own.How to Replace a Rotten Bottom in a Kitchen Sink Cabinet

How to Replace a Rotten Bottom in a Kitchen Sink Cabinet


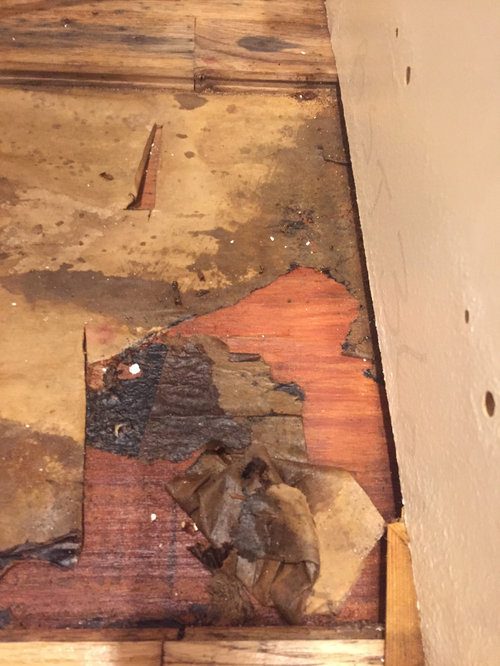
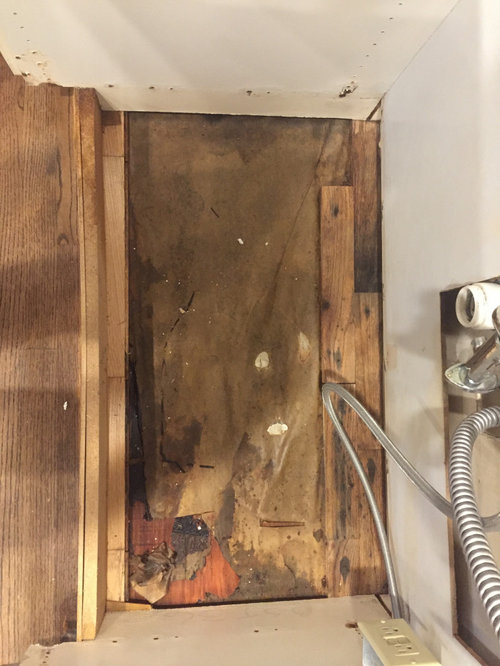
The first step in replacing a rotten bottom in a kitchen sink cabinet is to remove the old bottom. This can be done by unscrewing any screws or nails that are holding it in place. You may also need to use a hammer and chisel to carefully remove any glued pieces. Once the old bottom is removed, thoroughly clean the cabinet to ensure there is no remaining debris or rot.Replacing a Rotten Bottom in a Kitchen Sink Cabinet: A Step-by-Step Guide


Replacing a Rotten Bottom in a Kitchen Sink Cabinet: A Step-by-Step Guide

Now that the old bottom is removed and the cabinet is clean, it's time to measure and cut the new bottom. Using a measuring tape and a saw, carefully cut the new bottom to the exact size of the old one. It's important to make sure the new bottom fits snugly into the cabinet to prevent any future issues.DIY: How to Replace a Rotten Bottom in a Kitchen Sink Cabinet


DIY: How to Replace a Rotten Bottom in a Kitchen Sink Cabinet


Before installing the new bottom, it's a good idea to seal it with a waterproof sealant to prevent any future water damage. This will also help to extend the life of your new bottom. Additionally, if your cabinet has any other areas of rot, it's important to address those as well before installing the new bottom.Replacing a Rotten Bottom in a Kitchen Sink Cabinet: Tips and Tricks

Replacing a Rotten Bottom in a Kitchen Sink Cabinet: Tips and Tricks

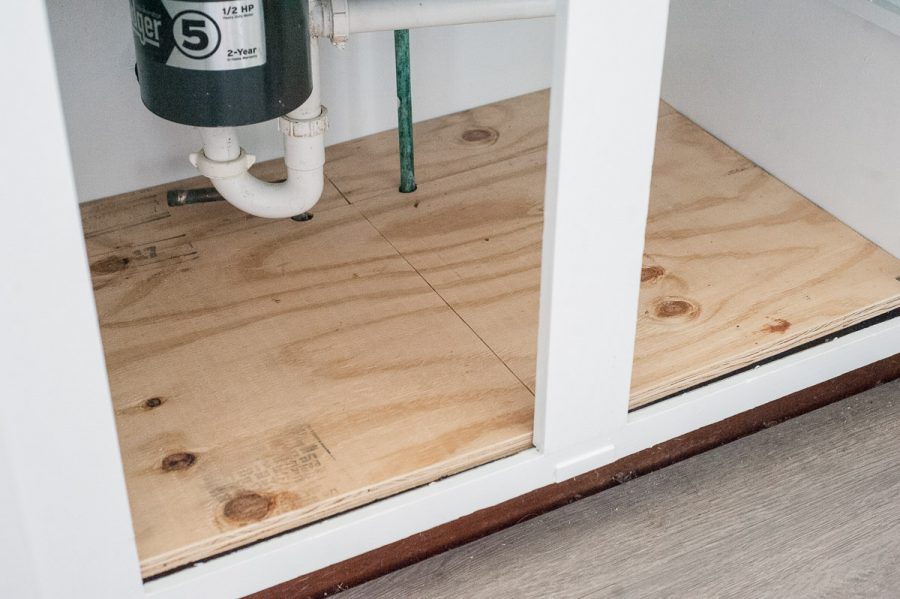
Once the new bottom is cut and sealed, carefully place it into the cabinet. You may need to adjust it slightly to ensure a perfect fit. Next, use screws or nails to secure the new bottom in place. If the cabinet has a back panel, make sure to attach it securely as well. Finally, apply a coat of paint or stain to match the rest of your kitchen cabinets.Step-by-Step Guide for Replacing a Rotten Bottom in a Kitchen Sink Cabinet


Step-by-Step Guide for Replacing a Rotten Bottom in a Kitchen Sink Cabinet


It's important to note that replacing a rotten bottom in a kitchen sink cabinet may require some carpentry skills and tools. If you are not comfortable with these tasks, it's best to hire a professional to ensure the job is done correctly. Additionally, regularly cleaning and inspecting your cabinets can help prevent future rot and damage.Replacing a Rotten Bottom in a Kitchen Sink Cabinet: What You Need to Know

Replacing a Rotten Bottom in a Kitchen Sink Cabinet: What You Need to Know
If the rot in your cabinet is minimal, it's possible to repair it rather than replacing the entire bottom. This can be done by using wood filler or epoxy to fill in the damaged area. Once it's dry, sand it down and paint or stain to match the rest of the cabinet. However, if the rot is extensive, it's best to replace the entire bottom to prevent further damage.How to Repair a Rotten Bottom in a Kitchen Sink Cabinet


How to Repair a Rotten Bottom in a Kitchen Sink Cabinet


One common mistake when replacing a rotten bottom is not properly sealing the new bottom. This can lead to future damage and the need for another replacement. It's also important to make sure the new bottom is cut to the exact size of the old one, as any gaps can also cause problems. Additionally, not addressing any other areas of rot in the cabinet can lead to further damage and the need for more repairs.Replacing a Rotten Bottom in a Kitchen Sink Cabinet: Common Mistakes to Avoid

Replacing a Rotten Bottom in a Kitchen Sink Cabinet: Common Mistakes to Avoid

With the right tools and knowledge, replacing a rotten bottom in a kitchen sink cabinet can be a simple and easy DIY project. By following the steps outlined in this article and avoiding common mistakes, you can successfully complete this task and improve the overall appearance and functionality of your kitchen. Remember to regularly inspect and maintain your cabinets to prevent future damage.DIY: Replacing a Rotten Bottom in a Kitchen Sink Cabinet Made Easy


DIY: Replacing a Rotten Bottom in a Kitchen Sink Cabinet Made Easy


To replace a rotten bottom in a kitchen sink cabinet, you will need a few tools and materials including a measuring tape, saw, hammer, chisel, screws or nails, waterproof sealant, and paint or stain. It's also important to have protective gear such as gloves and safety glasses when working with these tools. Having these items on hand will make the process much smoother and easier.Replacing a Rotten Bottom in a Kitchen Sink Cabinet: Tools and Materials You'll Need

Replacing a Rotten Bottom in a Kitchen Sink Cabinet: Tools and Materials You'll Need
How to Replace a Rotten Bottom in Your Kitchen Sink Cabinet

The Importance of Maintaining Your Kitchen Sink Cabinet
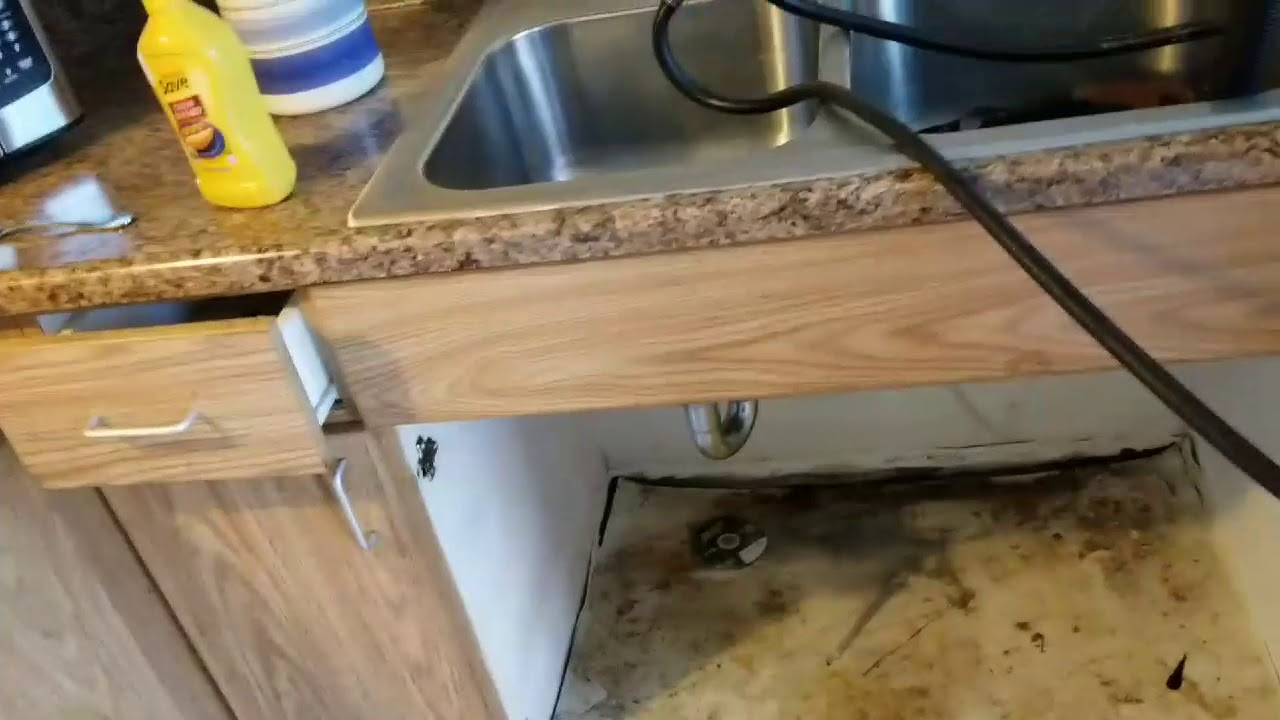
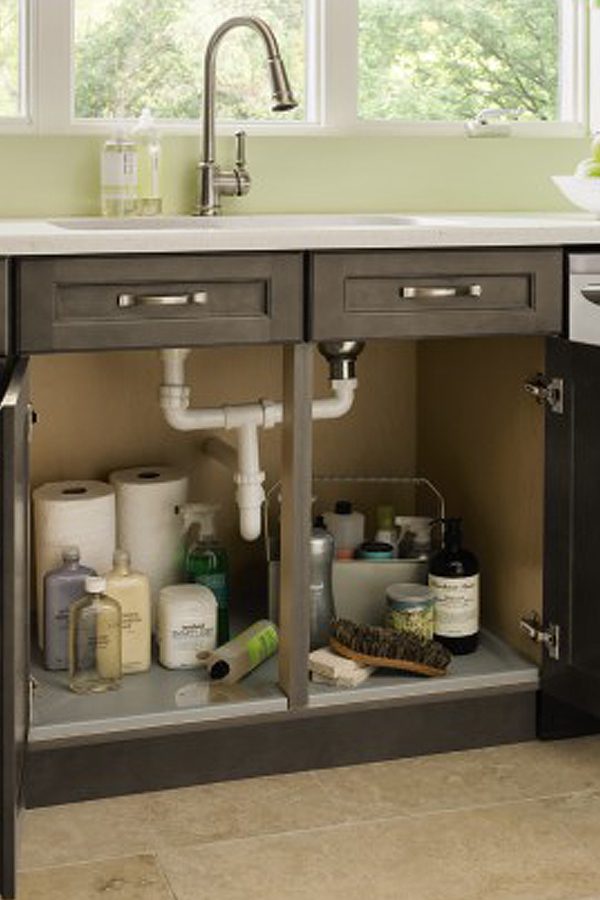
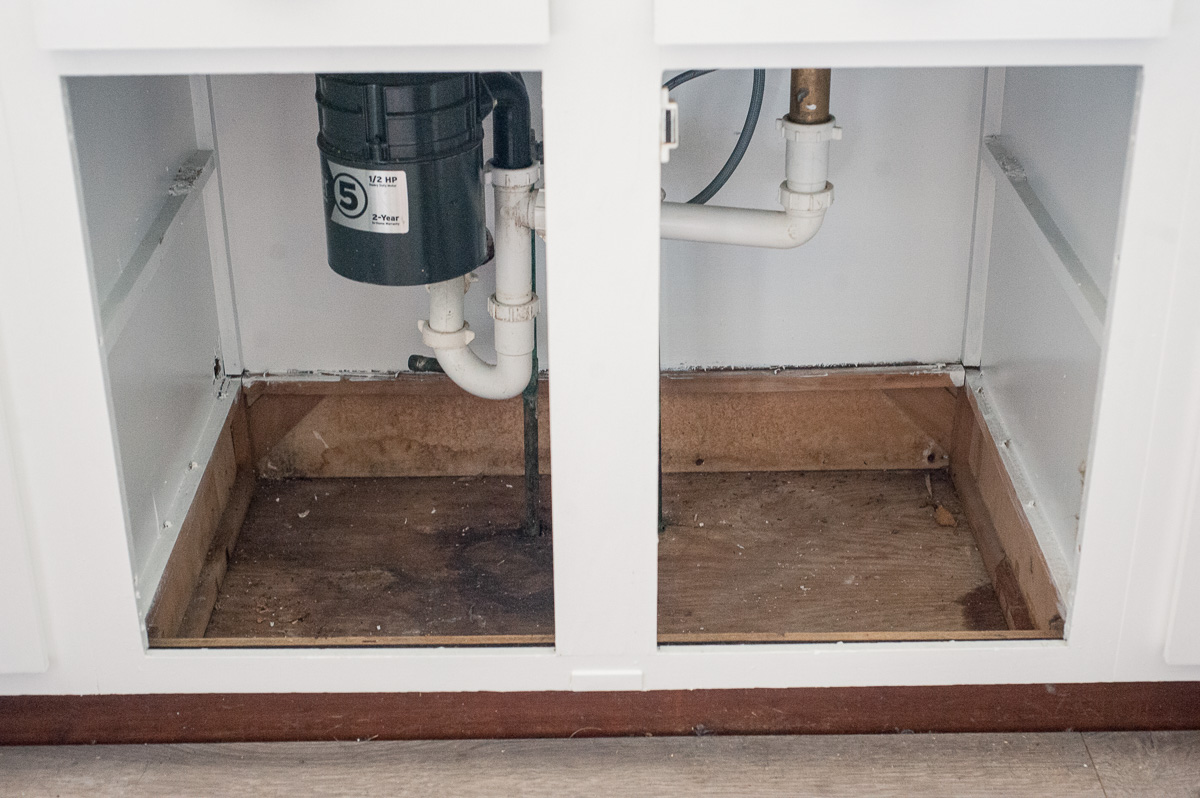
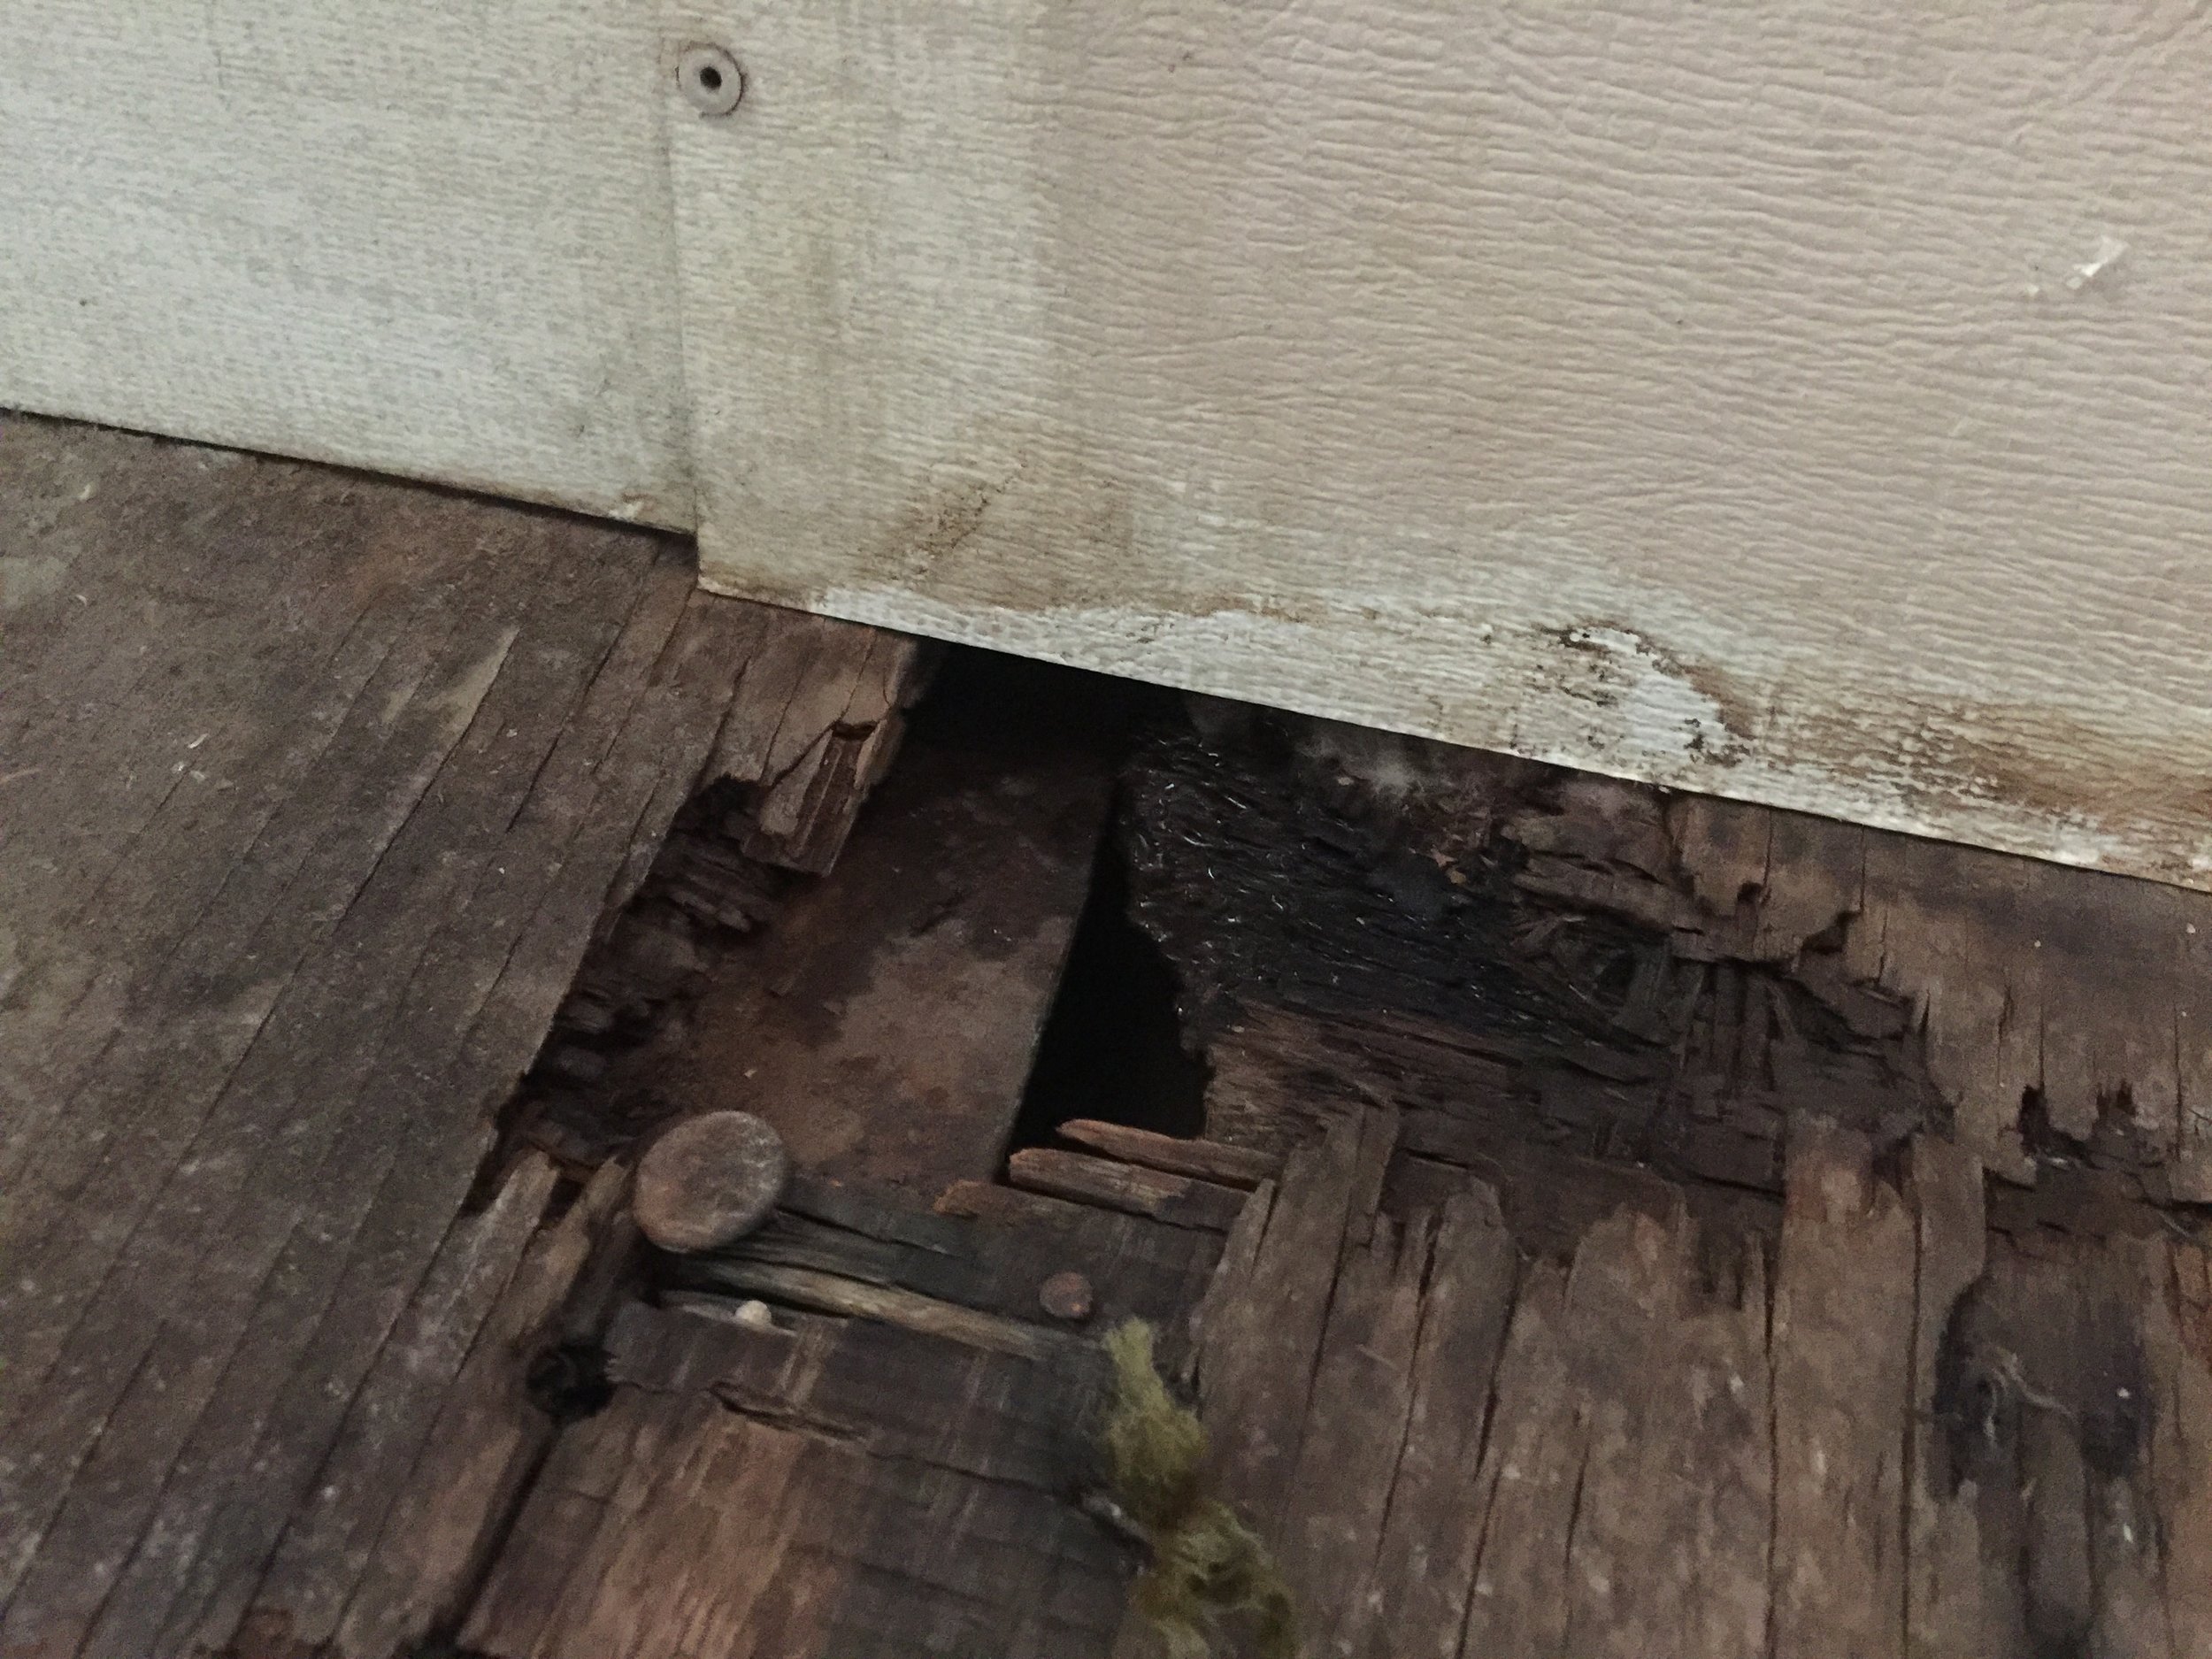
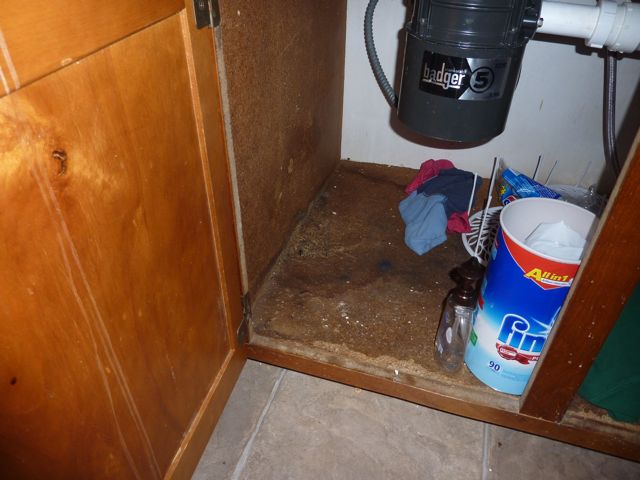
 Your kitchen sink cabinet is an essential part of your kitchen design. It not only provides storage for your cleaning supplies and other kitchen essentials, but it also supports the weight of your sink and countertops. Over time, the bottom of your kitchen sink cabinet can become rotten due to exposure to moisture and water leaks. This can compromise the structural integrity of your cabinet and potentially lead to more significant issues. Therefore, it is crucial to regularly maintain and replace any rotten parts of your kitchen sink cabinet to avoid costly repairs in the future.
Step-by-Step Guide to Replacing a Rotten Bottom in Your Kitchen Sink Cabinet
 Replacing a rotten bottom in your kitchen sink cabinet may seem like a daunting task, but with the right tools and techniques, it can be a straightforward and cost-effective DIY project. Follow these steps to replace the rotten bottom in your kitchen sink cabinet:
Step 1: Prepare Your Work Area
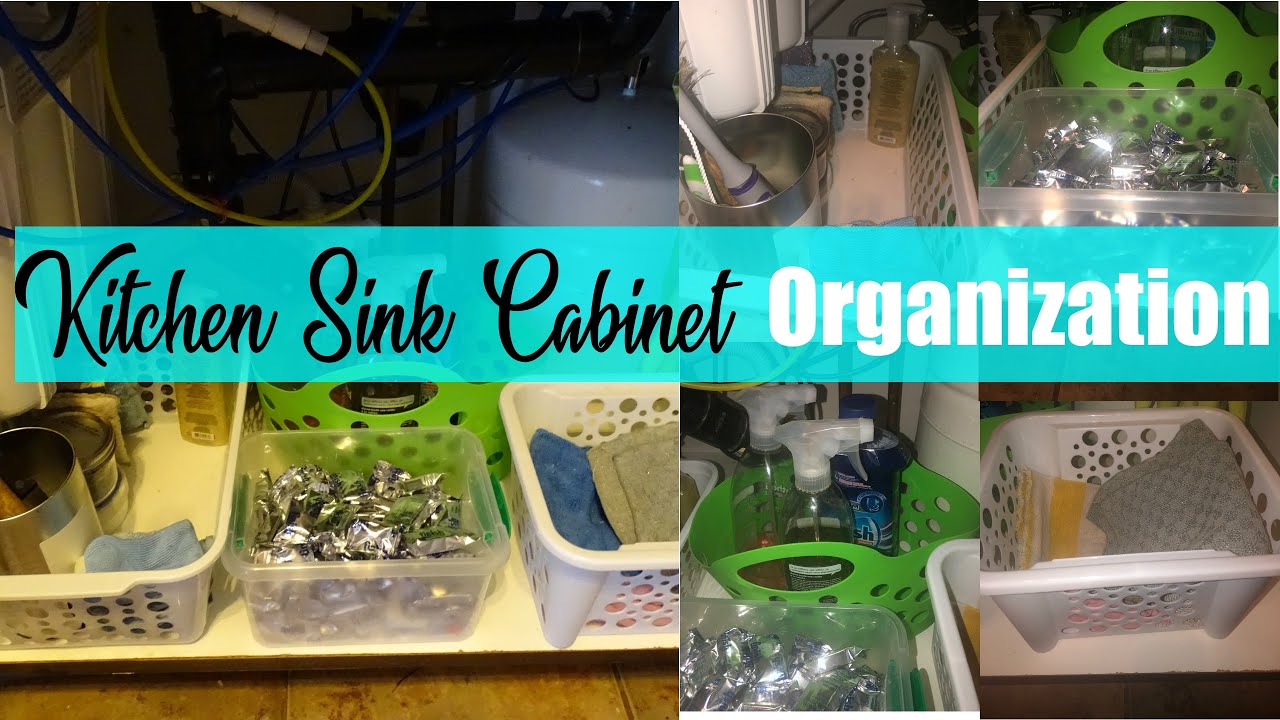
Before you begin, make sure to clear out the contents of your kitchen sink cabinet and remove any drawers or shelves. This will give you more space to work and prevent any damage to your belongings. Also, ensure that the area is well-ventilated and adequately lit.
Step 2: Remove the Rotten Bottom
Using a drill, remove the screws that hold the bottom of your cabinet in place. Carefully take out the rotten bottom and dispose of it properly.
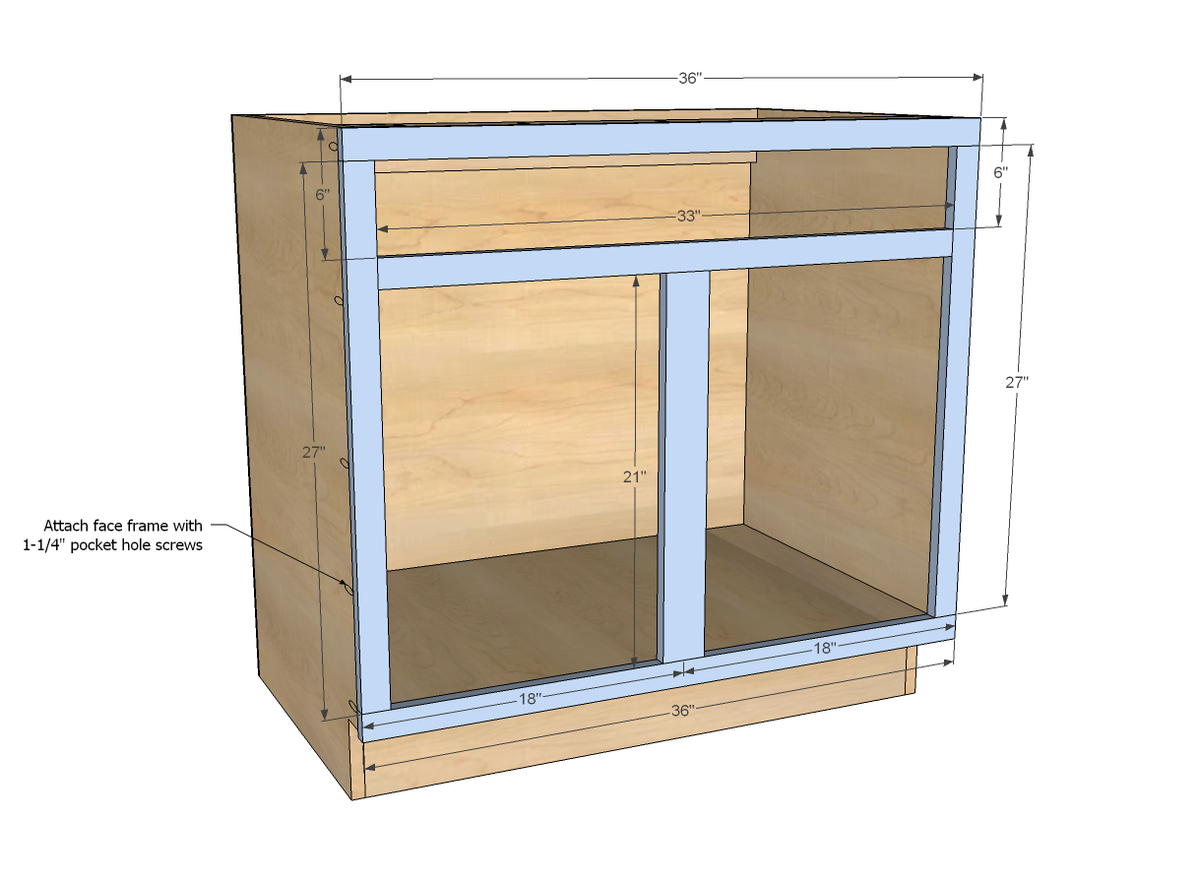
Step 3: Measure and Cut the Replacement Board
Measure the dimensions of your cabinet's bottom and transfer them onto a new piece of plywood or MDF board. Use a saw to cut the board to the appropriate size.
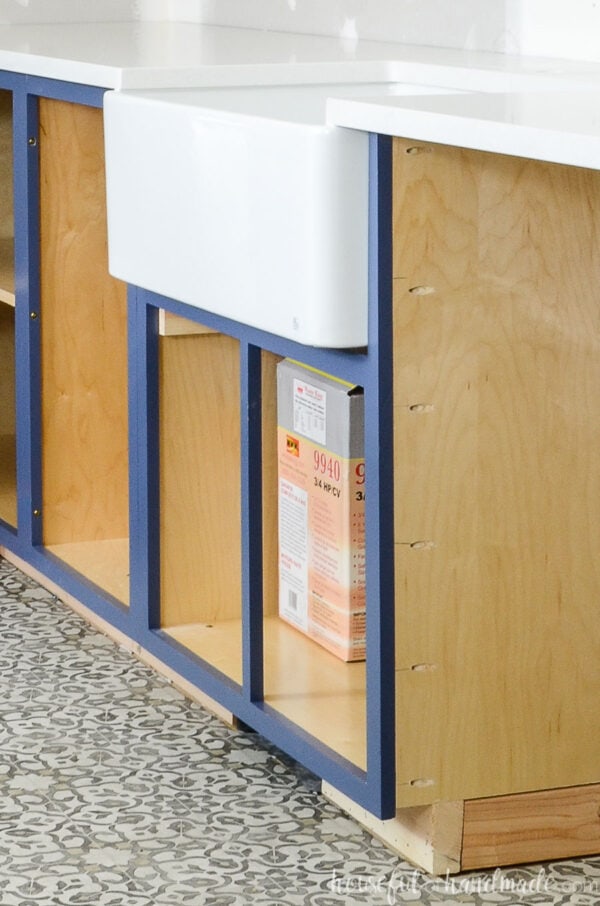
Step 4: Install the New Bottom
Place the newly cut board into the cabinet and secure it with screws. Make sure to use corrosion-resistant screws to prevent future moisture damage.
Step 5: Seal the Edges
To prevent any water from seeping into the edges of your new bottom, use a silicone sealant to seal all the exposed edges. This will also help to strengthen the bond between the board and the cabinet.
Replacing a rotten bottom in your kitchen sink cabinet may seem like a daunting task, but with the right tools and techniques, it can be a straightforward and cost-effective DIY project. Follow these steps to replace the rotten bottom in your kitchen sink cabinet:
Step 1: Prepare Your Work Area
Before you begin, make sure to clear out the contents of your kitchen sink cabinet and remove any drawers or shelves. This will give you more space to work and prevent any damage to your belongings. Also, ensure that the area is well-ventilated and adequately lit.
Step 2: Remove the Rotten Bottom
Using a drill, remove the screws that hold the bottom of your cabinet in place. Carefully take out the rotten bottom and dispose of it properly.
Step 3: Measure and Cut the Replacement Board
Measure the dimensions of your cabinet's bottom and transfer them onto a new piece of plywood or MDF board. Use a saw to cut the board to the appropriate size.
Step 4: Install the New Bottom
Place the newly cut board into the cabinet and secure it with screws. Make sure to use corrosion-resistant screws to prevent future moisture damage.
Step 5: Seal the Edges
To prevent any water from seeping into the edges of your new bottom, use a silicone sealant to seal all the exposed edges. This will also help to strengthen the bond between the board and the cabinet.
Additional Tips and Recommendations
 - Regularly check your kitchen sink cabinet for any signs of water damage or rot.
- Fix any water leaks or plumbing issues promptly to prevent further damage to your cabinet.
- Consider installing a waterproof liner or coating on the bottom of your cabinet to provide an additional layer of protection against moisture.
- If the damage to your cabinet is extensive, it may be best to consult a professional for repairs or replacement.
- Regularly check your kitchen sink cabinet for any signs of water damage or rot.
- Fix any water leaks or plumbing issues promptly to prevent further damage to your cabinet.
- Consider installing a waterproof liner or coating on the bottom of your cabinet to provide an additional layer of protection against moisture.
- If the damage to your cabinet is extensive, it may be best to consult a professional for repairs or replacement.
In Conclusion
 Replacing a rotten bottom in your kitchen sink cabinet is an essential maintenance task that should not be neglected. By following these steps and taking proactive measures to prevent water damage, you can ensure the longevity and stability of your kitchen sink cabinet. Remember, a well-maintained kitchen sink cabinet is not only aesthetically pleasing but also crucial for the overall functionality and safety of your kitchen.