Are you tired of looking at the same old worn-out bathroom sink every day? Are you on a tight budget and can't afford to replace it? Well, we have the perfect solution for you - repainting your bathroom sink! Repainting a sink may seem like a daunting task, but with the right tips and tricks, you can give your sink a fresh new look without breaking the bank. In this article, we will share 10 tips for repainting a bathroom sink to help you achieve a stunning and long-lasting finish. So let's get started!Repainting a Bathroom Sink: 10 Tips for a Fresh Look


Repainting a Bathroom Sink: 10 Tips for a Fresh Look


Repainting a bathroom sink may sound like a complicated process, but it's actually quite simple. Here are five easy steps to follow when repainting your sink: Step 1: Prepare the Sink Step 2: Choose the Right Paint Step 3: Prime the Sink Step 4: Paint the Sink Step 5: Seal the SinkHow to Repaint a Bathroom Sink in 5 Easy Steps
The first step is to prepare the sink for painting. Start by cleaning the sink thoroughly with a non-abrasive cleaner to remove any dirt, grime, or soap scum. Next, sand the sink with fine-grit sandpaper to create a smooth and even surface for the paint to adhere to.
Choosing the right paint for your bathroom sink is crucial for a long-lasting finish. Look for a high-quality, moisture-resistant paint that is specifically designed for use on sinks and other bathroom fixtures. You can also consider using a paint with a gloss finish for added durability.
Priming the sink is essential to ensure the paint adheres properly and prevents any peeling or chipping in the future. Use a high-quality primer and apply it evenly over the entire sink surface. Let it dry completely before moving on to the next step.
Now it's time to get creative and paint your sink in the color of your choice. Apply the paint in thin, even coats, making sure to cover all areas of the sink. Let the first coat dry completely before applying a second coat for a more vibrant and long-lasting finish.
To protect your newly painted sink and make it water-resistant, apply a clear sealant over the painted surface. This will also give your sink a glossy finish and make it easier to clean.


How to Repaint a Bathroom Sink in 5 Easy Steps
.jpg)


:max_bytes(150000):strip_icc()/what-is-under-the-bathroom-sink-3973574-hero-648d768a66a34396a603651a8d1b0123.jpg?strip=all)
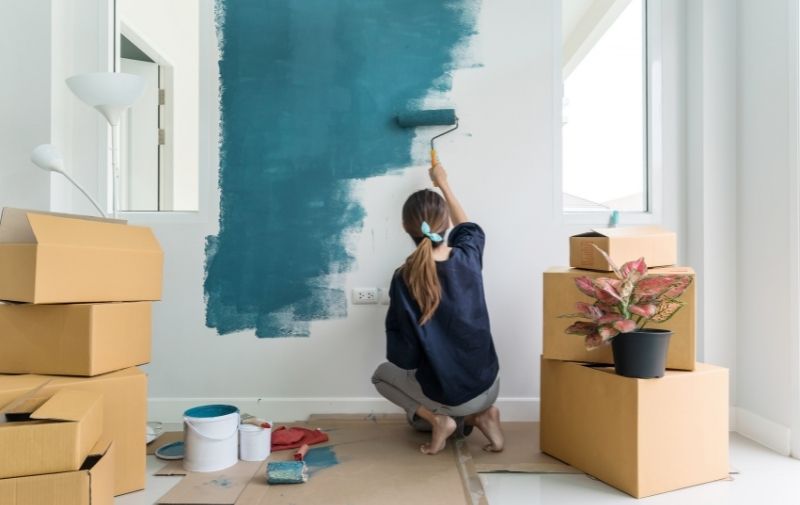
Repainting your bathroom sink is not only a cost-effective solution, but it also allows you to get creative and add a personal touch to your bathroom. Instead of spending hundreds of dollars on a new sink, you can achieve a fresh and updated look with just a few cans of paint. Plus, you can choose from a variety of colors and finishes to match your bathroom decor.DIY Bathroom Sink Repainting: A Budget-Friendly Solution


DIY Bathroom Sink Repainting: A Budget-Friendly Solution


When it comes to repainting a bathroom sink, not all paints are created equal. It's important to choose a paint that is specifically designed for use on sinks and other bathroom fixtures. Look for a moisture-resistant and durable paint with a glossy finish for the best results. Don't be afraid to ask for recommendations at your local hardware store.Choosing the Right Paint for Repainting Your Bathroom Sink


Choosing the Right Paint for Repainting Your Bathroom Sink


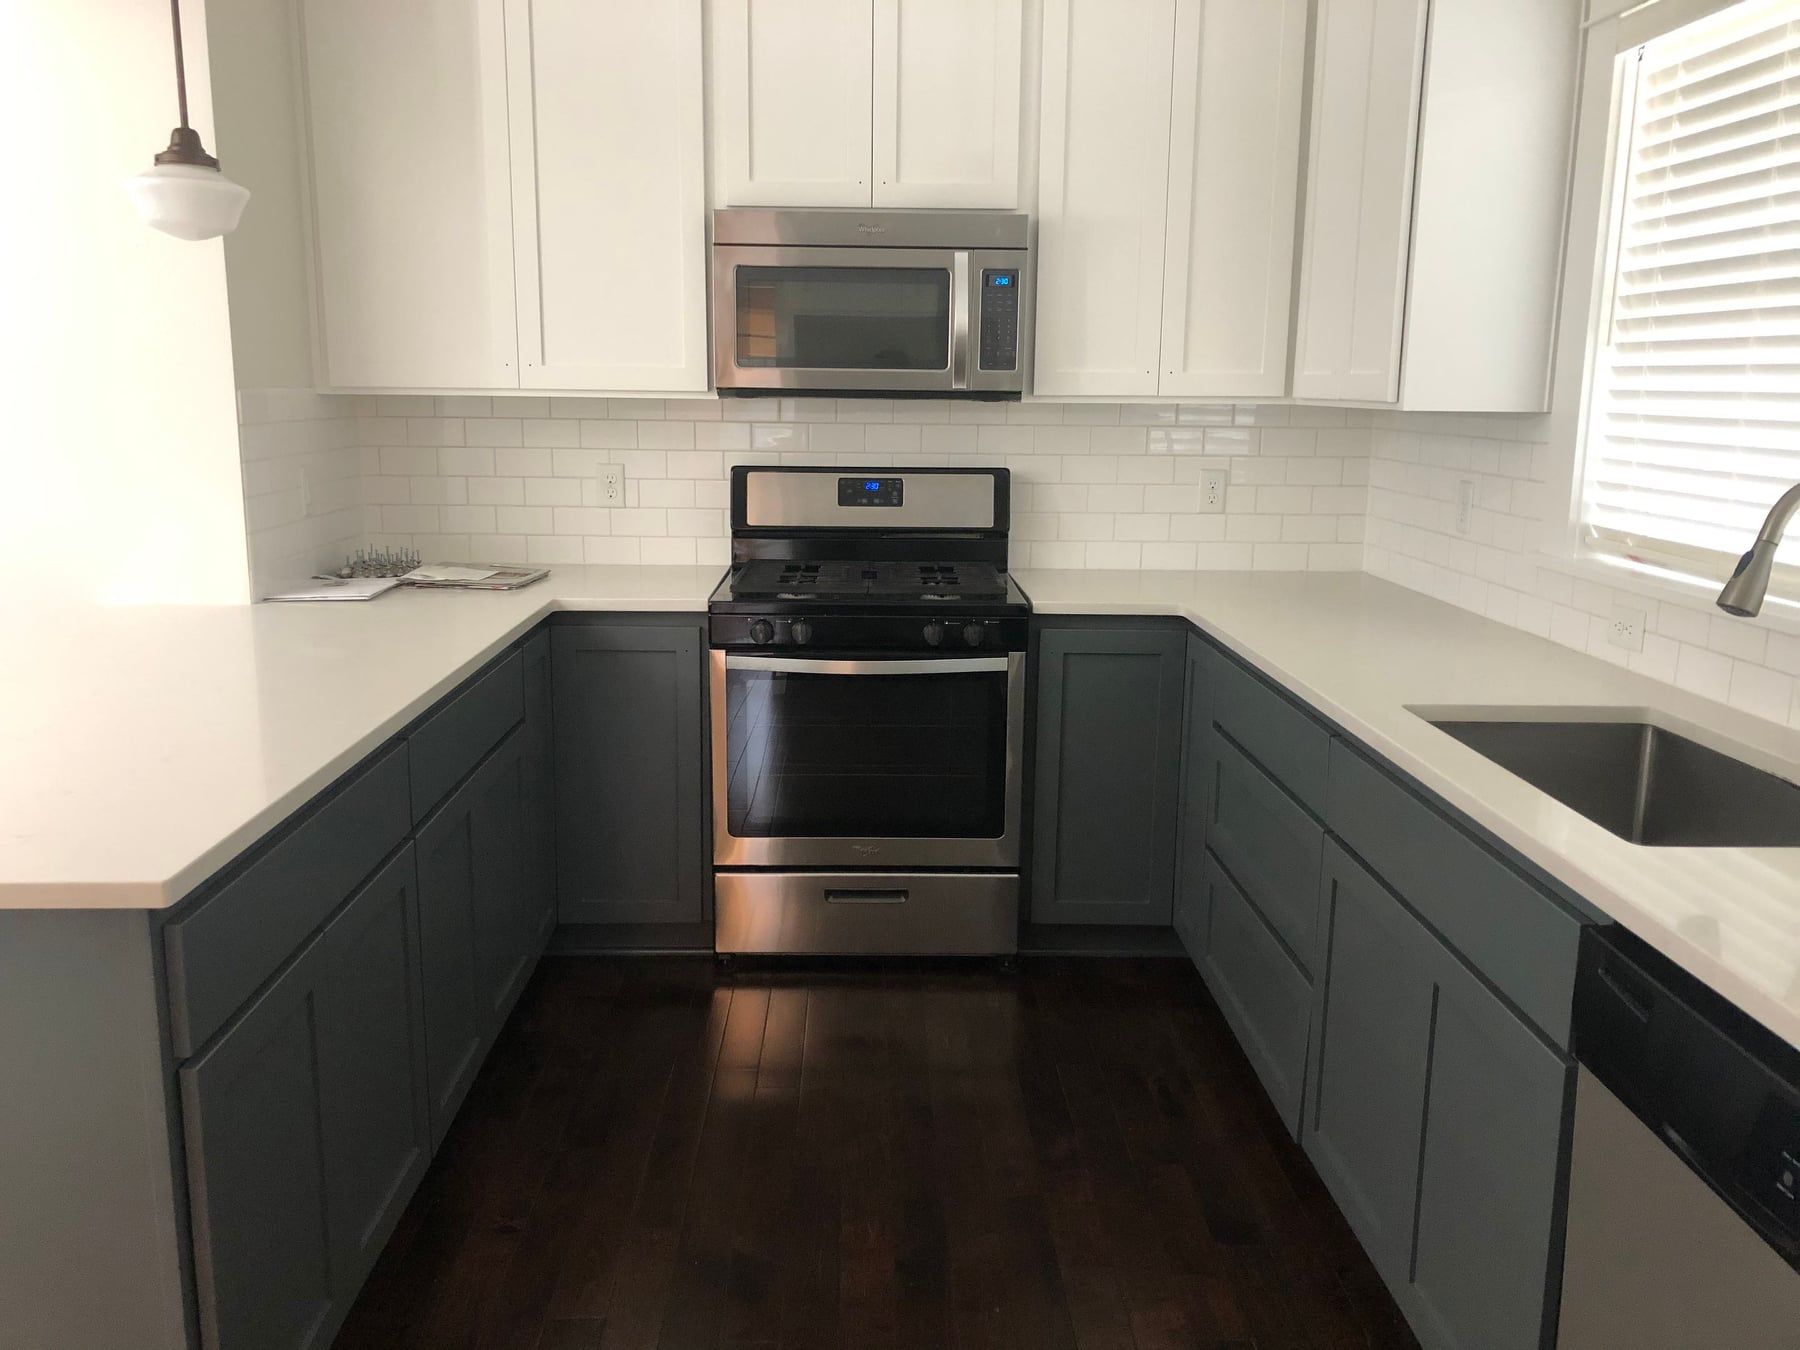
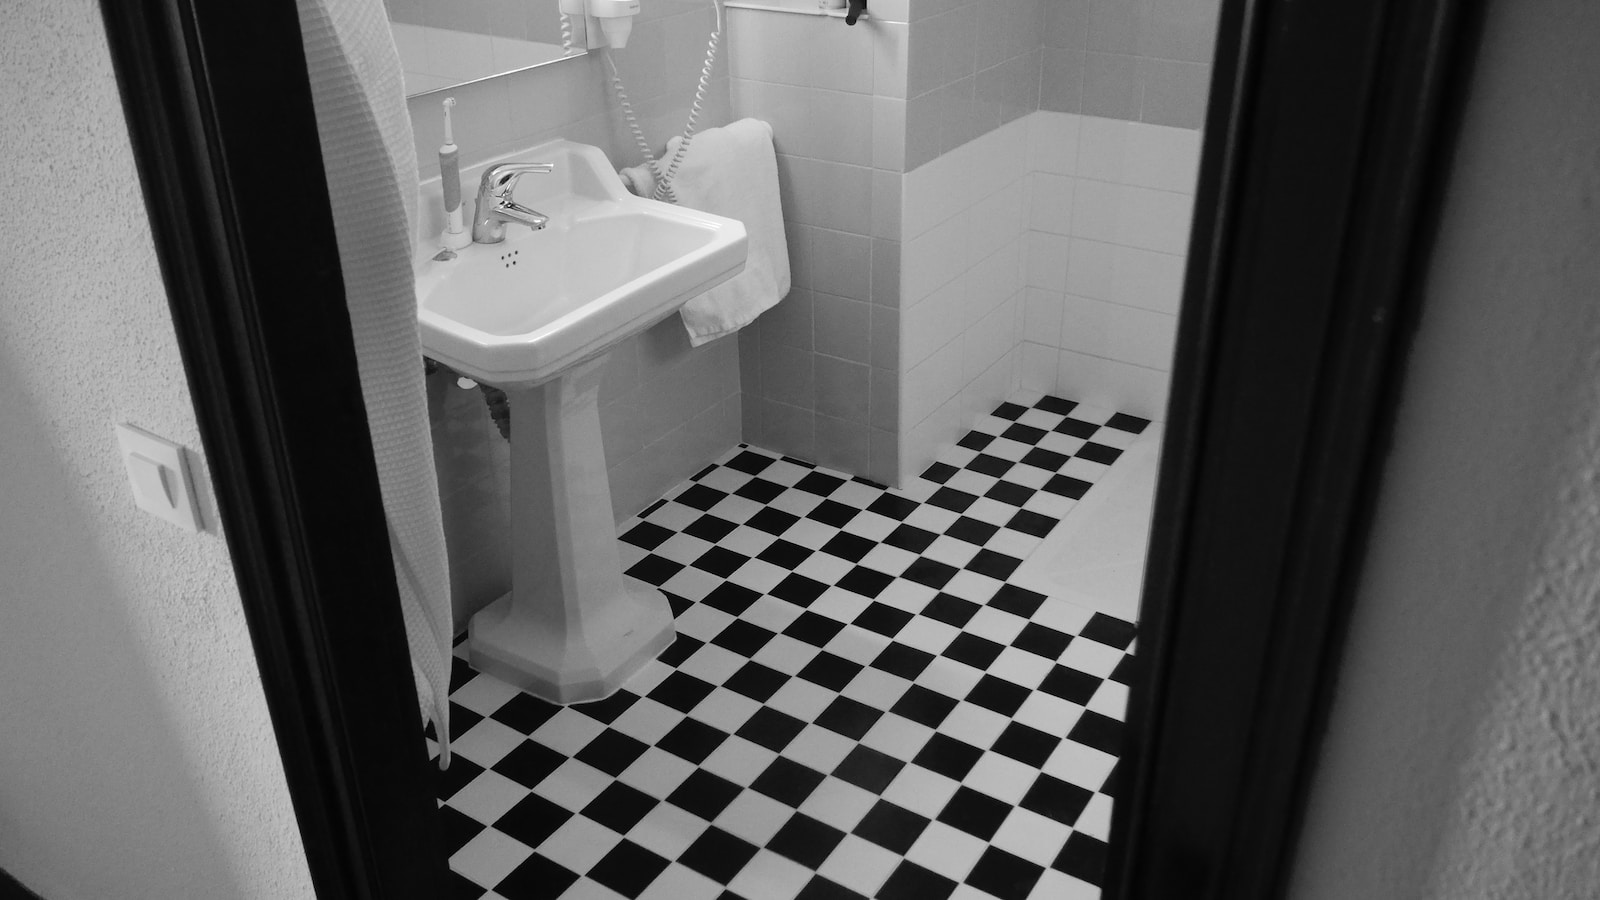
The decision between repainting or replacing your bathroom sink ultimately depends on your budget and the condition of your sink. If your sink is in good condition and just needs a fresh coat of paint, then repainting is the better option. However, if your sink is severely damaged or outdated, replacing it may be a better long-term solution.Repainting vs. Replacing: Which is the Better Option for Your Bathroom Sink?


Repainting vs. Replacing: Which is the Better Option for Your Bathroom Sink?


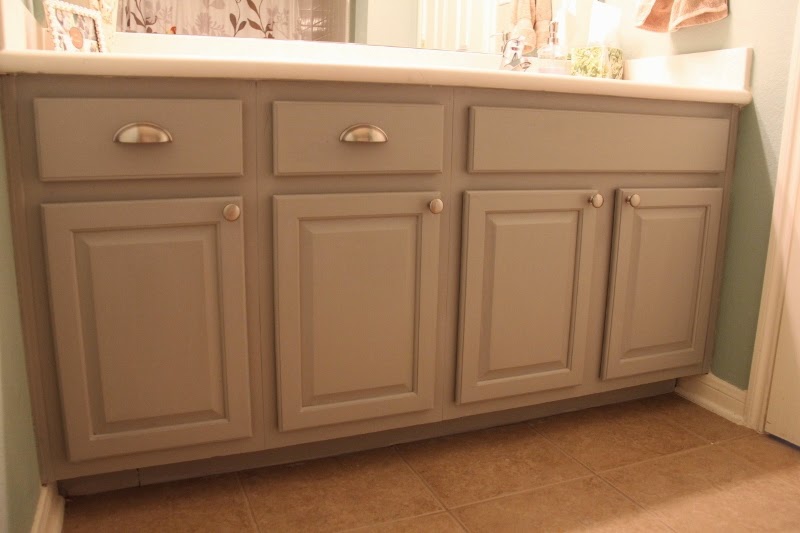
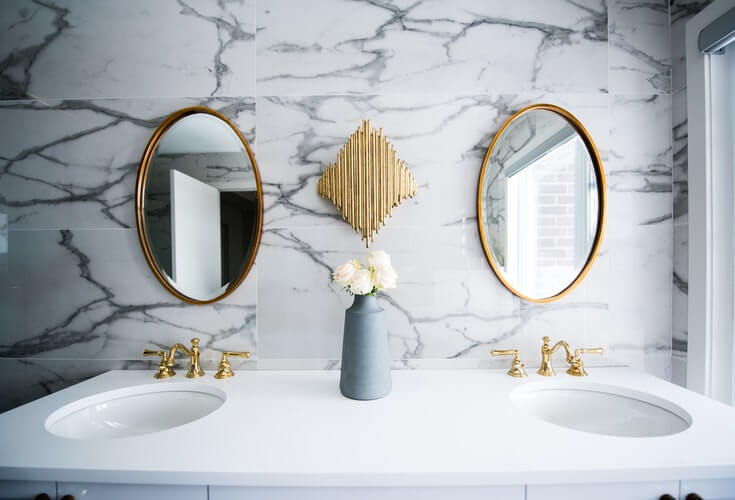
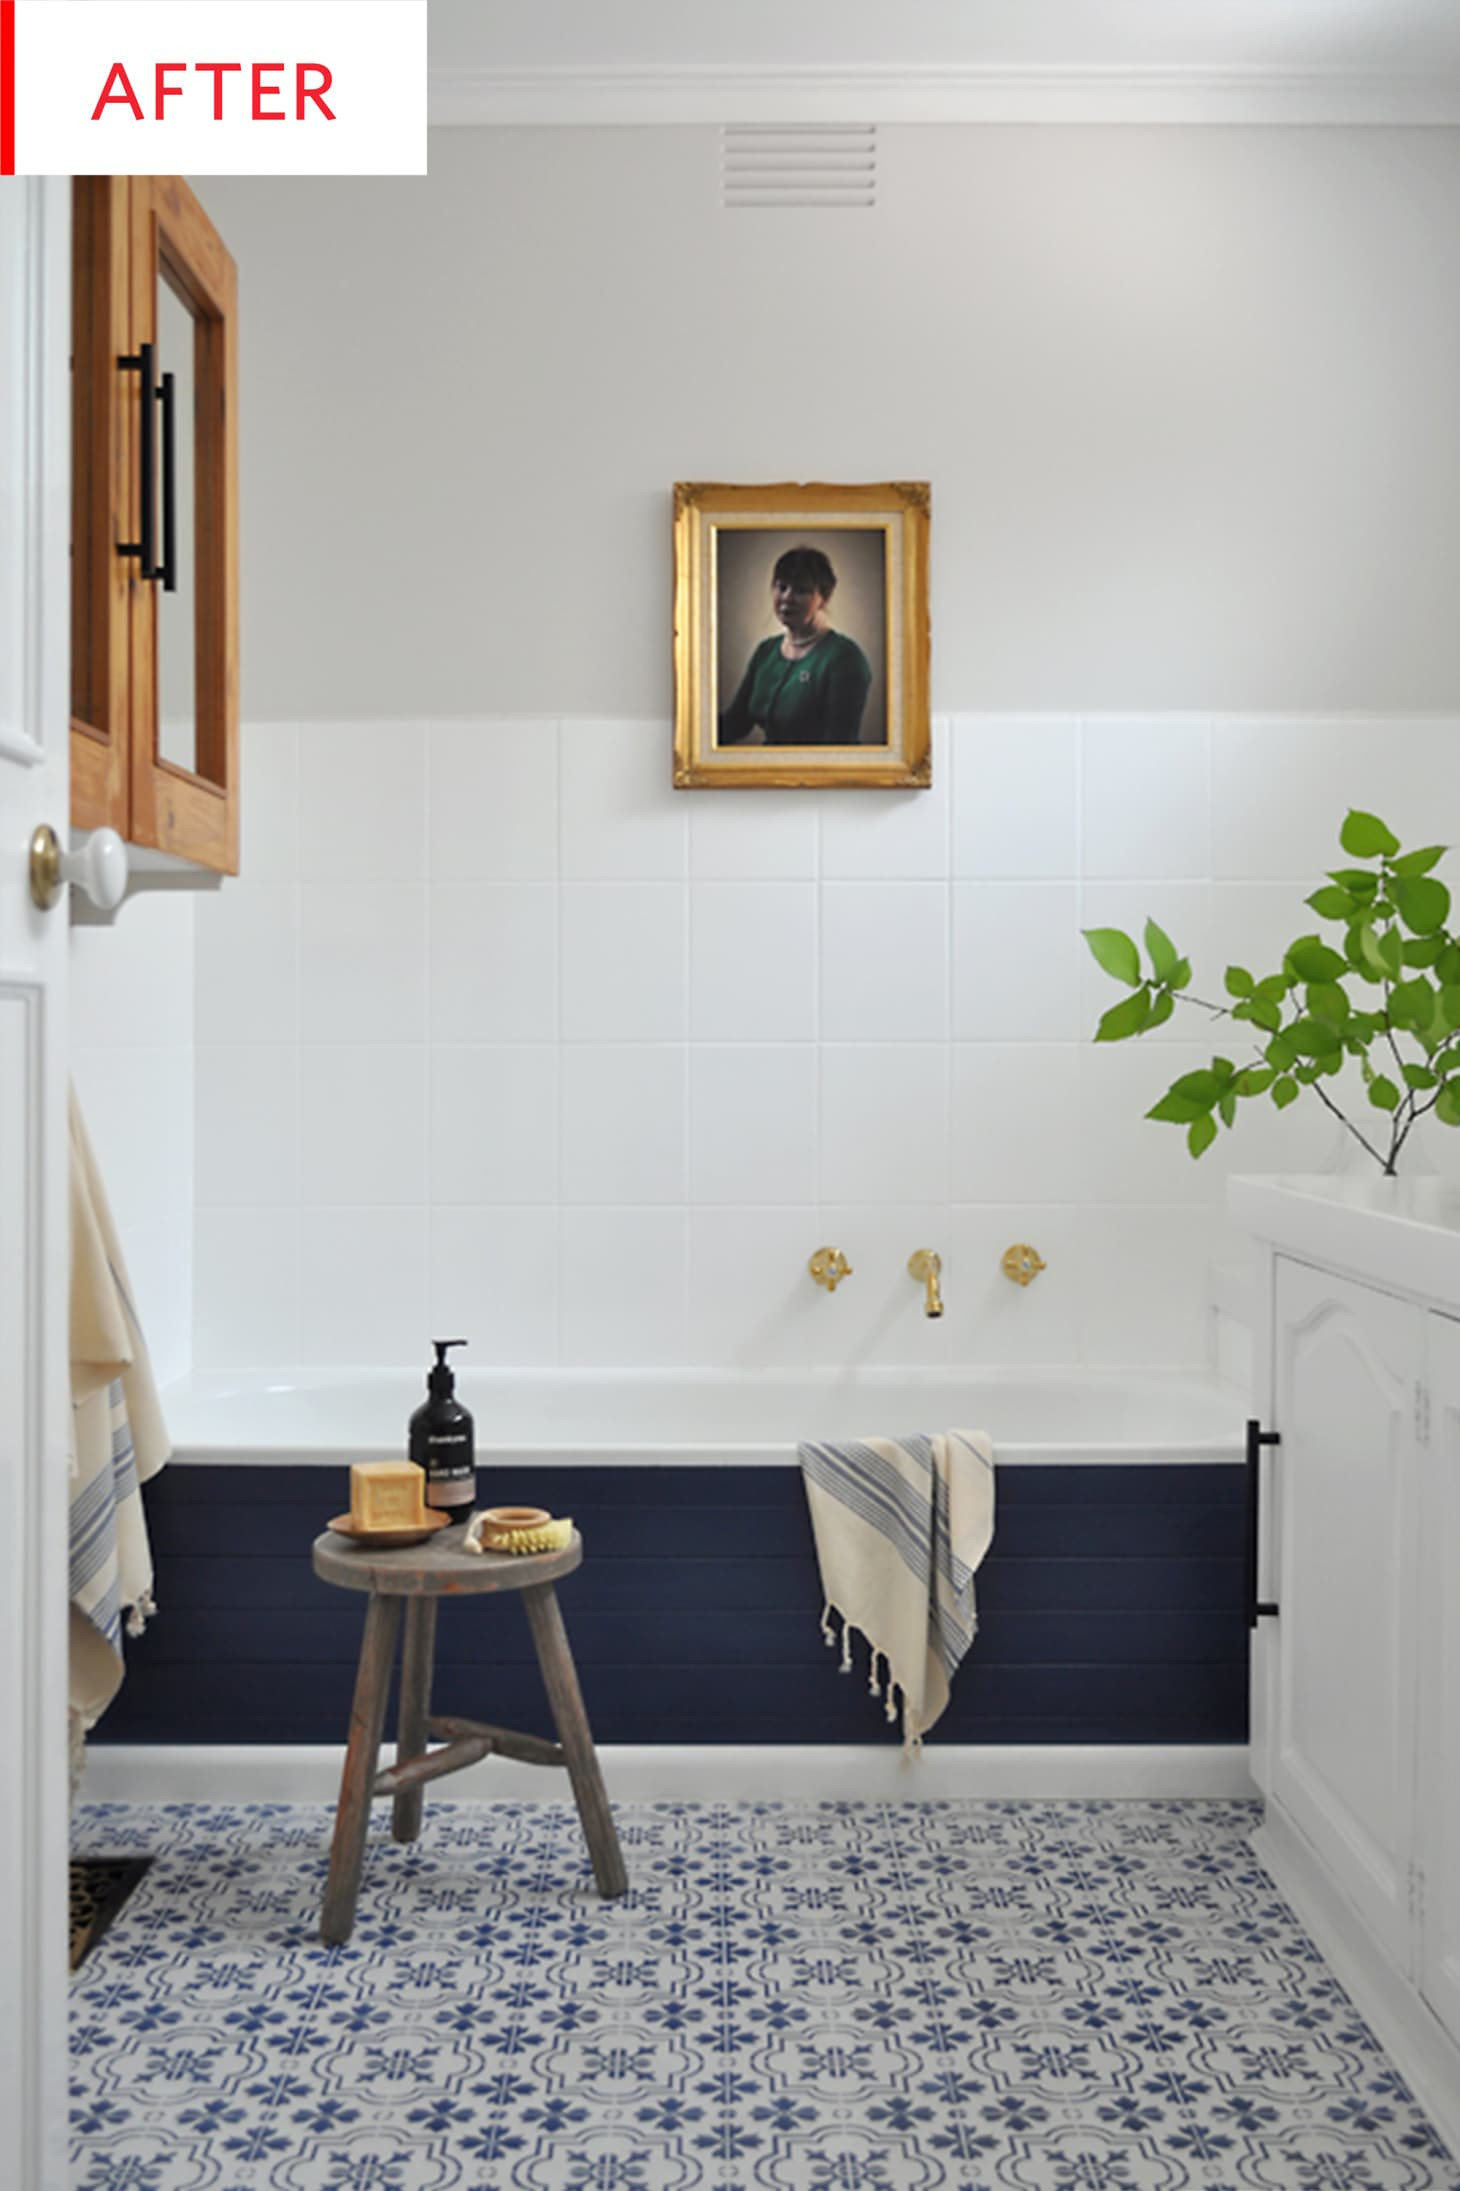
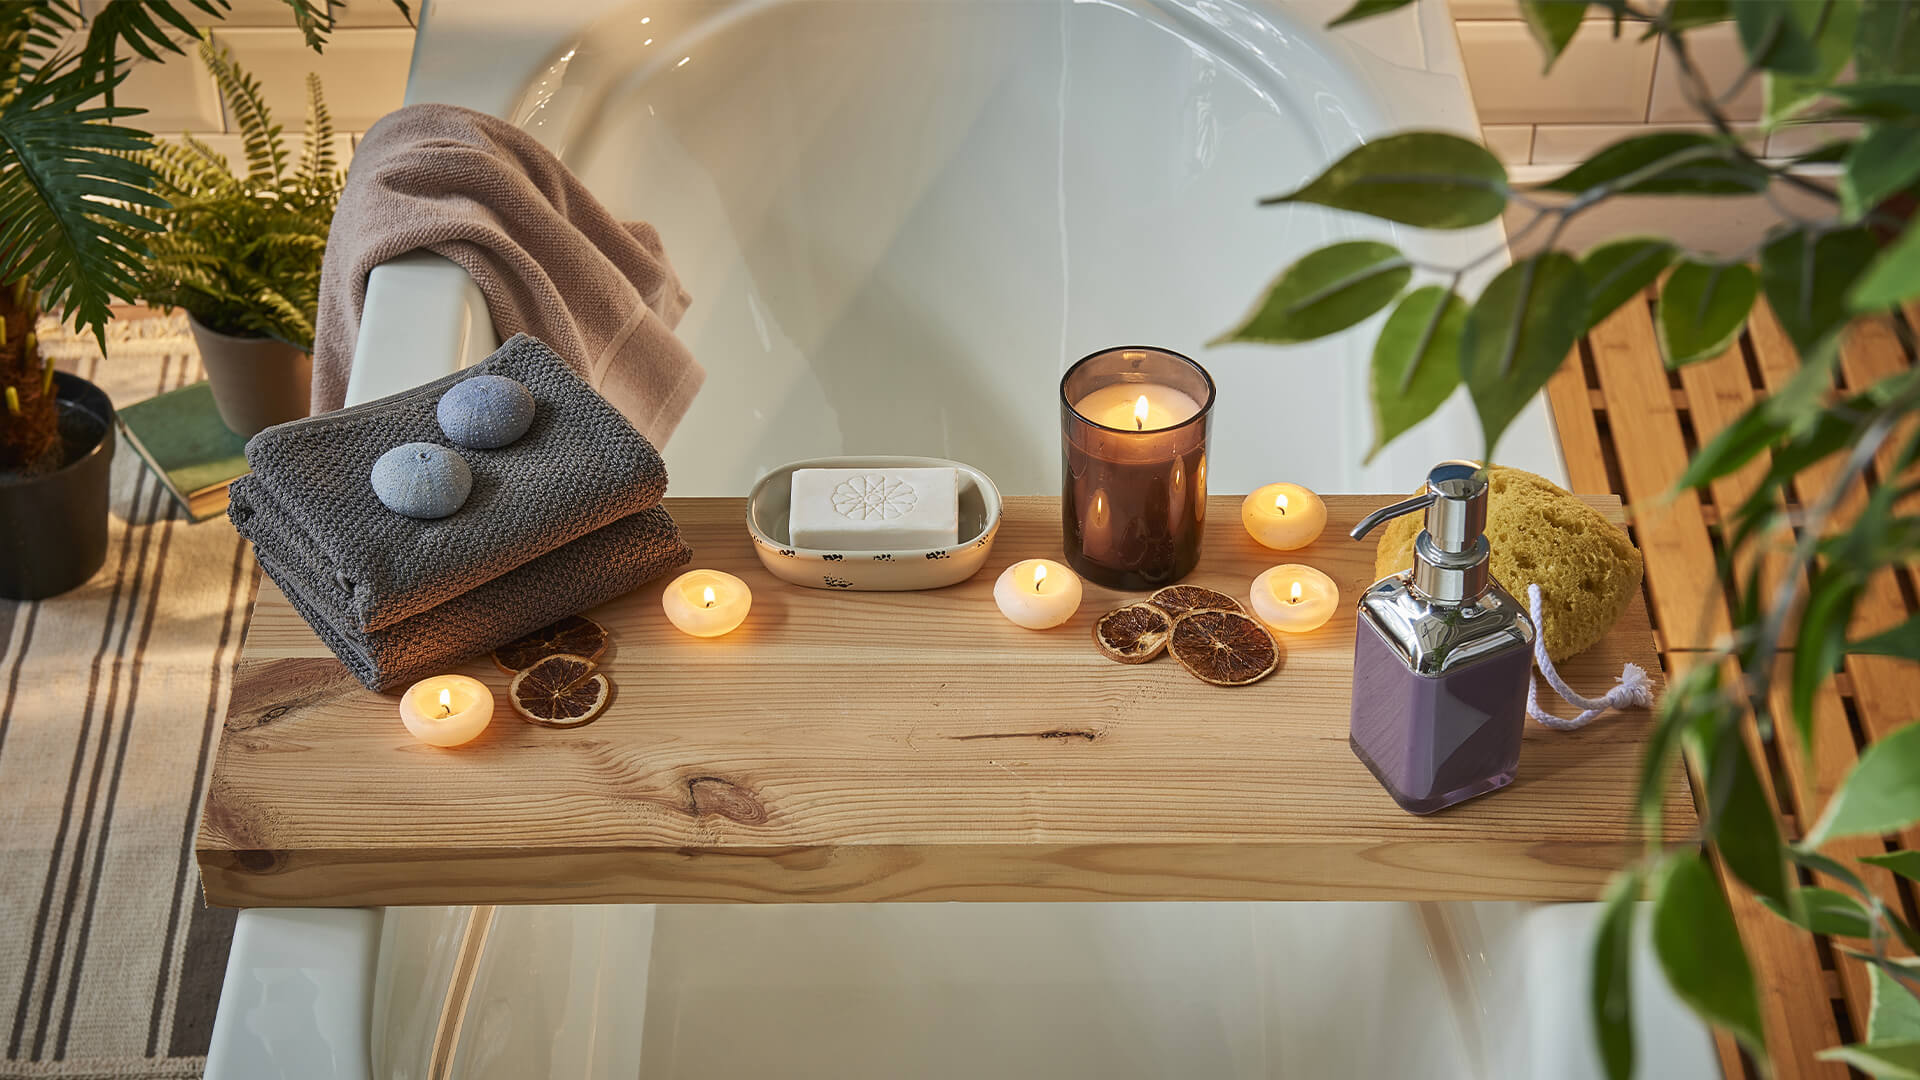
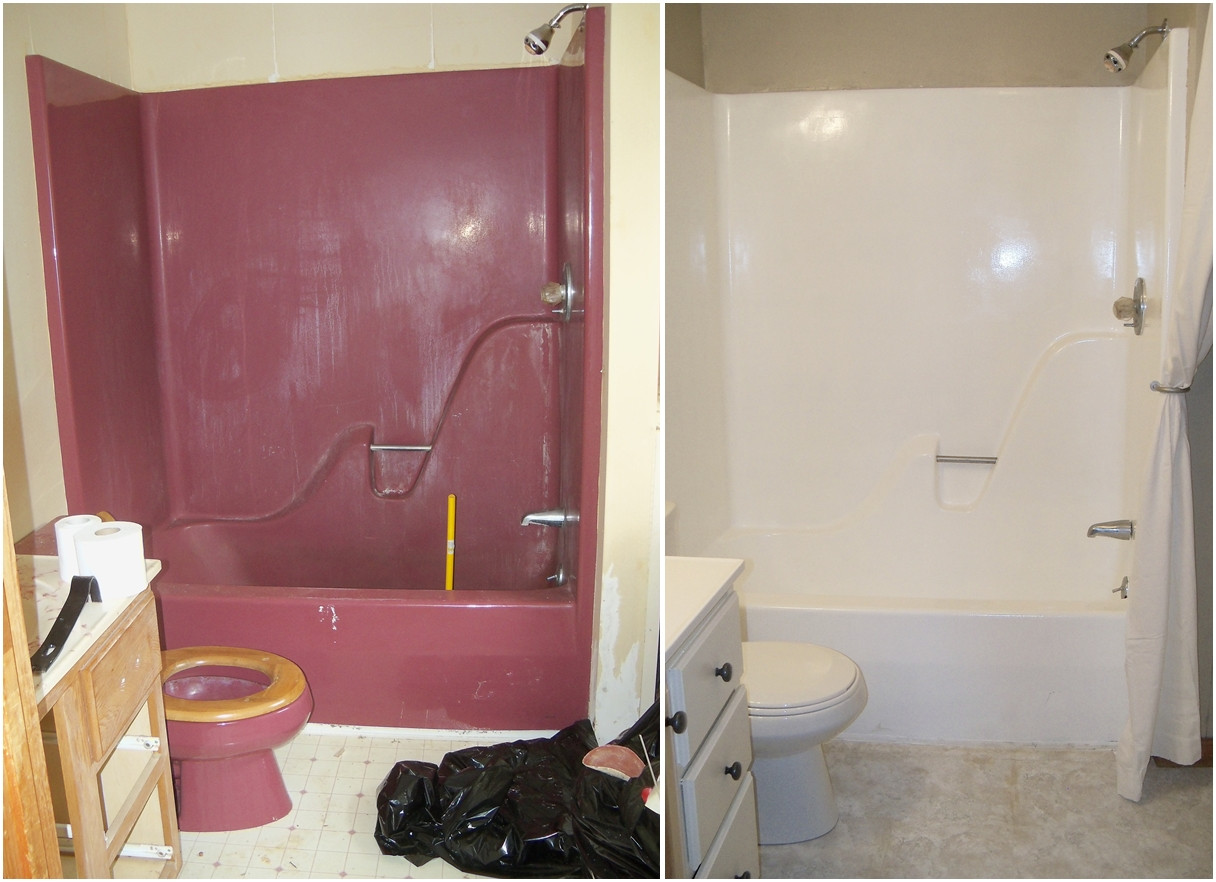
A freshly painted bathroom sink can completely transform the look and feel of your bathroom. Whether you choose a bold color to make a statement or a neutral tone for a more subtle change, repainting your sink can bring new life to your bathroom. It's a simple and budget-friendly way to give your space a much-needed update.Transform Your Bathroom with a Fresh Coat of Paint on Your Sink


Transform Your Bathroom with a Fresh Coat of Paint on Your Sink


While repainting a bathroom sink may seem like an easy task, there are some common mistakes that you should avoid to ensure a successful and long-lasting finish. These include not properly preparing the sink, using the wrong type of paint, and not applying enough coats. Be sure to follow the steps outlined in this article and take your time to achieve the best results.Repainting a Bathroom Sink: Common Mistakes to Avoid


Repainting a Bathroom Sink: Common Mistakes to Avoid


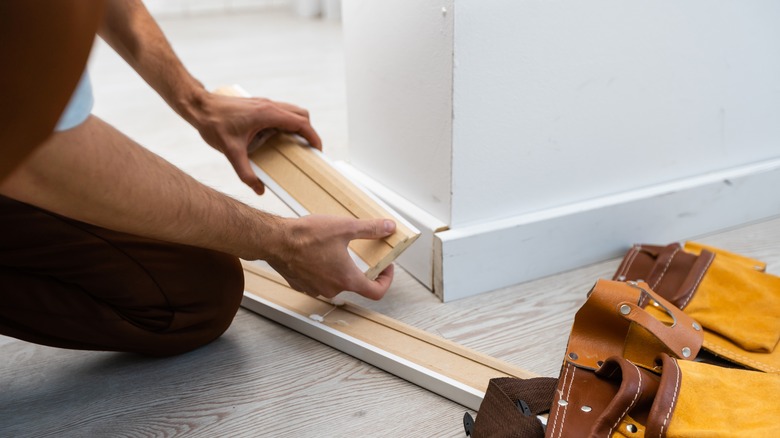
If you want to achieve a professional-looking finish when repainting your bathroom sink, follow these simple steps: Step 1: Gather Your Supplies Step 2: Prepare the Sink Step 3: Prime the Sink Step 4: Paint the Sink Step 5: Seal the SinkStep-by-Step Guide to Repainting Your Bathroom Sink Like a Pro
Make sure you have all the necessary supplies before starting the project. This includes paint, primer, sandpaper, paintbrushes, and a clear sealant.
Thoroughly clean and sand the sink to create a smooth and even surface for the paint to adhere to.
Apply a high-quality primer evenly over the entire sink surface and let it dry completely.
Apply thin, even coats of paint, letting each coat dry completely before applying the next one.
Once the paint is completely dry, apply a clear sealant to protect the sink and give it a glossy finish.


Step-by-Step Guide to Repainting Your Bathroom Sink Like a Pro


To ensure your repainted bathroom sink looks great for years to come, here are some tips to keep in mind: Tip 1: Use the Right Paint Tip 2: Properly Prepare the Sink Tip 3: Apply Enough Coats Tip 4: Let Each Coat Dry Completely Tip 5: Use a Clear SealantRepainting a Bathroom Sink: Tips for a Long-Lasting Finish
Make sure to use a high-quality paint that is specifically designed for use on sinks and other bathroom fixtures.
Thoroughly clean and sand the sink to create a smooth and even surface for the paint to adhere to.
Don't skimp on coats of paint. Apply at least two coats for a more vibrant and long-lasting finish.
Allow each coat of paint to dry completely before applying the next one. This will prevent any peeling or chipping in the future.
Applying a clear sealant over the painted surface will protect your sink from water damage and make it easier to clean.

Repainting a Bathroom Sink: Tips for a Long-Lasting Finish
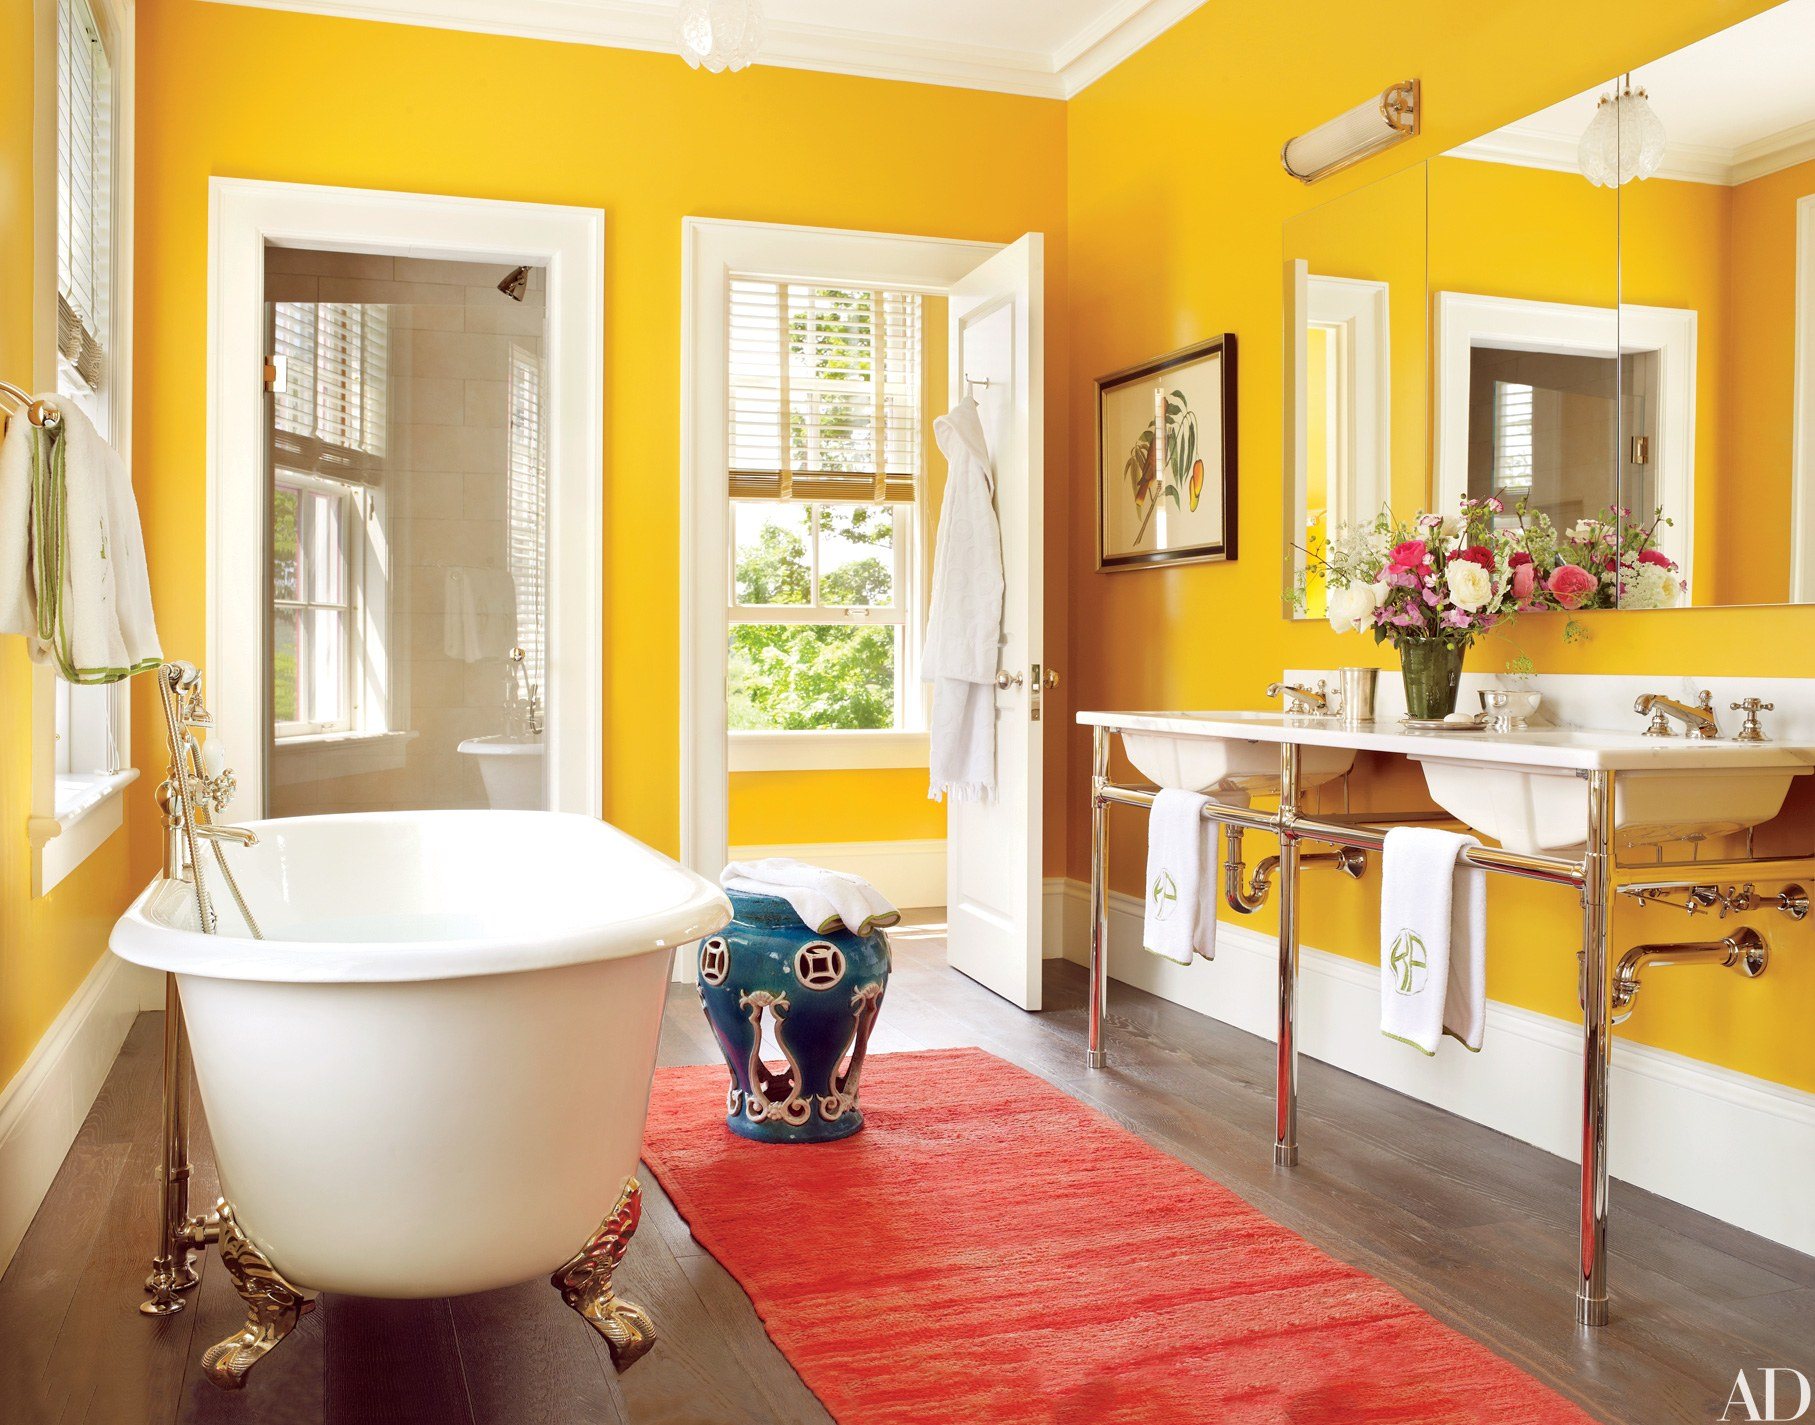
Repainting your bathroom sink gives you the opportunity to get creative and add a pop of color to your bathroom. Here are some repainting ideas to consider: Idea 1: Bold and Vibrant Idea 2: Classic White Idea 3: Earthy Tones Idea 4: Ombre Effect Repainting a bathroom sink is a simple and budget-friendly way to update your bathroom and give it a fresh new look. With the right tips and tricks, you can achieve a stunning and long-lasting finish that will transform your space. So why wait? Grab your paintbrush and get started on your bathroom makeover today!Revamp Your Bathroom with a New Color for Your Sink: Repainting Ideas
Make a statement with a bold and vibrant color, such as bright blue or red, to add a fun and playful touch to your bathroom.
For a clean and timeless look, consider painting your sink white. This will also make your bathroom feel more spacious and bright.
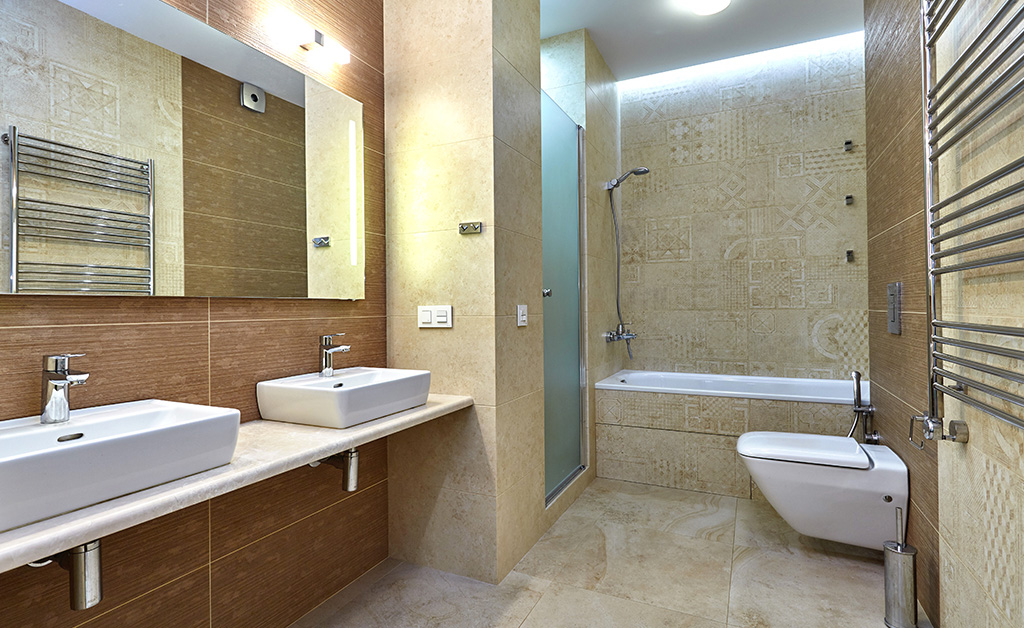
For a more natural and calming vibe, opt for earthy tones like beige, taupe, or light green. This will create a relaxing and spa-like atmosphere in your bathroom.
If you're feeling adventurous, try a unique ombre effect by painting your sink in two different shades of the same color. This will add depth and interest to your bathroom.


Revamp Your Bathroom with a New Color for Your Sink: Repainting Ideas


Repainting a Bathroom Sink: A Simple and Affordable Way to Upgrade Your Bathroom
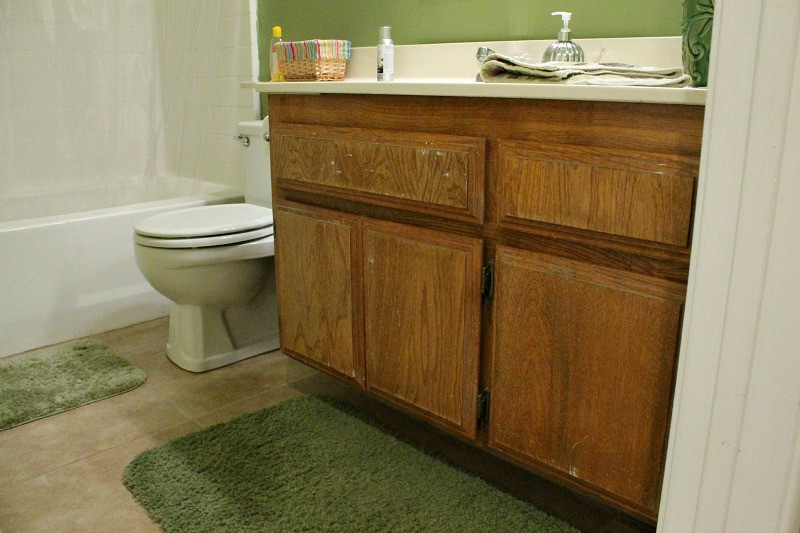
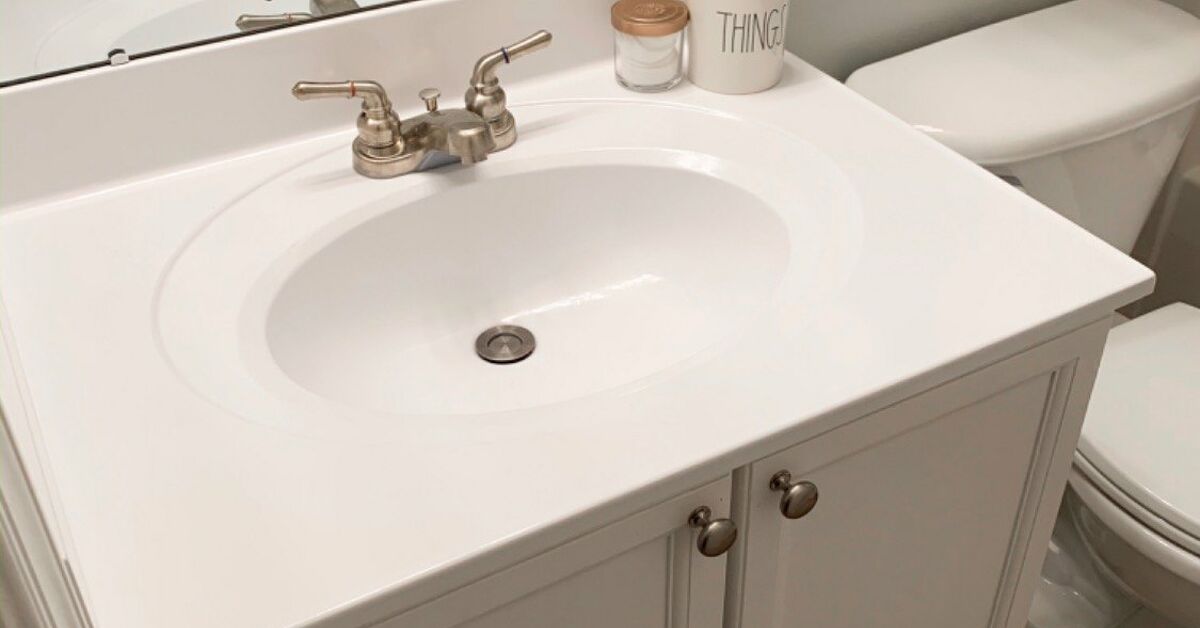
 Are you tired of the old and worn-out look of your bathroom sink? Are you looking for a simple and affordable way to give your bathroom a fresh and stylish update? Look no further than repainting your bathroom sink.
Repainting a bathroom sink is a quick and easy solution for homeowners who want to give their bathroom a new look without breaking the bank. A fresh coat of paint can transform your old and dull sink into a modern and elegant centerpiece in your bathroom.
Are you tired of the old and worn-out look of your bathroom sink? Are you looking for a simple and affordable way to give your bathroom a fresh and stylish update? Look no further than repainting your bathroom sink.
Repainting a bathroom sink is a quick and easy solution for homeowners who want to give their bathroom a new look without breaking the bank. A fresh coat of paint can transform your old and dull sink into a modern and elegant centerpiece in your bathroom.
The Benefits of Repainting Your Bathroom Sink
 Repainting your bathroom sink has many benefits, both practical and aesthetic. Here are some of the reasons why repainting your bathroom sink is a great idea:
1. Cost-effective:
As compared to replacing a bathroom sink, repainting it is a much more affordable option. It can save you hundreds or even thousands of dollars, making it an ideal choice for those on a budget.
2. Quick and easy:
Repainting a bathroom sink is a simple and straightforward process that can be completed in a day or two. It requires minimal preparation and can be done by anyone with basic DIY skills.
3. Customizable:
Repainting your bathroom sink gives you the freedom to choose any color or design you want. You can let your creativity run wild and create a sink that is unique to your bathroom.
4. Eco-friendly:
By repainting your bathroom sink, you are not only saving money, but you are also contributing to the environment. It is a sustainable way to upgrade your bathroom without adding to the landfill.
Repainting your bathroom sink has many benefits, both practical and aesthetic. Here are some of the reasons why repainting your bathroom sink is a great idea:
1. Cost-effective:
As compared to replacing a bathroom sink, repainting it is a much more affordable option. It can save you hundreds or even thousands of dollars, making it an ideal choice for those on a budget.
2. Quick and easy:
Repainting a bathroom sink is a simple and straightforward process that can be completed in a day or two. It requires minimal preparation and can be done by anyone with basic DIY skills.
3. Customizable:
Repainting your bathroom sink gives you the freedom to choose any color or design you want. You can let your creativity run wild and create a sink that is unique to your bathroom.
4. Eco-friendly:
By repainting your bathroom sink, you are not only saving money, but you are also contributing to the environment. It is a sustainable way to upgrade your bathroom without adding to the landfill.
Steps to Repaint Your Bathroom Sink
 Now that you know the benefits of repainting your bathroom sink, here are the steps to follow to achieve a professional-looking result:
1. Clean and prep the sink:
Start by thoroughly cleaning the sink with a mild cleaner and warm water. Rinse and dry the sink completely before moving on to the next step.
2. Sand the sink:
Use fine-grit sandpaper to lightly sand the sink's surface. This will create a rough surface for the paint to adhere to.
3. Apply a coat of primer:
Use a good quality primer to prime the sink. This will help the paint adhere better and prevent it from chipping or peeling.
4. Paint the sink:
Once the primer is dry, apply your chosen paint color to the sink. Use a small brush for the edges and corners and a roller for the larger surface areas. Apply at least two coats of paint for a smooth and even finish.
5. Seal the sink:
To protect the paint and make it more durable, apply a coat of clear sealant over the painted surface. This will also make it easier to clean and maintain.
Now that you know the benefits of repainting your bathroom sink, here are the steps to follow to achieve a professional-looking result:
1. Clean and prep the sink:
Start by thoroughly cleaning the sink with a mild cleaner and warm water. Rinse and dry the sink completely before moving on to the next step.
2. Sand the sink:
Use fine-grit sandpaper to lightly sand the sink's surface. This will create a rough surface for the paint to adhere to.
3. Apply a coat of primer:
Use a good quality primer to prime the sink. This will help the paint adhere better and prevent it from chipping or peeling.
4. Paint the sink:
Once the primer is dry, apply your chosen paint color to the sink. Use a small brush for the edges and corners and a roller for the larger surface areas. Apply at least two coats of paint for a smooth and even finish.
5. Seal the sink:
To protect the paint and make it more durable, apply a coat of clear sealant over the painted surface. This will also make it easier to clean and maintain.
Final Thoughts
 Repainting a bathroom sink is a cost-effective and simple way to upgrade your bathroom's look and add a touch of elegance to it. With the right preparation and materials, you can achieve a professional-looking result that will make your bathroom stand out. So, don't wait any longer, grab a paintbrush, and give your bathroom sink the makeover it deserves.