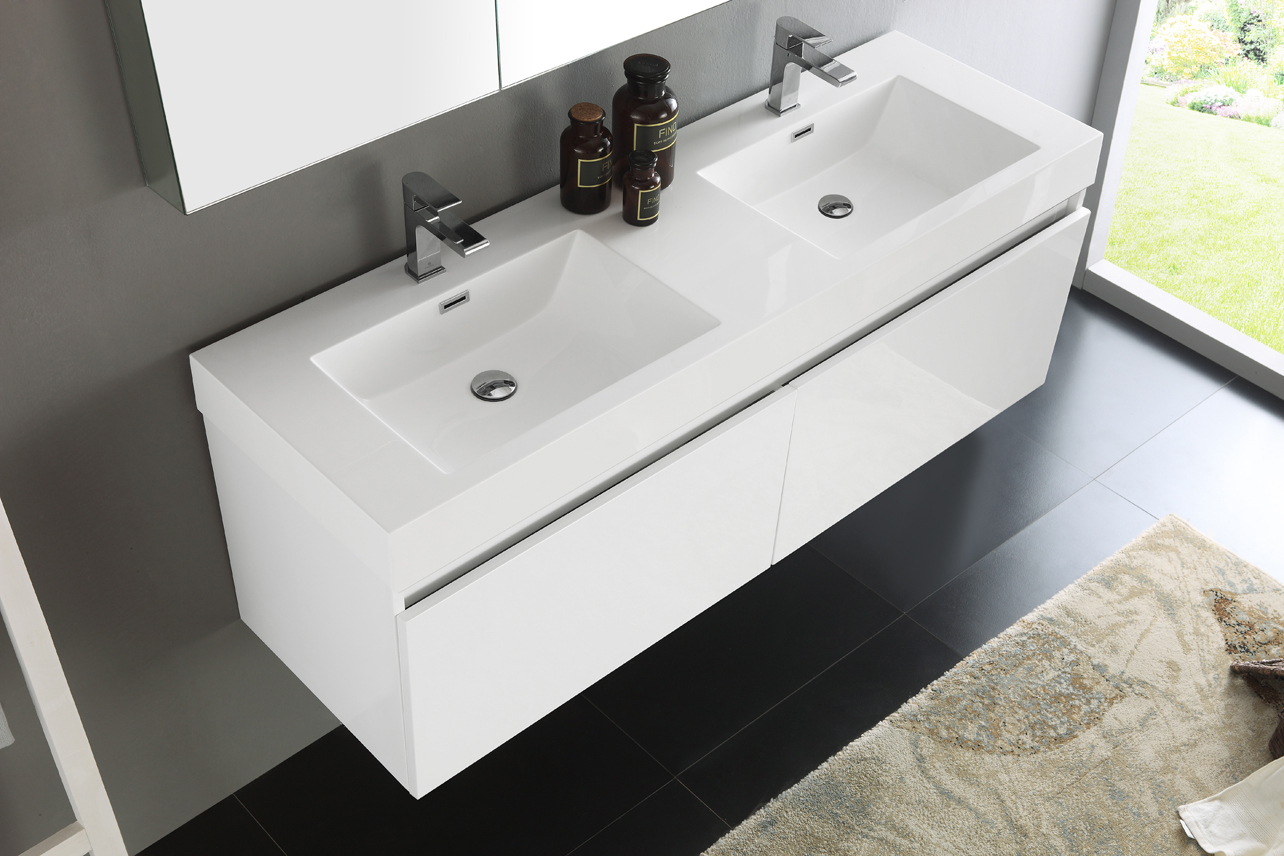
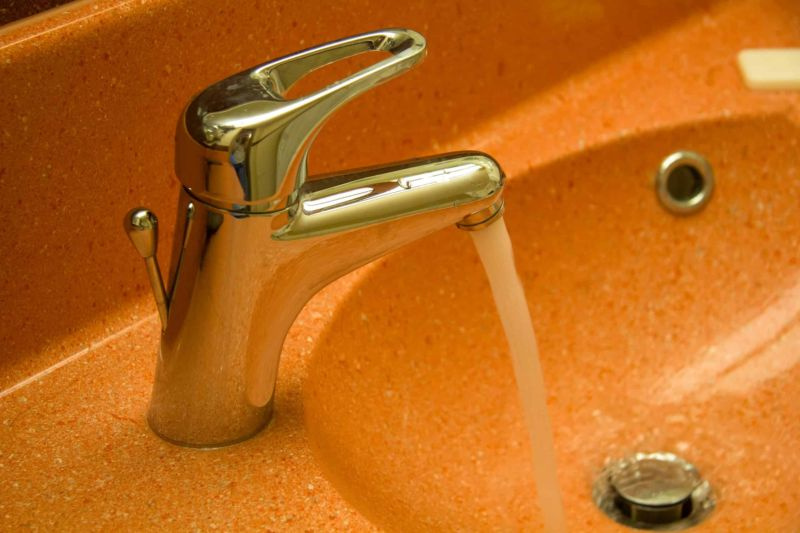
Are you tired of dealing with a slow draining bathroom sink? The culprit may be a clogged sink stopper. Removing the stopper from your bathroom sink can seem like a daunting task, but with the right tools and techniques, it can be a simple DIY project. In this article, we'll walk you through the steps of removing a bathroom sink stopper and provide helpful tips and tricks along the way.Removing Bathroom Sink Stopper


Removing Bathroom Sink Stopper


Before you begin, gather your tools: a pair of pliers, a screwdriver, and a bucket or bowl to catch any water. It's also a good idea to wear gloves to protect your hands. Now, let's get started!How to Remove a Bathroom Sink Stopper


How to Remove a Bathroom Sink Stopper


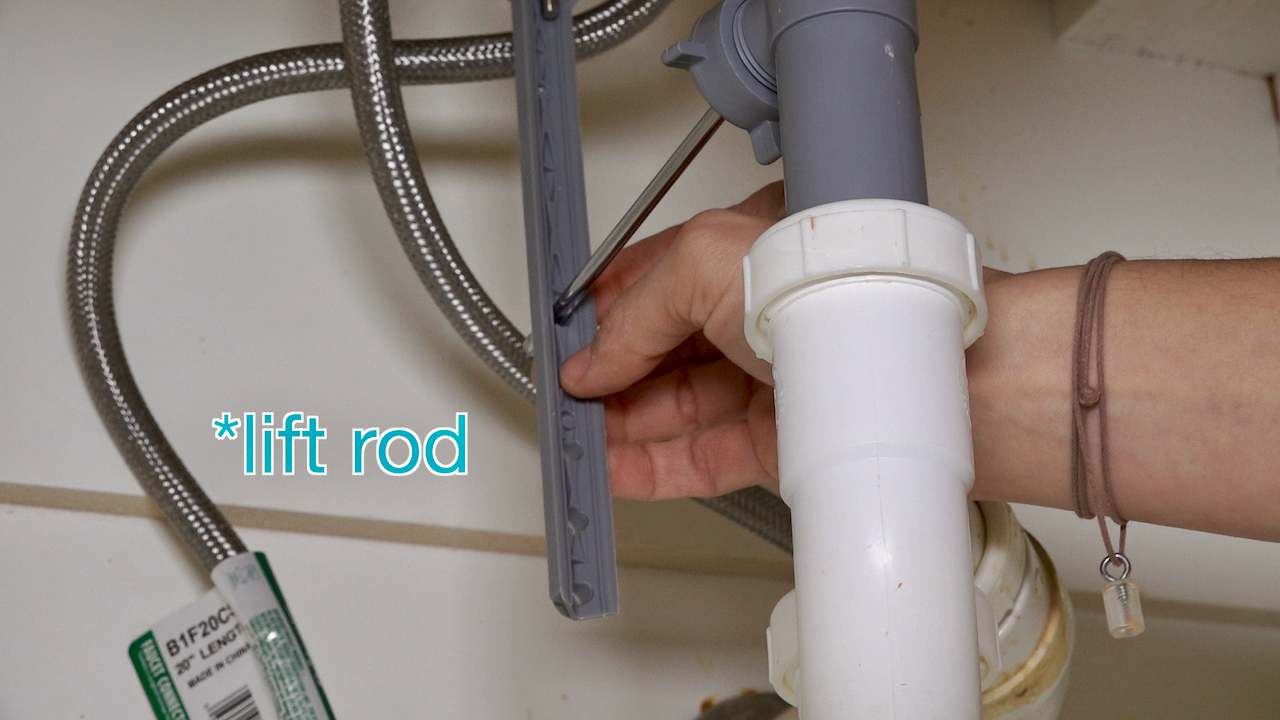
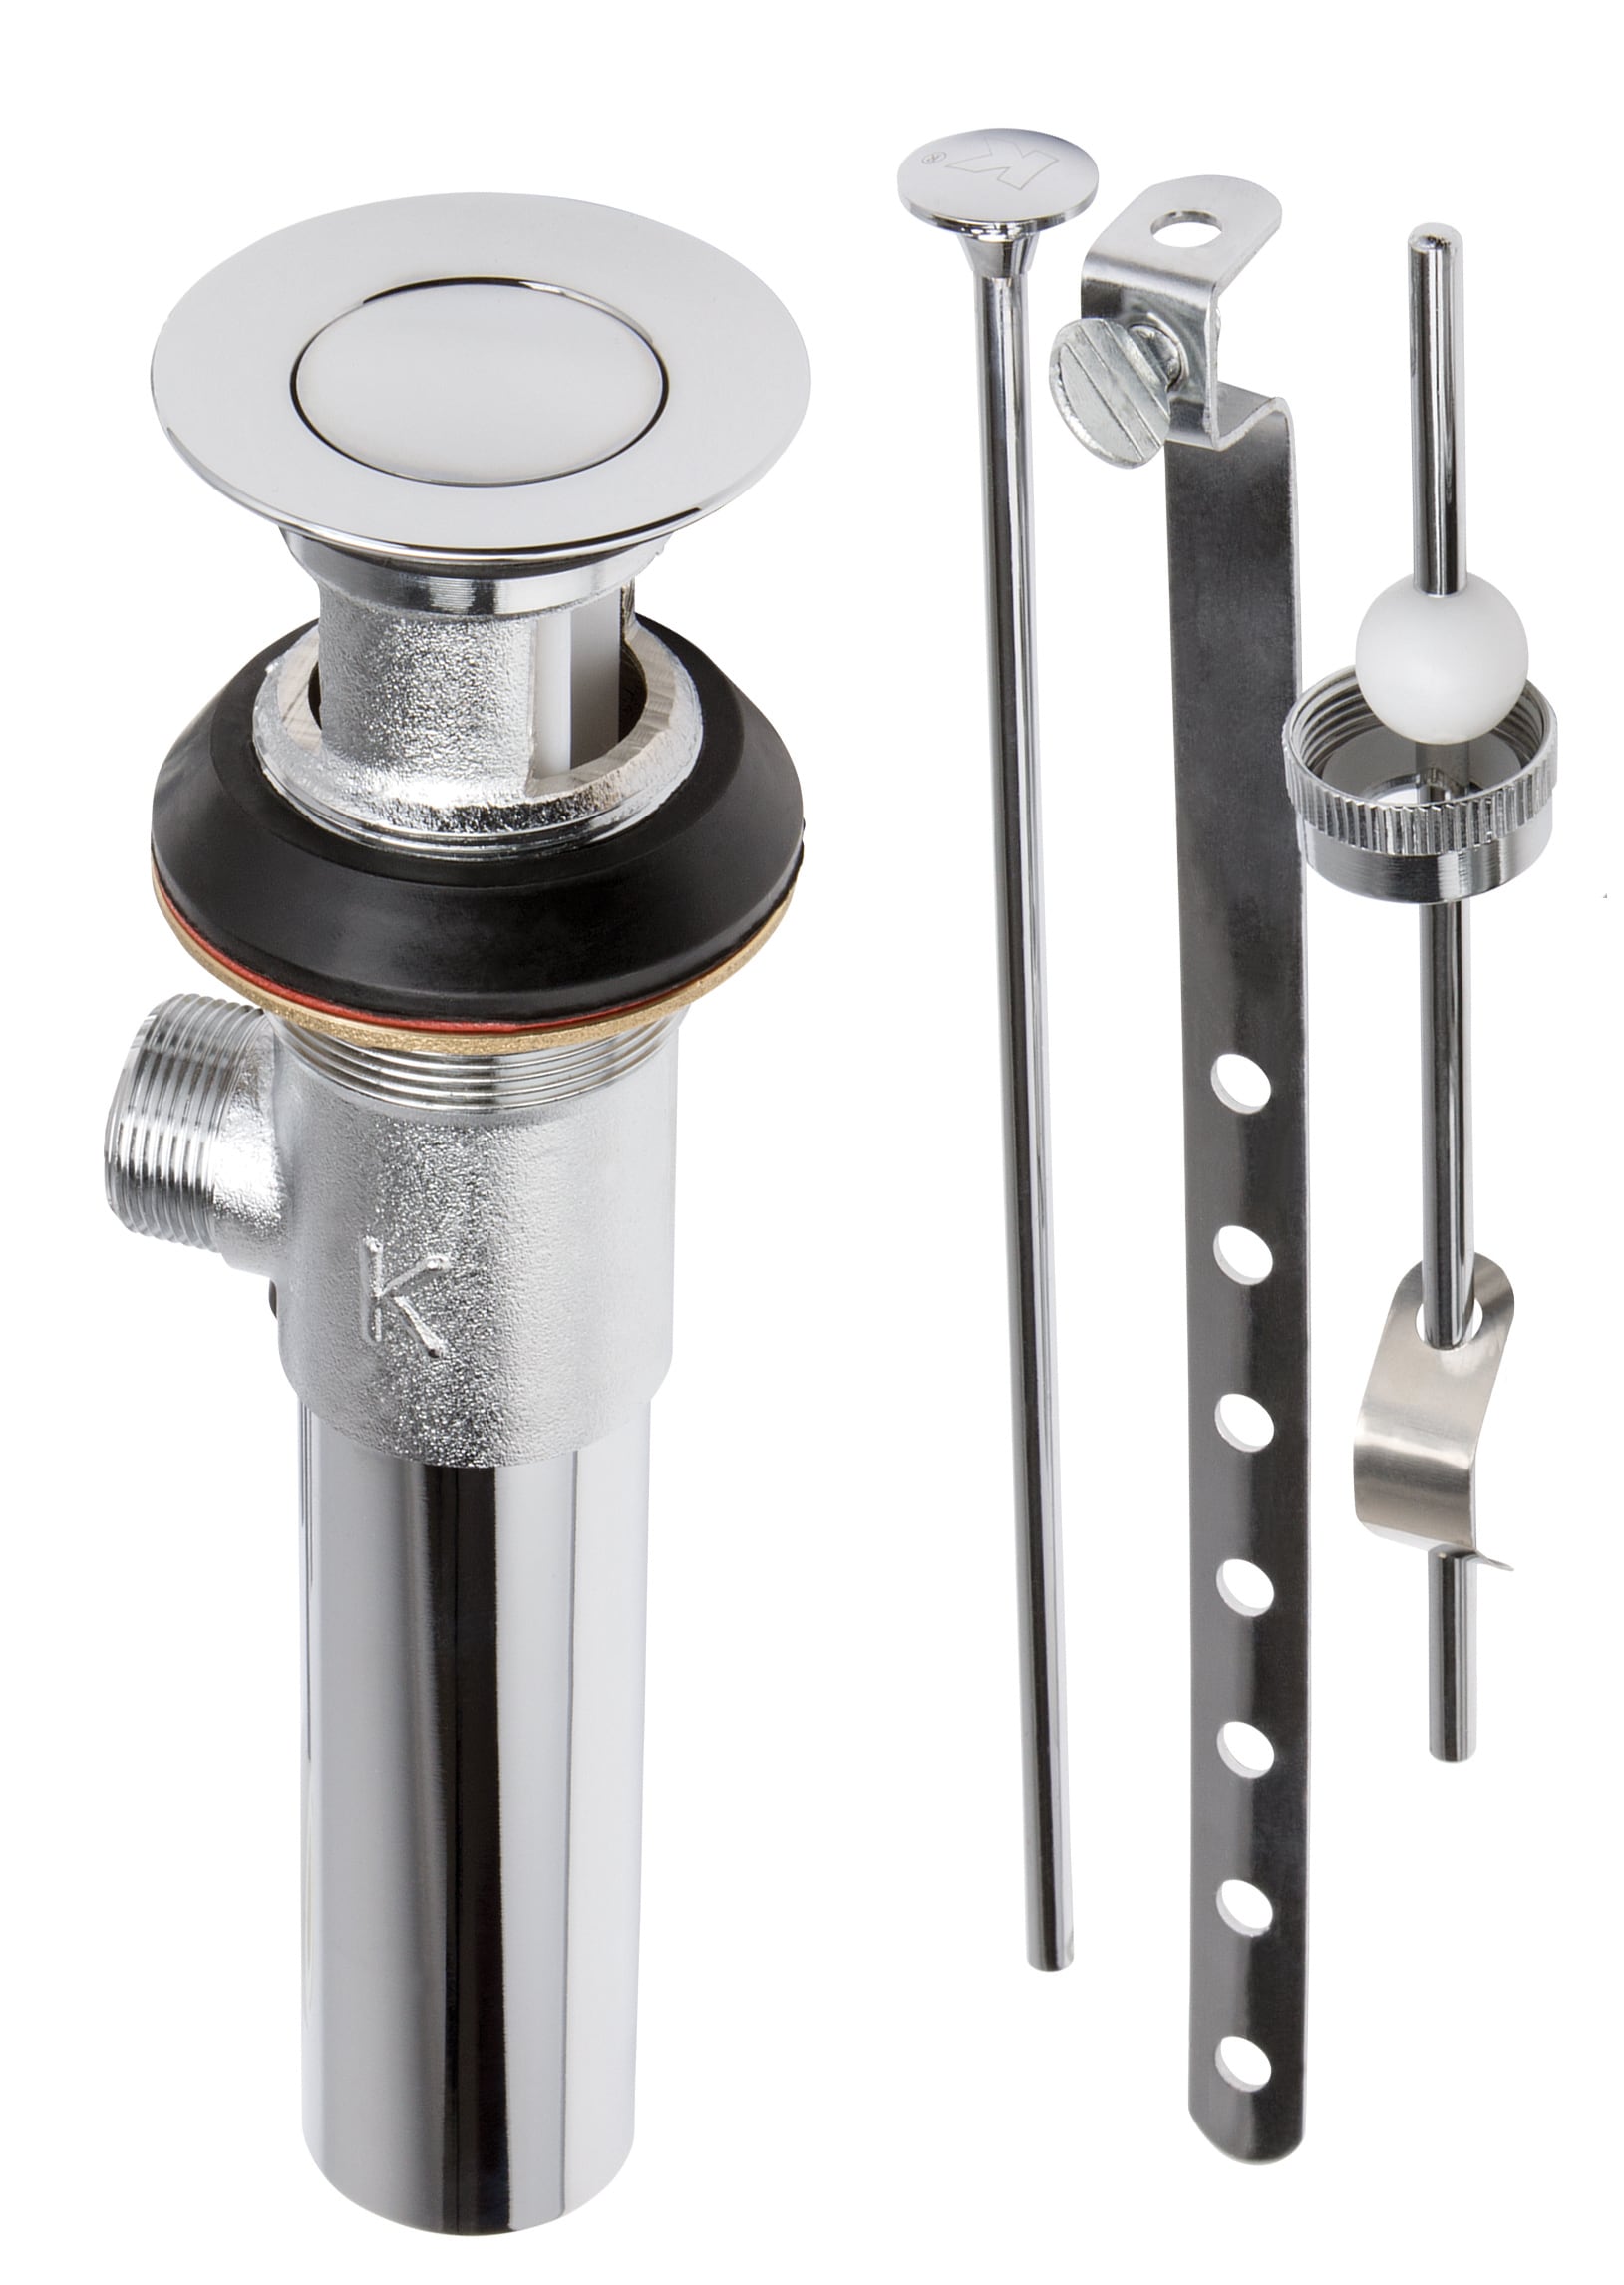
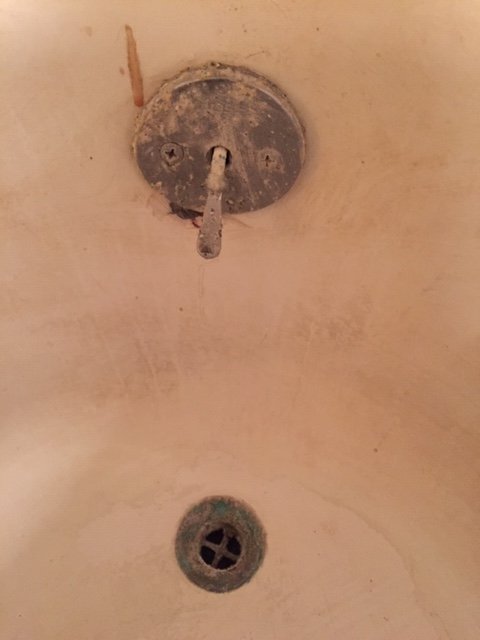
Step 1: Locate the stopper The first step is to locate the stopper in your bathroom sink. This may require removing any items from the sink and pulling back the sink stopper lever. The stopper is typically located beneath the sink and attached to a horizontal rod. Step 2: Loosen the nut Using your pliers, loosen the nut that connects the horizontal rod to the stopper lever. This may require some force, as the nut may be tight. Once the nut is loosened, the horizontal rod should be able to move freely. Step 3: Remove the stopper With the nut loosened, you should now be able to pull the horizontal rod and the stopper lever out of the sink drain. This will also remove the stopper from the sink. Step 4: Clean the stopper Now that the stopper is removed, take this opportunity to clean it thoroughly. Remove any debris or buildup that may be causing the slow draining. You can use a toothbrush or a small brush to scrub the stopper. Step 5: Reattach the stopper Once the stopper is clean, you can reattach it to the horizontal rod and the stopper lever. Tighten the nut with your pliers to secure the stopper in place. Step 6: Test the drain Turn on the water and test your bathroom sink drain. If the water is draining properly, you have successfully removed and cleaned the stopper. If the drain is still slow, you may need to try a different method or call a professional for assistance.Step-by-Step Guide for Removing Bathroom Sink Stopper


Step-by-Step Guide for Removing Bathroom Sink Stopper


Removing a bathroom sink stopper is a simple DIY project that can save you time and money. By following the steps outlined in this article, you can easily remove and clean your bathroom sink stopper without the need for a plumber.DIY: Removing Bathroom Sink Stopper


DIY: Removing Bathroom Sink Stopper


If you're short on time or don't have the necessary tools, there is a quick and easy method for removing a bathroom sink stopper. Instead of using pliers to loosen the nut, you can simply unscrew it with a screwdriver. This method may be faster, but it may also require more force.Quick and Easy Method for Removing Bathroom Sink Stopper

Quick and Easy Method for Removing Bathroom Sink Stopper


Here are a few helpful tips and tricks to keep in mind when removing a bathroom sink stopper:Removing Bathroom Sink Stopper: Tips and Tricks


Removing Bathroom Sink Stopper: Tips and Tricks

While removing a bathroom sink stopper may seem like a simple task, there are a few common mistakes that homeowners make. Here are some things to avoid:Common Mistakes to Avoid When Removing Bathroom Sink Stopper


Common Mistakes to Avoid When Removing Bathroom Sink Stopper


The tools you'll need for removing a bathroom sink stopper are simple and can be found in most households:Removing Bathroom Sink Stopper: Tools You'll Need

Removing Bathroom Sink Stopper: Tools You'll Need
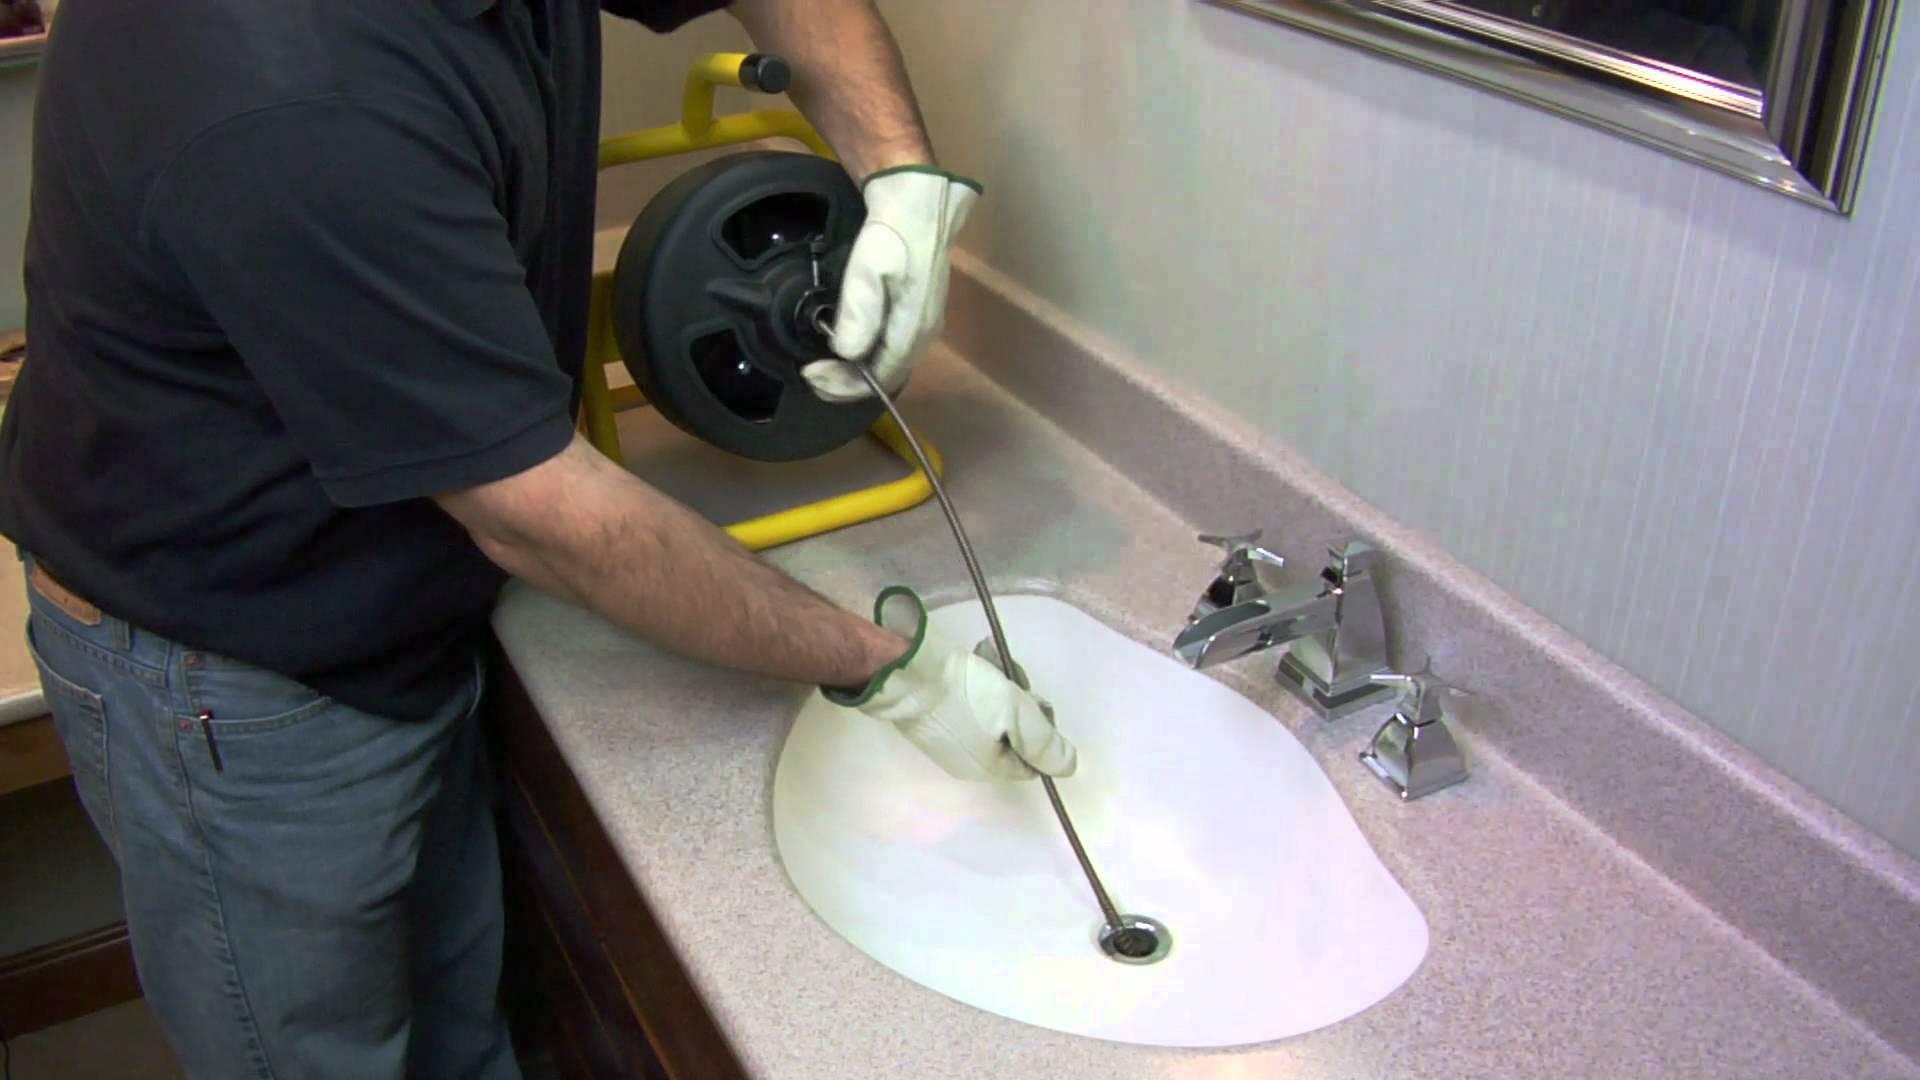
If the DIY method for removing a bathroom sink stopper doesn't work, there may be a more significant issue at hand. Here are some common issues and troubleshooting steps:Removing Bathroom Sink Stopper: Troubleshooting Common Issues

Removing Bathroom Sink Stopper: Troubleshooting Common Issues

While it is possible to remove a bathroom sink stopper on your own, sometimes it's best to leave it to the professionals. If you're unsure of what is causing the issue or don't have the necessary tools, it's best to call a plumber. They have the expertise and tools to quickly and effectively remove the stopper and troubleshoot any underlying issues. In conclusion, removing a bathroom sink stopper may seem like a daunting task, but with the right tools and techniques, it can be a simple DIY project. By following the steps outlined in this article and using our helpful tips and tricks, you can have a clean and fully functioning bathroom sink in no time. Remember, if you encounter any issues or are unsure of what to do, it's always best to consult a professional for assistance.Removing Bathroom Sink Stopper: Professional vs. DIY

Removing Bathroom Sink Stopper: Professional vs. DIY
How to Easily Remove the Stopper from Your Bathroom Sink

Introduction
 Having a functioning bathroom sink is essential for any household. However, if you notice that your sink is not draining as quickly as it used to, it may be time to remove the stopper and give it a good cleaning. Removing the stopper from your bathroom sink is a simple process that can be done in a matter of minutes. In this article, we will provide you with a step-by-step guide on how to easily remove the stopper from your bathroom sink.
Step 1: Gather Your Materials
 Before you begin, make sure you have all the necessary materials. You will need a pair of pliers, a screwdriver, and a small bucket or container to catch any water that may be in the sink.
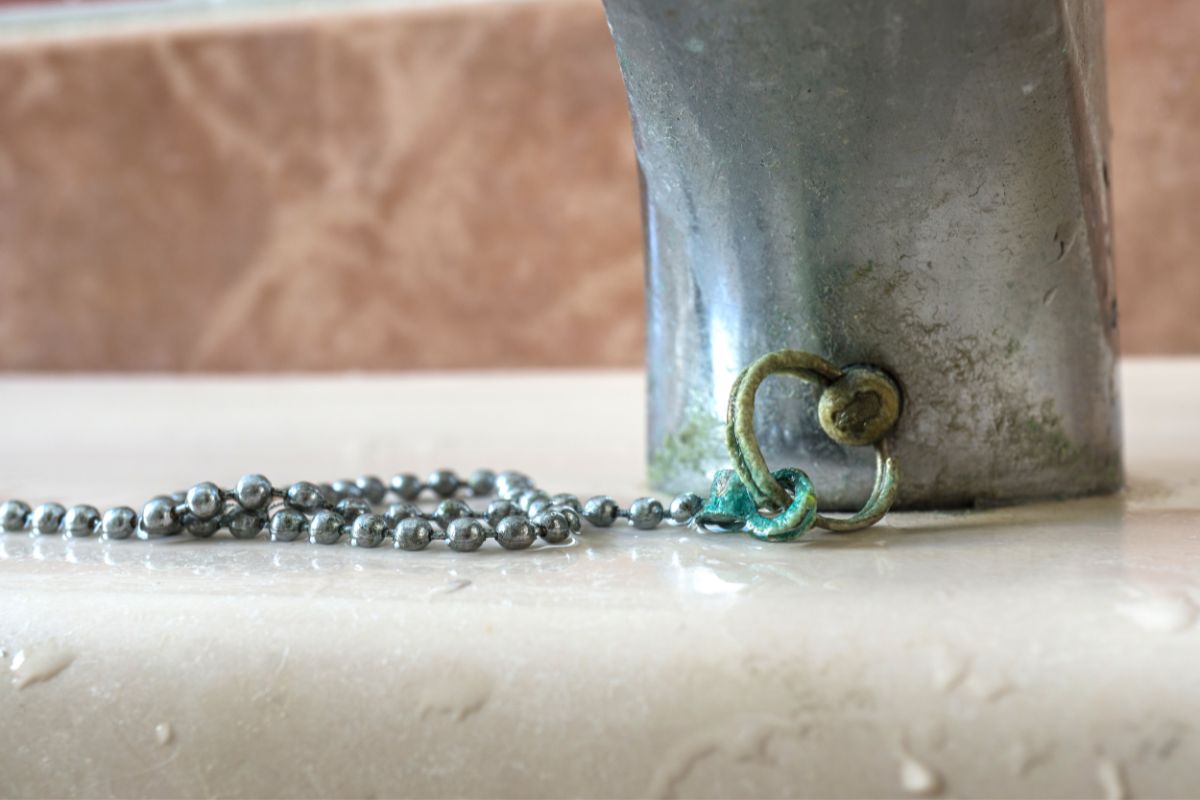
Step 2: Locate the Stopper
 The first step is to locate the stopper. The stopper is usually located on the back of the sink, directly behind the faucet. It is connected to a metal rod that runs through the sink and into the drain.
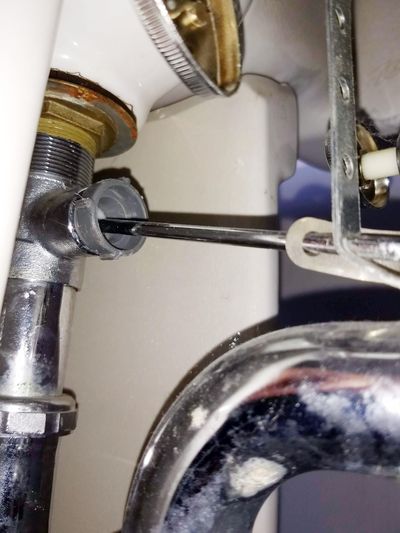
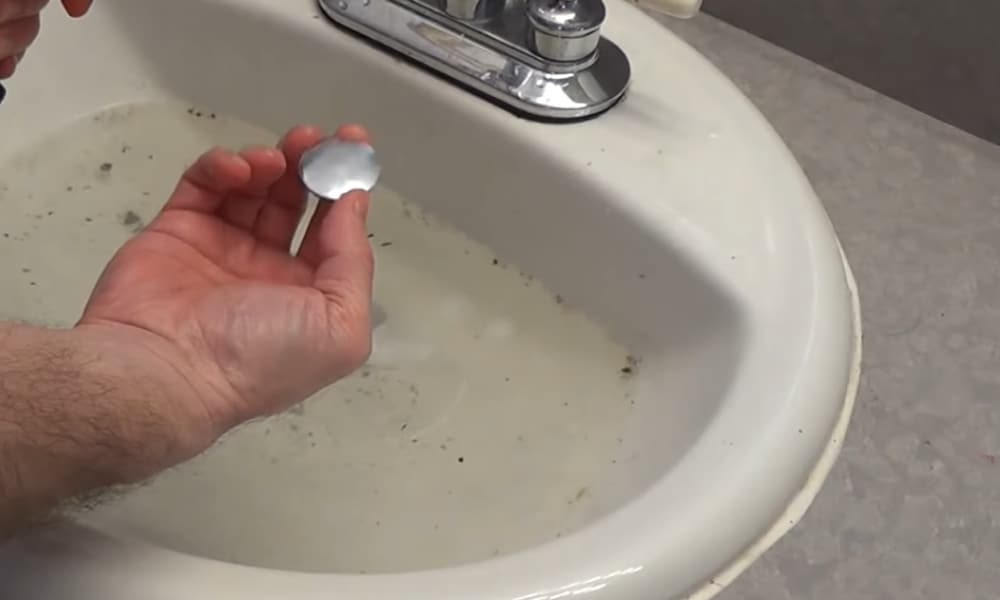
Step 3: Remove the Stopper from the Drain
 Using your pliers, grip the metal rod and turn it counterclockwise to unscrew it from the drain. This will release the stopper from the drain and allow you to pull it out.
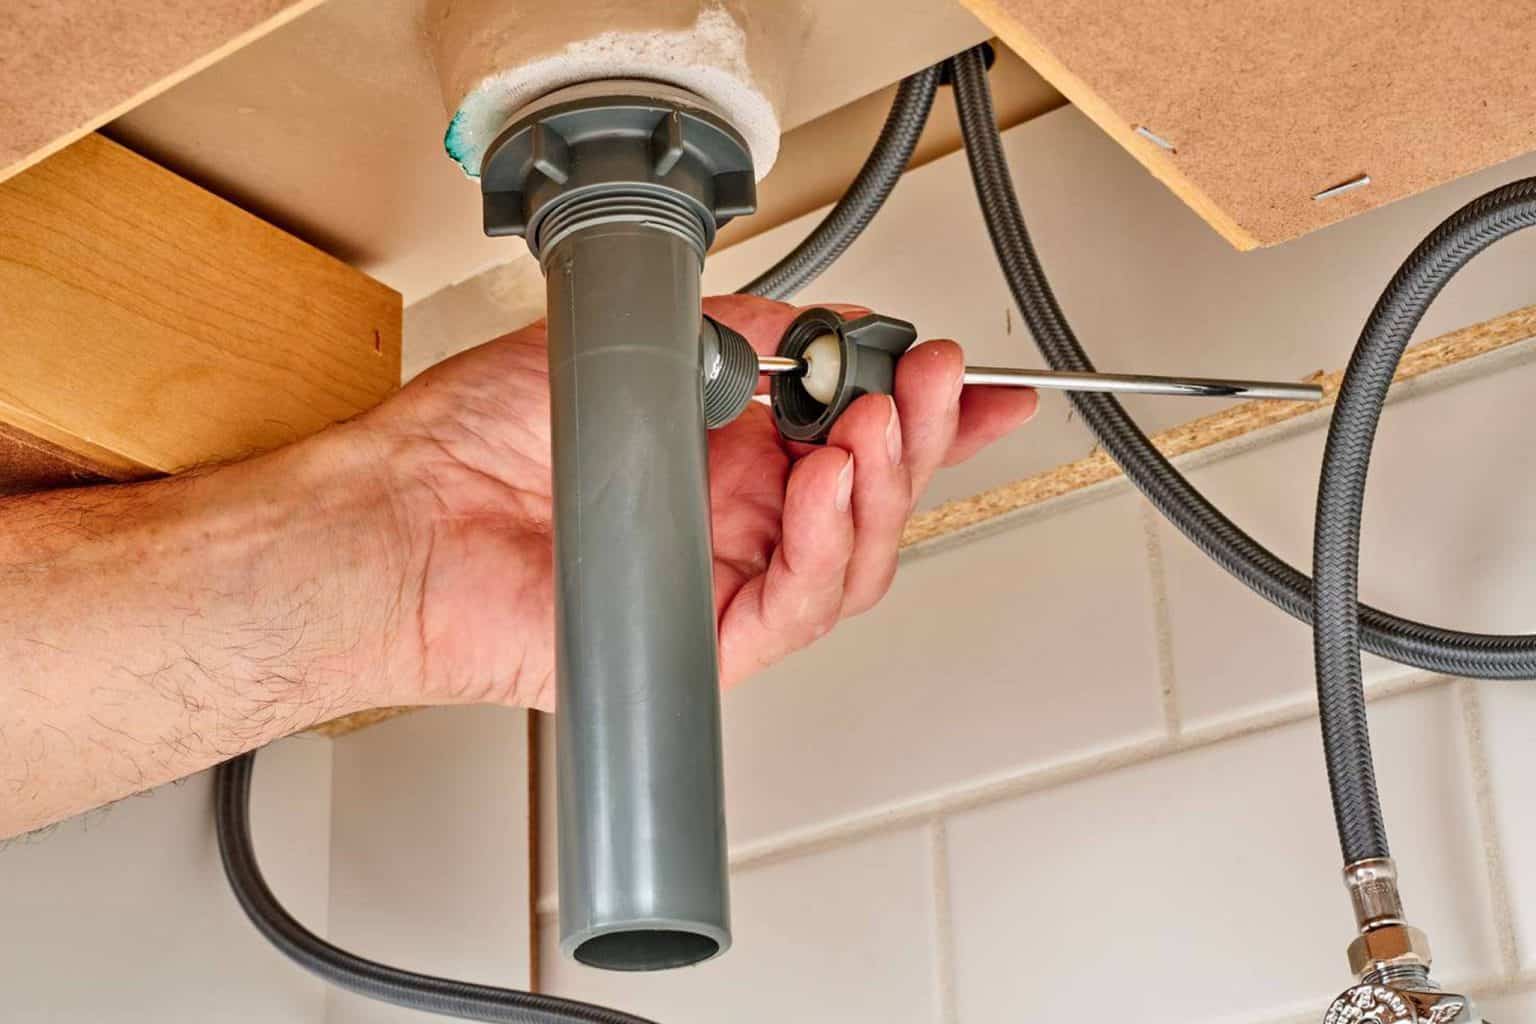
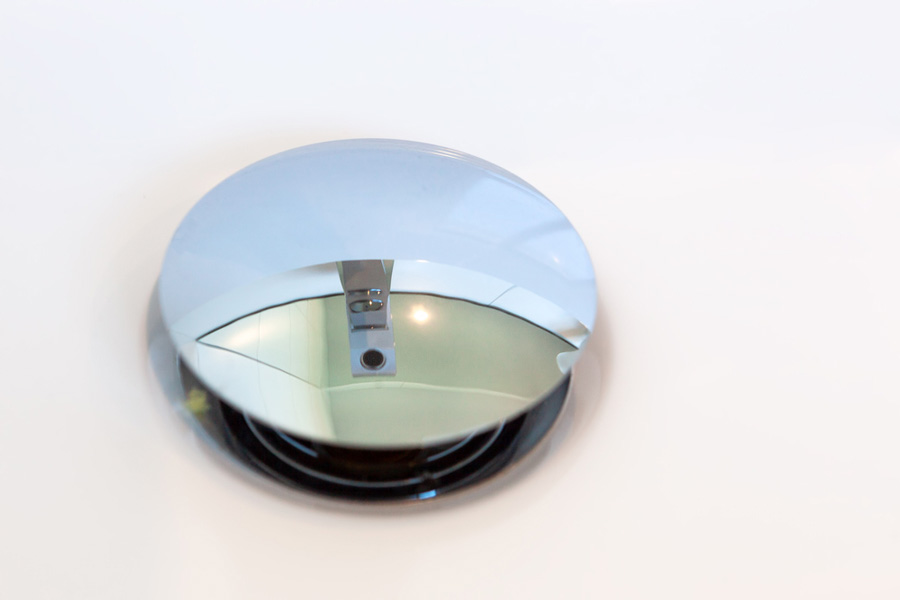
Step 4: Remove the Stopper from the Sink
 After removing the stopper from the drain, you can now remove it from the sink. Look for a small screw located on the side of the stopper. Using your screwdriver, loosen and remove the screw. This will release the stopper from the sink.
Step 5: Clean the Stopper
 Now that the stopper is removed, you can give it a good cleaning. Use a mixture of warm water and mild soap to clean any debris or buildup from the stopper. Rinse it thoroughly and dry it before reassembling.
Step 6: Reassemble the Stopper
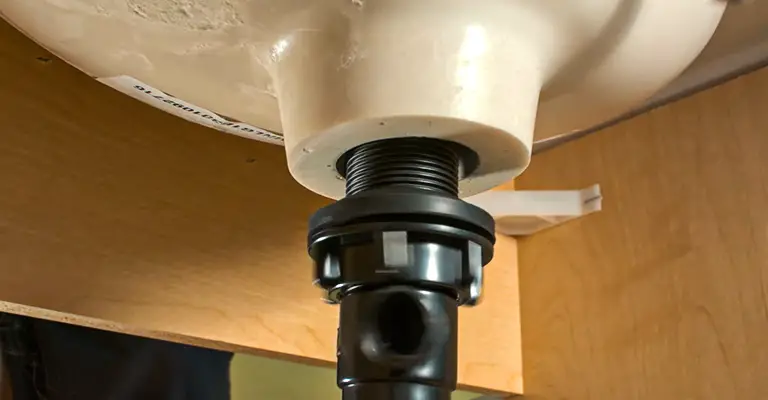 Once the stopper is clean, you can reassemble it by following the steps in reverse order. Place the stopper back into the sink and secure it with the screw. Then, reattach the metal rod to the drain and tighten it with the pliers.
Conclusion
 Removing the stopper from your bathroom sink is a simple and quick process that can improve the functionality and appearance of your sink. By following these steps, you can easily remove the stopper and give it a good cleaning, ensuring that your sink drains properly. Remember to regularly clean your stopper to prevent any future clogs. Now that you know how to remove the stopper, you can confidently tackle any bathroom sink maintenance in the future.