If you're planning on renovating your bathroom or just need to replace an old sink, one of the first steps is removing the bathroom sink drain. This may seem like a daunting task, but with the right tools and techniques, it can be done easily. To start, you'll need to gather your tools. You'll need a pair of pliers, a pipe wrench, and a bucket or large bowl to catch any water that may spill out. The first step is to locate the drain and remove any items that may be covering it, such as a drain stopper or decorative cover. Once you have access to the drain, use the pliers to remove the drain flange by turning it counterclockwise. If the flange is difficult to remove, you can use a pipe wrench for extra leverage. Next, you'll need to remove the old drain pipe. Use the pliers to loosen the slip nut and slide it down the pipe. Then, use the pliers to loosen the nut connecting the drain pipe to the P-trap. Once both nuts are loosened, you can remove the drain pipe and set it aside. Finally, remove the drain flange from the sink by pulling it up and out. You may need to wiggle it a bit to loosen it. Once it's removed, you can clean the area before installing a new drain.Removing Bathroom Sink Drain


Removing Bathroom Sink Drain


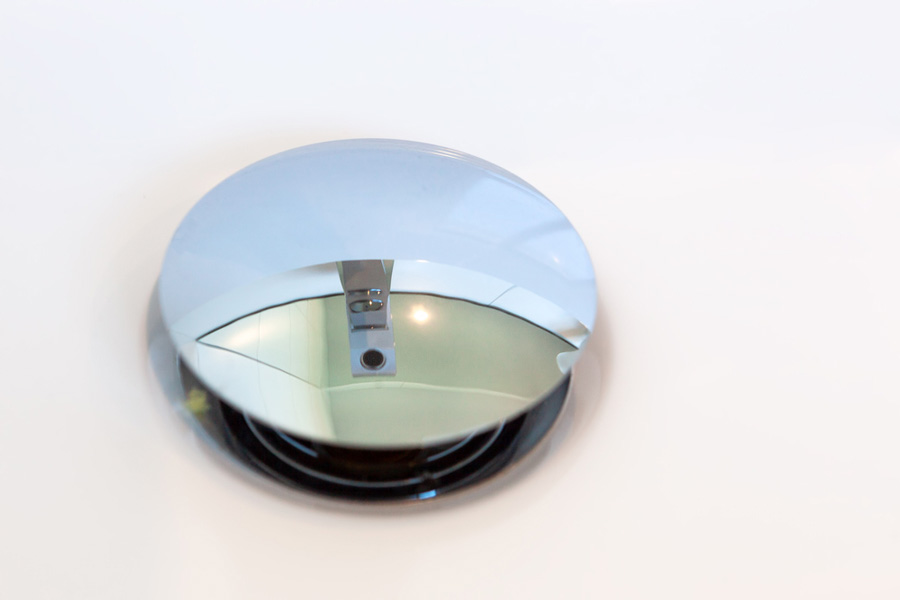
The bathroom sink stopper is a small but important part of your sink. It helps to keep water in the sink for washing and rinsing, but it can also become clogged with hair and debris over time. If you need to replace your stopper or simply clean it out, here's how to do it. First, locate the stopper on your sink. It will be connected to a rod that runs through the back of the drain. You may need to remove any items covering the drain to access the stopper. Next, unscrew the rod from the back of the drain. You can use pliers or a wrench if it's difficult to turn by hand. Once the rod is unscrewed, you can pull the stopper out of the drain. If you're just cleaning the stopper, you can use a brush or rag to remove any debris and buildup. If you need to replace the stopper, you can find a replacement at your local hardware store and simply install it in the same manner.Removing Bathroom Sink Stopper


Removing Bathroom Sink Stopper


Replacing an old bathroom sink faucet is a great way to update the look of your bathroom. Before installing a new faucet, you'll need to remove the old one. Here's how to do it: Start by turning off the water supply to your sink. You can usually do this by turning the valves under the sink clockwise. If there are no valves, you'll need to turn off the main water supply for your house. Next, you'll need to disconnect the water supply lines from the faucet. Use pliers to loosen the nuts and then remove the lines. You may need a bucket or bowl to catch any water that may spill out. Once the water supply lines are disconnected, you can remove the mounting nuts that hold the faucet in place. These are usually located under the sink and can be loosened with pliers or a wrench. Finally, lift the old faucet out of the sink and clean the area before installing your new faucet.Removing Bathroom Sink Faucet
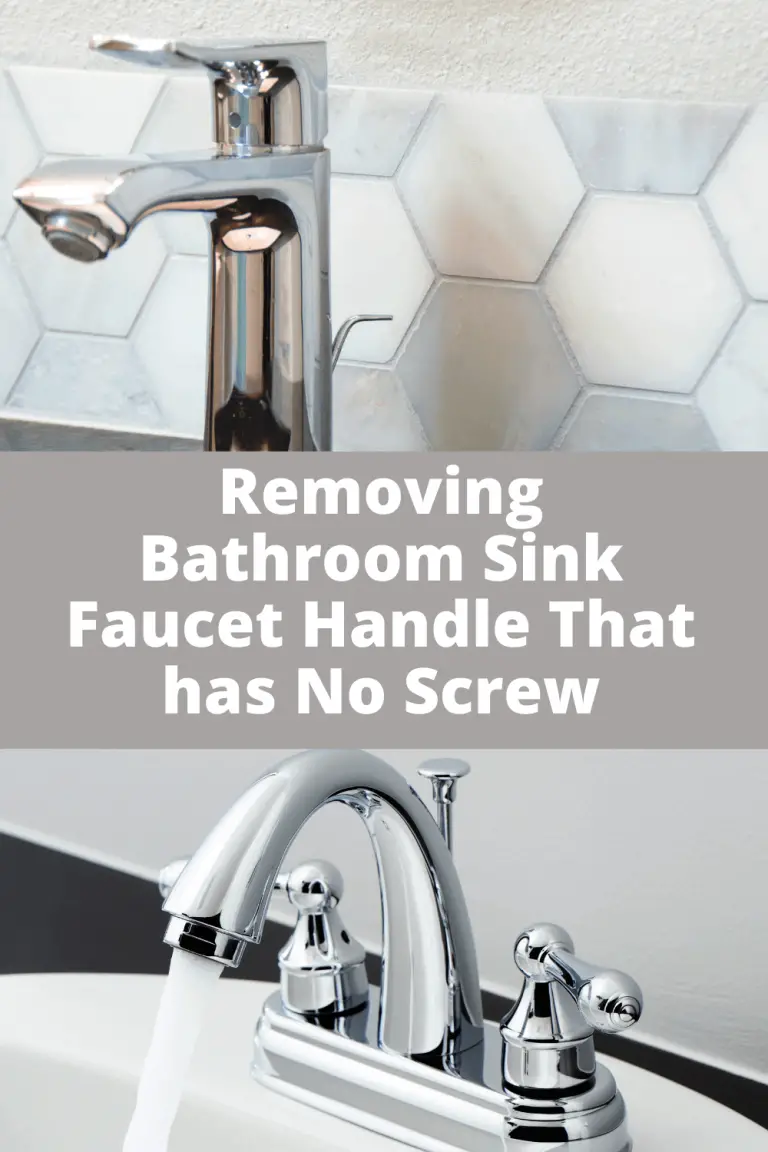


Removing Bathroom Sink Faucet


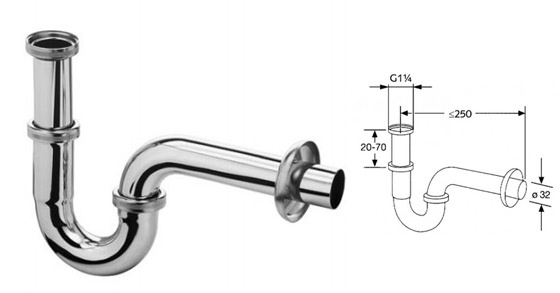
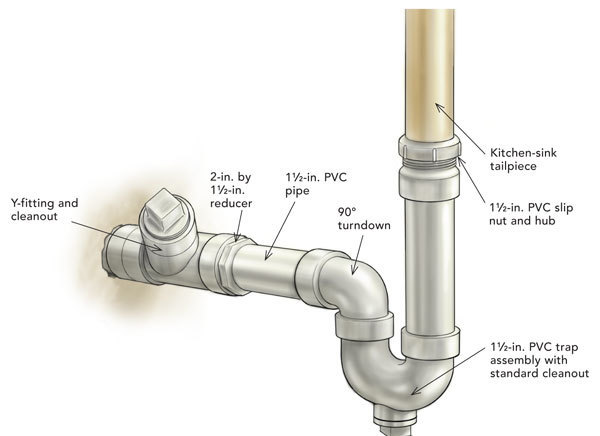
The P-trap is a curved section of pipe that connects your sink to the main plumbing line. It's an important part of your sink's drainage system, but it can become clogged with debris and buildup over time. Here's how to remove and clean your P-trap: Start by placing a bucket or large bowl under the P-trap to catch any water that may spill out. Then, use pliers to loosen the slip nuts on both sides of the P-trap. Once the nuts are loosened, you can remove the P-trap and set it aside. Next, clean out any debris and buildup from the P-trap using a brush or rag. You can also use a pipe cleaner or vinegar and baking soda solution to dissolve any stubborn clogs. Once the P-trap is clean, you can reattach it to your sink and main plumbing line. Make sure the slip nuts are tightened securely to avoid any leaks.Removing Bathroom Sink P-Trap


Removing Bathroom Sink P-Trap


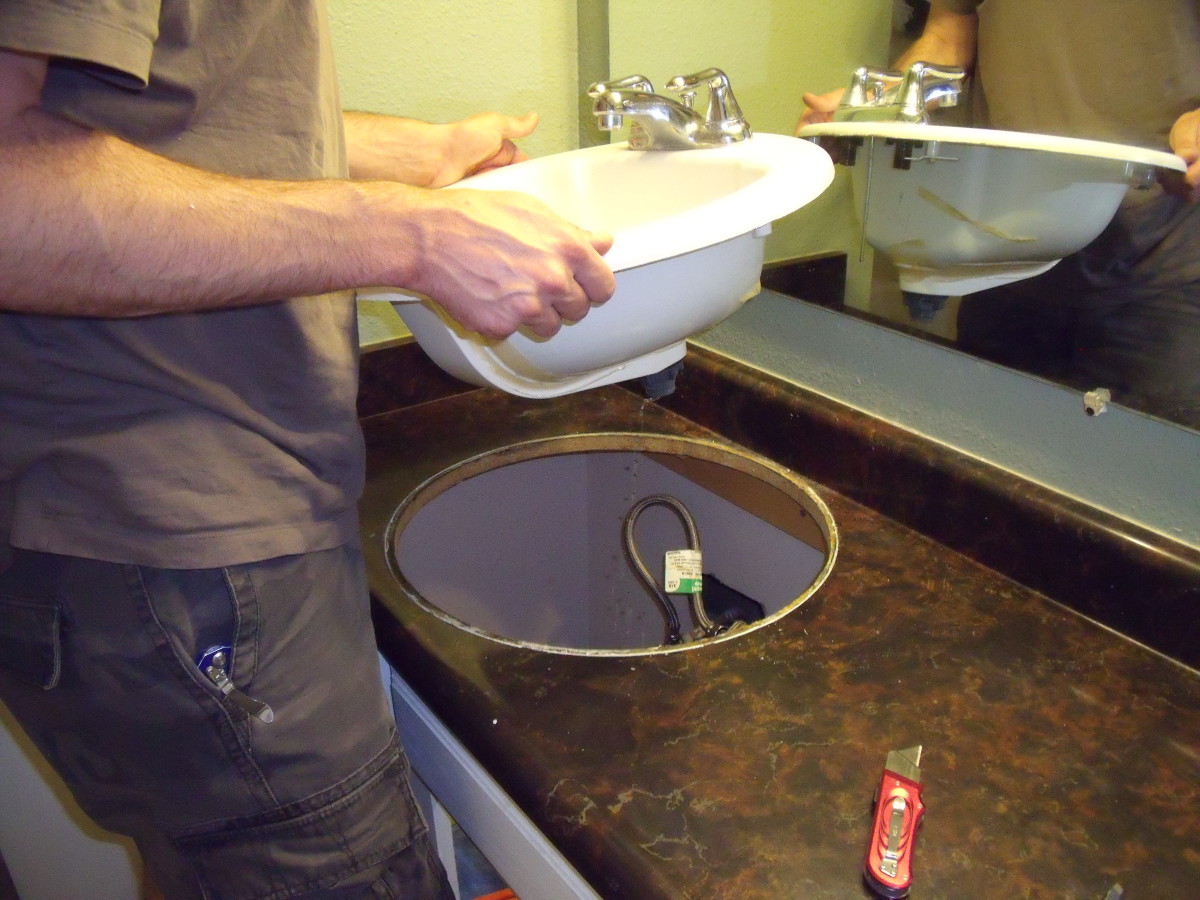
If you're looking to completely renovate your bathroom, you may need to remove the entire sink and countertop. This can be a more involved process, but with the right tools and steps, it can be done successfully. Start by turning off the water supply to your sink and disconnecting all water supply lines as mentioned in the previous sections. Then, remove any caulk or adhesive around the edges of your countertop using a putty knife or scraper. Next, locate the mounting clips that hold your sink to the countertop. These are usually located underneath the sink and can be loosened with pliers or a wrench. Once the clips are loosened, you can lift the sink and countertop out of place. If your sink and countertop are one piece, you may need to use a saw to cut the countertop into smaller sections for easier removal. Once the countertop is removed, you can clean the area and install your new sink and countertop.Removing Bathroom Sink Countertop


Removing Bathroom Sink Countertop


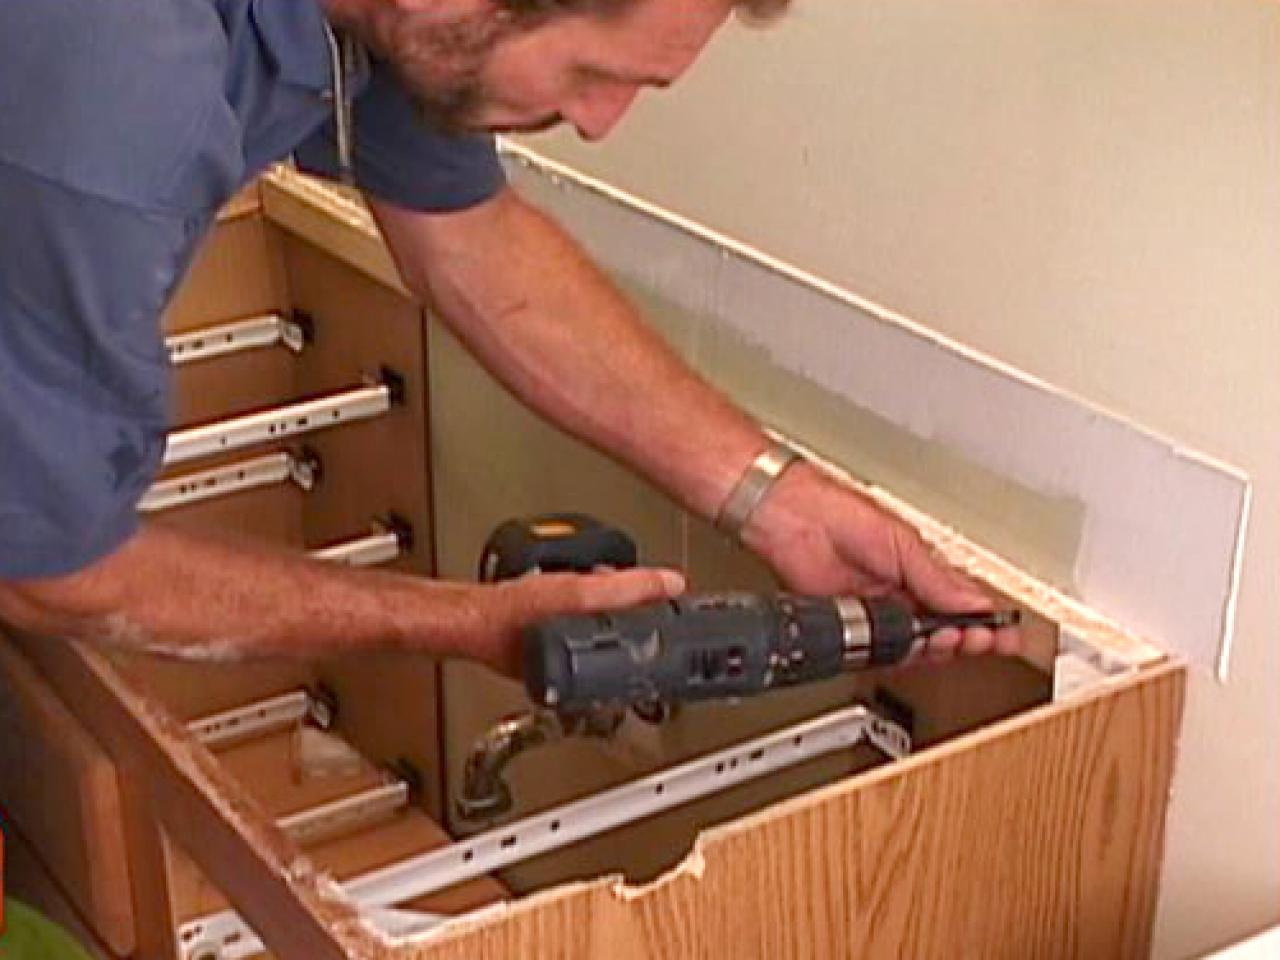
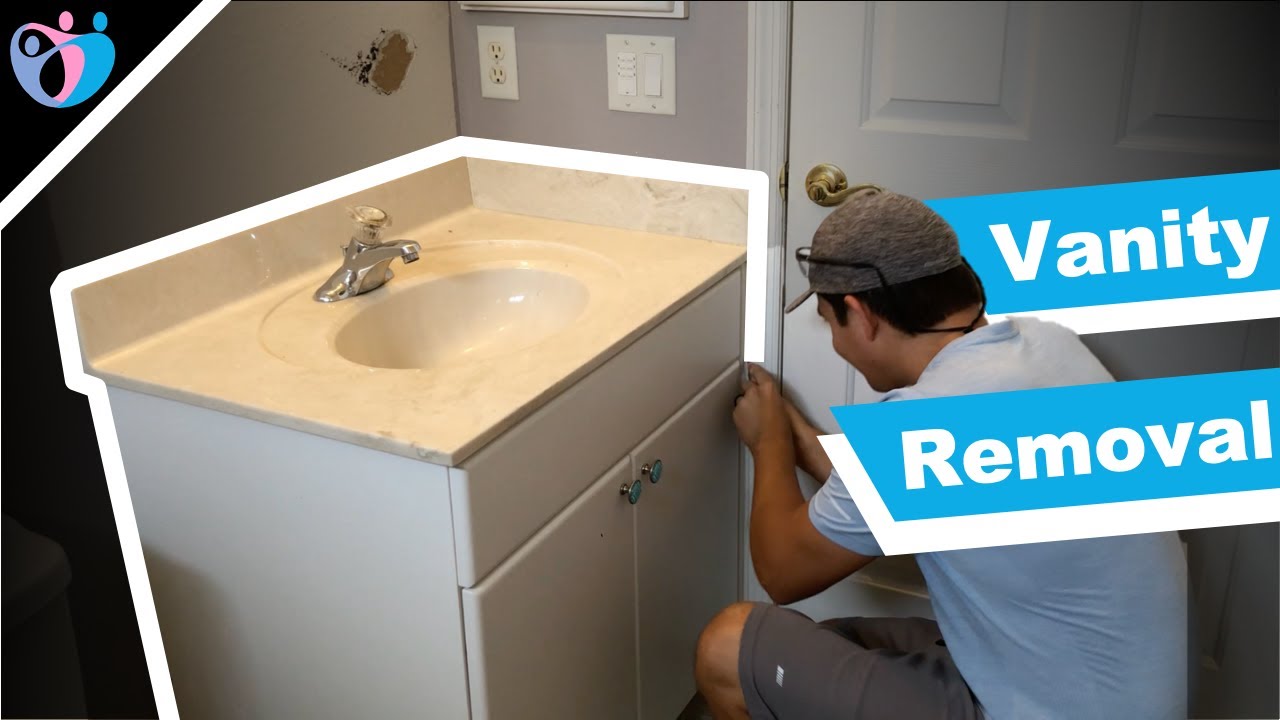
In some cases, you may need to remove the entire bathroom sink cabinet to make room for a new one. This can be a more involved process, but it can be done with the right tools and steps. Start by turning off the water supply and disconnecting all water supply lines as mentioned in previous sections. Then, remove any caulk or adhesive around the edges of the cabinet using a putty knife or scraper. Next, locate the screws or brackets that hold the cabinet to the wall. These may be hidden behind the cabinet or under the sink. Use a screwdriver or drill to remove these and then carefully lift the cabinet off the wall. If your sink is attached to the cabinet, you may need to remove it as well using the steps mentioned in the previous sections. Once the cabinet is removed, you can clean the area and install your new cabinet and sink.Removing Bathroom Sink Cabinet

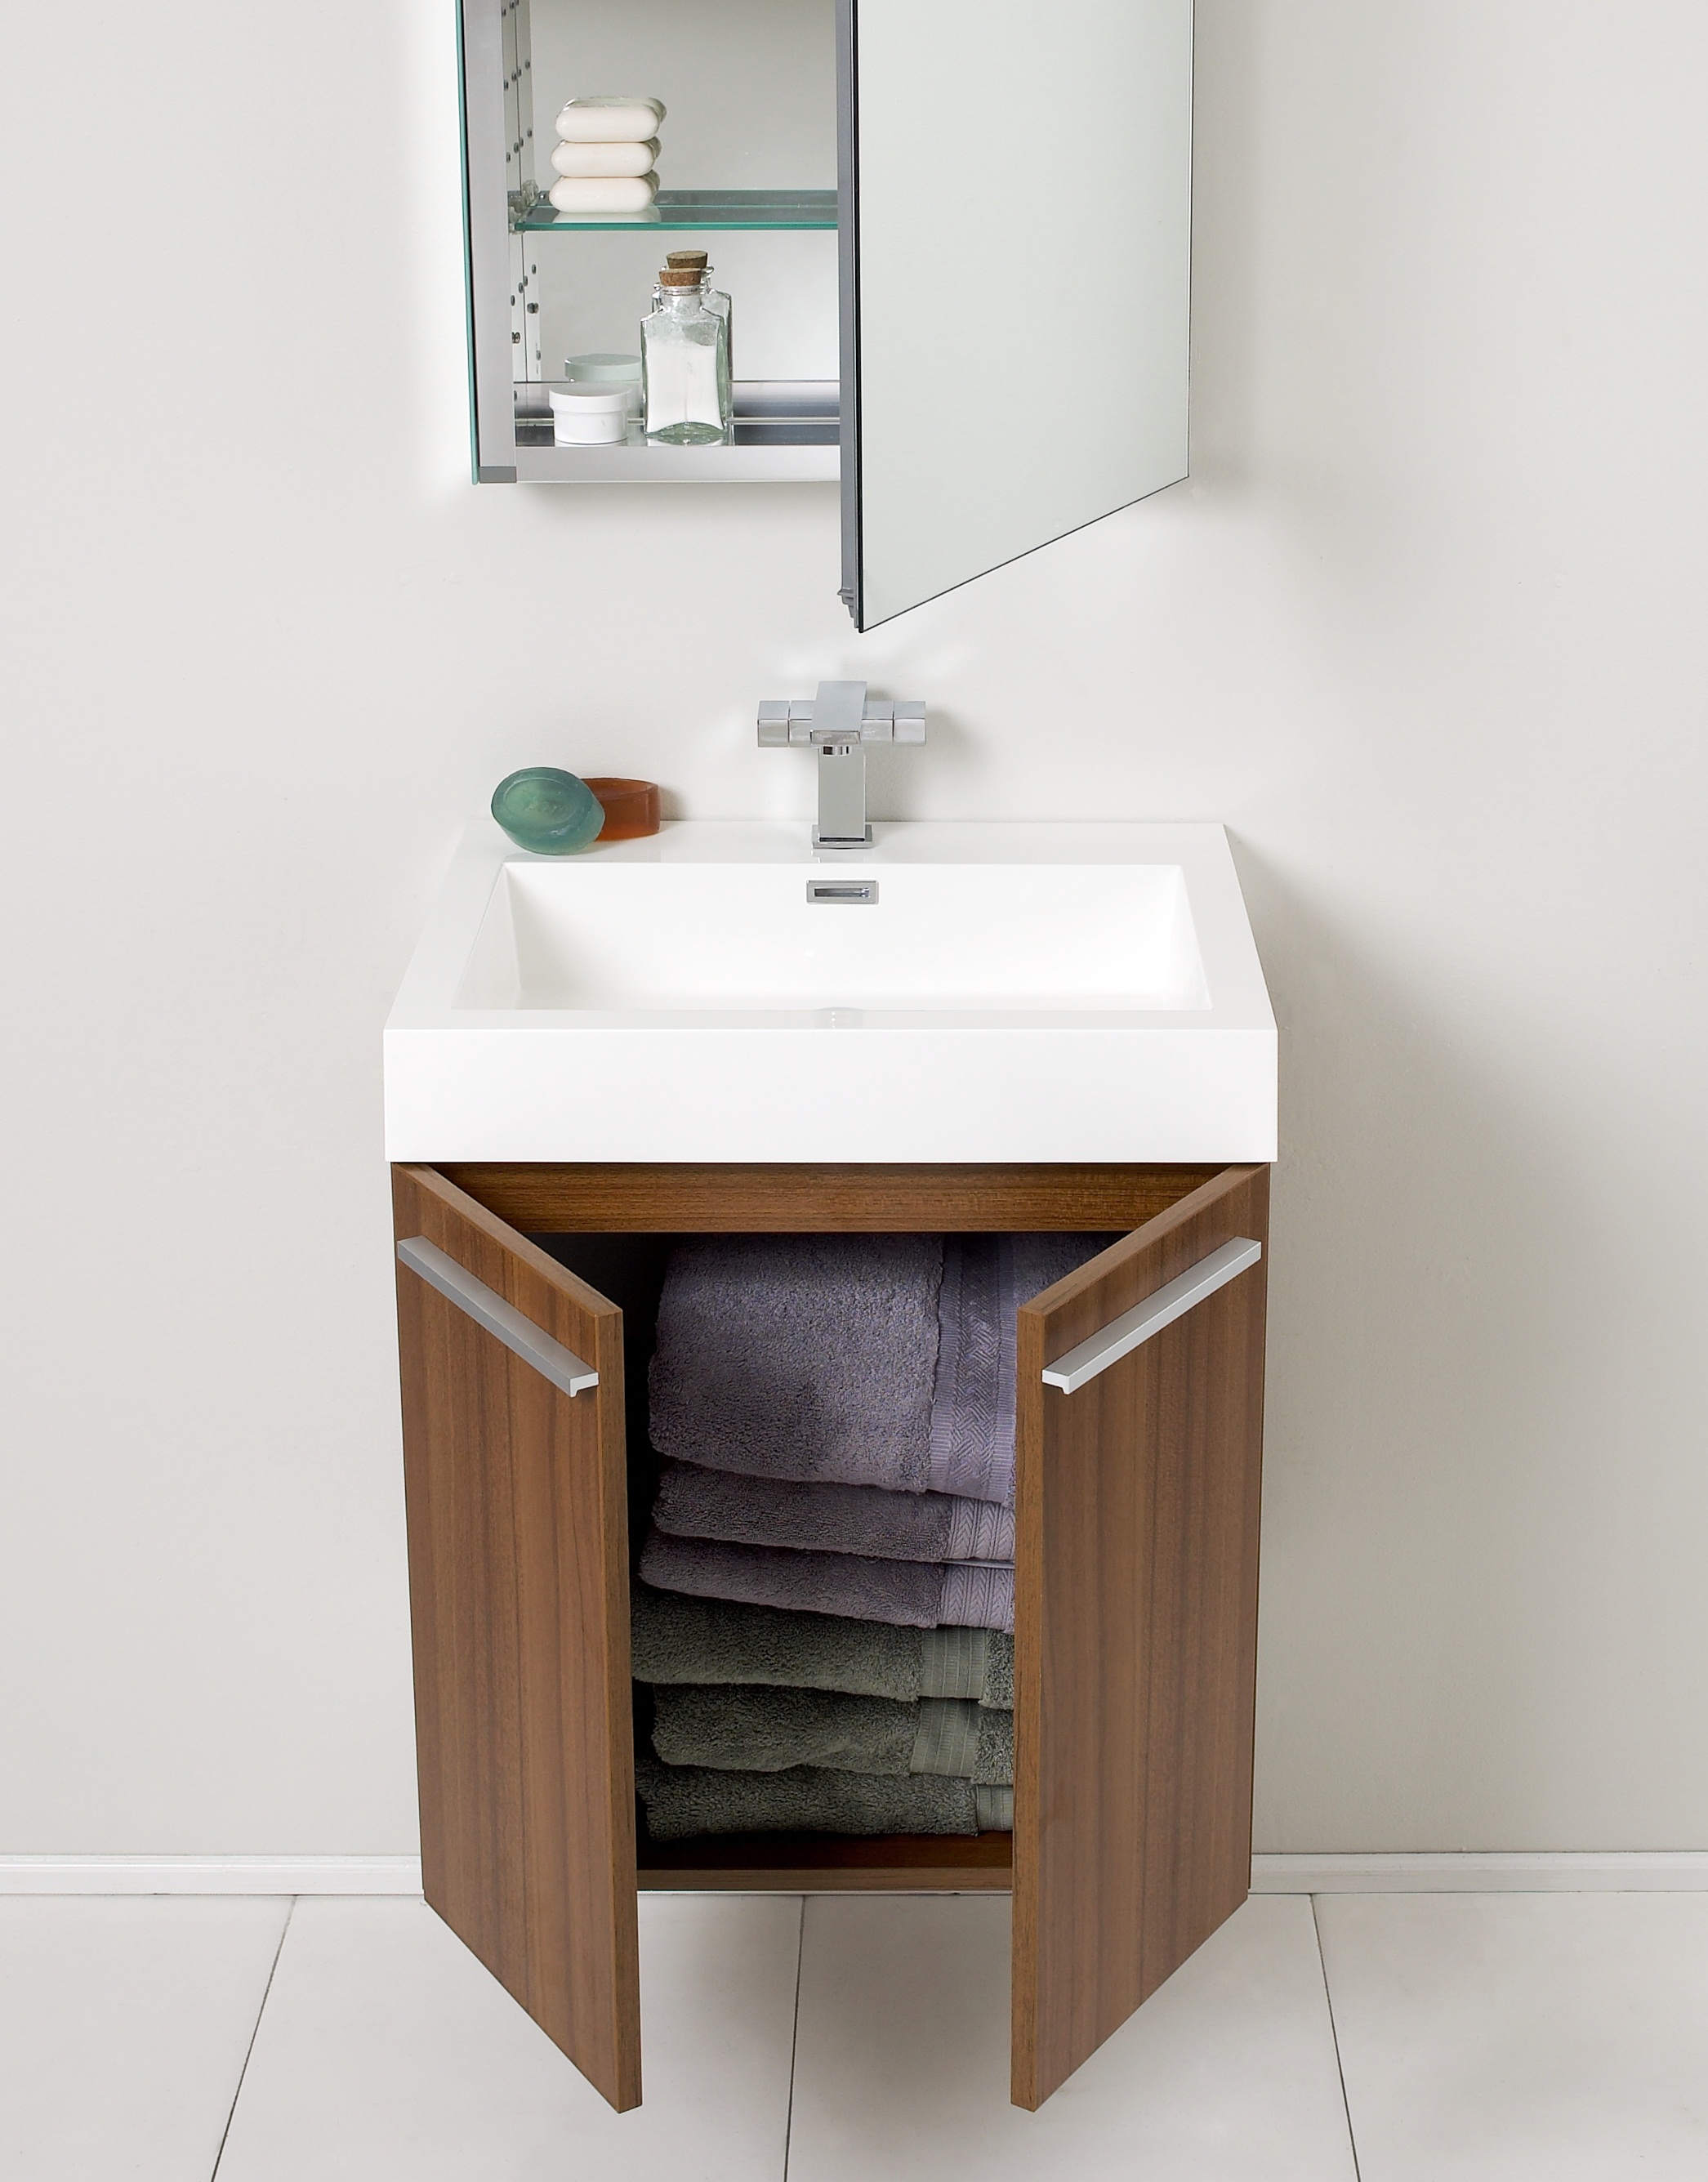

Removing Bathroom Sink Cabinet


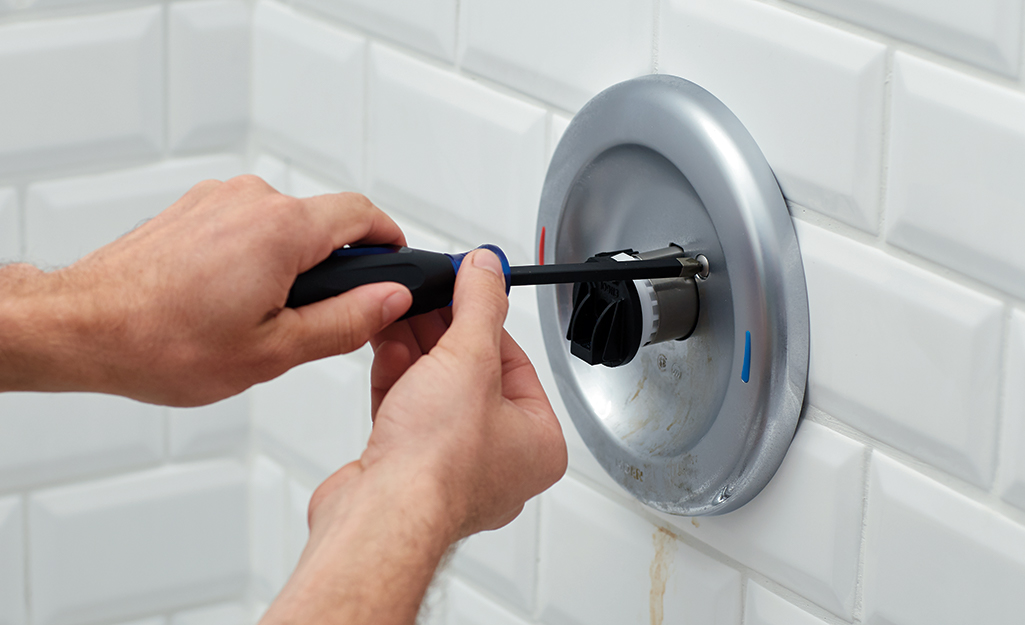
The pop-up assembly is the mechanism that opens and closes the sink drain when you pull or push on the stopper. Over time, this assembly can become clogged or worn out and may need to be replaced. Here's how to remove and replace it: Start by removing any items covering the drain and then unscrewing the rod that connects the stopper to the back of the drain. Next, use pliers to loosen the nut that holds the pop-up assembly in place. Once the nut is loosened, you can pull the assembly out of the drain. Inspect the assembly for any damage or buildup and replace it if necessary. To install the new assembly, simply follow these steps in reverse order.Removing Bathroom Sink Pop-Up Assembly


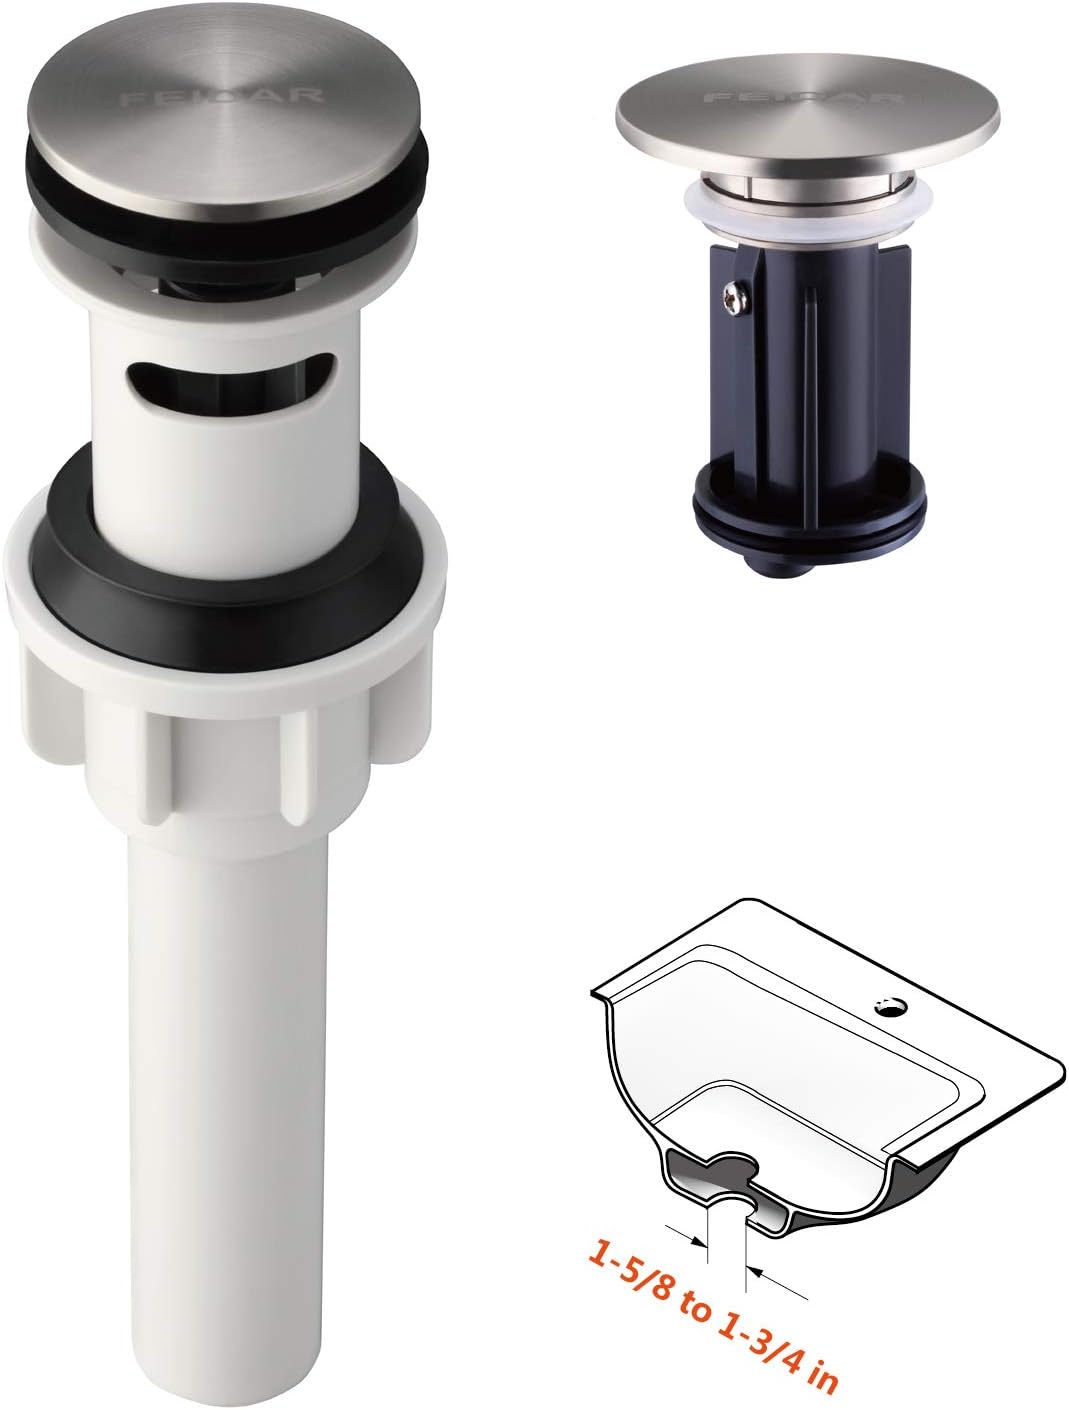
Removing Bathroom Sink Pop-Up Assembly
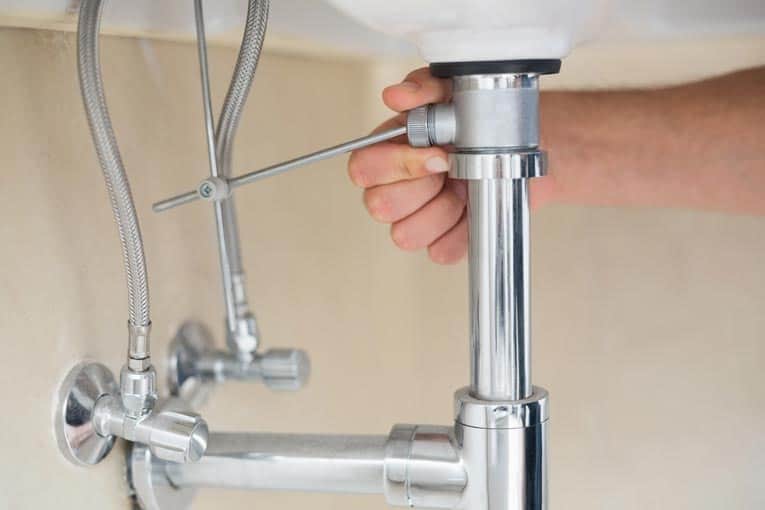


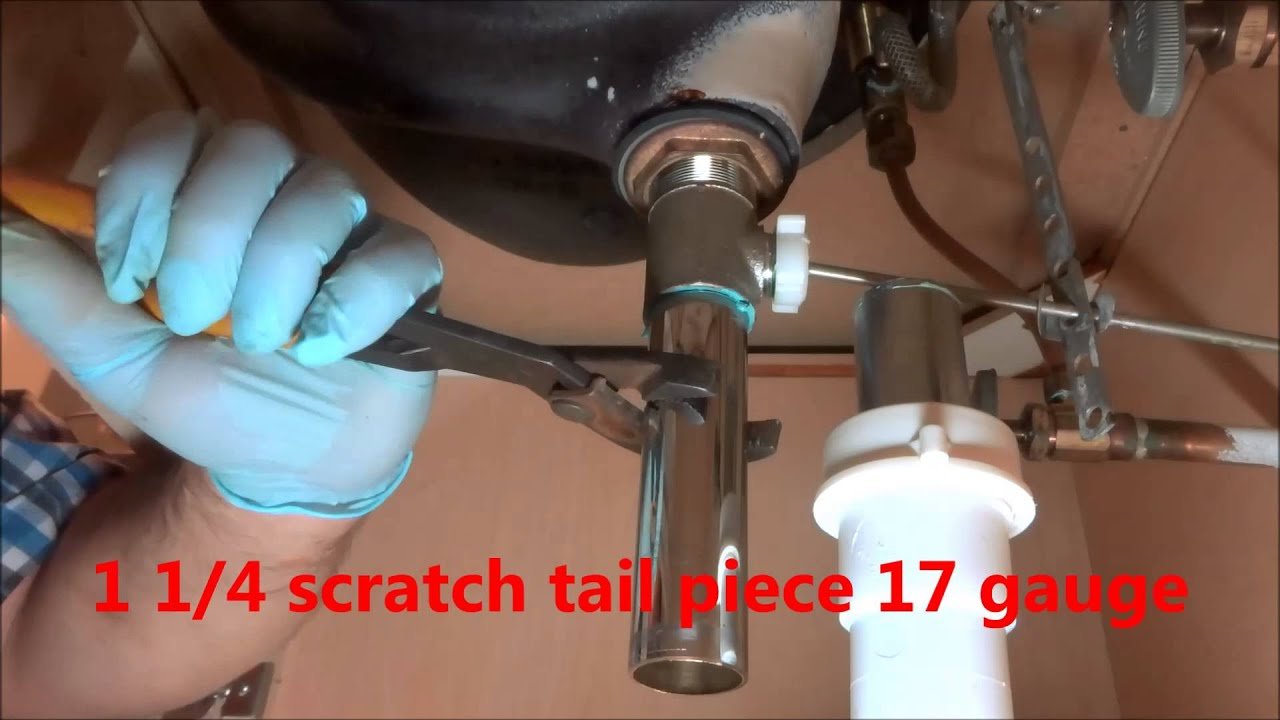
The tailpiece is the vertical section of pipe that connects your sink drain to the P-trap. If you need to replace this part, you'll need to remove it first. Here's how to do it: Start by placing a bucket or large bowl under the tailpiece to catch any water that may spill out. Then, use pliers to loosen the slip nut connecting the tailpiece to the P-trap. Once the nut is loosened, you can remove the tailpiece and set it aside. If the tailpiece is difficult to remove, you may need to use a pipe wrench for extra leverage. Once it's removed, you can clean the area and install your new tailpiece.Removing Bathroom Sink Tailpiece


Removing Bathroom Sink Tailpiece

u0026$50_article$u0026fmtu003dwebp)


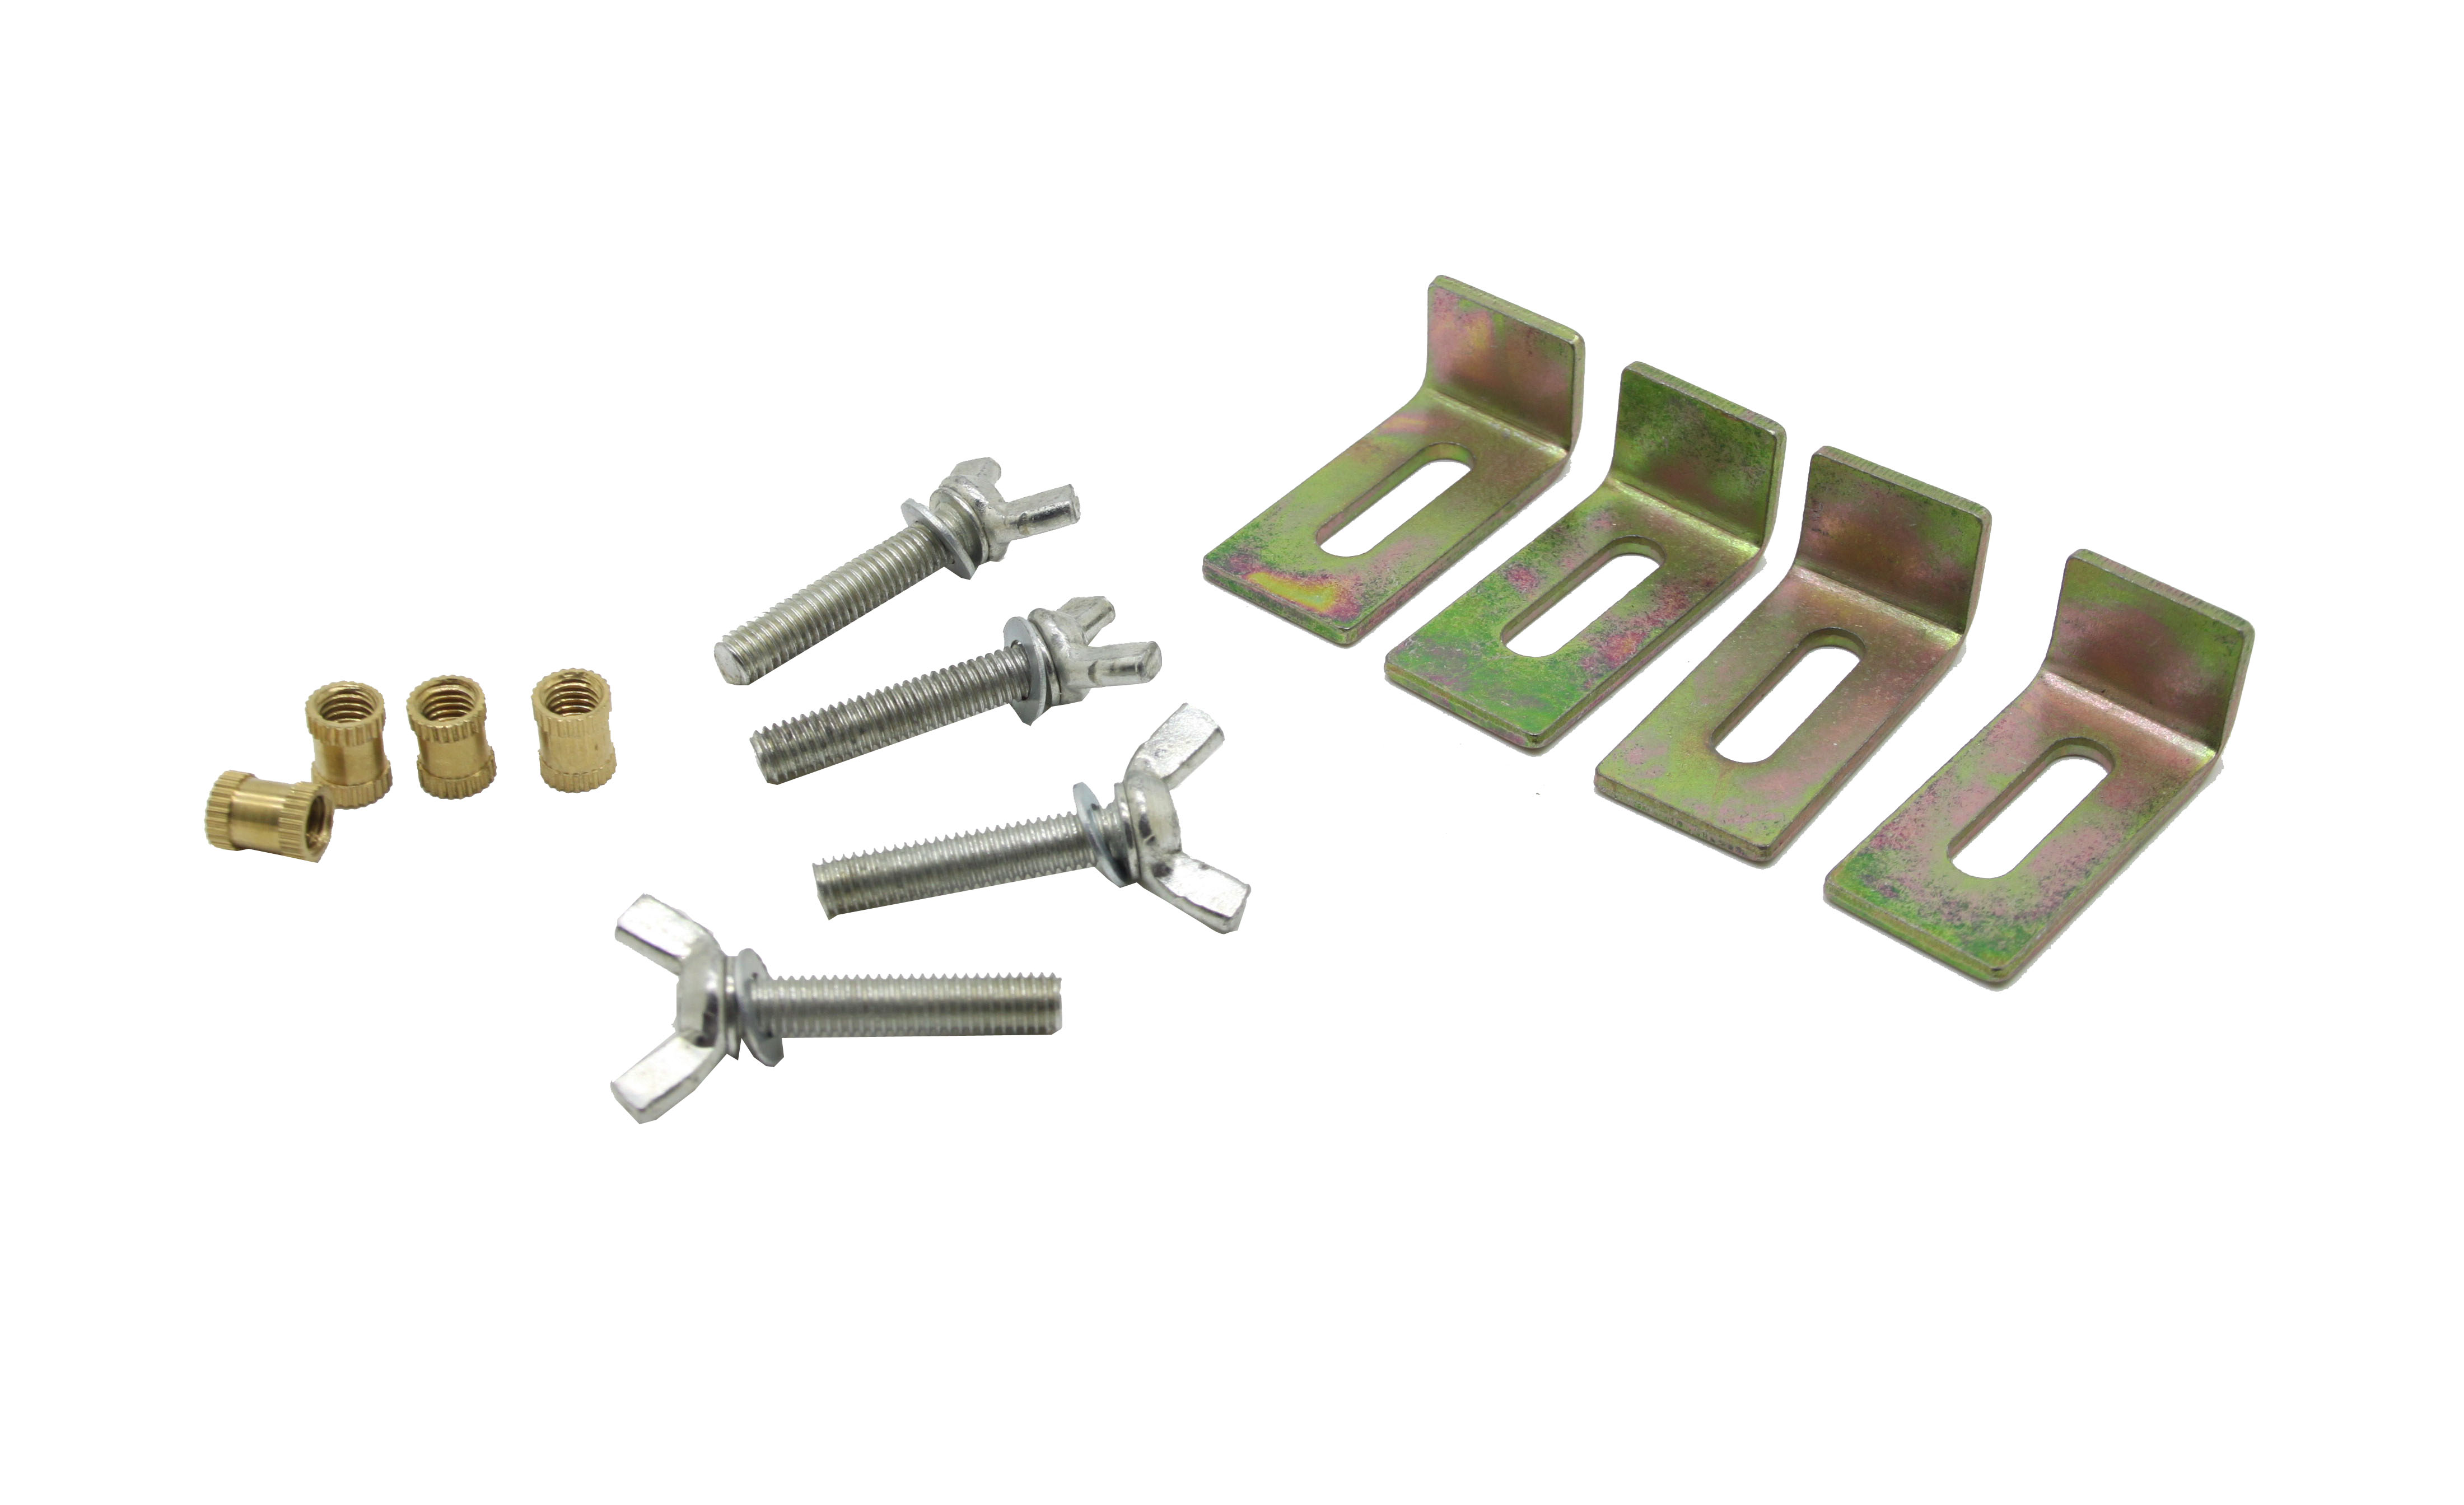
The mounting clips are what hold your sink to the countertop or cabinet. If you need to remove your sink, you'll need to remove these clips first. Here's how: Start by turning off the water supply and disconnecting all water supply lines as mentioned in previous sections. Then, locate the mounting clips under the sink and use pliers or a wrench to loosen them. Once the clips are loosened, you can lift the sink out of place. If the clips are difficult to remove, you may need to use a screwdriver or drill to remove any screws or brackets holding them in place. Once the sink is removed, you can clean the area and install your new sink and mounting clips.Removing Bathroom Sink Mounting Clips


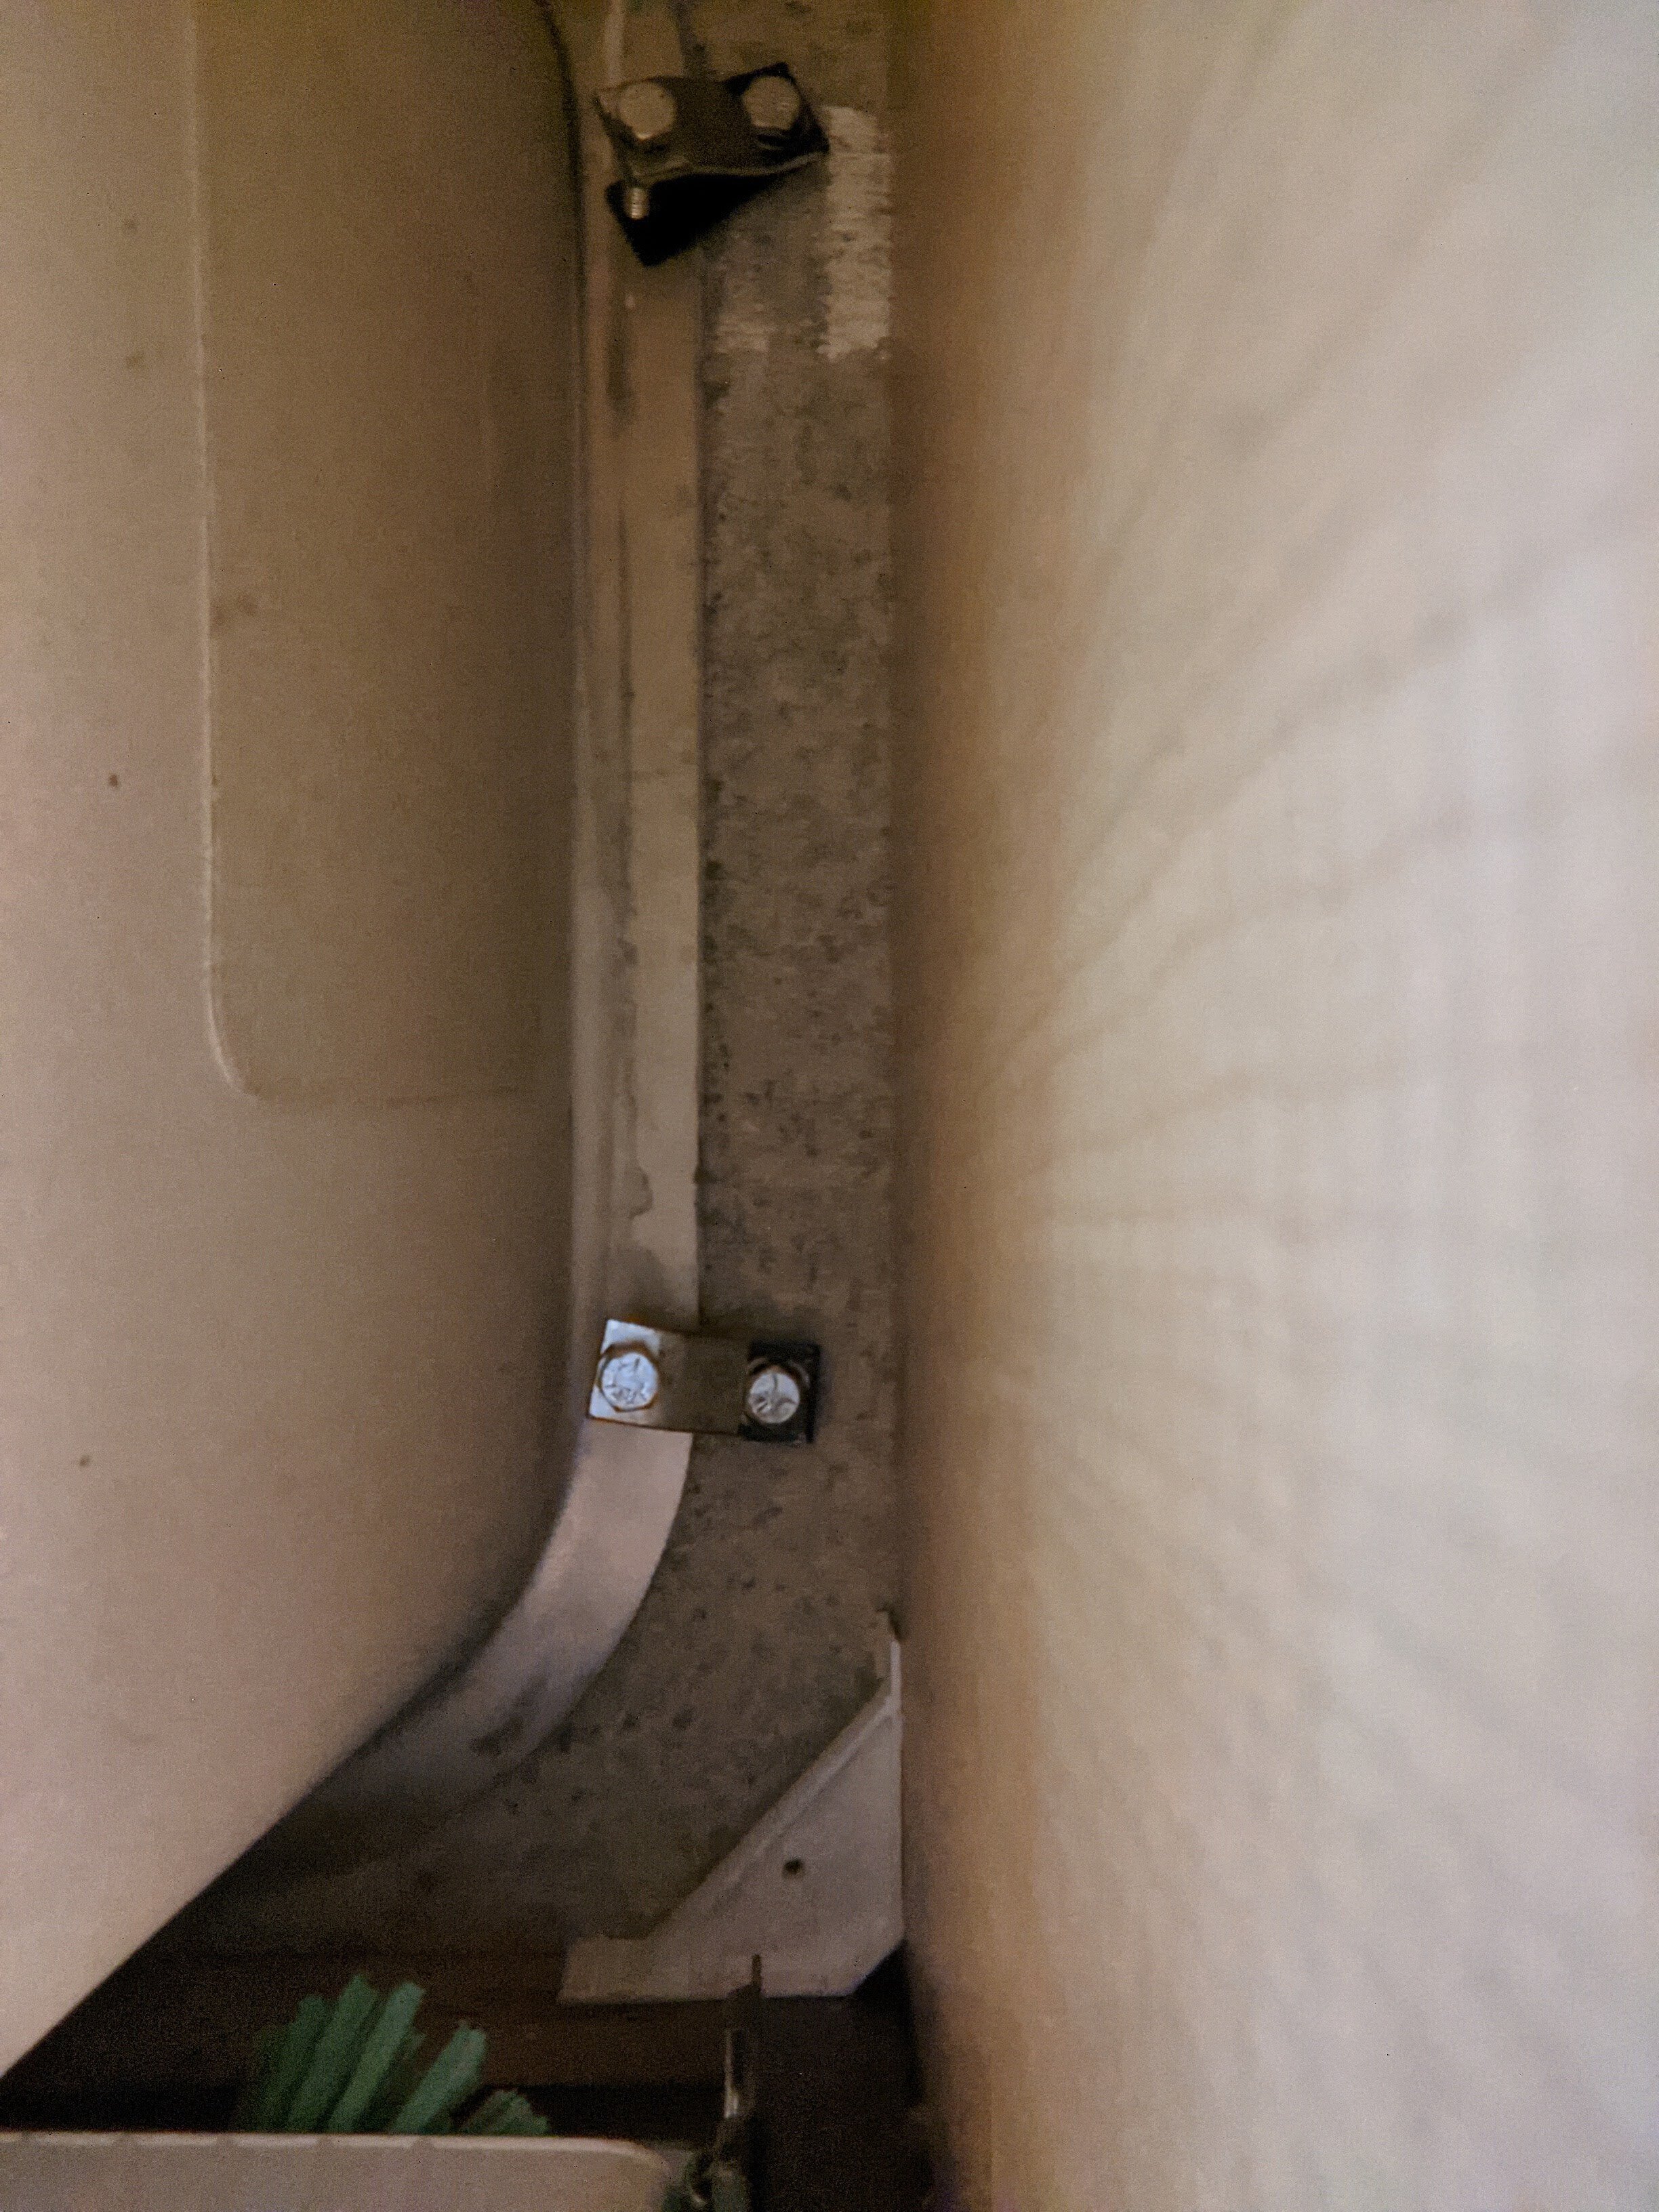
Removing Bathroom Sink Mounting Clips


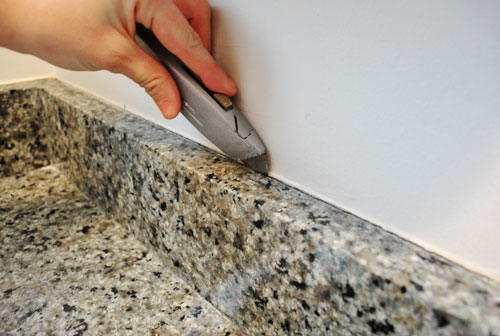
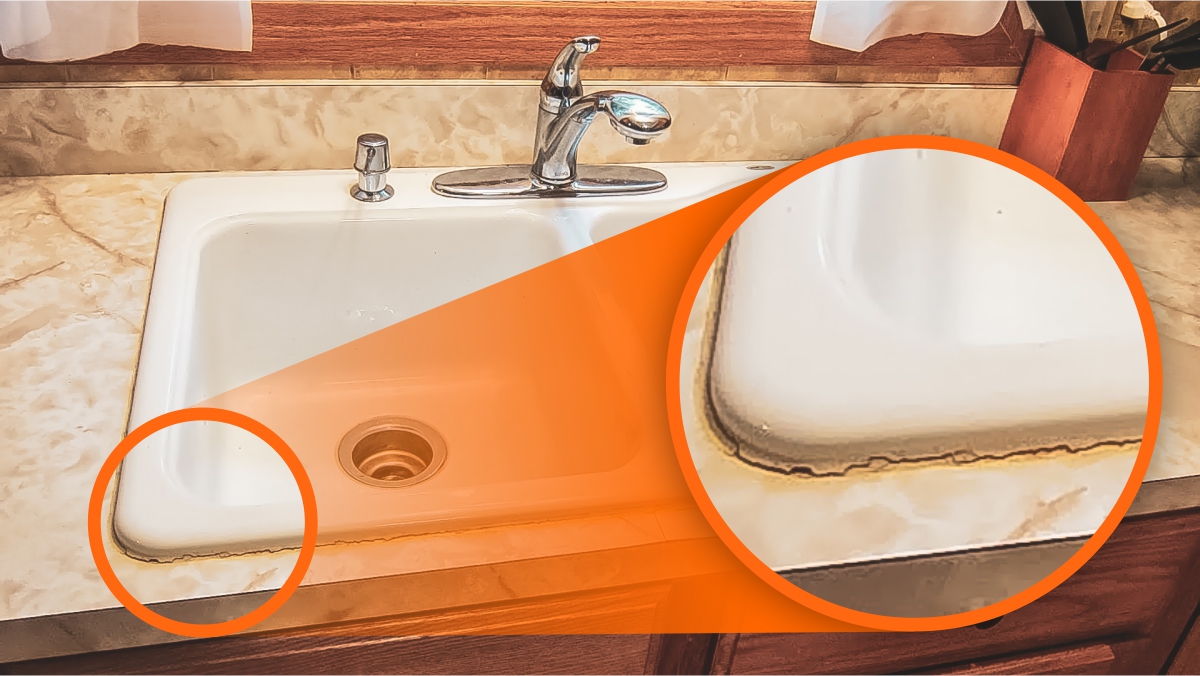
Caulk is used to seal the edges of your sink to prevent any leaks. Over time, caulk can become discolored or cracked and may need to be replaced. Here's how to remove and replace caulk around your bathroom sink: Start by softening the caulk using a caulk softener or a hairdryer. This will make it easier to remove. Next, use a putty knife or scraper to carefully remove the old caulk. You may need to use a caulk removal tool for stubborn spots. Once the old caulk is removed, clean the area with a rag and some rubbing alcohol. This will help to remove any residue and ensure the new caulk adheres properly. Finally, apply a new bead of caulk around the edges of your sink and smooth it out with your finger or a caulk smoothing tool.Removing Bathroom Sink Caulk


Removing Bathroom Sink Caulk

/caulk-removal-tool-56ec7f1b3df78ce5f83535fe.jpg)


:max_bytes(150000):strip_icc()/how-to-remove-old-caulk-1824827-01-3d0370c59e124dbbaa6560c68bab111c.jpg)

As homeowners, we often find ourselves wanting to update and refresh our living spaces. One area that is often overlooked but can make a huge impact is the bathroom sink. Whether it's outdated or simply not functioning properly, removing parts of a bathroom sink can completely transform the look and functionality of this essential space. In this article, we will discuss the steps and considerations to take when removing parts of a bathroom sink, so you can confidently tackle this DIY project and achieve the bathroom of your dreams.
Assess the Situation
 When it comes to removing parts of a bathroom sink, it's important to first assess the current state of your sink. Are you looking to completely replace the sink or just update certain components? Are there any existing issues, such as leaks or cracks, that need to be addressed? These factors will determine how much work needs to be done and what specific tools and materials you will need.
Determine Which Parts to Remove
 Once you have assessed the situation, it's time to determine which parts of the bathroom sink you want to remove. This could include the faucet, handles, drain stopper, or even the entire sink itself.
Make sure to thoroughly research and familiarize yourself with the specific parts of your sink to avoid any potential mishaps.
Additionally, if you are only removing certain components, be sure to have replacements on hand that are compatible with your sink.
Once you have assessed the situation, it's time to determine which parts of the bathroom sink you want to remove. This could include the faucet, handles, drain stopper, or even the entire sink itself.
Make sure to thoroughly research and familiarize yourself with the specific parts of your sink to avoid any potential mishaps.
Additionally, if you are only removing certain components, be sure to have replacements on hand that are compatible with your sink.
Gather Necessary Tools and Materials
 Removing parts of a bathroom sink will require some basic tools and materials. These may include a wrench, pliers, screwdriver, plumber's putty, and plumber's tape.
It's important to have all necessary tools and materials on hand before beginning the removal process to avoid any delays or frustrations.
Removing parts of a bathroom sink will require some basic tools and materials. These may include a wrench, pliers, screwdriver, plumber's putty, and plumber's tape.
It's important to have all necessary tools and materials on hand before beginning the removal process to avoid any delays or frustrations.
Start the Removal Process
 Now that you have assessed the situation and gathered your tools and materials, it's time to start removing the parts of your bathroom sink.
Be sure to shut off the water supply before beginning any work.
Start by disconnecting the water supply lines from the faucet and then remove the faucet. Next, use a wrench to loosen and remove the handles and drain stopper. If you are replacing the sink itself, you will need to carefully remove it from the vanity or countertop.
Now that you have assessed the situation and gathered your tools and materials, it's time to start removing the parts of your bathroom sink.
Be sure to shut off the water supply before beginning any work.
Start by disconnecting the water supply lines from the faucet and then remove the faucet. Next, use a wrench to loosen and remove the handles and drain stopper. If you are replacing the sink itself, you will need to carefully remove it from the vanity or countertop.
Be Mindful of Proper Disposal and Safety
 When removing and disposing of old sink parts, it's important to follow proper safety precautions and disposal guidelines. Some parts, such as faucets and handles, may be able to be recycled. However,
when disposing of the sink itself, it's important to check with your local waste management company for proper disposal methods.
Additionally, be sure to wear protective gear, such as gloves and goggles, to avoid any potential injuries.
When removing and disposing of old sink parts, it's important to follow proper safety precautions and disposal guidelines. Some parts, such as faucets and handles, may be able to be recycled. However,
when disposing of the sink itself, it's important to check with your local waste management company for proper disposal methods.
Additionally, be sure to wear protective gear, such as gloves and goggles, to avoid any potential injuries.
Conclusion
 Removing parts of a bathroom sink may seem like a daunting task, but with the right tools and knowledge, it can be a simple and rewarding DIY project. Remember to assess the situation, gather necessary tools and materials, and take proper safety precautions throughout the removal process. With a little bit of effort, you can give your bathroom sink a much-needed makeover and elevate the overall design of your space.