Removing a kitchen sink adhesive may seem like a daunting task, but with the right tools and techniques, it can be done easily and effectively. Whether you're replacing your old sink or simply need to remove an adhesive residue, the process is similar for most types of sinks. In this article, we will discuss the top 10 methods for removing kitchen sink adhesive.1. Removing Kitchen Sink Adhesive


Removing Kitchen Sink Adhesive


Before we dive into the different methods, it's important to know the basic steps for removing adhesive from a sink. First, you will need to gather the necessary supplies, including a scraper, adhesive remover, and a clean cloth. Next, you will need to prepare the sink by cleaning it thoroughly with warm water and mild soap. Once the sink is clean and dry, you can begin the adhesive removal process.2. How to Remove Adhesive from a Sink


How to Remove Adhesive from a Sink


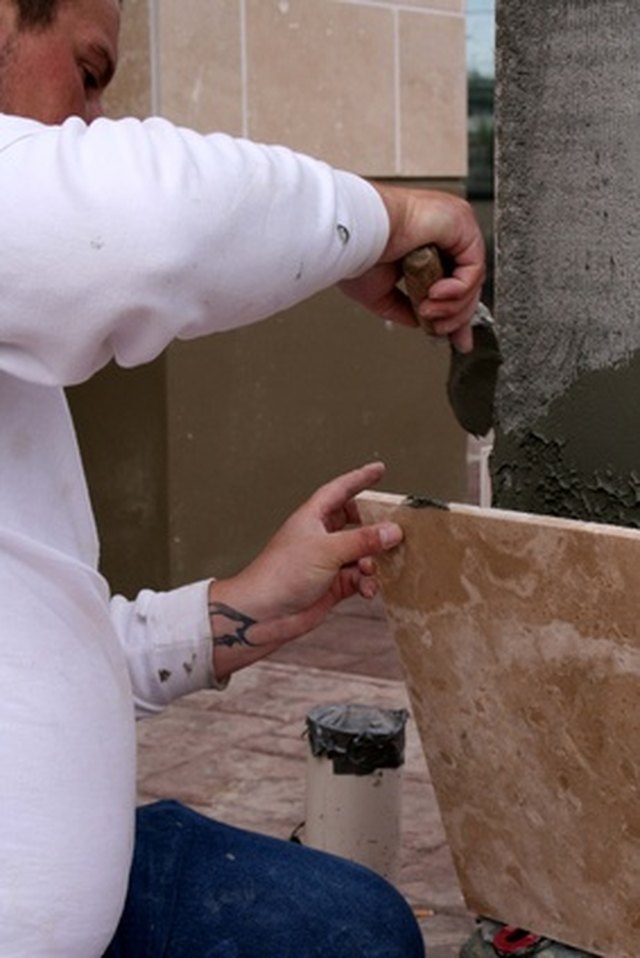
Kitchen sinks can be made of various materials such as stainless steel, porcelain, ceramic, granite, and composite. Each material may require a different approach for removing adhesive. For example, using a heat gun to soften the adhesive may work well for stainless steel sinks, while a solvent-based adhesive remover may be more suitable for composite sinks. We will cover the specific methods for each type of sink in the following headings.3. Removing Adhesive from a Kitchen Sink


Removing Adhesive from a Kitchen Sink


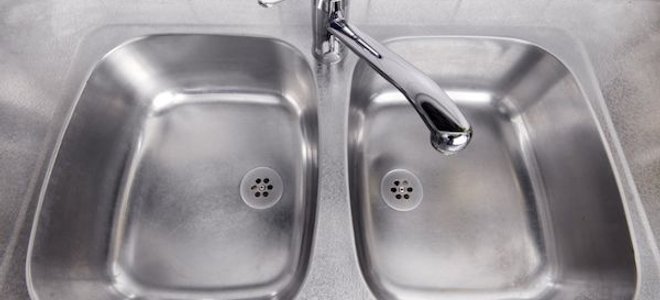
Stainless steel sinks are a popular choice for kitchen sinks due to their durability and sleek appearance. If you need to remove adhesive from a stainless steel sink, you can use a heat gun to soften the adhesive and then scrape it off with a plastic scraper. Be sure to use the heat gun at a low setting and work in small sections to avoid damaging the sink.4. Removing Adhesive from a Stainless Steel Sink


Removing Adhesive from a Stainless Steel Sink


Porcelain sinks are known for their classic and elegant look. When removing adhesive from a porcelain sink, it's important to use a gentle approach to avoid damaging the surface. Mix equal parts of warm water and white vinegar and apply it to the adhesive residue. Let it sit for a few minutes before gently scraping it off with a plastic scraper.5. Removing Adhesive from a Porcelain Sink


Removing Adhesive from a Porcelain Sink
:max_bytes(150000):strip_icc()/woman-removing-old-tiles-645377785-5852d2215f9b586e02d2ee25.jpg)


Ceramic sinks are similar to porcelain sinks in terms of material and appearance. To remove adhesive from a ceramic sink, you can use the same method as for porcelain sinks. However, if the adhesive is particularly stubborn, you may need to use a stronger adhesive remover specifically formulated for ceramic surfaces.6. Removing Adhesive from a Ceramic Sink


Removing Adhesive from a Ceramic Sink
/woman-removing-old-tiles-645377785-5852d2215f9b586e02d2ee25.jpg)


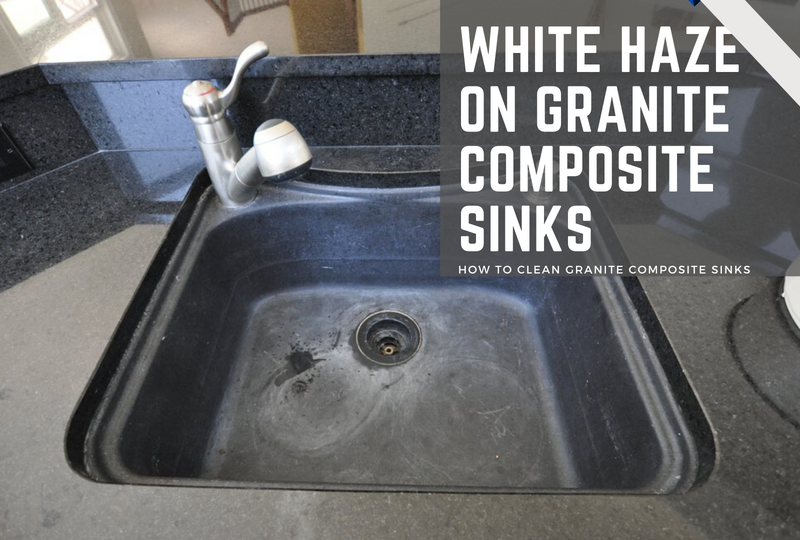
Granite sinks are a luxurious and durable option for any kitchen. When removing adhesive from a granite sink, it's important to avoid using harsh chemicals that can damage the surface. Instead, opt for a gentle adhesive remover or a mixture of warm water and dish soap. Gently scrub the adhesive residue with a soft cloth or sponge until it is completely removed.7. Removing Adhesive from a Granite Sink


Removing Adhesive from a Granite Sink


Composite sinks are a popular choice due to their affordability and durability. To remove adhesive from a composite sink, you can use a solvent-based adhesive remover. Be sure to test the remover on a small, inconspicuous area first to ensure it doesn't damage the sink's surface.8. Removing Adhesive from a Composite Sink


Removing Adhesive from a Composite Sink


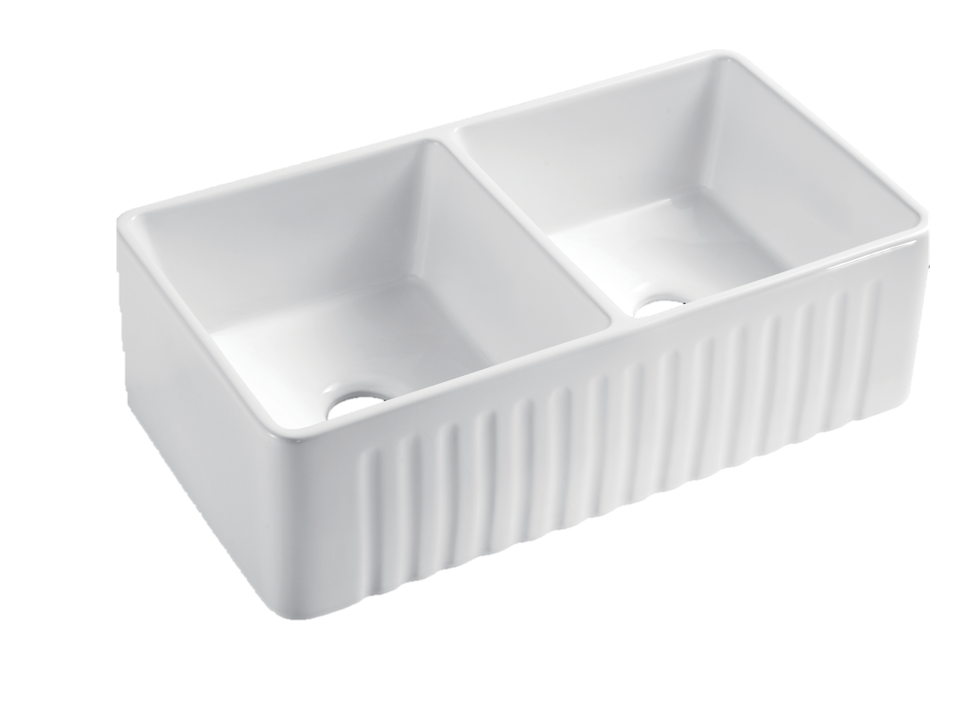
Farmhouse sinks, also known as apron sinks, are a trendy and practical option for many kitchens. To remove adhesive from a farmhouse sink, you can use a combination of warm water and dish soap. If the adhesive is particularly stubborn, you may need to use a plastic scraper or a non-abrasive sponge to gently scrape it off.9. Removing Adhesive from a Farmhouse Sink


Removing Adhesive from a Farmhouse Sink


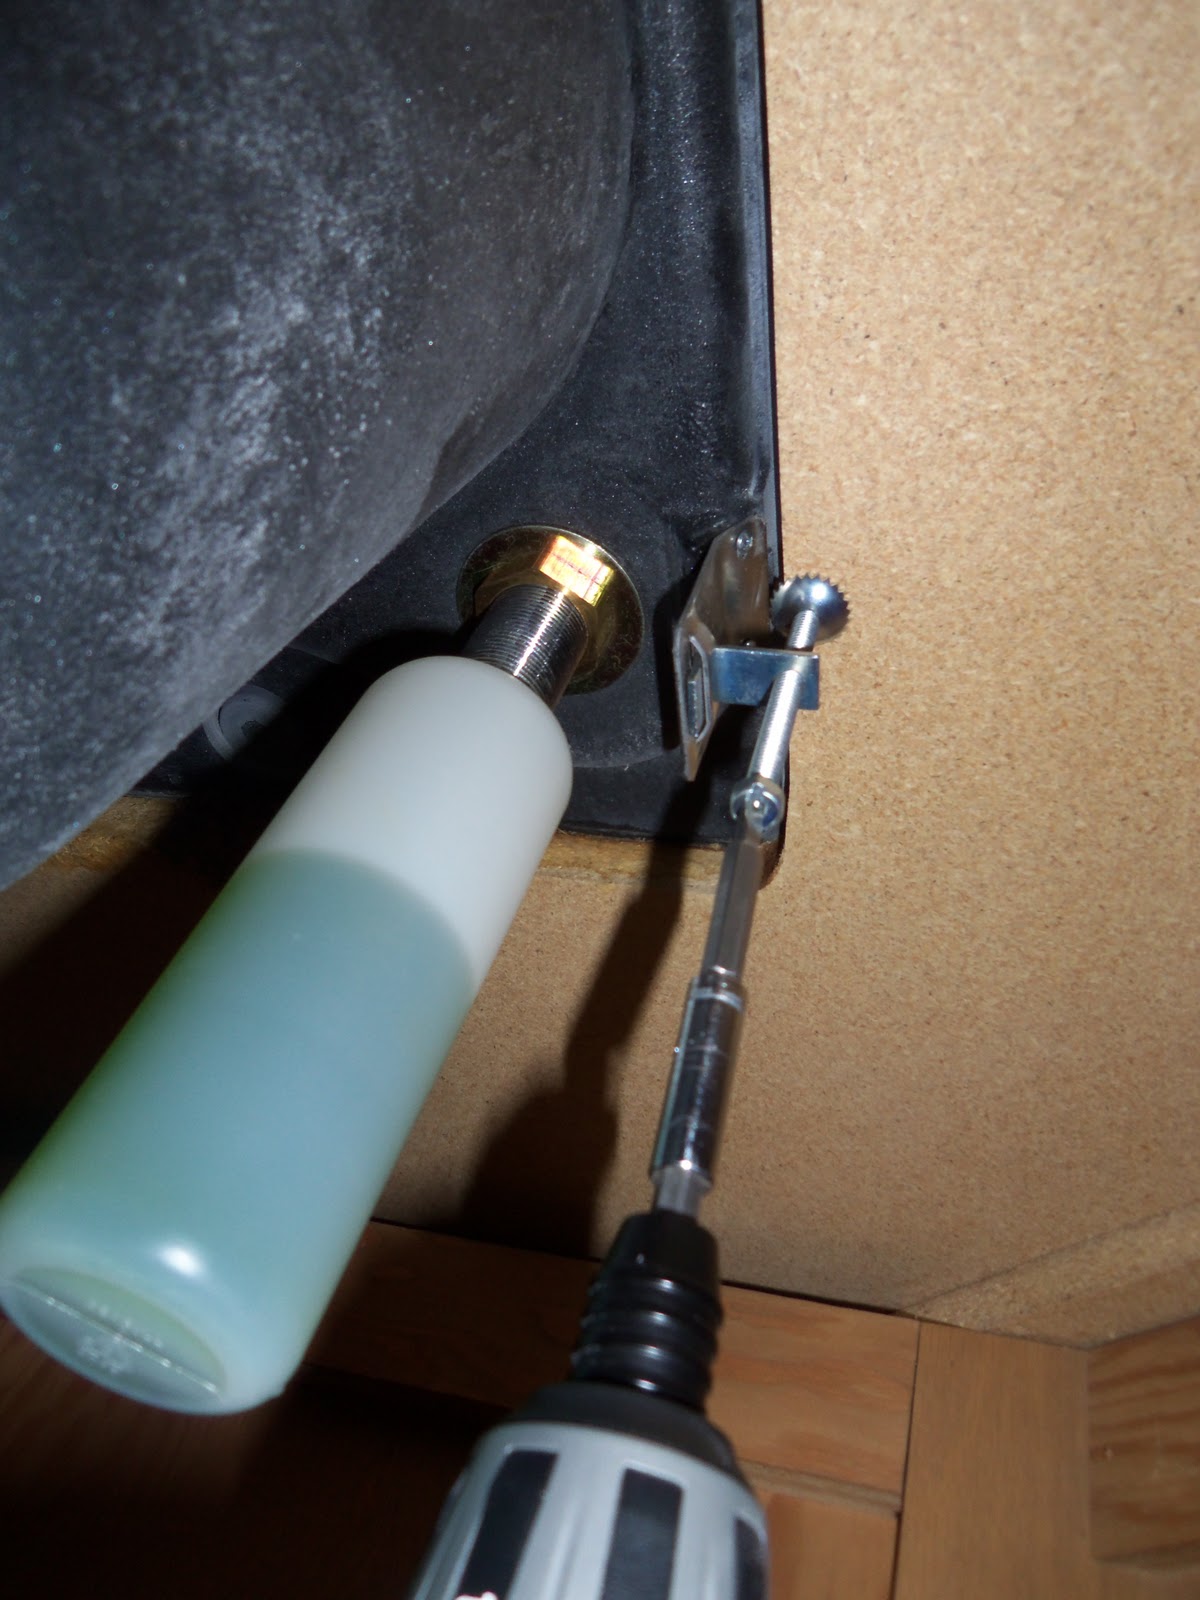
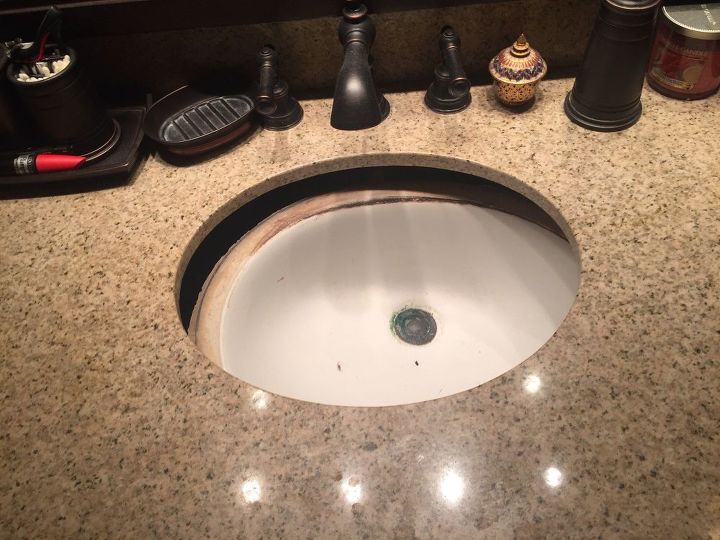
Undermount sinks are attached to the underside of the countertop, making them a popular choice for a seamless and modern look. To remove adhesive from an undermount sink, you can use a heat gun to soften the adhesive and then gently scrape it off with a plastic scraper. Alternatively, you can use a solvent-based adhesive remover, but be sure to test it on a small area first. Removing kitchen sink adhesive may require some patience and elbow grease, but with the right methods and tools, it can be done effectively. Remember to always use caution and test any products on a small area before applying them to the entire sink. With these top 10 methods, you can easily remove adhesive from any type of kitchen sink and have it looking good as new.10. Removing Adhesive from an Undermount Sink


Removing Adhesive from an Undermount Sink


Removing Kitchen Sink Adhesive: A Guide to Keeping Your Kitchen Clean and Functional

Why is Removing Kitchen Sink Adhesive Important?
The Challenges of Removing Kitchen Sink Adhesive
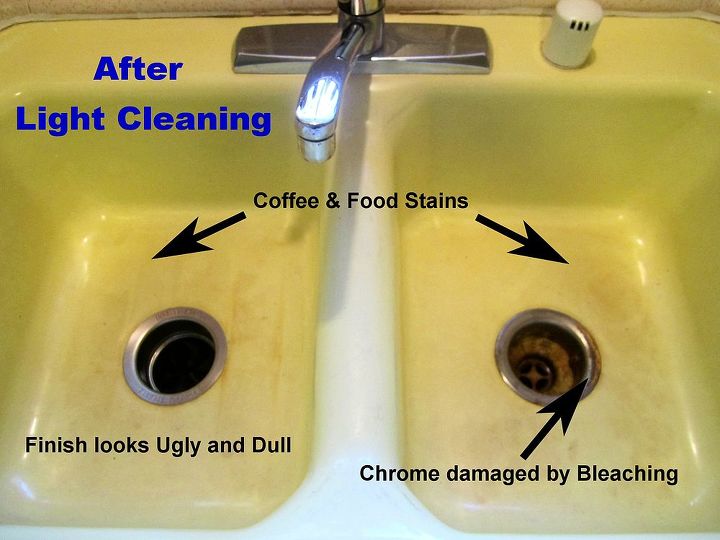
 Removing kitchen sink adhesive can be a daunting task, especially if it has been in place for a long time. The strong bond between the sink and the countertop can make it challenging to remove the sink without damaging it. Additionally, the adhesive can be messy and difficult to clean up, leaving behind residue that can attract dirt and bacteria. That's why it is essential to follow the right steps and use the appropriate tools when removing kitchen sink adhesive.
Step-by-Step Guide
 Step 1: Gather Your Tools
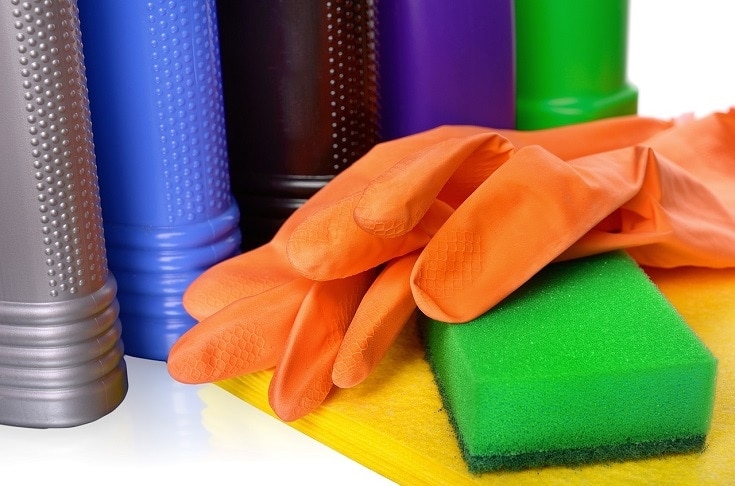
Before starting the removal process, it is essential to gather all the necessary tools. This includes a putty knife, utility knife, pliers, screwdriver, and a cleaning solution. It is also recommended to wear gloves and safety goggles to protect your hands and eyes during the process.
Step 2: Prepare the Sink
Before removing the adhesive, it is crucial to disconnect the sink from the plumbing and remove any fixtures such as faucets or garbage disposals. This will make it easier to work around the sink and prevent any damage to these parts.
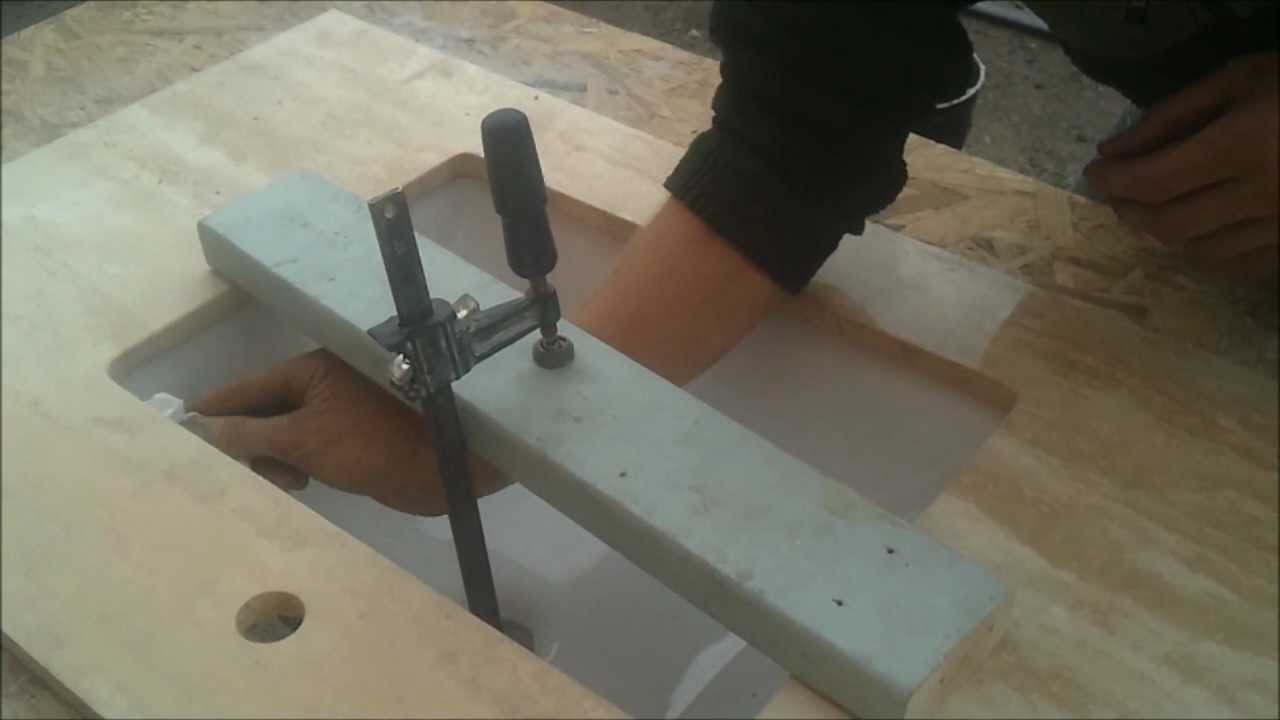
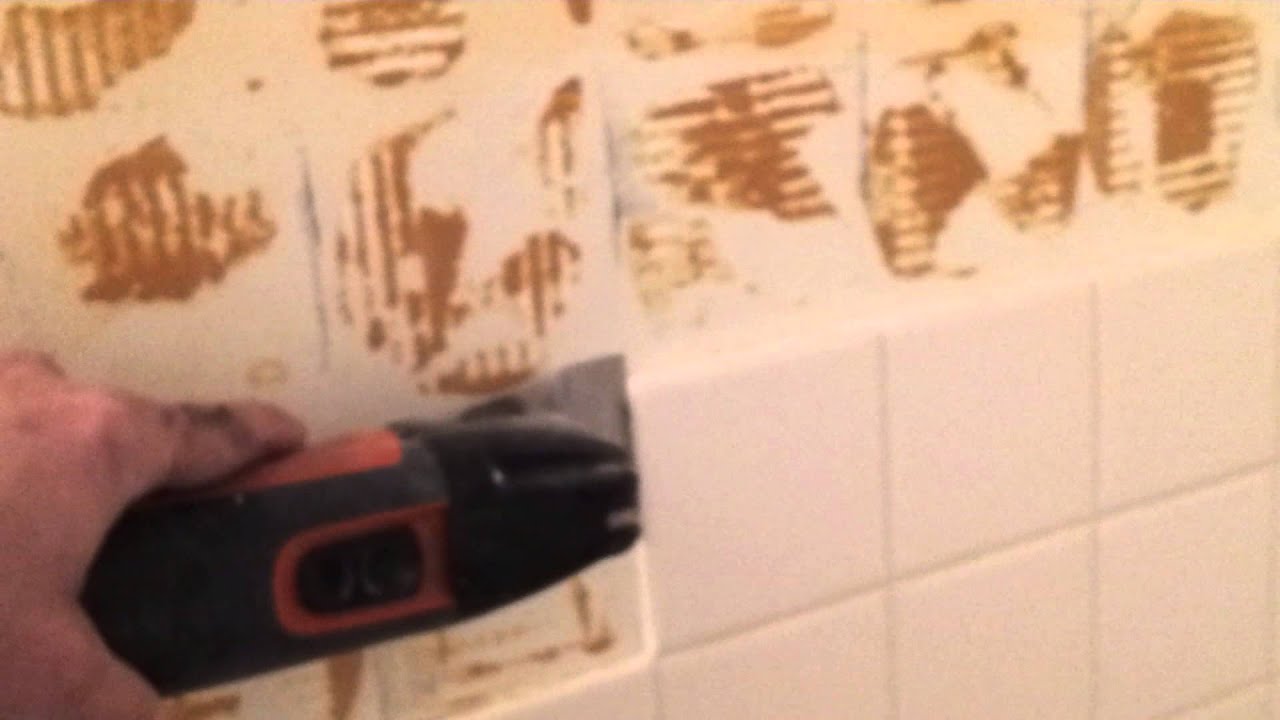
Step 3: Loosen the Adhesive
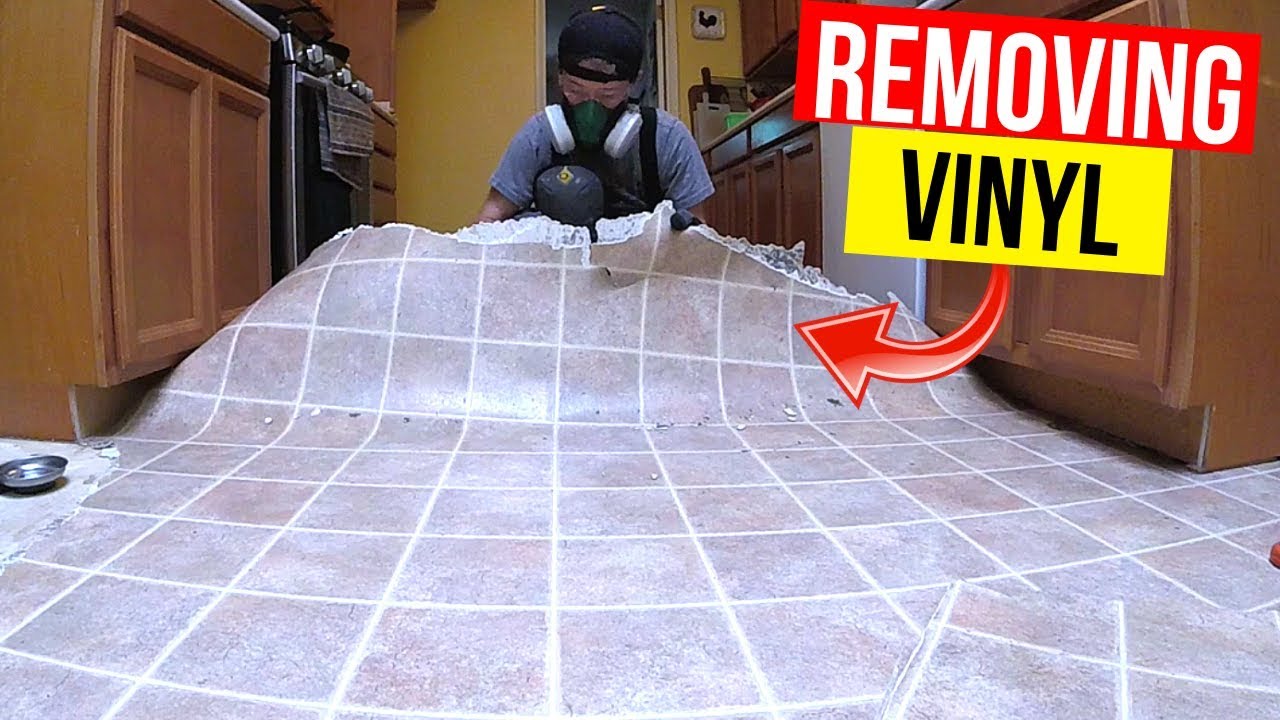
Using a putty knife, gently pry around the edges of the sink to loosen the adhesive. Be careful not to damage the sink or the countertop in the process. If the adhesive is too stubborn, you can use a heat gun or hairdryer to soften it, making it easier to remove.
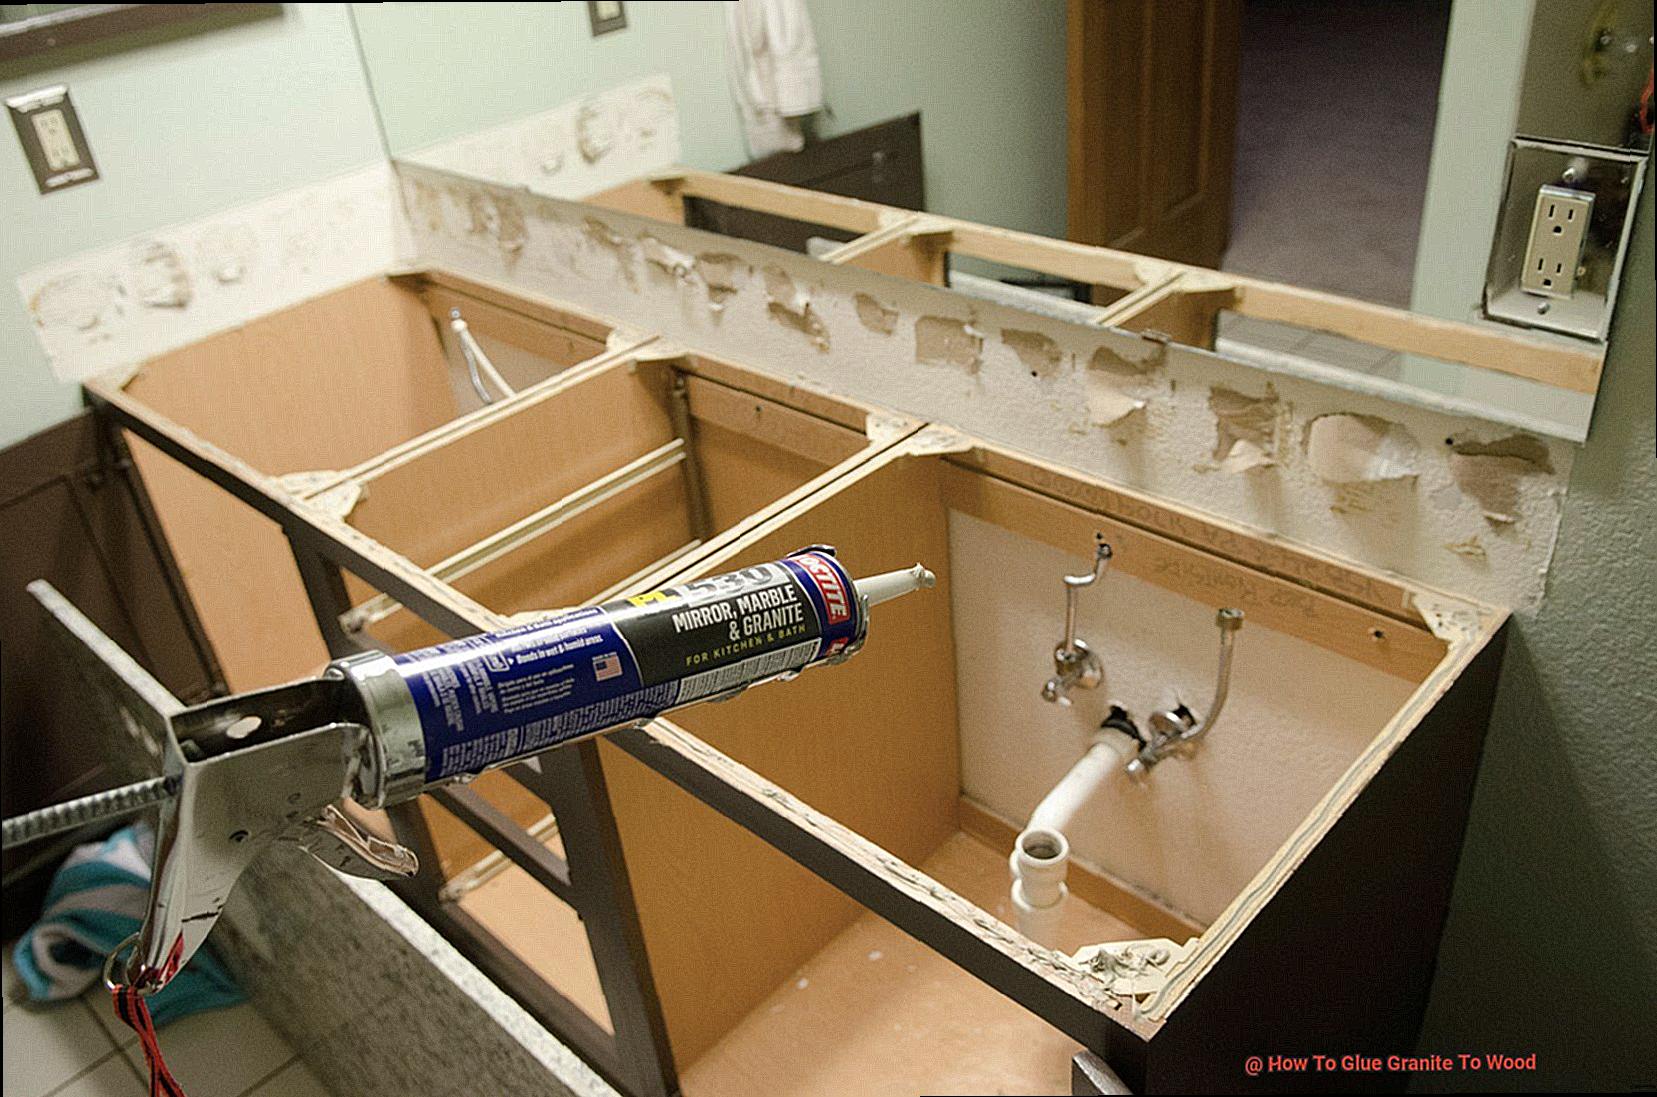
Step 4: Remove the Sink
Once the adhesive is loose, you can use a utility knife to cut through any remaining adhesive. Then, with the help of a friend, carefully lift the sink and remove it from the countertop.
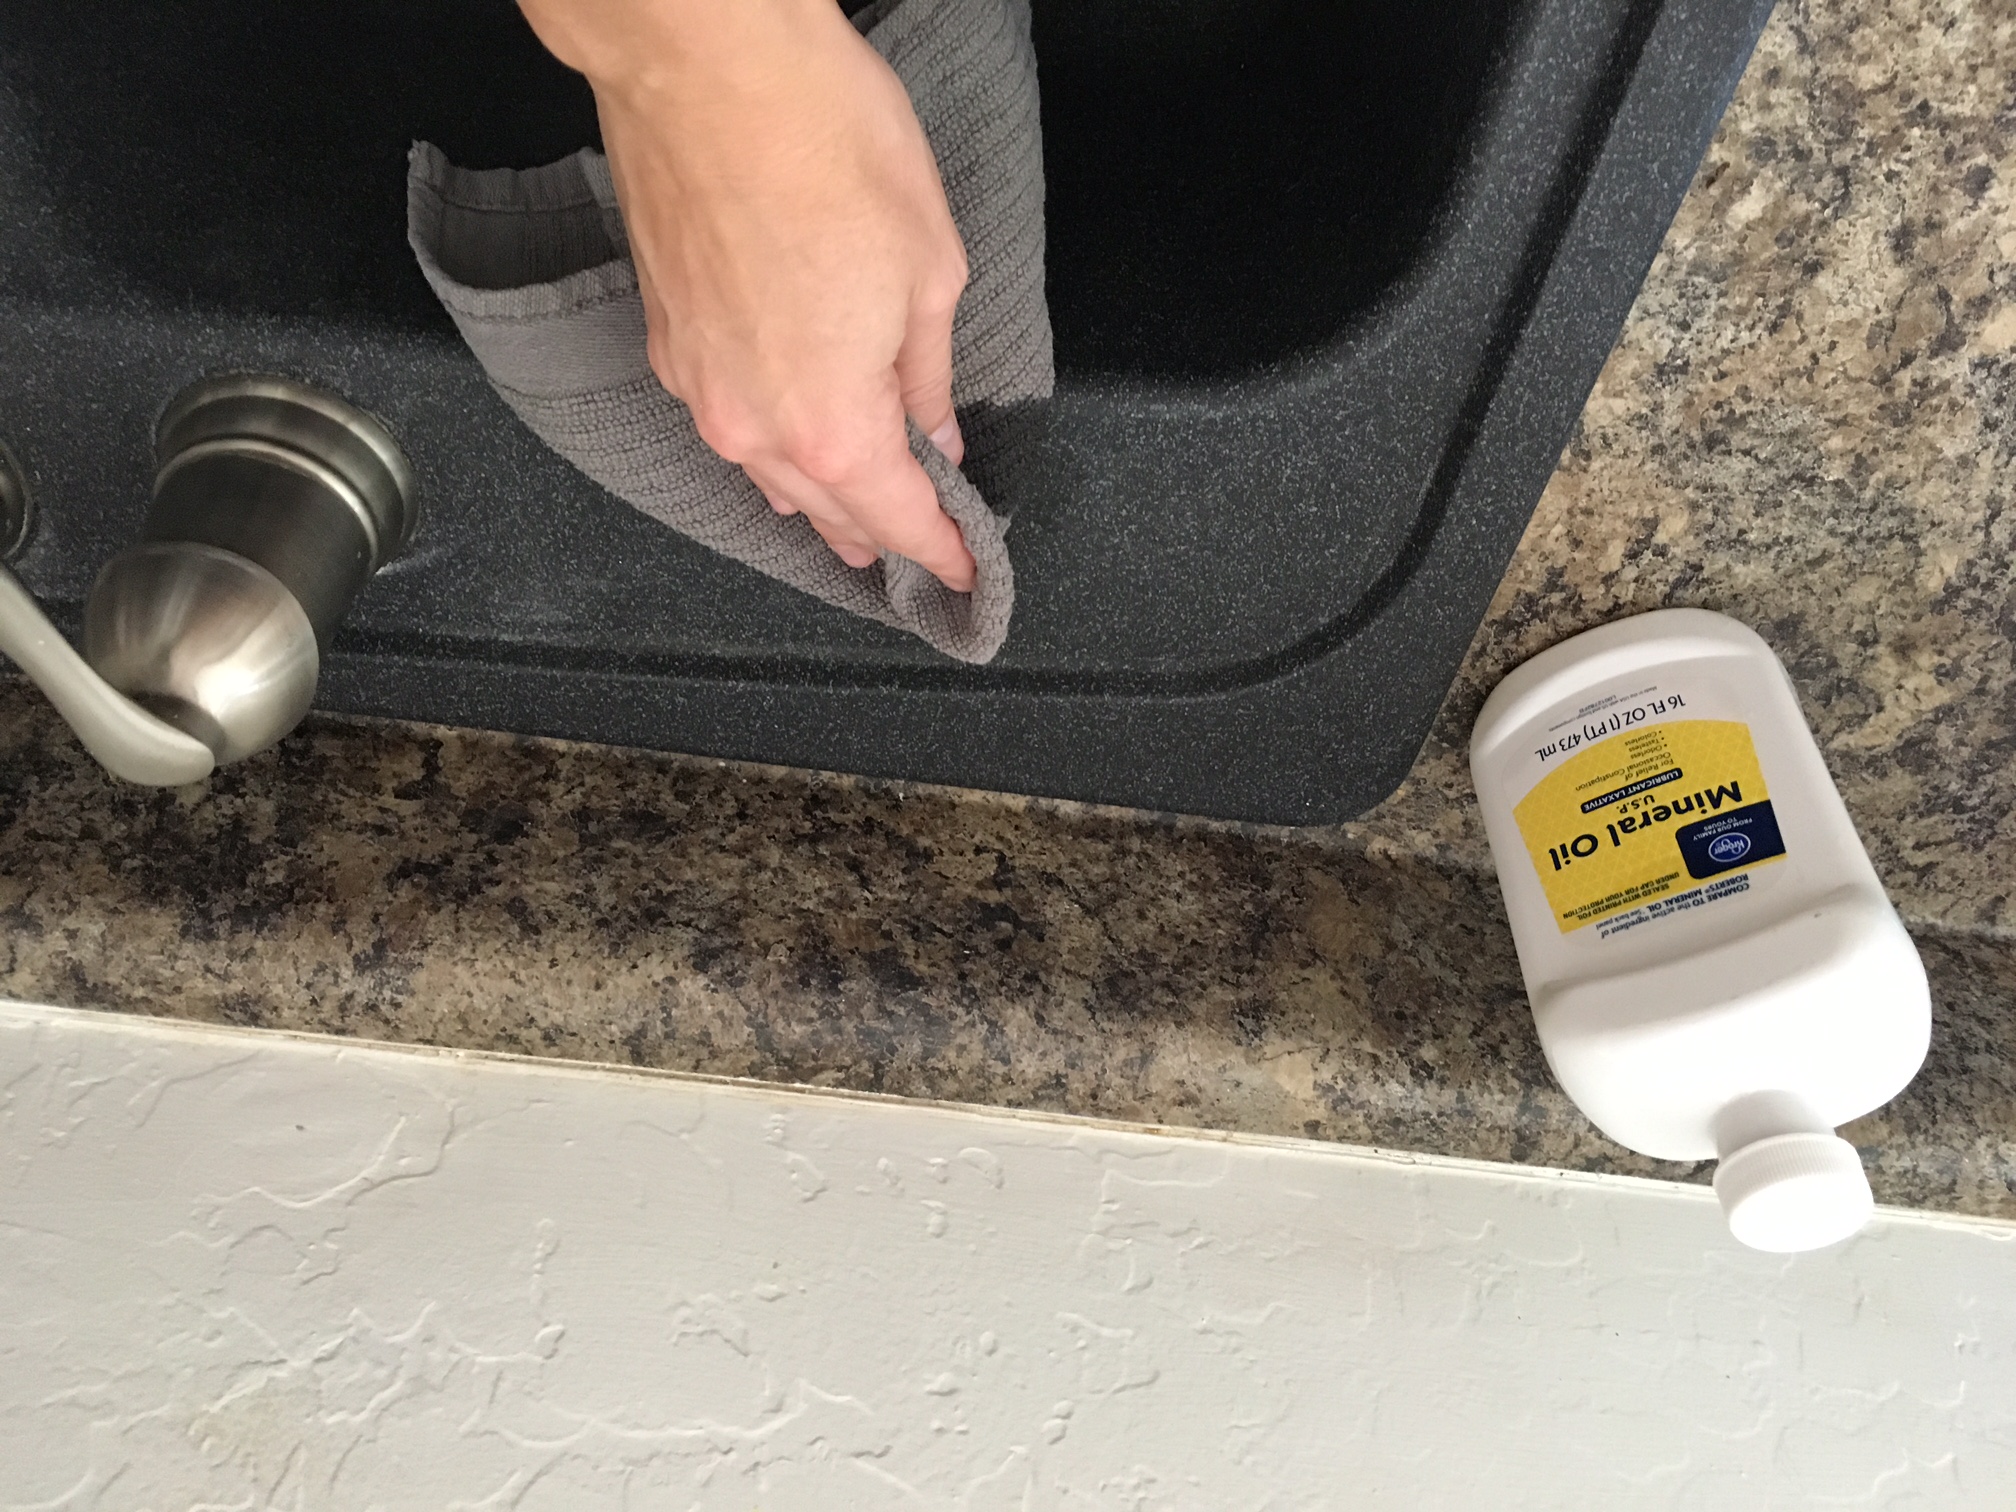
Step 5: Clean Up
After removing the sink, use a cleaning solution to remove any leftover adhesive residue from the sink and the countertop. You can also use a scraper or a putty knife to help with this process.
Step 1: Gather Your Tools
Before starting the removal process, it is essential to gather all the necessary tools. This includes a putty knife, utility knife, pliers, screwdriver, and a cleaning solution. It is also recommended to wear gloves and safety goggles to protect your hands and eyes during the process.
Step 2: Prepare the Sink
Before removing the adhesive, it is crucial to disconnect the sink from the plumbing and remove any fixtures such as faucets or garbage disposals. This will make it easier to work around the sink and prevent any damage to these parts.
Step 3: Loosen the Adhesive
Using a putty knife, gently pry around the edges of the sink to loosen the adhesive. Be careful not to damage the sink or the countertop in the process. If the adhesive is too stubborn, you can use a heat gun or hairdryer to soften it, making it easier to remove.
Step 4: Remove the Sink
Once the adhesive is loose, you can use a utility knife to cut through any remaining adhesive. Then, with the help of a friend, carefully lift the sink and remove it from the countertop.
Step 5: Clean Up
After removing the sink, use a cleaning solution to remove any leftover adhesive residue from the sink and the countertop. You can also use a scraper or a putty knife to help with this process.
Conclusion
 In conclusion, removing kitchen sink adhesive is an essential step in keeping your kitchen clean and functional. By following these simple steps and using the right tools, you can successfully remove the old adhesive and prepare your sink for a new installation. Remember to regularly check your sink and the adhesive to ensure it is in good condition, and if you notice any damage, be sure to address it promptly to avoid any further issues.