If you're experiencing a clogged or slow-draining bathroom sink, it may be time to remove the popup drain and give it a good cleaning. This relatively simple task can be done DIY-style or with the help of a professional plumber. Here's everything you need to know about removing a bathroom sink popup drain.Removing Bathroom Sink Popup Drain


Removing Bathroom Sink Popup Drain


Before getting started, it's important to gather all the necessary tools and materials. You'll need a pair of pliers, a pipe wrench, a bucket, and a cleaning brush. It's also a good idea to have some rubber gloves and a mask on hand to protect your hands and face from any unpleasant debris.How to Remove a Bathroom Sink Popup Drain


How to Remove a Bathroom Sink Popup Drain


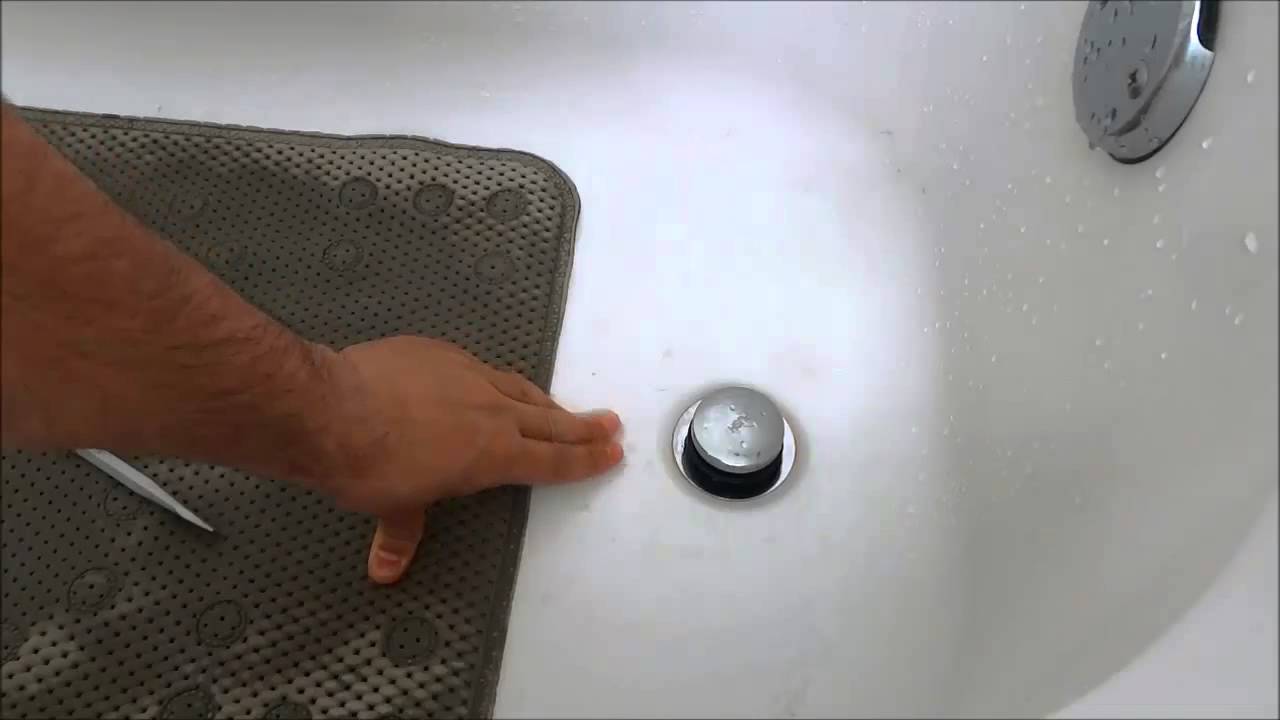
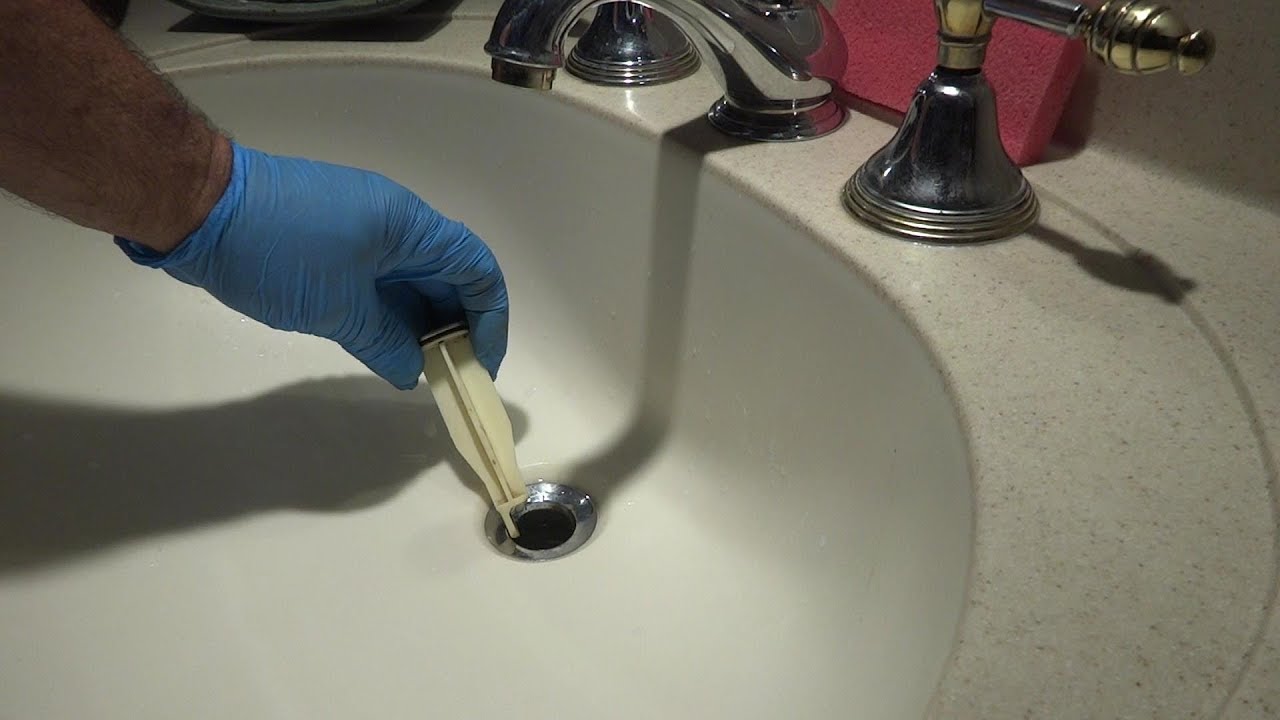
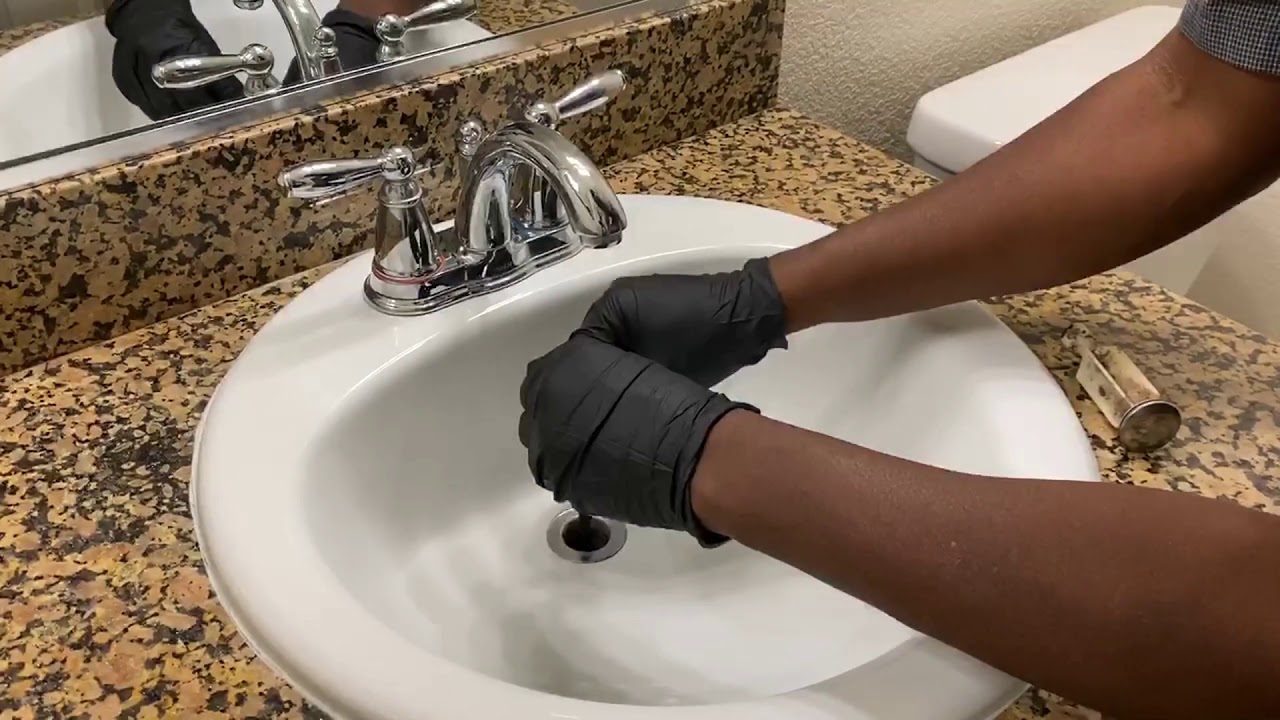
Step 1: Start by locating the popup drain under your bathroom sink. You'll see a rod that connects the drain stopper to the faucet. This is called the clevis. Use your pliers to loosen the clevis by turning it counterclockwise. Step 2: Once the clevis is loosened, you should be able to pull the rod out of the drain stopper. This will release the stopper from the drain. Step 3: Next, locate the pivot rod that connects the clevis to the bottom of the sink. Use your pliers to loosen the nut that holds the pivot rod in place. Once the nut is loose, you should be able to remove the pivot rod from the clevis. Step 4: With the pivot rod removed, you can now lift the popup drain out of the sink. Be sure to have your bucket handy to catch any water or debris that may come out of the drain. Step 5: Once the drain is removed, use your cleaning brush to scrub away any buildup or debris. You can also use a mixture of hot water and vinegar to help loosen any stubborn grime. Step 6: After cleaning the drain, rinse it thoroughly and let it dry before reassembling everything in the reverse order that you removed it. Don't forget to tighten all the nuts and connections to ensure a secure fit.Step-by-Step Guide for Removing Bathroom Sink Popup Drain


Step-by-Step Guide for Removing Bathroom Sink Popup Drain


Removing a bathroom sink popup drain is a relatively simple task that can be done DIY-style. This not only saves you money on hiring a professional, but it also allows you to clean the drain more frequently, preventing future clogs.DIY: Removing Bathroom Sink Popup Drain


DIY: Removing Bathroom Sink Popup Drain

The tools needed for removing a bathroom sink popup drain are minimal and can be found at your local hardware store. These include pliers, a pipe wrench, a bucket, and a cleaning brush. Having a mask and rubber gloves will also protect you from any debris.Tools Needed for Removing Bathroom Sink Popup Drain


Tools Needed for Removing Bathroom Sink Popup Drain

Here are a few tips to keep in mind when removing a bathroom sink popup drain:Tips for Removing Bathroom Sink Popup Drain

Tips for Removing Bathroom Sink Popup Drain

Some common mistakes to avoid when removing a bathroom sink popup drain include:Common Mistakes When Removing Bathroom Sink Popup Drain

Common Mistakes When Removing Bathroom Sink Popup Drain


If you encounter any issues while removing your bathroom sink popup drain, here are a few troubleshooting tips:Removing Bathroom Sink Popup Drain: Troubleshooting


Removing Bathroom Sink Popup Drain: Troubleshooting
When removing a bathroom sink popup drain, it's important to take some safety precautions to protect yourself from any potential hazards. These include:Removing Bathroom Sink Popup Drain: Safety Precautions


Removing Bathroom Sink Popup Drain: Safety Precautions
If you are uncomfortable or unable to remove your bathroom sink popup drain yourself, it's best to leave it to the professionals. A licensed plumber has the knowledge and experience to safely and effectively remove the drain and address any underlying issues that may be causing clogs. Removing a bathroom sink popup drain may seem like a daunting task, but with the right tools and knowledge, it can be done easily and efficiently. Regularly cleaning and maintaining your drain will help prevent clogs and costly repairs in the future. Remember to always take safety precautions and don't hesitate to call a professional for assistance if needed.Professional Services for Removing Bathroom Sink Popup Drain


Professional Services for Removing Bathroom Sink Popup Drain
Replacing the Popup Drain

Step 1: Gather Your Materials
 Replacing a bathroom sink popup drain is a relatively simple and straightforward process, but it's important to have all the necessary materials before beginning. You will need a new popup drain, pliers, a screwdriver, and a bucket or towel to catch any excess water.
Step 2: Remove the Old Drain
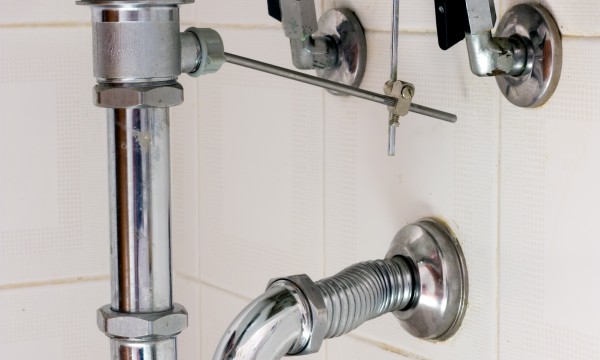
 The first step to replacing a popup drain is to remove the old one. Start by using pliers to loosen the nut at the base of the drain. Once the nut is loose, you should be able to unscrew it by hand. Next, locate the lever arm or stopper rod on the back of the sink and unscrew it from the drain. This will allow you to pull the old drain out of the sink.
Step 3: Install the New Drain
 Now that you have removed the old drain, it's time to install the new one. Begin by inserting the new drain into the sink hole and securing it with the nut. Use pliers to tighten the nut, but be careful not to over-tighten as this can cause damage to the drain or sink. Next, reattach the lever arm or stopper rod to the back of the drain.
Step 4: Test and Adjust
 Once the new drain is installed, test it by running water and checking for any leaks. If you notice any leaks, use the pliers to adjust the nut until the leak stops. You may also need to adjust the lever arm or stopper rod to ensure the drain is opening and closing properly.
Step 5: Clean Up
 Once you are satisfied with the new drain, clean up any excess water and tools. Dispose of the old drain properly and enjoy your newly replaced popup drain.
Replacing a bathroom sink popup drain is a simple and cost-effective way to update the look of your bathroom. By following these easy steps, you can have a new drain installed in no time. Remember to gather all necessary materials, remove the old drain, install the new one, test and adjust, and clean up after yourself for a hassle-free and successful project.
Once you are satisfied with the new drain, clean up any excess water and tools. Dispose of the old drain properly and enjoy your newly replaced popup drain.
Replacing a bathroom sink popup drain is a simple and cost-effective way to update the look of your bathroom. By following these easy steps, you can have a new drain installed in no time. Remember to gather all necessary materials, remove the old drain, install the new one, test and adjust, and clean up after yourself for a hassle-free and successful project.


/cdn.vox-cdn.com/uploads/chorus_image/image/60785837/casper_stores_1.0.jpg)
