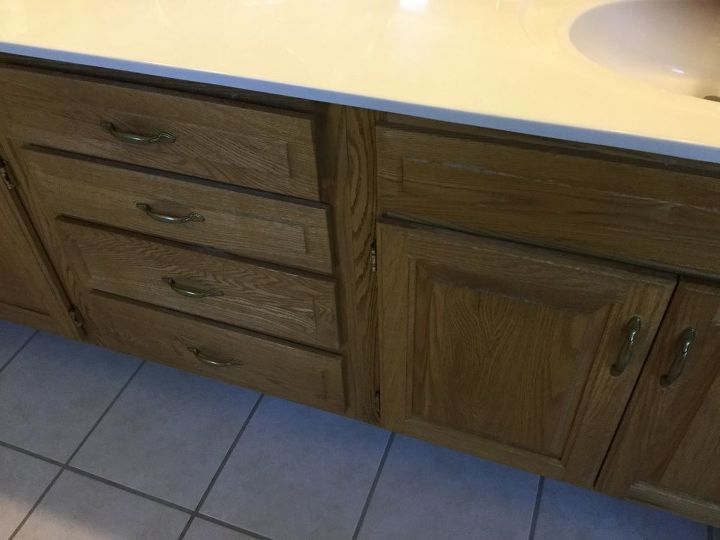
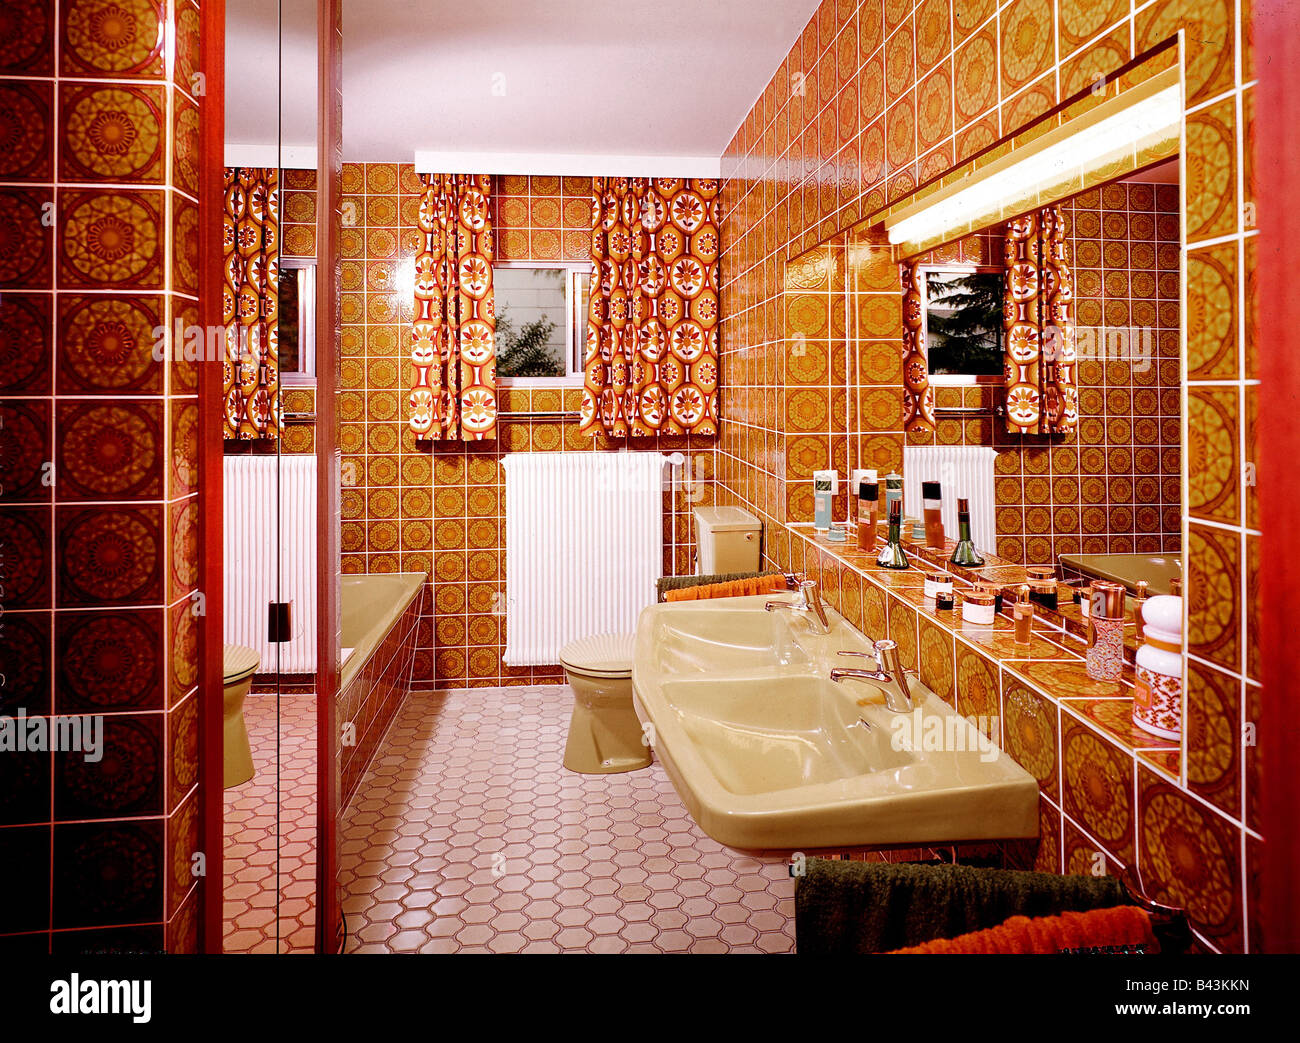
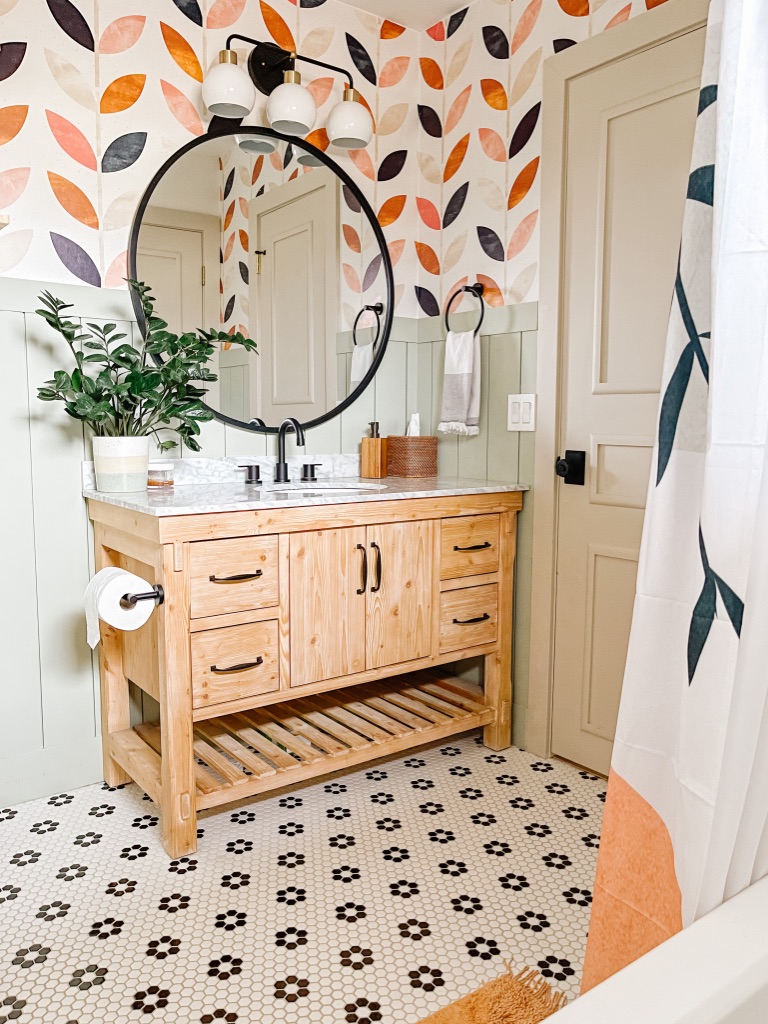
Are you tired of looking at your outdated 1970s bathroom vanity? Well, you're not alone. Many homeowners struggle with the decision of whether to replace or refinish their old vanity. While replacing a vanity can be costly and time-consuming, refinishing it can give it a whole new look without breaking the bank. In this guide, we will take you through the step-by-step process of refinishing a 1970s bathroom vanity, so you can transform your space and give it a fresh, updated look. Refinishing a 1970 Bathroom Vanity: A Step-by-Step Guide


Refinishing a 1970 Bathroom Vanity: A Step-by-Step Guide
Refinishing a 1970s bathroom vanity may seem like a daunting task, but with the right tools and knowledge, it can be done easily and efficiently. Here are the 5 easy steps to follow for a successful vanity refinishing project: How to Refinish a 1970s Bathroom Vanity in 5 Easy Steps

How to Refinish a 1970s Bathroom Vanity in 5 Easy Steps


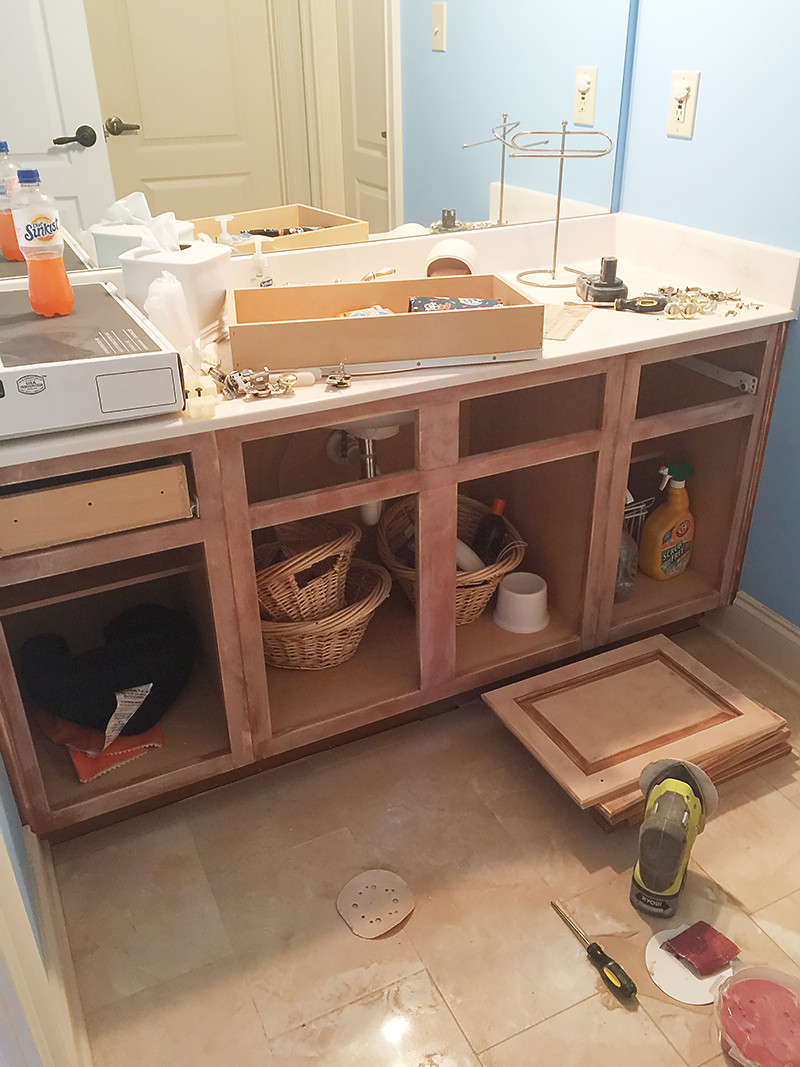
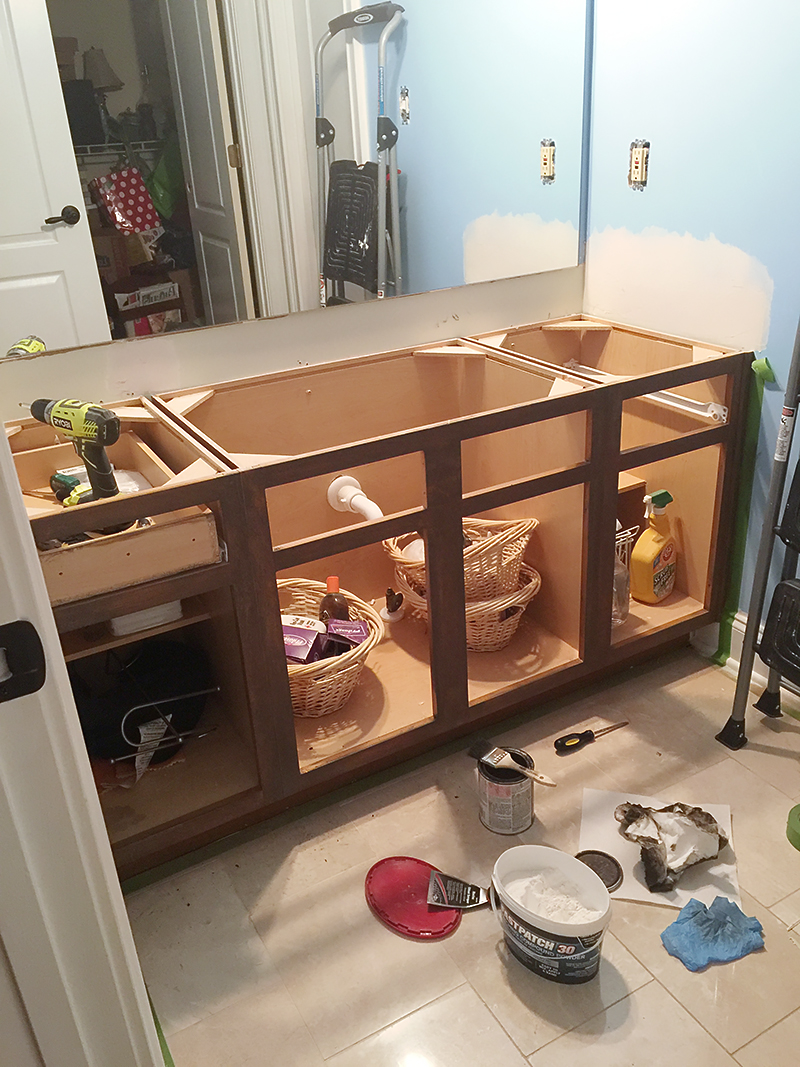
The first step in any refinishing project is proper preparation. Start by removing all hardware, including the knobs, handles, and hinges. Next, thoroughly clean the vanity with a mild cleaner and allow it to dry completely. This will ensure that the new finish adheres properly to the surface. Step 1: Prepping the Vanity


DIY Refinishing: Transforming Your 1970s Bathroom Vanity


Once the vanity is dry, it's time to sand it down. Use a medium-grit sandpaper to remove the existing finish and create a smooth surface for the new finish to adhere to. Be sure to sand in the direction of the wood grain to avoid any scratches. Once the old finish is removed, switch to a fine-grit sandpaper to create a smooth and even surface. Step 2: Sanding
The Best Products for Refinishing a 1970 Bathroom Vanity

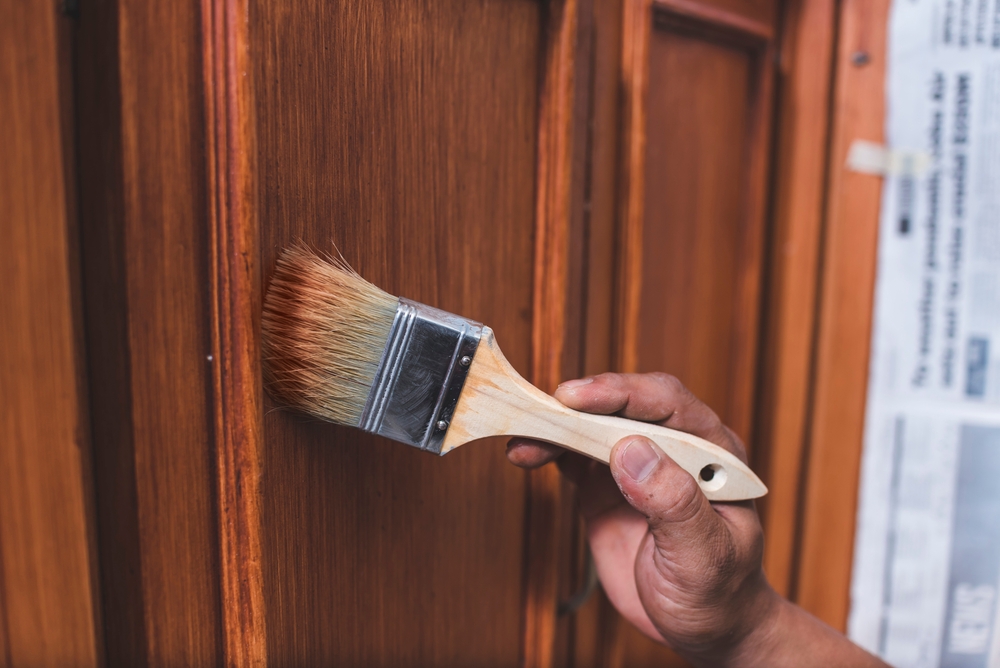
Now comes the fun part - applying the new finish! You can choose to paint the vanity a different color, stain it to enhance the natural wood, or even use a combination of both for a unique look. Whichever finish you choose, be sure to apply it in thin, even coats and allow each coat to dry completely before adding another. This will prevent any drips or clumps from forming. Step 3: Apply the New Finish


Refinishing vs. Replacing: Which is the Better Option for Your 1970 Bathroom Vanity?


Once the new finish is dry, it's time to reattach the hardware. This is where you can get creative and choose new knobs or handles to give your vanity a fresh look. Be sure to measure and mark the placement of the hardware before drilling any new holes. Step 4: Reattach Hardware


How to Modernize a 1970s Bathroom Vanity with Refinishing

The last step in refinishing a 1970s bathroom vanity is to seal it. This will protect the new finish and make it more durable. You can use a clear polyurethane sealant for a glossy finish or a wax sealant for a more natural look. Apply the sealant in thin, even coats and allow it to dry completely before using the vanity. Step 5: Seal the Vanity

Refinishing a 1970 Bathroom Vanity on a Budget
Refinishing your 1970s bathroom vanity is not only a cost-effective option, but it also allows you to get creative and transform your space. You can choose to update the vanity with a fresh coat of paint, add new hardware, or even add decorative elements like stencils or decals to give it a unique look. With a little DIY know-how and some creativity, you can turn your outdated vanity into a modern centerpiece for your bathroom. DIY Refinishing: Transforming Your 1970s Bathroom Vanity
Tips and Tricks for Refinishing a 1970s Bathroom Vanity
When it comes to refinishing a 1970 bathroom vanity, using the right products is crucial for a successful project. Here are some of the best products to use for each step of the refinishing process: Sanding: Sanding blocks or electric sander, medium-grit and fine-grit sandpaper New Finish: Paint, stain, or combination of both, paintbrush or foam roller, and clear sealant Hardware: New knobs, handles, and hinges Sealant: Polyurethane or wax sealant The Best Products for Refinishing a 1970 Bathroom Vanity


The Dos and Don'ts of Refinishing a 1970 Bathroom Vanity


When faced with an outdated bathroom vanity, many homeowners struggle with the decision of whether to refinish or replace it. While refinishing may seem like a temporary fix, it can actually be a better option in the long run. Not only is it more cost-effective, but it also allows you to update the vanity without the hassle of removing and installing a new one. However, if your vanity is damaged or in need of major repairs, replacing it may be the better option. Refinishing vs. Replacing: Which is the Better Option for Your 1970 Bathroom Vanity?
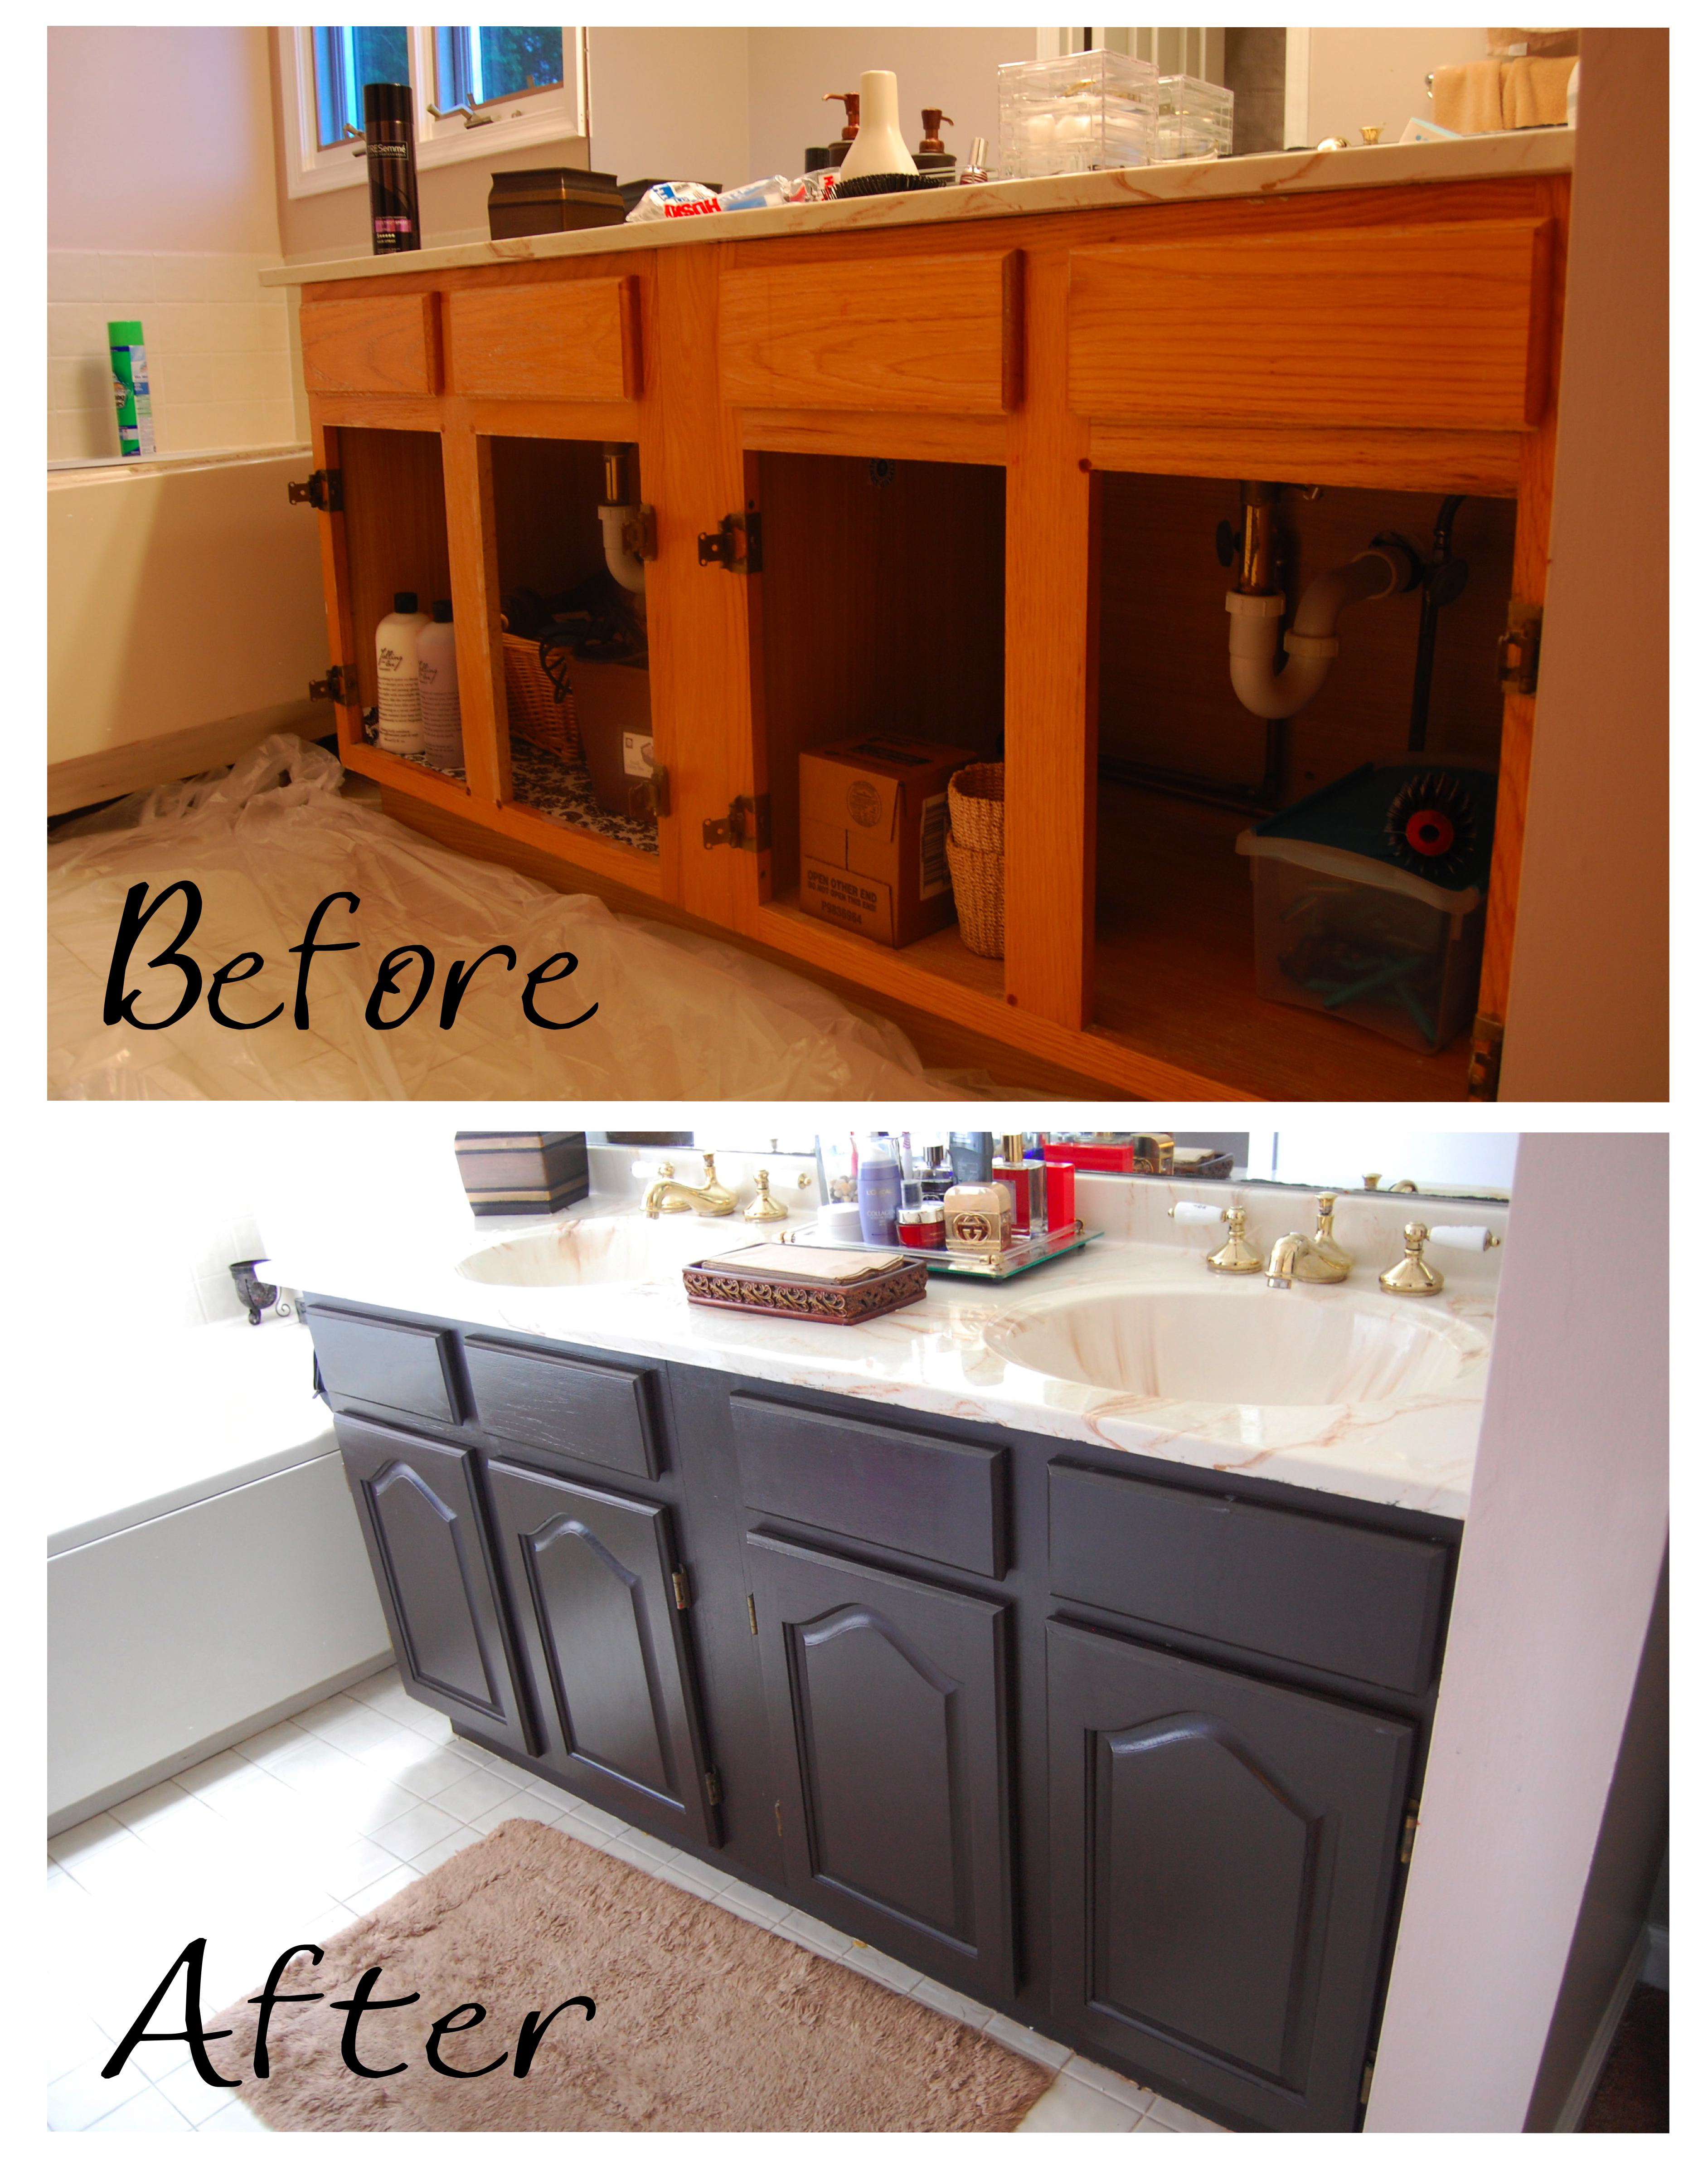

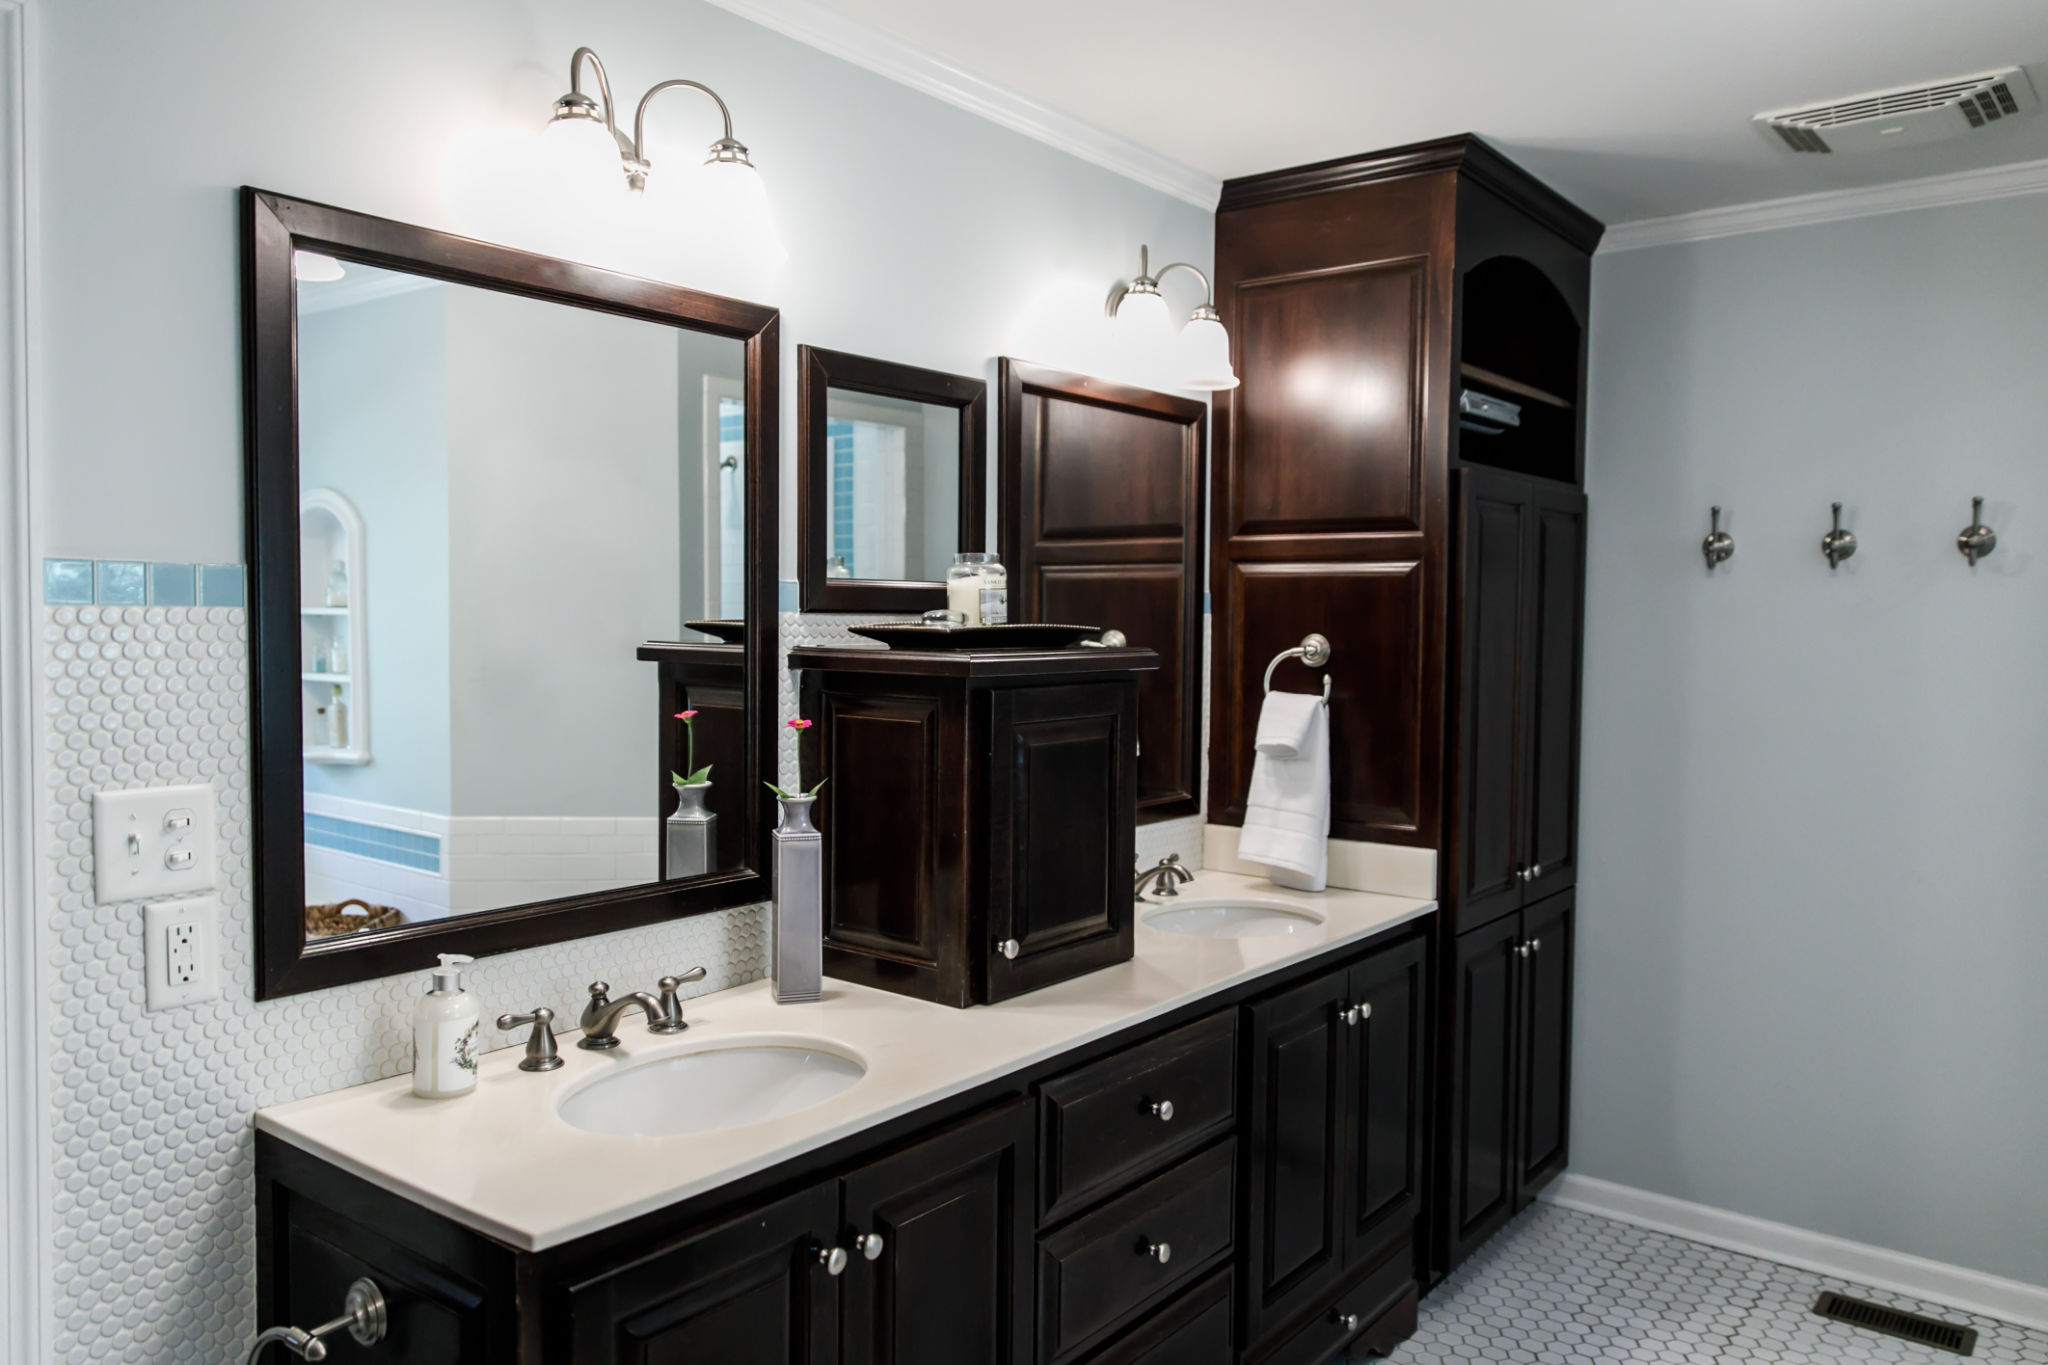
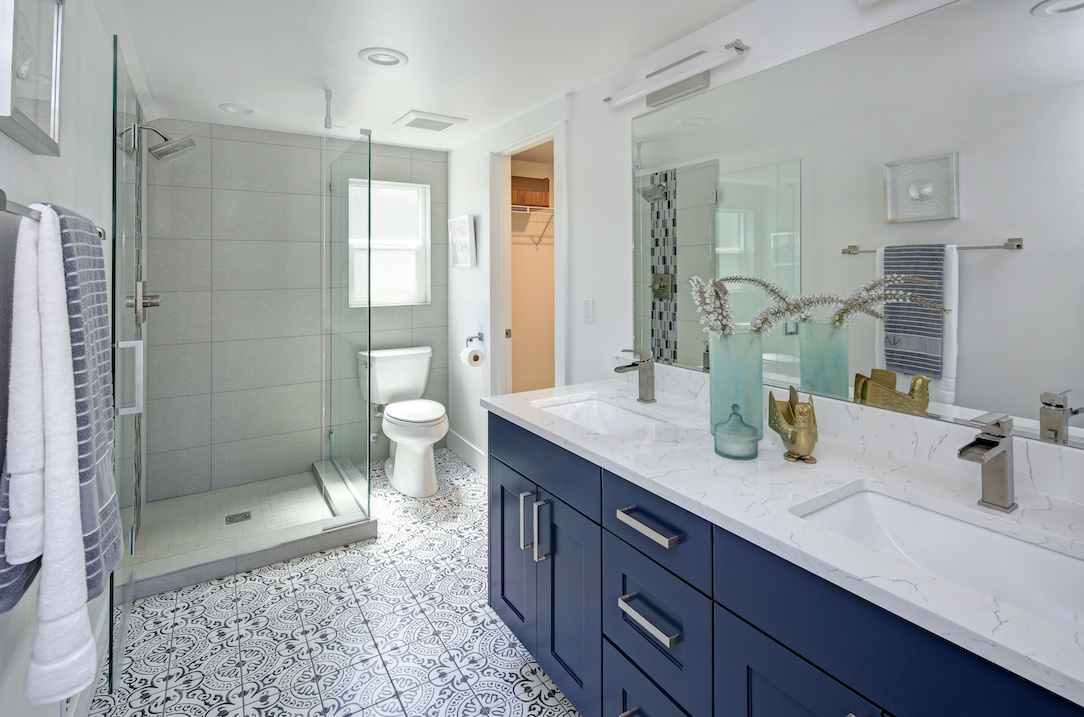
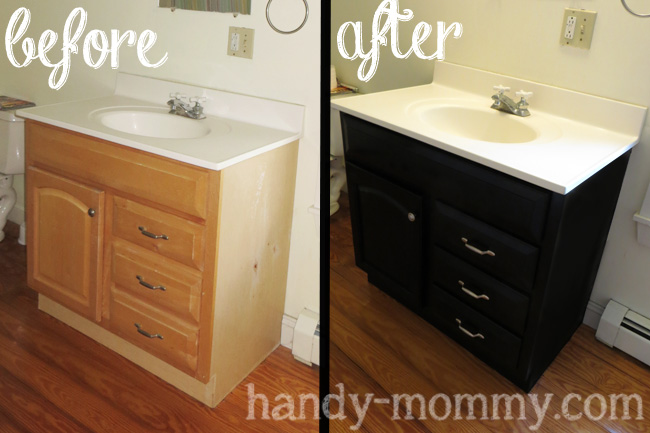
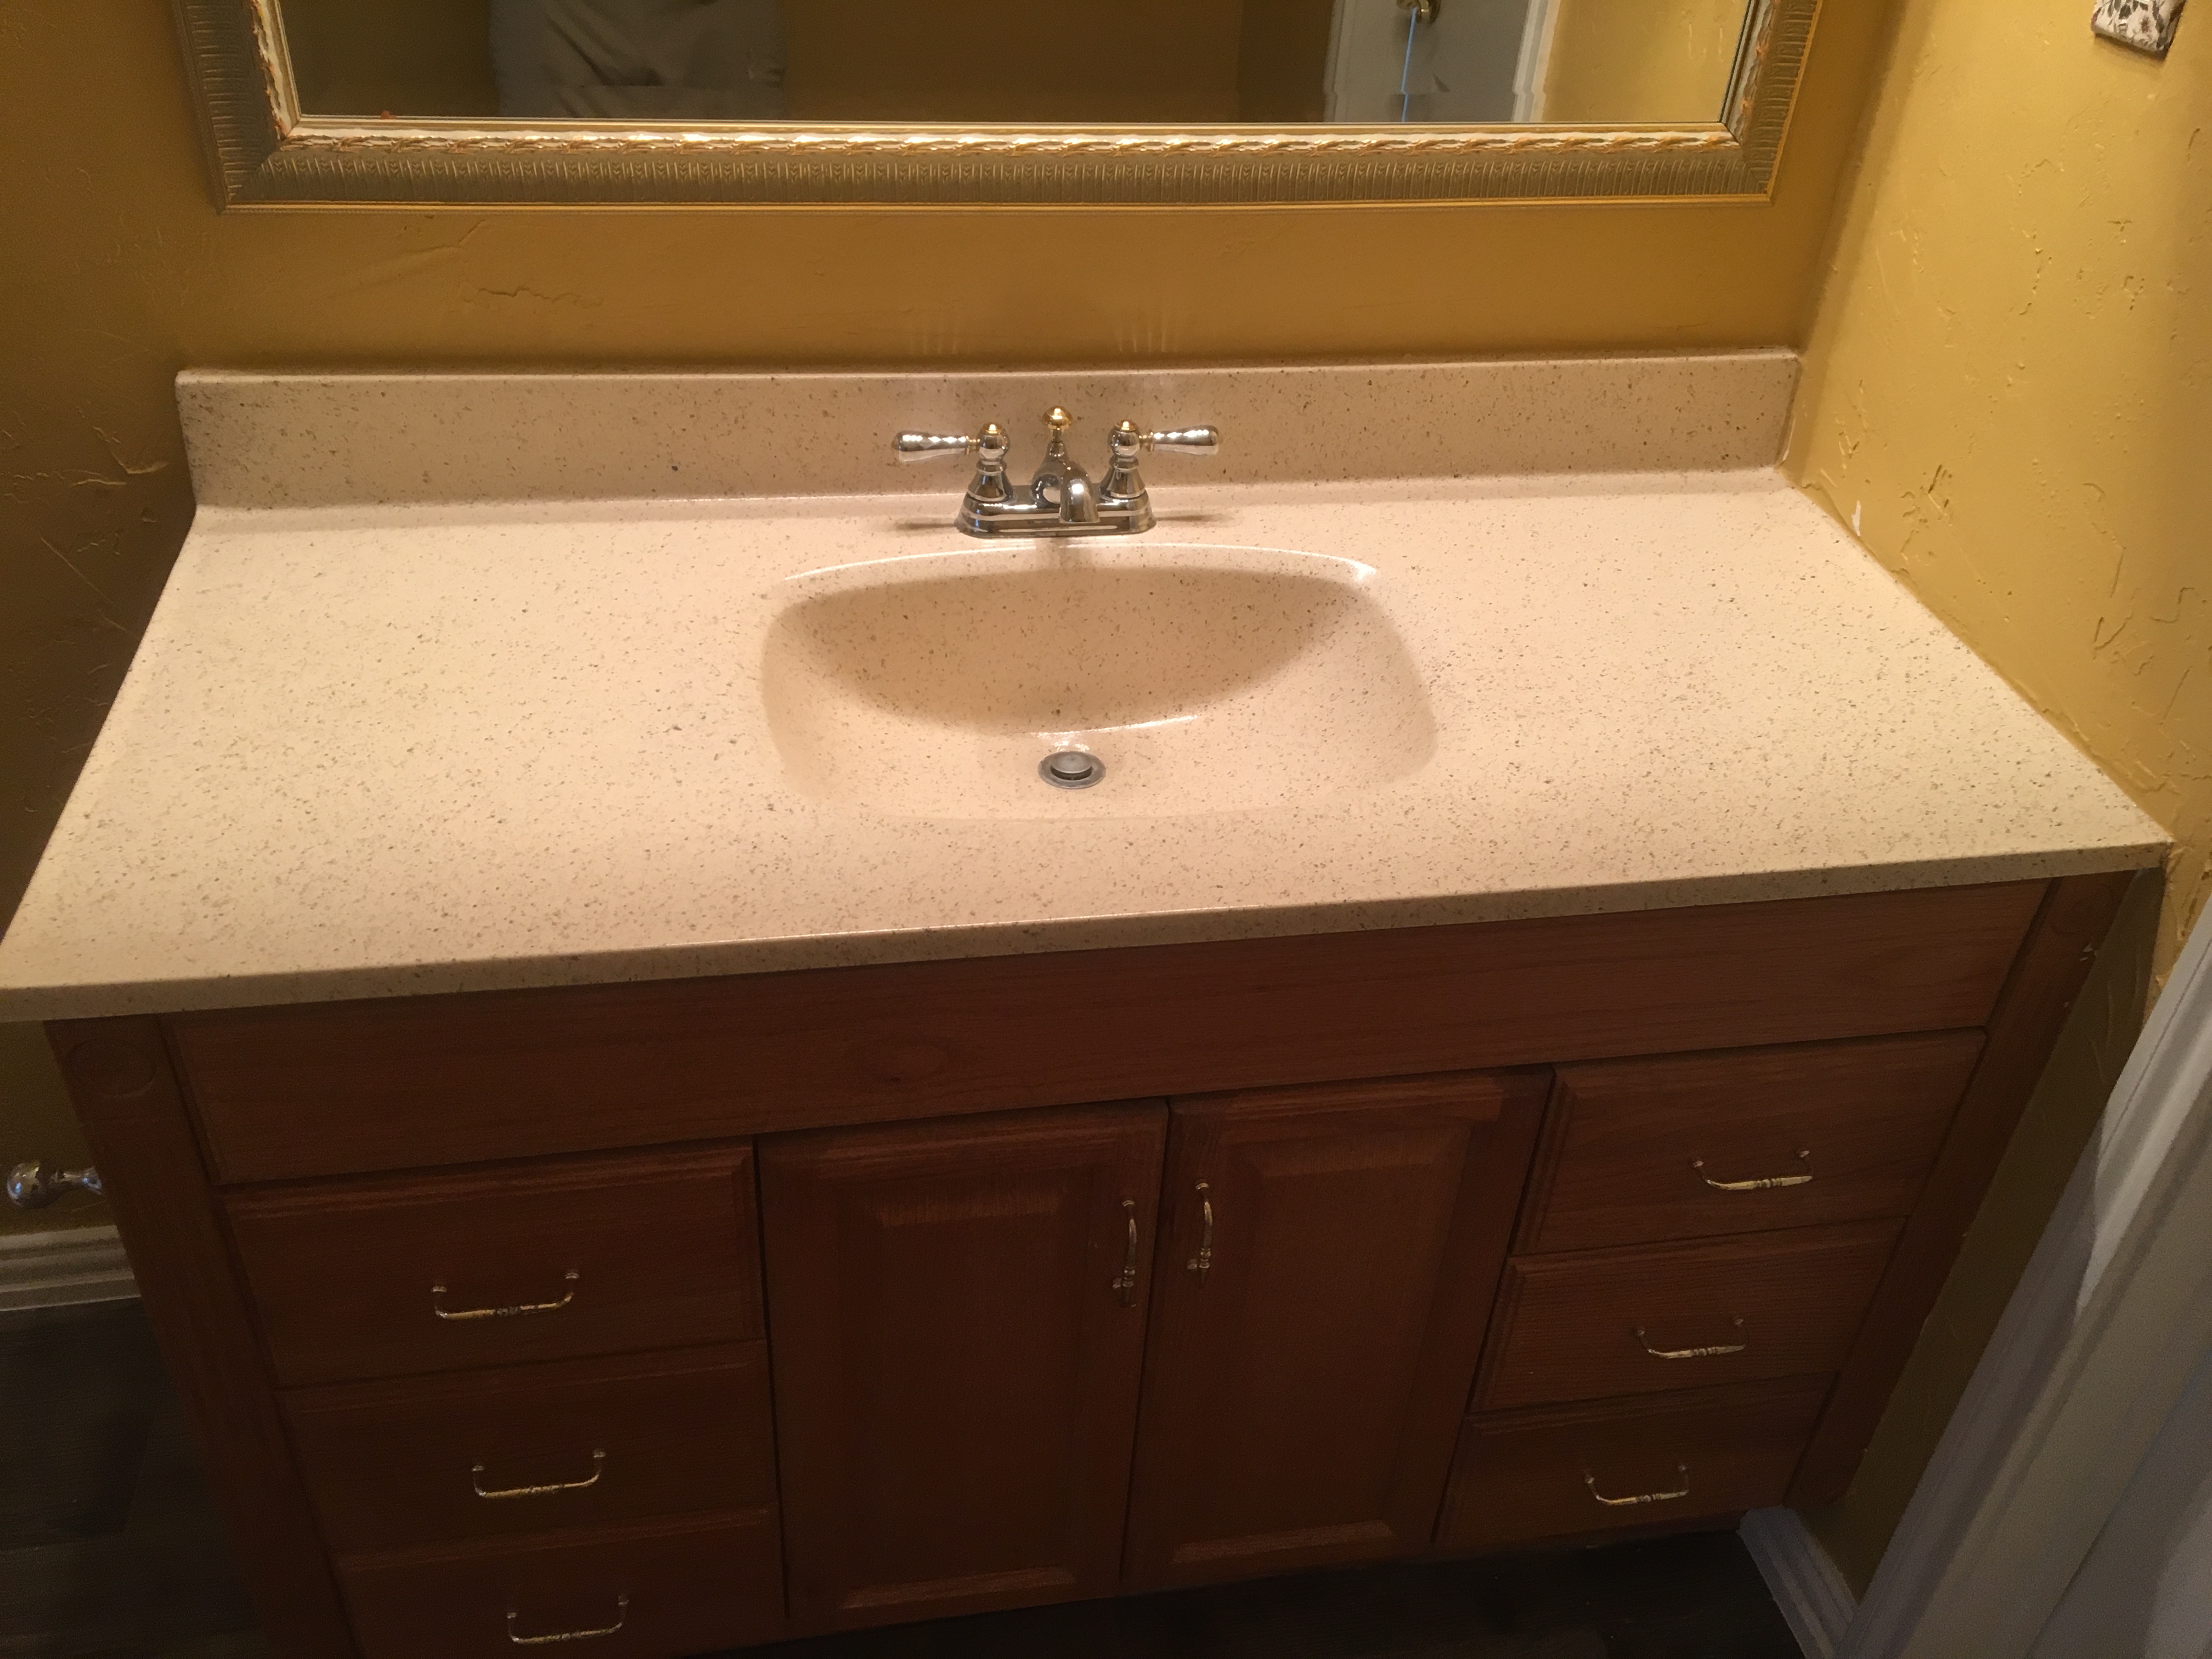
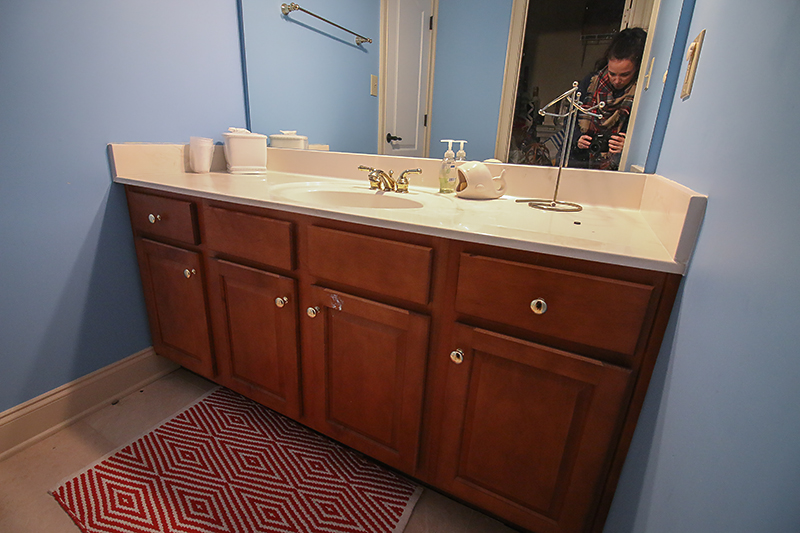
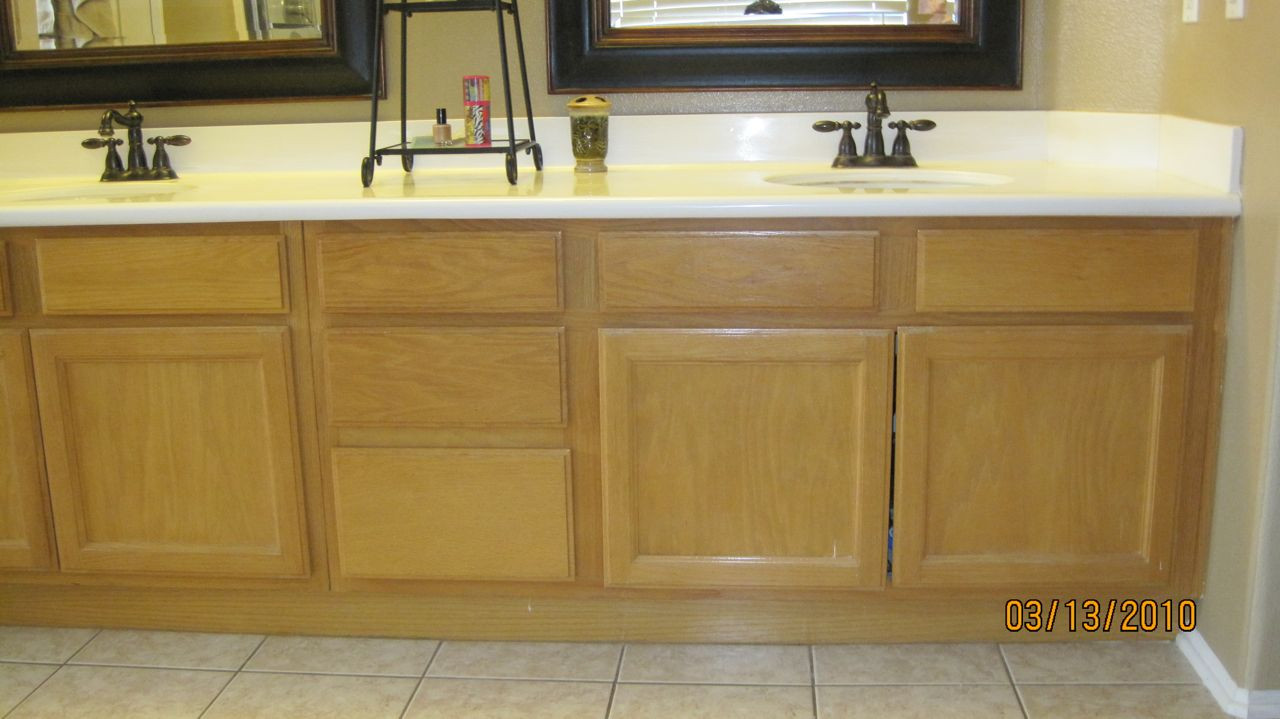
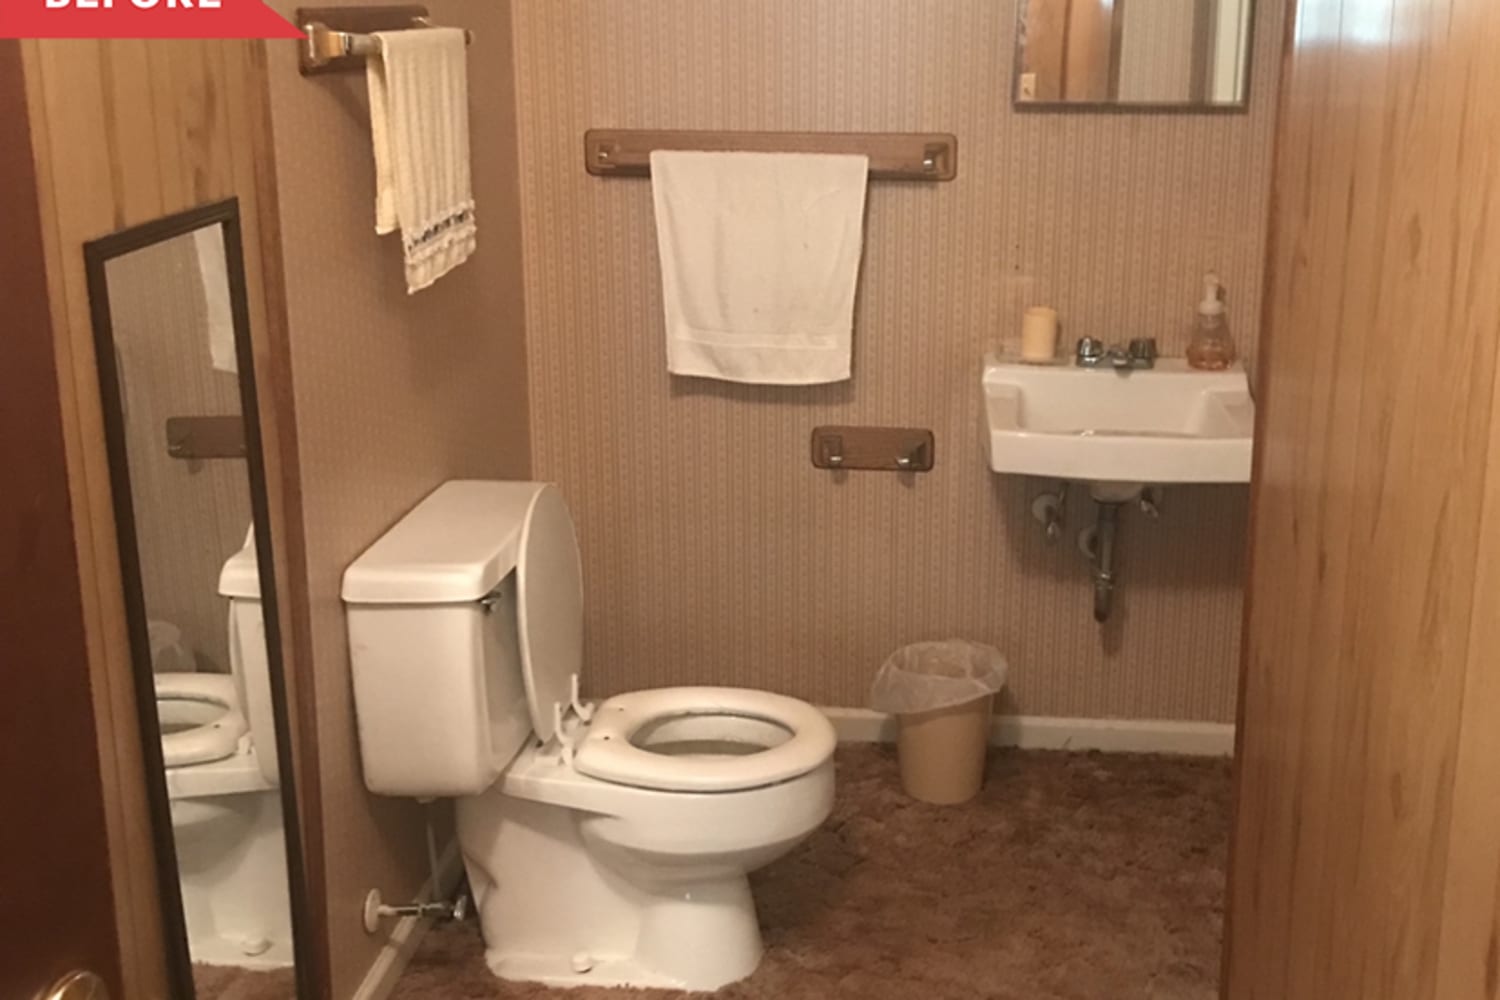
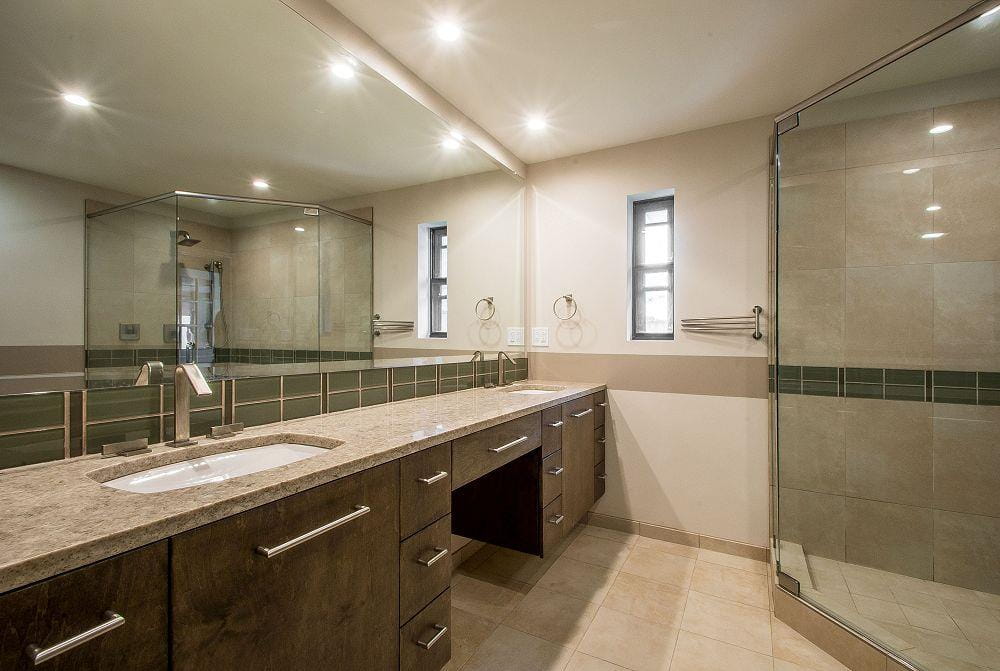
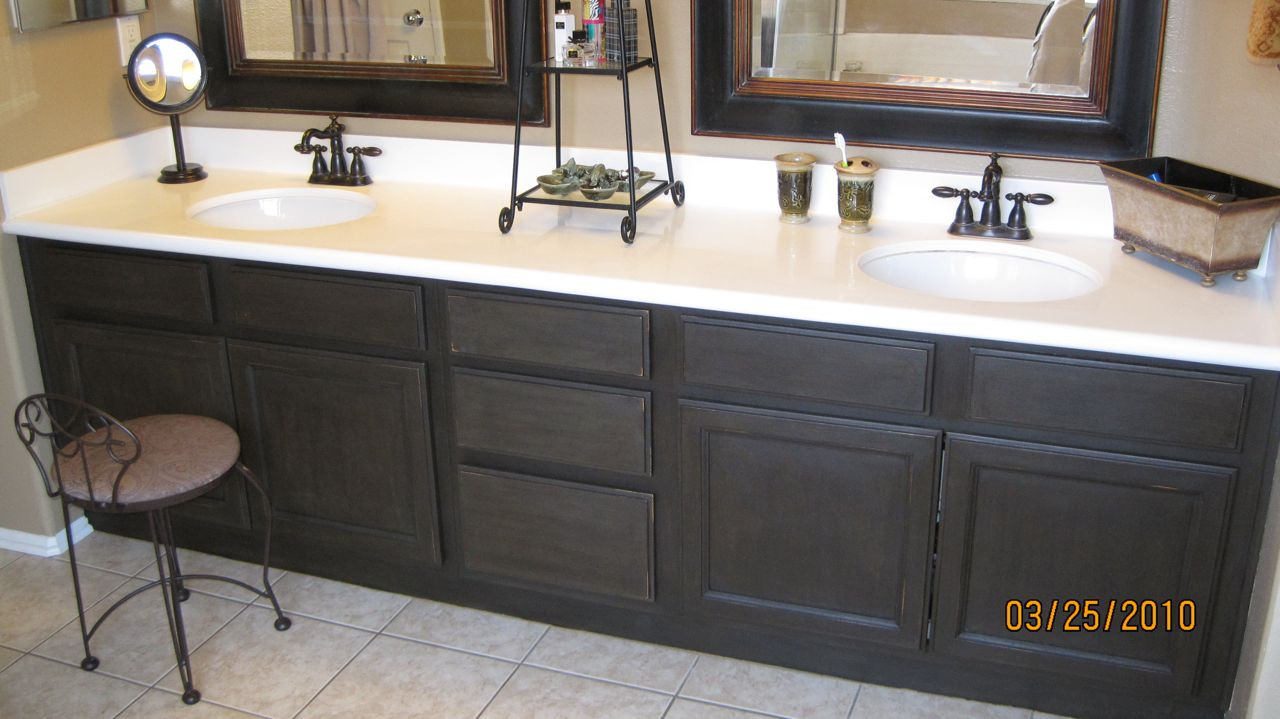
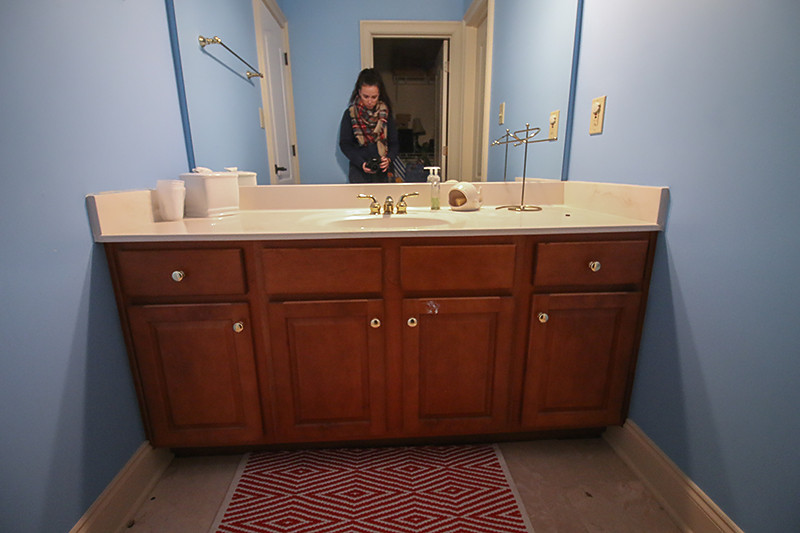
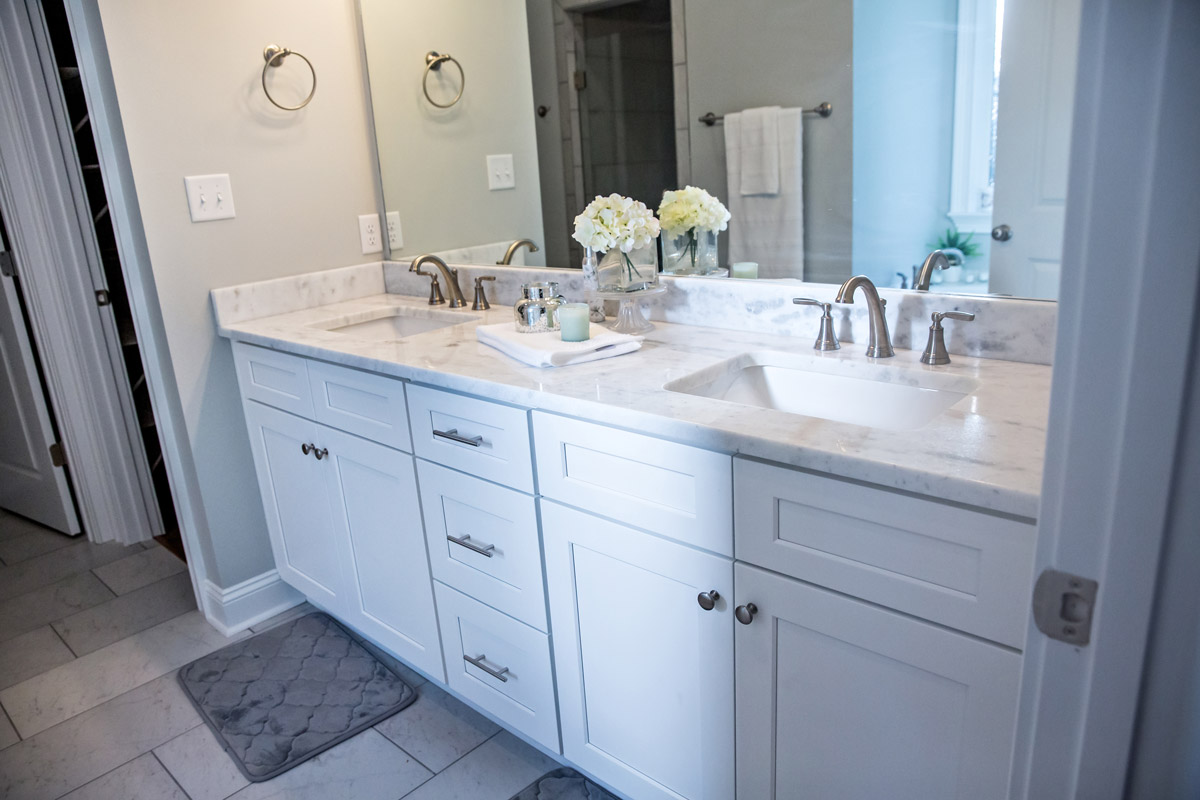
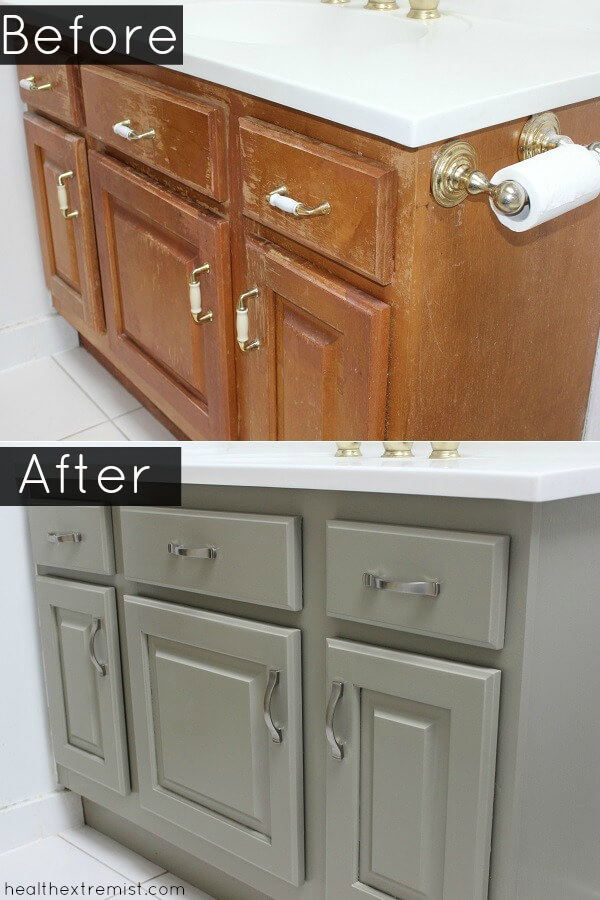
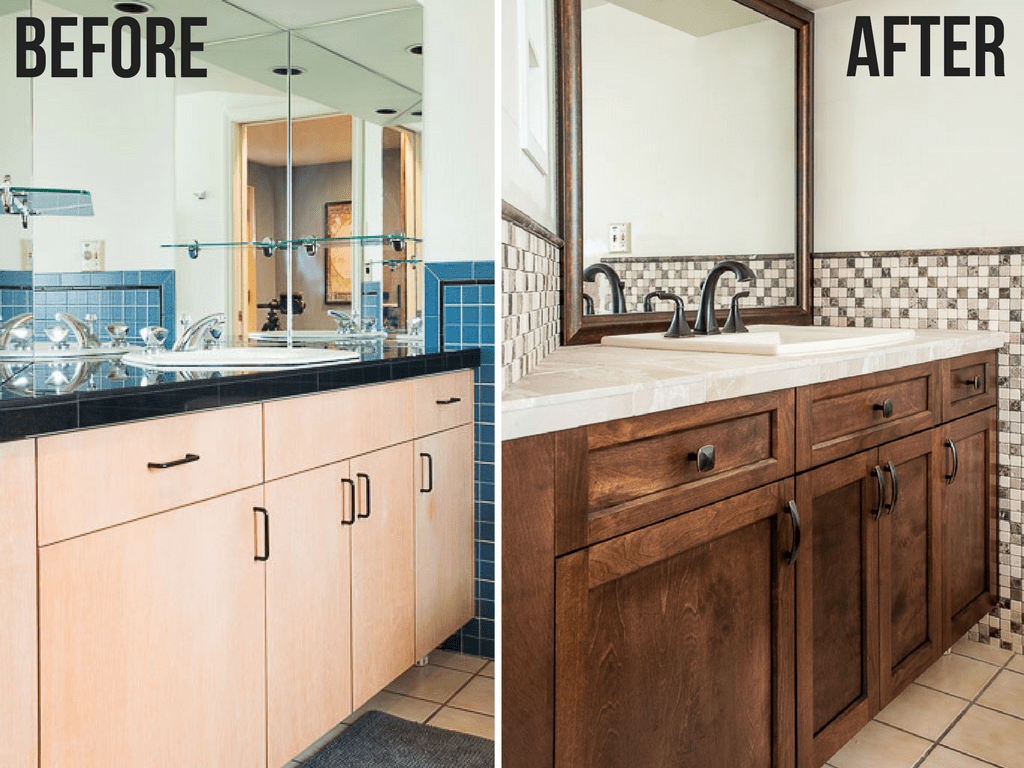
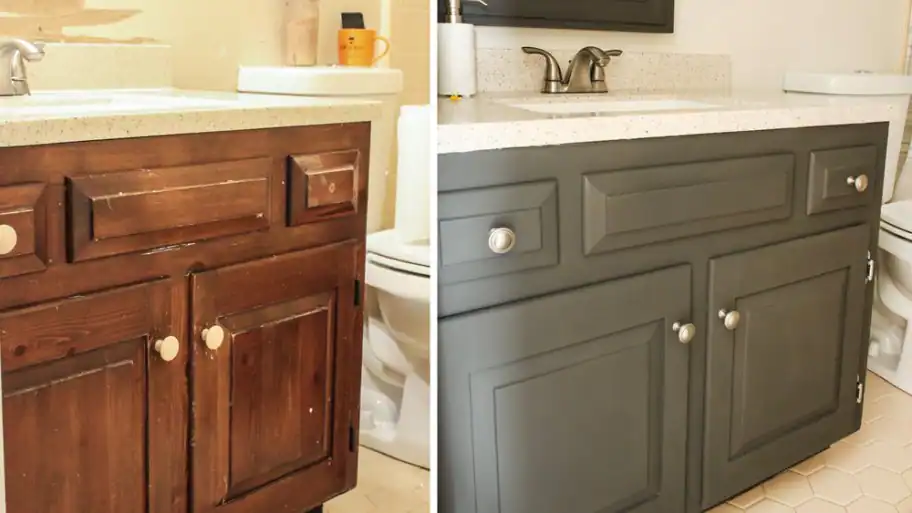
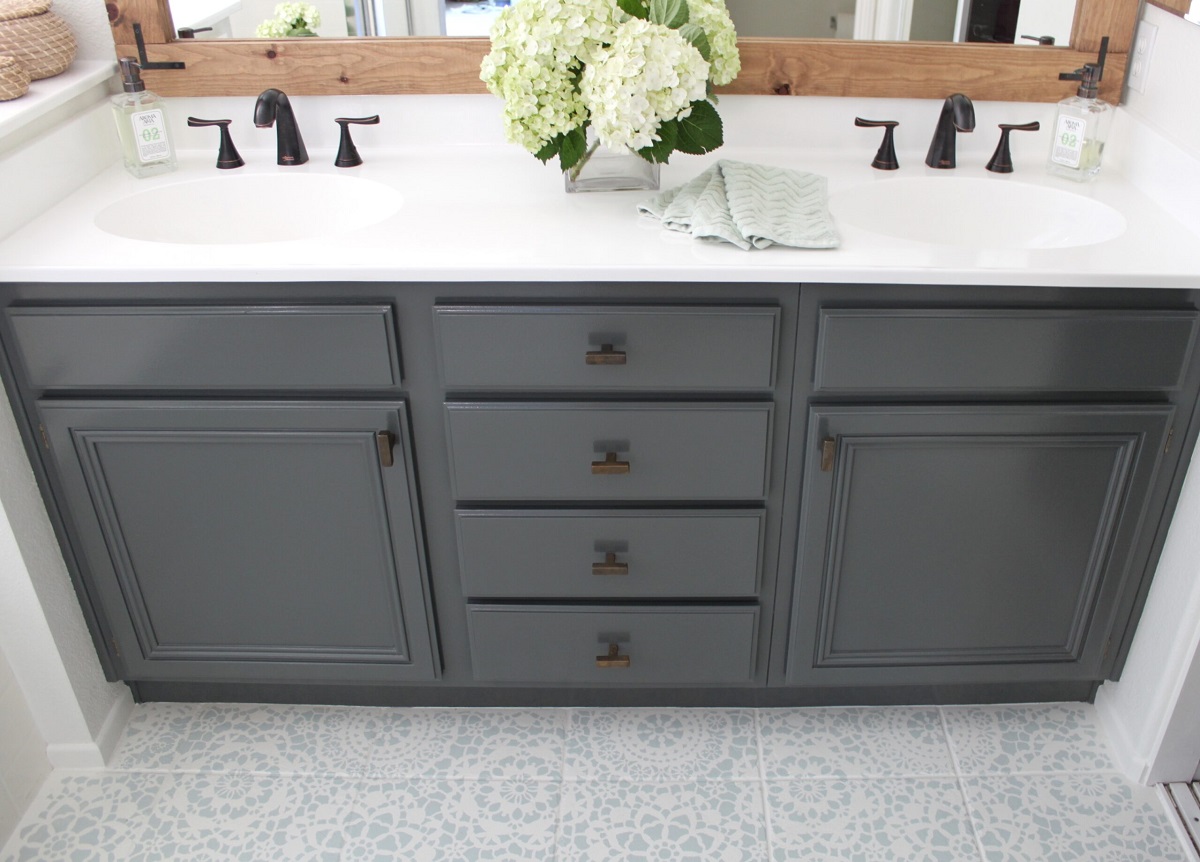
Refinishing a 1970s Bathroom Vanity: Before and After Photos
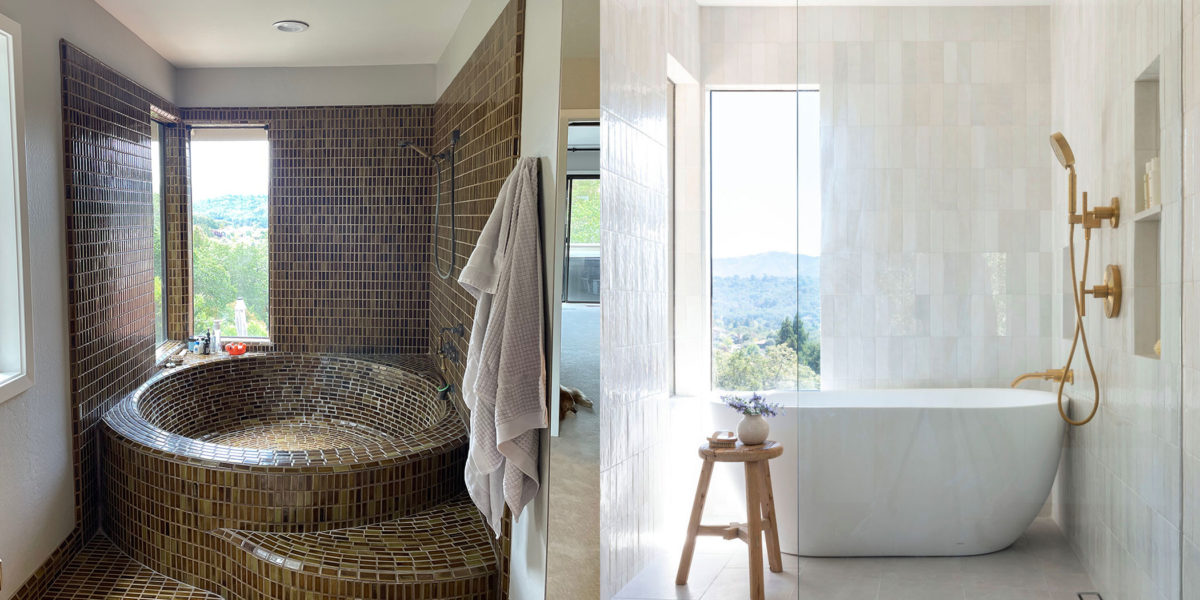


Why Refinishing Your 1970 Bathroom Vanity is a Great Home Design Choice
When it comes to home design, the bathroom is often overlooked. However, a well-designed and updated bathroom can greatly increase the value and appeal of your home. One key element to consider when renovating your bathroom is the vanity. And if you happen to have a 1970s bathroom vanity, refinishing it can be a smart and cost-effective choice.
The Benefits of Refinishing Your 1970 Bathroom Vanity

Cost-Effective: Refinishing your 1970 bathroom vanity can save you a significant amount of money compared to buying a new one. With the rising cost of home renovations, refinishing is a budget-friendly option that can still give your bathroom a fresh and updated look.
Preserves Vintage Charm: If you're a fan of the vintage look, refinishing your 1970 bathroom vanity is a great way to preserve its charm while still giving it a modern touch. You can choose to keep the original color or opt for a new one that complements your bathroom's overall design.
Customizable: Refinishing your 1970 bathroom vanity allows you to customize it to your personal style and preferences. You can choose from a variety of finishes, such as matte, gloss, or distressed, to achieve the look you desire.
Quick and Easy: Refinishing your 1970 bathroom vanity is a relatively quick and easy process compared to replacing it. With the right tools and materials, you can complete the project in a weekend and have a brand new-looking vanity in no time.
How to Refinish Your 1970 Bathroom Vanity

Now that you know the benefits of refinishing your 1970 bathroom vanity, here's a step-by-step guide on how to do it:
- Clean and Prep: Before starting the refinishing process, make sure to thoroughly clean and sand the vanity to remove any dirt, grime, or old finish. This will ensure that the new finish adheres properly.
- Choose Your Finish: As mentioned earlier, you can choose from a variety of finishes for your vanity. Make sure to select one that complements your bathroom's design and fits your personal style.
- Apply the Finish: Using a paintbrush or roller, apply the finish evenly on the vanity. You may need to apply multiple coats for a smooth and even finish.
- Let it Dry: After applying the finish, let it dry completely before reattaching any hardware or placing items back on the vanity.
- Enjoy Your Newly Refinished Vanity: Once everything is dry and back in place, step back and admire your beautifully refinished 1970 bathroom vanity.
Overall, refinishing your 1970 bathroom vanity is a great home design choice that can save you money, preserve vintage charm, and give you a customized and updated look. So why wait? Start planning your refinishing project and give your bathroom a new and improved look today!