If you've noticed that the caulk around your kitchen sink is peeling or discolored, it's time to recaulk. This simple task can help improve the appearance of your sink and prevent water damage. Follow these steps to learn how to recaulk a kitchen sink.How to Recaulk a Kitchen Sink


How to Recaulk a Kitchen Sink


Before you begin, gather all the necessary tools and materials including a caulk gun, caulk remover, caulk, and a putty knife. Start by removing any old caulk with the caulk remover and a putty knife. Be sure to clean the area thoroughly before proceeding to the next step. Next, cut the tip of the caulk tube at a 45-degree angle and insert it into the caulk gun. Hold the gun at a 45-degree angle and apply an even bead of caulk along the edge of the sink. Use your finger or a damp cloth to smooth out the caulk and remove any excess. Repeat this process for each side of the sink, making sure to apply an even and consistent bead of caulk. Once finished, let the caulk dry for at least 24 hours before using the sink again.Step-by-Step Guide to Recaulking a Kitchen Sink


Step-by-Step Guide to Recaulking a Kitchen Sink


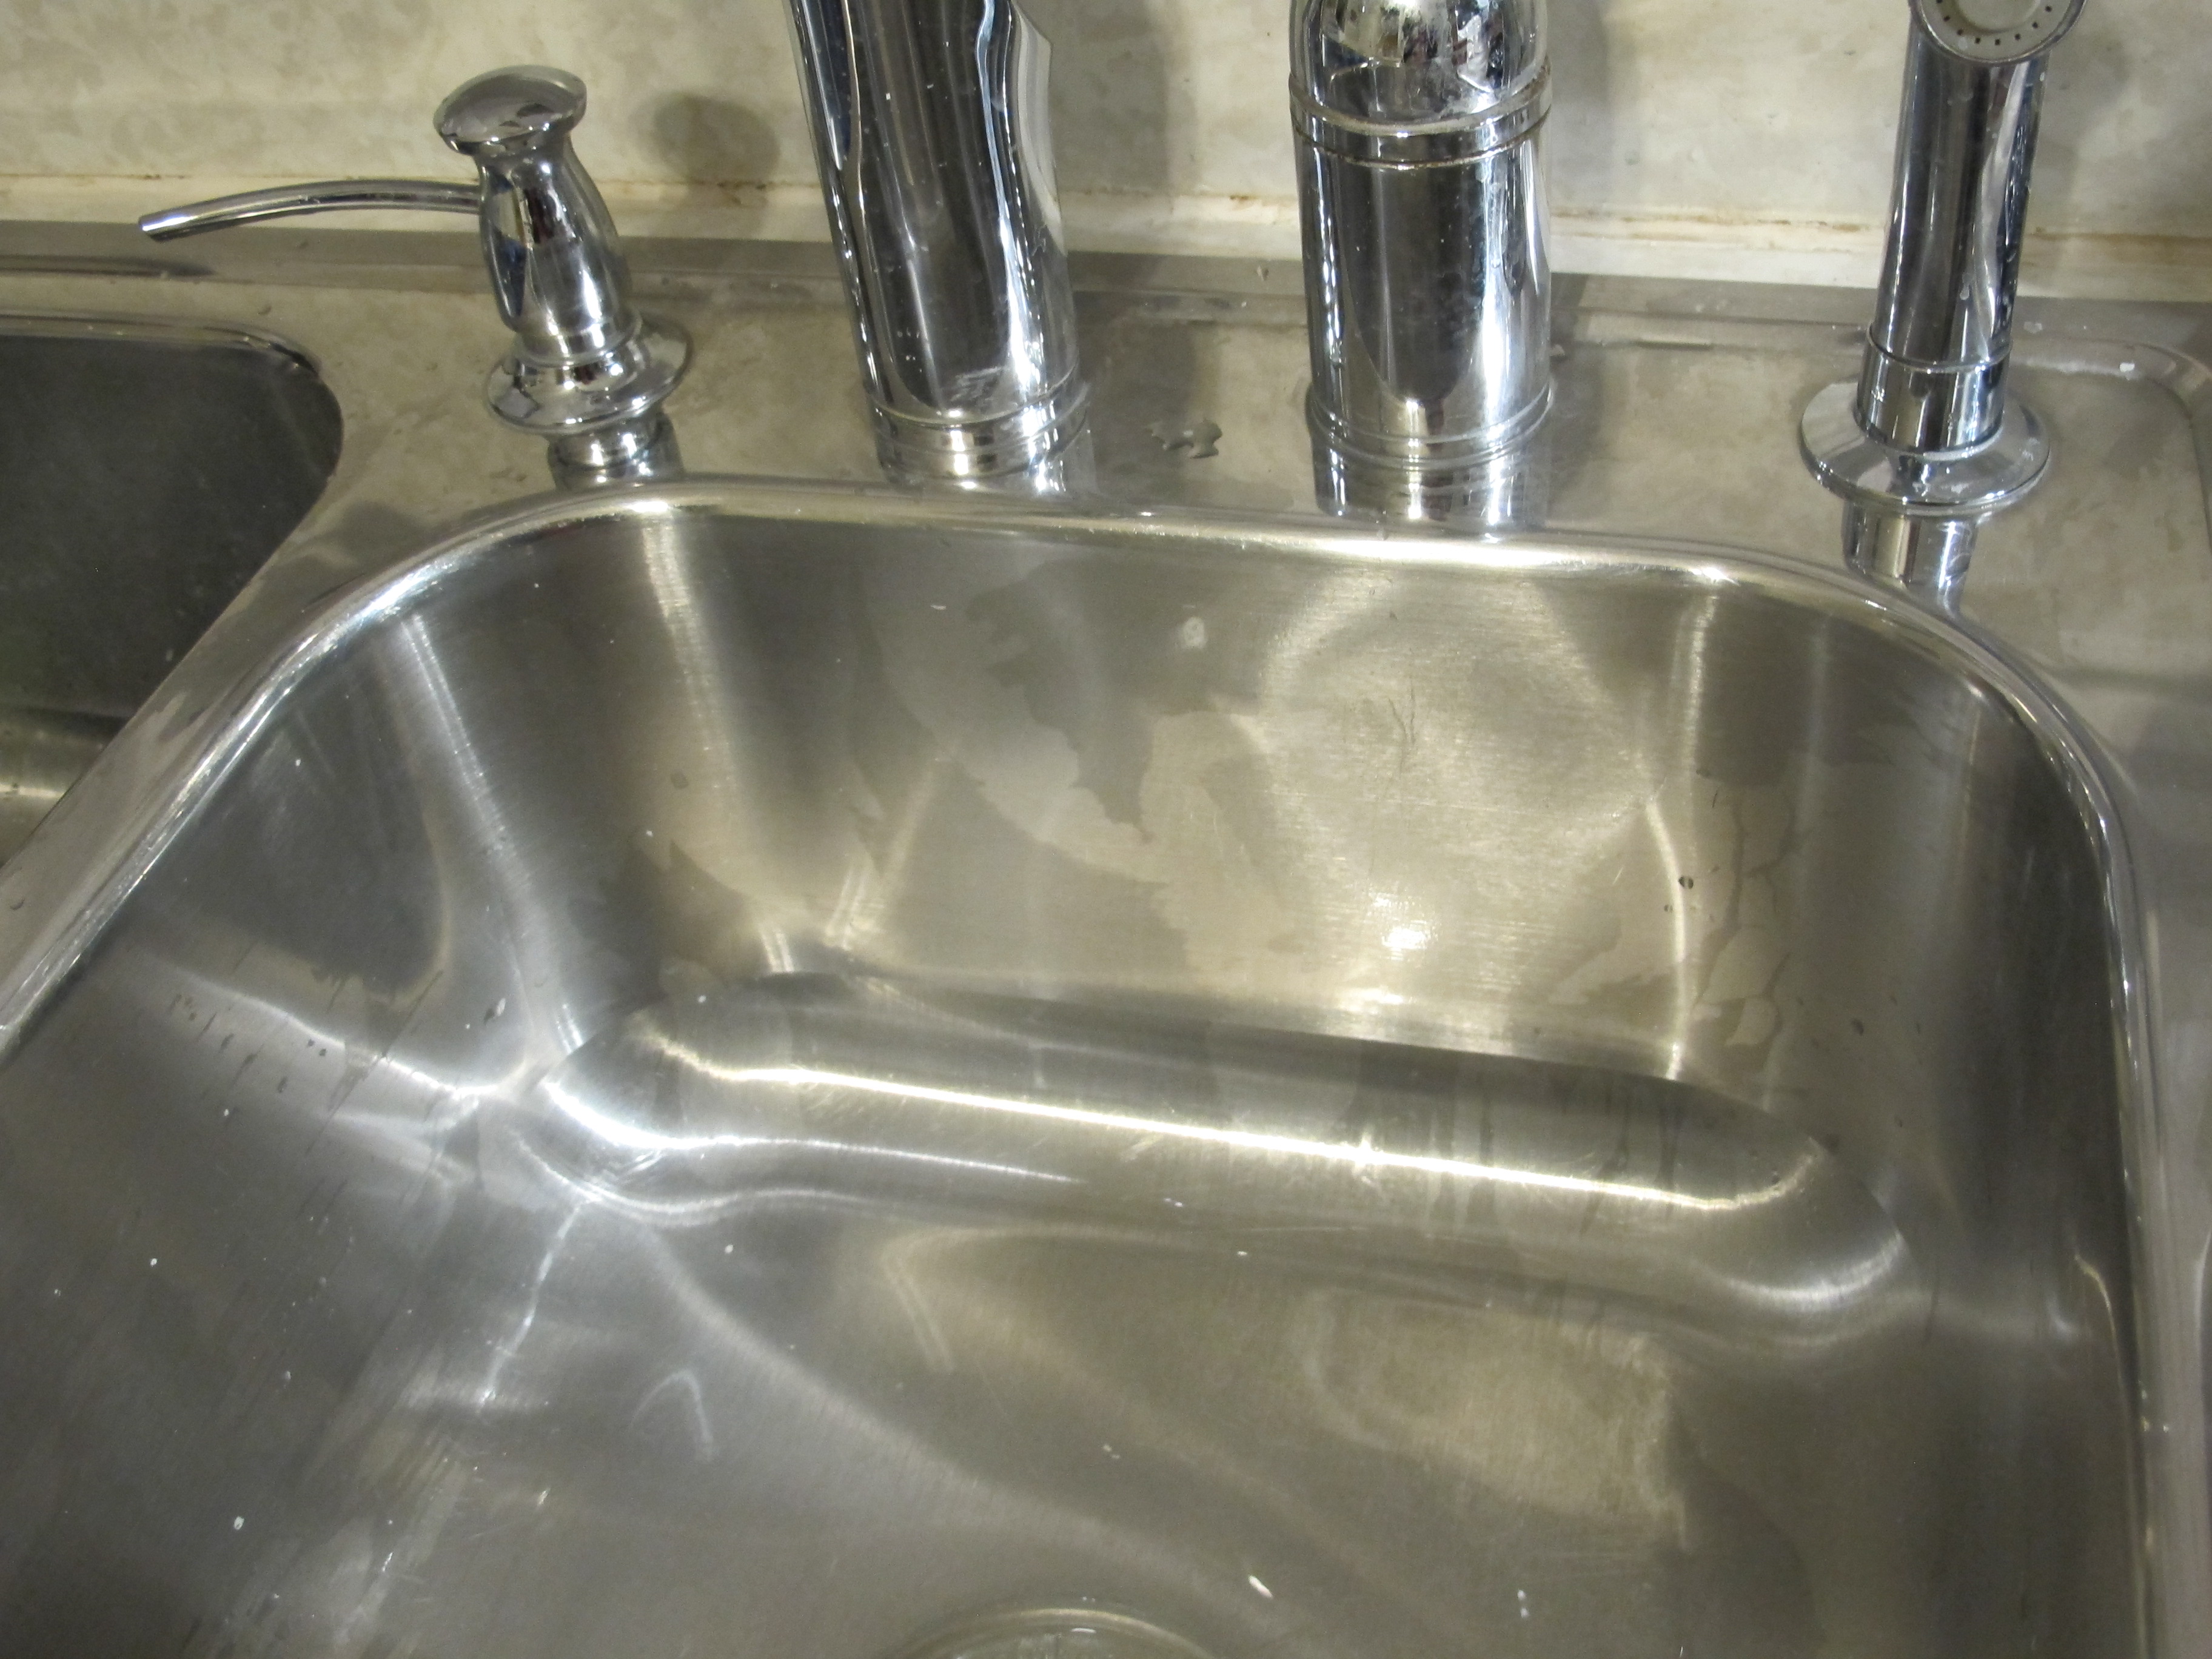
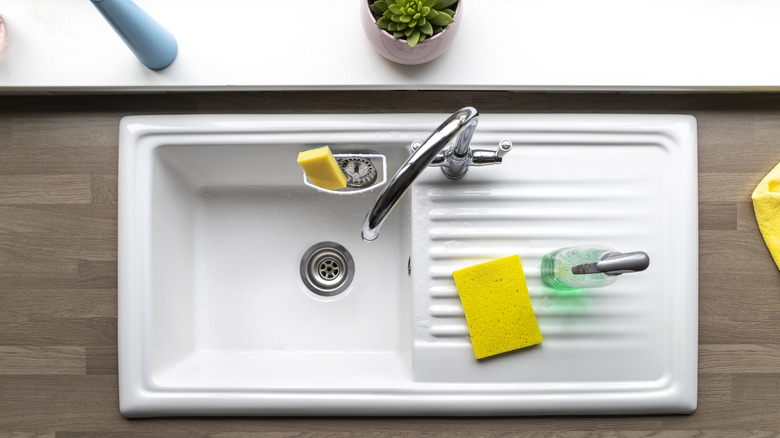
Choosing the right caulk for your kitchen sink is crucial for a successful recaulking job. Look for a caulk that is specifically designed for use in kitchens and bathrooms, as they are more resistant to moisture and mildew. Silicone-based caulk is a popular choice for kitchen sinks as it is flexible and durable. Another important factor to consider is the color of the caulk. It's best to choose a caulk that matches the color of your sink or countertop to ensure a seamless and professional finish.Best Caulk for Kitchen Sink


Best Caulk for Kitchen Sink


.jpg)
Here are some tips to keep in mind when recaulking your kitchen sink:Tips for Recaulking a Kitchen Sink


Tips for Recaulking a Kitchen Sink


Recaulking your kitchen sink is a simple DIY task that can save you time and money. Instead of hiring a professional, you can easily do it yourself with the right tools and materials. Plus, you'll have the satisfaction of knowing you completed the job yourself.DIY Kitchen Sink Recaulking


DIY Kitchen Sink Recaulking


It's important to know when to recaulk your kitchen sink to prevent any potential water damage. Signs that it's time to recaulk include cracked or peeling caulk, mold or mildew growth, or water leakage. It's recommended to recaulk your sink every 1-2 years to maintain its appearance and prevent any potential damage.When to Recaulk a Kitchen Sink

When to Recaulk a Kitchen Sink

To recaulk a kitchen sink, you'll need the following tools:Tools Needed for Recaulking a Kitchen Sink


Tools Needed for Recaulking a Kitchen Sink


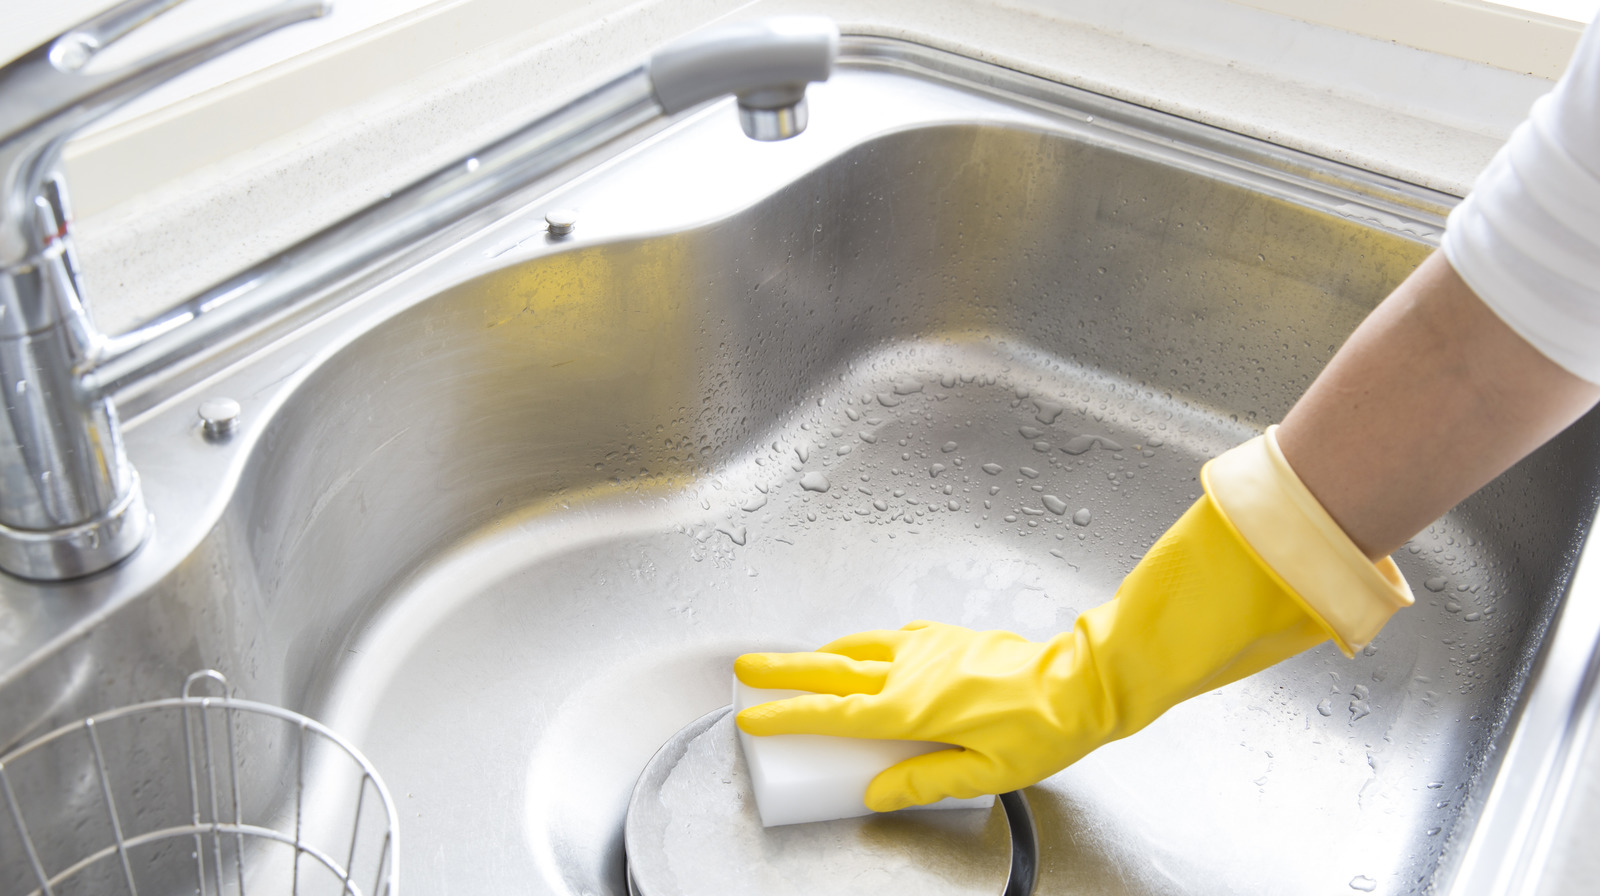
Before recaulking your kitchen sink, you'll need to remove any old caulk. Here's how:How to Remove Old Caulk from a Kitchen Sink


How to Remove Old Caulk from a Kitchen Sink


:max_bytes(150000):strip_icc()/how-to-remove-old-caulk-1824827-01-3d0370c59e124dbbaa6560c68bab111c.jpg)


Here are some common mistakes to avoid when recaulking your kitchen sink:Common Mistakes When Recaulking a Kitchen Sink


Common Mistakes When Recaulking a Kitchen Sink


As mentioned earlier, it's recommended to recaulk your kitchen sink every 1-2 years. However, the frequency may depend on the type of caulk used and the amount of wear and tear your sink experiences. It's important to check the caulk regularly for signs of wear and recaulk as needed to prevent any potential damage.How Often Should You Recaulk a Kitchen Sink


How Often Should You Recaulk a Kitchen Sink


Why Recaulking Your Kitchen Sink is Essential for a Well-Designed Home

The Importance of Maintaining Your Kitchen Sink
 When it comes to house design, the kitchen is often referred to as the heart of the home. It is where we gather with family and friends, cook delicious meals, and create unforgettable memories. As such an integral part of the home, it is important to keep the kitchen in top shape and one often overlooked aspect is the
caulking of the kitchen sink
.
Recaulking
your kitchen sink may not seem like a top priority, but it plays a crucial role in both the functionality and aesthetic of your kitchen.
When it comes to house design, the kitchen is often referred to as the heart of the home. It is where we gather with family and friends, cook delicious meals, and create unforgettable memories. As such an integral part of the home, it is important to keep the kitchen in top shape and one often overlooked aspect is the
caulking of the kitchen sink
.
Recaulking
your kitchen sink may not seem like a top priority, but it plays a crucial role in both the functionality and aesthetic of your kitchen.
Why Caulk Deteriorates Over Time
 You may be wondering why
caulk
needs to be replaced in the first place. Over time, caulk can become
cracked, discolored, or even moldy
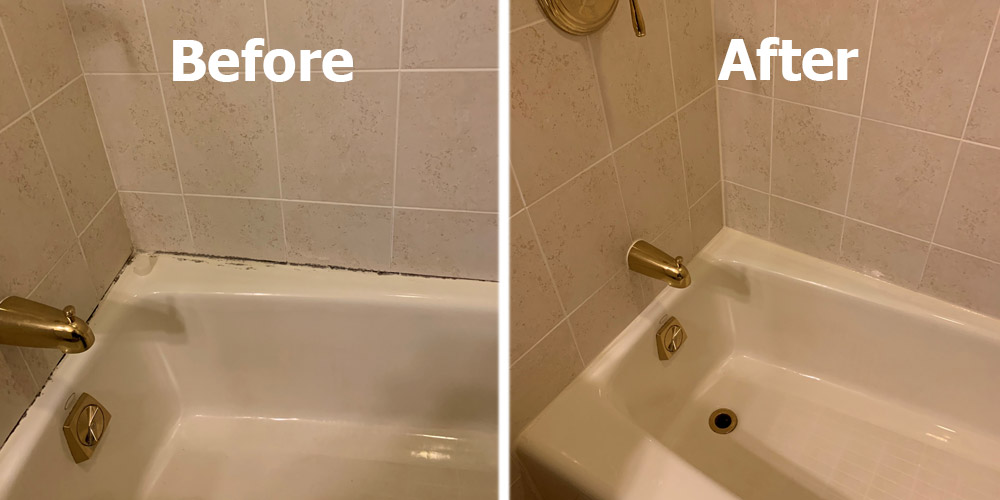
. This is due to the constant exposure to water and harsh cleaning products. The constant expansion and contraction of the caulk can also lead to its breakdown. Not only does deteriorating caulk look unsightly, but it can also lead to water damage and mold growth, which can be both costly and harmful to your health.
You may be wondering why
caulk
needs to be replaced in the first place. Over time, caulk can become
cracked, discolored, or even moldy
. This is due to the constant exposure to water and harsh cleaning products. The constant expansion and contraction of the caulk can also lead to its breakdown. Not only does deteriorating caulk look unsightly, but it can also lead to water damage and mold growth, which can be both costly and harmful to your health.
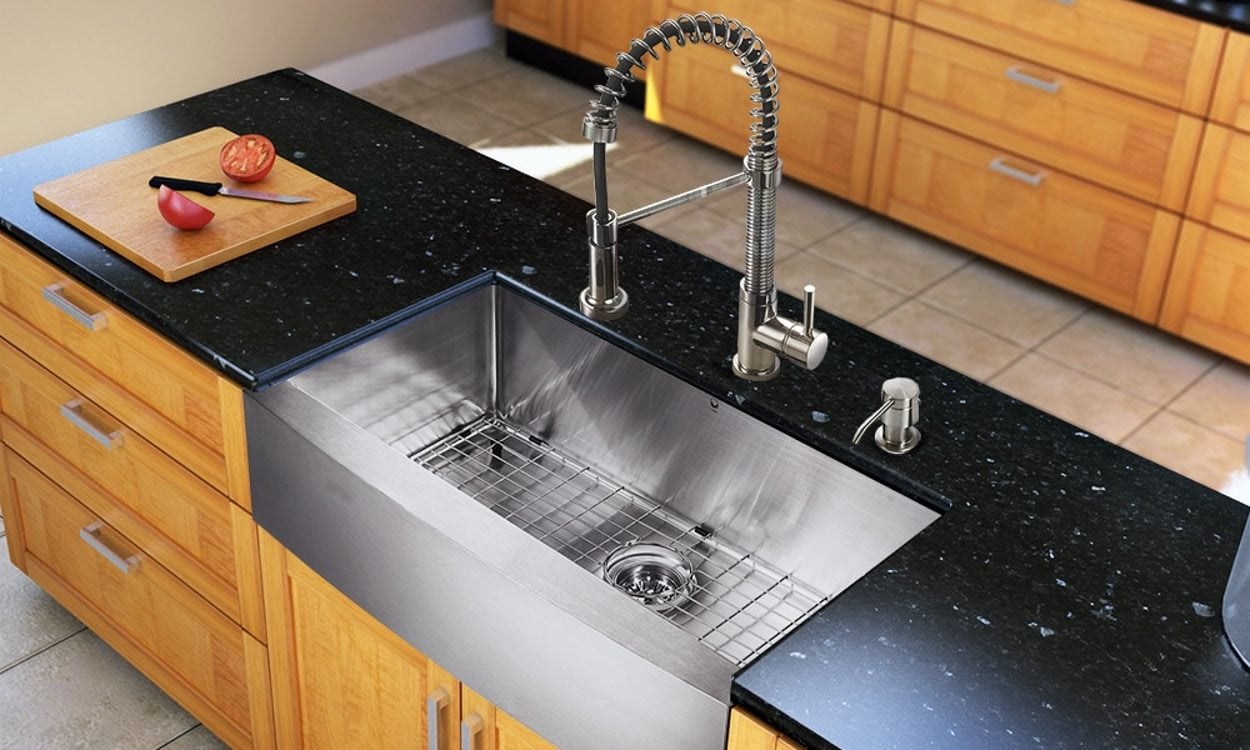
The Benefits of Recaulking Your Kitchen Sink
.jpg) By
recaulking
your kitchen sink, you are not only improving its appearance, but you are also
protecting it from potential water damage and mold growth
. Additionally, a fresh layer of caulk can help to
seal any gaps or cracks
that may have developed between the sink and the countertop. This can prevent any water from seeping in and causing damage to your cabinets or flooring.
Recaulking
also helps to keep your sink in place and prevents any movement that can lead to leaks or other issues.
By
recaulking
your kitchen sink, you are not only improving its appearance, but you are also
protecting it from potential water damage and mold growth
. Additionally, a fresh layer of caulk can help to
seal any gaps or cracks
that may have developed between the sink and the countertop. This can prevent any water from seeping in and causing damage to your cabinets or flooring.
Recaulking
also helps to keep your sink in place and prevents any movement that can lead to leaks or other issues.
How to Recaulk Your Kitchen Sink
 Now that you understand the importance of
recaulking
your kitchen sink, you may be wondering how to go about it. The first step is to
remove any old caulk
using a caulk remover tool or a putty knife. Clean the area thoroughly, making sure to remove any debris or mold. Next, apply a new layer of
caulk specifically designed for kitchens and bathrooms
. Use a caulk gun to evenly apply the caulk, making sure to fill any gaps or cracks. Finally, use a damp cloth or your finger to smooth out the caulk and remove any excess. Allow the caulk to dry completely before using your sink.
Now that you understand the importance of
recaulking
your kitchen sink, you may be wondering how to go about it. The first step is to
remove any old caulk
using a caulk remover tool or a putty knife. Clean the area thoroughly, making sure to remove any debris or mold. Next, apply a new layer of
caulk specifically designed for kitchens and bathrooms
. Use a caulk gun to evenly apply the caulk, making sure to fill any gaps or cracks. Finally, use a damp cloth or your finger to smooth out the caulk and remove any excess. Allow the caulk to dry completely before using your sink.
Conclusion
 In conclusion,
recaulking your kitchen sink
is an essential aspect of maintaining a well-designed home. Not only does it improve the appearance of your kitchen, but it also protects it from potential water damage and mold growth. By following these simple steps, you can easily
recaulk your kitchen sink
and ensure that your kitchen remains the heart of your home for years to come. Don't neglect this important task and keep your kitchen looking and functioning at its best.
In conclusion,
recaulking your kitchen sink
is an essential aspect of maintaining a well-designed home. Not only does it improve the appearance of your kitchen, but it also protects it from potential water damage and mold growth. By following these simple steps, you can easily
recaulk your kitchen sink
and ensure that your kitchen remains the heart of your home for years to come. Don't neglect this important task and keep your kitchen looking and functioning at its best.