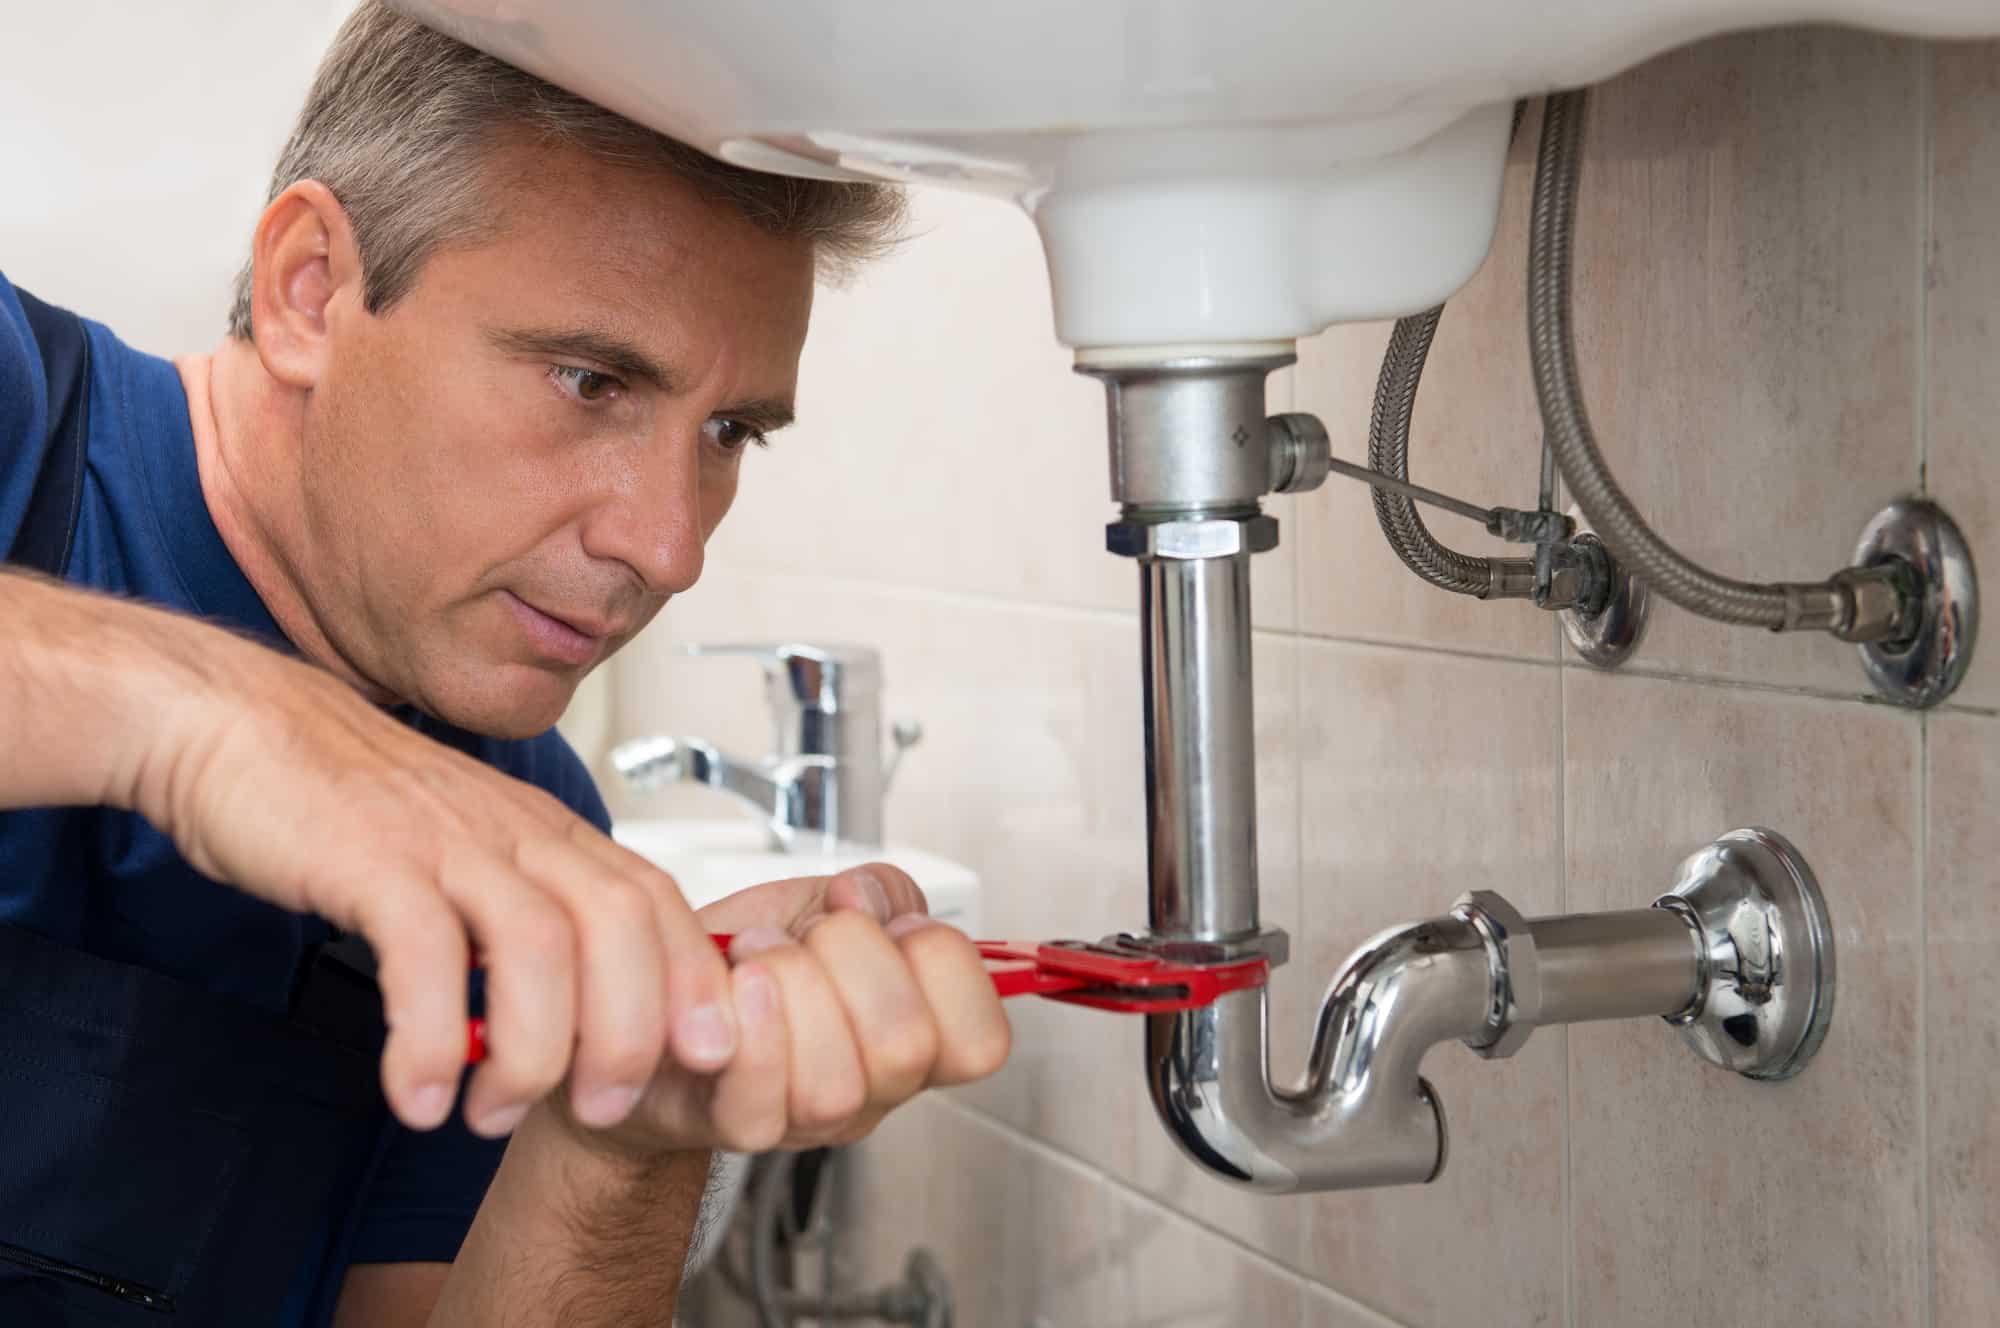
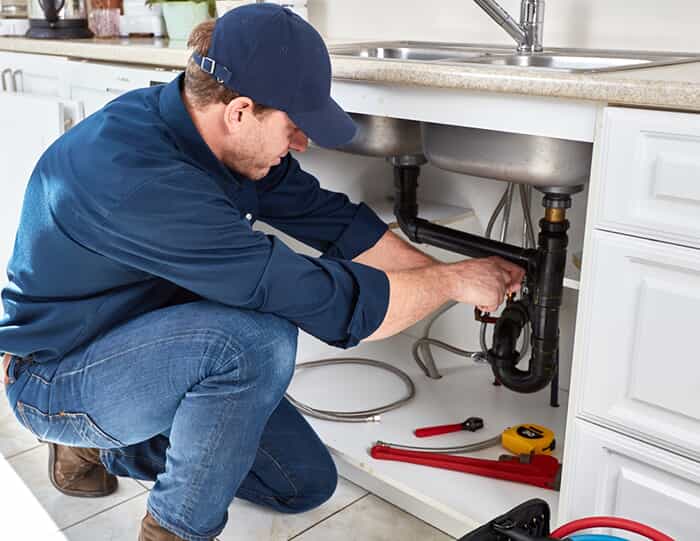
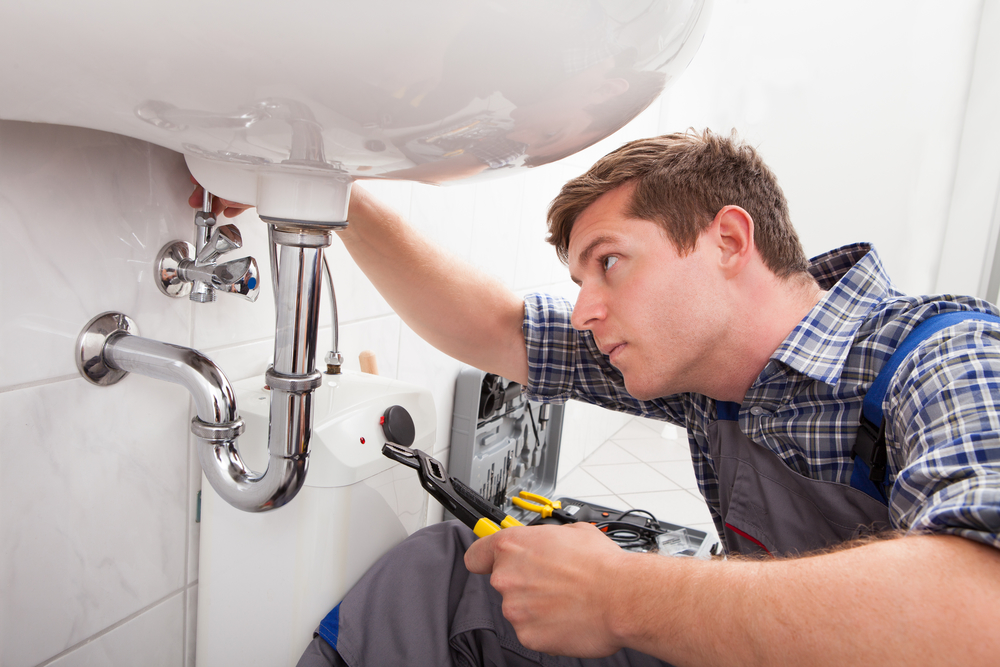
Installing a new kitchen sink can be a daunting task, especially when it comes to sealing the sink to the countertop. Many people opt for plumber's putty as it is a versatile and reliable option for creating a watertight seal. But if you're new to DIY plumbing, you may be wondering how to use plumber's putty for kitchen sink installation. Don't worry, we've got you covered with this step-by-step guide.1. How to Use Plumber's Putty for Kitchen Sink Installation


1. How to Use Plumber's Putty for Kitchen Sink Installation


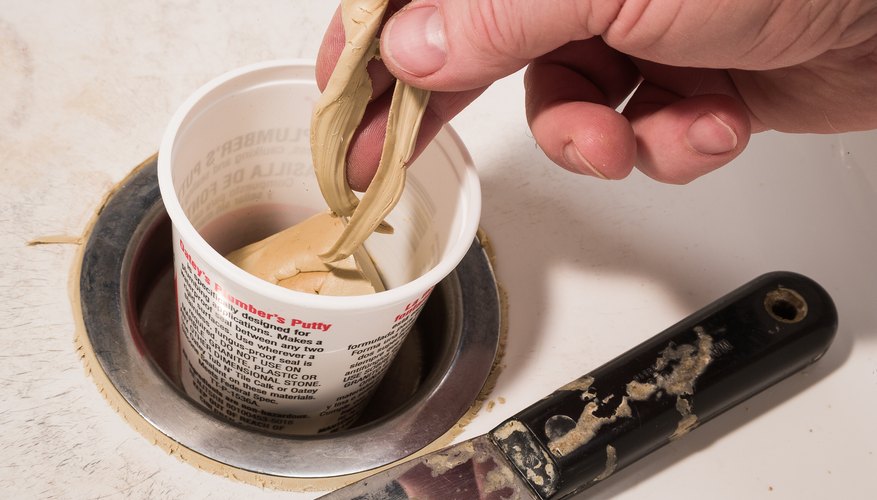
Plumber's putty is a popular choice for kitchen sink repairs, and for good reason. Not only is it affordable, but it also offers a range of benefits that make it a go-to solution for many homeowners. Plumber's putty is a soft, pliable material that can be easily molded to fit any space, making it perfect for sealing leaks or gaps around your kitchen sink. It also has a long-lasting seal that can withstand exposure to water, heat, and other harsh conditions.2. The Benefits of Using Plumber's Putty for Kitchen Sink Repairs


2. The Benefits of Using Plumber's Putty for Kitchen Sink Repairs

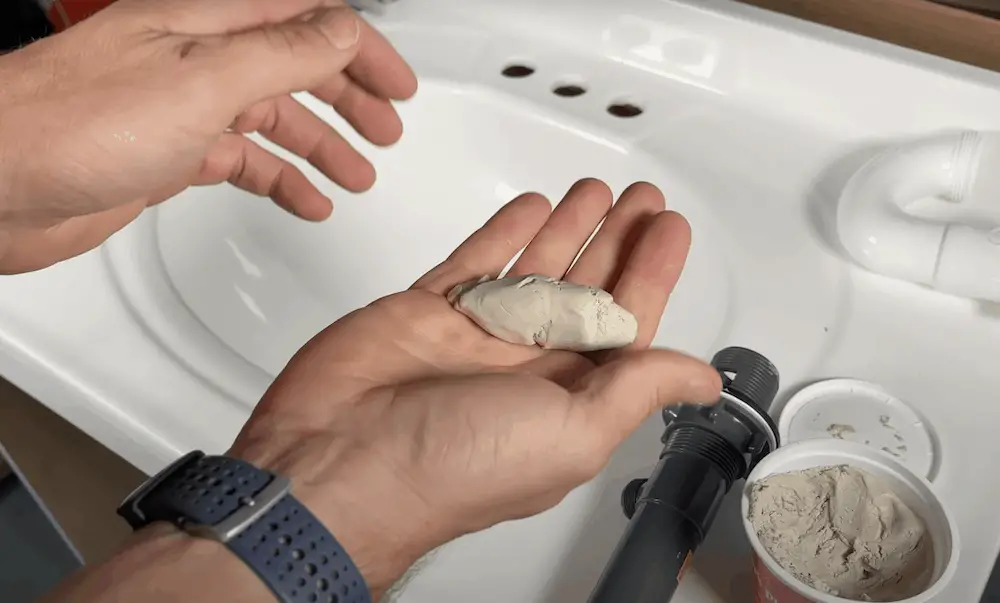
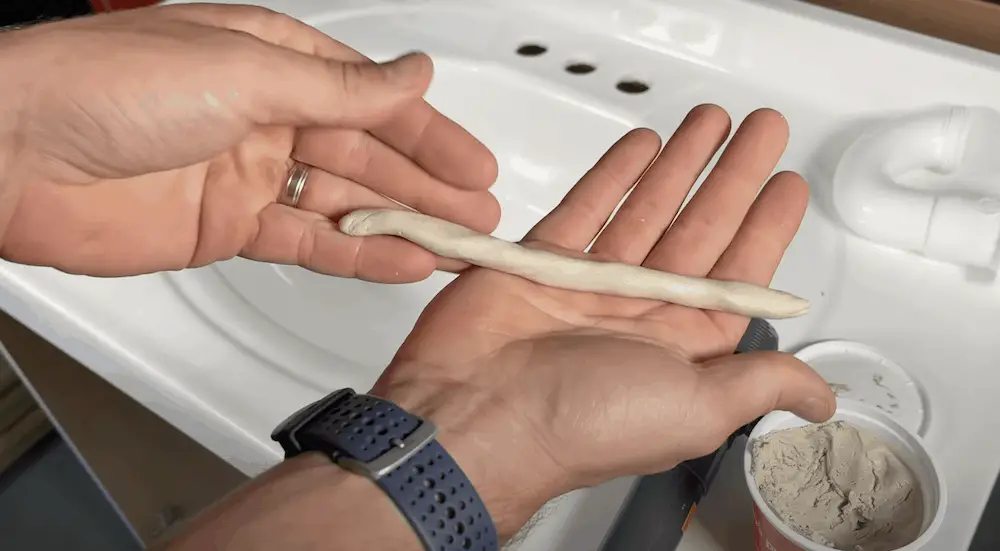
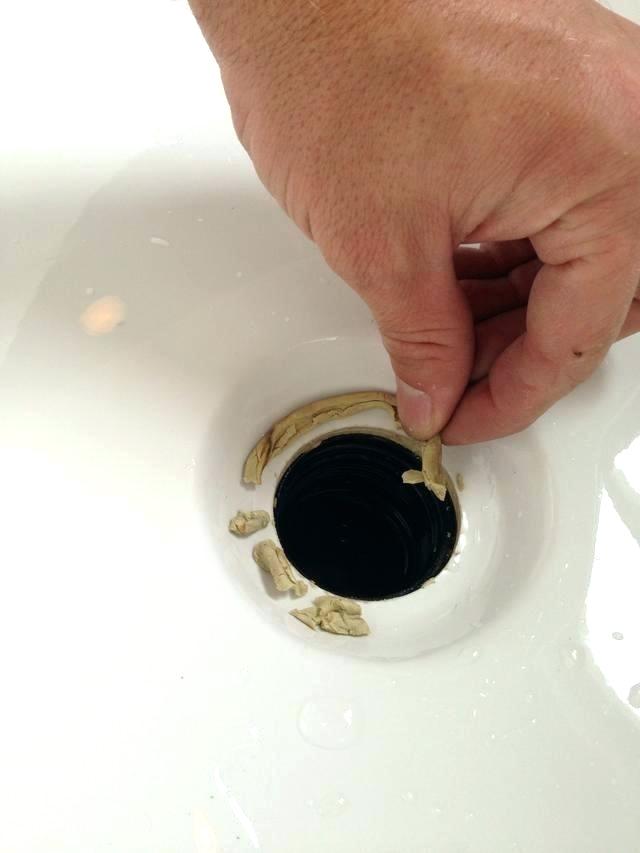
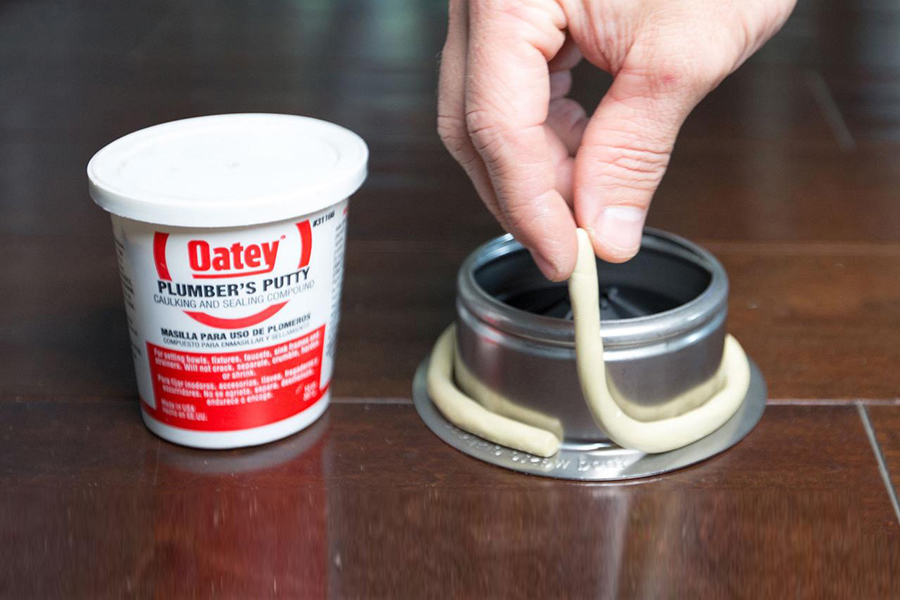
Now that you know the benefits of using plumber's putty for kitchen sink repairs, let's dive into the process of applying it. First, you'll need to clean the area around the sink and remove any old putty or debris. Next, roll the putty into a long, thin rope and apply it around the edges of the sink opening. Gently press the sink into place and wipe away any excess putty. Finally, let it dry for 24 hours before using the sink.3. Step-by-Step Guide for Applying Plumber's Putty to a Kitchen Sink


3. Step-by-Step Guide for Applying Plumber's Putty to a Kitchen Sink


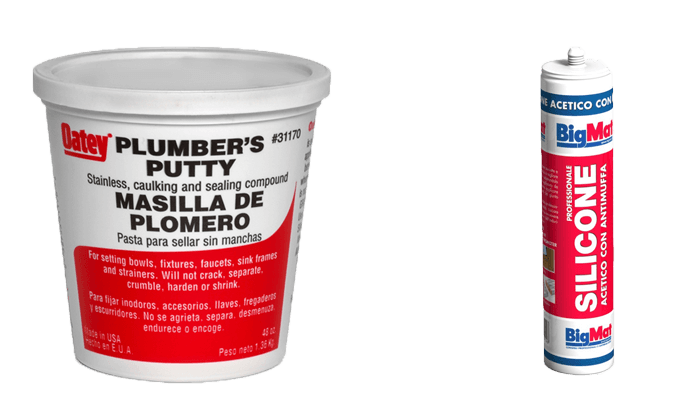
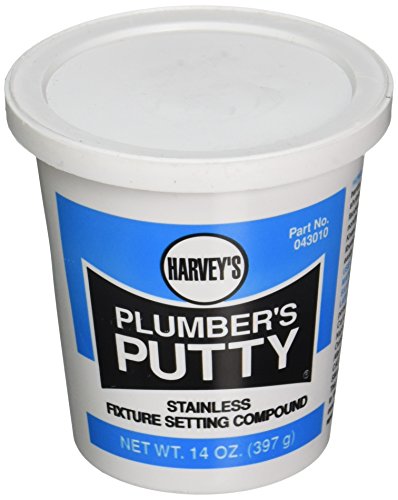
When it comes to choosing a plumber's putty for your kitchen sink, there are many options available on the market. To help you make the best decision, here are our top five picks for plumber's putty brands:4. Top 5 Plumber's Putty Brands for Kitchen Sink Applications


4. Top 5 Plumber's Putty Brands for Kitchen Sink Applications

While using plumber's putty may seem like a simple task, there are some common mistakes that can lead to a faulty seal or other issues. To ensure a smooth and successful application, be sure to avoid these mistakes:5. Common Mistakes to Avoid When Using Plumber's Putty on a Kitchen Sink


5. Common Mistakes to Avoid When Using Plumber's Putty on a Kitchen Sink


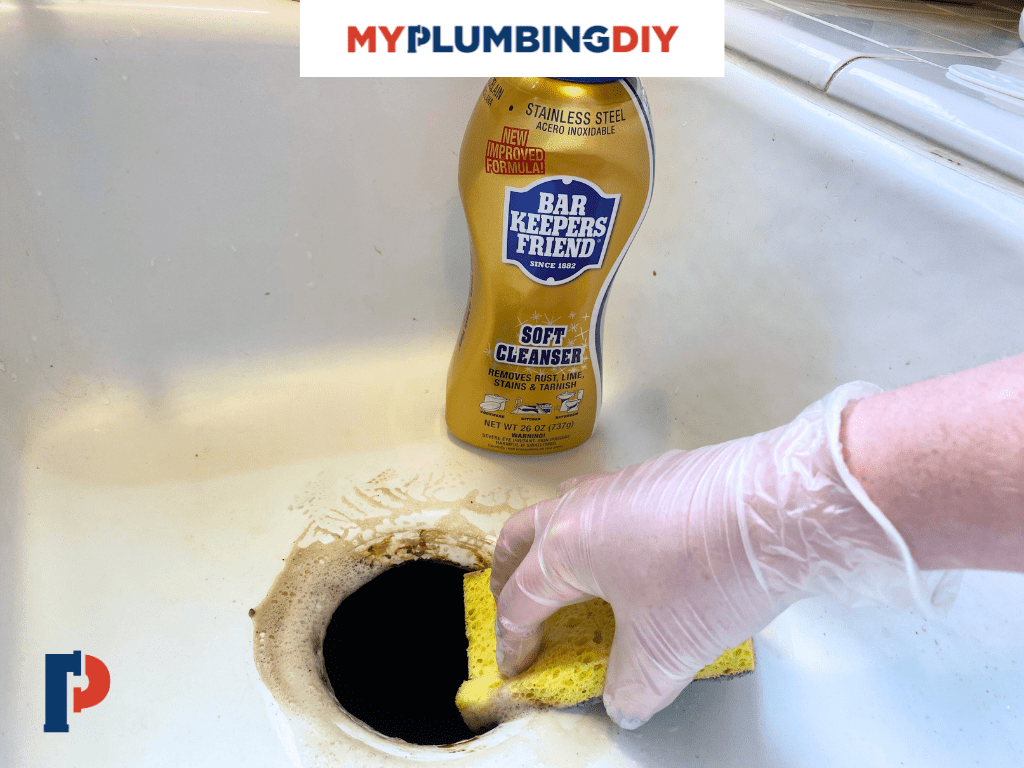
If you need to remove an old or damaged seal, you may be wondering how to remove plumber's putty from a kitchen sink. The good news is that it is relatively easy to do so. Start by scraping off as much putty as you can with a putty knife or similar tool. Then, apply a solvent or adhesive remover to loosen the remaining putty. Once it is soft, you can wipe it away with a cloth or scrub it off with a brush.6. How to Remove Plumber's Putty from a Kitchen Sink


6. How to Remove Plumber's Putty from a Kitchen Sink


When it comes to kitchen sink installation, many people wonder whether they should use plumber's putty or silicone. While both are sealants, they have different properties and are better suited for different applications. Plumber's putty is a soft, pliable material that is ideal for sealing gaps and leaks, while silicone is better for creating a strong, waterproof bond between two surfaces. It is best to consult a professional to determine which one is the right choice for your specific situation.7. The Difference Between Plumber's Putty and Silicone for Kitchen Sink Installation

7. The Difference Between Plumber's Putty and Silicone for Kitchen Sink Installation


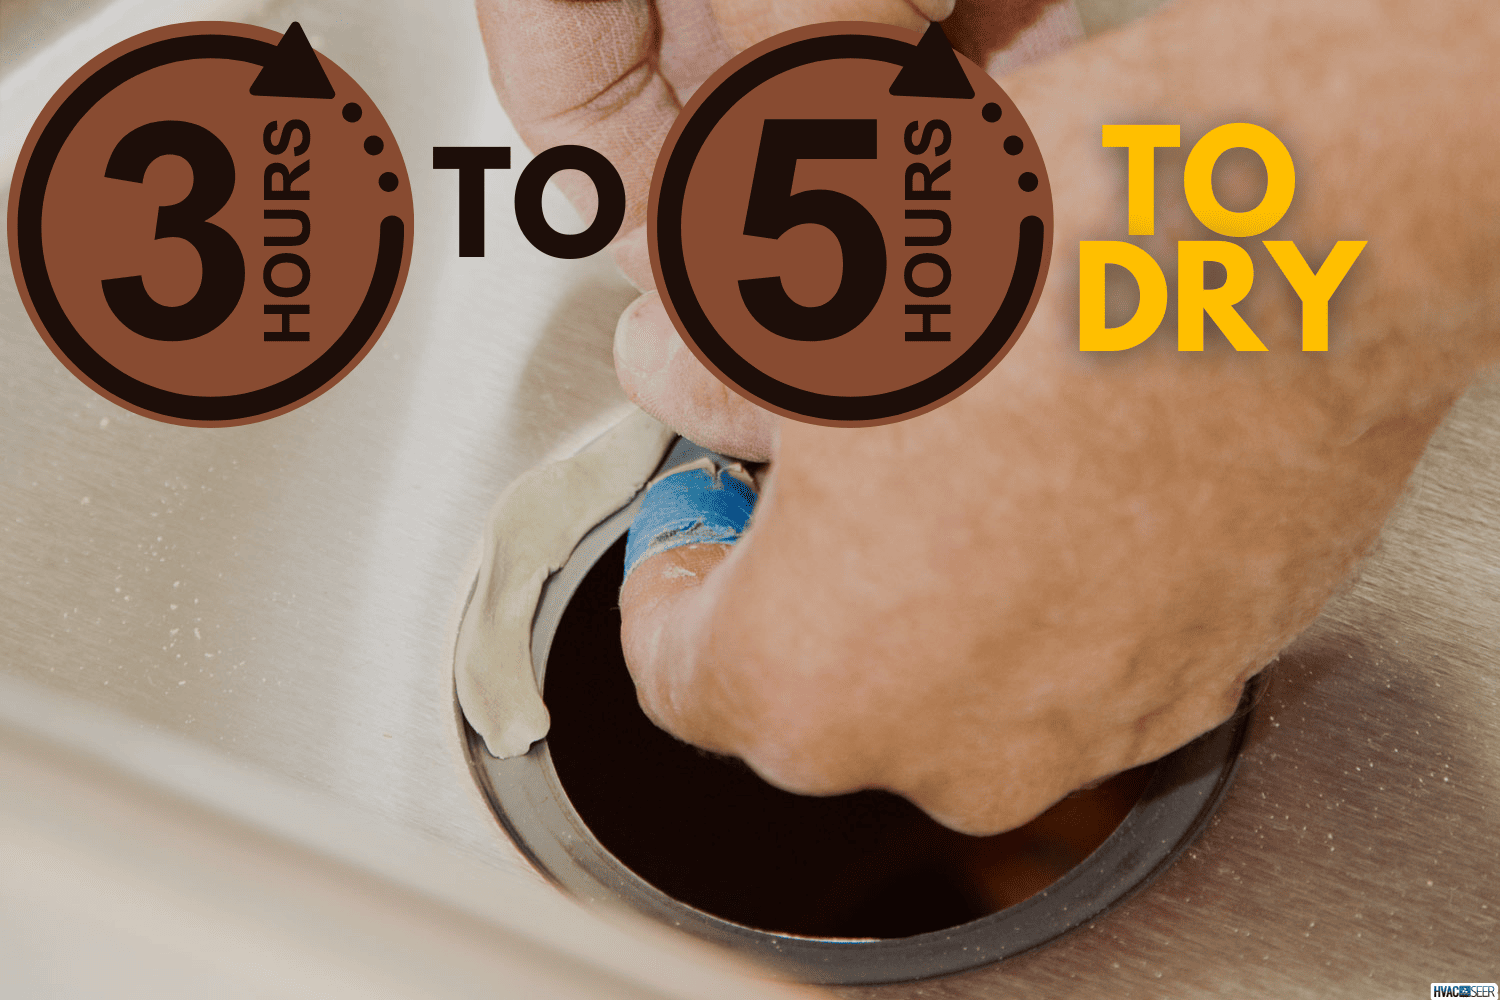
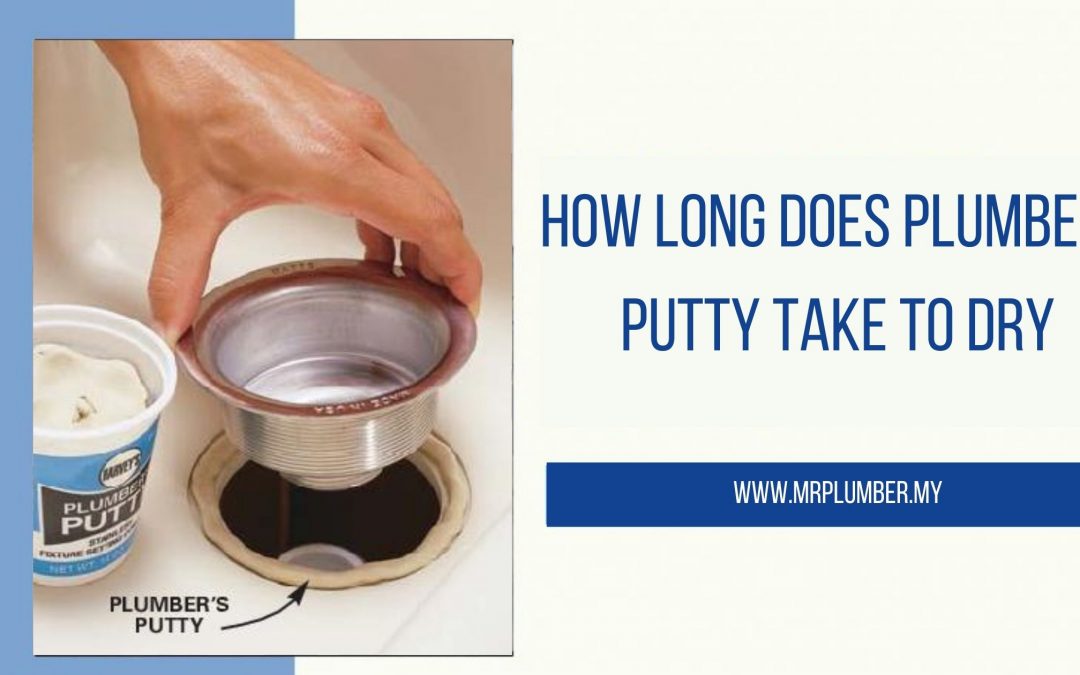
The drying time for plumber's putty can vary depending on factors such as temperature and humidity. On average, it can take anywhere from 12 to 24 hours for the putty to dry completely. It is important to wait for the recommended drying time before using the sink to ensure a strong and long-lasting seal.8. How Long Does Plumber's Putty Take to Dry on a Kitchen Sink?


8. How Long Does Plumber's Putty Take to Dry on a Kitchen Sink?


With so many options available, it can be overwhelming to choose the right plumber's putty for your kitchen sink. Here are some tips to help you make the best selection:9. Tips for Choosing the Right Plumber's Putty for Your Kitchen Sink


9. Tips for Choosing the Right Plumber's Putty for Your Kitchen Sink


If you have noticed a leak coming from your kitchen sink, don't panic. With the right tools and materials, you can fix it yourself using plumber's putty. Start by identifying the source of the leak and cleaning the area. Then, apply plumber's putty around the edges of the sink and press it into place. Wipe away any excess putty and let it dry for the recommended time. Once dry, the leak should be sealed, and you can use your kitchen sink as usual. In conclusion, plumber's putty is a reliable and versatile option for kitchen sink installation and repairs. With the right techniques and products, you can easily create a watertight seal and prevent leaks and other issues. Remember to choose a high-quality putty, follow the instructions carefully, and seek professional help if needed. Happy DIY-ing!10. How to Fix a Leaky Kitchen Sink with Plumber's Putty

10. How to Fix a Leaky Kitchen Sink with Plumber's Putty


What is Plumber's Putty for Kitchen Sinks?
The Importance of Plumber's Putty in Kitchen Sinks
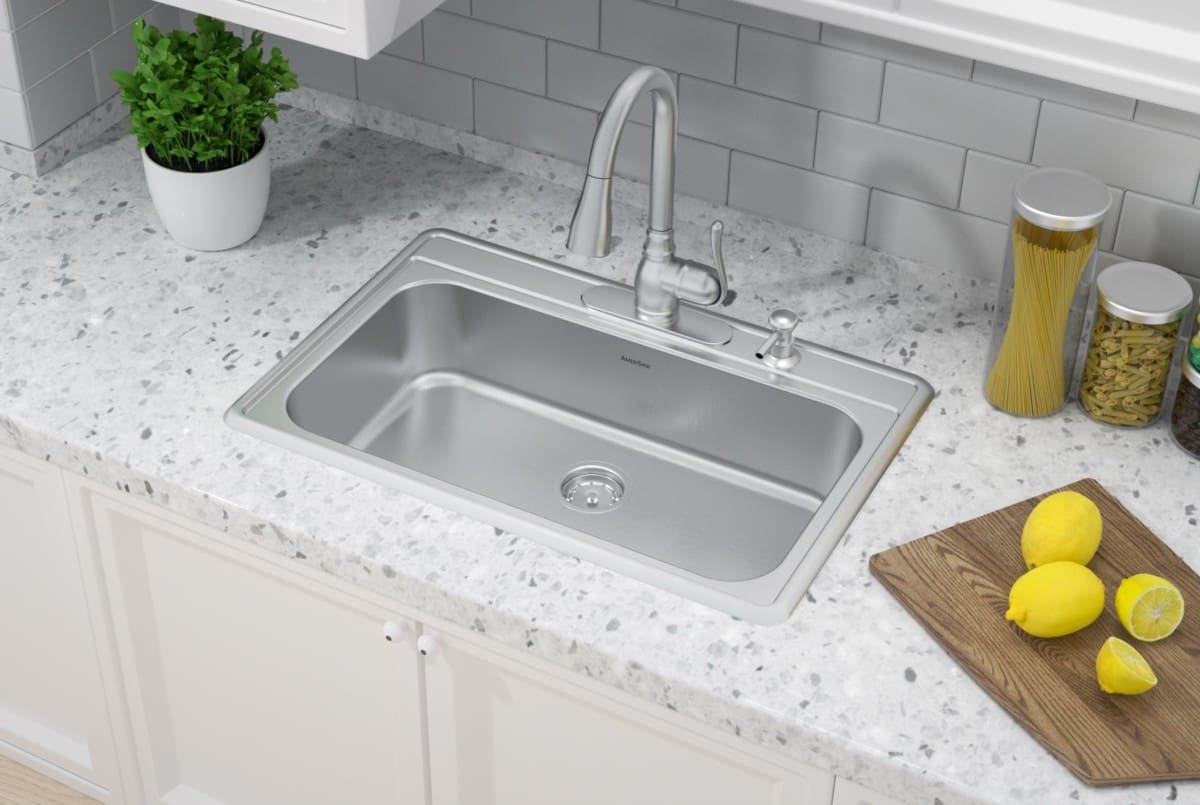
 When it comes to designing a functional and visually appealing kitchen, every little detail counts. One of the most essential elements in a kitchen is the sink. A well-installed sink not only adds to the aesthetics of the space but also ensures smooth functioning of daily tasks. However, no matter how expensive or high-quality your sink may be, it is incomplete without the use of
plumber's putty
.
When it comes to designing a functional and visually appealing kitchen, every little detail counts. One of the most essential elements in a kitchen is the sink. A well-installed sink not only adds to the aesthetics of the space but also ensures smooth functioning of daily tasks. However, no matter how expensive or high-quality your sink may be, it is incomplete without the use of
plumber's putty
.
Understanding Plumber's Putty
 Plumber's putty
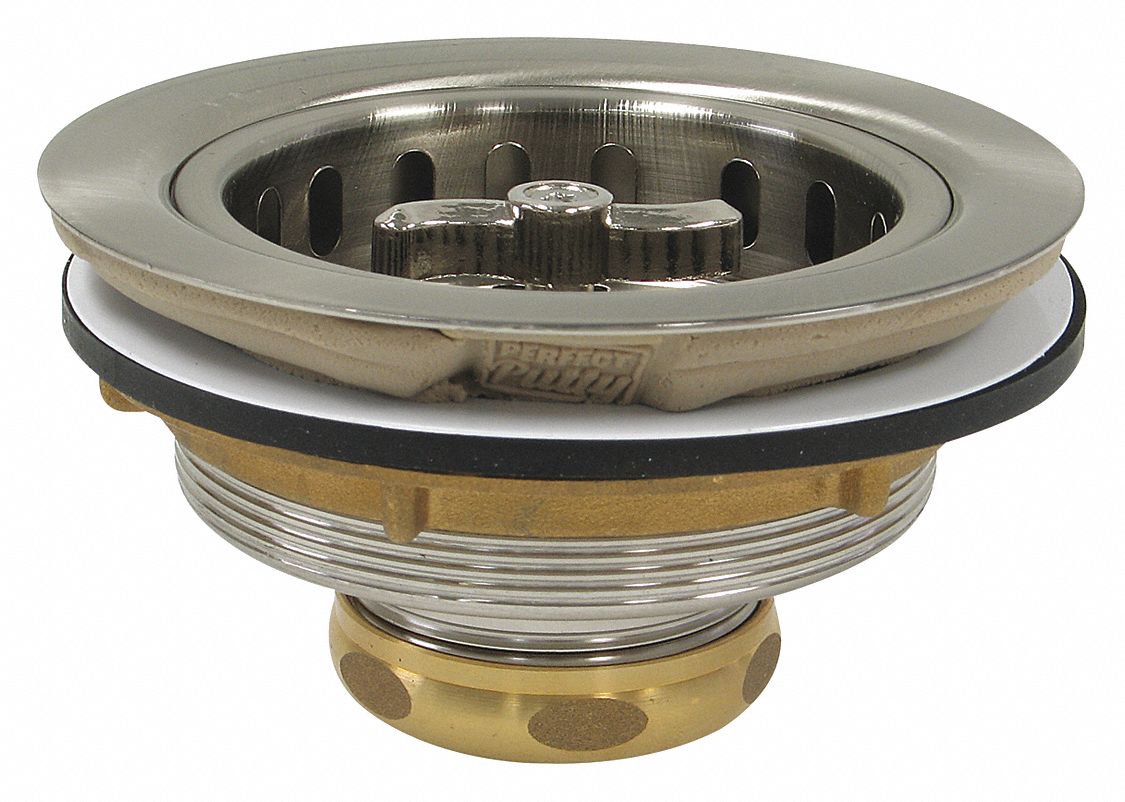
is a type of adhesive material that is used to create a watertight seal between the sink and the countertop. It is a malleable and pliable substance that can be easily molded into any shape, making it the go-to choice for plumbers and DIY enthusiasts alike. The primary purpose of using plumber's putty in kitchen sinks is to prevent water from seeping through the gap between the sink and the countertop, ultimately preventing any leaks or damage to your kitchen cabinets.
Plumber's putty
is a type of adhesive material that is used to create a watertight seal between the sink and the countertop. It is a malleable and pliable substance that can be easily molded into any shape, making it the go-to choice for plumbers and DIY enthusiasts alike. The primary purpose of using plumber's putty in kitchen sinks is to prevent water from seeping through the gap between the sink and the countertop, ultimately preventing any leaks or damage to your kitchen cabinets.
Why Choose Plumber's Putty for Your Kitchen Sink?
 There are several reasons why
plumber's putty
is the preferred choice for sealing kitchen sinks. Firstly, it is a long-lasting solution that can withstand the constant exposure to water and other household chemicals. Unlike other sealants, plumber's putty does not dry out or crack over time, ensuring a durable seal that can last for years. Additionally, it is easy to work with and does not require any special tools or skills, making it a cost-effective option for homeowners.
There are several reasons why
plumber's putty
is the preferred choice for sealing kitchen sinks. Firstly, it is a long-lasting solution that can withstand the constant exposure to water and other household chemicals. Unlike other sealants, plumber's putty does not dry out or crack over time, ensuring a durable seal that can last for years. Additionally, it is easy to work with and does not require any special tools or skills, making it a cost-effective option for homeowners.
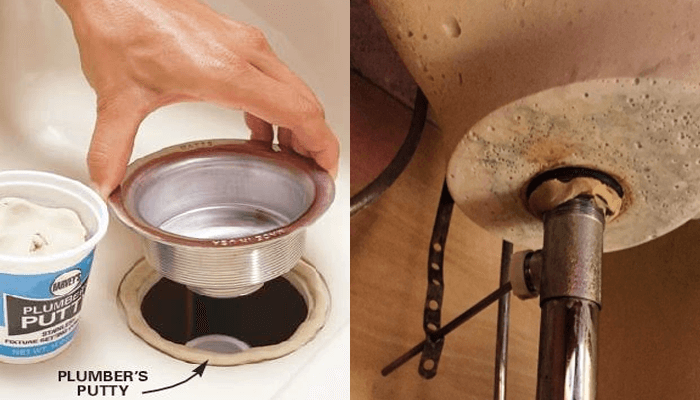
The Proper Application of Plumber's Putty
 To achieve the best results, it is crucial to use
plumber's putty
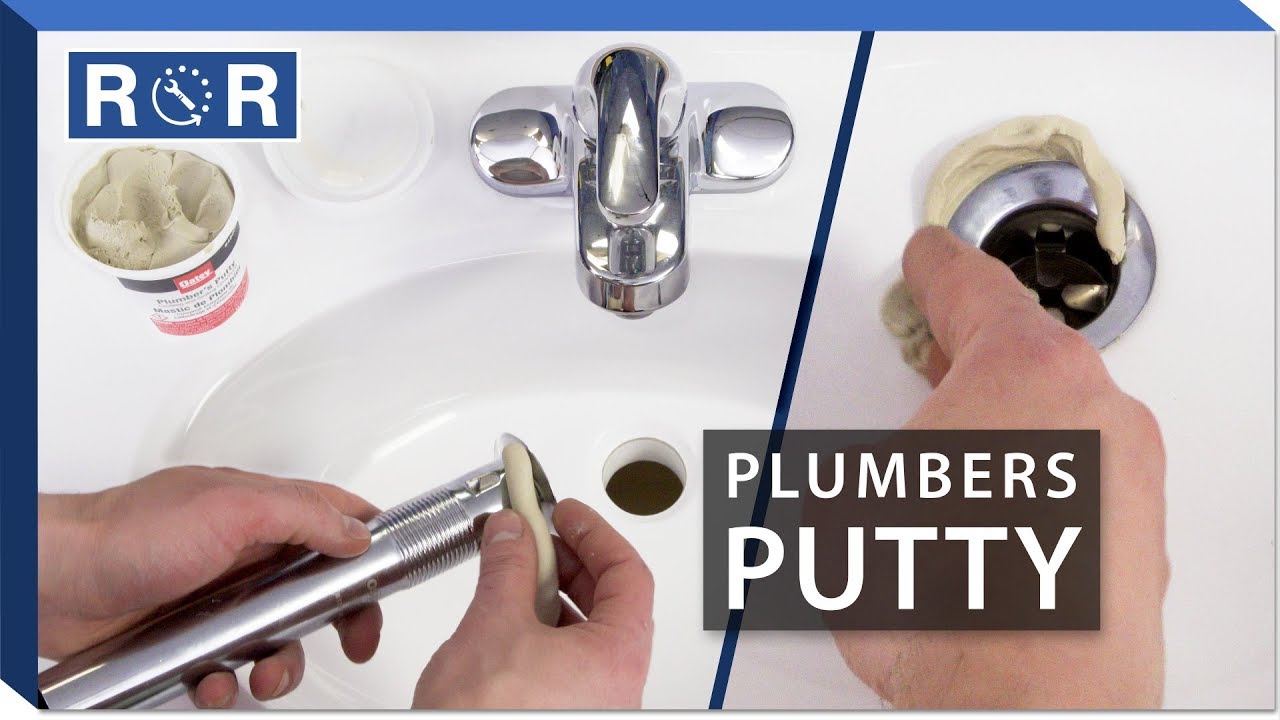
correctly. Start by cleaning the surface of the sink and the surrounding area thoroughly. Then take a small amount of putty and roll it into a thin rope. Apply the putty around the edges of the sink, making sure to cover the entire perimeter. Gently press the sink into place, and wipe off any excess putty that oozes out. Allow it to dry for a few hours before using the sink.
In conclusion,
plumber's putty
is an essential component in any kitchen sink installation. Not only does it provide a secure and waterproof seal, but it also adds to the overall functionality and appearance of the sink. With its easy application and long-lasting properties, it is undoubtedly the best choice for all your kitchen plumbing needs. So, the next time you are designing or renovating your kitchen, don't forget to include this versatile and trusted product in your list of must-haves.
To achieve the best results, it is crucial to use
plumber's putty
correctly. Start by cleaning the surface of the sink and the surrounding area thoroughly. Then take a small amount of putty and roll it into a thin rope. Apply the putty around the edges of the sink, making sure to cover the entire perimeter. Gently press the sink into place, and wipe off any excess putty that oozes out. Allow it to dry for a few hours before using the sink.
In conclusion,
plumber's putty
is an essential component in any kitchen sink installation. Not only does it provide a secure and waterproof seal, but it also adds to the overall functionality and appearance of the sink. With its easy application and long-lasting properties, it is undoubtedly the best choice for all your kitchen plumbing needs. So, the next time you are designing or renovating your kitchen, don't forget to include this versatile and trusted product in your list of must-haves.