Are you tired of dealing with a leaky kitchen sink basket strainer? Has it become old and rusty, making it difficult to use? Well, it's time to replace it with a new one. Replacing a kitchen sink basket strainer may seem like a daunting task, but with the right tools and instructions, it can be done easily. In this article, we will guide you through the process of replacing a kitchen sink basket strainer in 10 simple steps. So, let's get started!How to Replace a Kitchen Sink Basket Strainer


How to Replace a Kitchen Sink Basket Strainer


If you're wondering why you need to replace your kitchen sink basket strainer, here are a few reasons:Replacing a Kitchen Sink Basket Strainer

Replacing a Kitchen Sink Basket Strainer


Before you begin, make sure you have the following tools and materials:Step-by-Step Guide for Replacing a Kitchen Sink Basket Strainer


Step-by-Step Guide for Replacing a Kitchen Sink Basket Strainer


Replacing a kitchen sink basket strainer can seem like a daunting task, but with our step-by-step guide, you can easily do it yourself. Not only will this save you money on hiring a plumber, but it will also give you a sense of accomplishment. So, why wait? Get your tools ready and replace that old strainer today!DIY Kitchen Sink Basket Strainer Replacement

DIY Kitchen Sink Basket Strainer Replacement
If you're still feeling hesitant about replacing your kitchen sink basket strainer, here are a few tips to make the process easier:Easy Steps for Replacing a Kitchen Sink Basket Strainer


Easy Steps for Replacing a Kitchen Sink Basket Strainer

Now that you have a step-by-step guide and some handy tips, replacing a kitchen sink basket strainer should be a breeze. However, if you're still unsure or uncomfortable doing it yourself, it's always best to hire a professional plumber.Replacing a Kitchen Sink Basket Strainer: A Comprehensive Guide

Replacing a Kitchen Sink Basket Strainer: A Comprehensive Guide


By following our easy steps and using the right tools and materials, you can easily replace your kitchen sink basket strainer. This will not only improve the functionality of your sink but also give your kitchen an updated look.Kitchen Sink Basket Strainer Replacement Made Simple


Kitchen Sink Basket Strainer Replacement Made Simple

Here are a few additional tips and tricks to keep in mind when replacing a kitchen sink basket strainer:Replacing a Kitchen Sink Basket Strainer: Tips and Tricks


Replacing a Kitchen Sink Basket Strainer: Tips and Tricks
To summarize, here are the 10 easy steps for replacing a kitchen sink basket strainer:How to Replace a Kitchen Sink Basket Strainer in 10 Easy Steps


How to Replace a Kitchen Sink Basket Strainer in 10 Easy Steps
Now that you have all the information and instructions you need, replacing a kitchen sink basket strainer should be a piece of cake. So, say goodbye to that old, leaky strainer and hello to a new and improved one. Happy replacing!The Ultimate Guide to Replacing a Kitchen Sink Basket Strainer

The Ultimate Guide to Replacing a Kitchen Sink Basket Strainer

Replacing a Kitchen Sink Basket Strainer: A Step-by-Step Guide

Why Replace Your Kitchen Sink Basket Strainer?
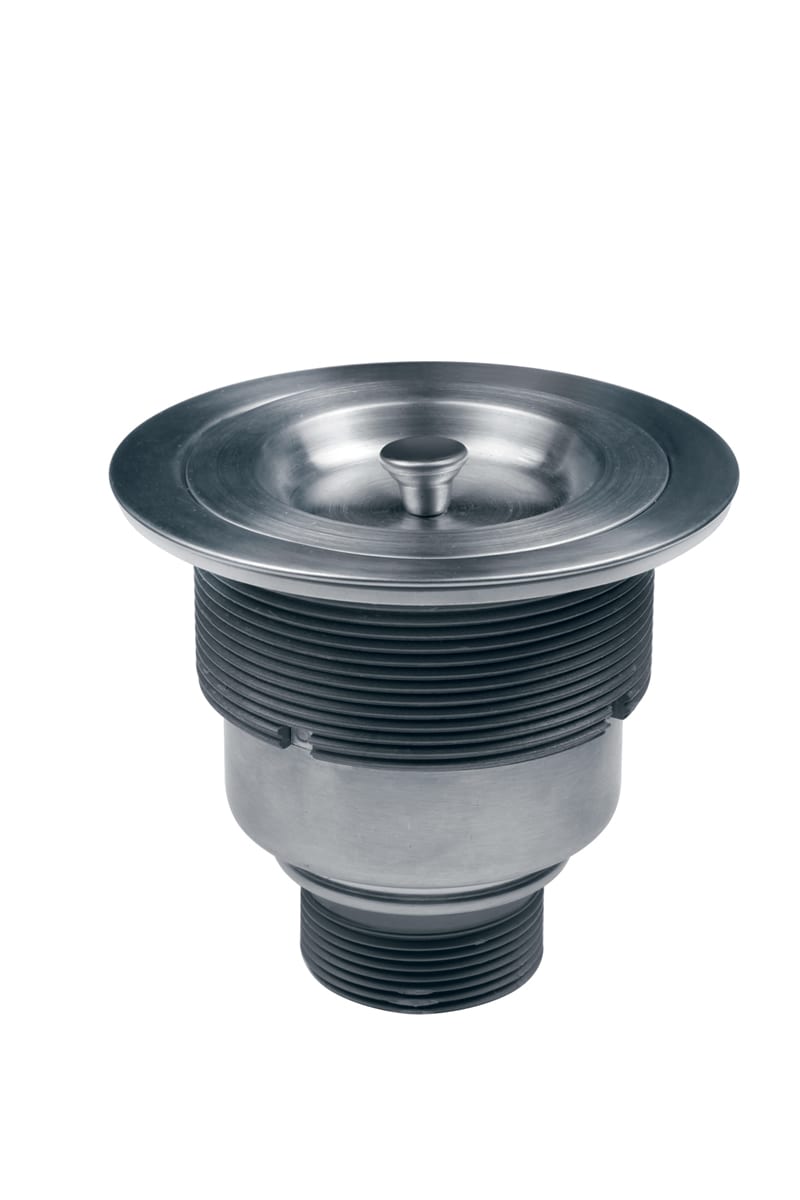
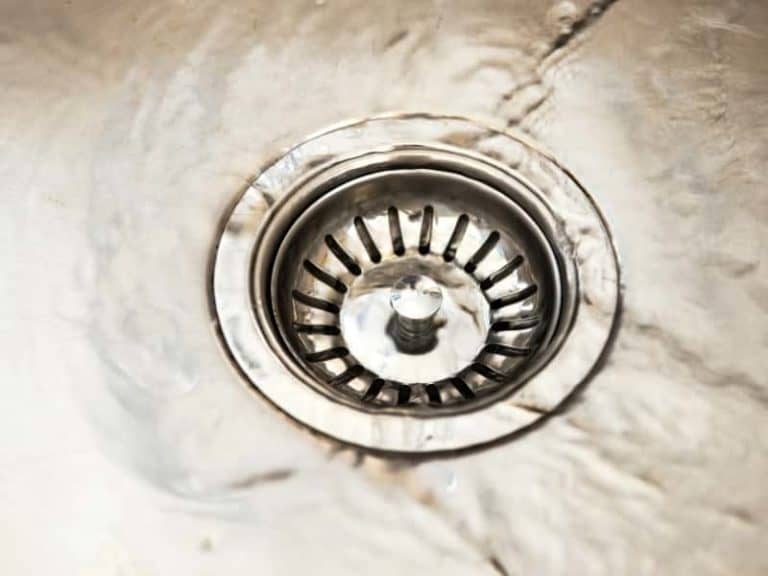
 The kitchen sink basket strainer is an essential part of your kitchen sink, responsible for catching food scraps and preventing them from clogging your drain. Over time, these strainers can become worn out or damaged, leading to leaks, slow draining, and unpleasant odors. If you notice any of these issues, it may be time to replace your kitchen sink basket strainer.
Tools and Materials You'll Need
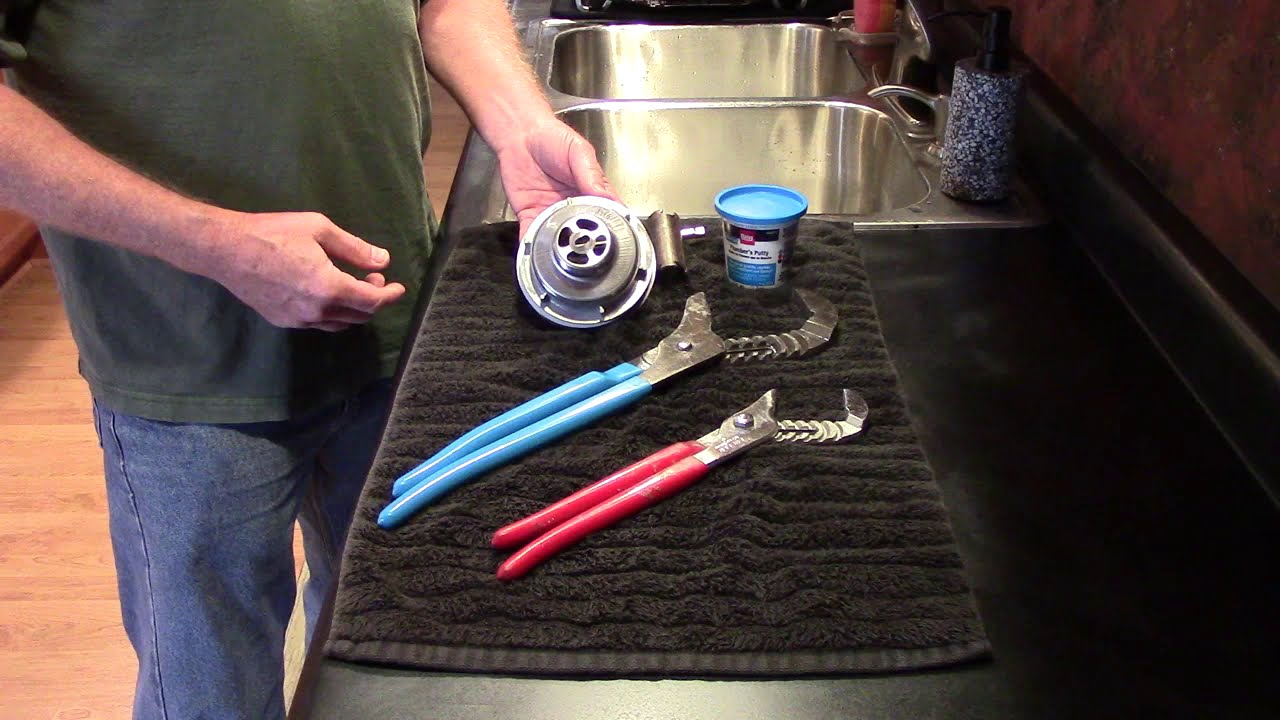 Before you begin the replacement process, make sure you have the following tools and materials on hand:
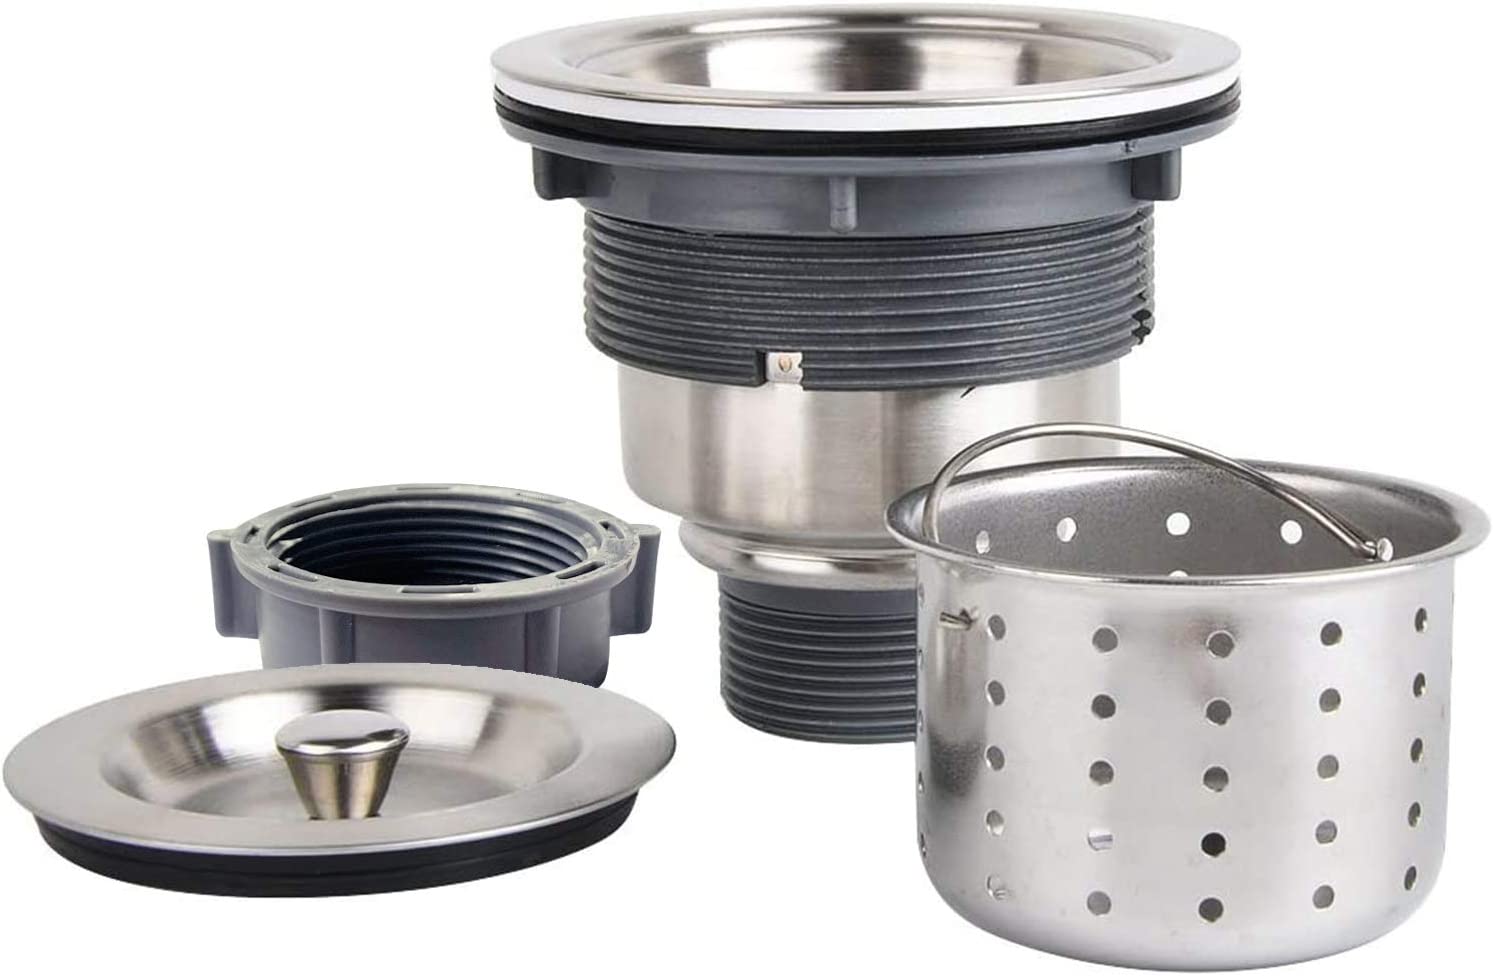
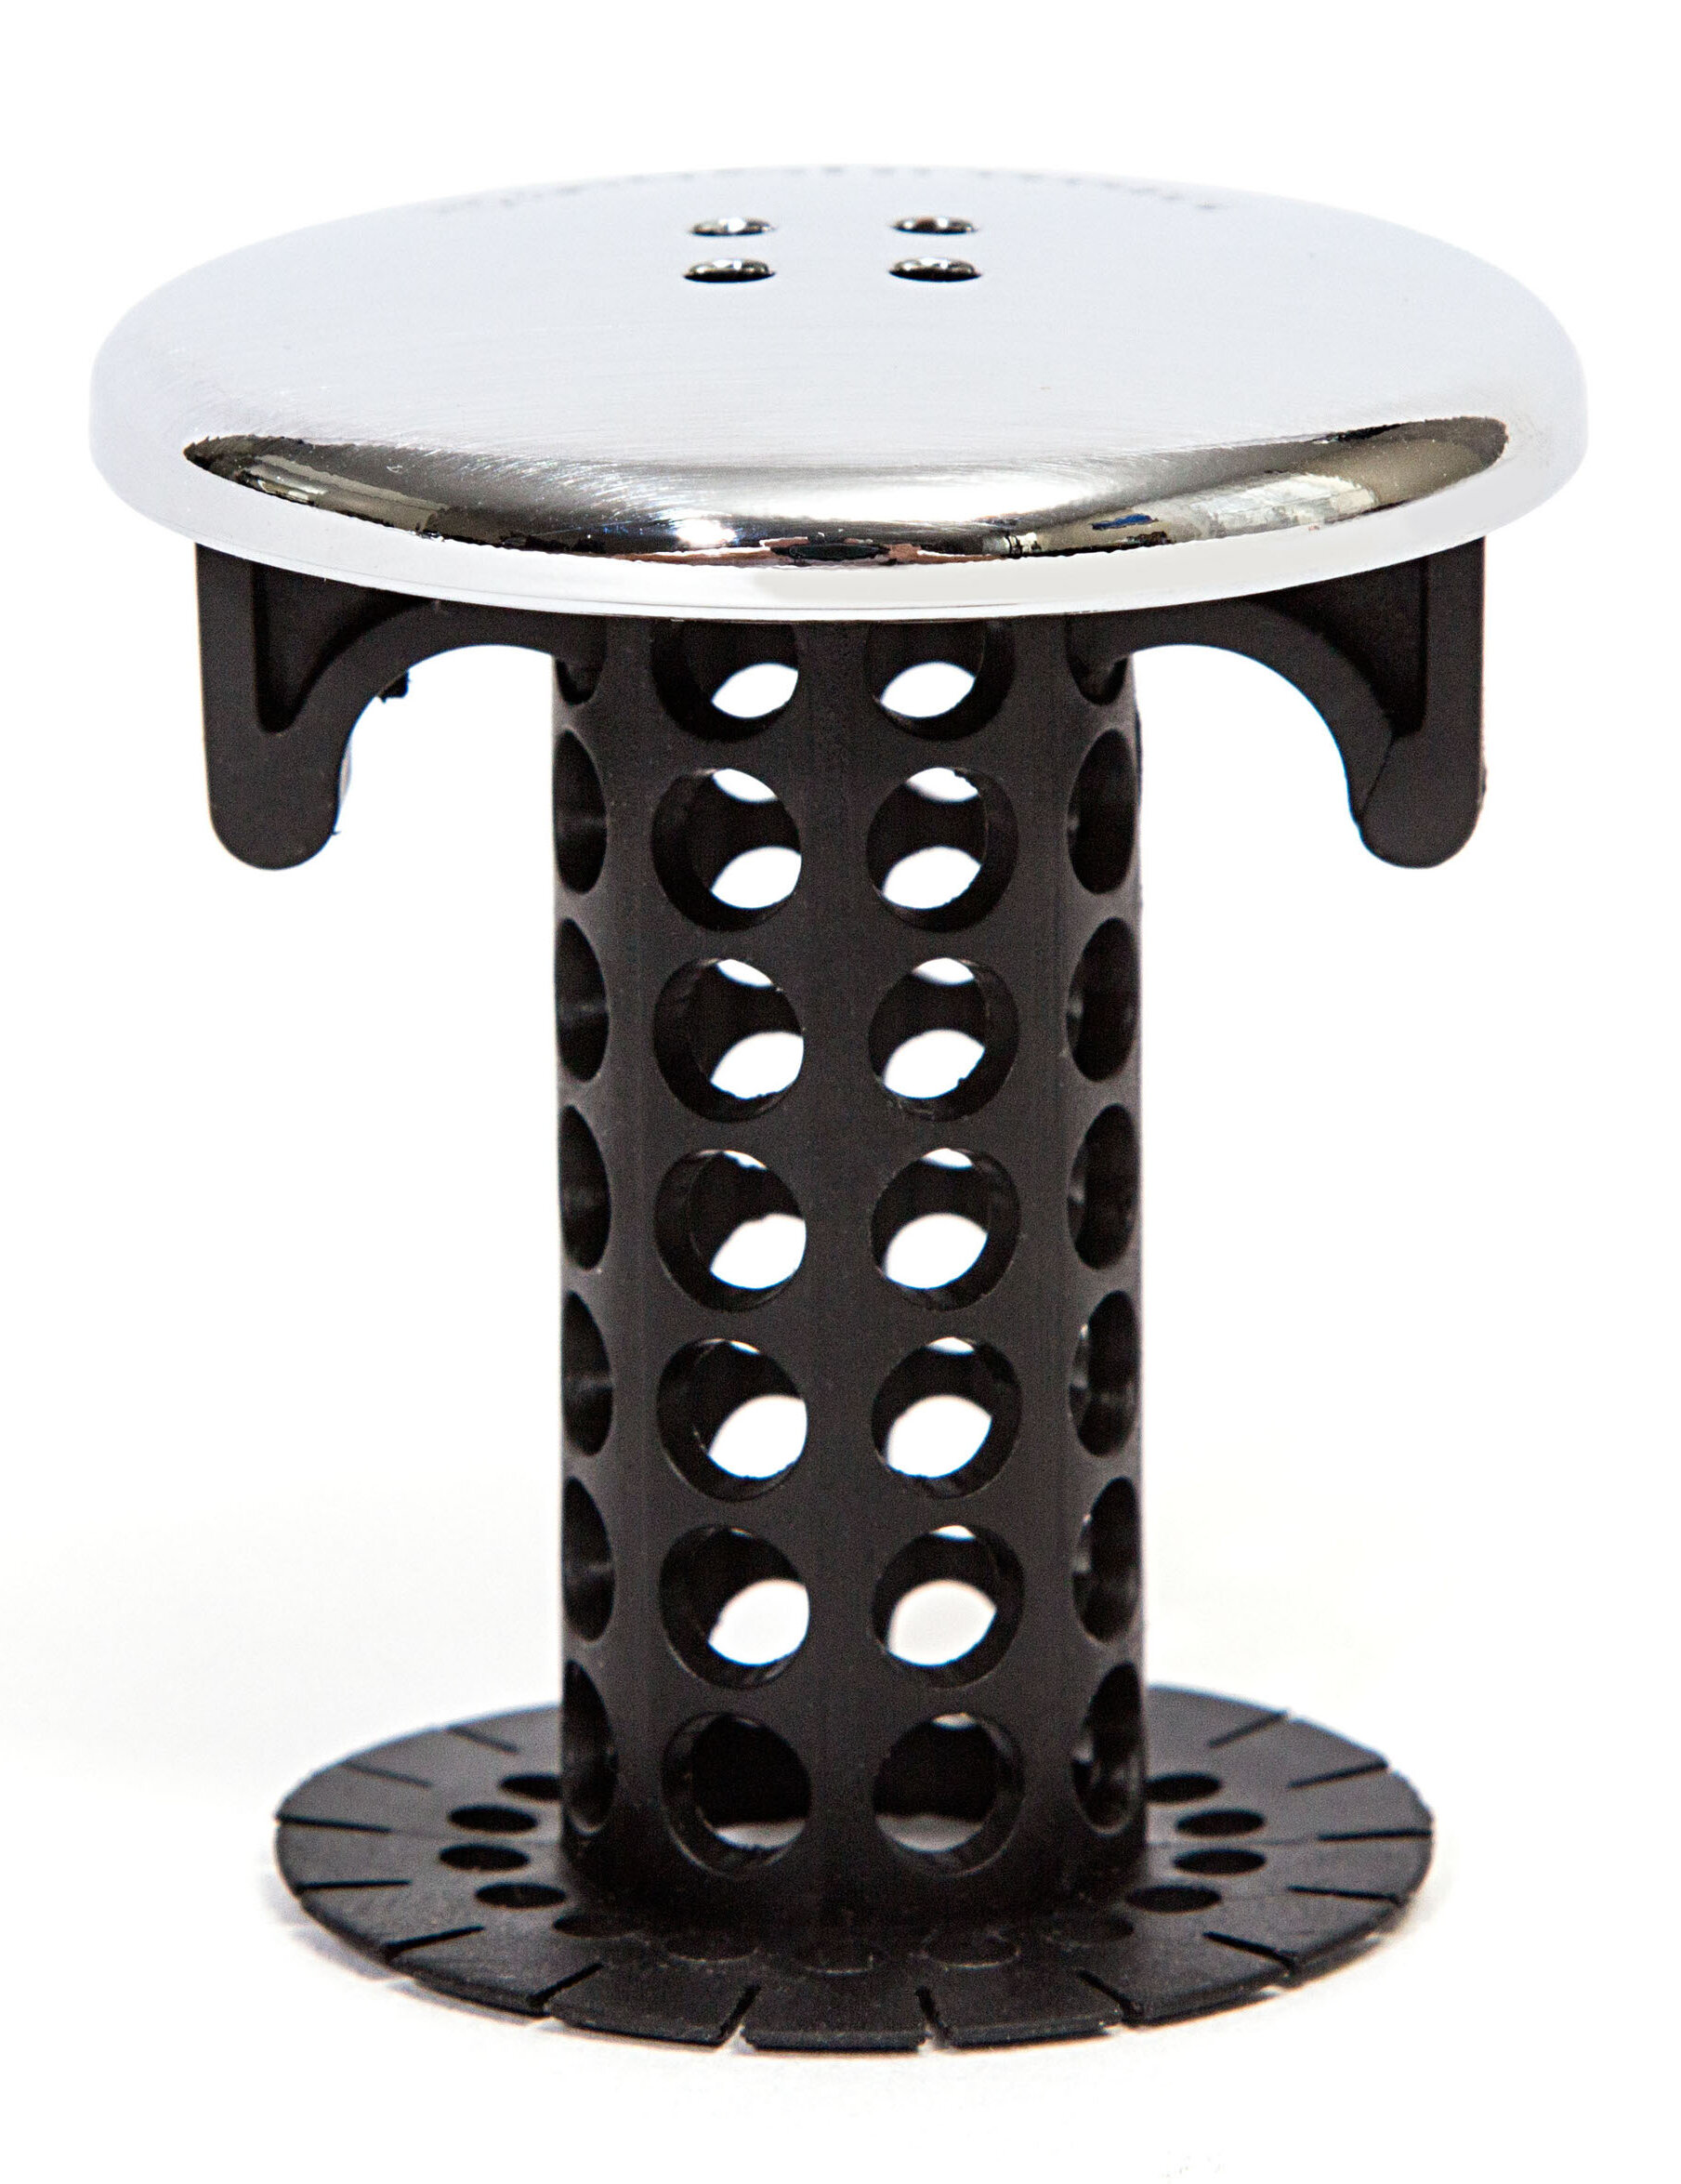
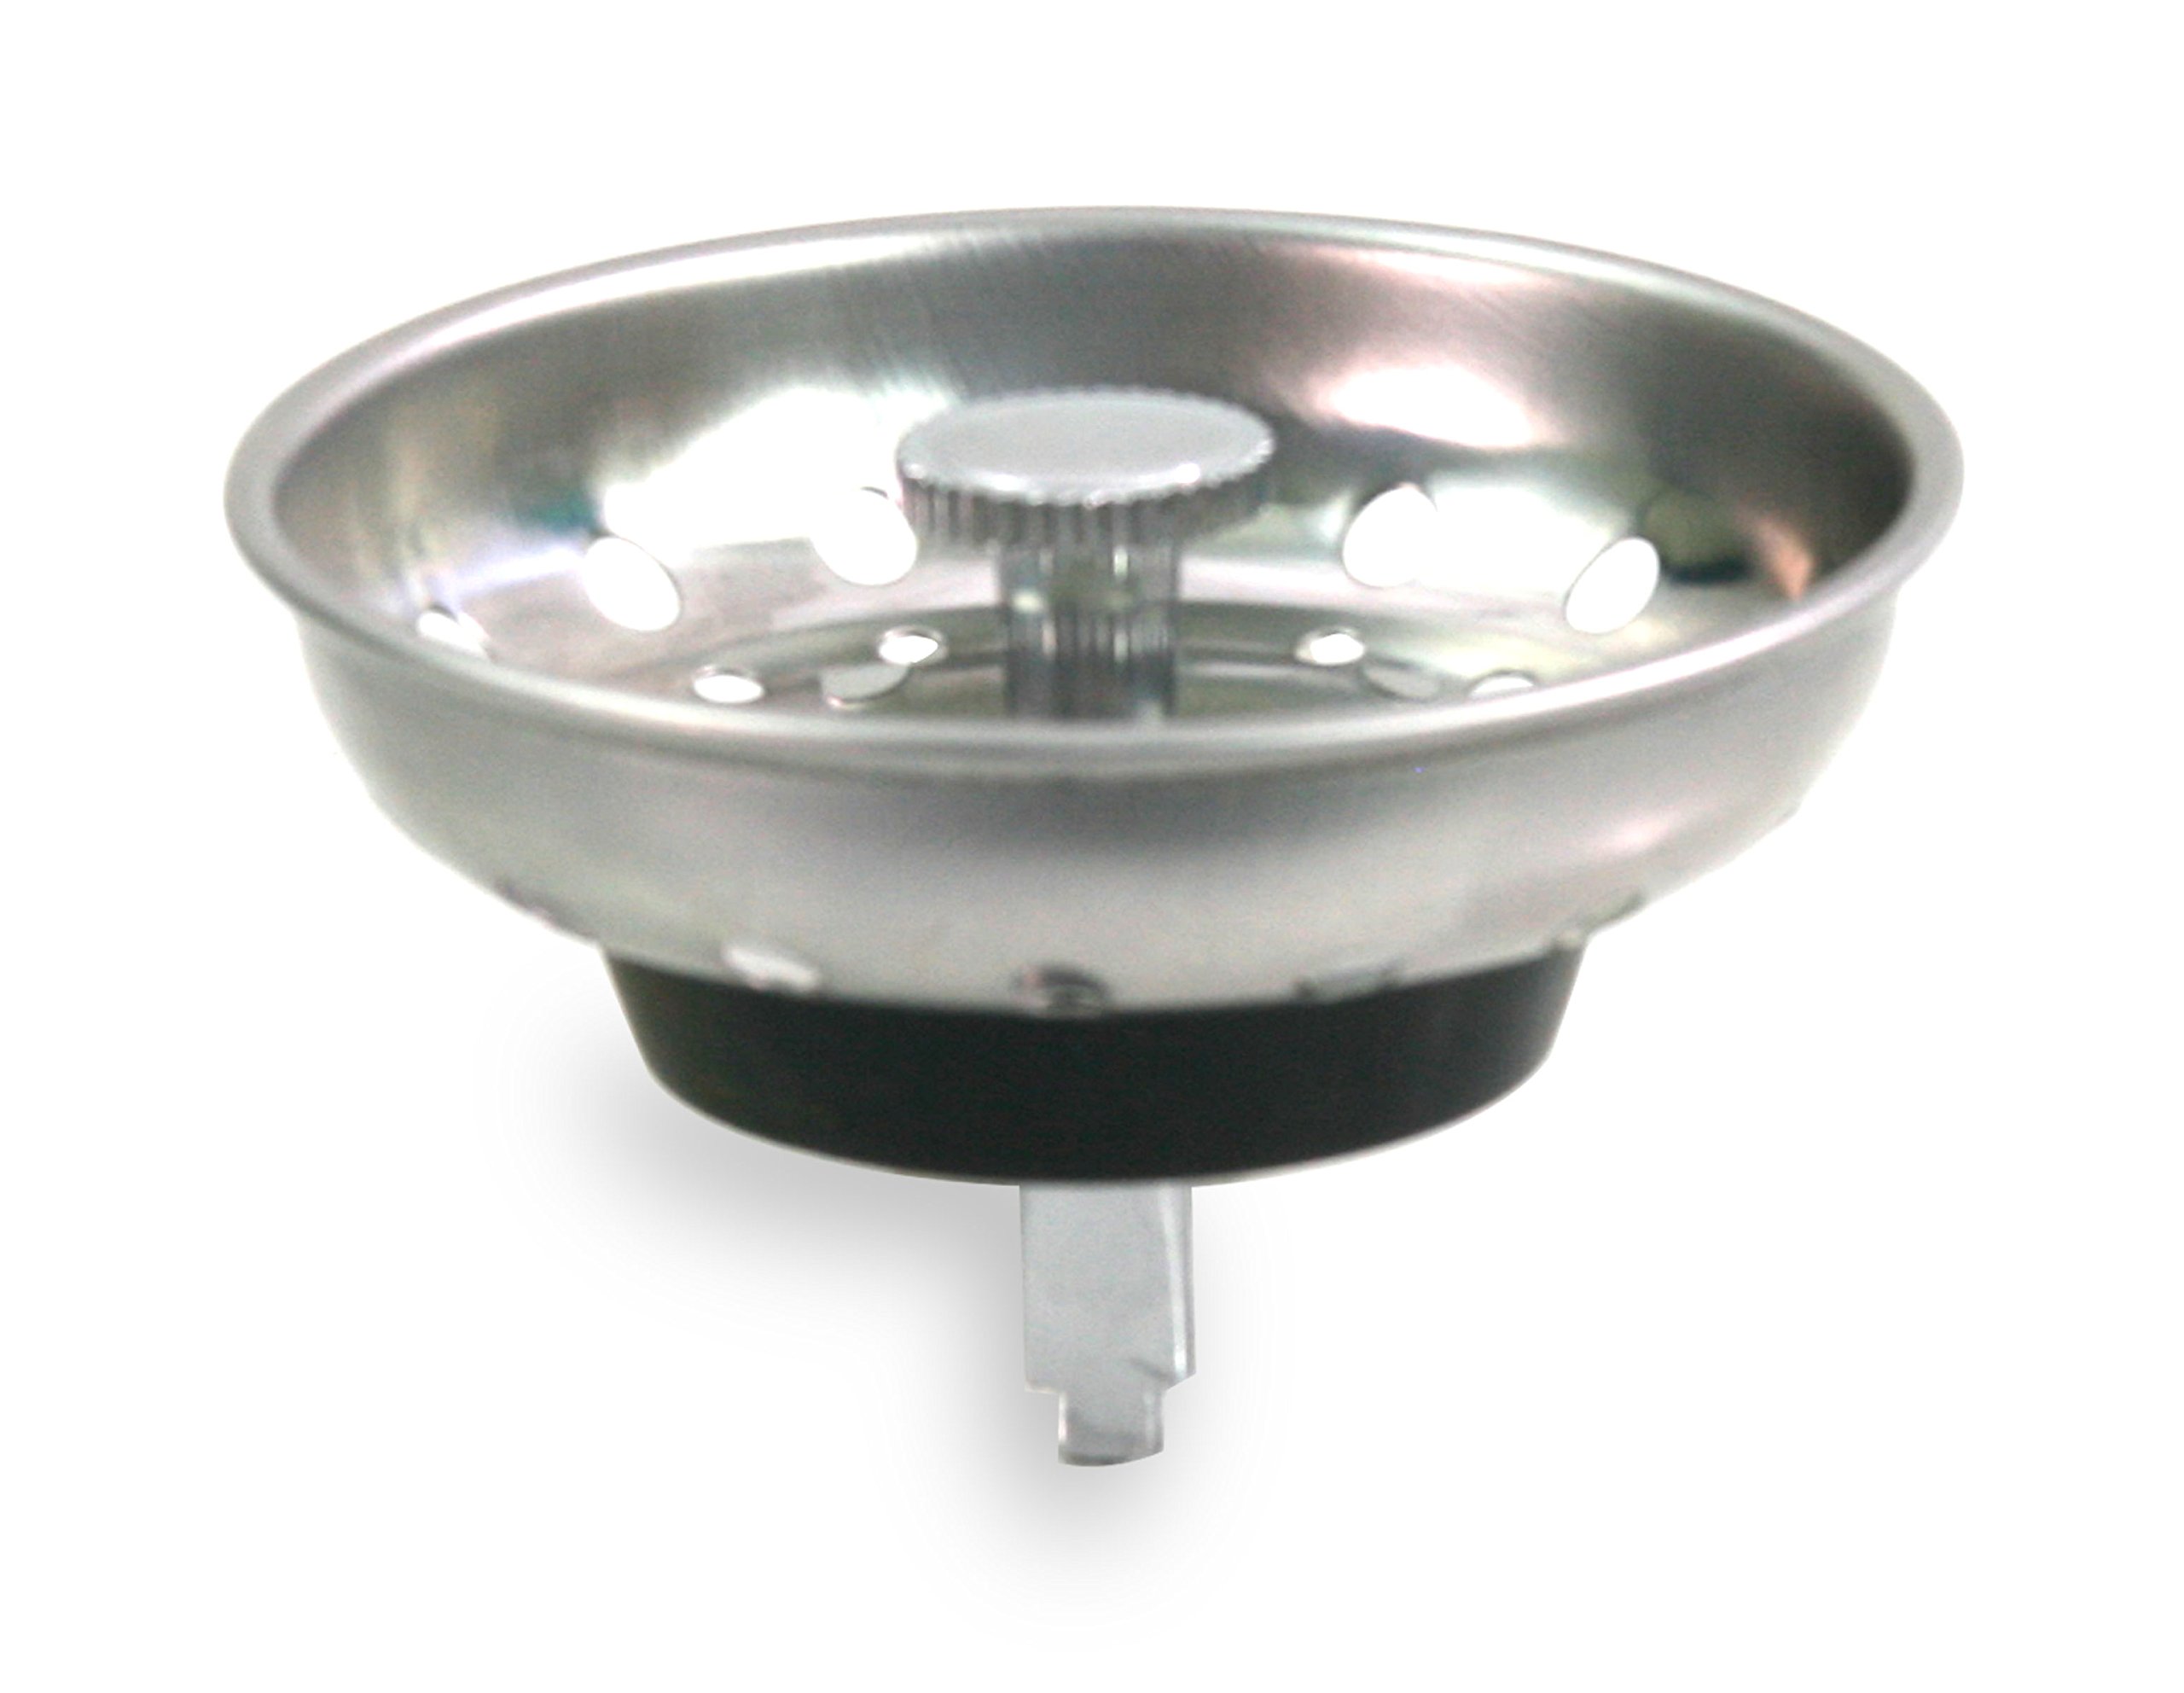
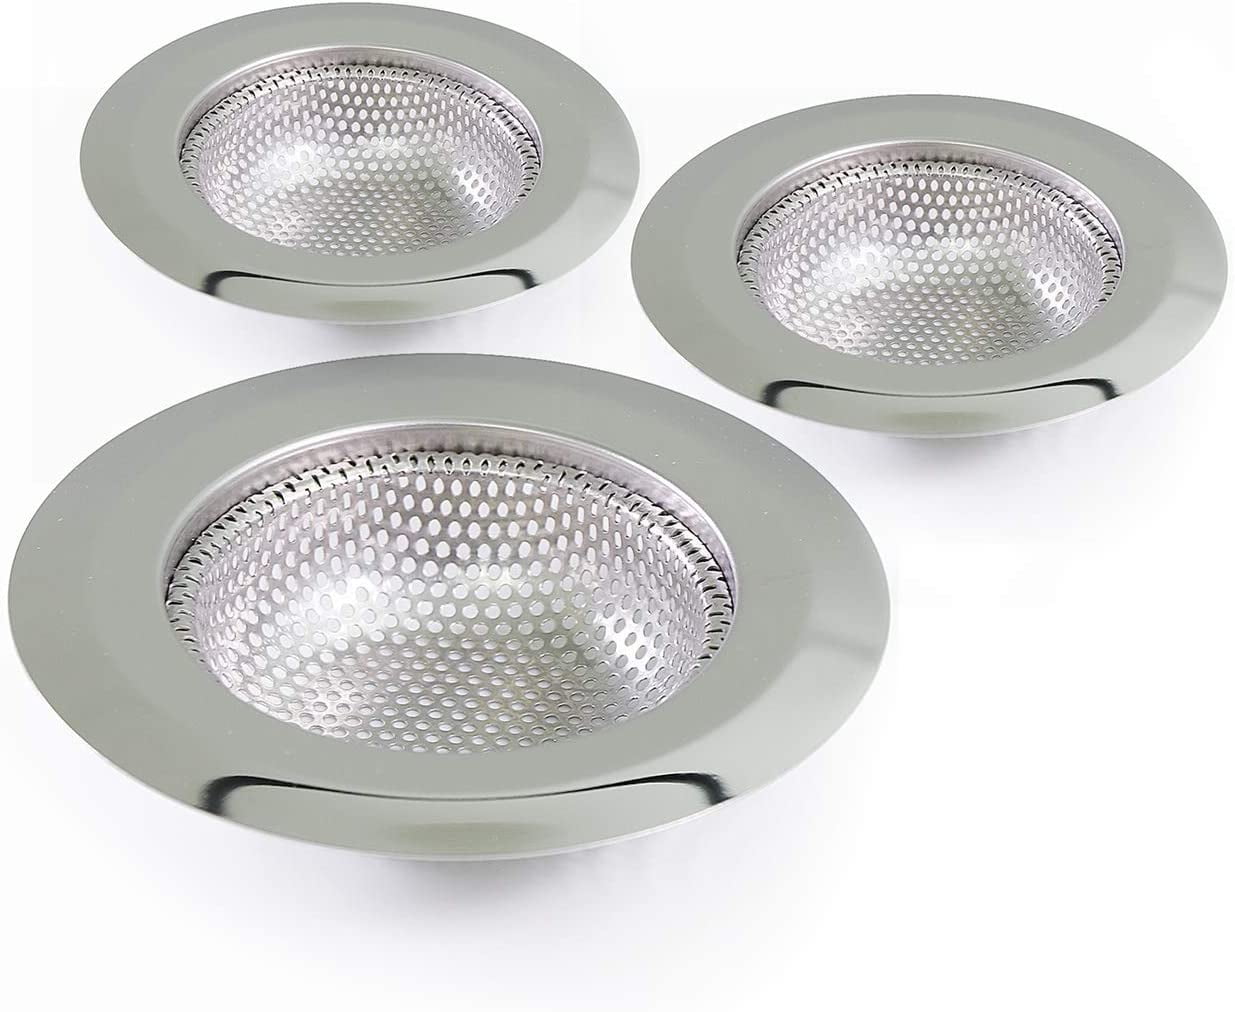
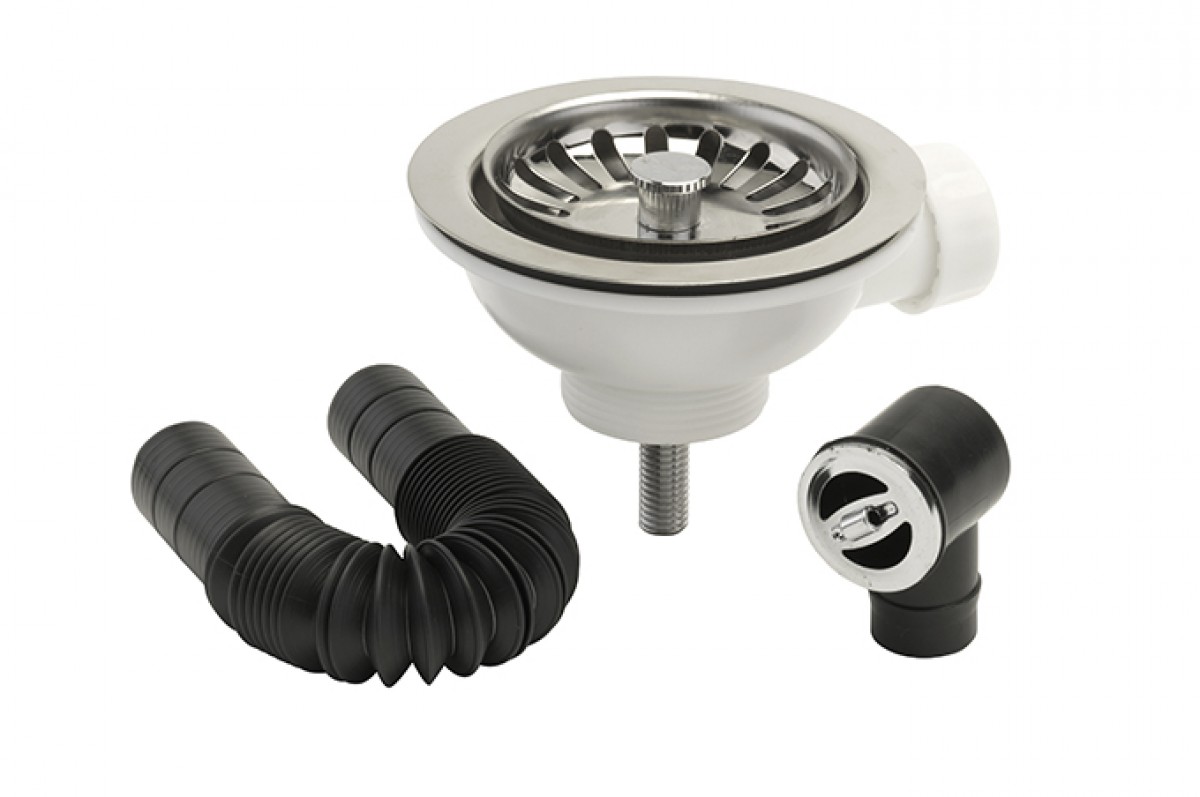
- New kitchen sink basket strainer
- Plumber's putty
- Adjustable wrench
- Screwdriver
- Pliers
- Bucket or bowl
- Rags or towels
- Cleaner
Step 1: Clear the Area
 Start by removing any items from under your sink and clearing the area around the strainer. This will make it easier to work and prevent any damage to your belongings.
Step 2: Turn Off Water Supply
 Before you begin disassembling your sink, turn off the water supply by shutting off the valves under the sink. If you don't have individual shut-off valves, you may need to turn off the main water supply to your house.
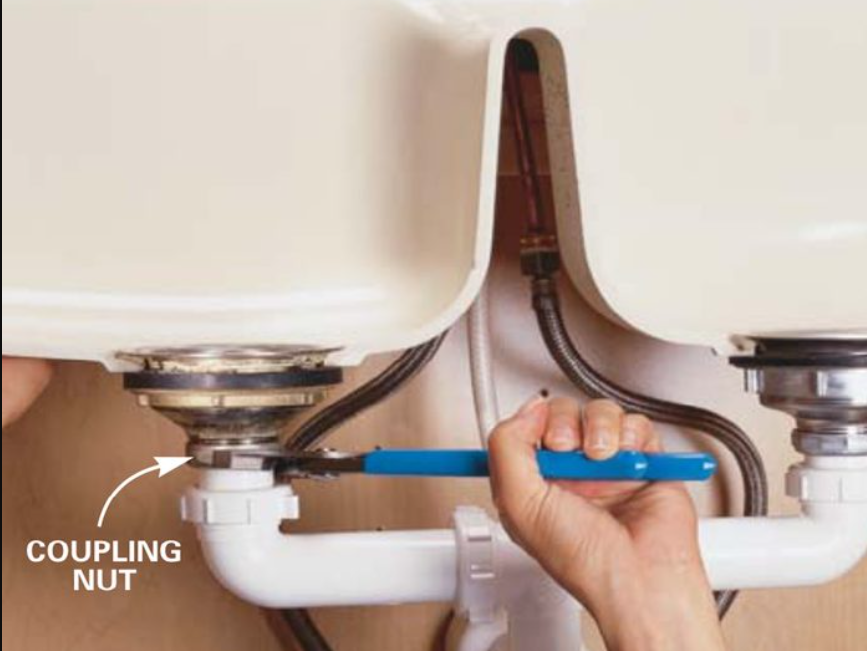
Step 3: Disconnect the Drain Pipe
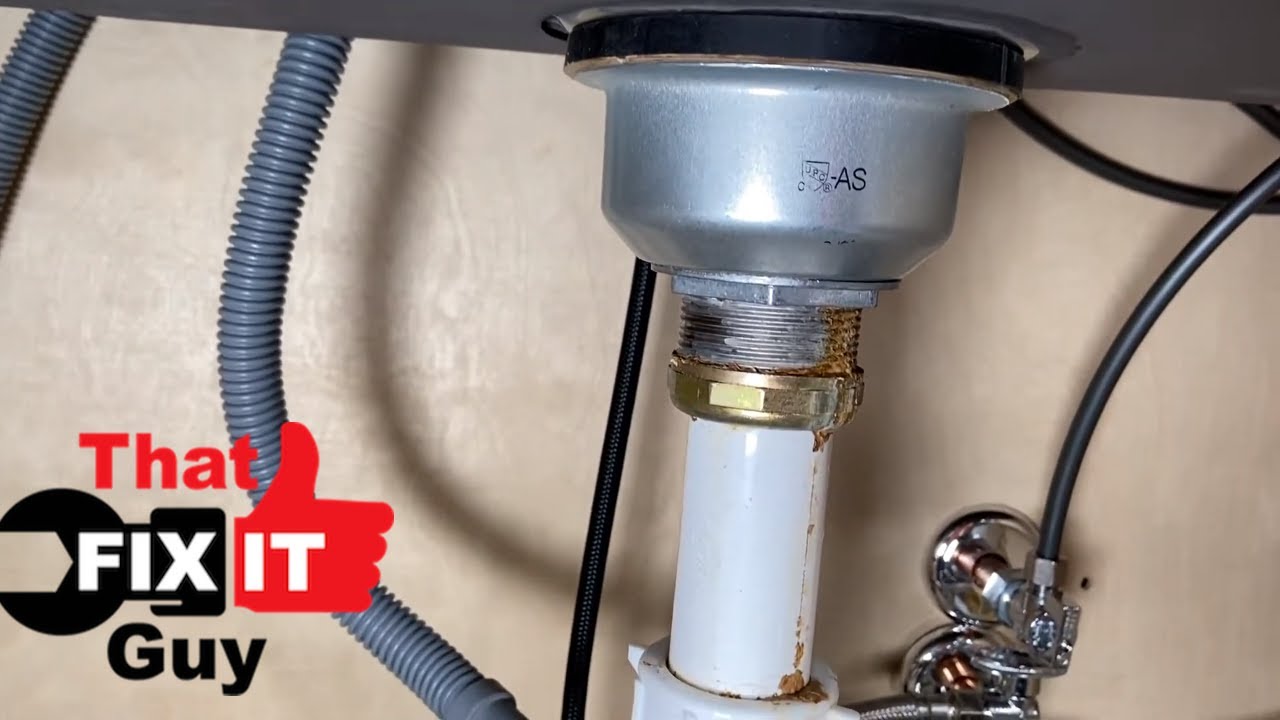
 Using an adjustable wrench, loosen and remove the nuts connecting the drain pipe to the strainer. Place a bucket or bowl under the pipe to catch any water that may drain out.
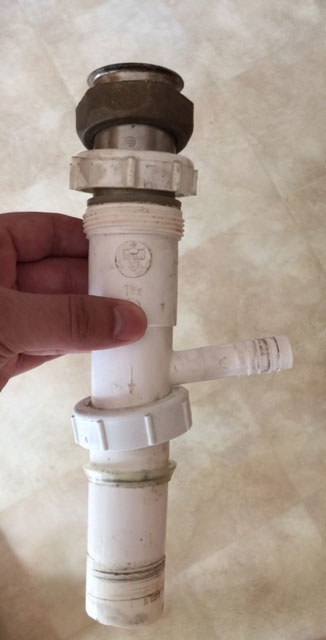
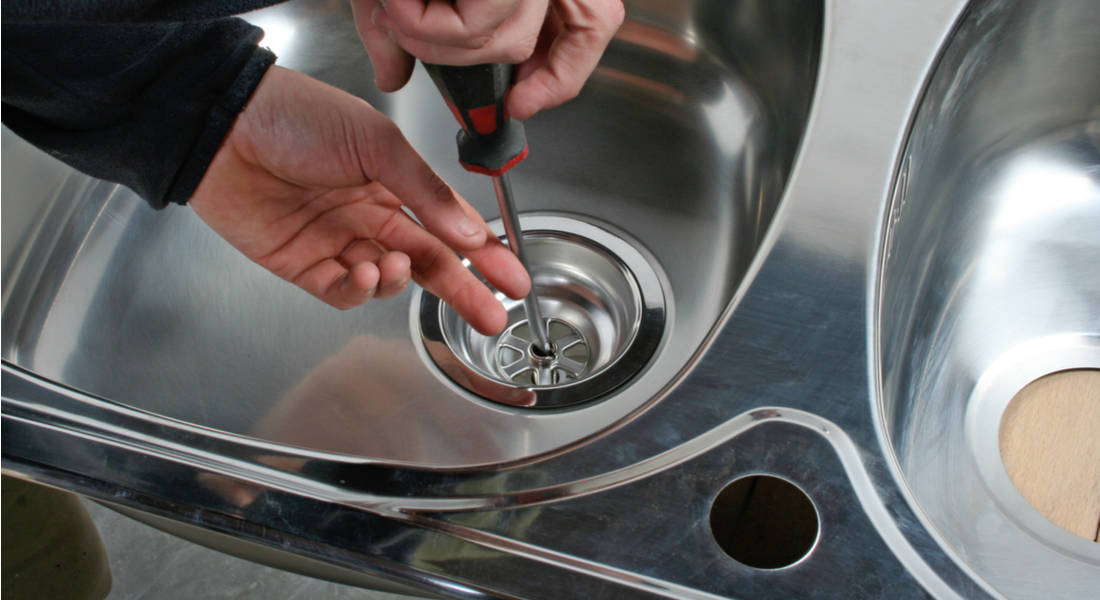
Step 4: Remove the Old Strainer
 Using a screwdriver, remove the screws that hold the old strainer in place. Once the screws are removed, gently pry the old strainer out of the sink.
Step 5: Clean the Sink
 With the old strainer removed, use a cleaner and rag to thoroughly clean the area around the sink. This will ensure a clean surface for the new strainer to adhere to.
Step 6: Apply Plumber's Putty
 Roll out a small amount of plumber's putty and place it around the bottom edge of the new strainer. This will create a watertight seal between the strainer and the sink.
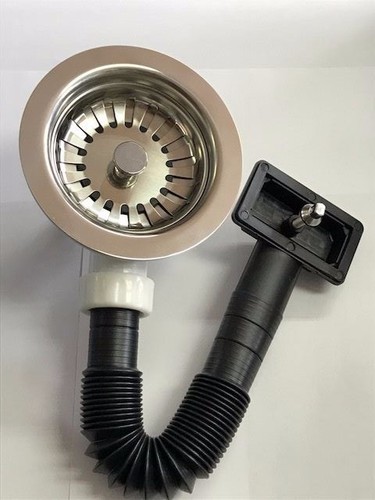
Step 7: Install the New Strainer
 Carefully place the new strainer into the sink and press down to secure it in place. Use a screwdriver to tighten the screws and ensure a snug fit.
Step 8: Reconnect the Drain Pipe
 Reattach the drain pipe to the new strainer using the adjustable wrench. Make sure the connections are tight to prevent any leaks.
Step 9: Turn the Water Supply Back On
 Once everything is securely in place, turn the water supply back on and check for any leaks. If everything looks good, you're all set!
Conclusion
 Replacing your kitchen sink basket strainer may seem like a daunting task, but with the right tools and materials, it can be done easily and quickly. By following these simple steps, you can ensure a properly functioning and leak-free kitchen sink. Remember to always use high-quality materials and take your time to ensure a job well done. Happy DIY-ing!